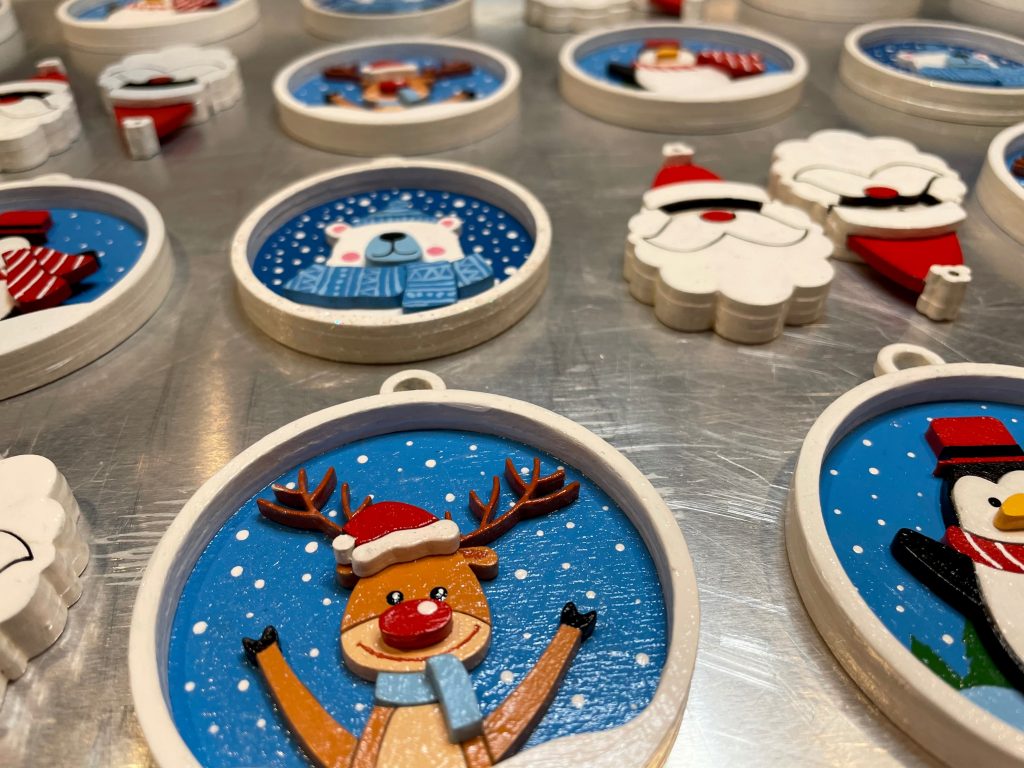
I decided a while ago, back when I posted my first post on using a laser cutter, that I was going to make more wood ornaments. I realized a few days ago that I pretty much abandoned my blog because I was off lasering and painting and doing all the things. So I’m back to give a quick update.
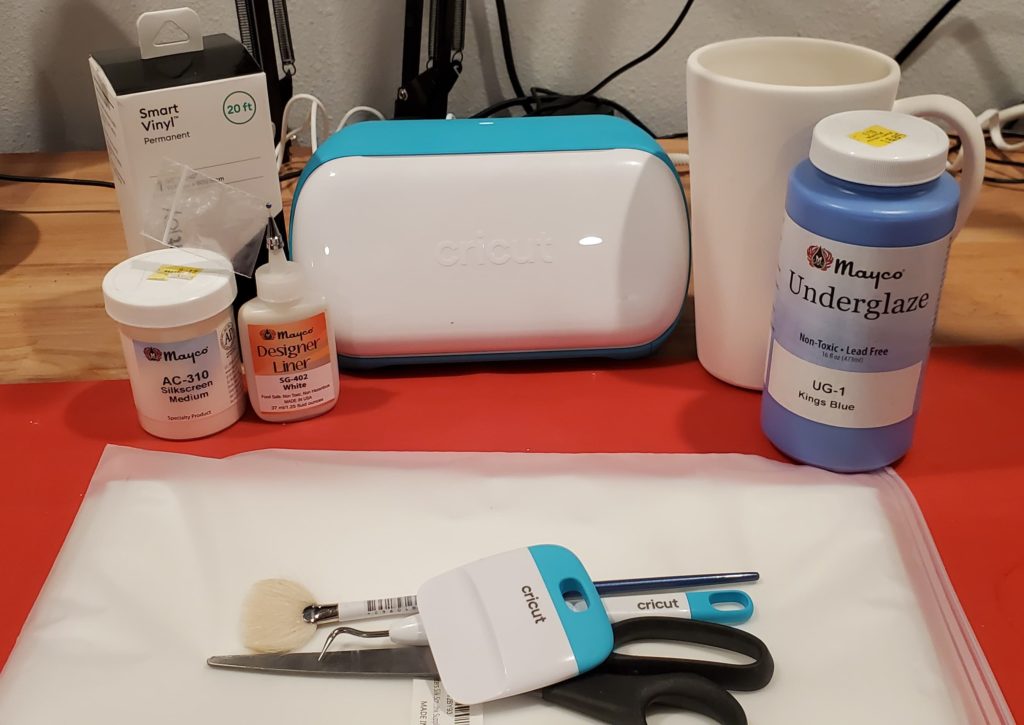
If you have ever made your own traditional silkscreens then you know it’s a huge pain in the butt. Framing your fabrics, photo emulsions, transparencies, cleaners, solutions, lamps, etc. It takes quite a bit of material and equipment to get started.
I’ve made silkscreens in the past and was moderately successful even with my small home setup. I mostly made silkscreens for ceramics but that was back before it was really popular. Now, companies like Mayco produce a large line of pre-made screens you can buy.
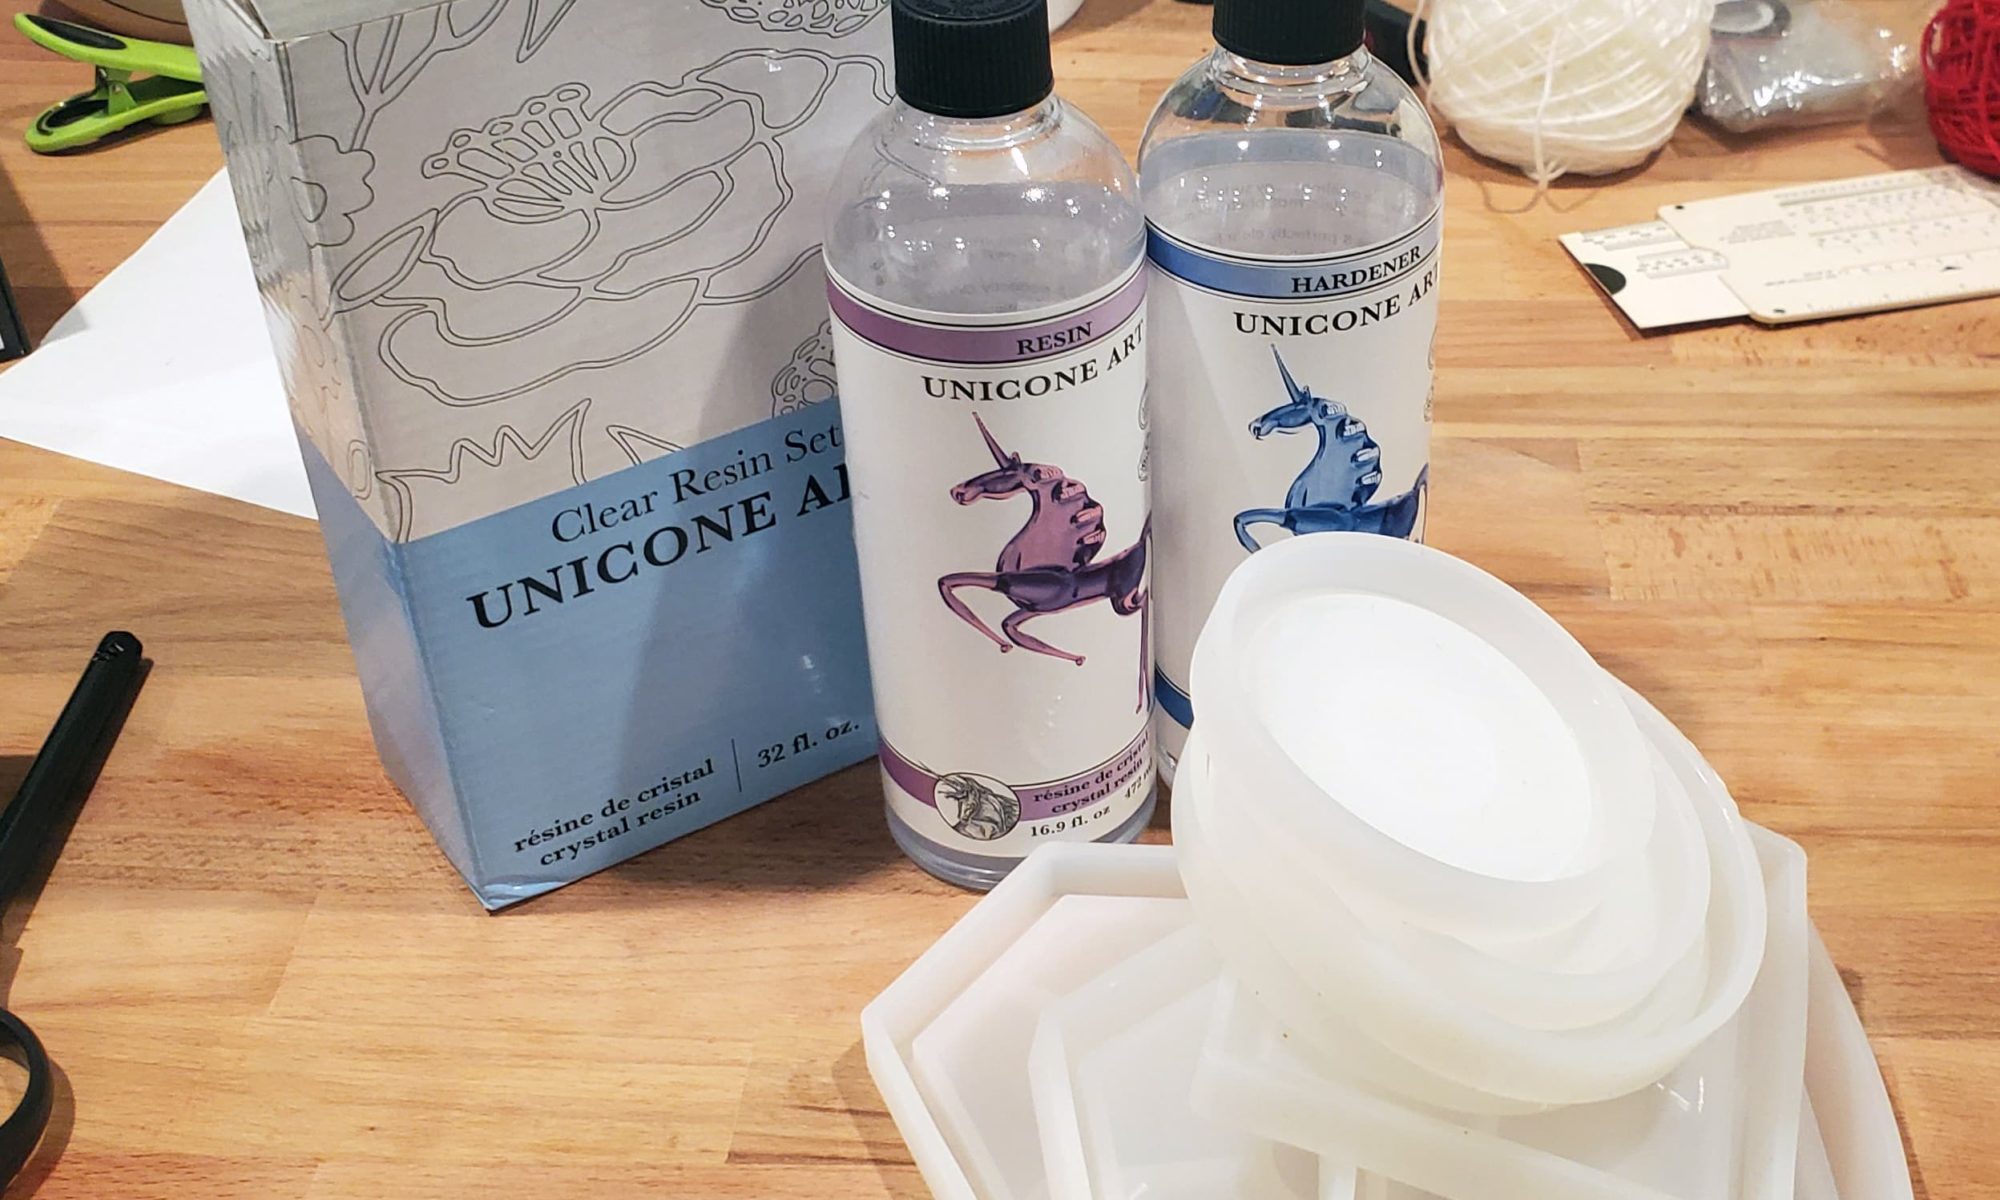
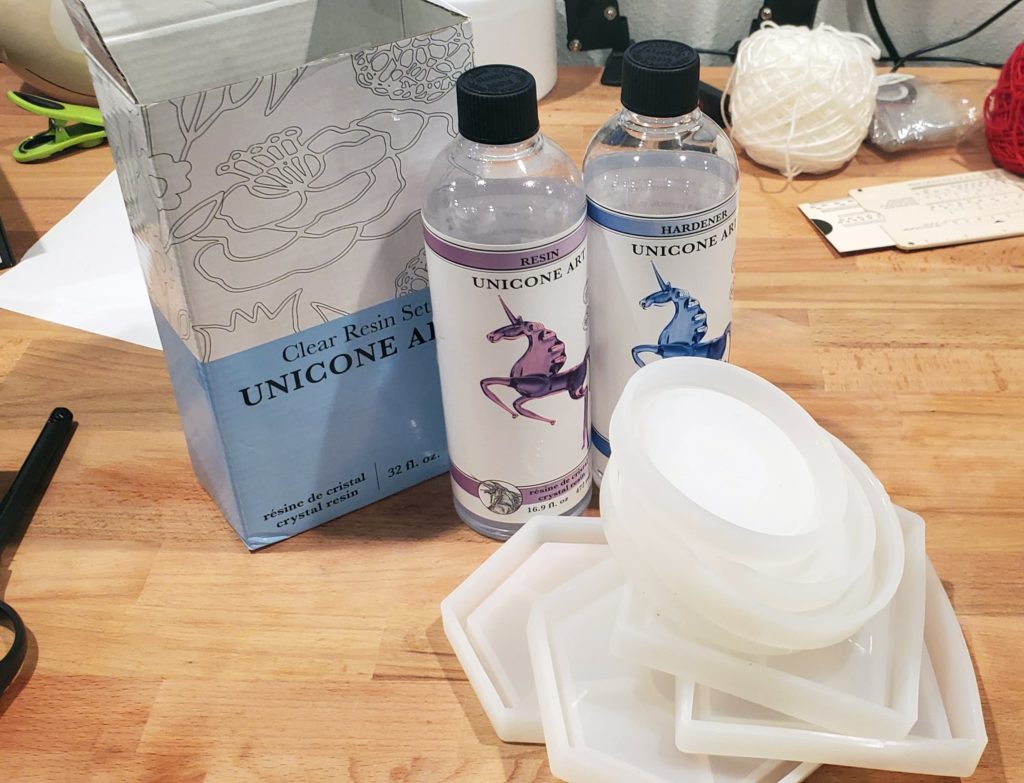
If you spend any time on social media, you’ve probably seen people going crazy with resin crafts. Resin, in general, seems like it’s really gained popularity in the past few years. Now we’re using different forms of resins (polymers) for 3D printing, woodworking, and even getting your nails did.
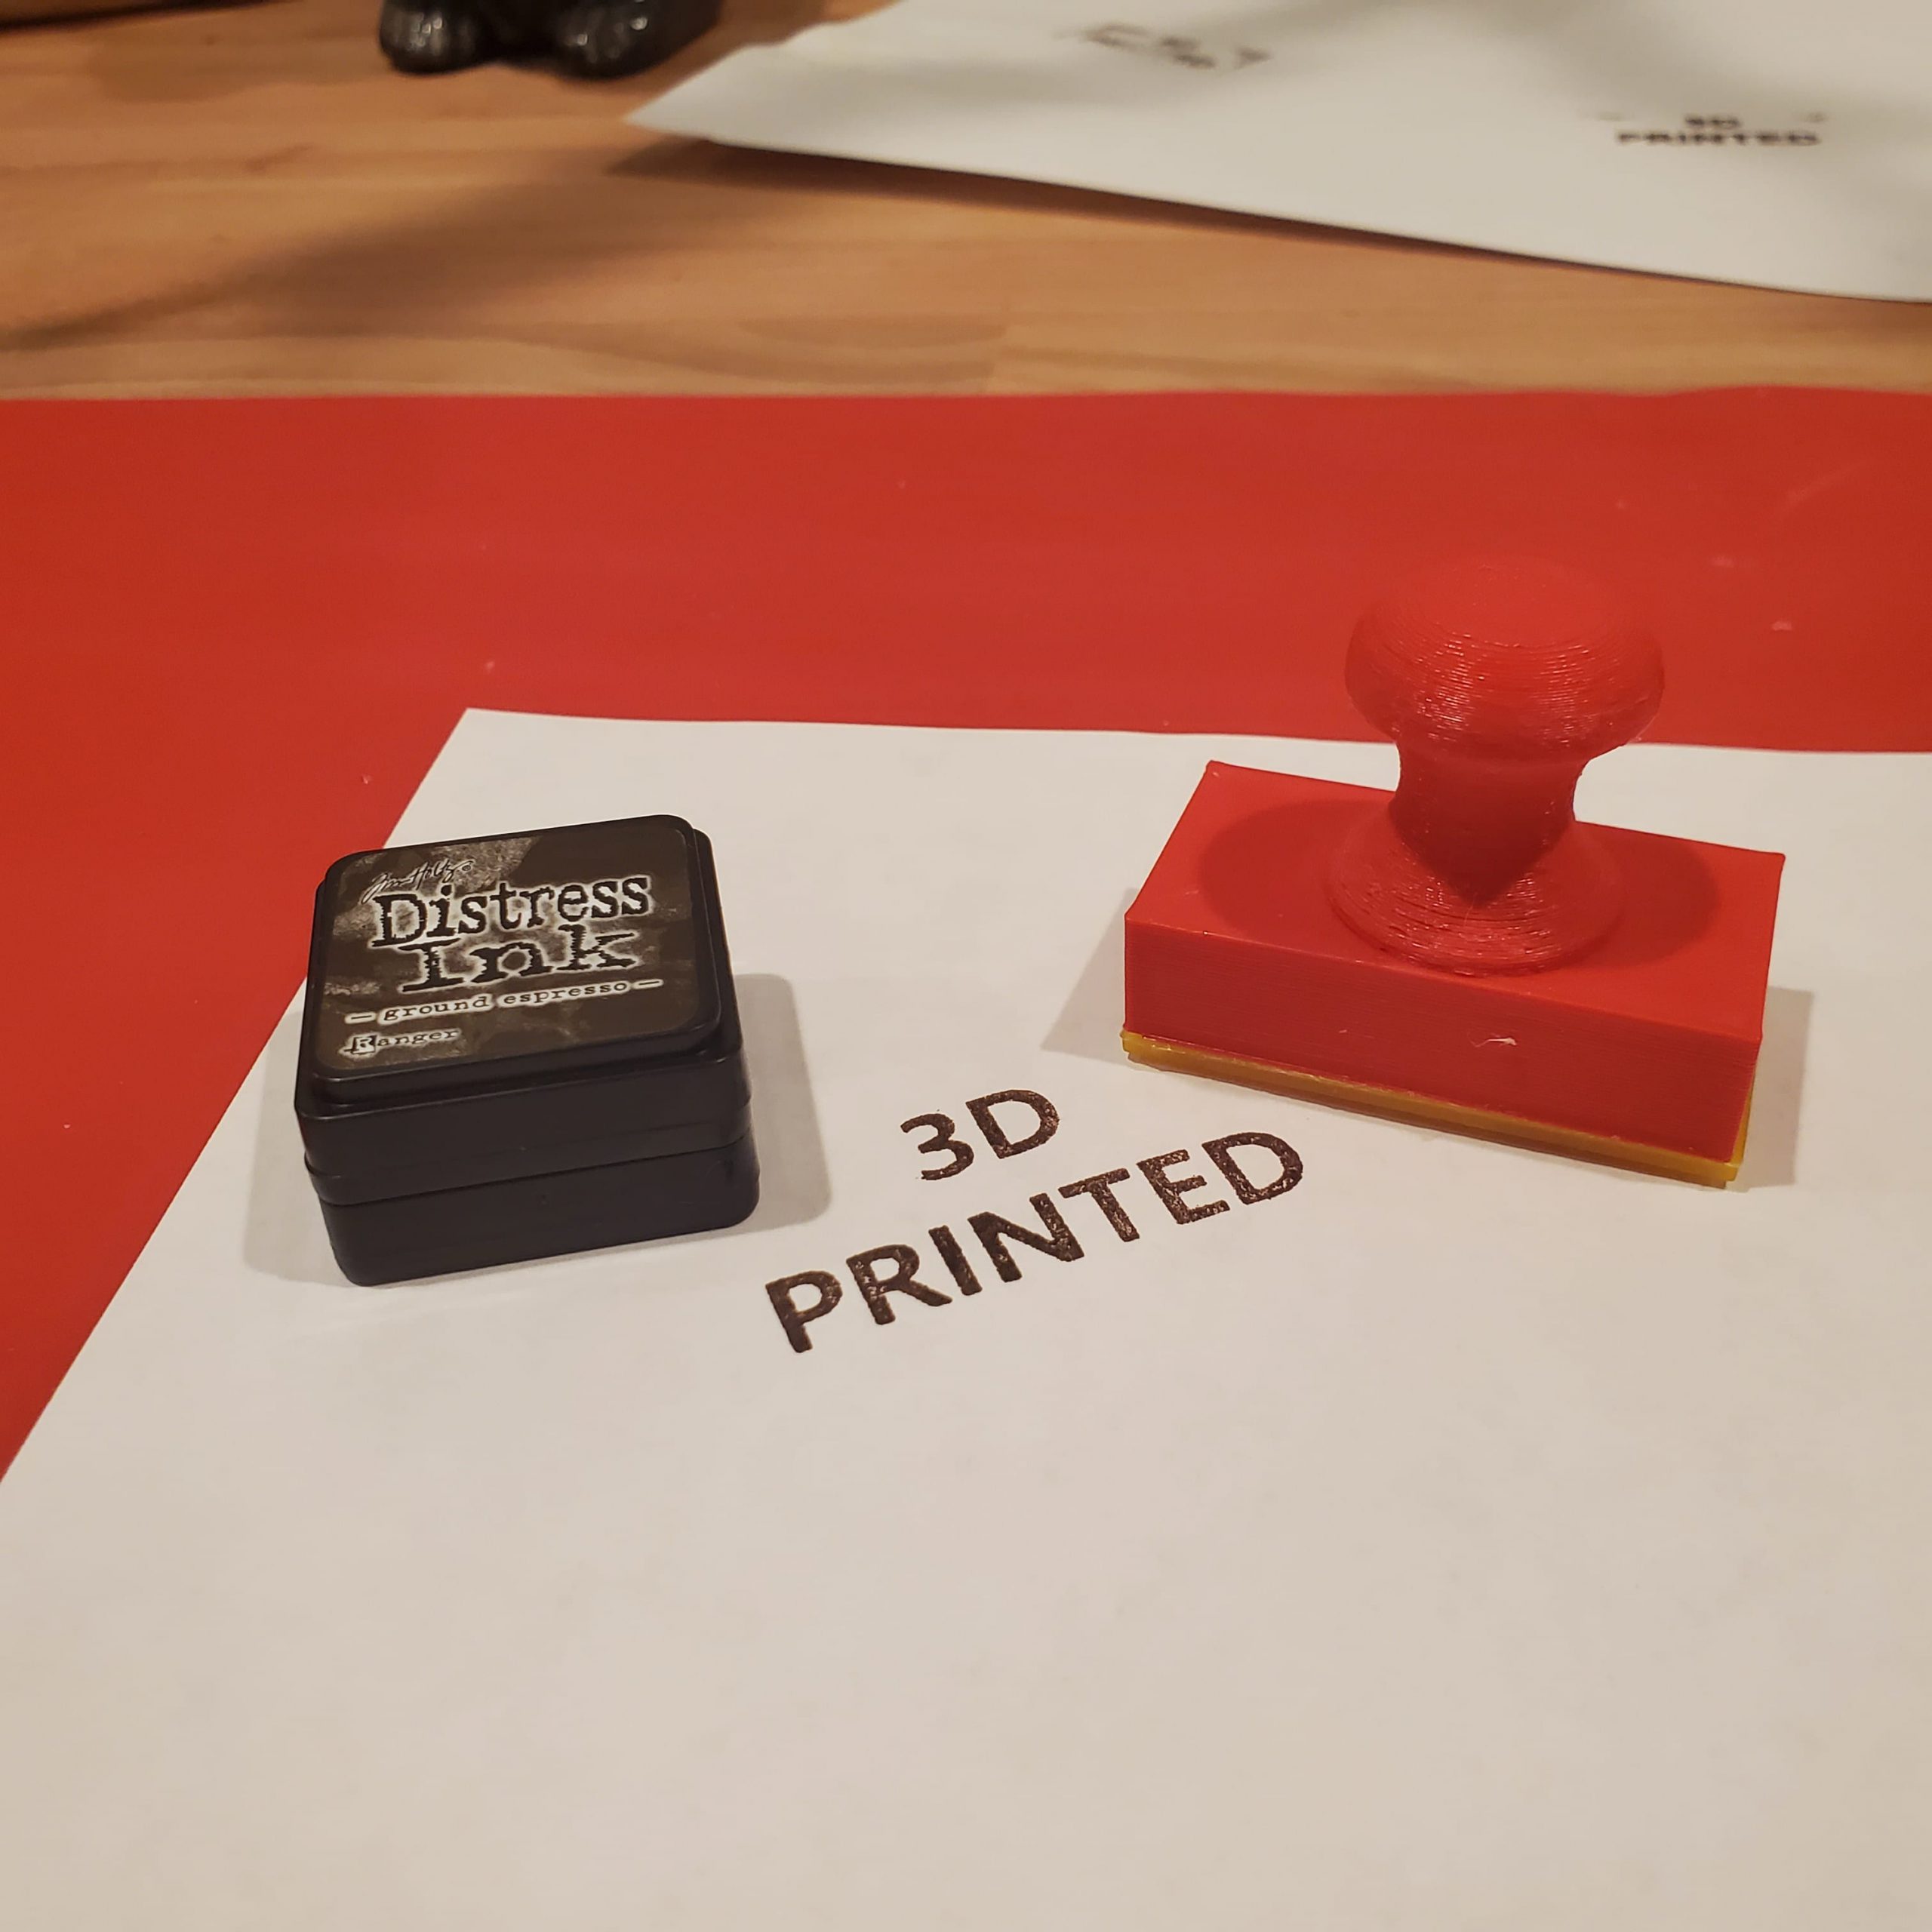
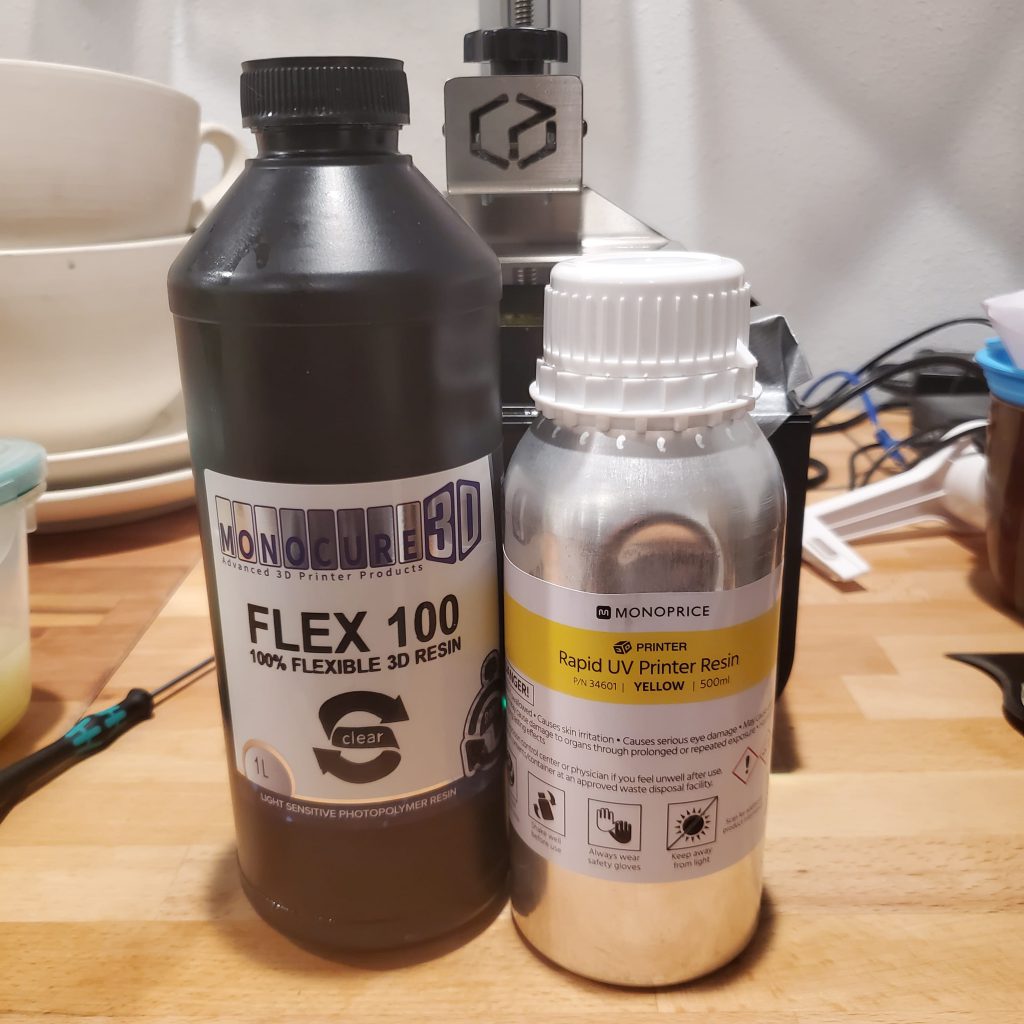
After my initial post, Testing 3D Printed Stamps, I decided to taking my findings and actually give it another shot. One of the things I had found was that flexible resin outperformed the other filaments and resins I tried. However, it was far too flexible and fragile. One of the recommendations for using flexible resin was to mix it with standard resin to make it more durable. I didn’t have the recommended resin at the time but I did order some to try.
Monoprice’s rapid resin does come in clear, but the yellow was $10 cheaper at the time I was ordering. Also, I’m still testing, so the transparency of the stamp material really wasn’t a concern.
After a couple of posts on making stamps, I started to wonder how you would clone a stamp? Do mass producers of stamps really go through this process for each stamp? After seeing some of the stamps on the shelves I would guess that they would make a mold and fill it with photopolymers and then zap it with UV light. Some photopolymer stamps have two colors of resin in them (black and clear) and you could do that if you had a mold.
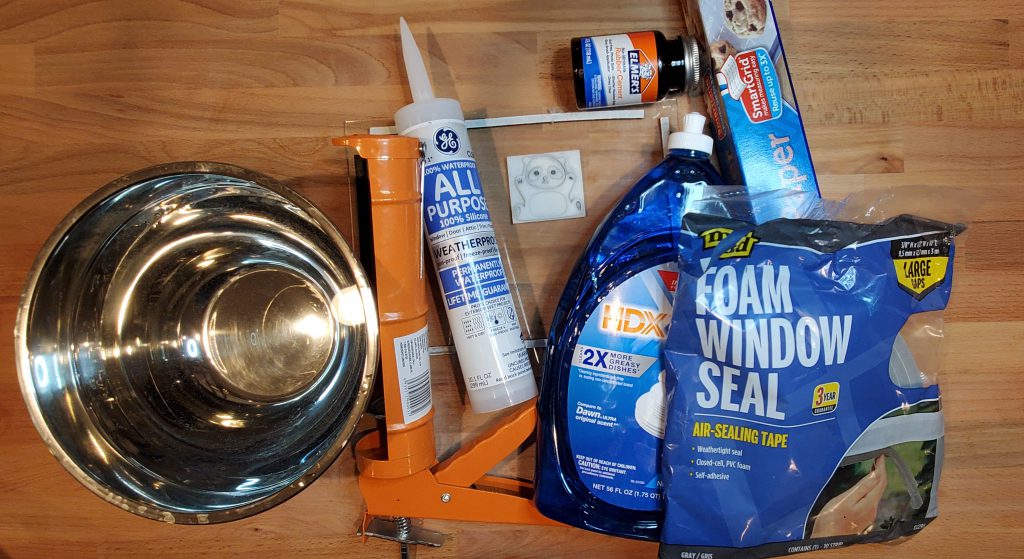
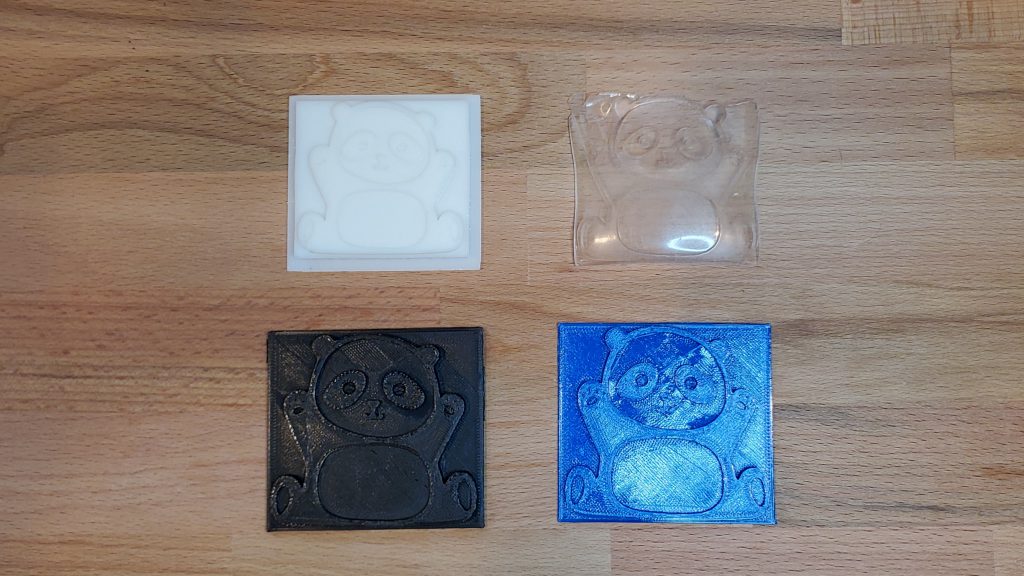
I decided to try and make a mold of my last stamp, the panda from my post, Testing 3D Printed Stamps. There are many methods and products that can make molds and I’m going to start by trying one of the least expensive methods: silicone caulk molds.
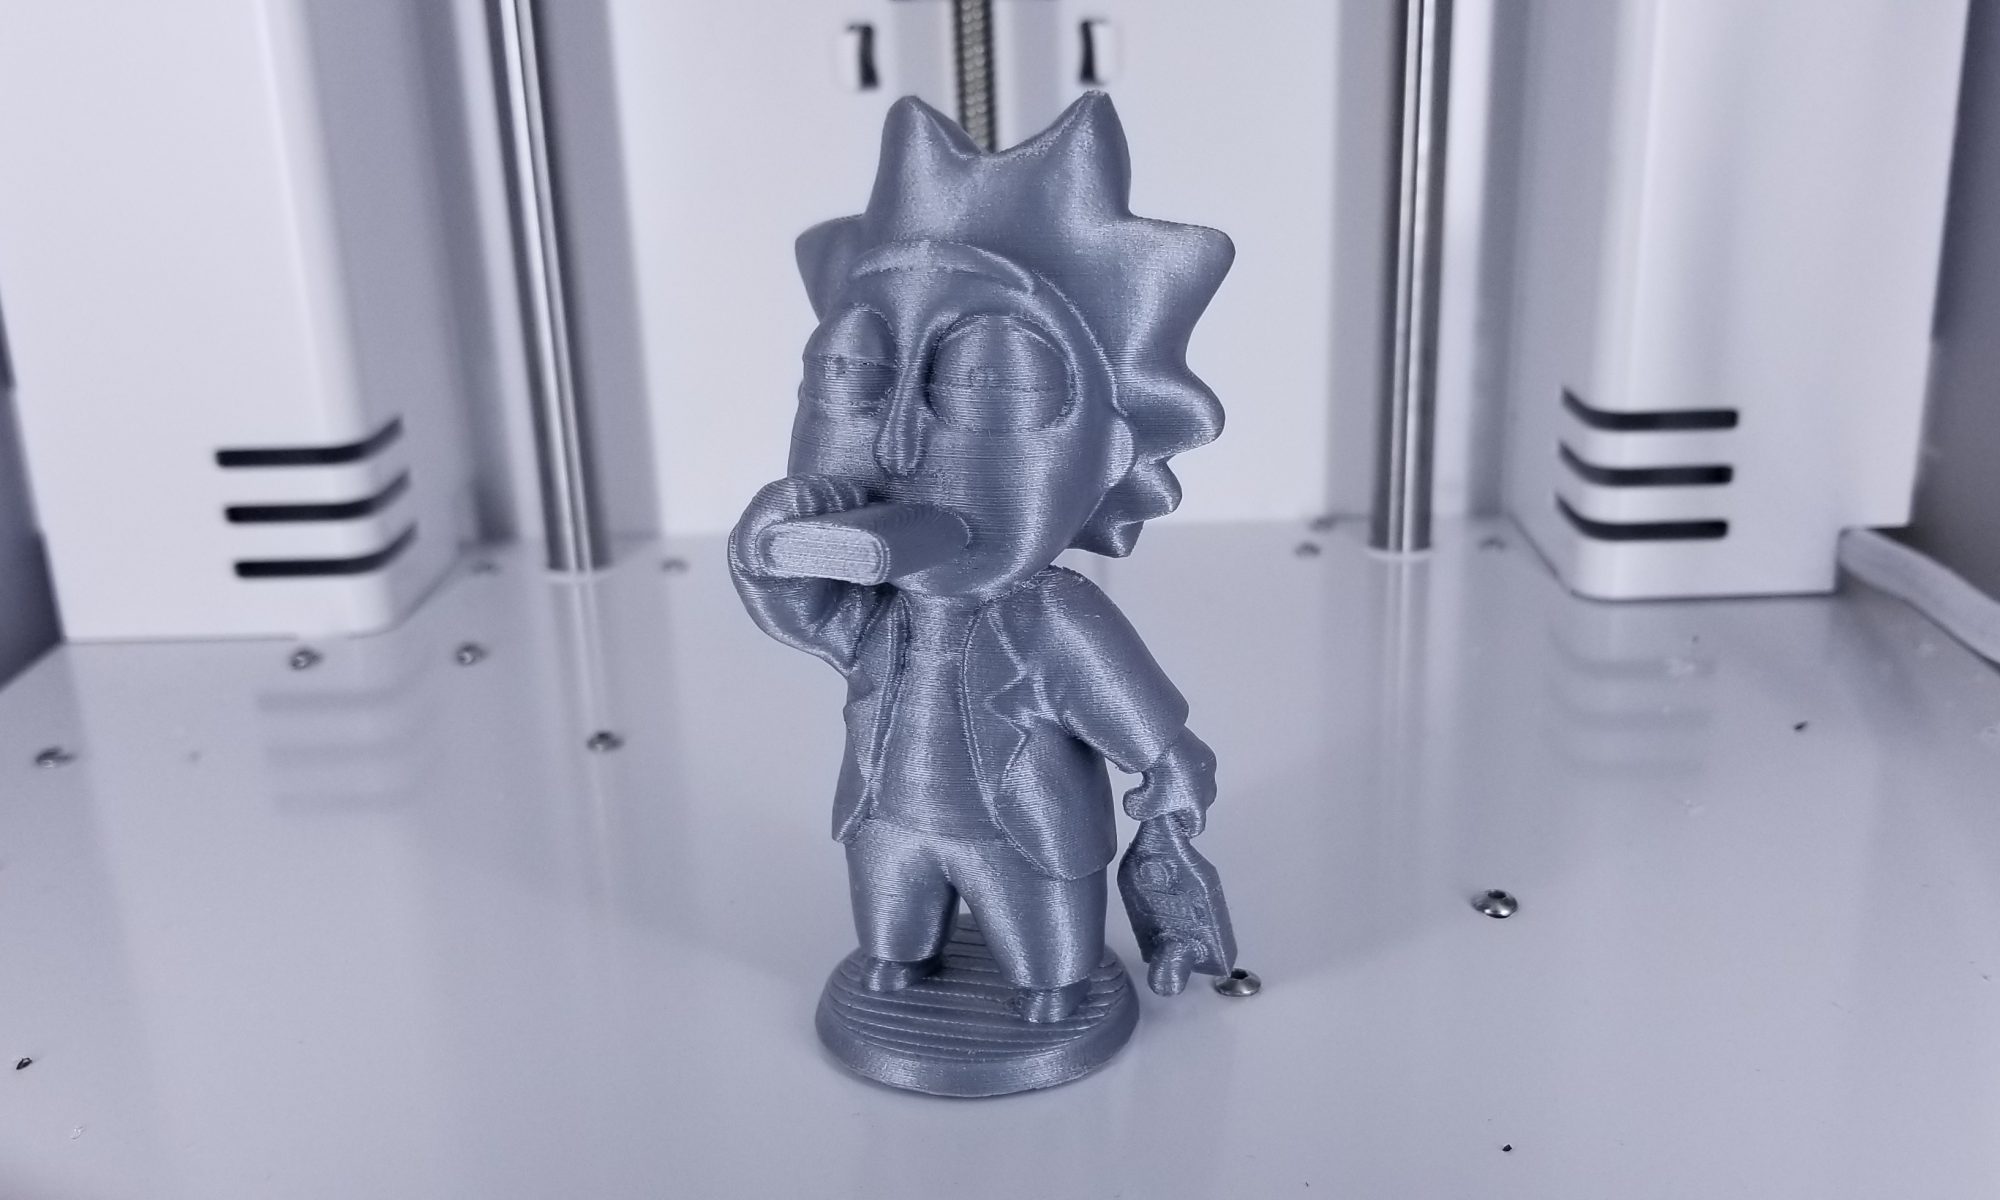
I’ve seen 3D printed stamps around the various 3D printing download sites for many years. The results I’ve seen never seemed particularly good. For a long time the only filament you could print with were hard plastics and now that some flexible and alternative filaments are available I wanted to try printing stamps with them.
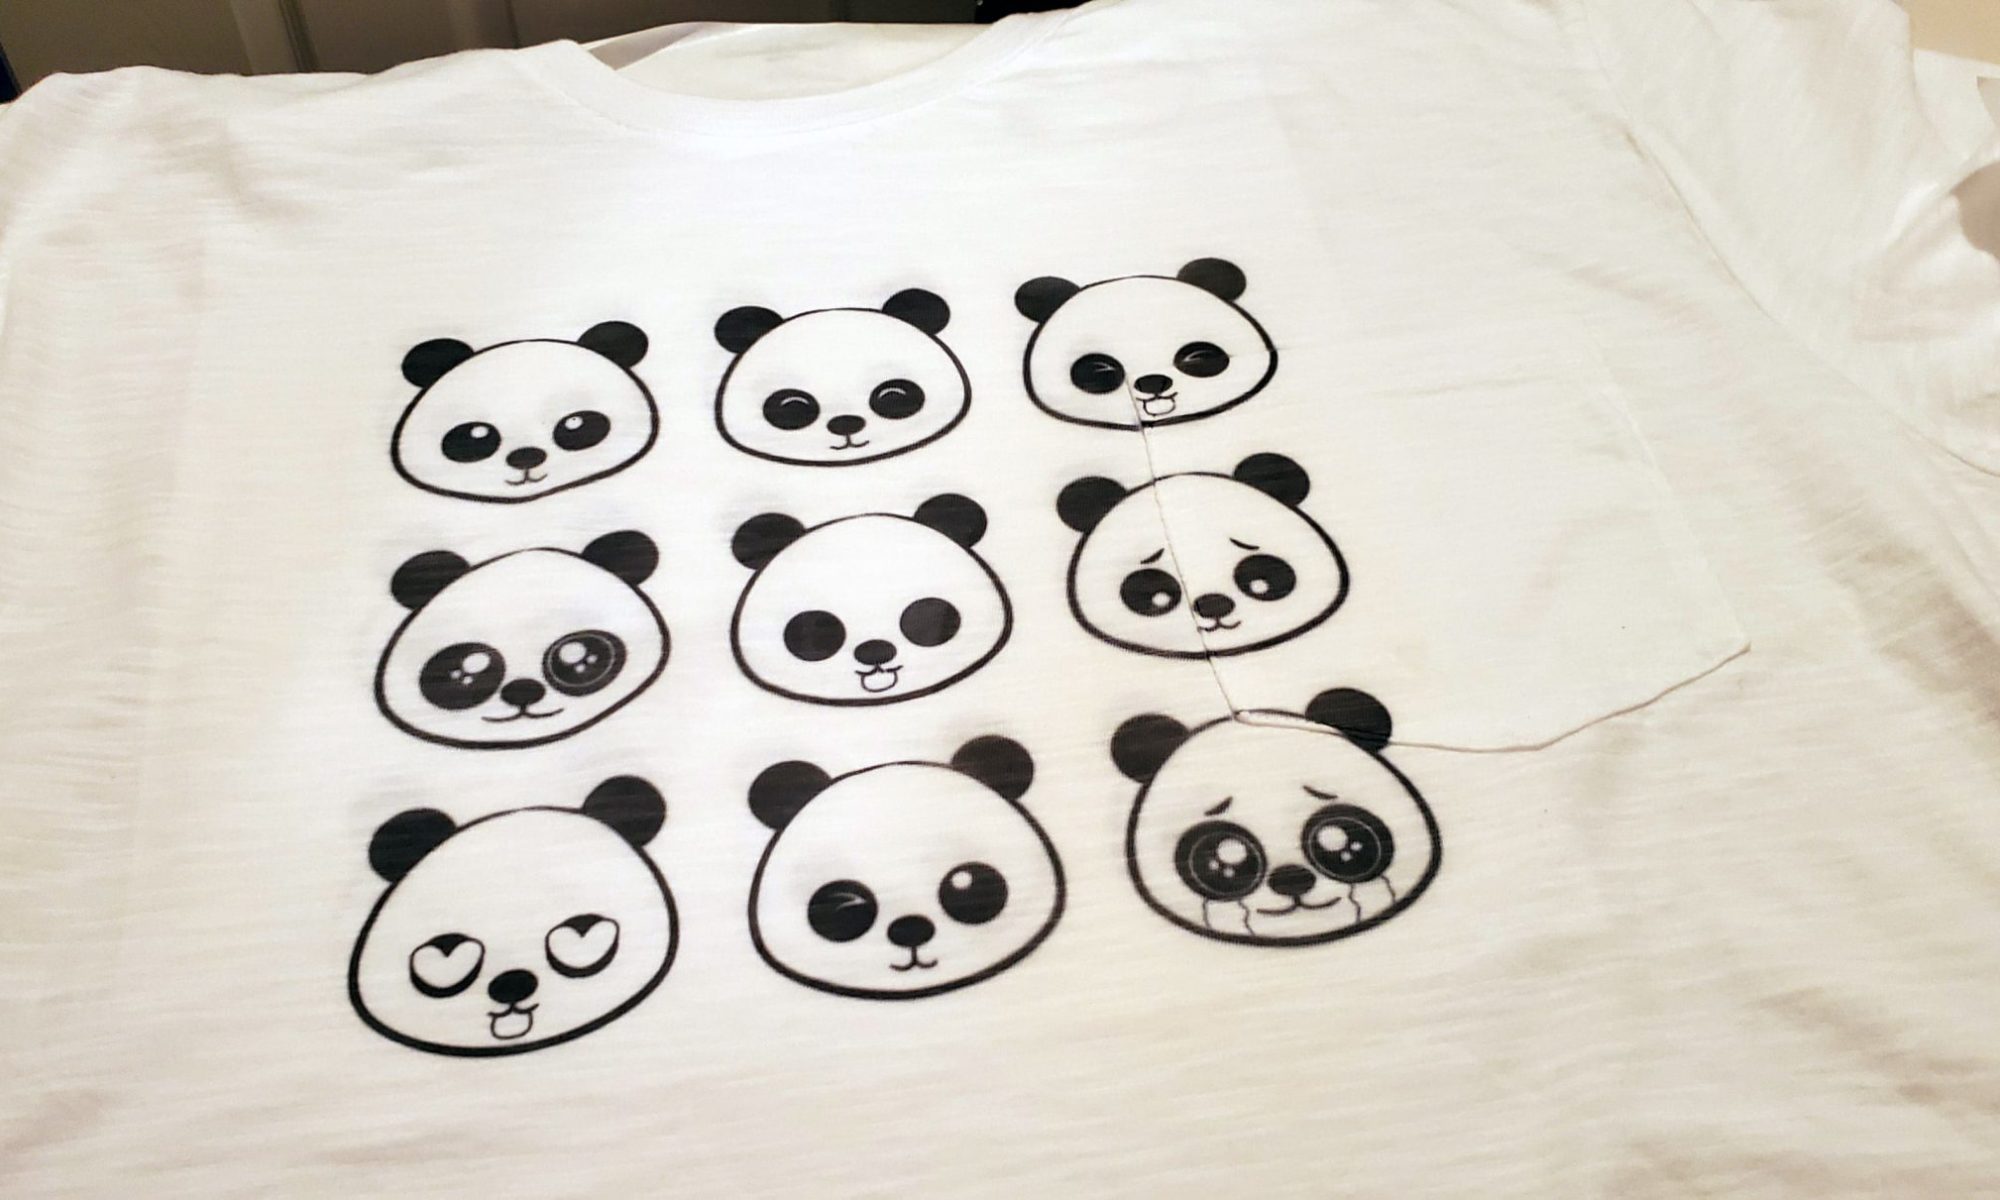
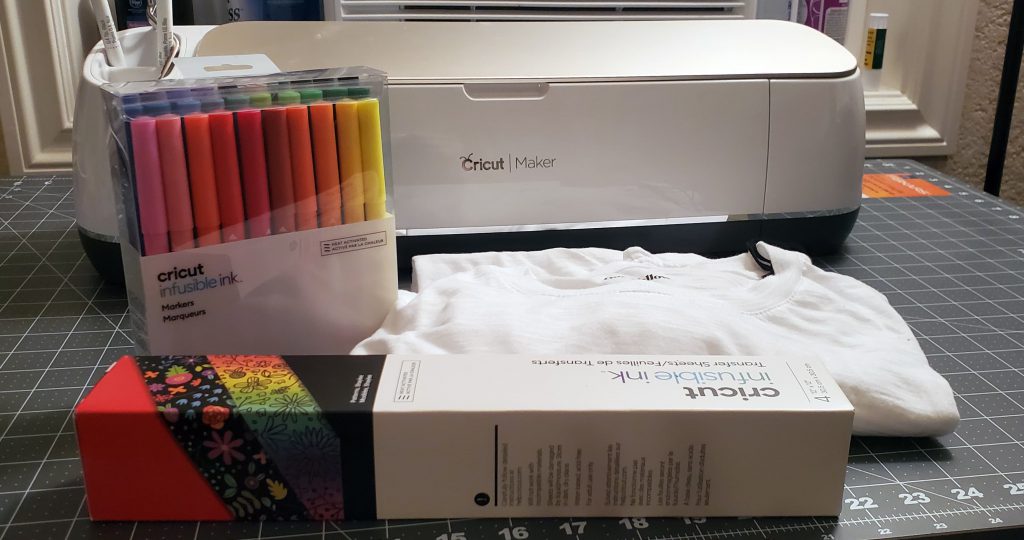
I play with a lot of Cricut products even when it’s not necessarily something I’m into at the moment. I never really had a desire to make shirts or customize fabrics but at the same time, I like knowing what I am capable of making with the tools I have. When the “Shaylee” pack of infusible papers popped up for sale on my Amazon recommended page, I figured it was time to give Infusible Inks a try.
Over the course of a week, I hit several other stores and slowly picked up supplies. When I was at Target, I grabbed some white t-shirts. When I was taking a leisurely stroll around Joann Fabrics, I also grabbed the infusible ink markers.
The last few months have been hectic. As I mentioned previously, I’ve been remodeling the house. While the remodeling is done, there’s been a lot of post-construction work I’ve taken on and then moving everything back in. I’m only partially moved in, however if I didn’t get some craft time in soon I was going to go mad! All the stuff I love has been packed away in boxes and inaccessible.
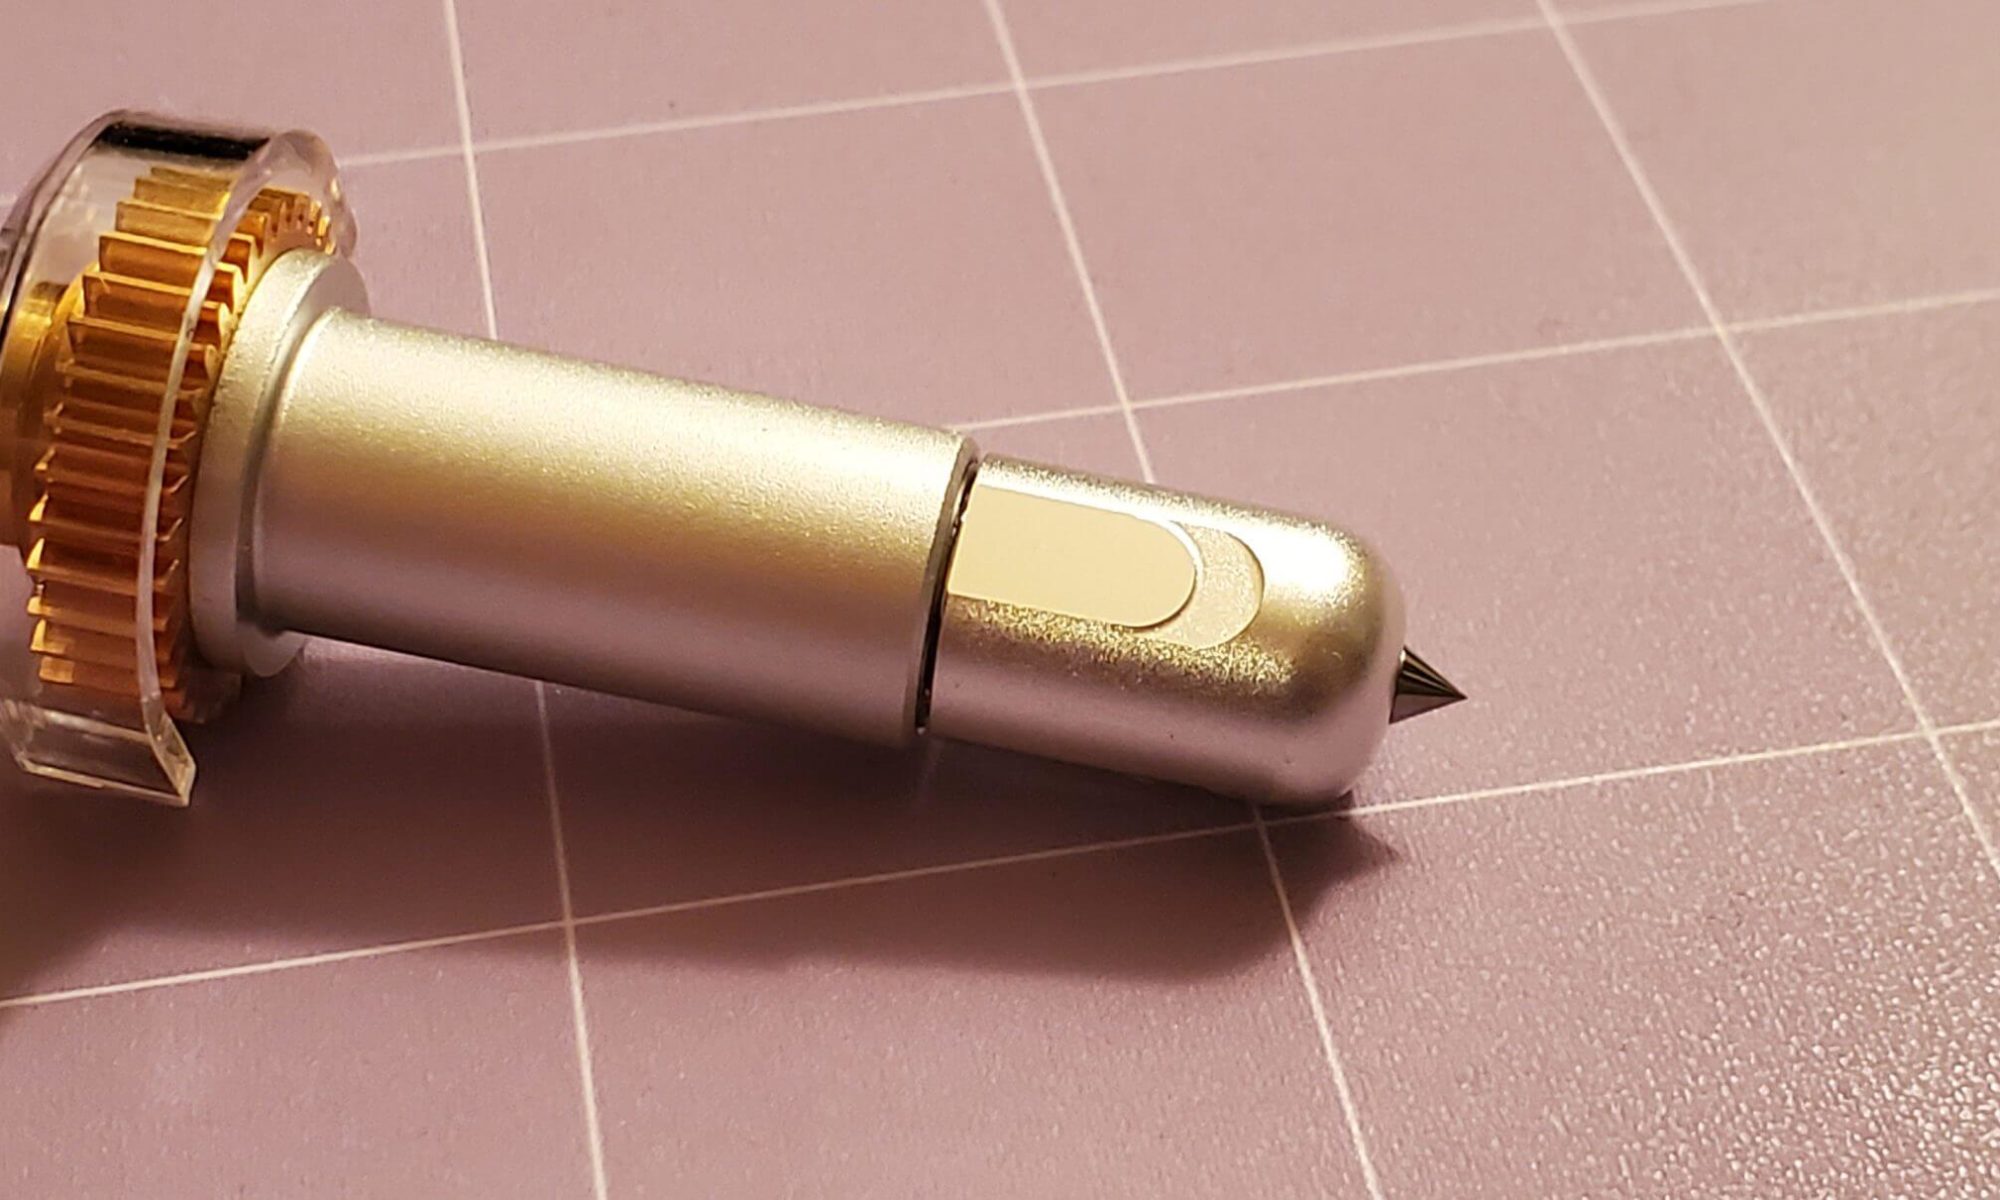
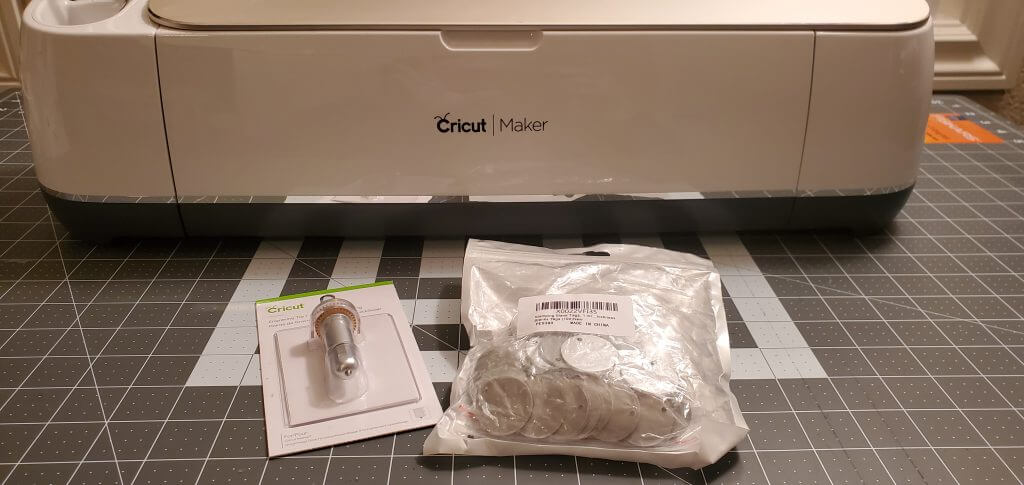
The new Cricut Engraving Tip has been sitting in it’s package for quite a while and I made sure to make some time to unpack the Cricut and give it a try.
I’ve been remodeling part of my house for a few months now. While I’m eager to move into the new area of the house (and a couple floors down), I want to make sure I leave the old space in good condition.
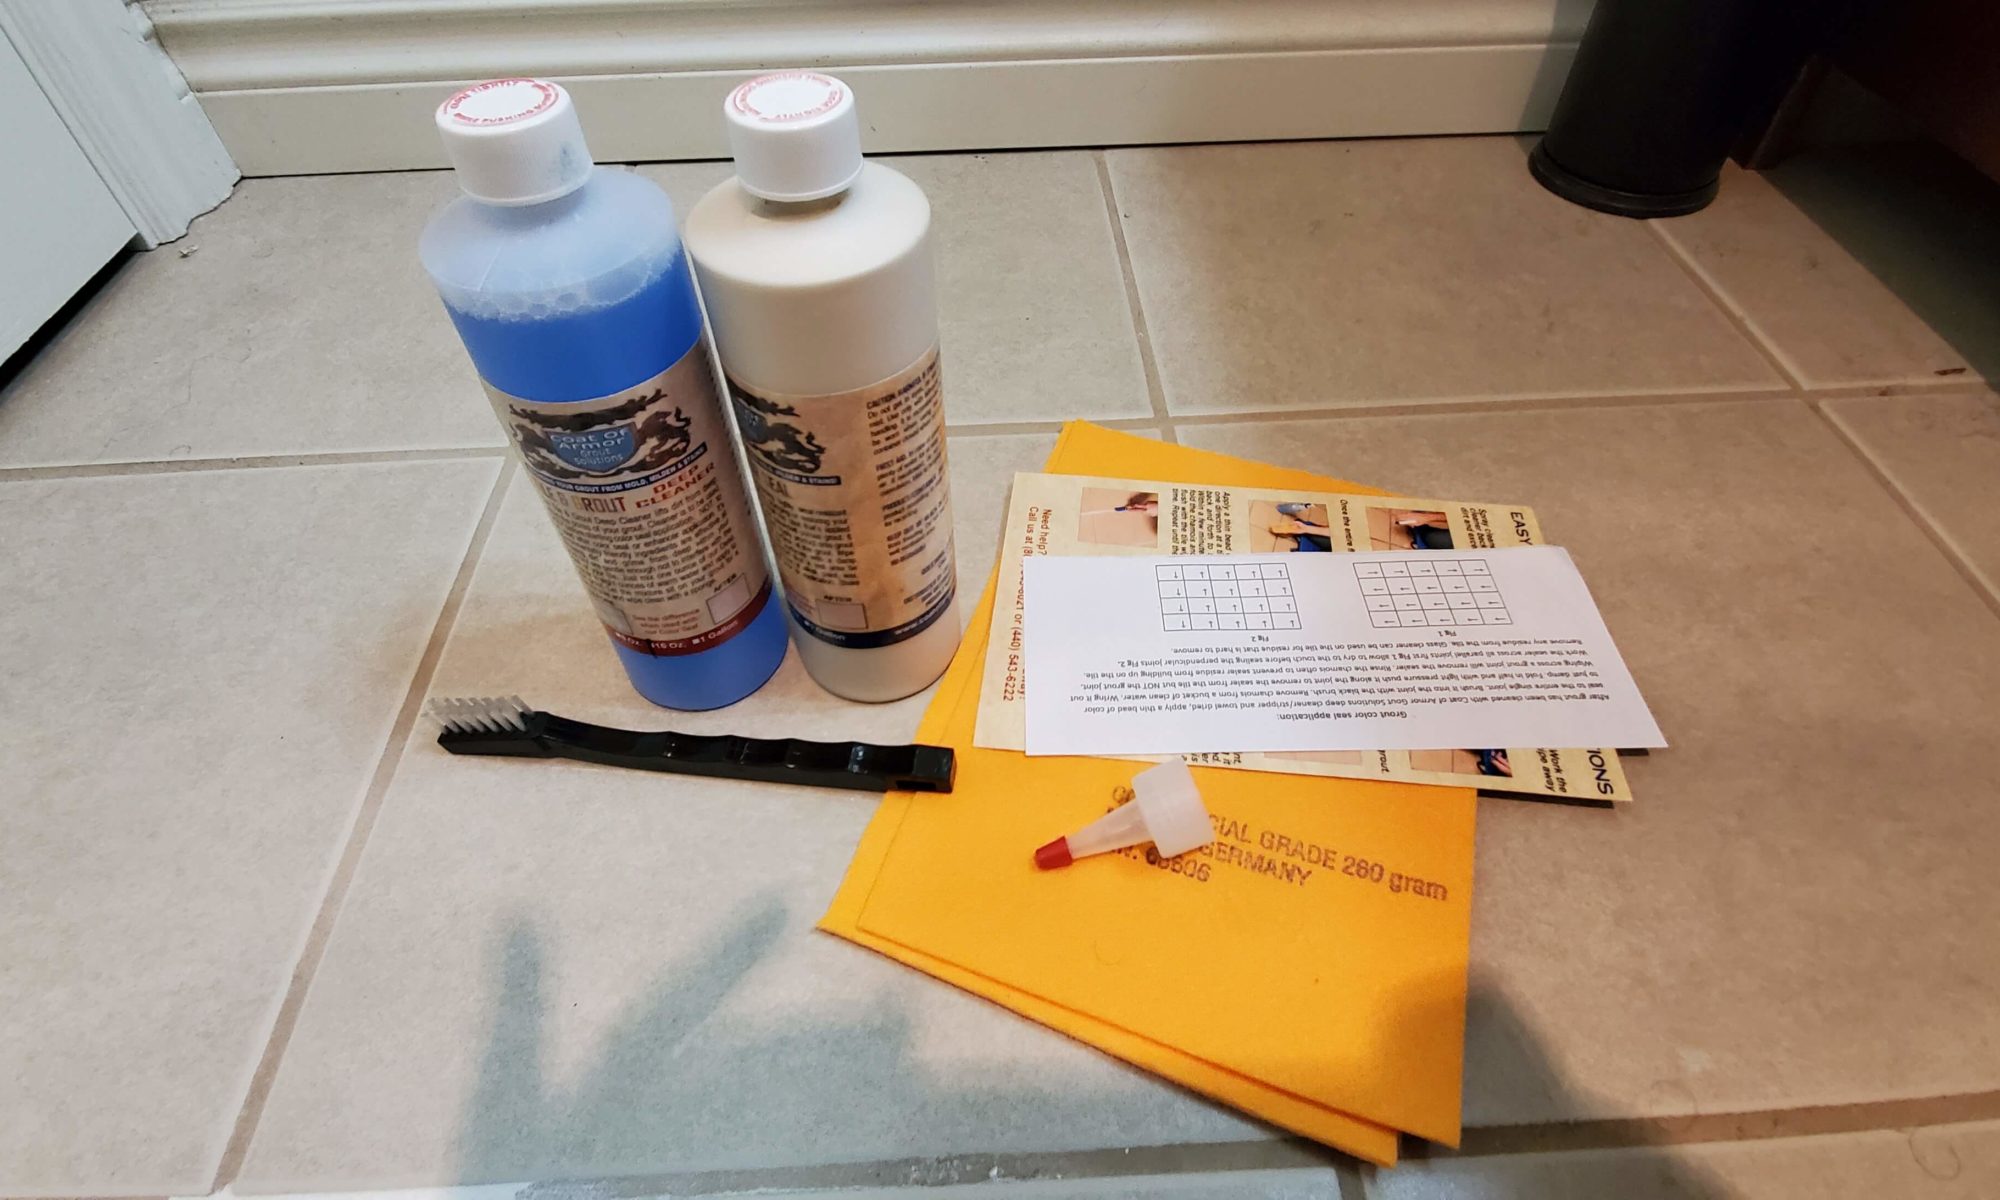
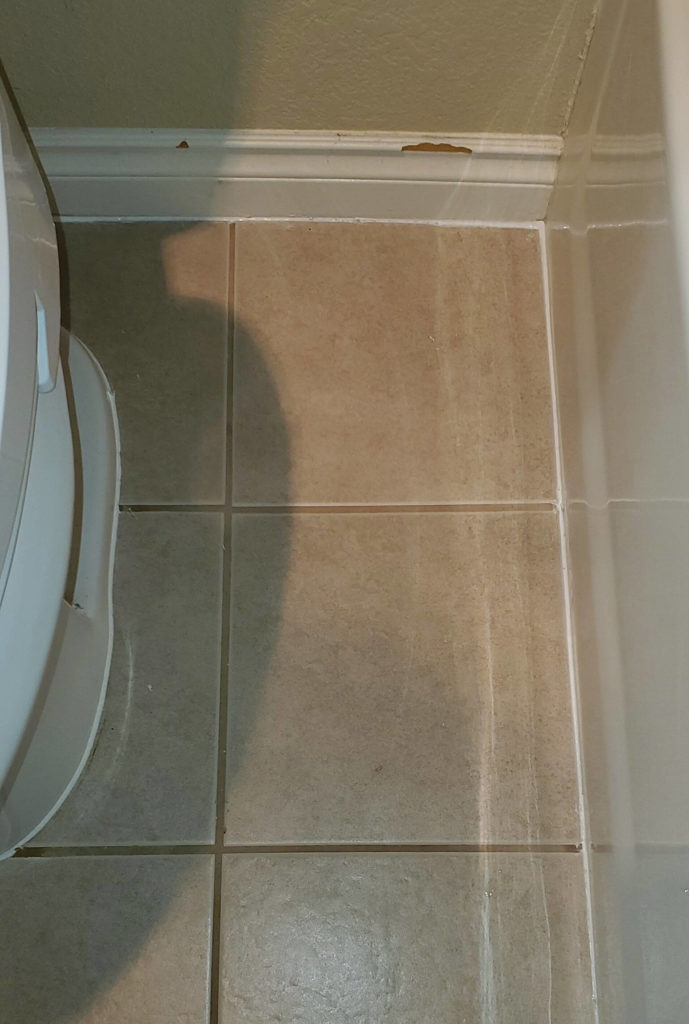
I started on the bathroom by re-caulking the shower, nearby walls and toilet. To my surprise, I was not horrible at caulking. I thought I was going to make a total mess of it. But after spending hours crawling around on the floor, I became acutely aware of how dingy the grout was. To be fair, I don’t think the grout ever looked nice in this room, so don’t judge me. It still looked awful even after having scrubbed it with grout cleaner.