
This year, for Christmas, the ‘ol fat man brought me a laser cutter.
Santa, who? No, I meant me. I bought this.
I’d been lusting after various CNC lasers for years. The Glowforge has always been on my wishlist, but I couldn’t seem to ever justify the cost of it. Plus, after doing my research and watching reviews, there were things I didn’t like about it. The cloud-based software, for one.
I knew I was in trouble when I came across the beamo. It is half the cost of the Glowforge, can be controlled locally, and even has add-ons the Glowforge doesn’t have (like the rotary attachment). It is, however, a smaller machine and less powerful. So there are pros and cons to consider.
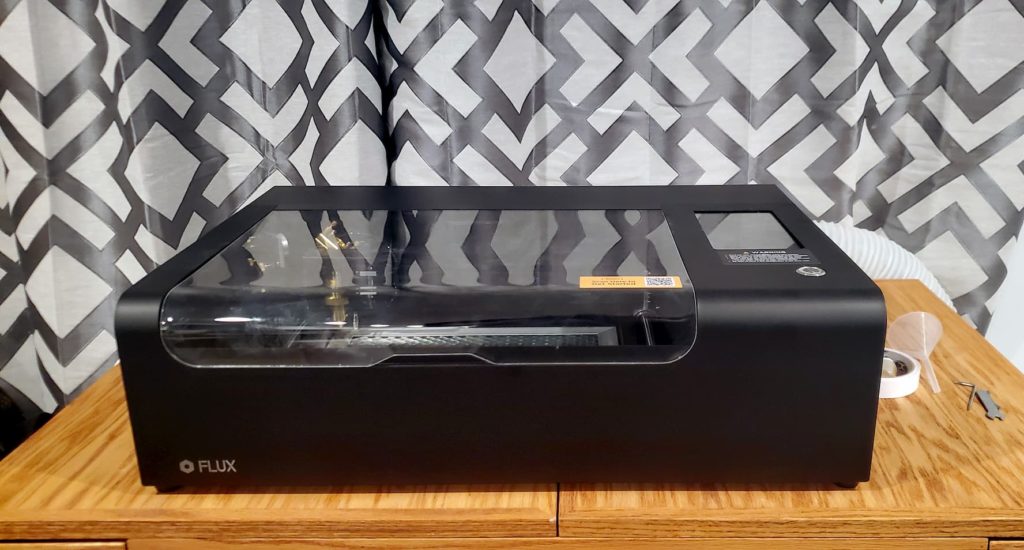
Once it arrived, I set it up on my painting table, which happened to be right next to the window. I didn’t buy the ‘beam air‘ filter unit, so an exhaust hose was going to have to go out the window while the machine was in use.
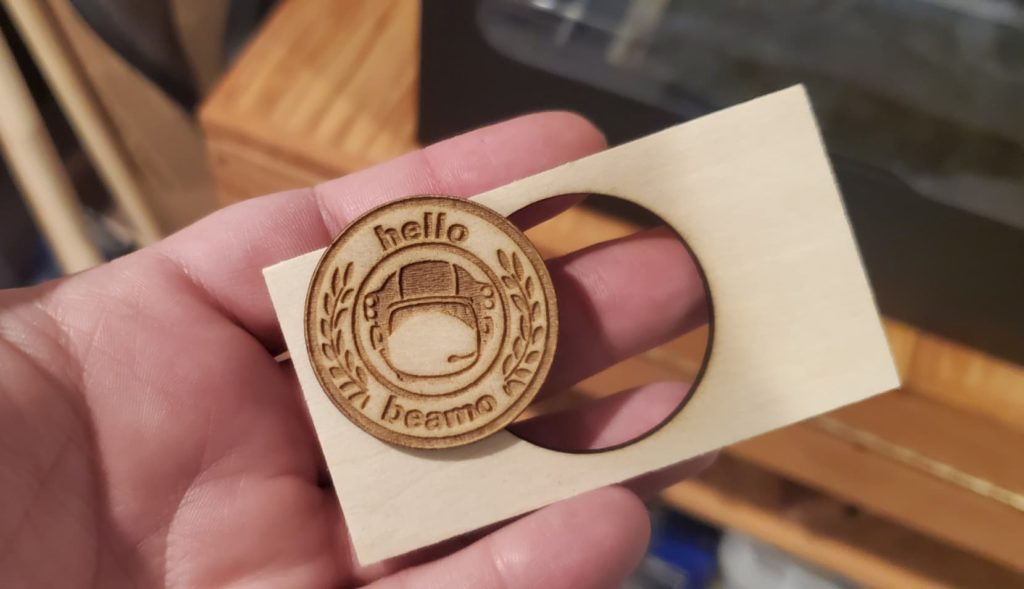
After installing the software and loading up the test file, the machine engraved and cut a small beamo token.
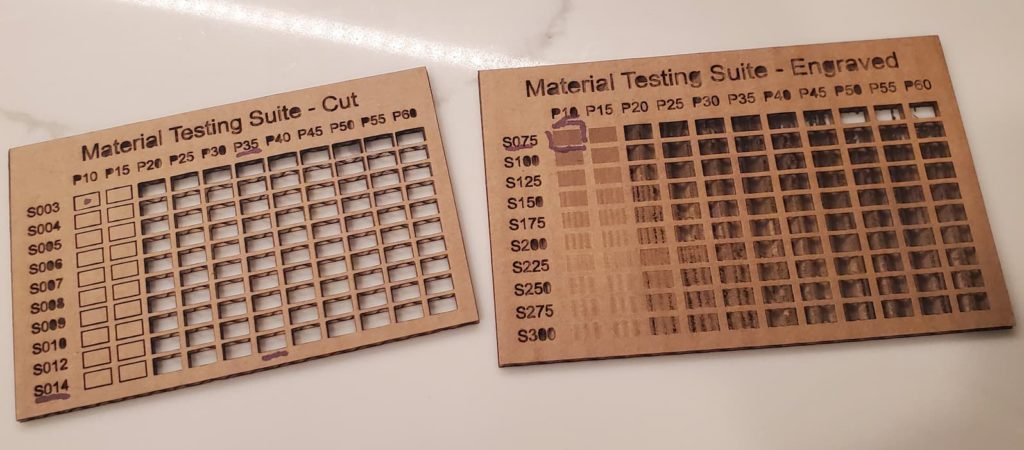
I also noticed in the software had several test files for testing new materials. The machine comes with presets for various common materials, but if it’s not in that list you can use these test files to figure out which settings you want. Cardboard was not on the list, so I grabbed some and gave it a go. Then added the settings I liked to my list of settings in the software for future use.
Once I was pretty comfortable with the process, I went onto Etsy and browsed around for ideas on a first project. When I saw a whole list of ornaments by Drevoki, I grabbed several of them for $2.50. I wish I could say I designed my own project, but I’m still learning and spending $2.50 on a ready-to-cut project was pretty much a no-brainer. One of the ornaments I picked was this deer ornament.
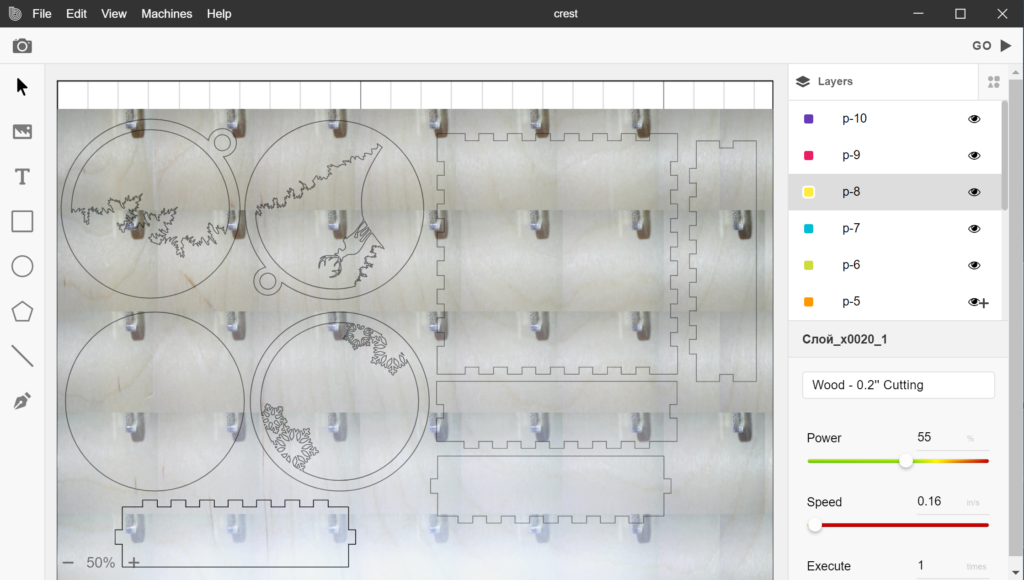
I loaded the SVG file into the beam software, turned off infill, and set everything to cut the thickness of wood I was using.
Then I decided I wanted a little gift box to go with, so I searched the web for online box generators and downloaded a box template to go with.
I found the software relatively easy to use, but it does seem pretty buggy. It didn’t take long to get used to the quirks though. One issue I noticed was that I really needed to click each object on the screen and set the cutting or engraving setting for each item. Don’t just highlight everything and set it to cut wood. It was annoying but easy to workaround.

All that was left was to put the wood in the machine, focus the laser, and click GO!
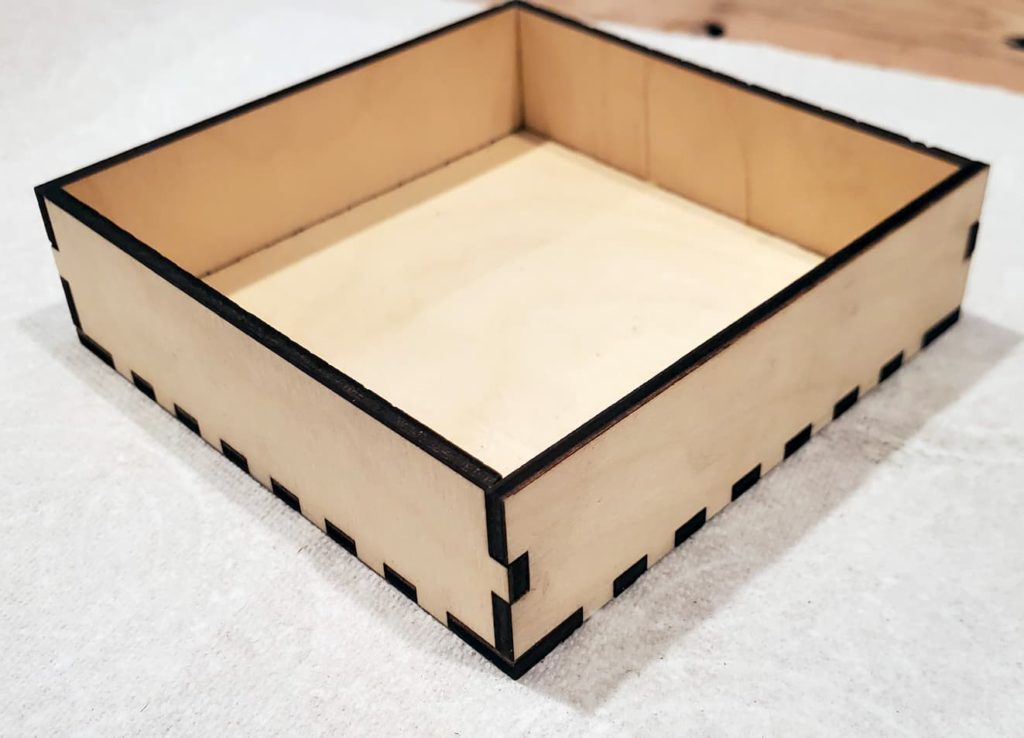
Once the wood was cut, I glued my box together and painted it black.
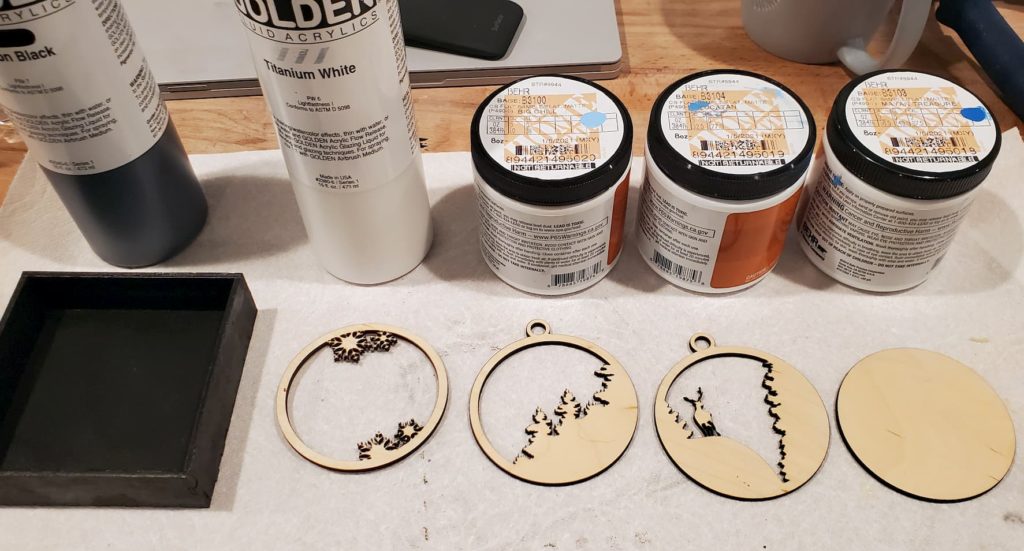
I really liked the color scheme the designer used so I stopped at Home Depot and grabbed some sample containers of some blues.
From the wall of color chips I picked:
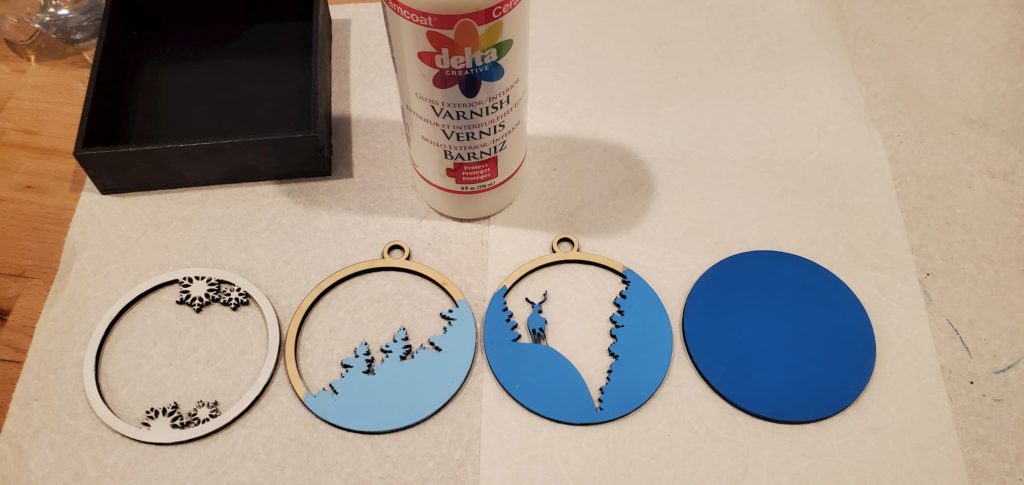
I painted the top layer white and then painted light to dark blues for the remaining layers.
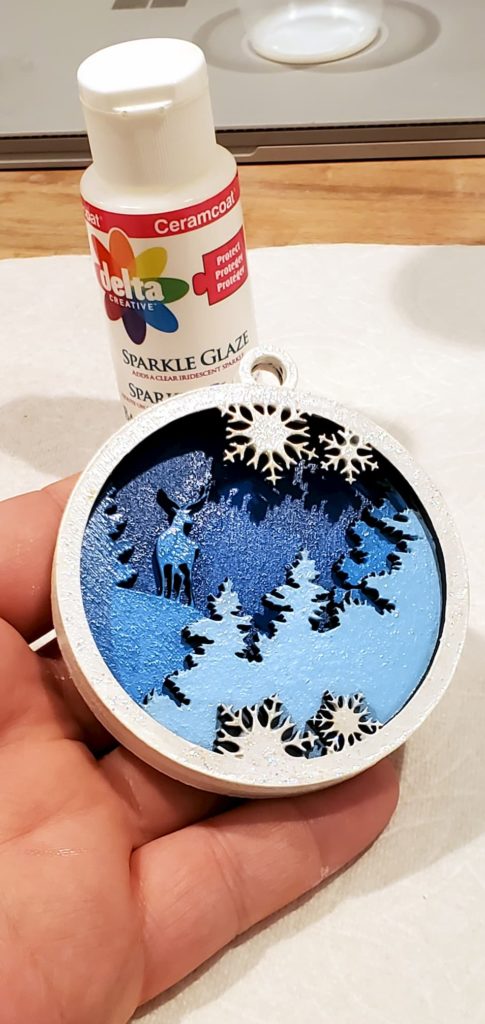
Starting with the back piece, glazed each layer, and then placed the next layer on top and used the glaze as glue. When it was all stuck together, I painted the sides back white as well and coated the white sections with sparkle glaze. Unfortunately, the sparkle glaze doesn’t show much on camera, but in person, it is nice and glittery.
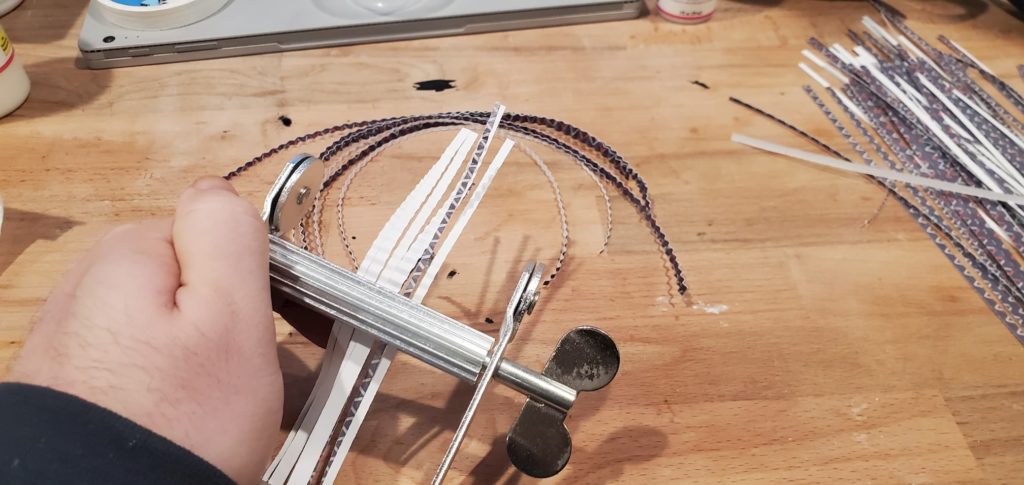
With the ornament complete and the box painted, I sliced up some cardstock and used one of my paint tube wringers as a paper crimper to create stuffing for the box.
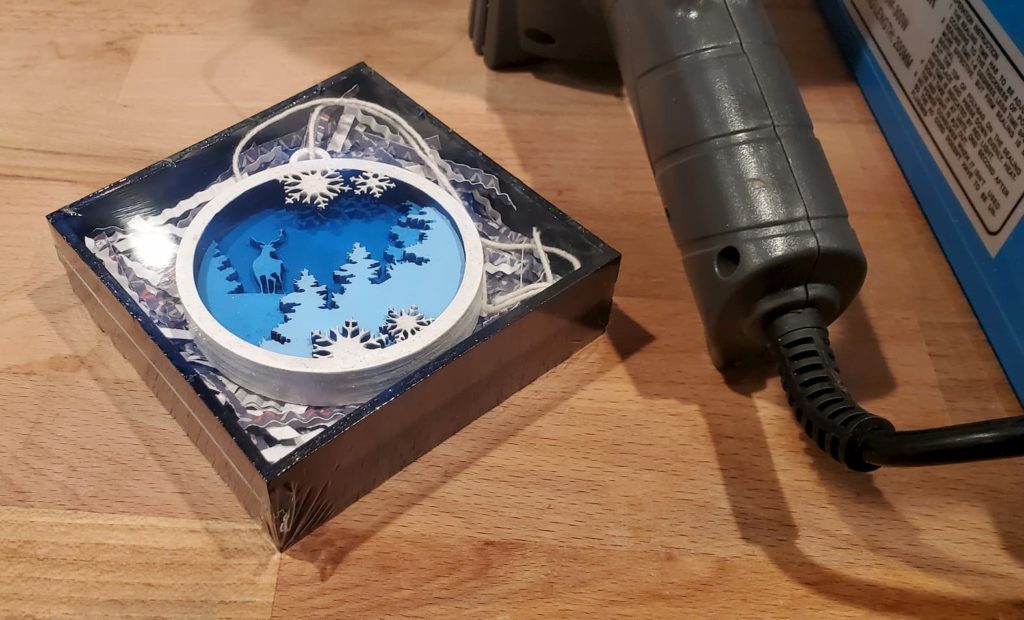
Finally, I put the whole gift box together with some shrink wrap and then wrapped it up as a stocking stuffer.
For my first project, I was really happy with how this successful this project was. I actually plan on designing some of my own for next year, and who knows, maybe I’ll sell them as well.
Any suggestions on scenes for my future ornaments?