


If you have ever made your own traditional silkscreens then you know it’s a huge pain in the butt. Framing your fabrics, photo emulsions, transparencies, cleaners, solutions, lamps, etc. It takes quite a bit of material and equipment to get started.
I’ve made silkscreens in the past and was moderately successful even with my small home setup. I mostly made silkscreens for ceramics but that was back before it was really popular. Now, companies like Mayco produce a large line of pre-made screens you can buy.
It’s been a long time since I looked at one of their silkscreens, but it’s basically it’s a clear vinyl or acetate sheet adhered to silkscreen material, which is exactly what we can make with a Cricut. Granted, their images are probably laser cut and can be very detailed, but if you can cut it with a Cricut then you can turn it into a silkscreen.
Keep in mind, these silkscreens can be used on fabric, paper, wood, glass and many other surfaces. For surfaces, like fabric, you will want to frame your fabric before applying the vinyl.
Materials
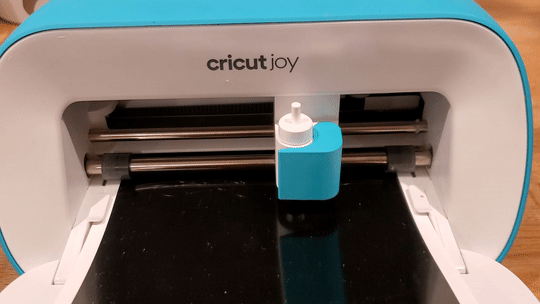
- Cricut – I’ll be using my Cricut Joy since these will be pretty small designs
- Vinyl
- Silkscreen (40-60 mesh)
- Underglaze – or you can use something like Designer Liner.
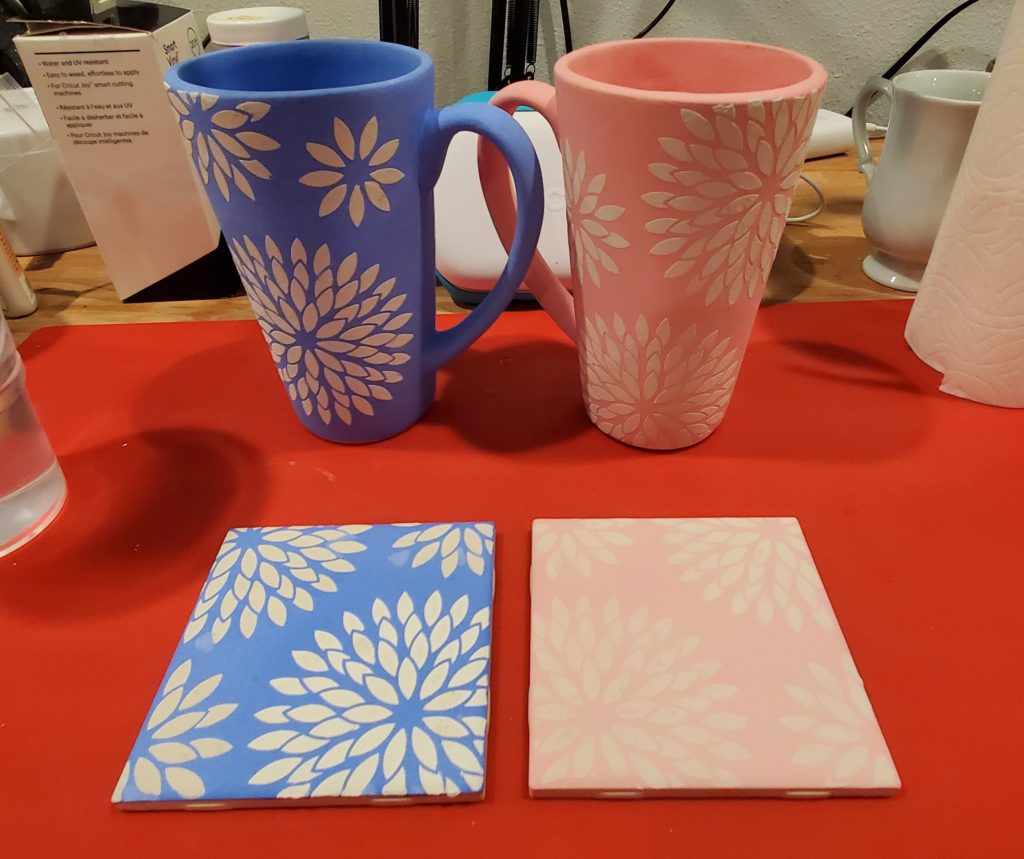
- Ceramic Bisque (I’ll be using Mayco Stoneware Mugs and some 4×4 tiles as coasters)
- Silkscreen Medium
- A palette knife or popsicle stick to mix with.
- A palette or something flat like a disposable plate to mix on.
- Design to be cut.
I started off creating a basic mum design in illustrator and importing it into the Cricut software. You can download my image if you’d like to follow along.
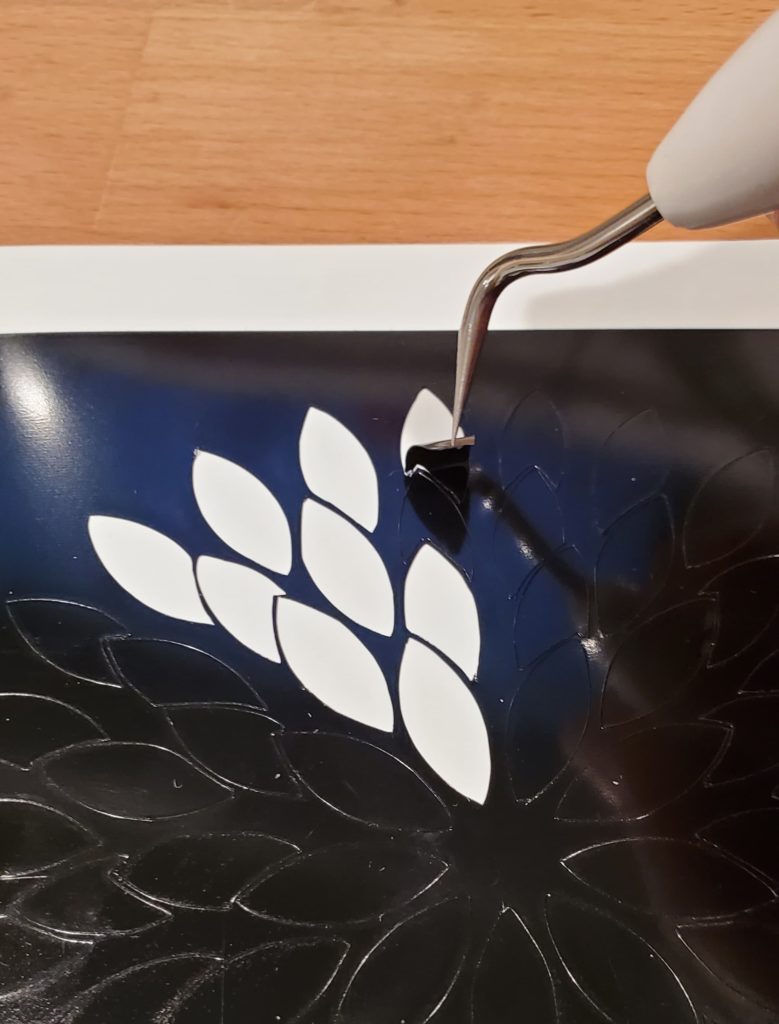
Once the image is cut, you’re going to weed out the design itself and leave the background alone on the backing sheet. You want to have a negative image of your design. It’s the opposite of what you’d normally do in a vinyl project, so take a moment and make sure you’re removing the correct parts.
Transfer your vinyl to a piece of your silkscreen material. Then, scrape it down (or use a brayer) on the front and back to make sure everything adhered.
When making silkscreens for ceramics, I generally choose a fabric with a mesh between 40 and 60. I am pretty sure anything 100 mesh or less will work. If you consider that underglaze is made of clay, frits, and stains and then we’re thickening it as well; I think you’ll find the lower meshes to be easier to work with. Besides, I don’t think anything I would make or that the Cricut will cut will require a high mesh.
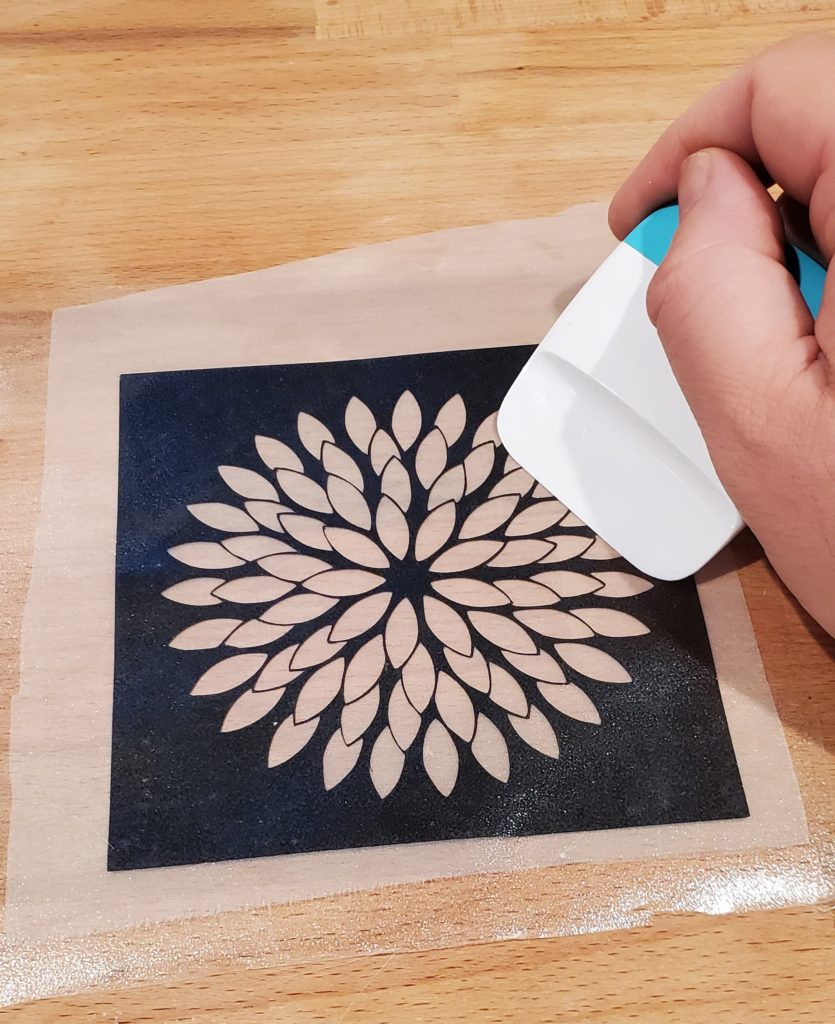
Remove your transfer tape slowly so that you don’t rip any of your vinyl. If you like, you can trim the excess silkscreen.

Now you can mix your silkscreen medium into your medium of choice. I played with both Designer Liners and underglazes. Designer Liners should give you opaque coverage since they are made to be a single-coat product. Underglazes will give you a slightly transparent coverage because they are a multi-coat product. I am placing white underglaze on top of a color, so I expect some transparency. If I was using black, I would expect opaque coverage regardless of which product I was using. In the end, underglazes will be a far more economical way to go.
The silkscreen medium is added a tiny pinch at a time. You’ll want to mash the heck out of it to get the mixture as smooth as possible. A palette knife is preferred, but I was far too lazy to walk up 3 flights of stairs to find one.
The goal is to get it to a smooth peanut-butter paste consistency.
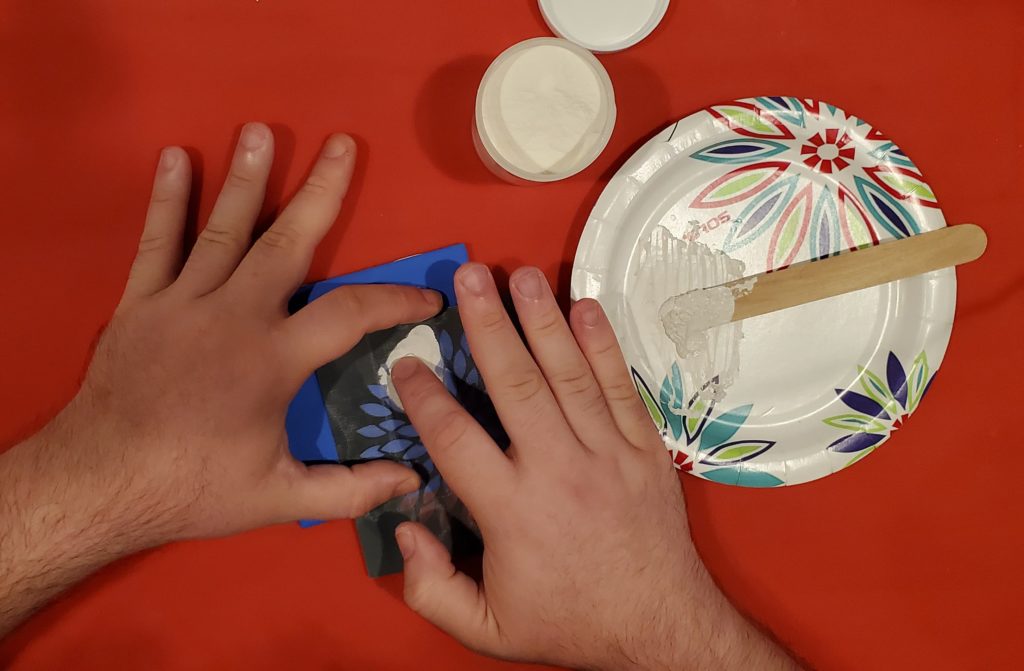
Place the vinyl side down and hold the silkscreen flat and firmly to the surface of your piece. Gently smear your paste over the design. You don’t want to press down while spreading the paste, the fabric will become embedded in the drying paste and will pull off the underglaze design when you’re done.
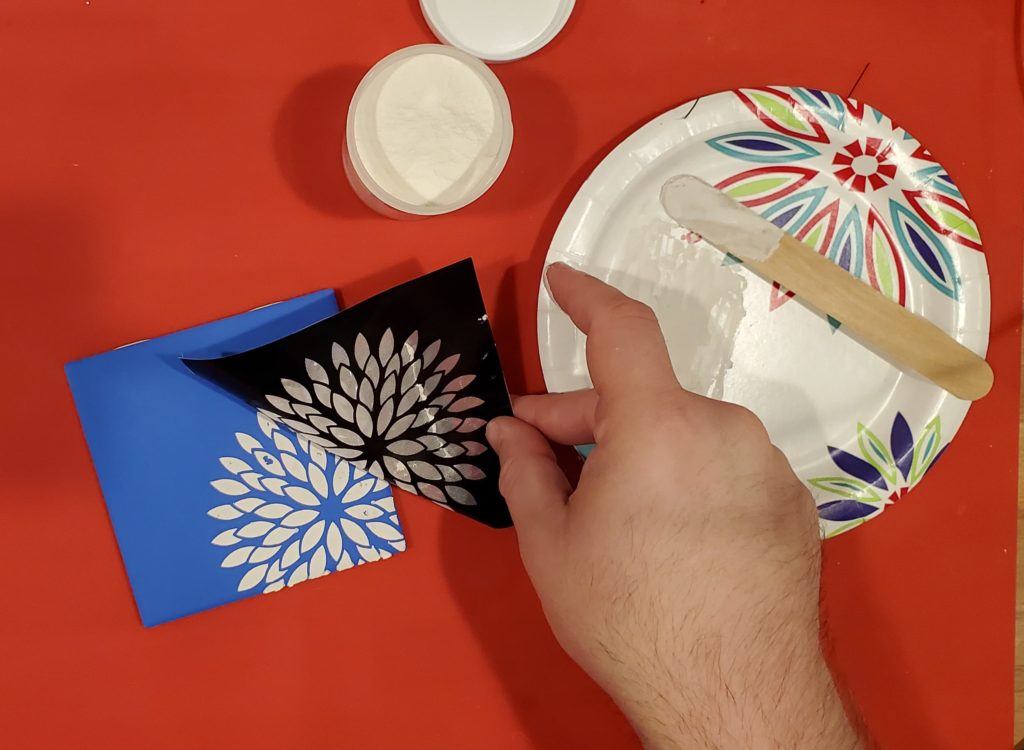
Slowly lift and peek under the silkscreen stencil to make sure you didn’t miss any areas of the design. You can see on my tile that there are a few small areas that need a little attention. You can put the silkscreen back down and add some more paste to those areas.
Keep in mind that it’s just underglaze. You can wipe off any mistakes or cover them up if you have a background color. You can probably tell I made a few mistakes on my blue tile (see the light blue patches at the top right). I just came back with the blue underglaze and covered them up. After having to clean up all my mistakes, I paid more attention to what I was doing and less to what the documentary playing on the T.V. and the rest of the pieces turned out much better.
The worst-case scenario is that if you screw up you can just wash it off, let your ceramic piece dry, and try again. For that reason, I would recommend you work only on bisque or underglaze that has been bisque fired. You can work on greenware or underglaze that hasn’t been fired, but if you mess up, you’re going to set yourself much further back if you need to start over.
You can use your silkscreen several times before cleaning it. When you do clean them, make sure not to scrub the silkscreen. You can soak them for a minute and then rinse and gently rub them. My sink has a sprayer attachment on the faucet and that was very helpful.
That’s it. I’ll just add a clear glaze on top and put them in line to be fired in the kiln.
how does the silk screen help? what does it provide to the technique that you can’t do with just the vinyl cut out alone?
Hi Megan,
There are lots of reasons to use silkscreens, but I’ll give you a few reasons I use them:
Thanks for this tutorial! This is exactly how I’ve been hoping to use my Cricut, but hadn’t figured out the best way to achieve the application. Definitely going to try this. Do you think the screen printing medium is necessary, as opposed to just applying the underglaze without?
In my experience, yes it is necessary. You want the underglaze to be a thick paste to be able to pack enough underglaze onto your bisque and also so that it doesn’t bleed and run all over the place.
Silkscreen medium is just a thickening agent, it might be fun to experiment with other ways to bring your underglazes down to a paste form. Corn Starch? Flour? Evaporation?
You could also check if the underglazes you want come in dry form (or even make your own) and then you could control how much water to add to it yourself.
Could you use transfer paper instead of silkscreen to adhere to the vinyl?