Trying Out the Eazao Clay 3D Printer

Eazao clay 3d printer

A while back, I had ordered another Kickstarter.  Even though I’ve been burned before, it was pretty hard to resist ordering this Eazao Clay 3D Printer at a fraction of the price of anything else on the market.  Kickstarters often take a very long time to materialize into a product (if they even do).  Once this printer shipped it then sat in the California port for many, many months.

Continue reading “Trying Out the Eazao Clay 3D Printer”

I 3D printed a weaving loom

3d printing loom parts

A while back, I found 3D printing files for a rigid heddle loom.  A new loom had been on my wish list for years but I never pulled the trigger.   Honestly, I think I’ve become frugal in my old age.  Years ago I wouldn’t have thought twice about adding a new loom to my cart and checking out, but these days I just can’t justify in my mind paying hundreds of dollars for a couple pieces of wood and some plastic.  Especially when I’ve had 3d printers in my home for 10 or 15 years now and I pretty much DIY everything I can.

Continue reading “I 3D printed a weaving loom”

Testing 3D Printed Stamps, Part 2

After my initial post, Testing 3D Printed Stamps, I decided to taking my findings and actually give it another shot.   One of the things I had found was that flexible resin outperformed the other filaments and resins I tried.  However, it was far too flexible and fragile.  One of the recommendations for using flexible resin was to mix it with standard resin to make it more durable.  I didn’t have the recommended resin at the time but I did order some to try.

Monoprice’s rapid resin does come in clear, but the yellow was $10 cheaper at the time I was ordering.  Also, I’m still testing, so the transparency of the stamp material really wasn’t a concern.

use a 80/20 mixture of resin to print a stamp

Continue reading “Testing 3D Printed Stamps, Part 2”

Making some stamps with COLOP Photopolymer

My mother, after seeing my doodles and watercolor  post, suggested that I try making stamps, which sounded fun.   I had most of the equipment from other projects to give it a go.  All I really needed was the photopolymer.   After ordering a bottle of COLOP photopolymer off amazon, it showed up a few days later (it wasn’t even amazon prime, so I was impressed).

My first idea was to shove it into my 3D printer.  The whole idea behind my new printer was that it uses UV Resin, which is what a photopolymer is.   Shine a UV light on it and it cures.   It turns out that this stamping resin is so highly viscous that it’s barely a liquid and 3D printer resin is still quite liquid.   I started pouring it into the printer and it was hard to stop it from pouring because it was pulling itself out of the bottle.

Well, I can tell you that didn’t go well.   It was far too thick and the printer didn’t like it.  After editing the 3D printer’s program to see if I could make it work, I found the cured photopolymer wasn’t sticking to the platform and just ended up making a mess.

Continue reading “Making some stamps with COLOP Photopolymer”

Kudo3d Bean on Indiegogo

Just under a year go I contributed to an Indiegogo campaign for a SLA printer called Bean and it finally showed up at my doorstep last week.

Kudo3D Bean Indiegogo showed up!

This printer has been basically been running non-stop since it showed up.  I’m having a lot of fun with it.  So far I’ve mostly been printing little figurines from one of my favorite 3d artists, who recreates a lot of characters I like.  I know his models are good and this has let me figure out all the ins-and-outs of printing with resin.

Continue reading “Kudo3d Bean on Indiegogo”

3D Print Painting

yoshi

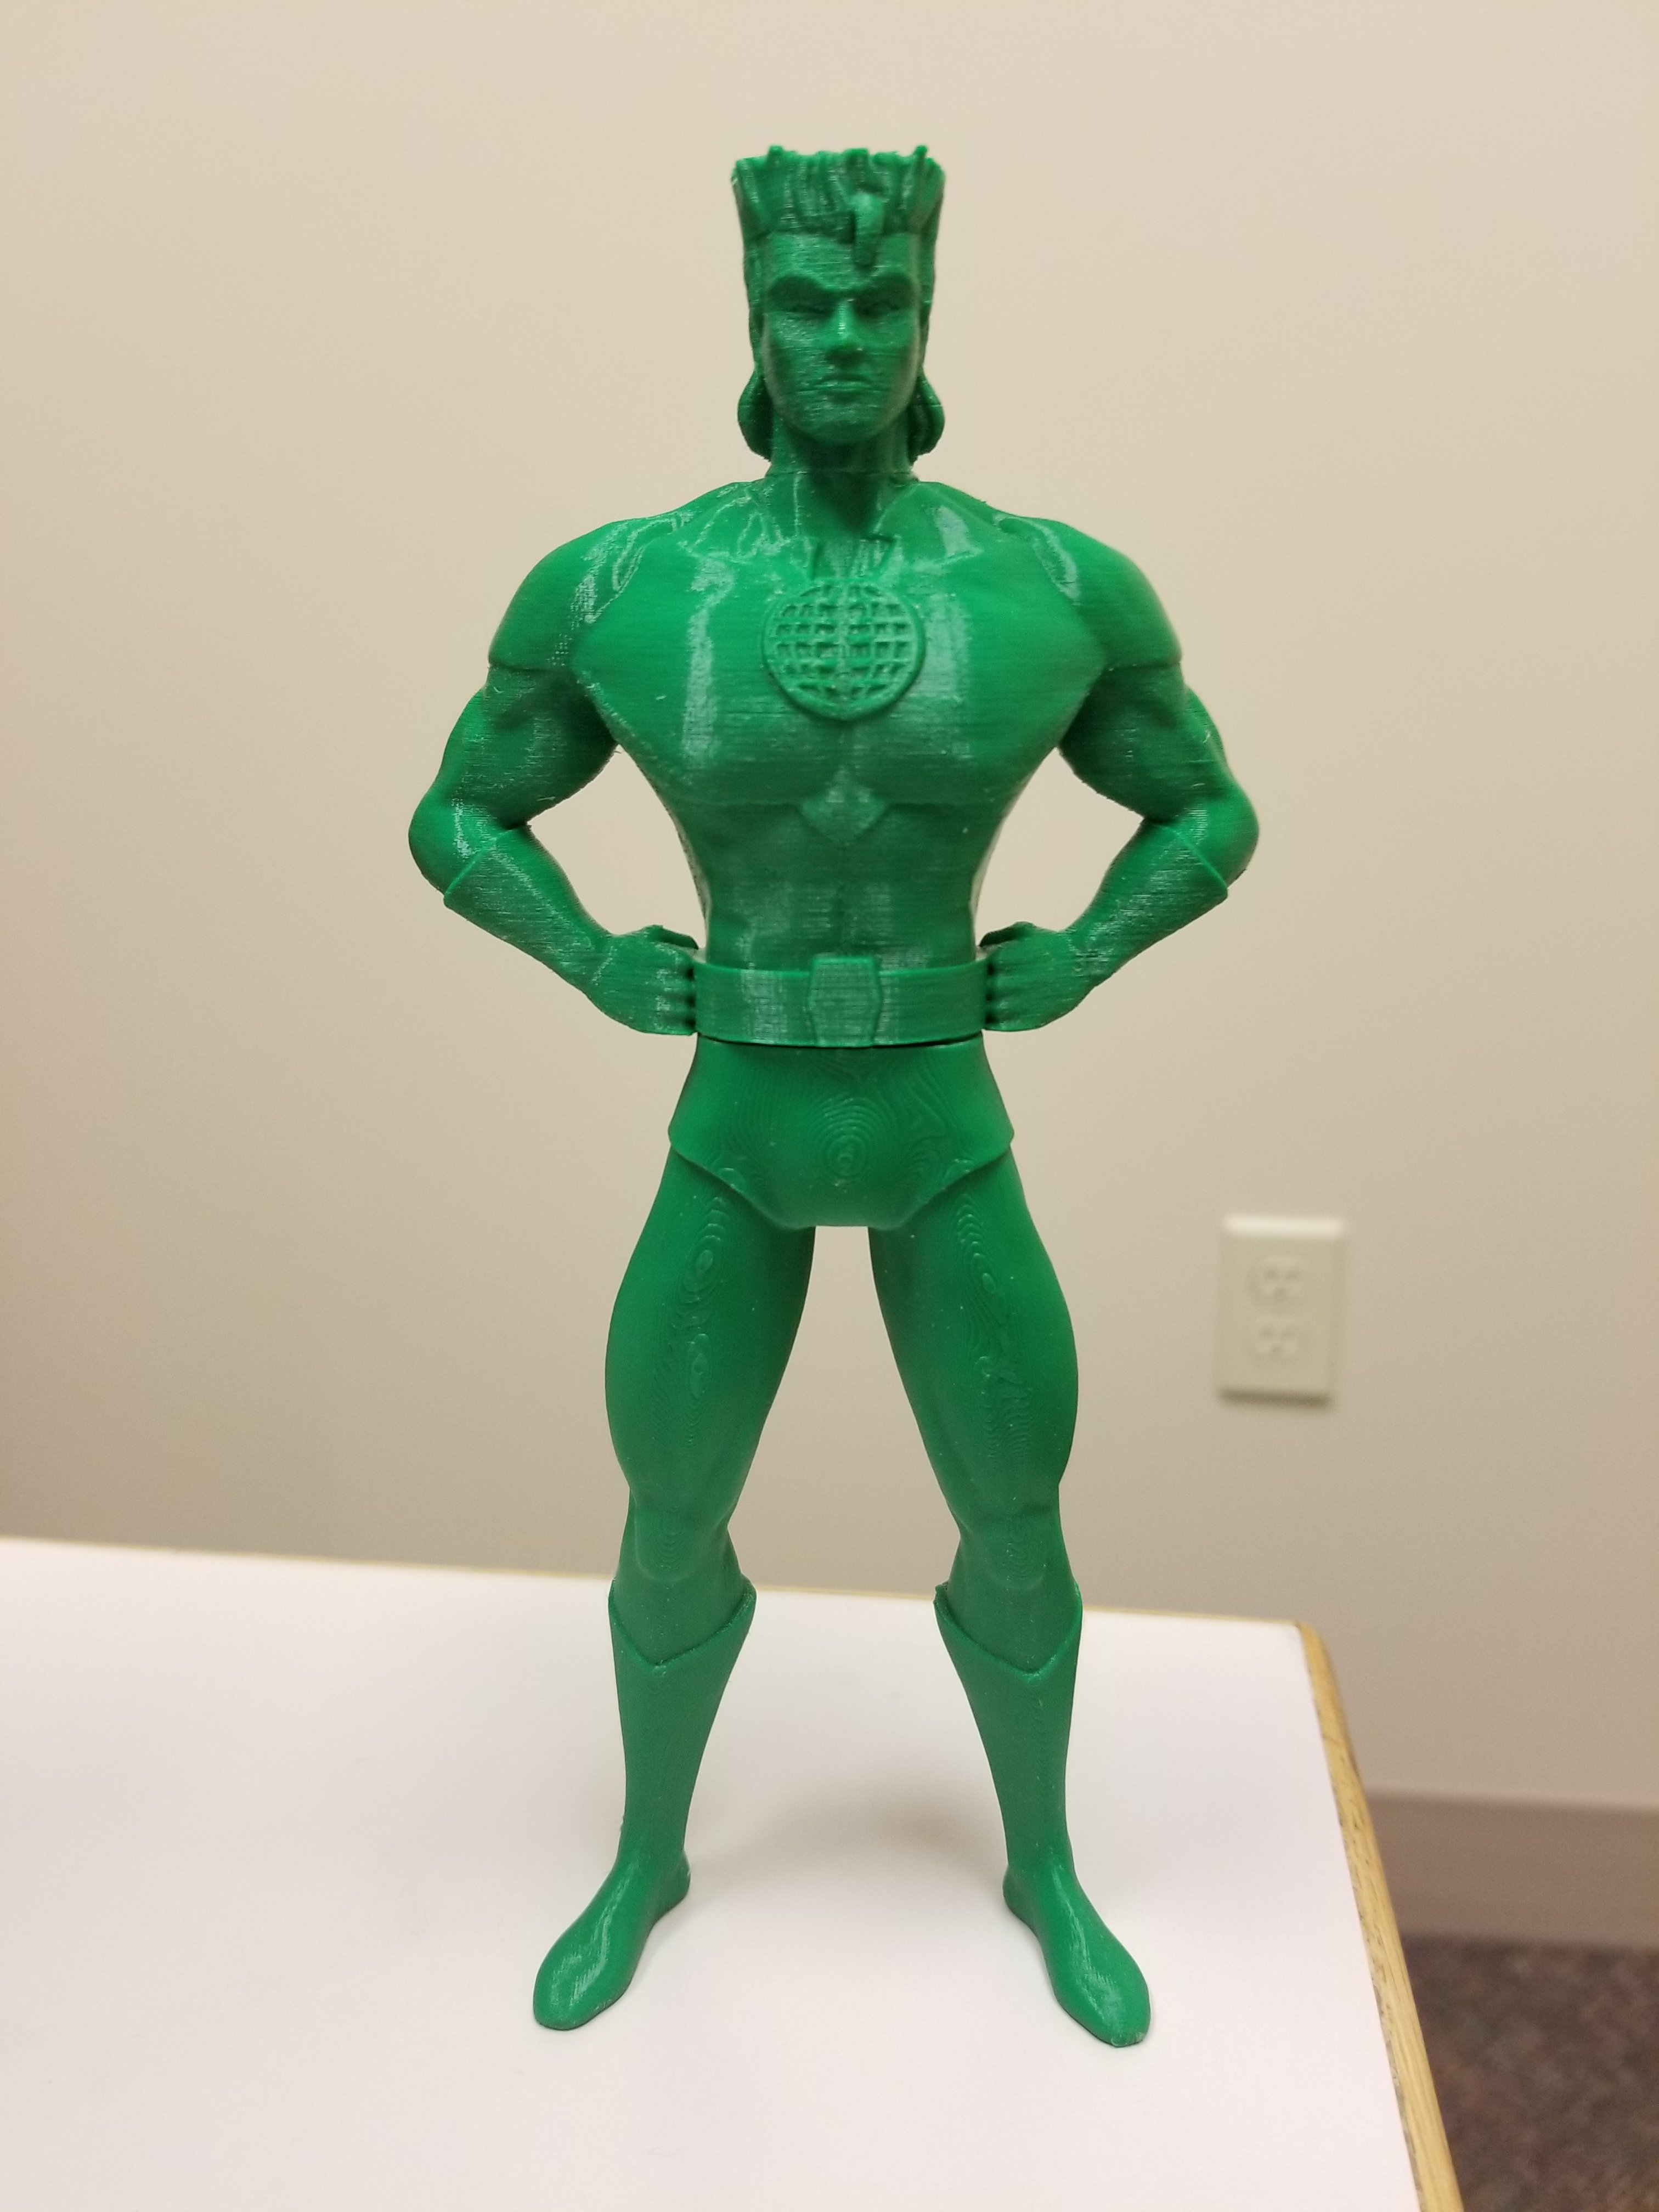
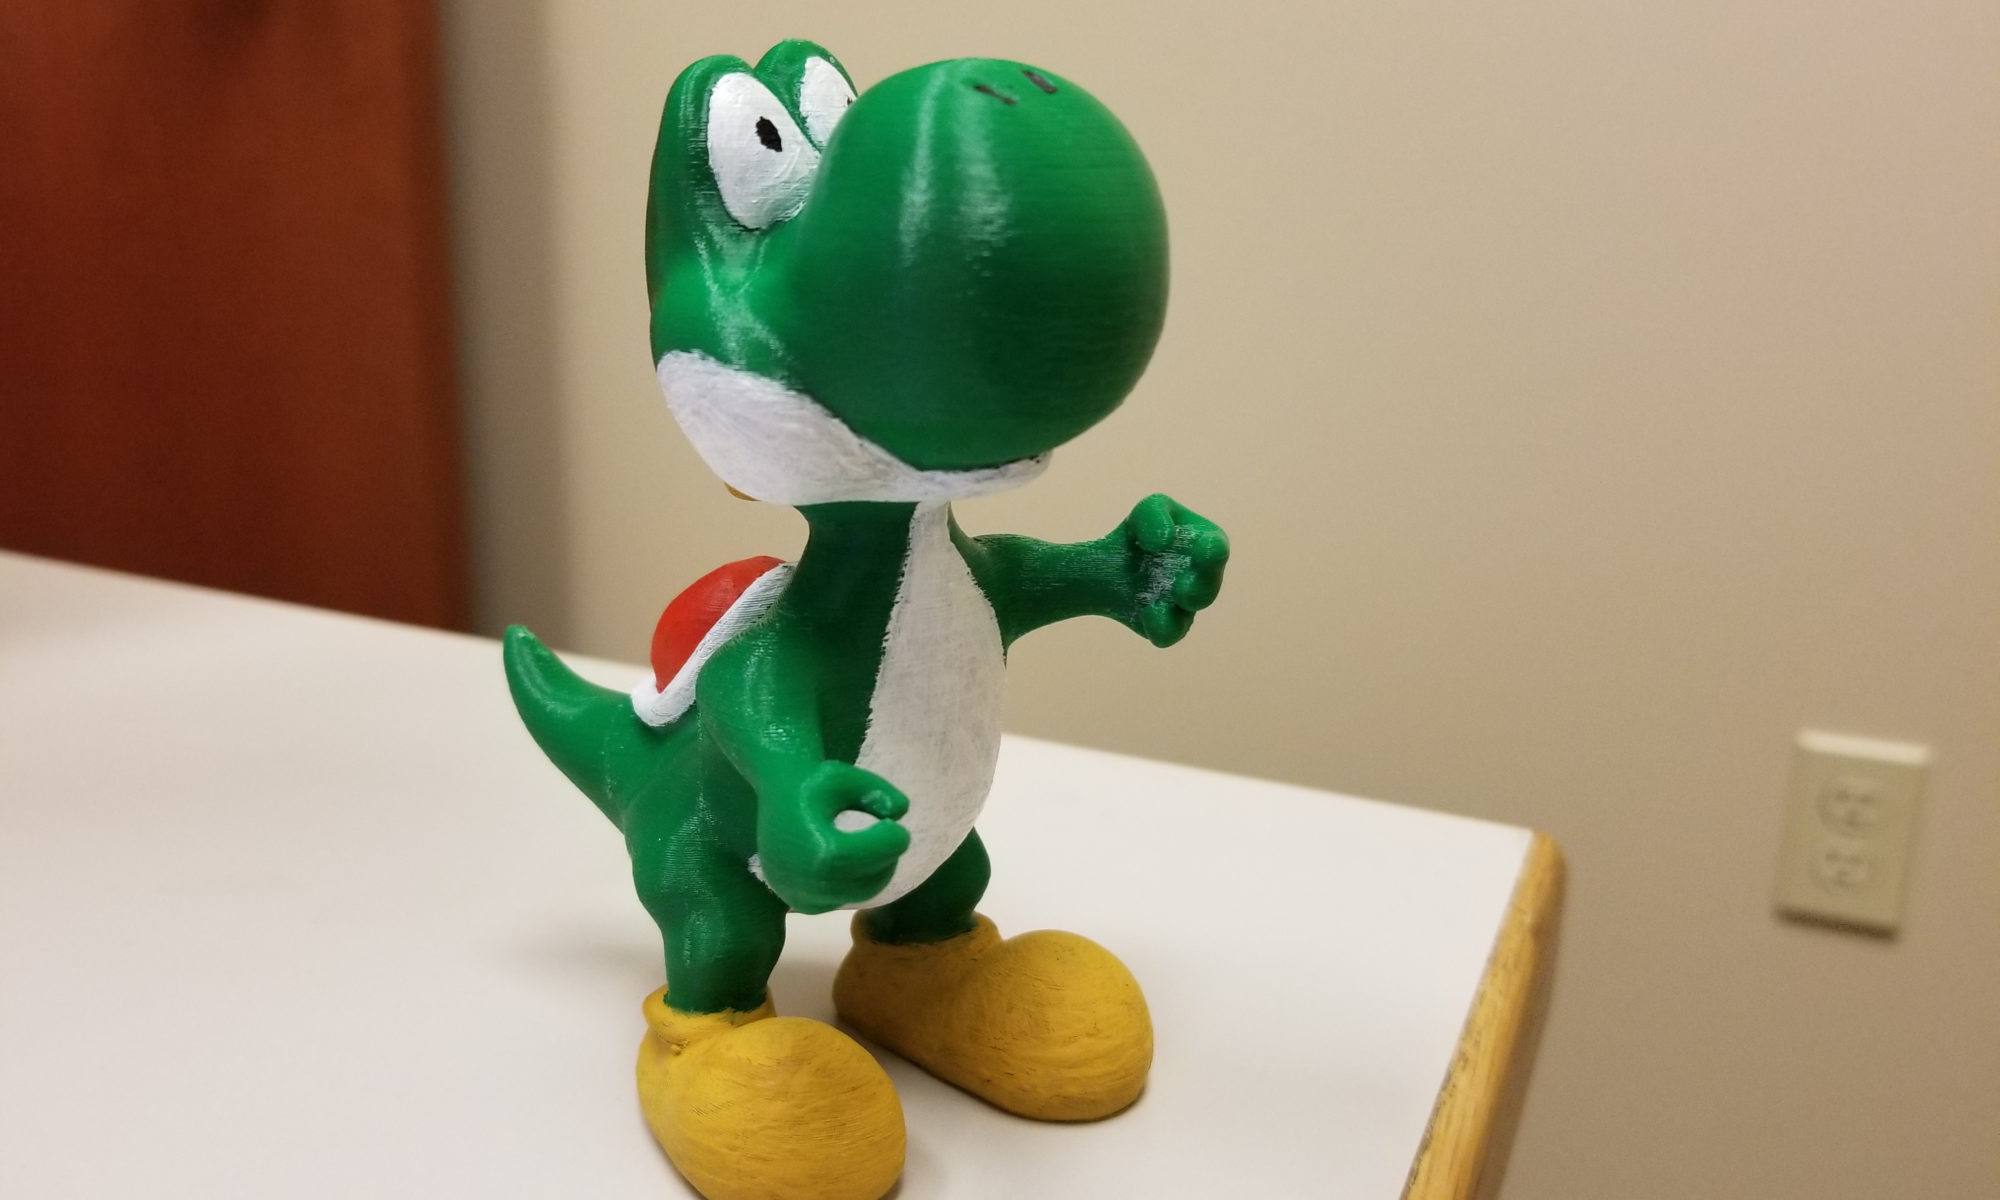
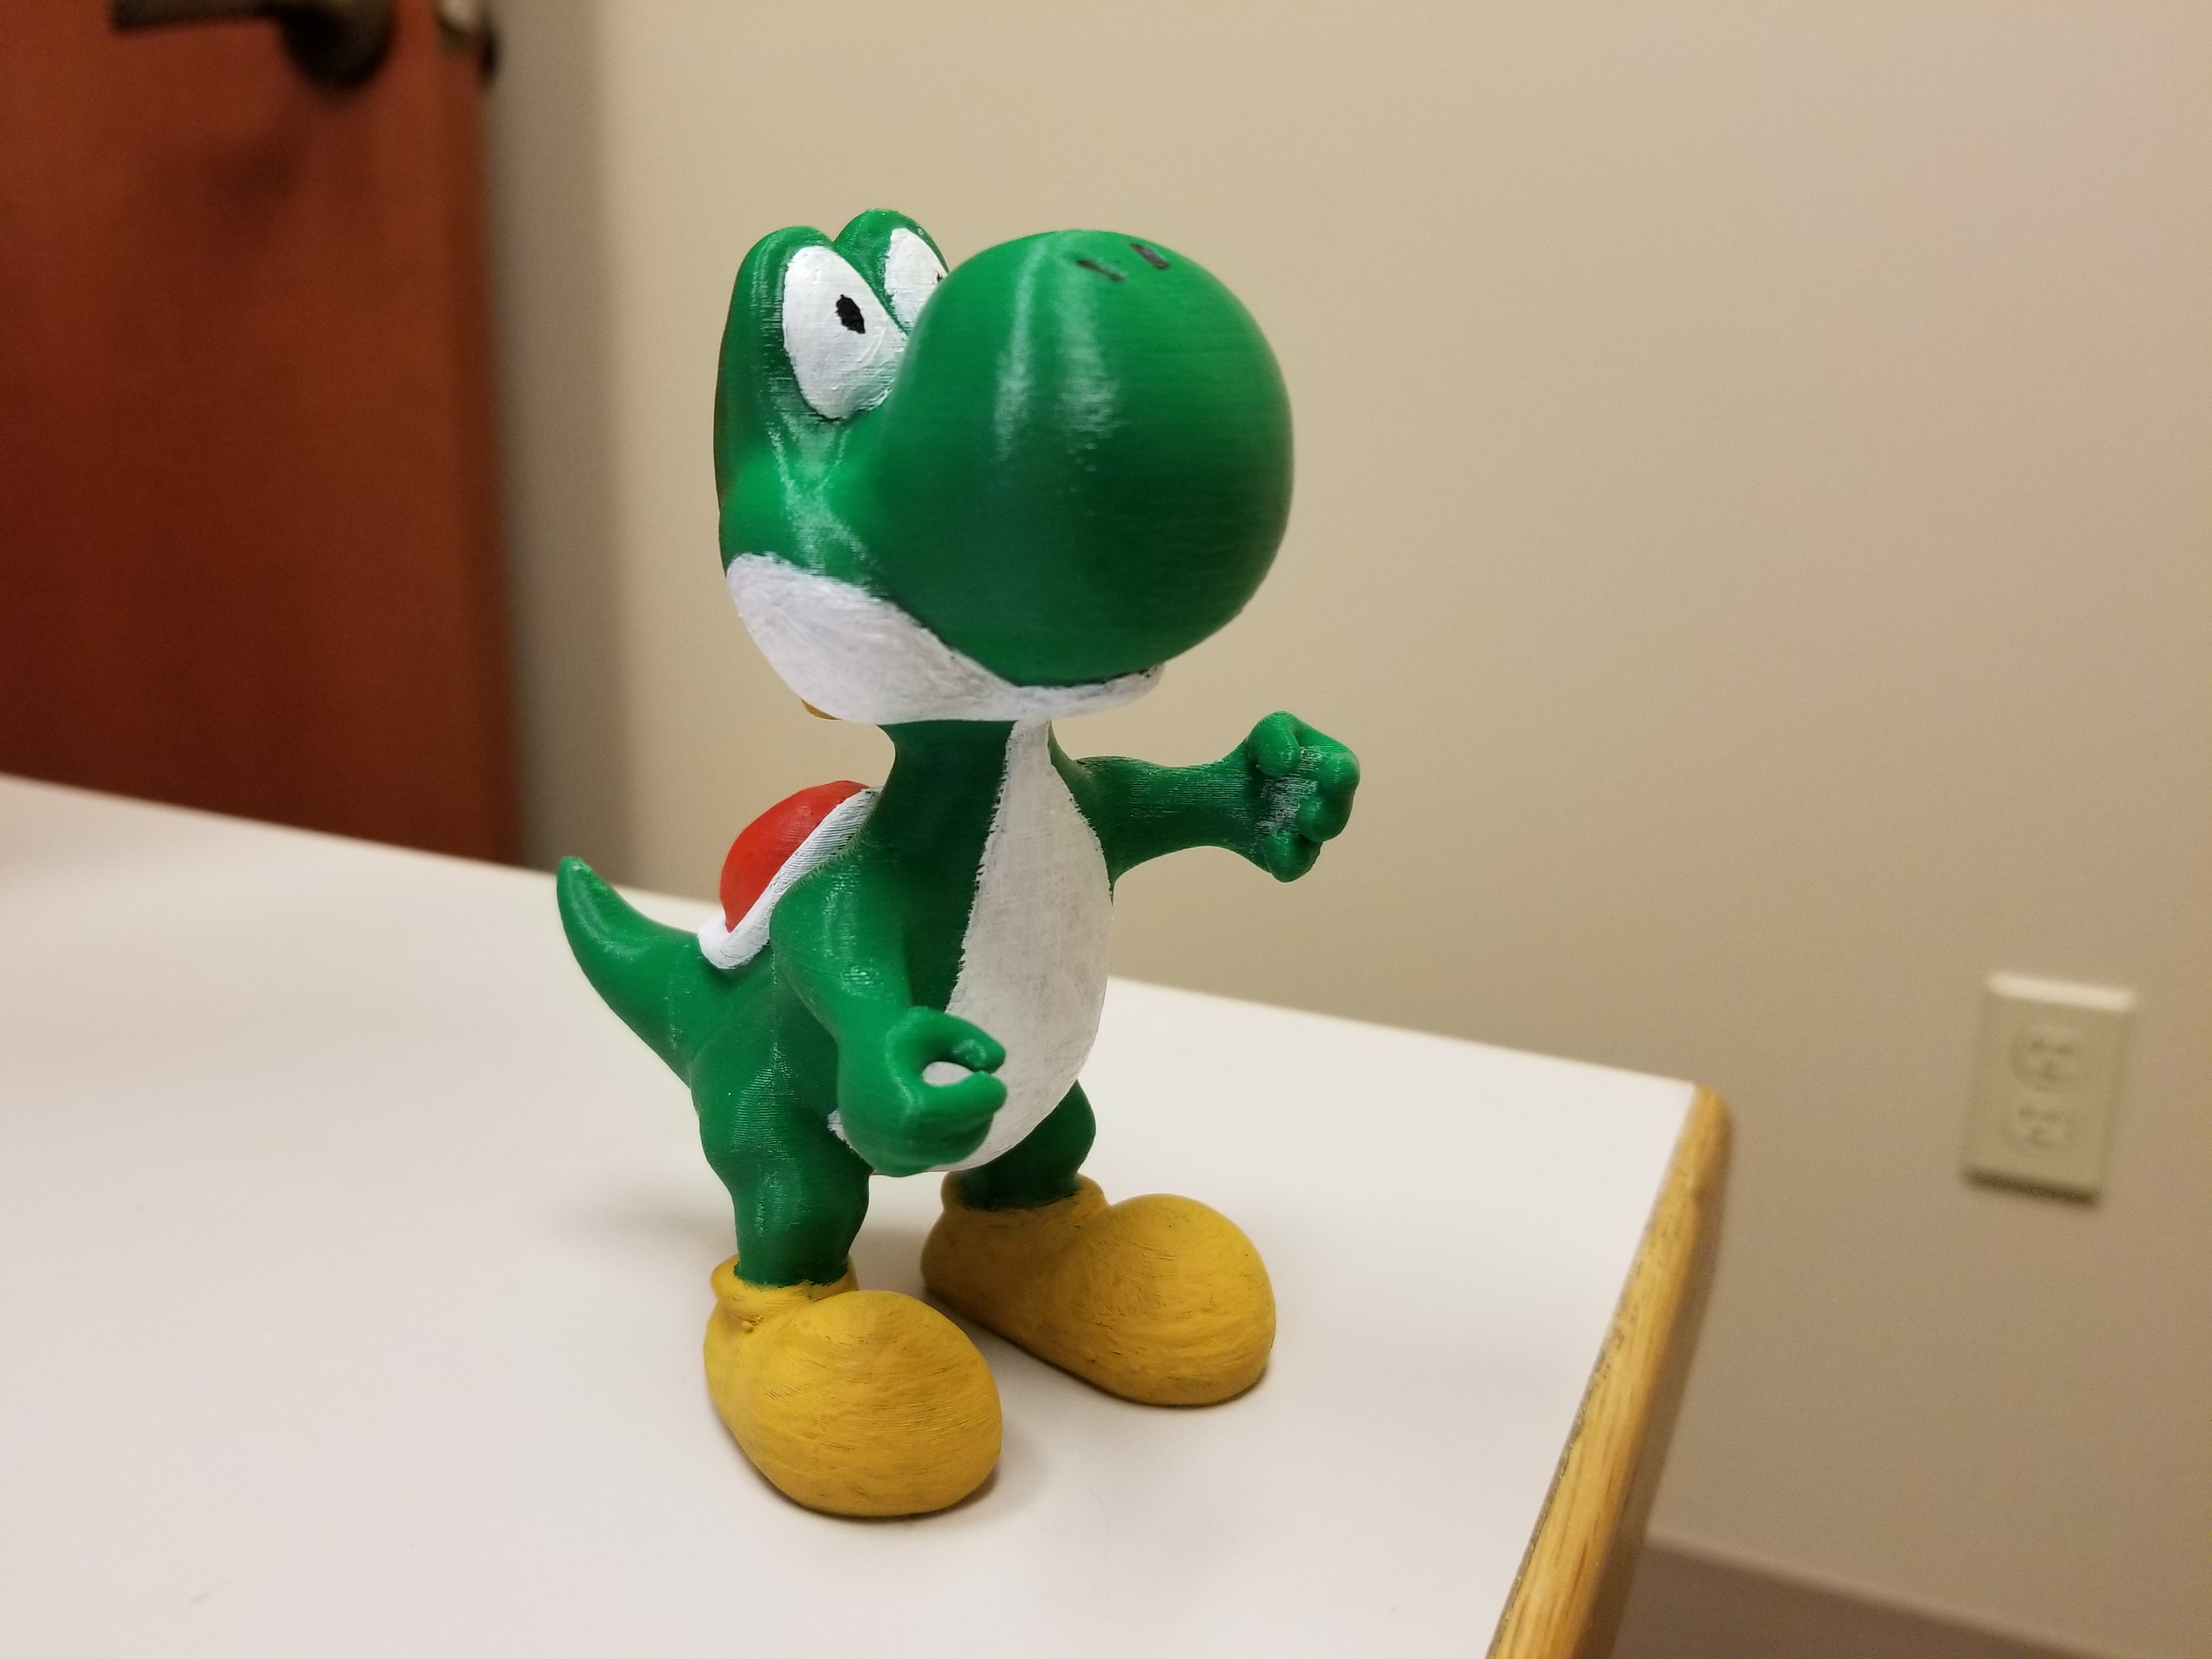
This weekend, I promised my co-worker I would spend some time doing some painting on some of the 3D items he requested. Why? Because I volunteer myself for everything.

I’ve done many many paintings, but 3D Prints are a bit hard to paint. First, they have a texture from the plastic layers (unless you do some post-processing). Second, they’re 3D, and unlike a painting, they don’t have any definite lines where the paint should stop. Third, I didn’t prime the object, because I printed it in the character’s main color so it took many layers to cover the green plastic. And last, I didn’t give it a clear coat to lock it all in, so I’m just waiting for him to accidentally scrape some of the paint off.

Basically, it can easily come out looking very messy. My co-worker seemed to really like it this morning when I brought it in, so maybe I’m being too picky. I hope it gets easier once I get a few more painted.

John is the Terminator

john term 1

I’m pretty sure John is trying to take over my 3D Printer.  He decided we needed to do another 3D scan and turn him into the terminator.

Surrounding his print with gallium, now he’s the Terminator being melted at the end of the movie.  He may need to do some chrome spray paint, but overall it’s was a pretty fun idea.