I play with a lot of Cricut products even when it’s not necessarily something I’m into at the moment. I never really had a desire to make shirts or customize fabrics but at the same time, I like knowing what I am capable of making with the tools I have. When the “Shaylee” pack of infusible papers popped up for sale on my Amazon recommended page, I figured it was time to give Infusible Inks a try.
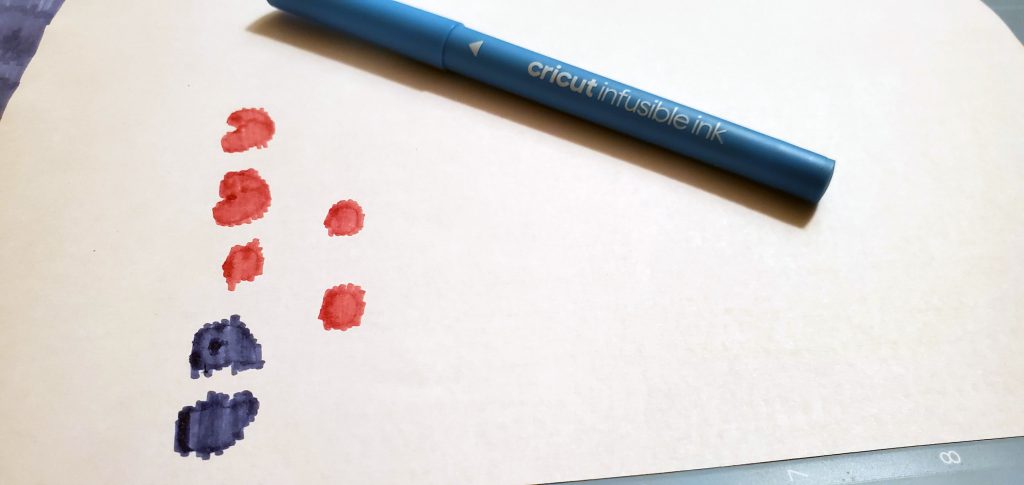
Over the course of a week, I hit several other stores and slowly picked up supplies. When I was at Target, I grabbed some white t-shirts. When I was taking a leisurely stroll around Joann Fabrics, I also grabbed the infusible ink markers.
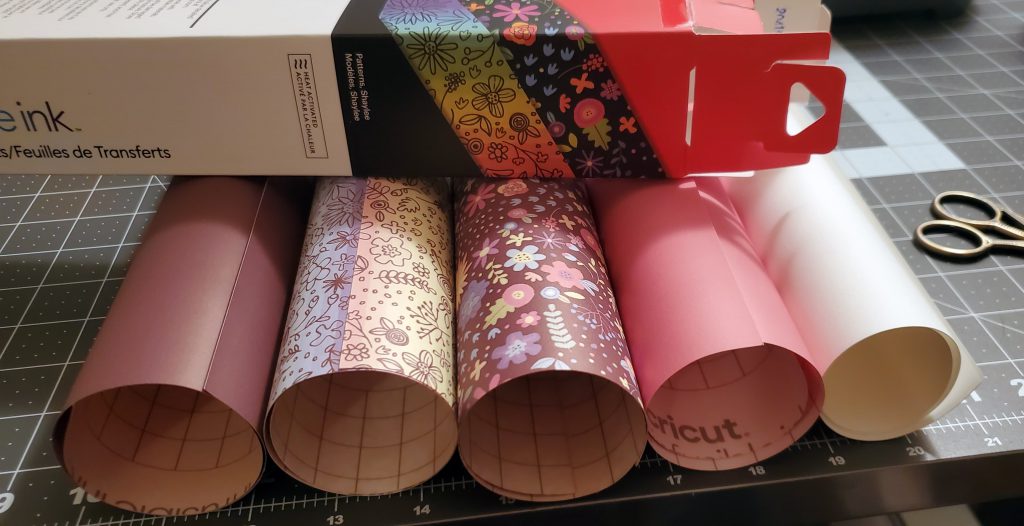
When the weekend came I was ready to play with the new products so I opened the box of papers and the first thing I noticed was color of the papers. The black paper was brown and the reds were pink. They all had a very faded look to them. I did remember reading that the colors would intensify once you iron them, but I didn’t think there was going to be such a difference in color. I’m going to have to be careful to keep them in the original packaging so I don’t mix up the colors later.
The pack also came with some sheets of butcher paper which you’ll use while ironing.
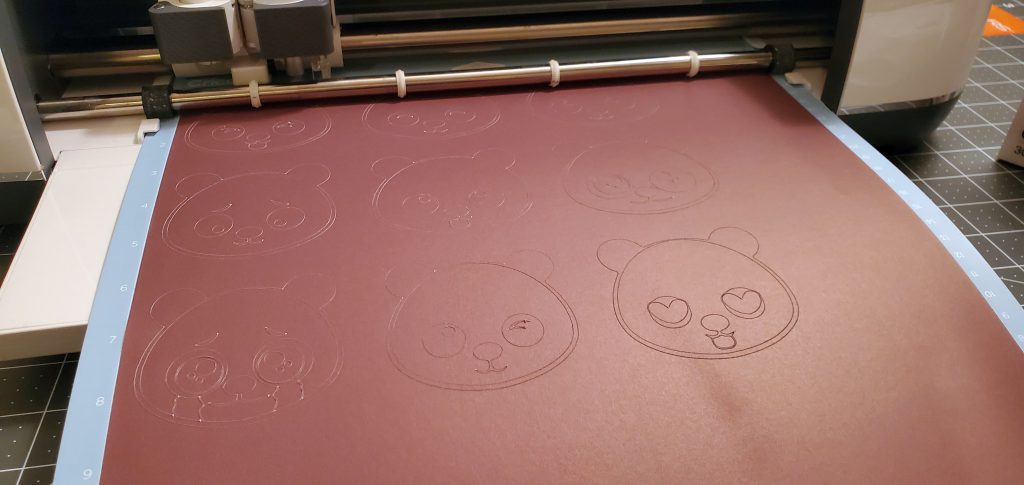
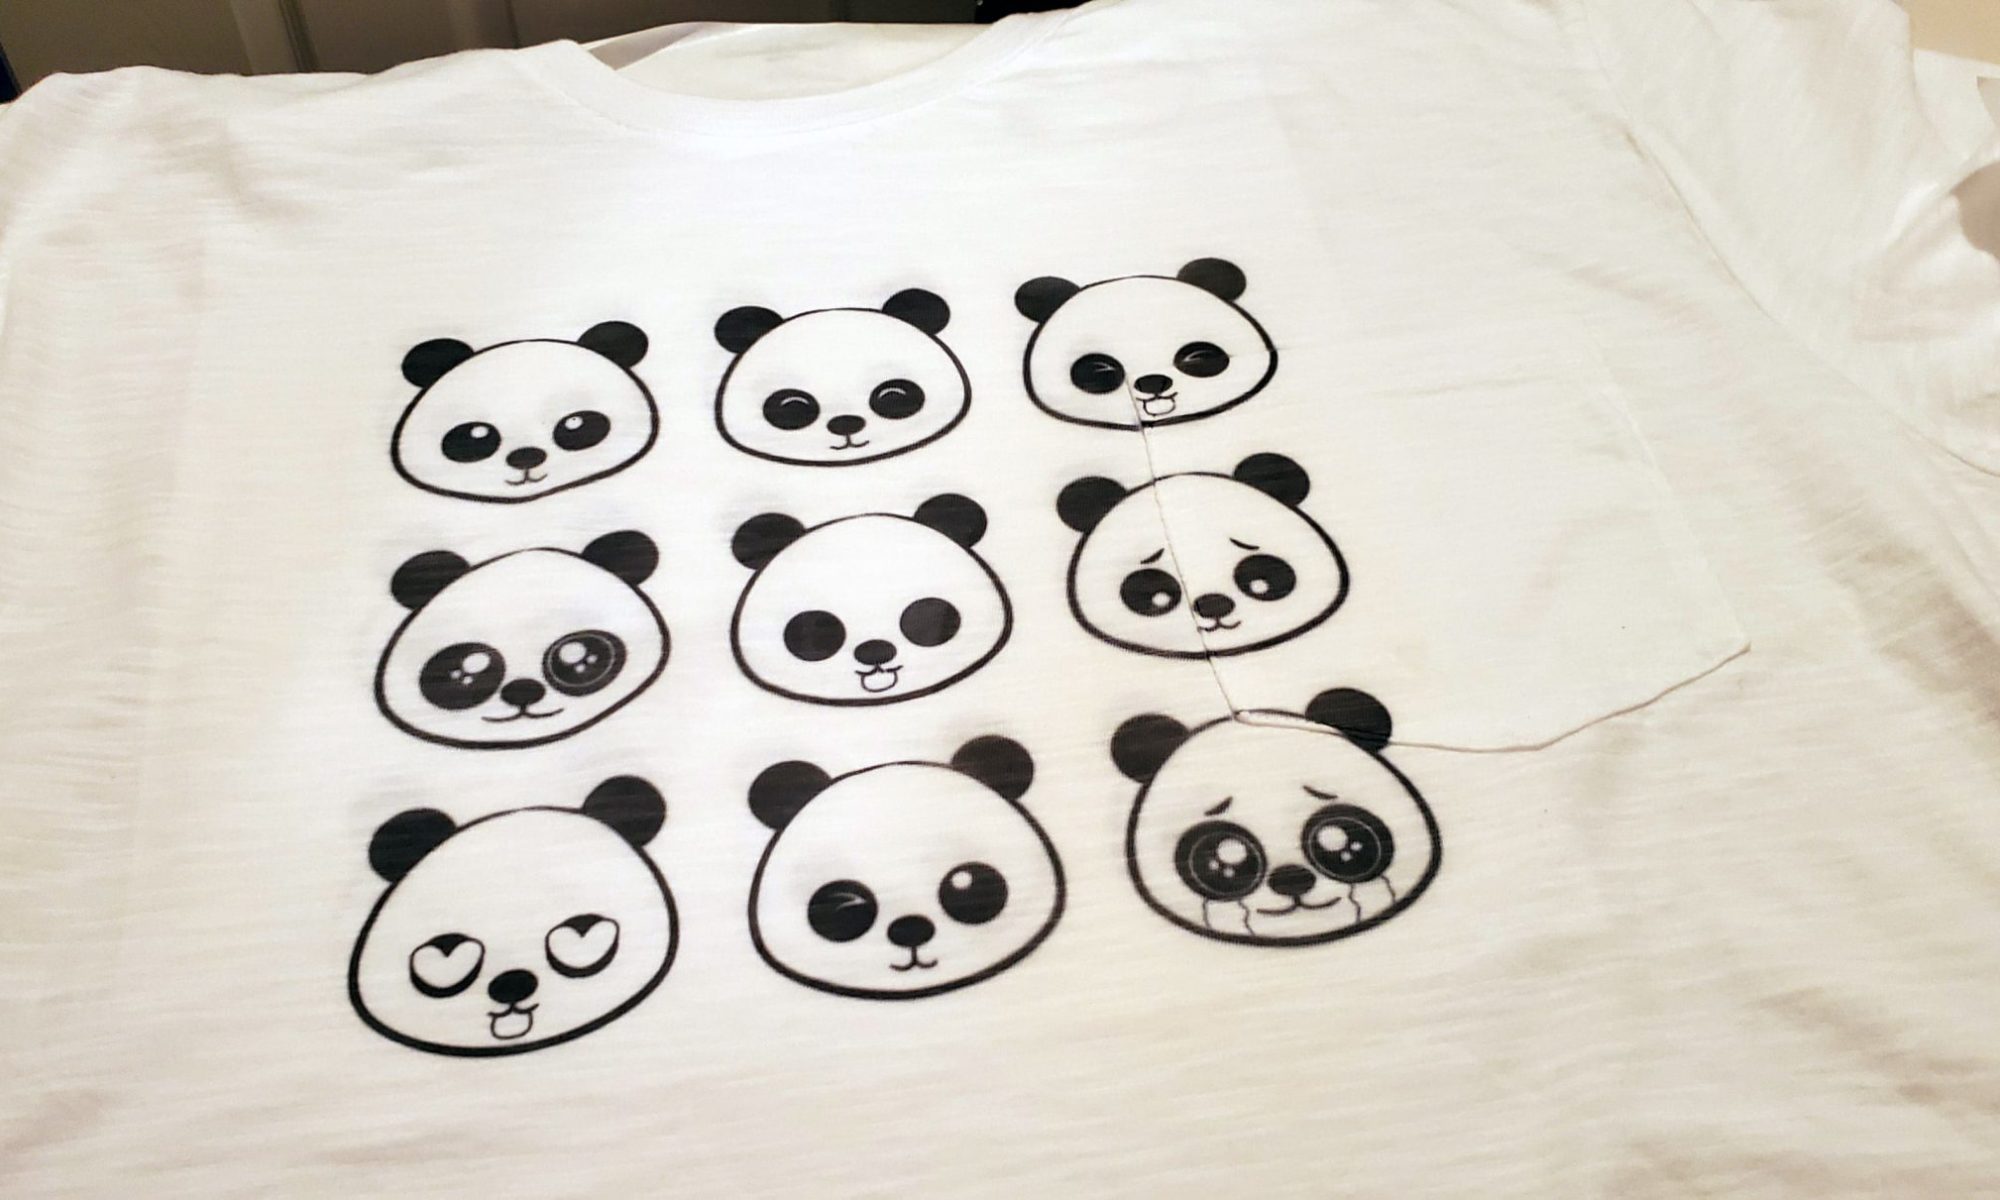
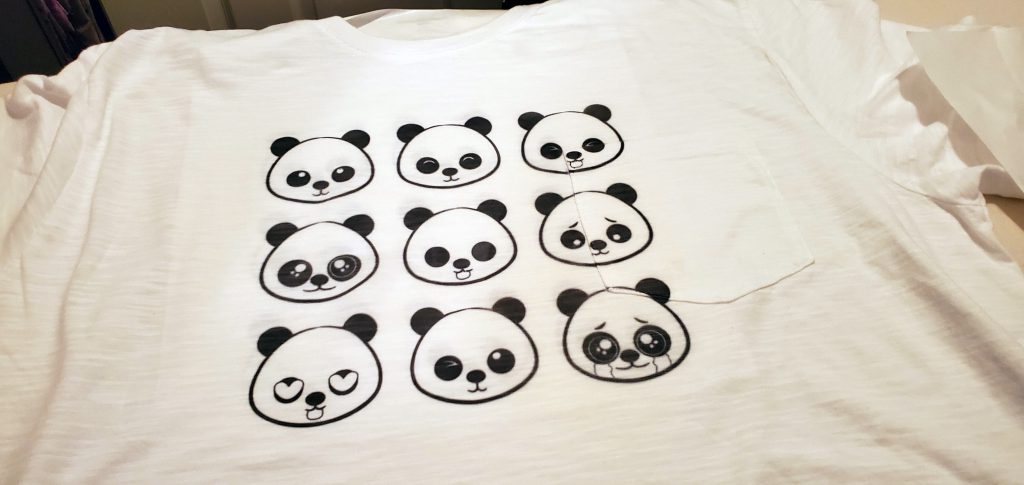
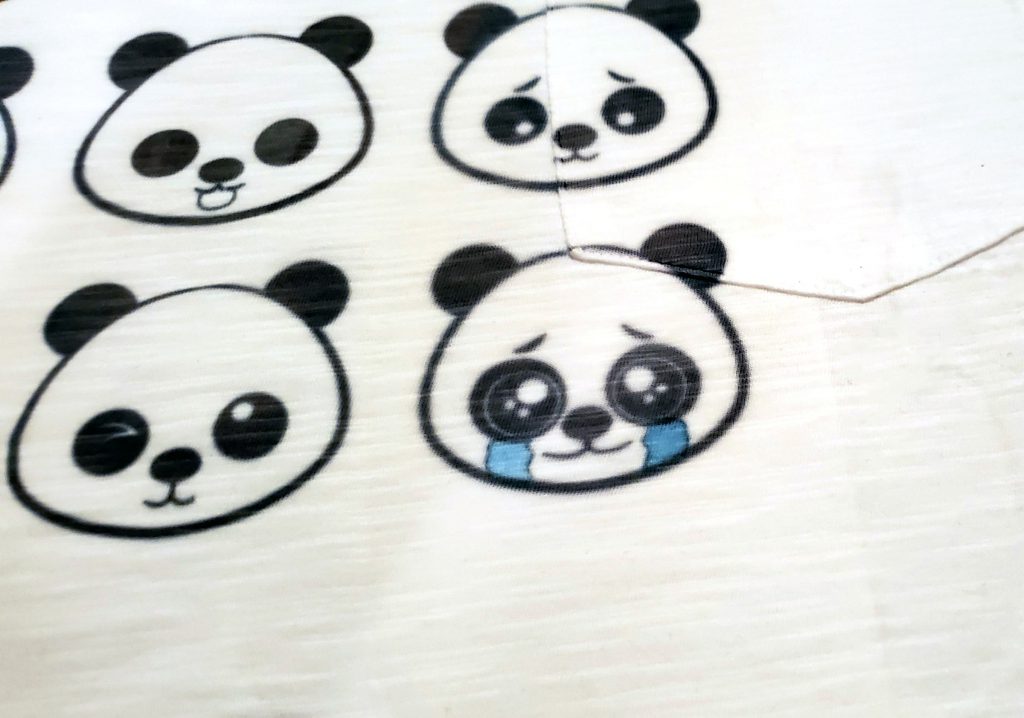
For the shirt design, I found this free graphic of pandas called the “Panda bear avatar collection” on freepik.com. I liked this image because it was mostly black, which was one of the colors in my pack of papers and also had some touches of reds and blues which I could try to use the markers on.
I put the sheet of black paper into the cricut and away it went. You should probably note, this is one of those projects you’ll want to mirror your image in the cricut settings, especially if there are any words in your image.
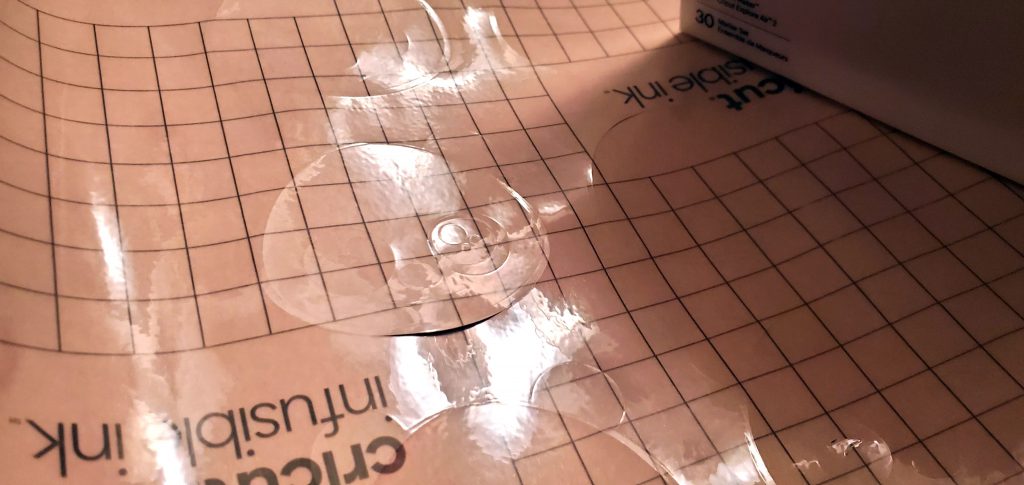
Like some of the other papers I’ve cut on the Cricut, the knife blade went through both the paper and backing in some places. I’m starting to think it’s my cricut and this isn’t normal. I noticed this back when I was painting my Bob painting (see Masking an Acrylic Painting on Gessobord with Cricut) and was cutting through the blue masking tape paper I had found. It only cuts through in some areas and not the whole thing. This makes it a pain when weeding out the design, but overall it doesn’t wreck anything.
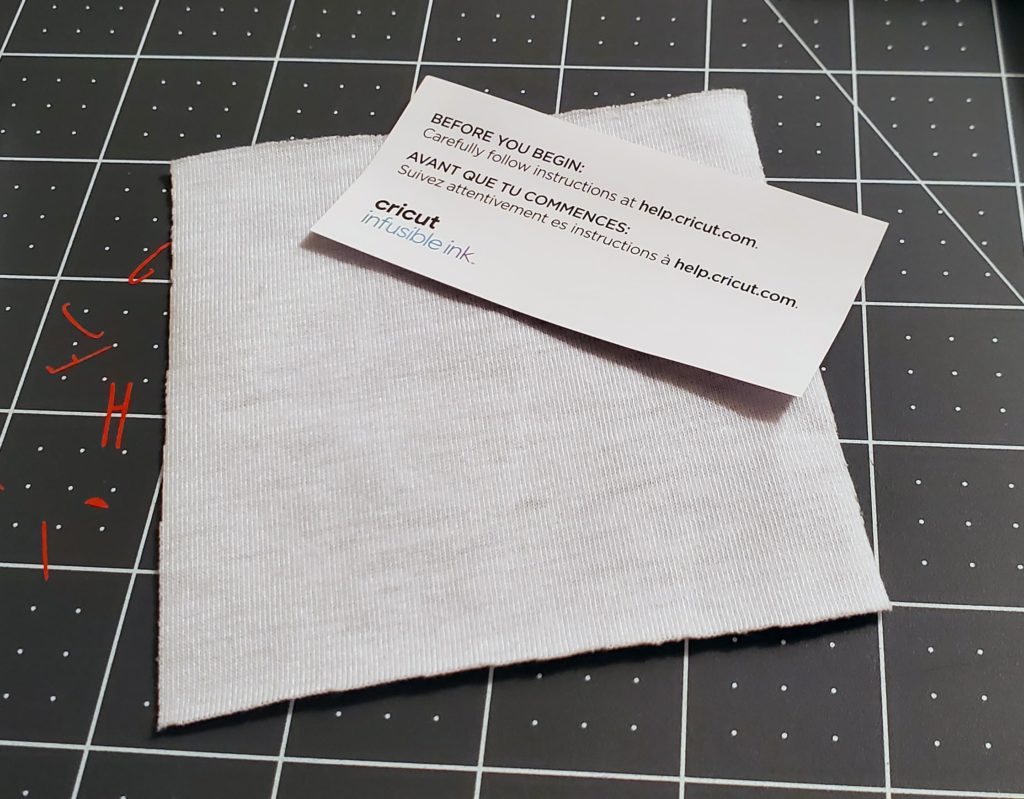
After I cut my design and weeded out all the unwanted parts of the image and that is when I noticed this piece of cotton and a card with a link to the help page laying on the floor at my feet. It must’ve fallen out of the box when I first opened the pack. I really wish I would’ve seen this before cutting out a whole sheet! I also had been wondering why there was no instruction sheet in the box.
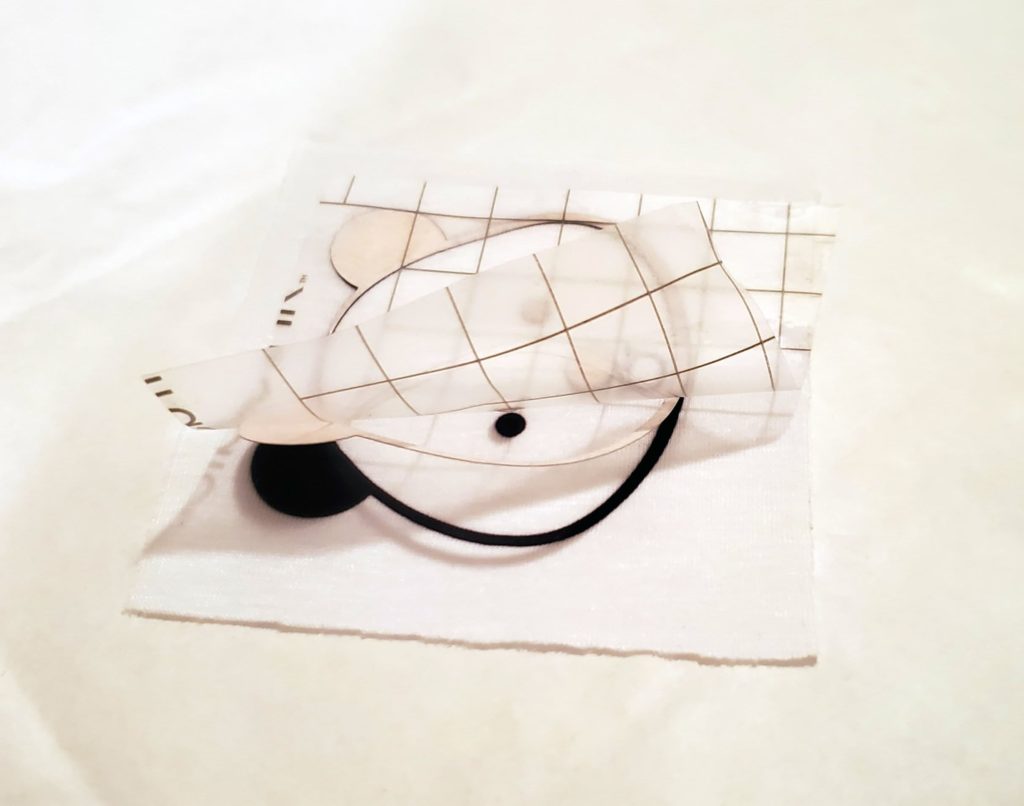
So I cut out another panda from the scraps to give it a try before I ruined a whole shirt.
After reading the help page and watching a few YouTube reviews, I got to work.
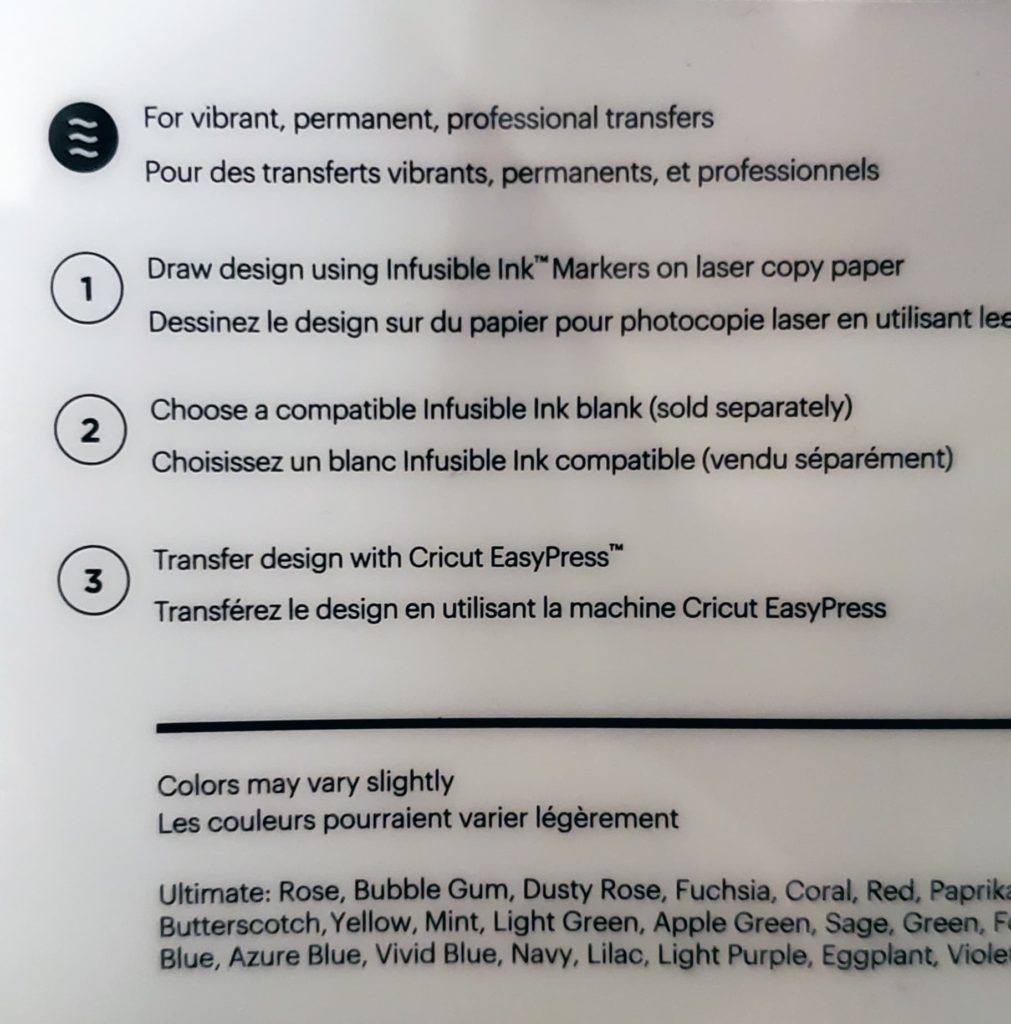
The basic steps are:
- Lint roll your fabric. They make it pretty clear this is an important step.
- Place a piece of card stock inside the shirt under the area the image will go to prevent any bleed-through onto the back of the shirt.
- Preheat the fabric and iron out any wrinkles.
- Slap down your Infusible Ink sheet with the adhesive backing onto your prepared shirt.
- Iron all areas of the design for 40 seconds with light and constant pressure on the iron.
After giving the test piece of fabric a try, I repeated the process on the shirt.
Unfortunately, when I was at Target, I didn’t notice this shirt 1) had a pocket, and 2) had a slight texture to it. When I slowly peeled off the Infusible Ink paper I did notice it didn’t take in some spots (I likely just missed them) so I did have to put it back down and iron longer. Overall, I was pretty impressed. I also noticed the color of the ink did darken over the course of a few minutes. When I first pulled the paper off it was still a brown color and it slowly became a vibrant black.
I did make plenty of mistakes, but we’ll just pretend that middle panda isn’t missing his eyeballs and move on.
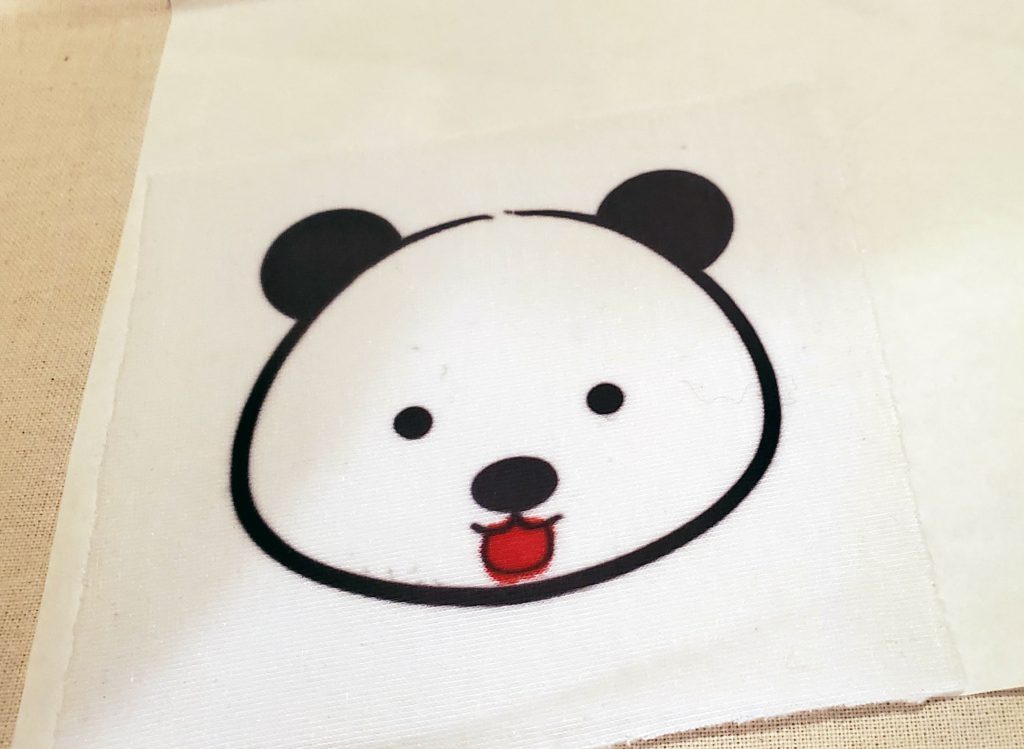
Next, I grabbed a red infusible ink marker and colored in the tongue on my test panda. I wish I could say I was just bad at coloring, but it was perfectly in the lines and then slowly bled all over the place. So I read the instructions on the box…
So apparently, you do not color directly on the fabric. You color on laser paper and then iron that on. Who knew you needed to read instructions on markers??
I had the Cricut cut out my shapes on some laser paper, then I colored over them with the marker so I could just peel them up and slap them down on the shirt.
And voila! It worked and it didn’t bleed everywhere.
So to wrap it up I thought I’d leave you with some things I learned while trying the product for the first time:
- Once you use the butcher paper or the white card stock, don’t reuse it if it has any marks on it. Any ink will transfer when it’s heated again.
- If you’re doing large projects, I’d highly suggest looking at the Cricut Easy Press 2 or a large Steam Press that will reach 400°. Moving my iron around like 6 times to cover the whole project without moving anything was a real pain. If this was something I could see myself doing often, then I would definitely get a large easy press.
- To ensure that your project comes out successfully, use the Cricut line of blank products. I used my own shirt and it definitely didn’t come out as vibrantly black as their piece of test cotton did. If you don’t want to buy from them, then get the plainest, smoothest white t-shirt you can find that is 100% cotton. Or wait for a sale, like right now their shirts are $4 instead of $9.