Backyard Deck

20170806 191554

It has taken me several weeks to finish, but I refinished the backyard deck. Most of it was scraping and sanding.  Then an afternoon of painting.   It turned out pretty well.   I’m sure it’s only a matter of time before the dog destroys it with his giant paws.    When that happens, I’m just going to burn it down, because I am not going through this again.   That was way too much work in the hot summer sun.

Then, said dog, hurt his leg and ended up needing knee surgery.

This dog, right here.

He’s lucky he is so adorable because I had to spend my weekend building him a ramp so he could get to the yard and make his boom-booms.  He’s not a small dog, so it had to be good enough for a 130-ish pound monster to walk up and down it.

He doesn’t much care for it but he’s getting better at using it.  He kind of has too unless he wants to hold it in for 8 weeks while he recovers.

A Weekend of Dyeing

20170821 183646

This weekend, I got a lot of dyeing out of the way.   I’d been stacking up plenty of natural/undyed yarns and it was time to get that project out of the way.   I watched a bunch of youtube videos to refresh myself on the process and got to work.  I planned on tackling a few different methods this time but ended up doing 2 methods.

First was a hot dye pot method where you bring your pot up to a simmer and drop your dye strategically around the pot.

dye pot

I dropped in red, olive and yellow.    It didn’t work out very well for me.   It just mixed and became murky.  I’ll assume responsibility on this one since I probably messed around with it too much and let it get mixed.

But while that was simmering I got a few bowls of dye ready for some 2-color batches, which I will call halfsies.  I’m sure there’s a term for this, but basically, I just dyed my yarn in sections.

Here, I was trying to create a skein similar to one I received July 2017 YarnBox.  When you do this method you’ll get a finely striped sock like this one:

Knowing that I like this result, I did this with several color combinations:

Pink and Green skein of wool

(The one on the right here was the muddy one from the dye pot).

Black and blue skein of wool

They’re currently hung up and drying.  I can’t wait to try these out!  I may eventually start putting some of these up for sale once I get a few sample socks done for images.

Birthday Gift Success

I’m happy to report all my research and planning on my mother’s birthday gift was a complete success.  I was worried about it but she reported that the socks fit perfectly and even sent me a picture.

Did you know my mother is also a crafter?   You should check out the stamping and card making she does over at her blog.   http://craftiblog.wordpress.com


Birthday Socks

20170817 073831

For my mother’s birthday, I tracked down a skein of my favorite yarn to date, Feza Uneek 3002.  It’s no longer produced, so that was a challenge, but I was able to do it.   Then I made her a pair of socks… which I’ll have to wait and see how successful I was once she gets them and tries them on.

My machine is a 72 needle machine, which I bought to make socks for larger feet.  Trying to make smaller socks was a challenge.  It wasn’t horrible, but for a beginner, it wasn’t easy and took a lot of guess work especially when those feet aren’t around to try them on.  I had to remove 8 needles to bring it down to a 64 needle machine and constantly put in and take them out throughout the sock making process.   It took several tries but I think I was successful.

I was told (by the manufacturer) that putting it through the wash would tighten it up and those missing needles wouldn’t be an issue.  You can see some lines down the length of the sock where the needles were removed, but I kind of like the faux ribbing look.

Along with the socks, I tracked down my favorite bag of reserve coffee from the Starbucks Roastery, which also is no longer produced.   But after working some contacts on the inside I was able to get my hands on a bag.

I just hope my gift works out and is enjoyed.   I know the effort will be appreciated, but I’ll be a bit sad I gave up my favorite yarn and find out they don’t even fit!

August 2017 YarnBox Socks

20170808 182931

I was pretty excited when  I realized the bag in the mailbox was my YarnBox shipment.   Or maybe I should say YarnBag shipment.   I ripped it open right in the car. To be honest, I wasn’t that excited once I saw it.   Last month, I really didn’t appreciate the skein I got until I started knitting it up, then I absolutely loved it.  So I hoped that would be true of this month’s yarn as well.

This month’s skein comes from Lucky 13 Fibers out of Chicago and is dyed Purple and Gray (which doesn’t show up that well in my photos).   I’ve never been a fan of the colors mixed with gray, it usually comes off looking a lot like it is worn out or some of the colors didn’t take.   Purple, on the other hand, is the best color on the planet, but I don’t really wear purples in my wardrobe.

I put it right through the sock machine last night and stitched up the toes during lunch today.   I know, my socks are pretty boring and basic, but this is what I like to wear.

It came out better than I was imagining and they are nice looking socks, but they still weren’t anything exciting.  With that said, the purple is on the darker side and the gray does tone it down a bit putting it more on the masculine side, so I can appreciate that.  Most commercial sock yarns are very bright so it’s nice to get a yarn like this now and then.

The best sock yet

fezauneek alt 3008

I was going to cool it on the sock posts for a while.  I didn’t want to bore anyone who might eventually read these posts.   But I made the best sock yet and I’m excited about it, so I thought I’d show the internets.

I wore them yesterday and they fit perfectly.   The stretch over the day was minimal and they still were snuggly pressed to my ankles when I took them off last night.    I think that’s because this is wool and I’ve mostly dealt with cotton/nylon mixes.

I think they also look great.  That has nothing to do with me though, I just splurged on some pricey yarn.   This is Feza Yarns Uneek 3008, or as I call it, “Bumblebee Massacre.”   Unfortunately, I think this line of yarns has been discontinued but you can still find it on etsy and in some yarn shops for $20-30.   I think I got this one for $25.   Which, is more than I’d normally spend on my basic looking socks, but it looked so interesting on the shelf I couldn’t resist.


Trying the Fuseworks Microwave Kiln

20170727 222024686914603

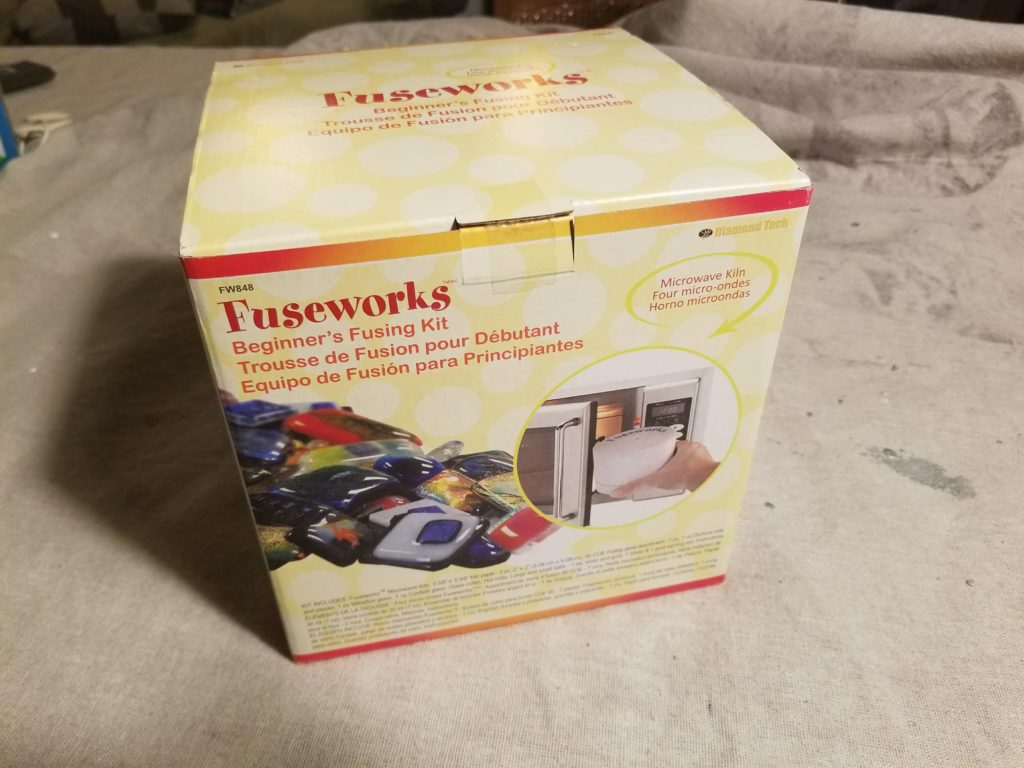
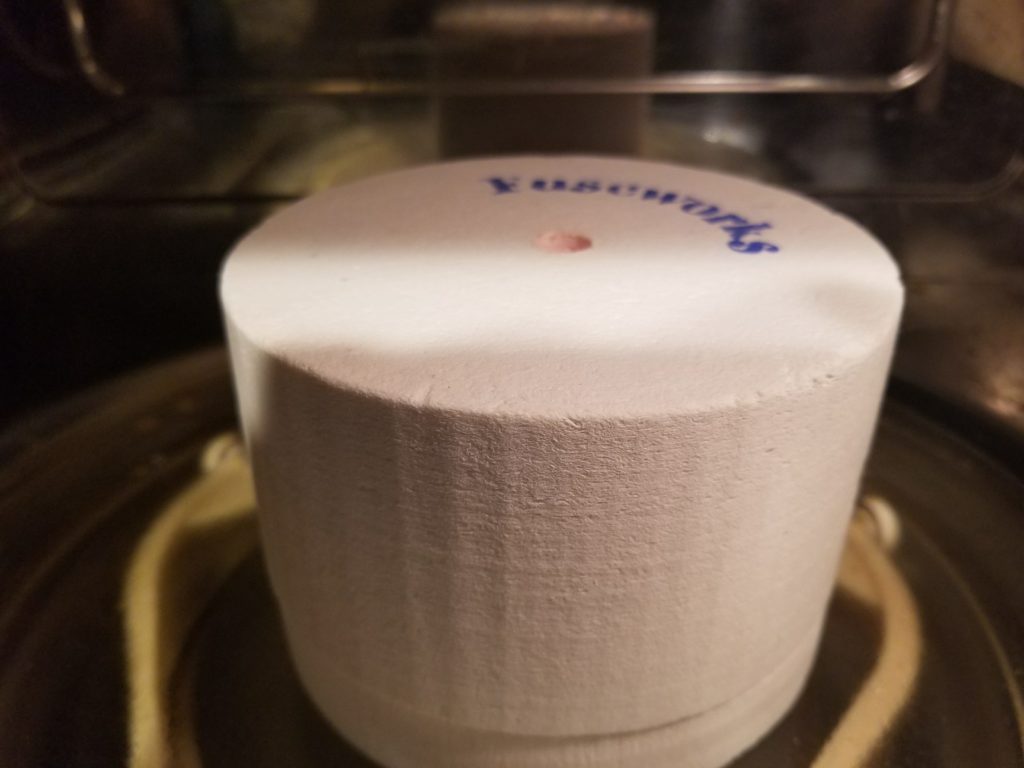
With my full-size kilns put away for a bit while rooms are being remodeled, I thought I’d finally try the Fuseworks Microwave Kiln.

I remember asking my local stained glass shop about this a few years ago and they deterred me from getting it.  If you’re a real glass artist, this probably isn’t for you.  If you’re a crafter or just think the idea is cool, then you’ll probably get some fun out this.

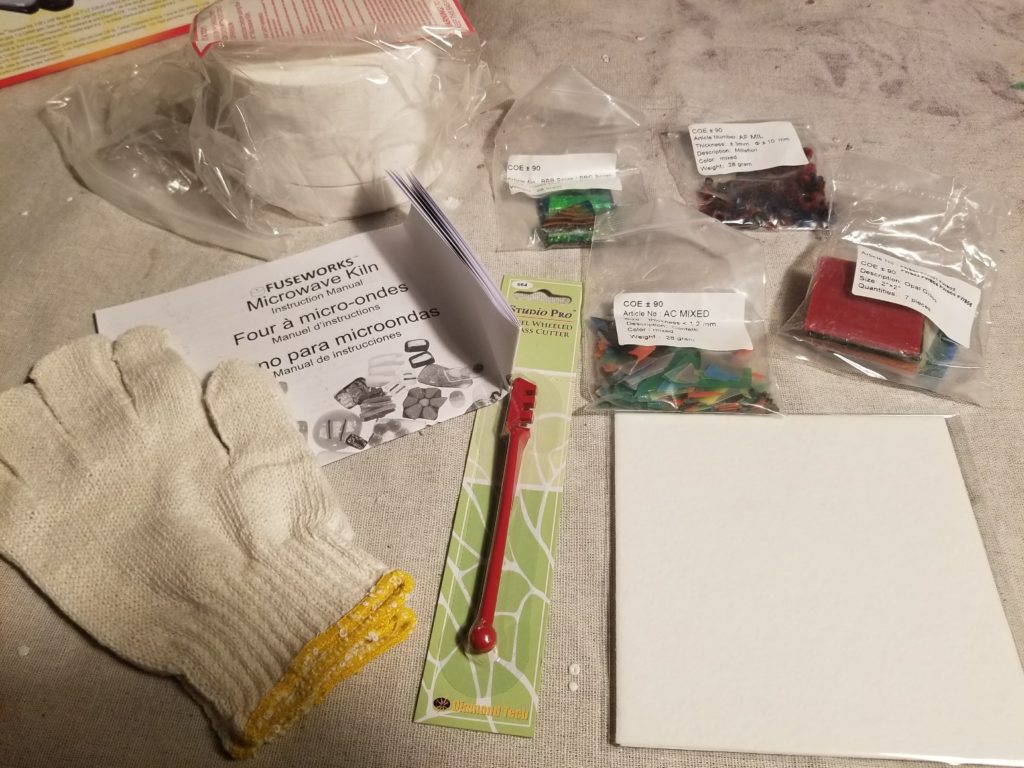
The kit comes with all the basic supplies you’ll need to get started:  The kiln (duh), gloves for handling a potentially hot kiln, glass cutter, kiln paper and some glass products to fuse.

I’ve worked in glass for many, many years.  I actually used to work at a glass studio and taught some classes, so I’m very familiar with these items.  I generally use higher quality items (a full kiln, a top-notch glass cutter, thicker gloves, etc) but the glass is pretty standard.

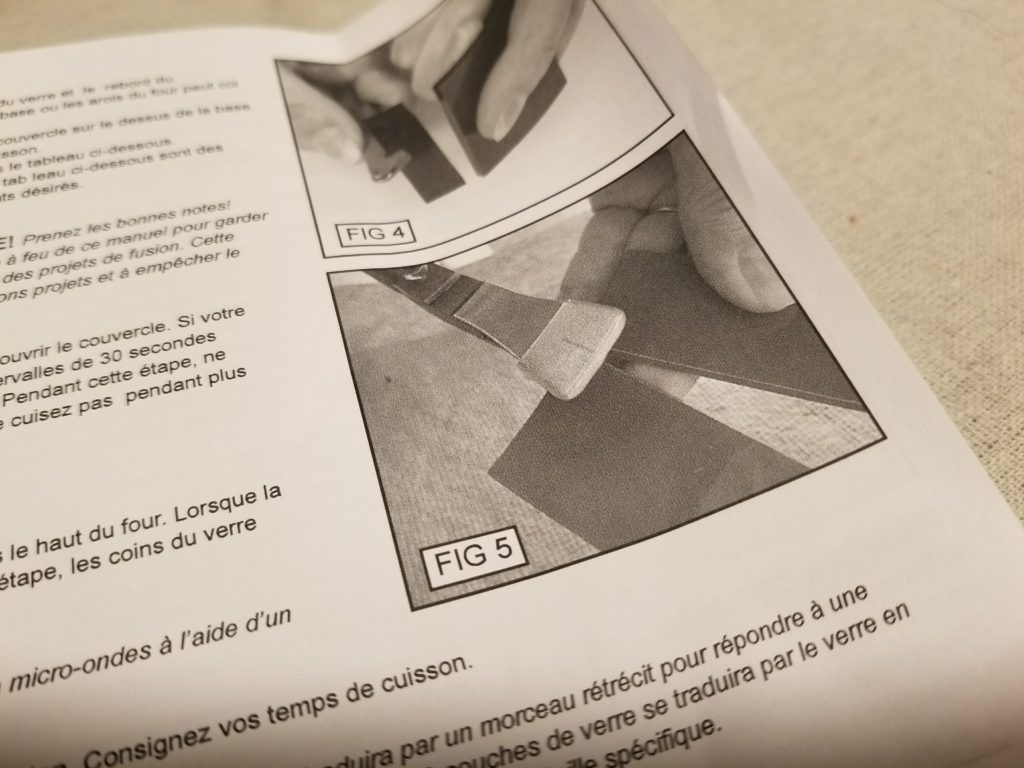
One thing that annoyed me was the instructions kept showing tools you don’t get with the kit.  For instance, Figure 5, shows ‘running pliers’ which you don’t get.  These pliers are pretty essential to cutting curves in the glass.  So this kit will pretty much limit you to straight cuts unless you want to get some running pliers as well.  Considering that the items you’ll make with this kit are very small, you won’t likely be making many curved pieces.

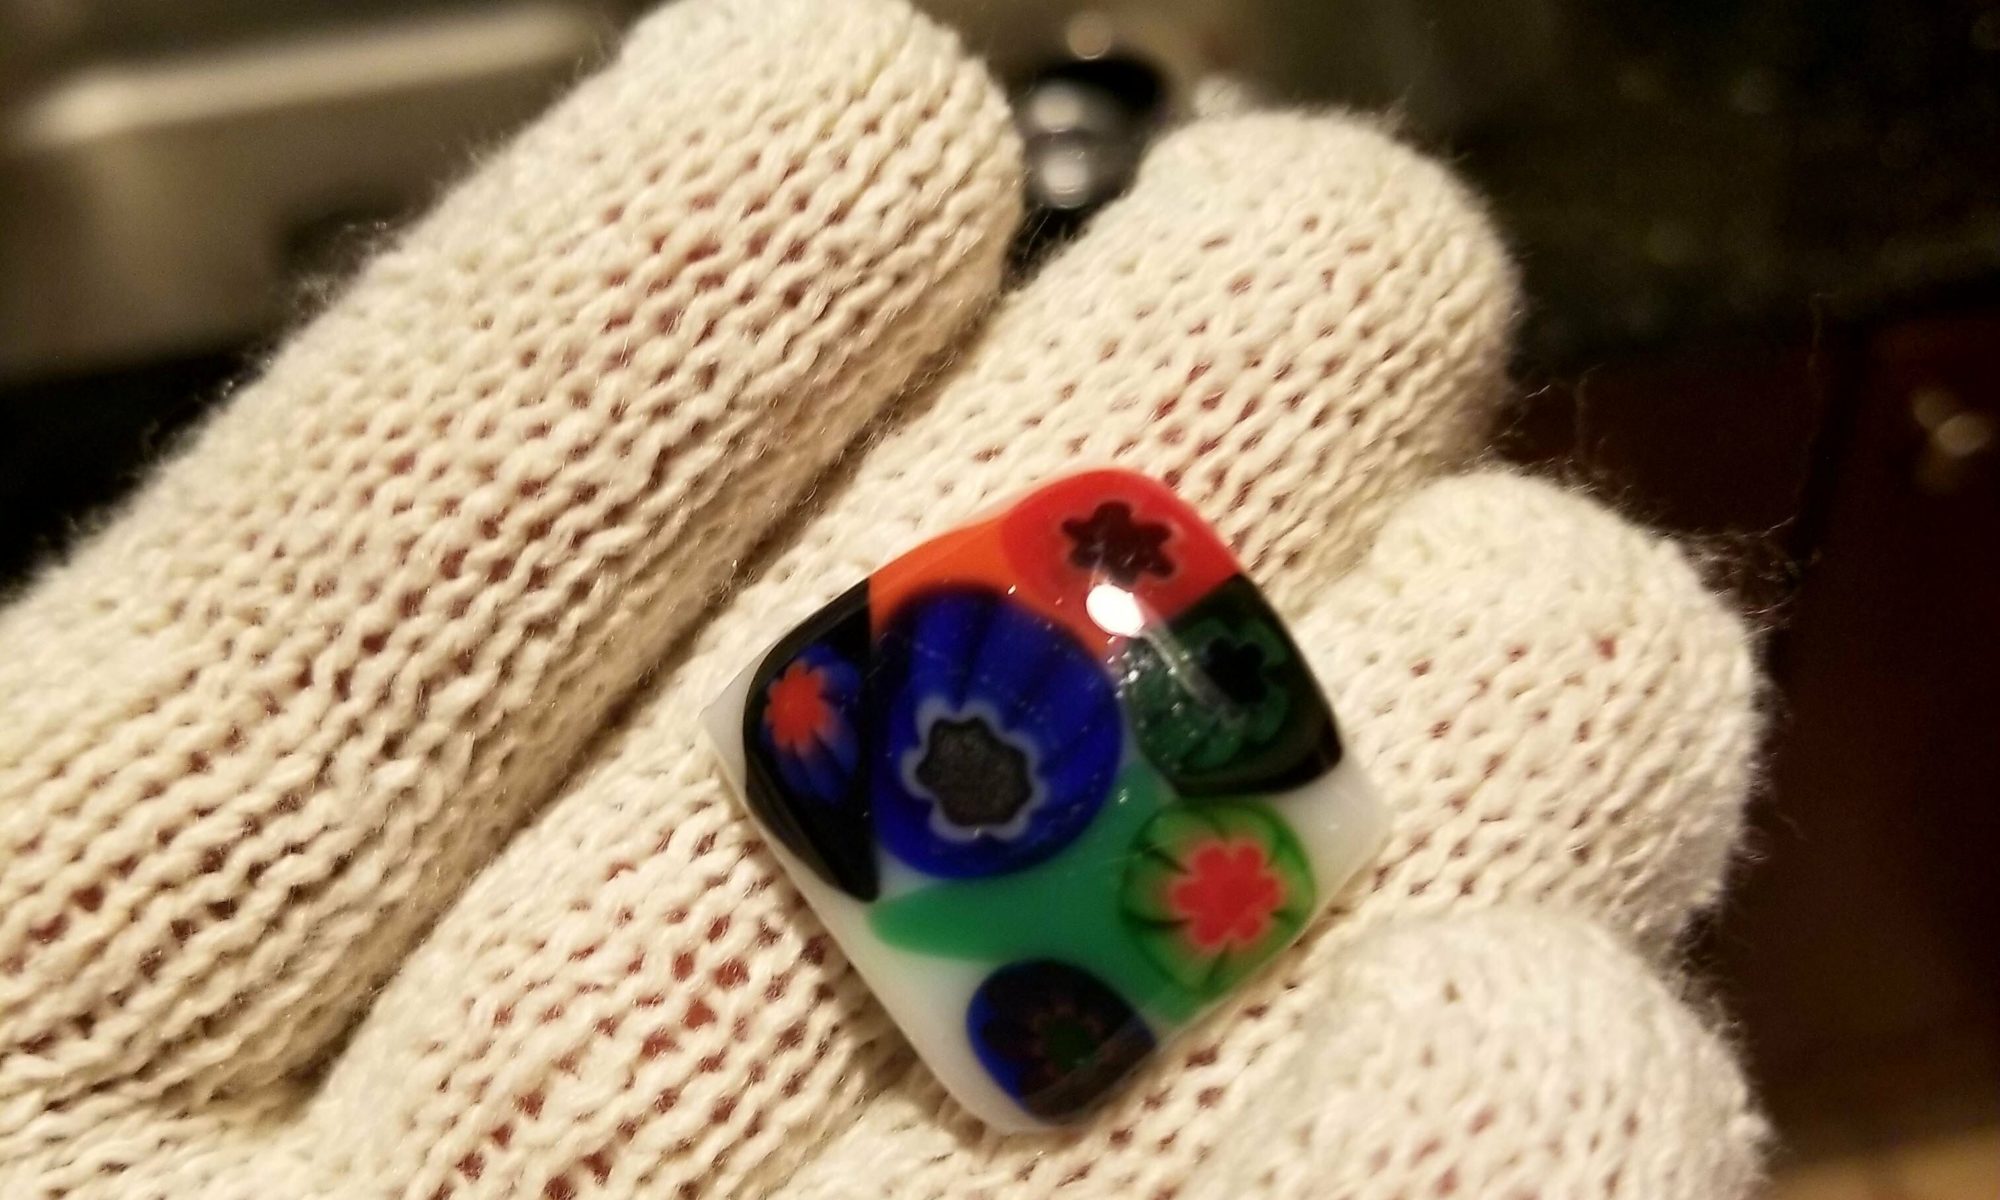
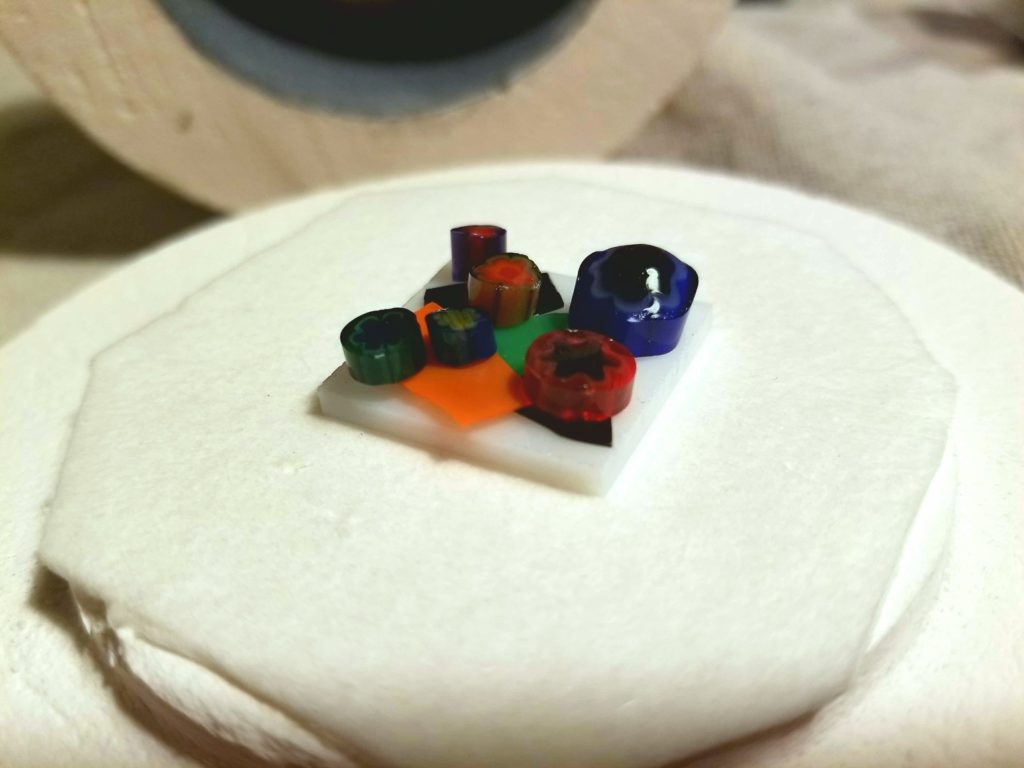
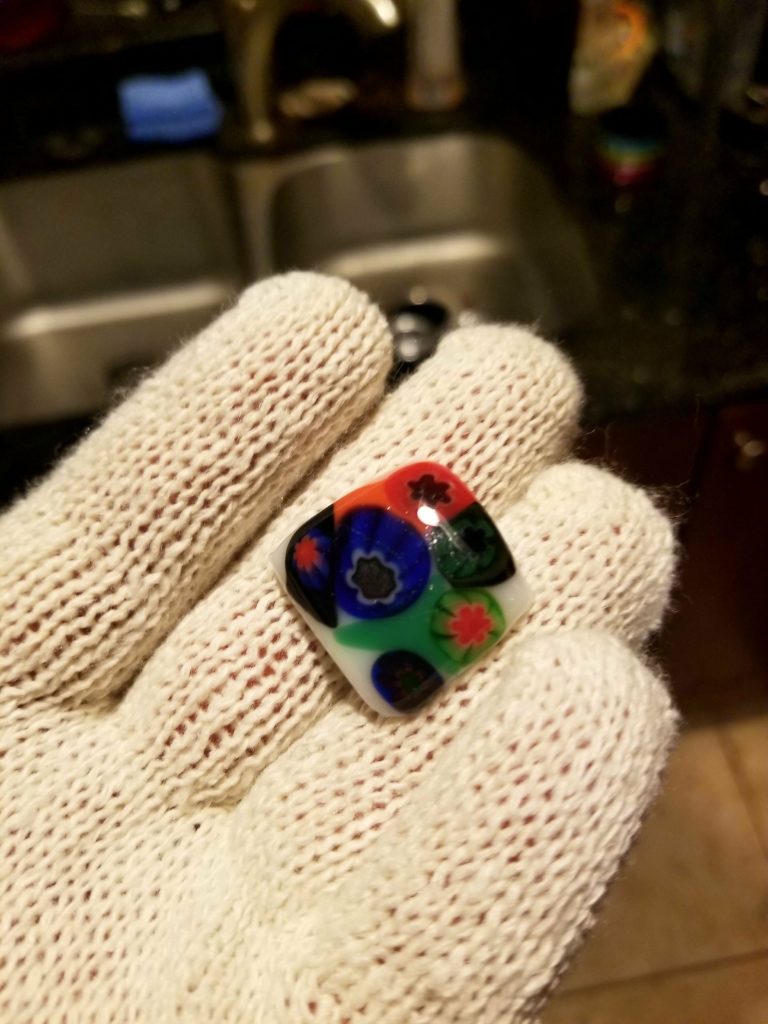
I cut some glass, slapped down some glass confetti and some millefiori and piled it all onto a piece of kiln paper.

I then closed up the kiln, placed it in my 1800W Microwave (you can use anything, the amount of time will change depending on your microwave) for 3 minutes.  Using my gloves, I peeked into the kiln and saw everything looked fine, so I let it sit for 30 minutes to cool off.

And there you have it, my glob of melted glass products.

Overall, this was pretty quick and fun.  I plan on playing with some of my ceramic supplies in it.  Some ceramic underglazes and liners can be used with glass, so I may do some mini paintings or something.