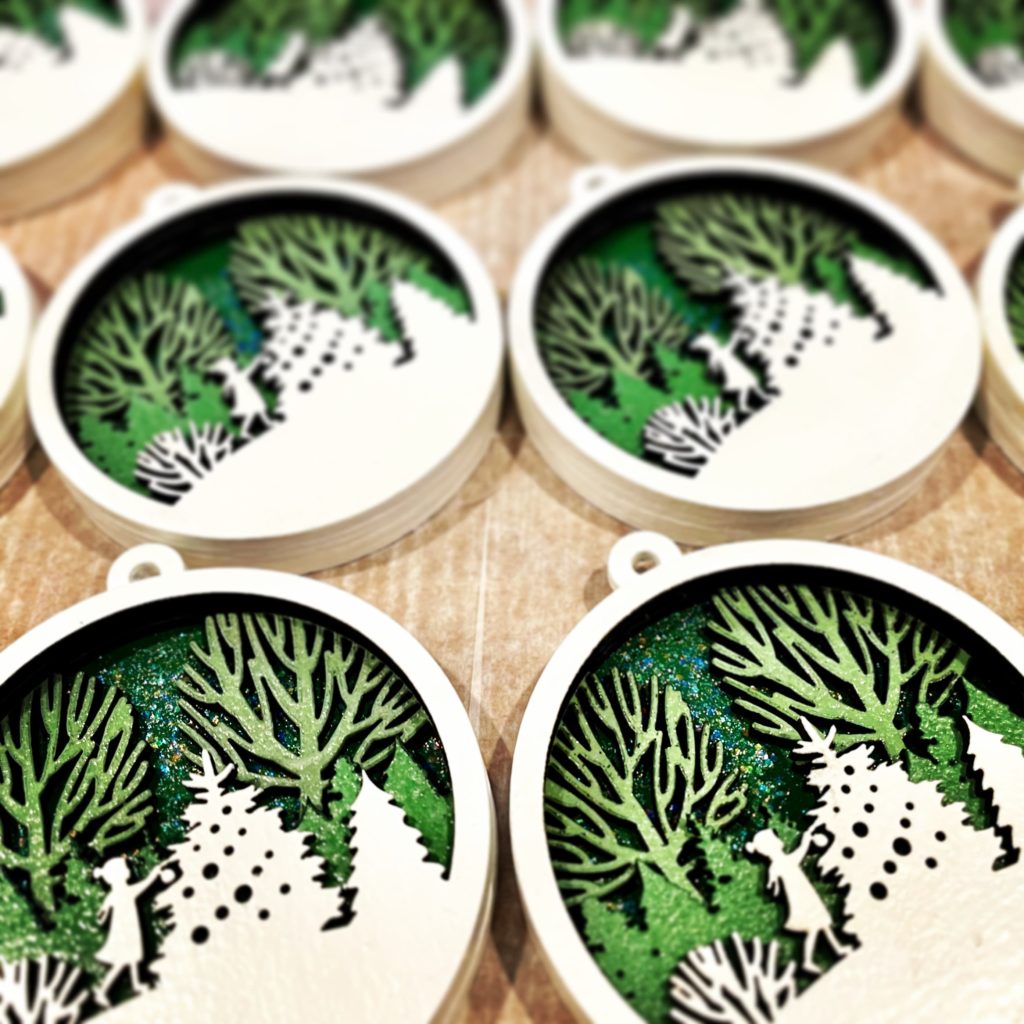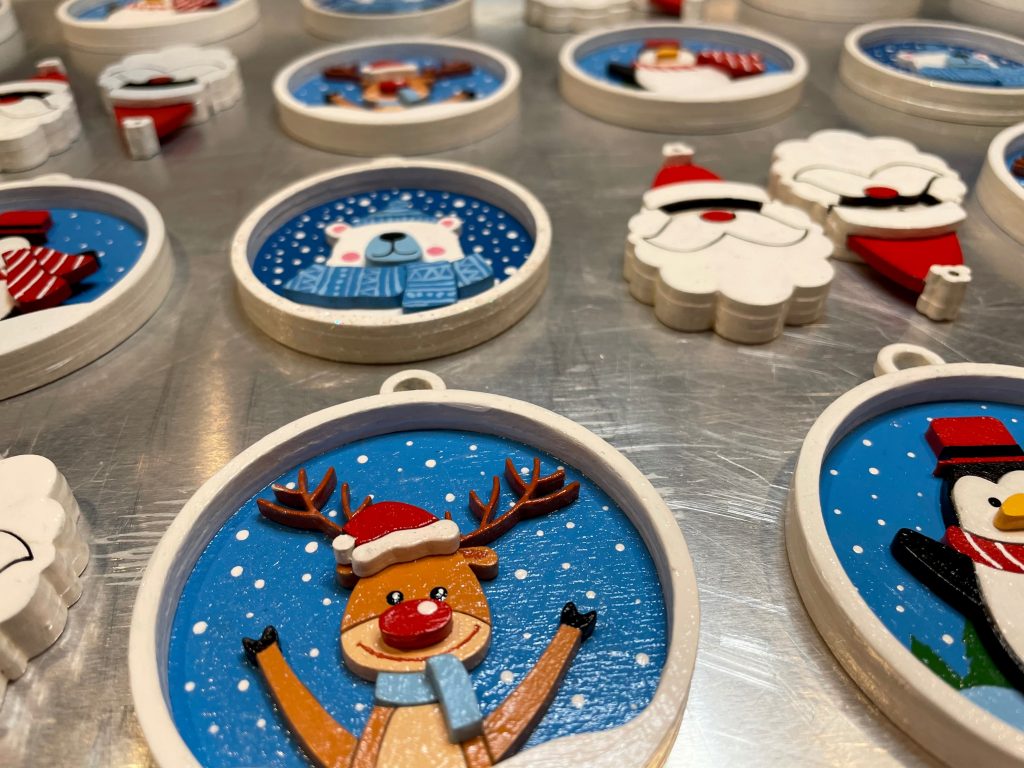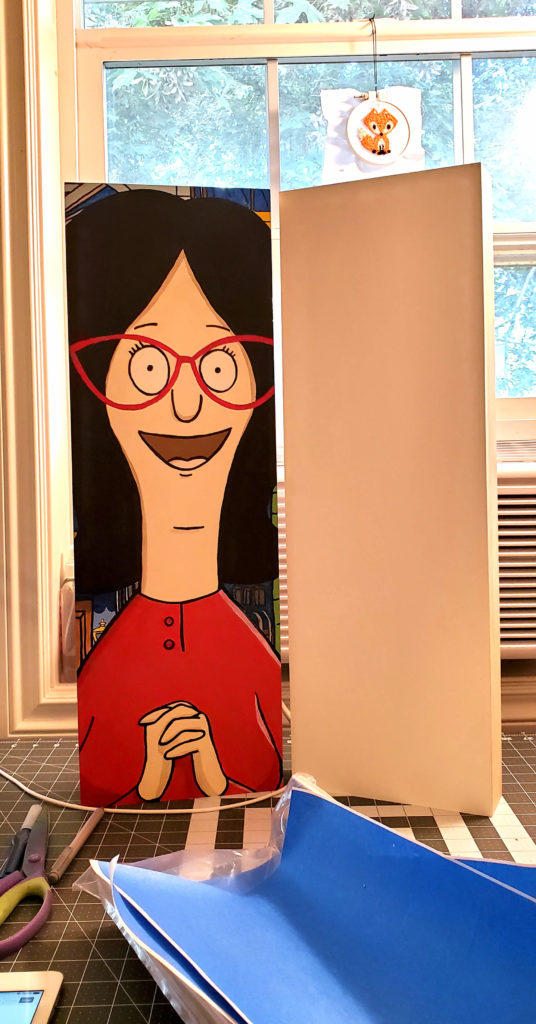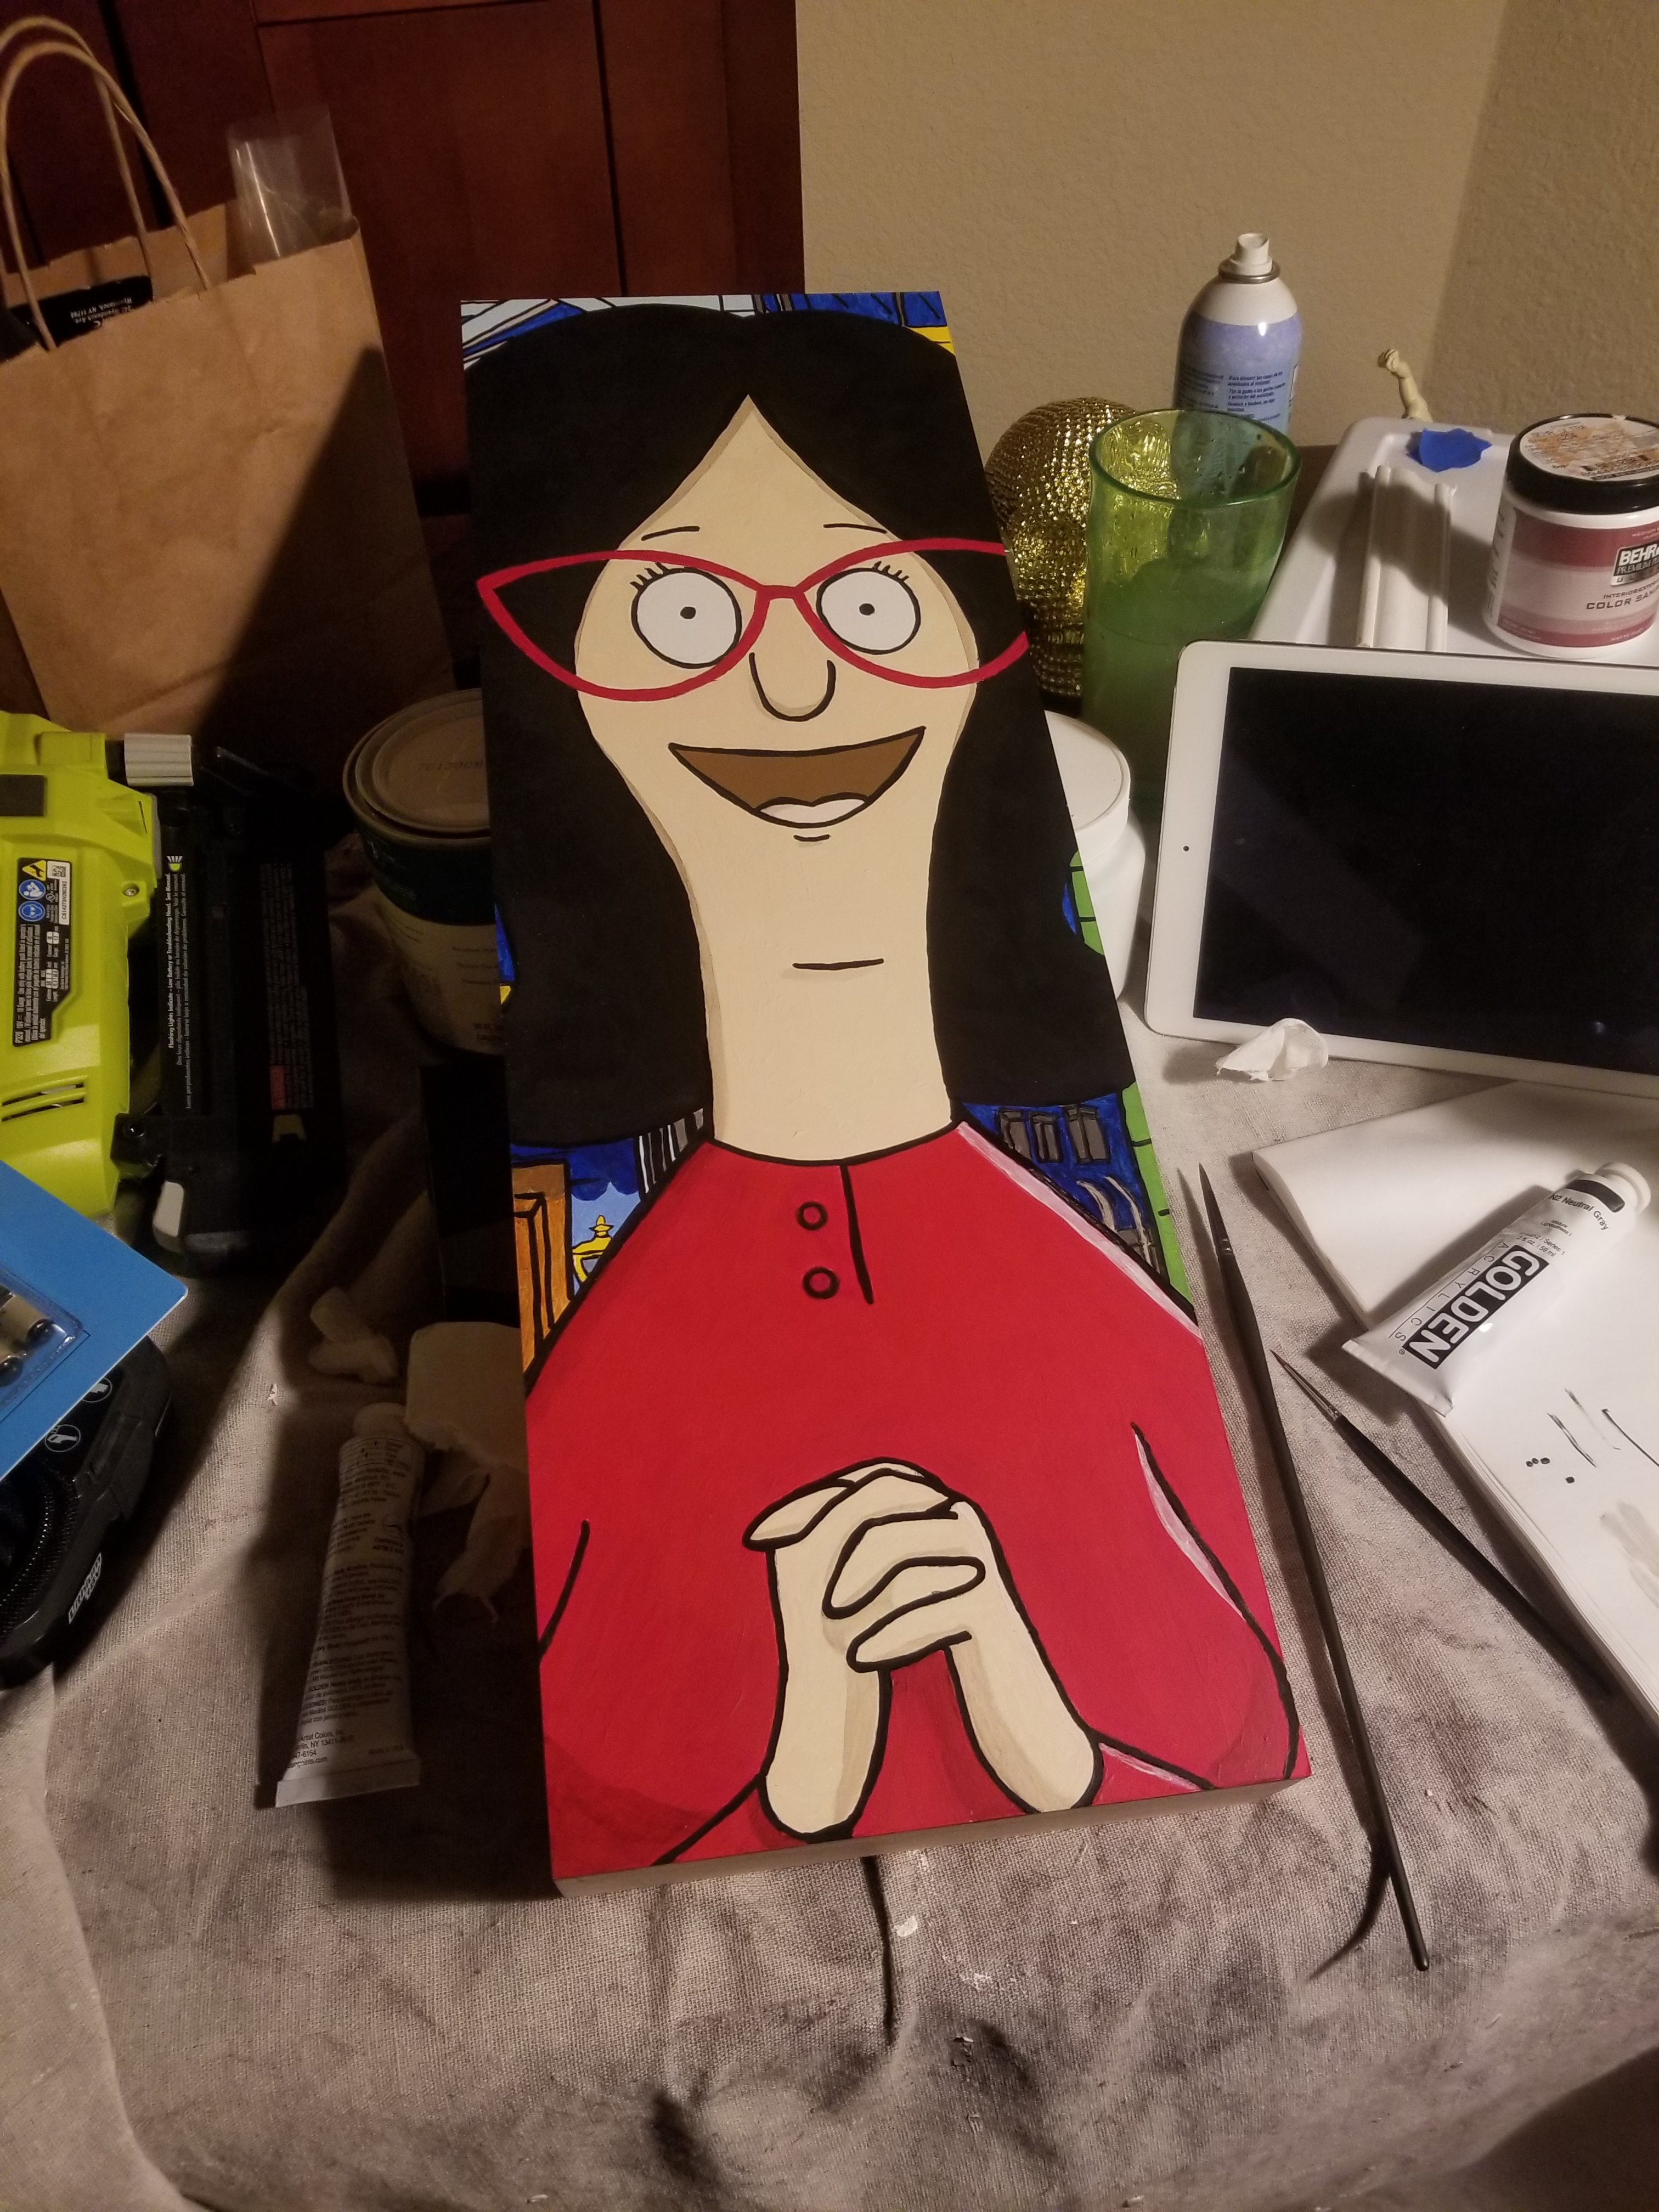
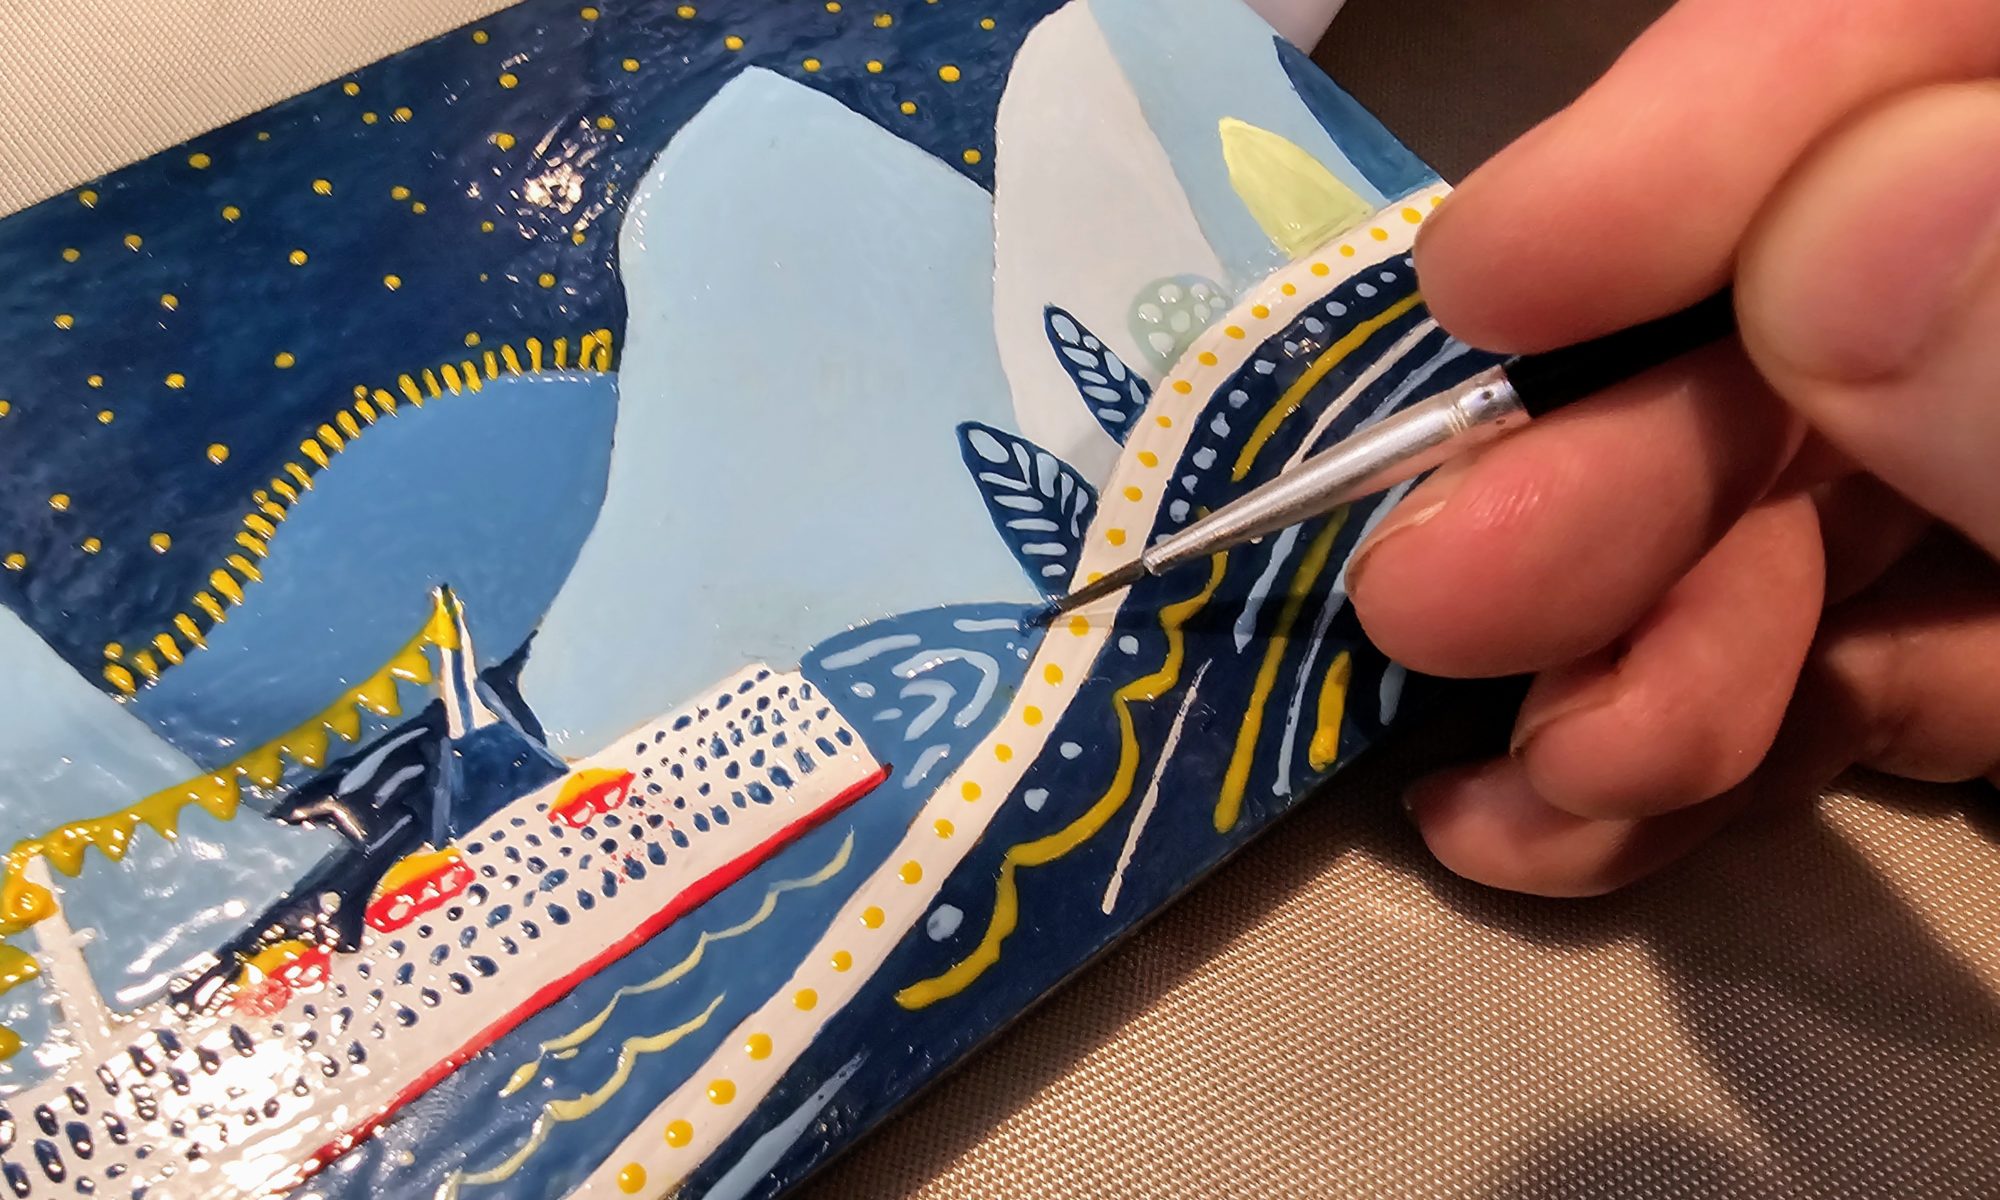
I’ve always found resin, painting and the creativity people put into nail art very interesting. I’ve decided to try and put those things together and paint with UV gel nail polish. Not on nails, but on a small wood painting panel.
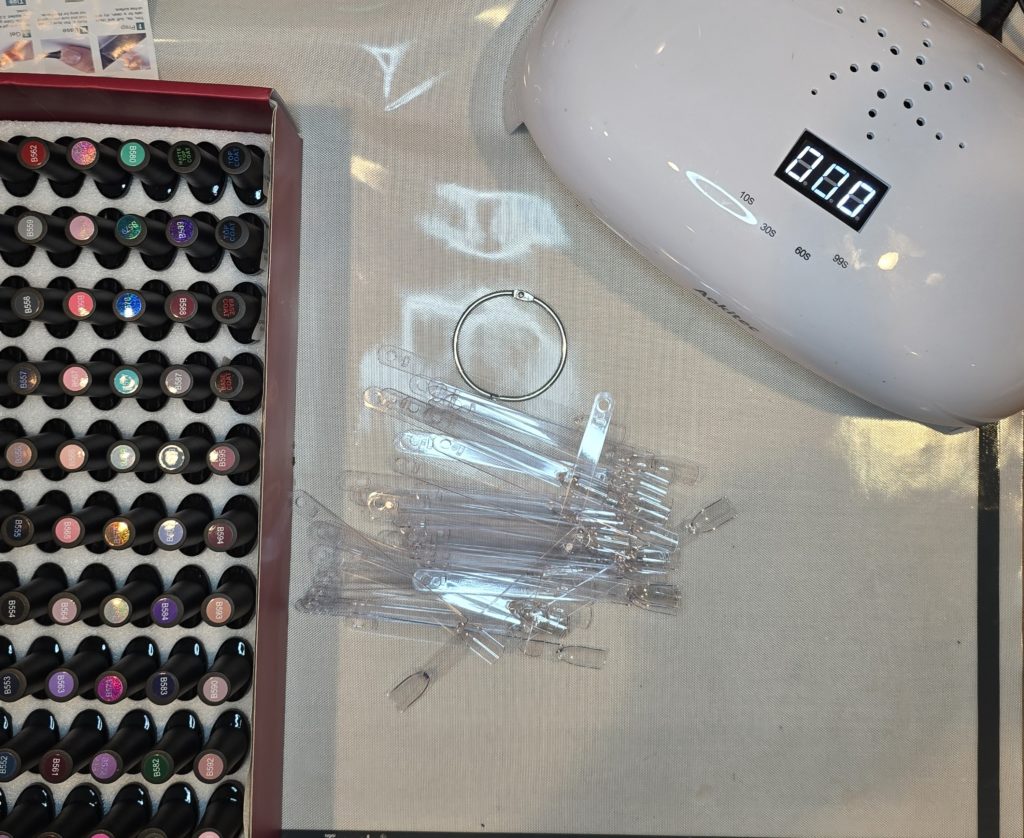
UV Gel polishes are just liquid resin (supposedly a safer version), which I’ve used in my craft room for years. Normally, I’d add colorants or pigments to clear resin and pour it into molds or paint it onto something, but with polishes they will already have colors mixed in for me.
The added bonus to using gel, and what I’m probably most excited about, is that there is their ability to instantly set. With a nail lamp, each layer is cured within seconds and you aren’t literally sitting there and watching acrylic paint dry. And like oil painting, I can pretty much keep playing around with it in a wet form until I decide I’m happy with what I have.