Testing Art Mediums on Shrinky Dinks

baking shrinky dinks in a toaster oven

A while back I had fun making pins with Shrinky Dinks and I keep thinking about making more.  The images I had picked out in the past were mostly white (or were just prints) with a touch of color that I added with Copic markers.  The next ones I make I hope to do more drawing and coloring, something original.  I wanted to see what supplies I had that would work and which would look the best once shrunk.

Continue reading “Testing Art Mediums on Shrinky Dinks”

More Layered Wood Ornaments

layered wood ornaments

Just a quick update on the layered wood ornaments I’ve been making.  12 days of Christmas?  No, it’s not the 166th day of Christmas in my craft room.  I’ve knocked out a few more ornaments designs and this was the last one.   I plan on making one more before figuring out little hangers, packaging, and where to sell them.

I can’t wait for it to be done.  Honestly, I don’t want to see any Christmas stuff for a very long time.

Experimenting with Cloning a Stamp

After a couple of posts on making stamps, I started to wonder how you would clone a stamp?  Do mass producers of stamps really go through this process for each stamp?  After seeing some of the stamps on the shelves I would guess that they would make a mold and fill it with photopolymers and then zap it with UV light.  Some photopolymer stamps have two colors of resin in them (black and clear) and you could do that if you had a mold.

I decided to try and make a mold of my last stamp, the panda from my post, Testing 3D Printed Stamps.   There are many methods and products that can make molds and I’m going to start by trying one of the least expensive methods: silicone caulk molds.

silicone mold making supplies

Continue reading “Experimenting with Cloning a Stamp”

Trying the Cricut Engraving Tip

The last few months have been hectic.  As I mentioned previously, I’ve been remodeling the house.  While the remodeling is done, there’s been a lot of post-construction work I’ve taken on and then moving everything back in.  I’m only partially moved in, however if I didn’t get some craft time in soon I was going to go mad!   All the stuff I love has been packed away in boxes and inaccessible.

The new Cricut Engraving Tip has been sitting in it’s package for quite a while and I made sure to make some time to unpack the Cricut and give it a try.

materials for this project


Continue reading “Trying the Cricut Engraving Tip”

Creating a whole other messy room

I finally broke out some of my miniature kits that have been collecting dust.  The one I plucked out of the stack was a miniature craft room which is just crammed to the gill with stuff.   Why clean my craft room when I can spend time creating a whole other messy room right on my desk?

finished piece to my miniature sewing room kit

I forgot how long these take.  I’ve already spent several nights and I only have a few pieces put together.   It isn’t helping that these kits are usually from china, so the instructions are usually more confusing than helpful.   I’ve already messed up big once and ruined the two side pieces to this shelving unit.  I had to run to the store and buy more wood to make and paint those boards to match everything else.

Continue reading “Creating a whole other messy room”

The Cricut knife blade has been a disappointment

cricut knife blade cutting chipboard

So far, the Cricut knife blade has been a disappointment.  As I mentioned in my last post, I was taking my template idea back to the drawing board.  Maybe I started with way too intricate of a design.  Let’s start over with a random polka dot design.

cricut knife blade cutting chipboard

I loaded my polka dot SVG into the software and pushed start.   Right away it started the same stabbing motion and slowly started stabbing out my circles.  So far what i’m noticing is that it’ll cut lines and slight curves with relative ease.  Which, makes sense when you’re sliding a flat knife through a rigid material.  Some turns will not be possible.  I was hoping that it could at least cut a nice circle though or at least cut the first few layers quickly until it gets deeper into the material.

Continue reading “The Cricut knife blade has been a disappointment”

Trying the Cricut Maker Knife Blade

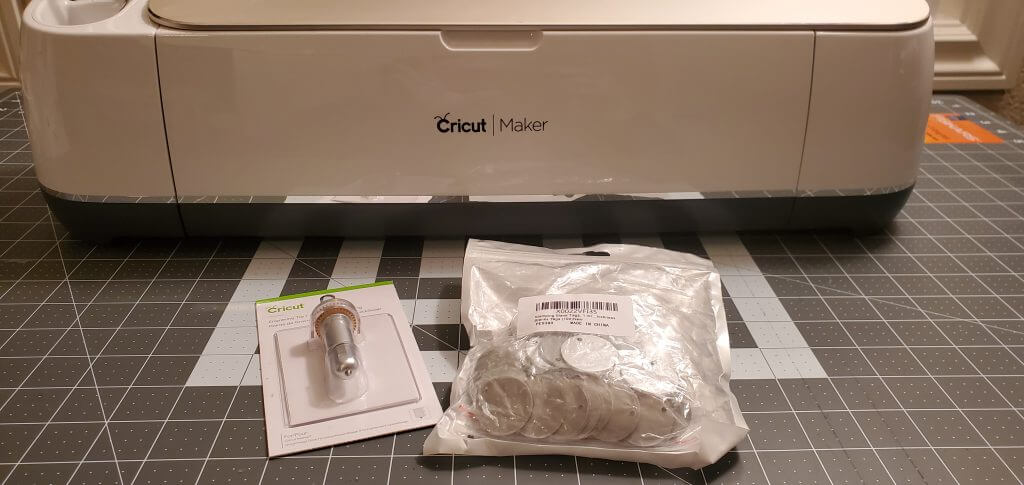
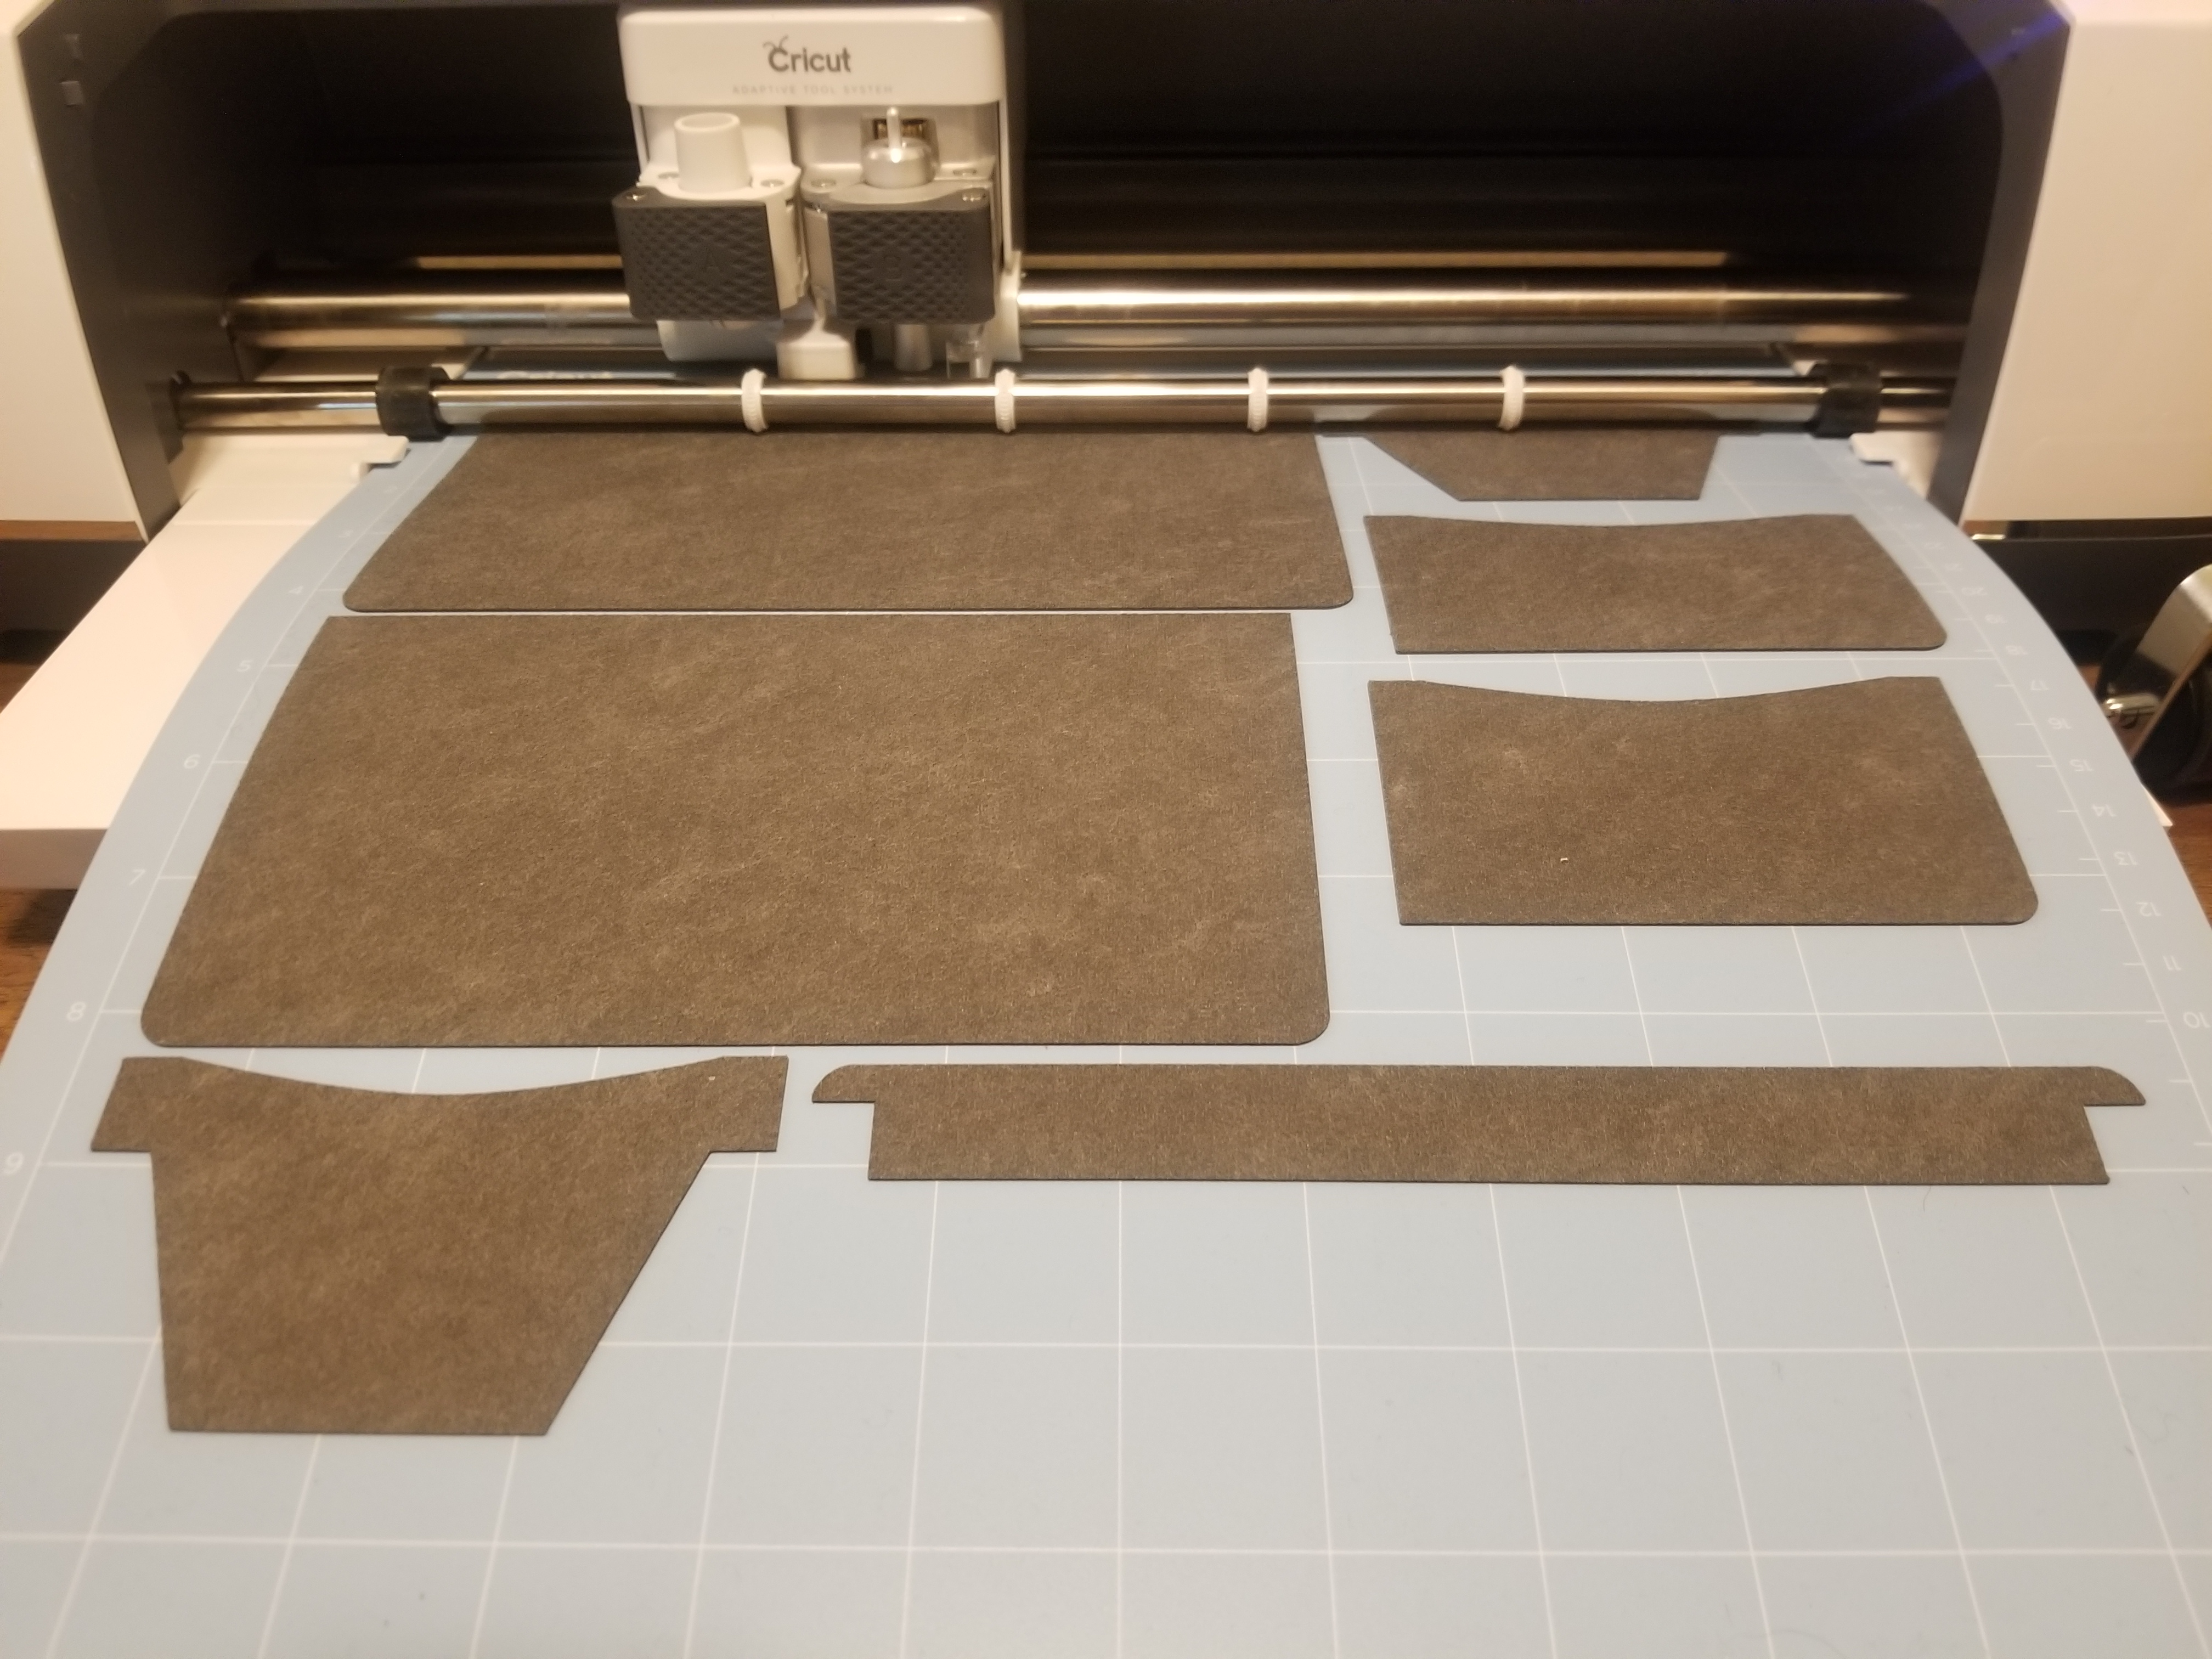
I’m finally ready to try out the new Cricut Maker Knife Blade.  It’s been sitting next to the machine all week and I have some time to play with it.

cricut maker knife blade

The knife blade is made to dig in and cut thicker materials, like the 2 mm chipboard materials being sold.   I went back to one of my never-started projects collection and grabbed a bag of cashmere scarves that I planned on dyeing at one point and I thought I’d make a template for that project.  I wanted to use chipboard so I could use light-sensitive dyes.  Even if the dye liquid bleeds into the material, UV rays wouldn’t be able to penetrate the board keeping the image sharp on the scarf.

In the past week, I had put together some files I wanted to use as a template.  One of those templates was a Damask stencil we’ve probably all have seen a thousand times.  If it can cut this out of the chipboard then I should be able to pretty much cut anything.

Continue reading “Trying the Cricut Maker Knife Blade”

Making a Wallet with the Cricut Maker

Finished Faux Leather Wallet

One of the things I’ve really been wanting to try was making a wallet with the Cricut Maker. A few days ago I began scouring the internet for patterns. I wanted something free and simple to try things out. When I came across the MakeSupply company’s website, I was pretty much in business. They offer free templates you can download and even videos on putting them together. I downloaded a Bi-Fold wallet template, converted it from PDF to SVG images, and uploaded it to the Cricut app.

faux leather on cricut maker

I have real leather to work with but I pulled out some faux leather instead. This is my first wallet, after all, I didn’t want to waste more expensive materials. Faux leather is pretty thin and the machine easily cuts through it with perfect cuts. Continue reading “Making a Wallet with the Cricut Maker”