
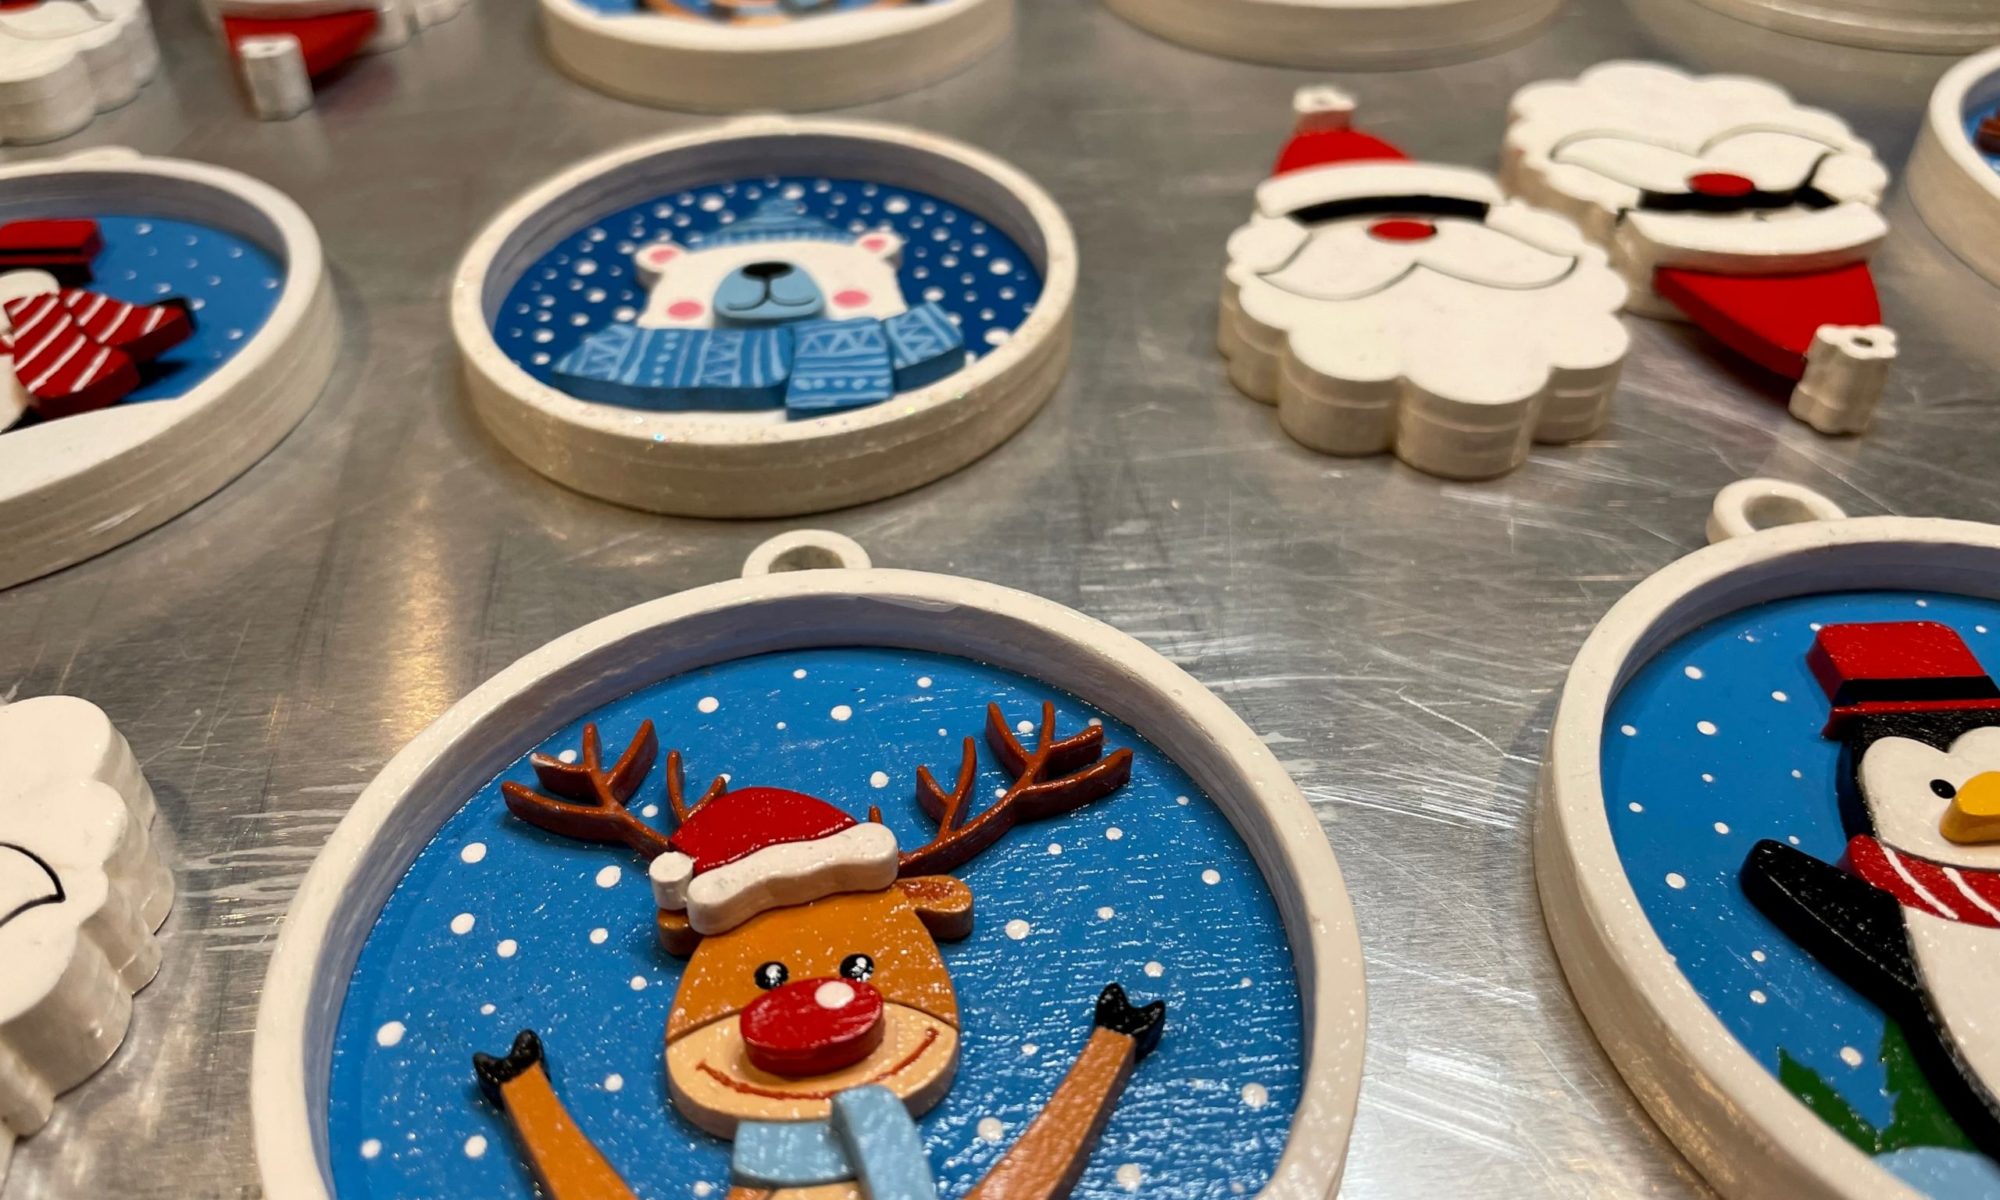
Just a quick update on the first project on the 3D-printed loom. The loom is built, now it’s time to make something!
I make stuff.
Just a quick update on the first project on the 3D-printed loom. The loom is built, now it’s time to make something!
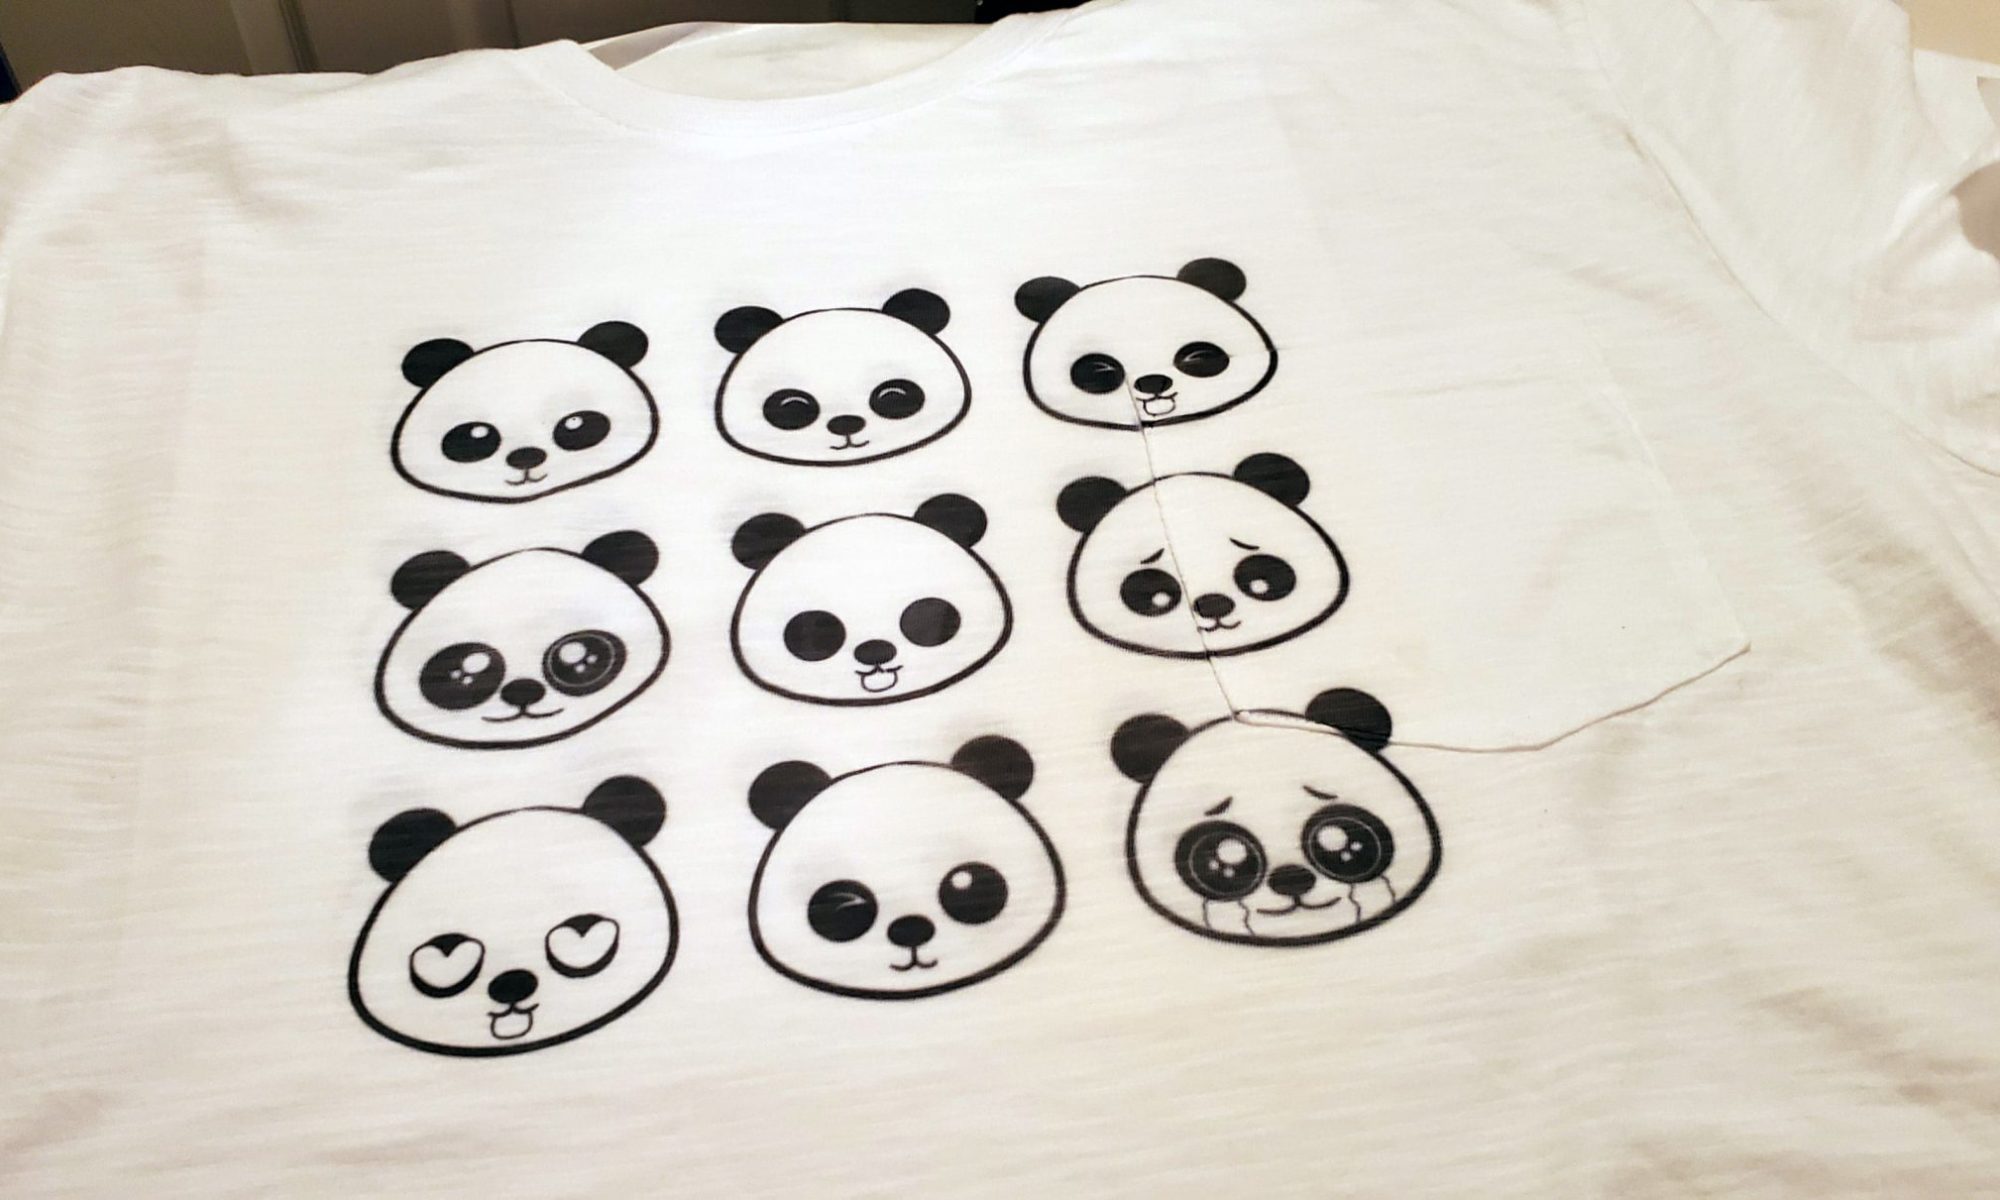
I play with a lot of Cricut products even when it’s not necessarily something I’m into at the moment. I never really had a desire to make shirts or customize fabrics but at the same time, I like knowing what I am capable of making with the tools I have. When the “Shaylee” pack of infusible papers popped up for sale on my Amazon recommended page, I figured it was time to give Infusible Inks a try.
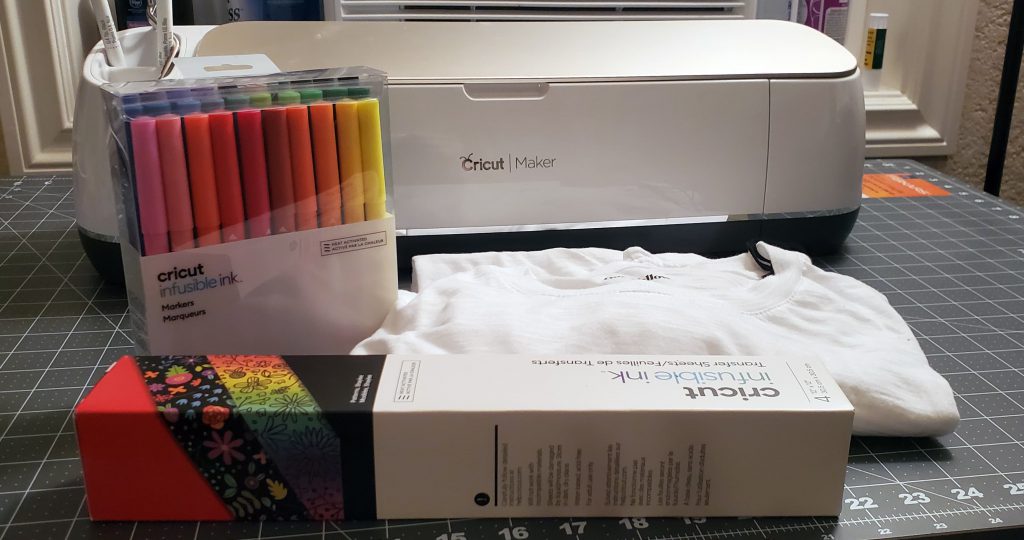
Over the course of a week, I hit several other stores and slowly picked up supplies. When I was at Target, I grabbed some white t-shirts. When I was taking a leisurely stroll around Joann Fabrics, I also grabbed the infusible ink markers.
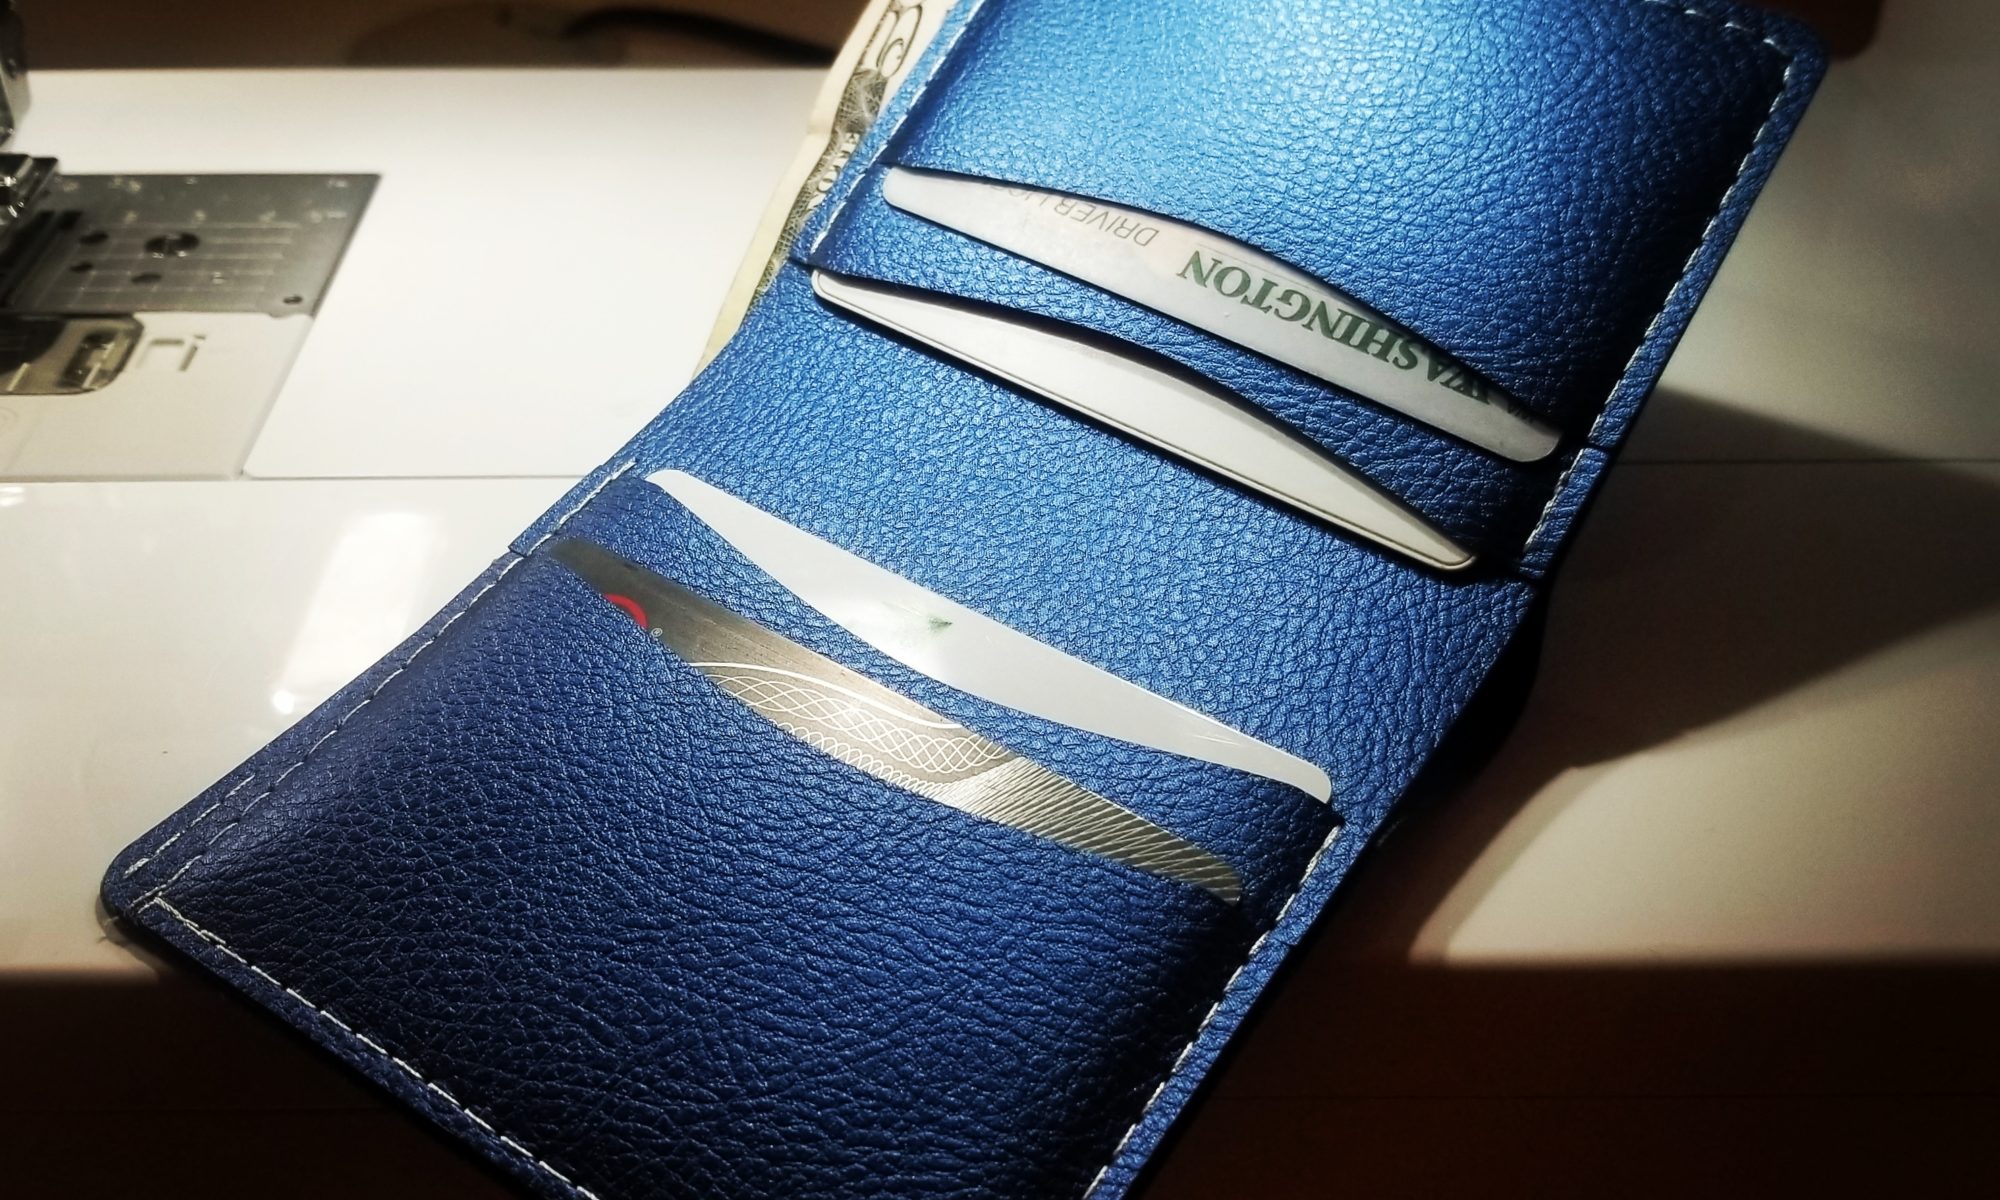
One of the things I’ve really been wanting to try was making a wallet with the Cricut Maker. A few days ago I began scouring the internet for patterns. I wanted something free and simple to try things out. When I came across the MakeSupply company’s website, I was pretty much in business. They offer free templates you can download and even videos on putting them together. I downloaded a Bi-Fold wallet template, converted it from PDF to SVG images, and uploaded it to the Cricut app.
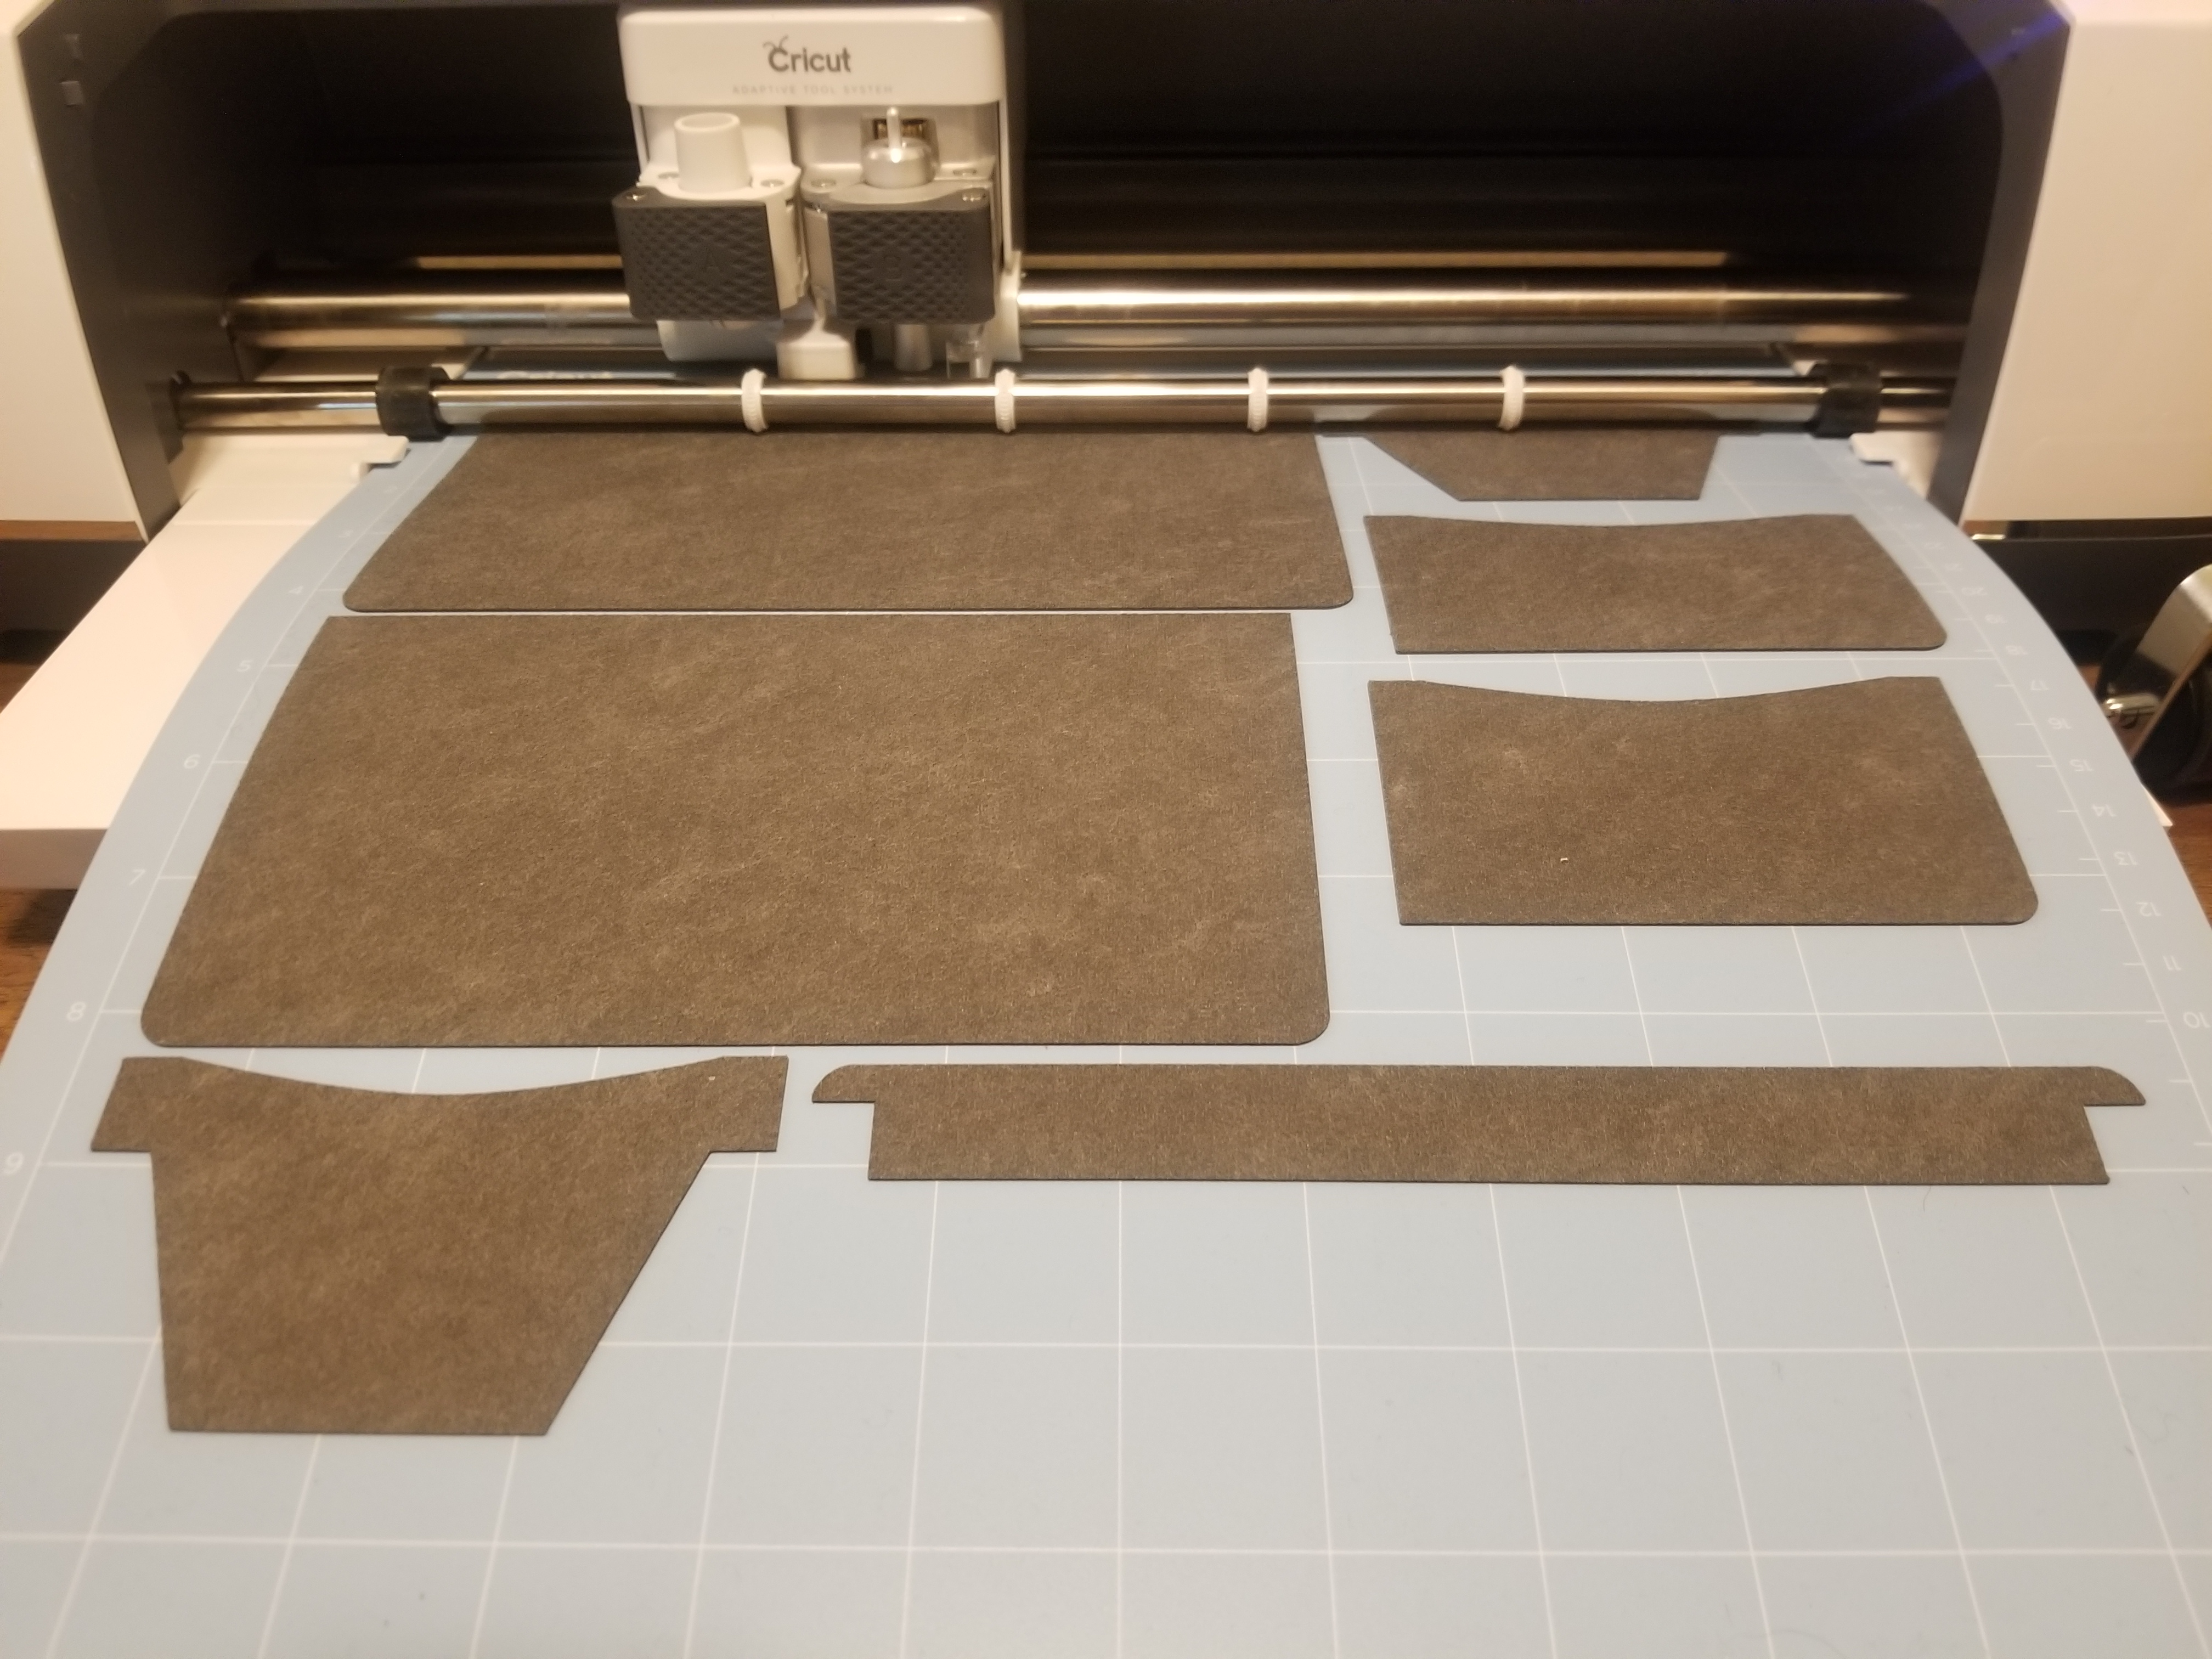
I have real leather to work with but I pulled out some faux leather instead. This is my first wallet, after all, I didn’t want to waste more expensive materials. Faux leather is pretty thin and the machine easily cuts through it with perfect cuts. Continue reading “Making a Wallet with the Cricut Maker”
I received another Craftsy box last Thursday, which contained a Worsted 3-Way Scarf Kit I bought during one of their latest sales. I really do love their sales. Generally, you can’t even get the yarn for the price these kits go for. Even if I wasn’t going to knit a scarf, I’d probably still buy the kit just for the deal on yarn. So I got the kit, picked out one of their 3 designs that came in the kit and got to knitting. This started off a weekend of yarn.
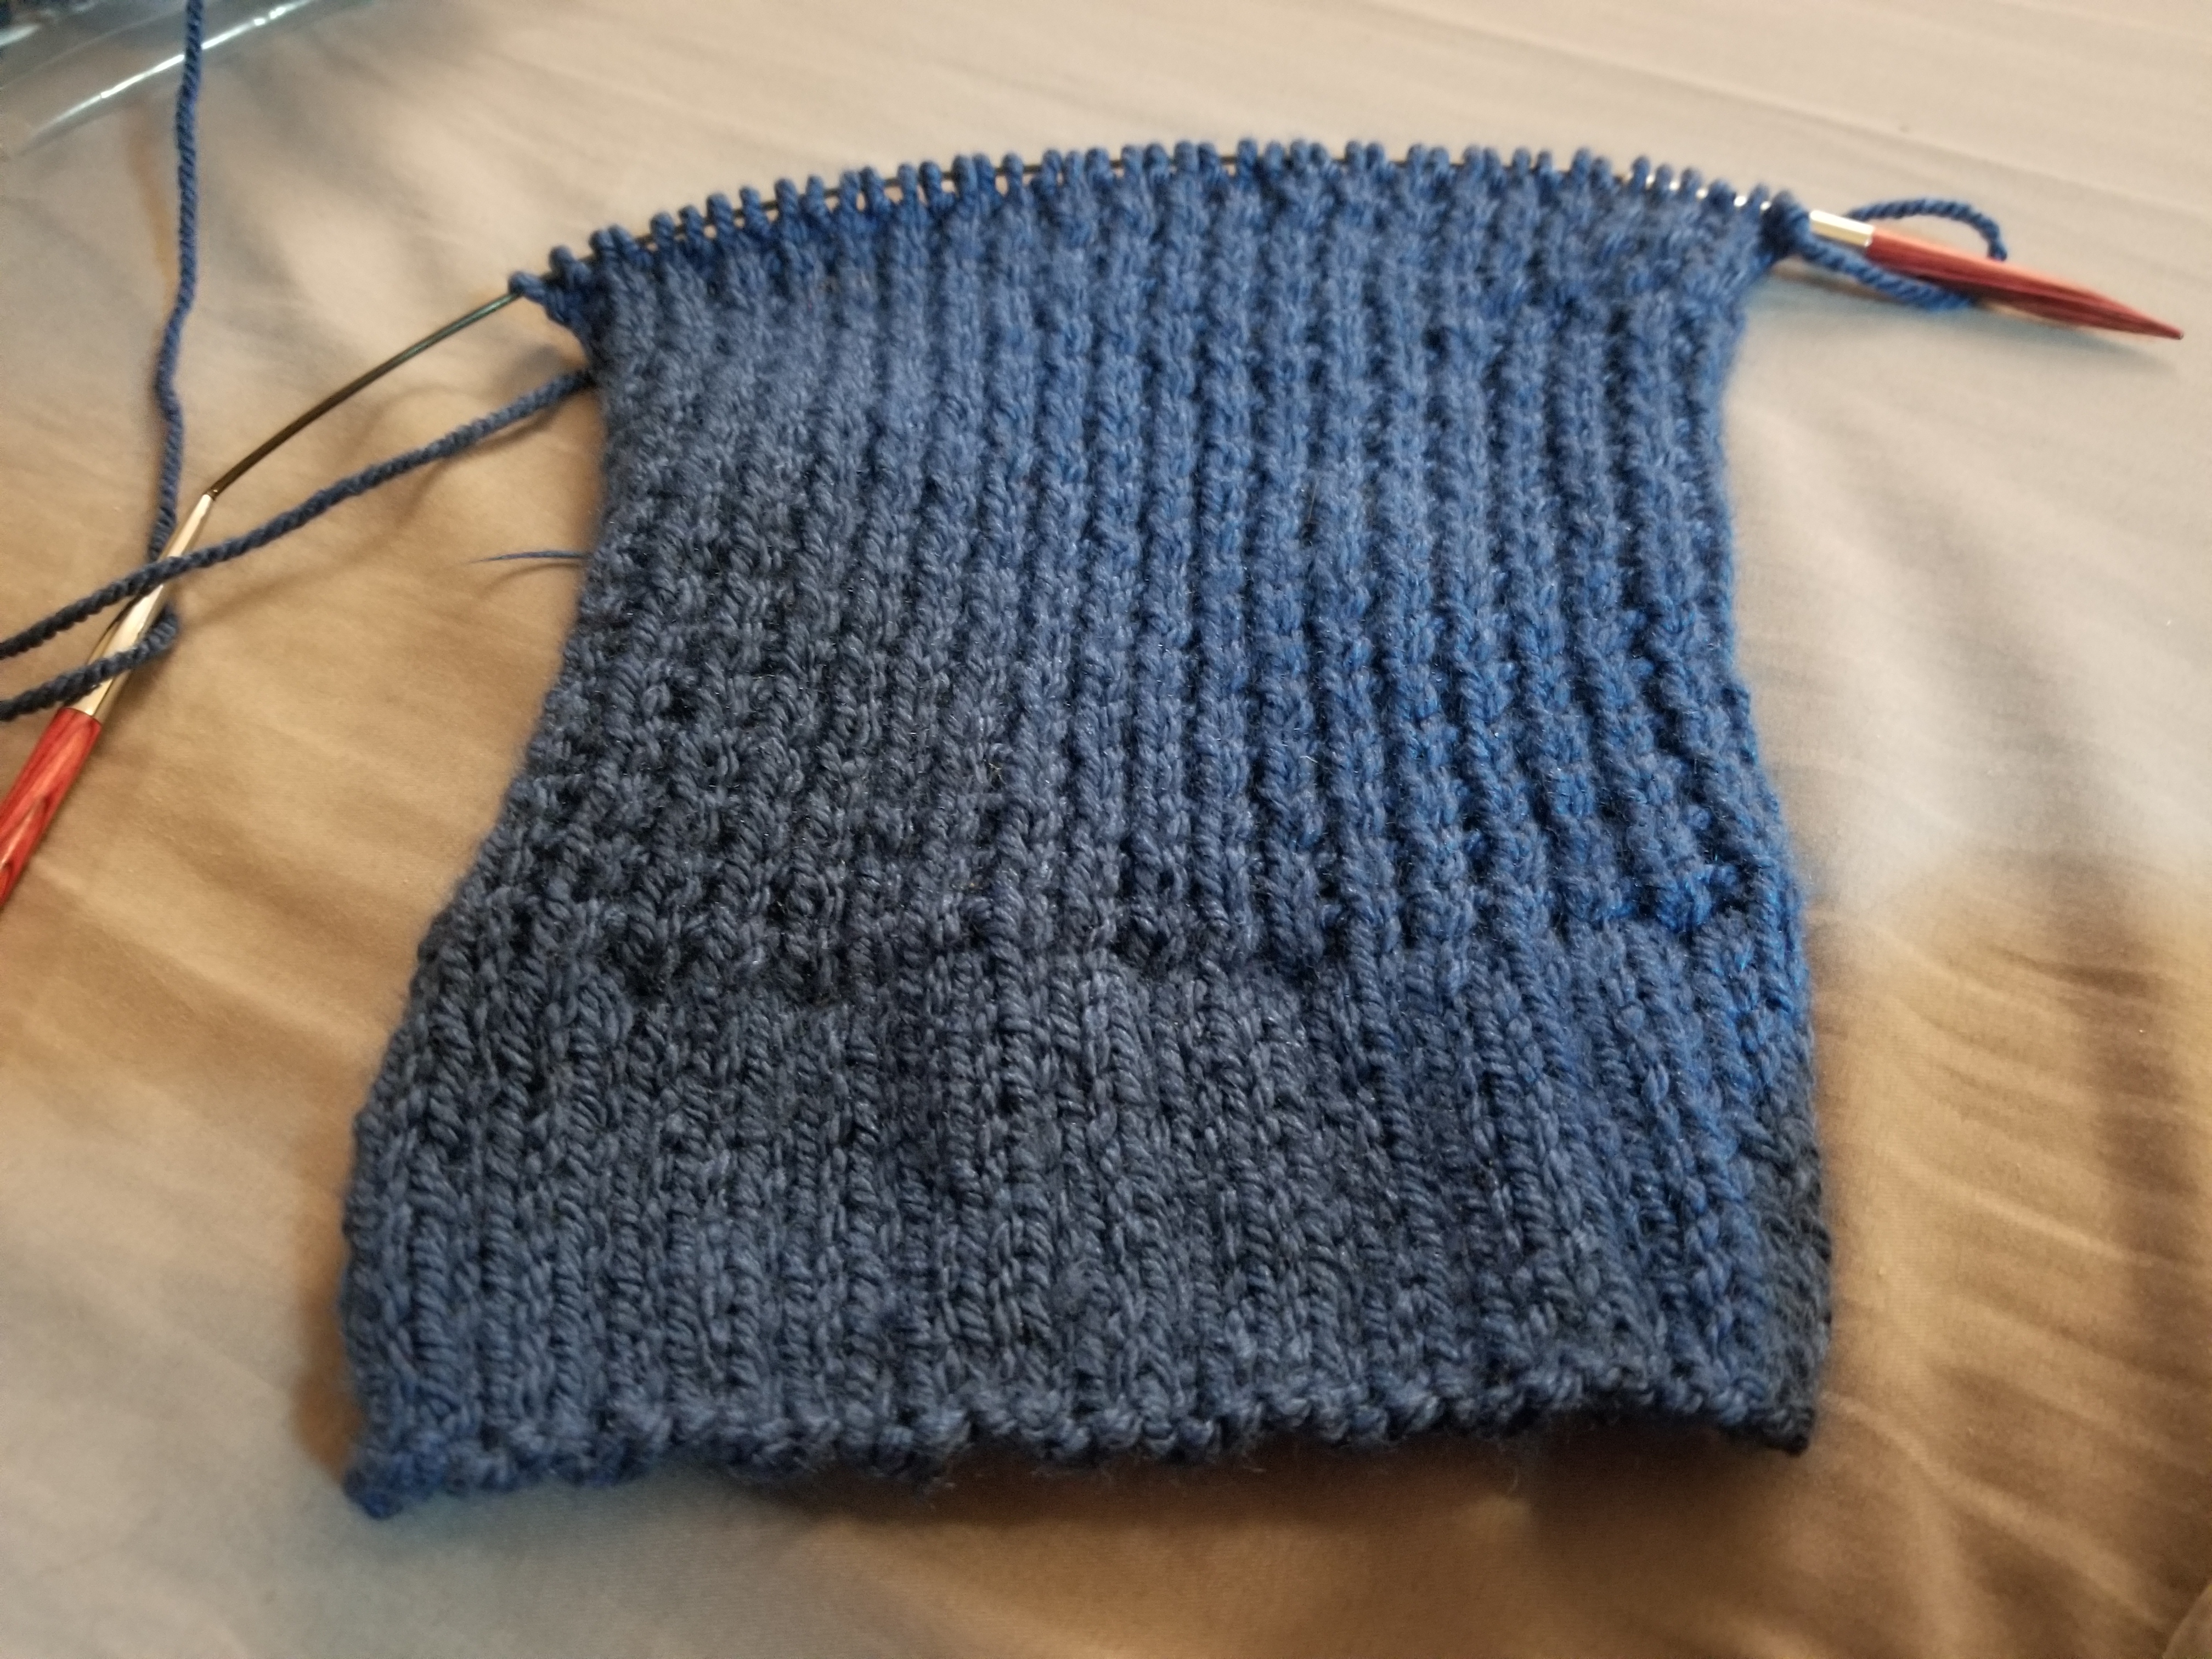
I picked the kit in the color “Denim”. It turned out to be a pretty simple pattern, which is basically knit the right side and a 1×1 rib on the back which gives this texture. I generally put on a documentary when I work on crafts and sometimes I get sucked in and lose count of my stitches. I’ve already screwed up several times. You might be able to see my mistakes at the top right. But as I go it’s getting easier and easier, so I may just rip it all out and start again. Or I might leave it, because — who cares.
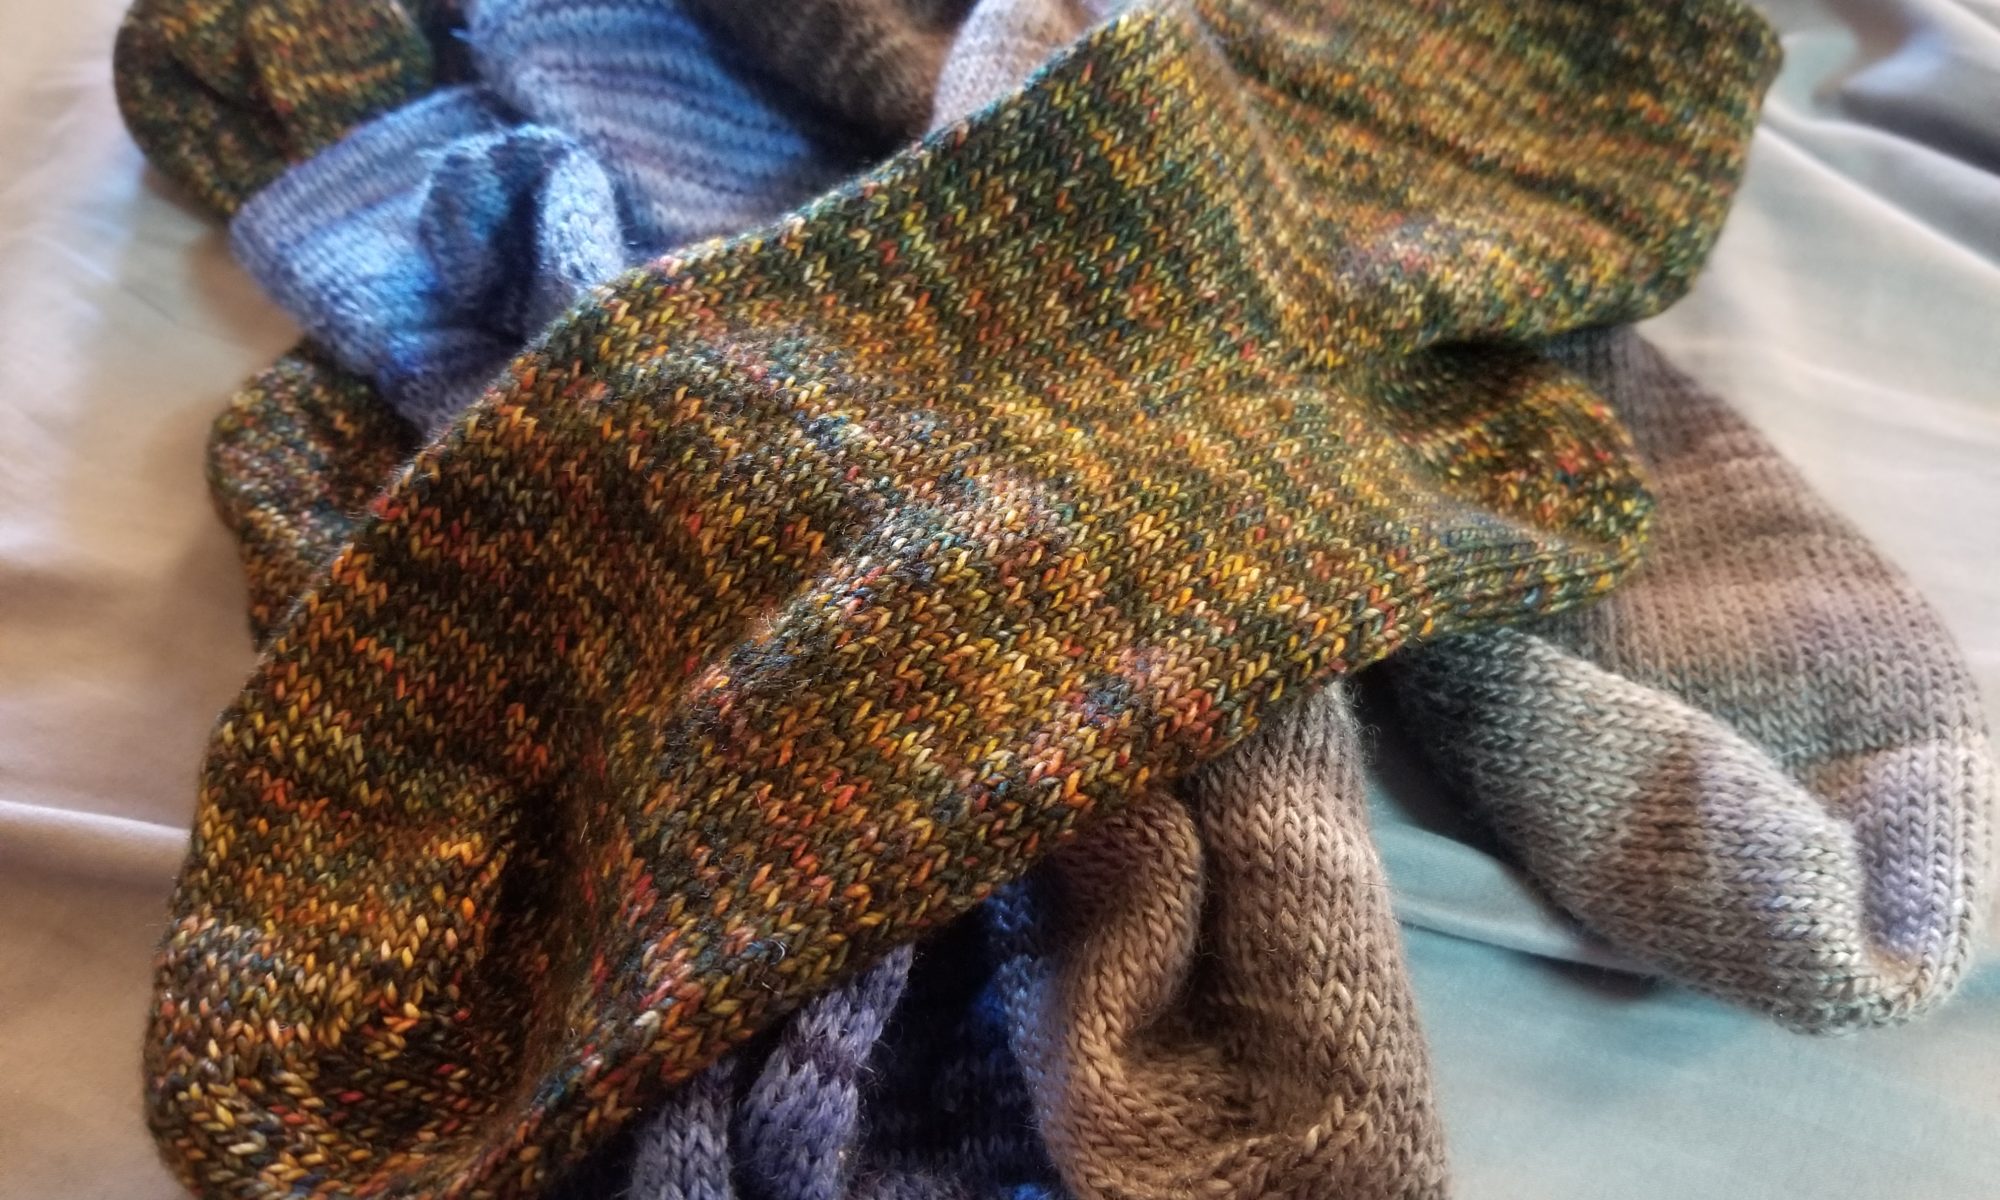
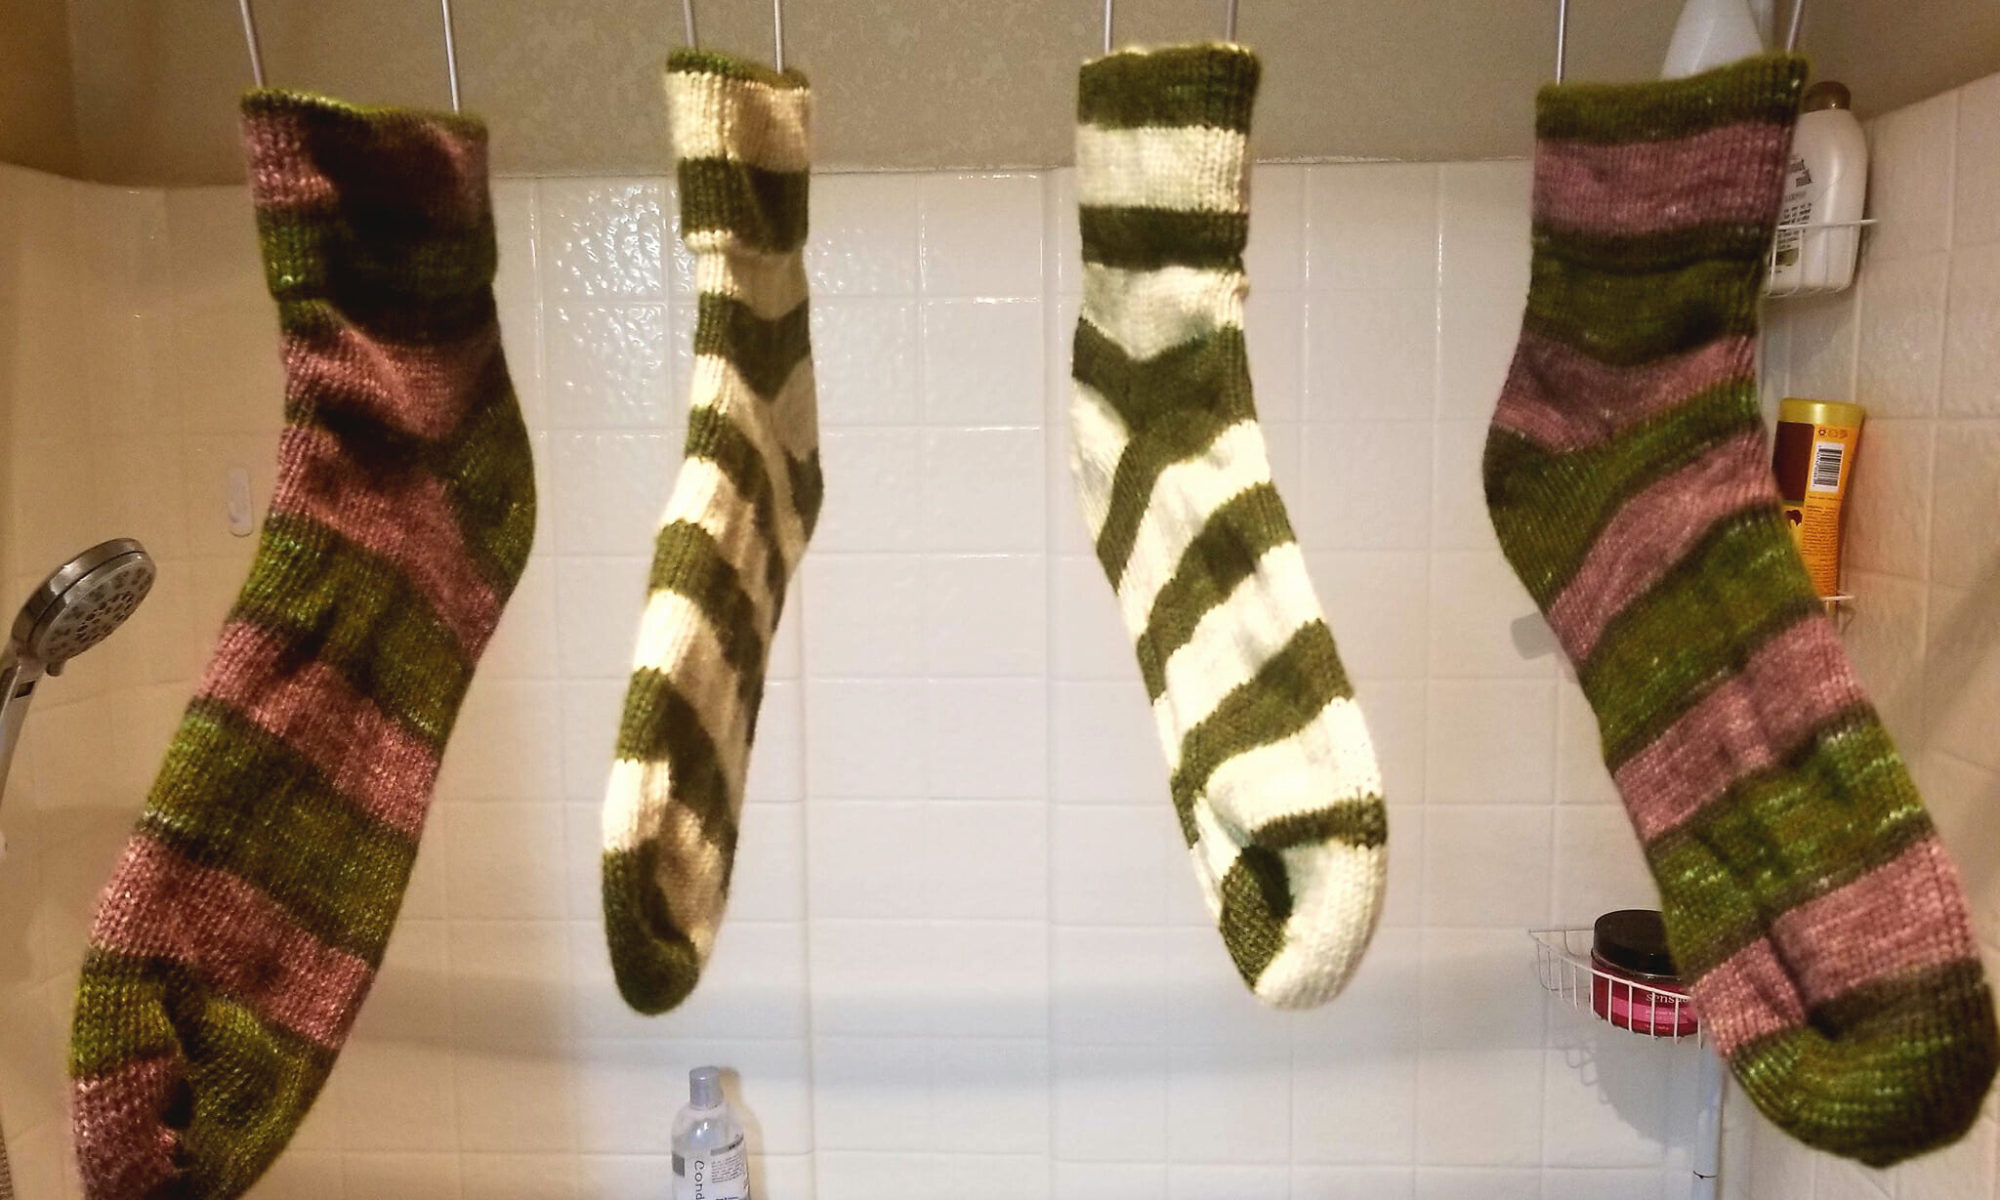
When I needed a break from that I started knitting socks. Turns out you can screw those up pretty badly as well. Take these socks for instance:
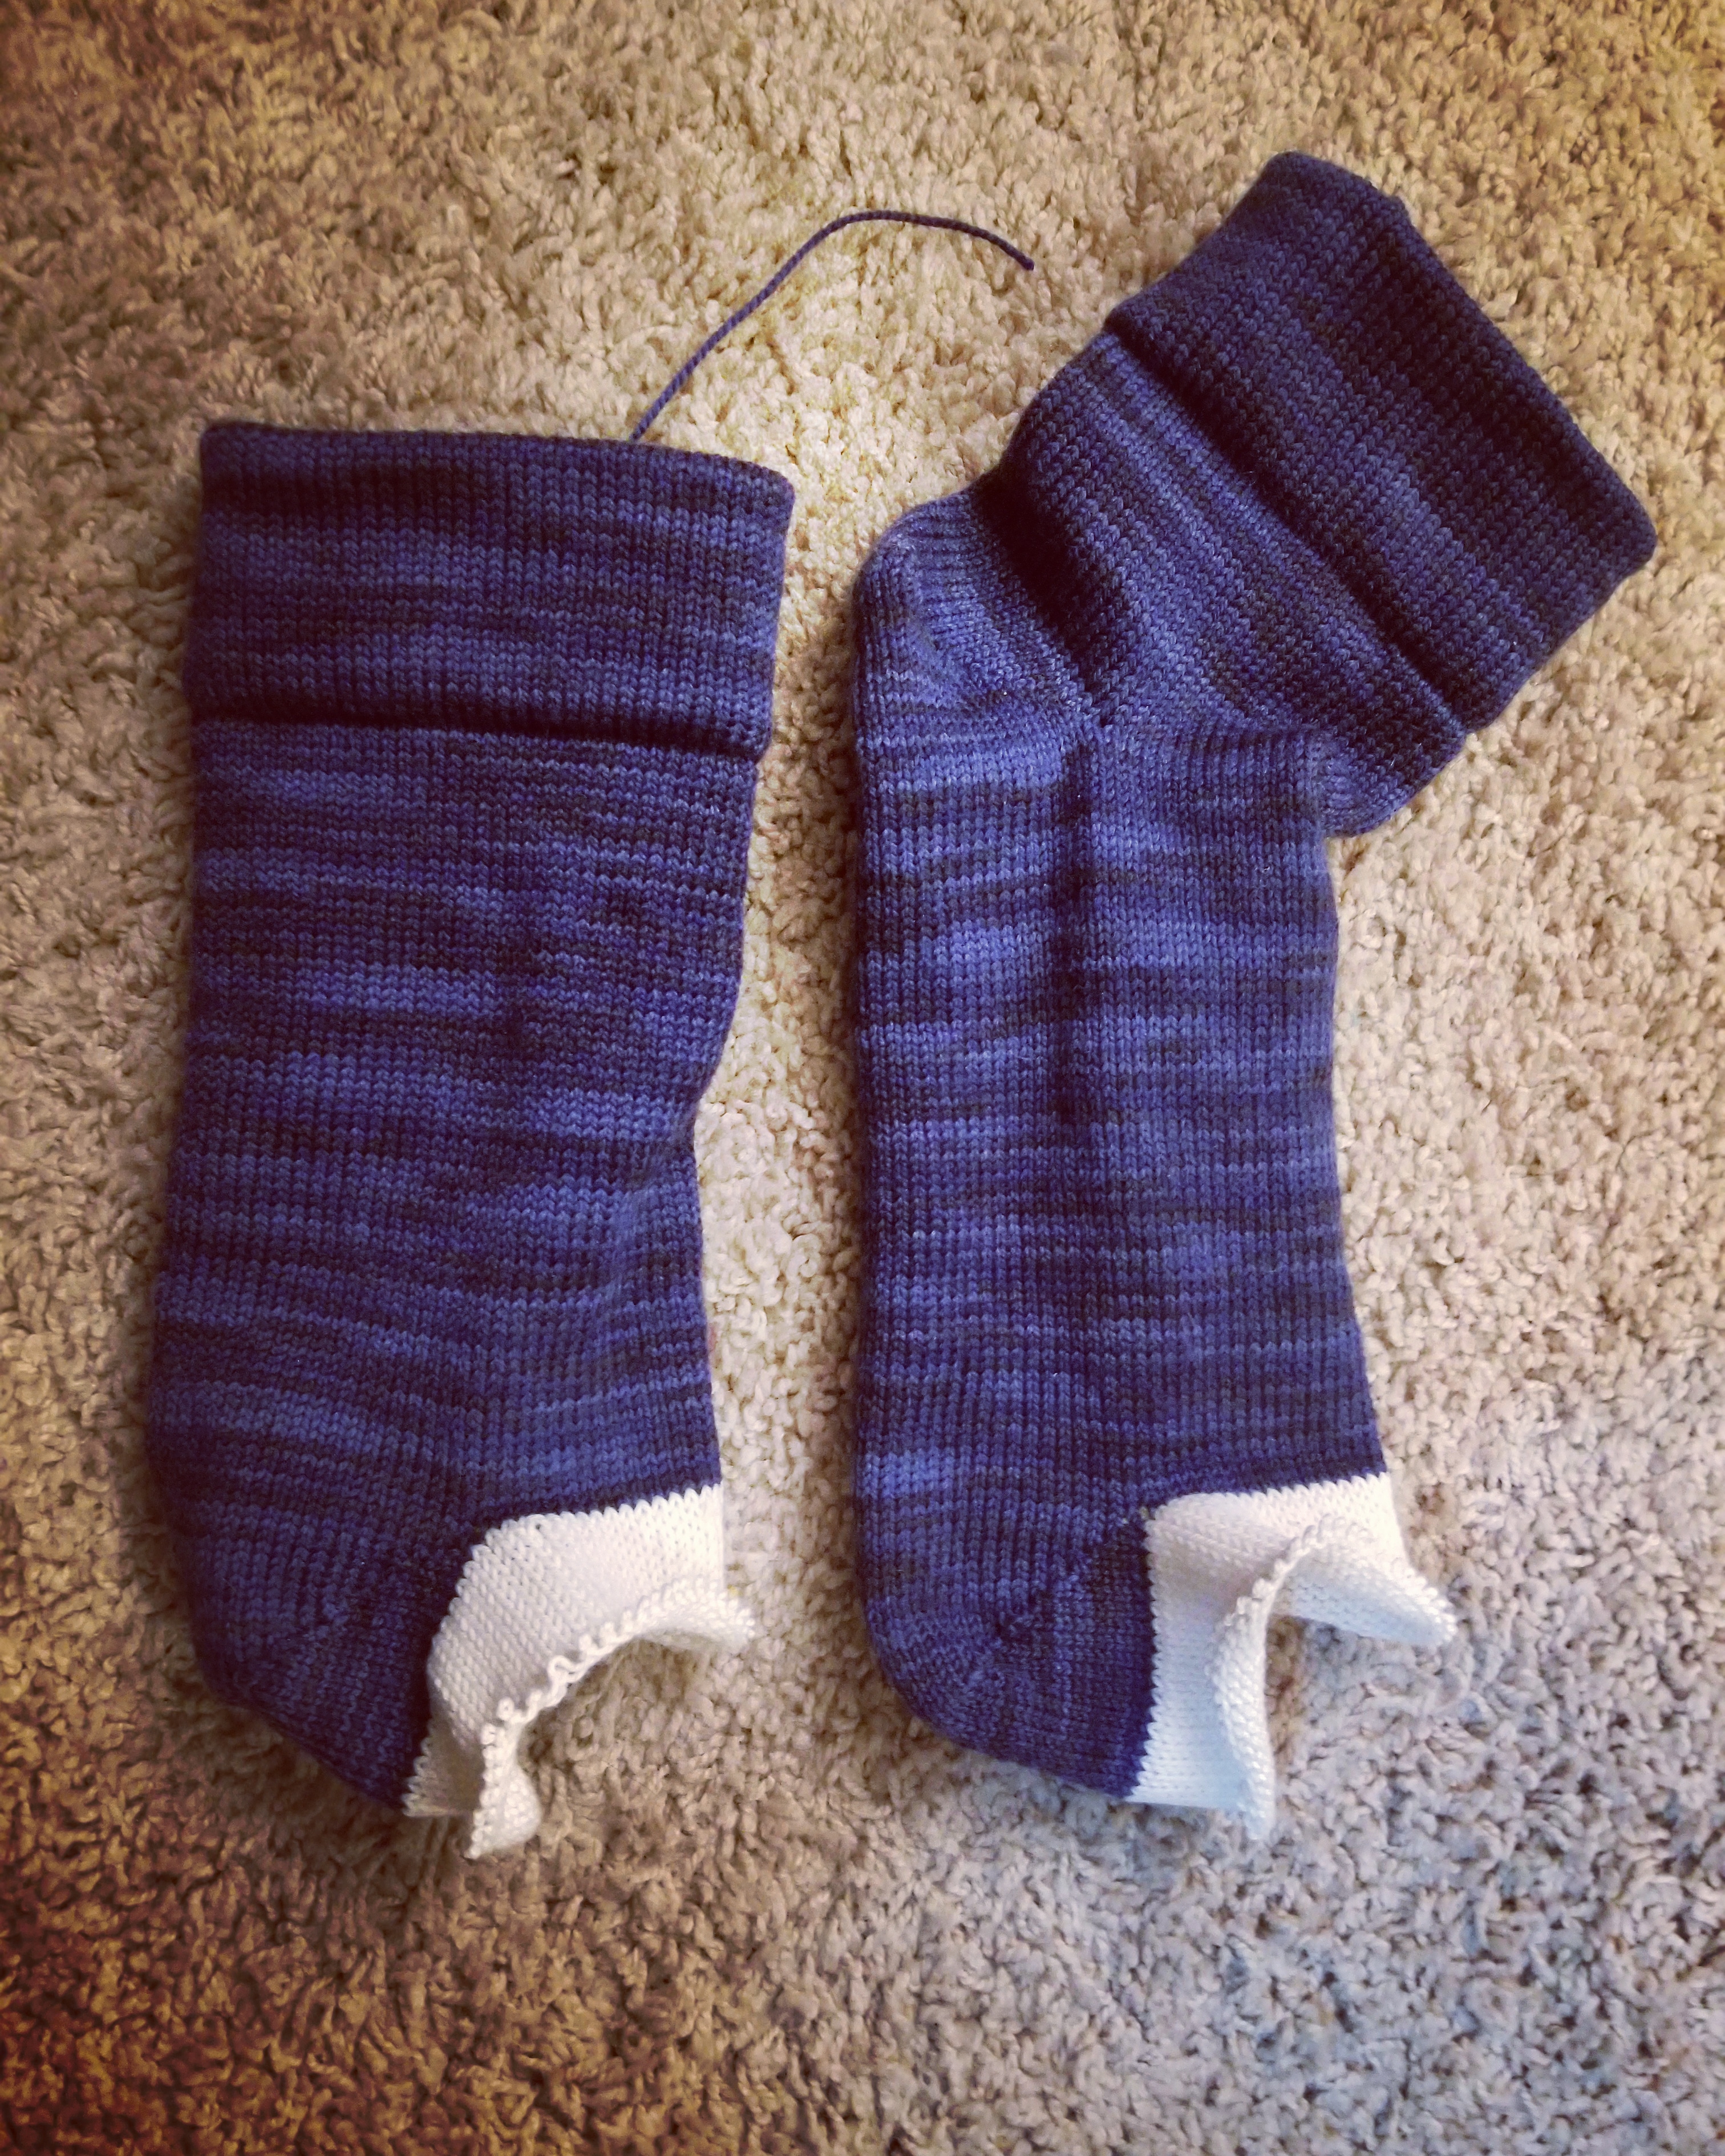
Somehow, I completely missed an ankle and heel on one of the socks. It was going to smoothly and then when I preparing to sew up the toes to all the socks I made, I saw this. I thought about ripping it up and trying again, but I’ve done that before and it really isn’t worth it. The way the toes and heels are made basically knots the yarn together, so it’s very difficult to reclaim the yarn. I’d rather just not.
As you can tell, I was totally winning at everything last weekend.

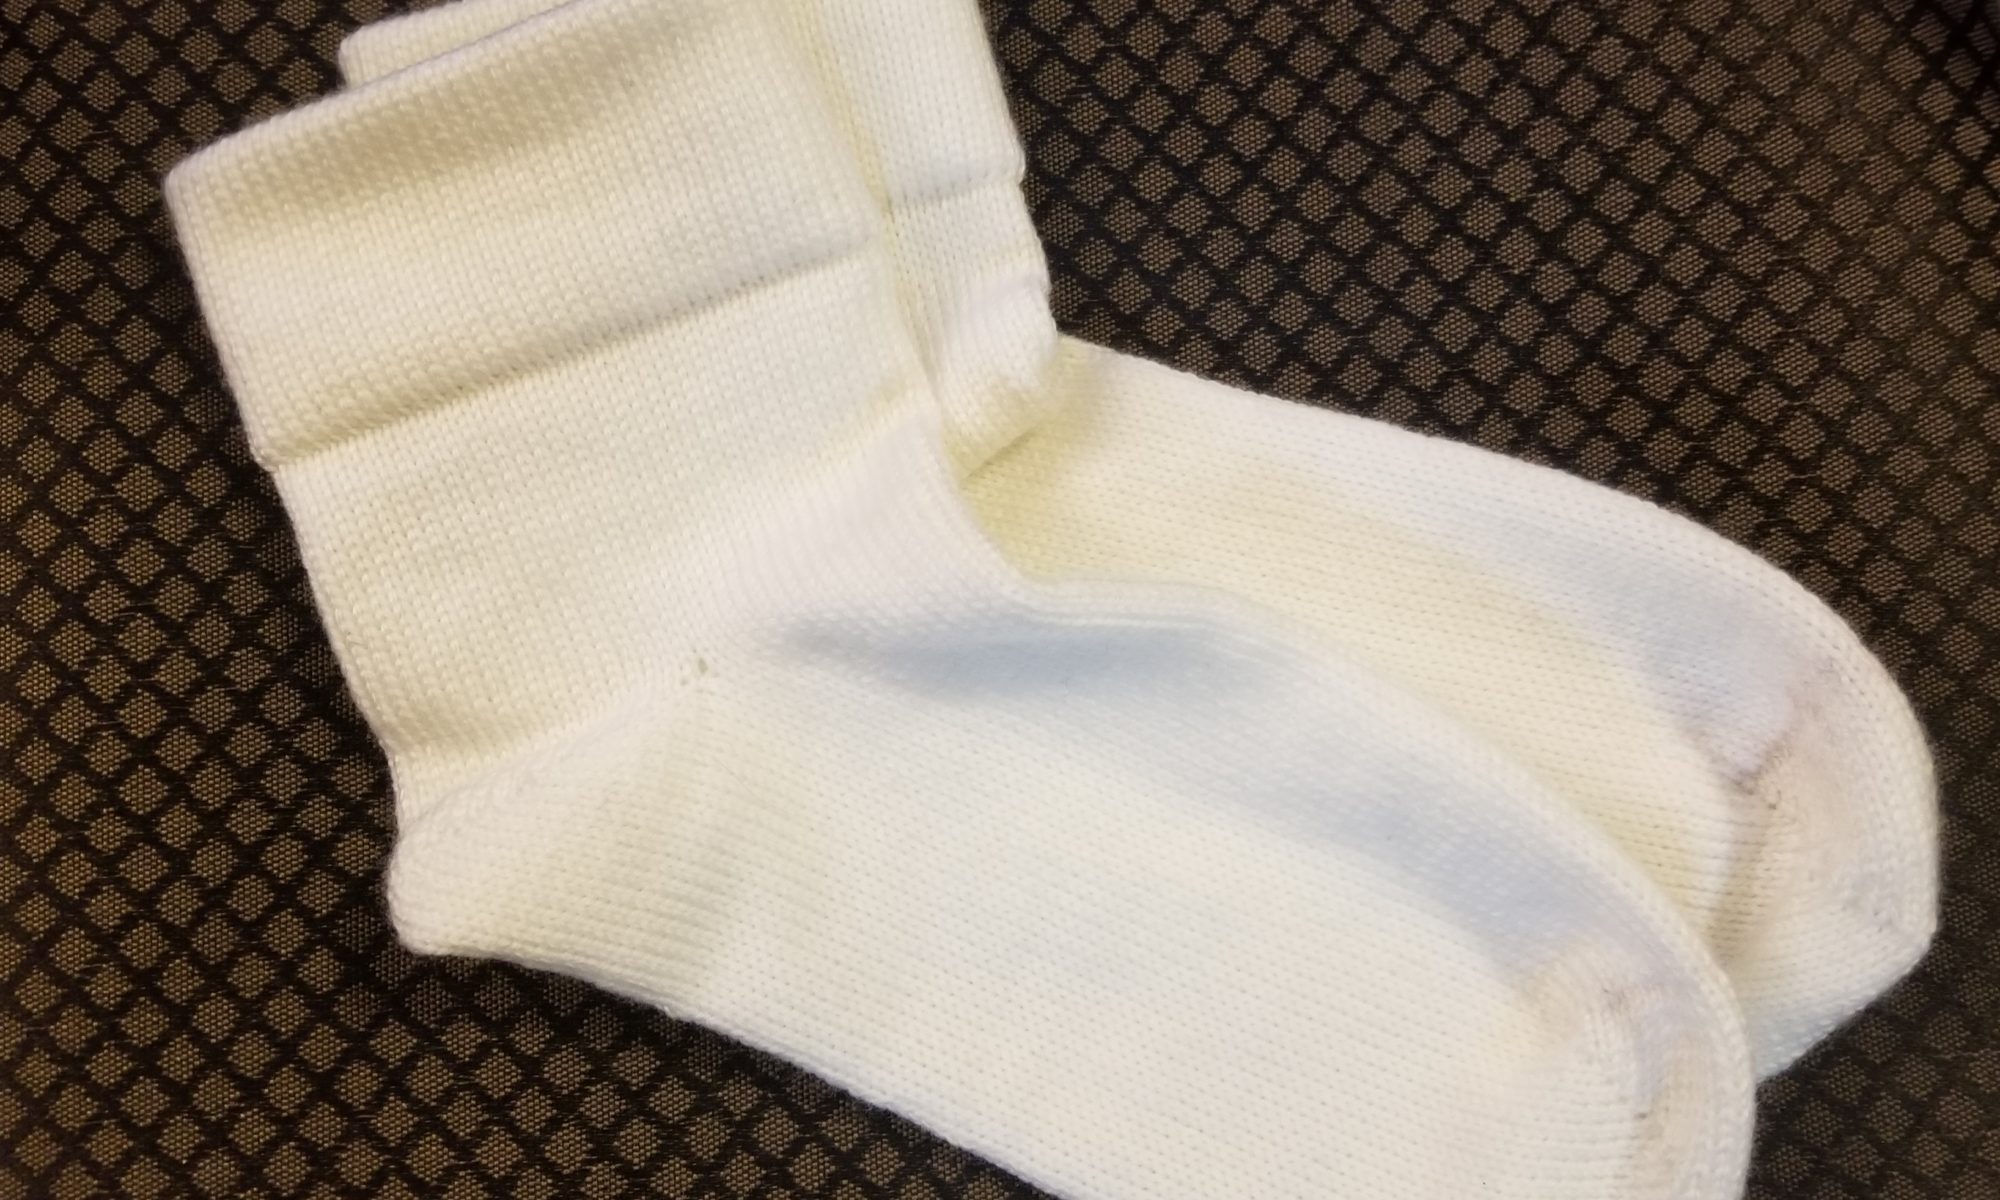
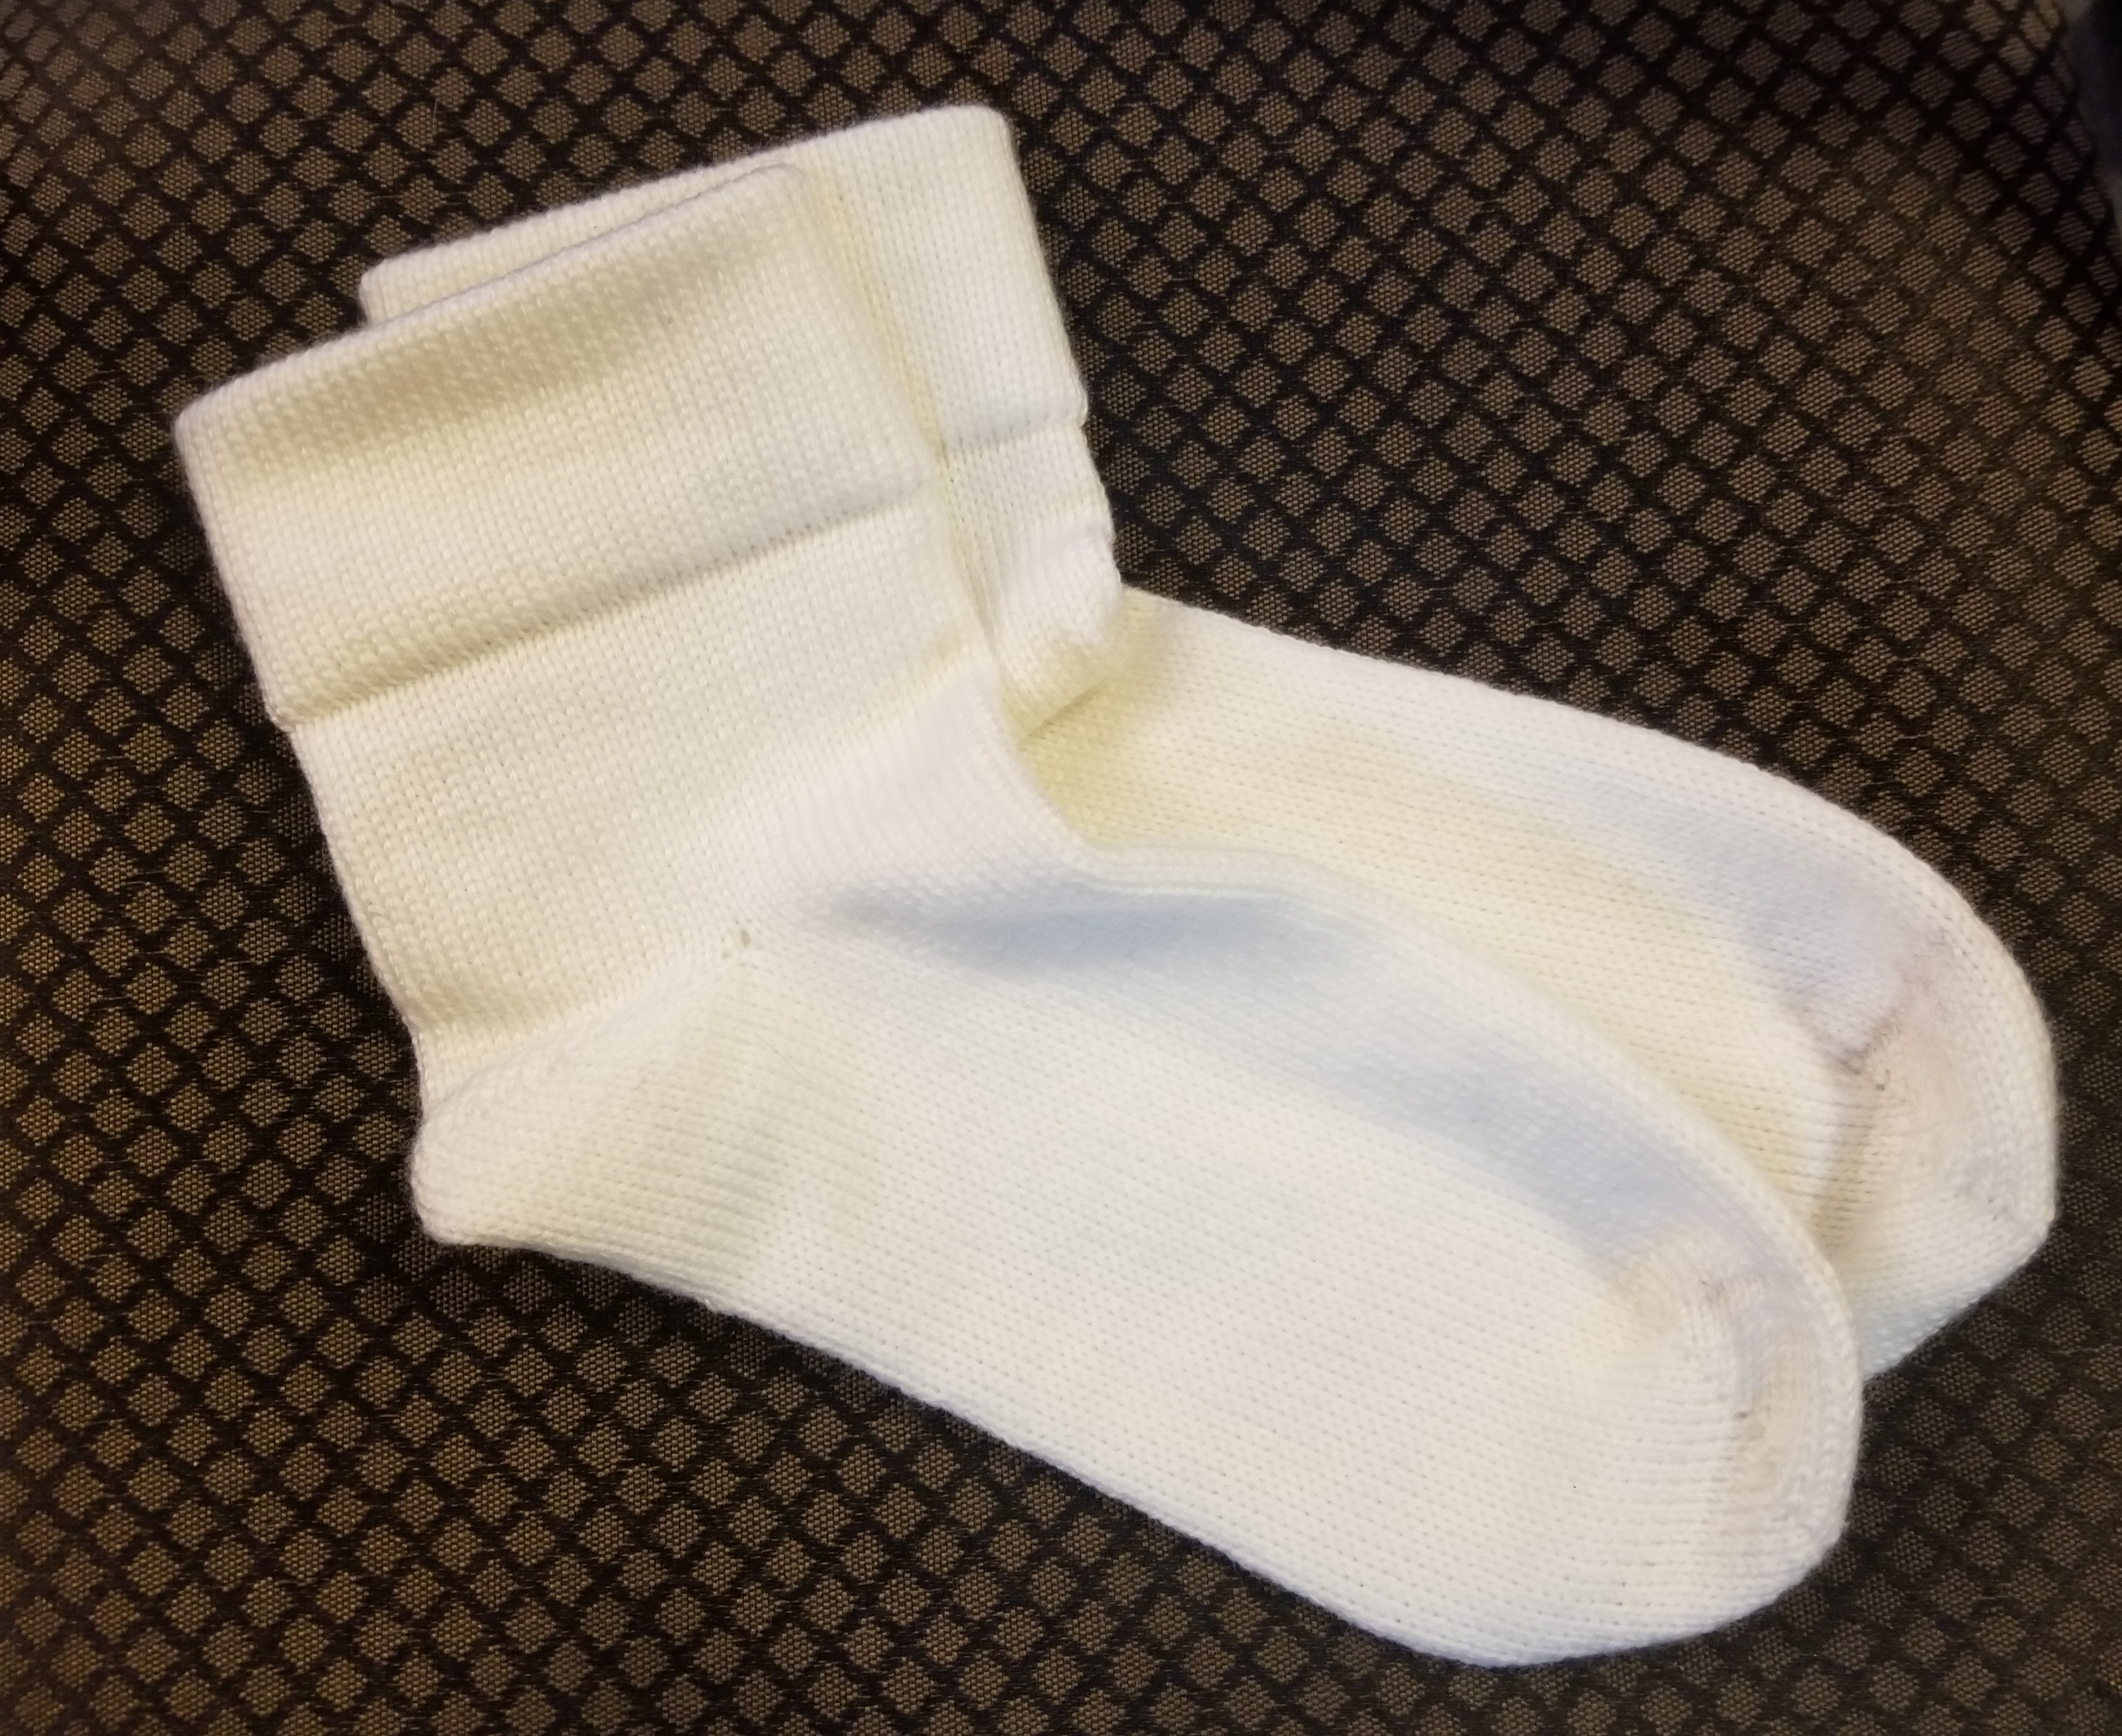
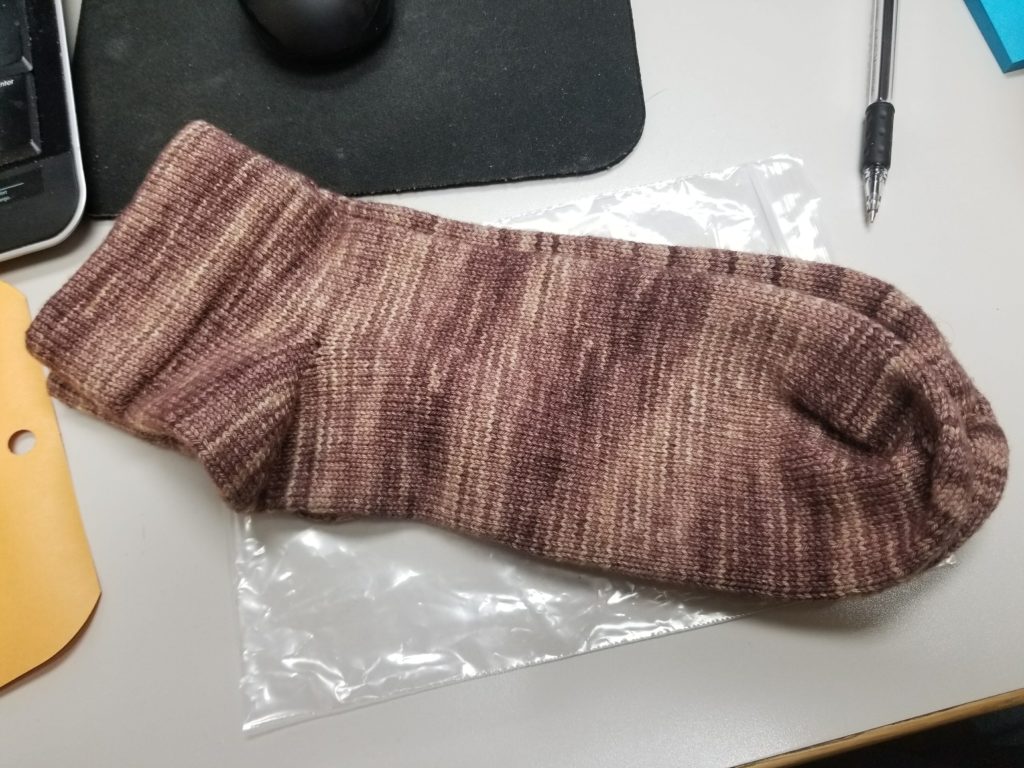
In the end, I still came out with a pile of finished socks. And that sock on top is made from the yarn I was excited about in my last post.
And when I wasn’t playing with yarn, I was deep cleaning my room. I don’t know if you know this, but I’m a bit of a craft supply hoarder. So I went through all my dresser drawers and started tossing anything I haven’t looked at in years.
Who needs this drawer full of shirts? Not me! This drawer could fit so many hanks of yarn in it. And this other draw would be perfect for paint brushes!
So yeah, I love plenty of drawers empty now and waiting to be filled with supplies that are hiding throughout the house.
Last weekend, I noticed that some of my socks have been wearing out. It’s been about a year since I’ve made socks and my feet can destroy shoes pretty quickly, so it wasn’t a surprise to start seeing holes in my socks. I wanted to play with new toys, but I decided to get the sock machine up and running instead.
It took a few tries to remember how to make a sock, which was frustrating, but I eventually remembered all the steps and started pumping out new socks.
I started with some cheap yarn because all the steps were still stored in my head somewhere and I wasn’t 100% sure I was remembering the pattern for my foot correctly. For a while I sat there staring at the machine and thinking how much easier it would be if I would’ve just written it down somewhere. Even after making these socks, I still haven’t written it down. You know what would be smart? Putting a basic pattern here while I’m thinking about it, so I remember the row counts next time I bring the machine out.
Basic Men’s Ankle Sock – Size 12/13
72 needles
~100g/400m wool fingering yarn
Knit 50 rows
Hang Hem to form cuff
Knit 25 rows for leg
Work Heel
Knit 65 rows for foot (or length necessary for foot)
Work Toe
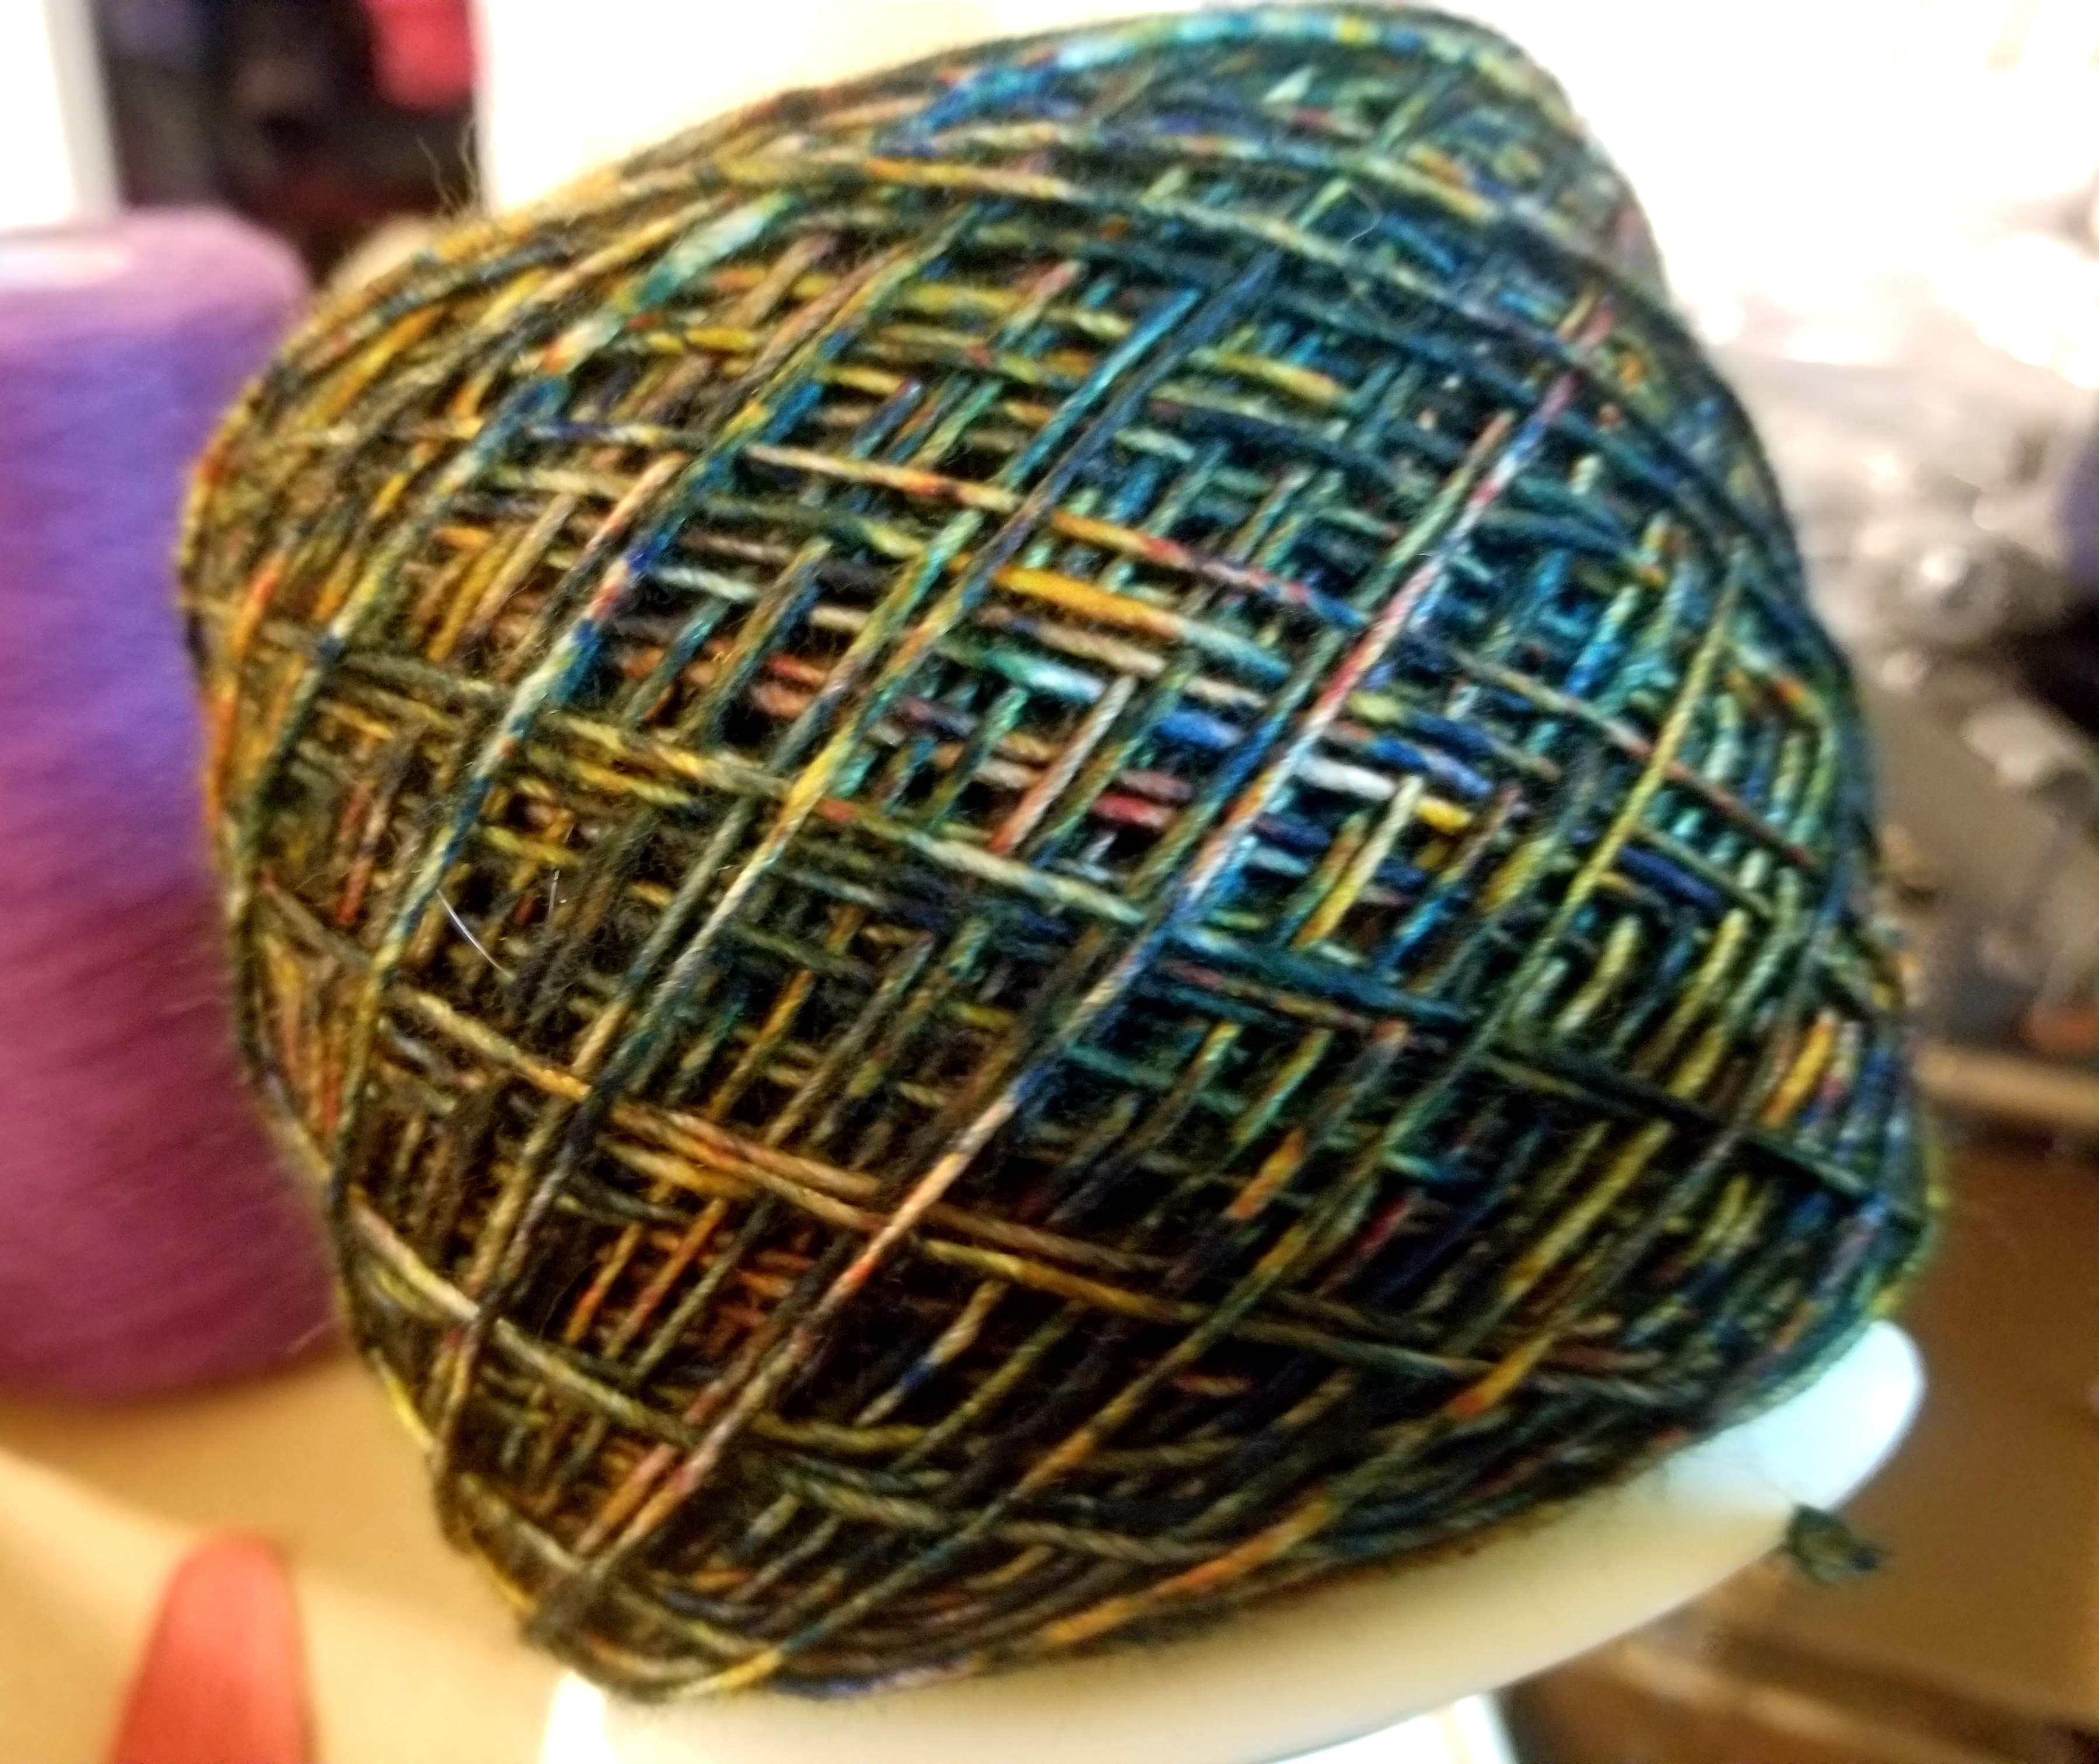
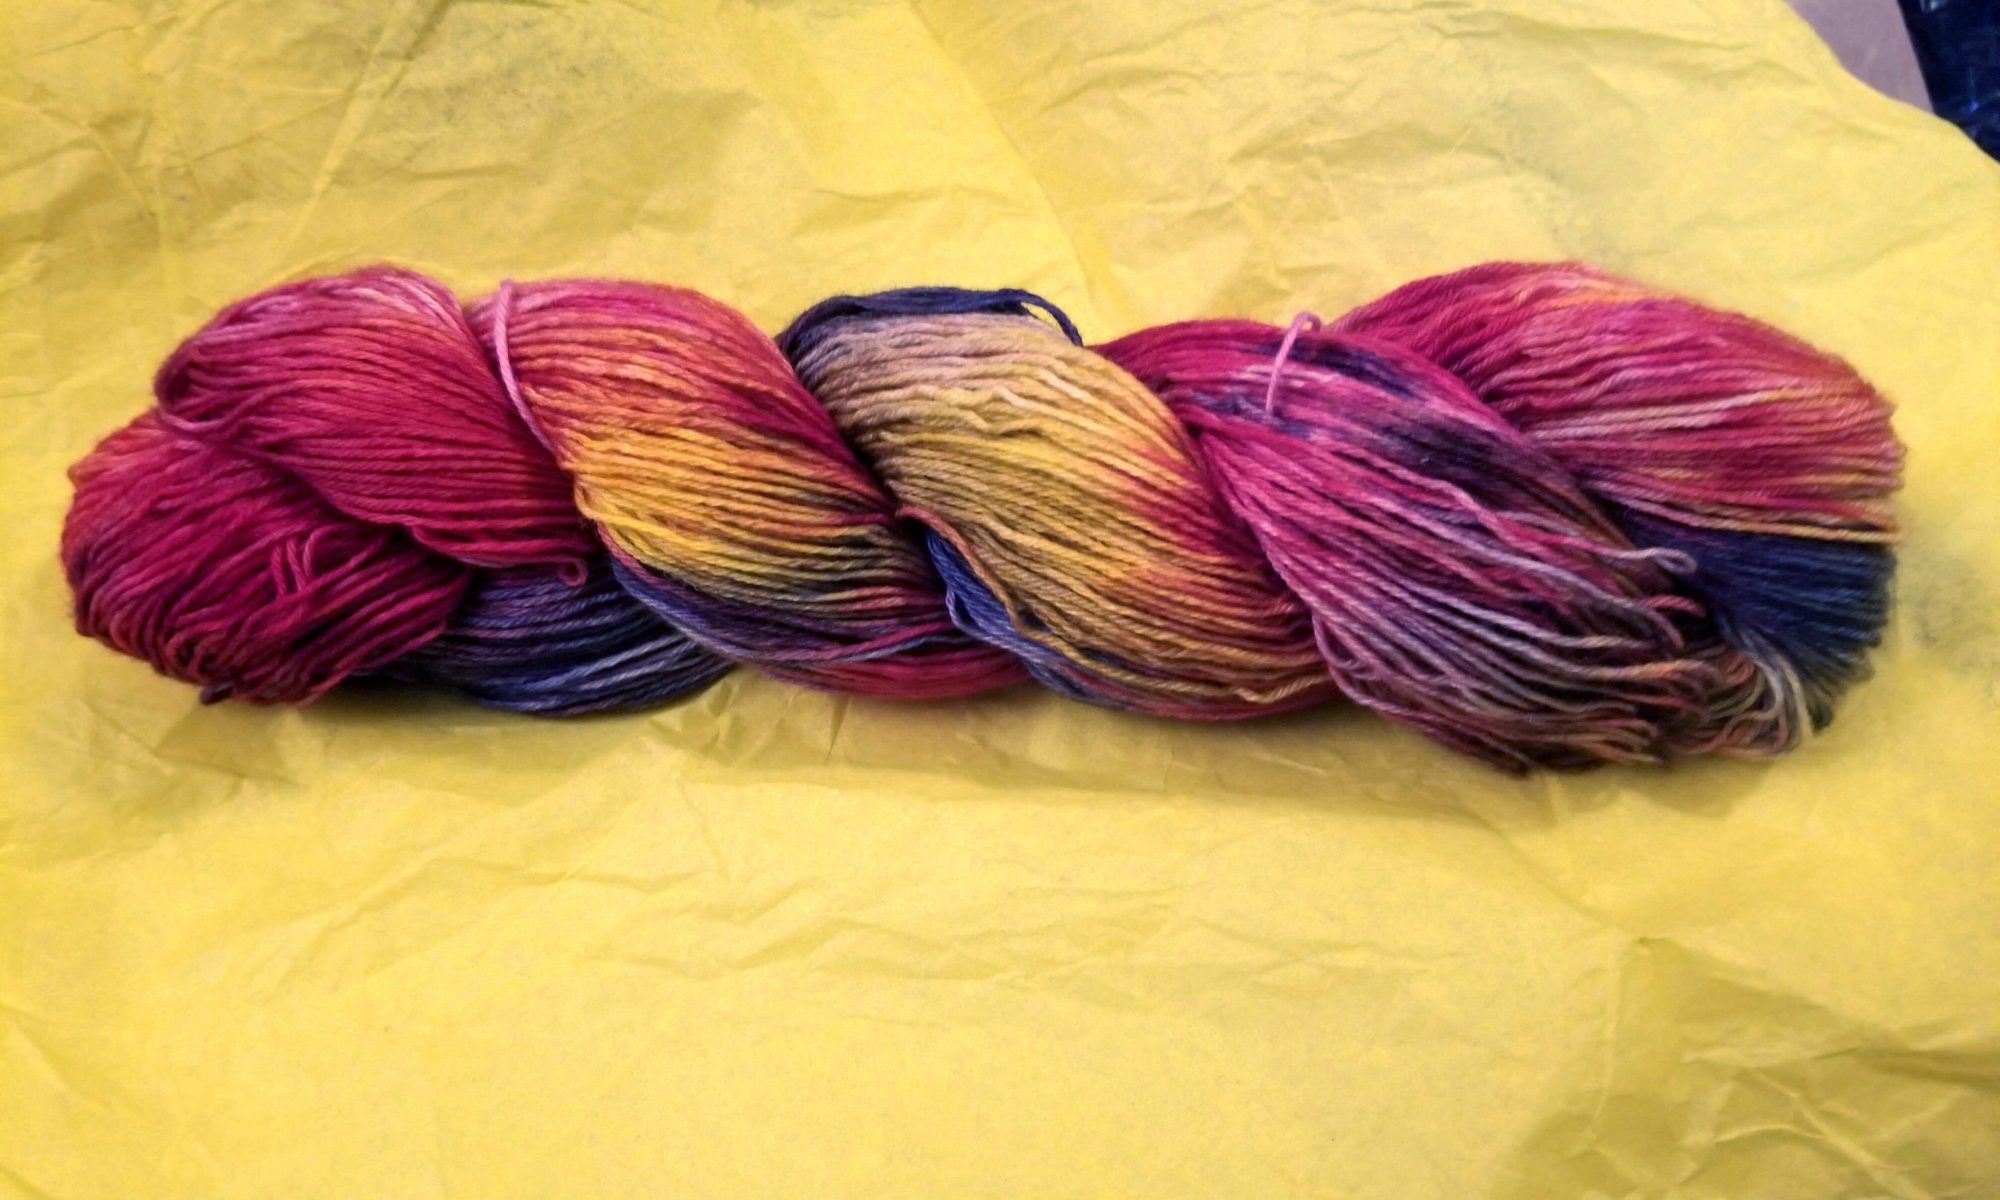
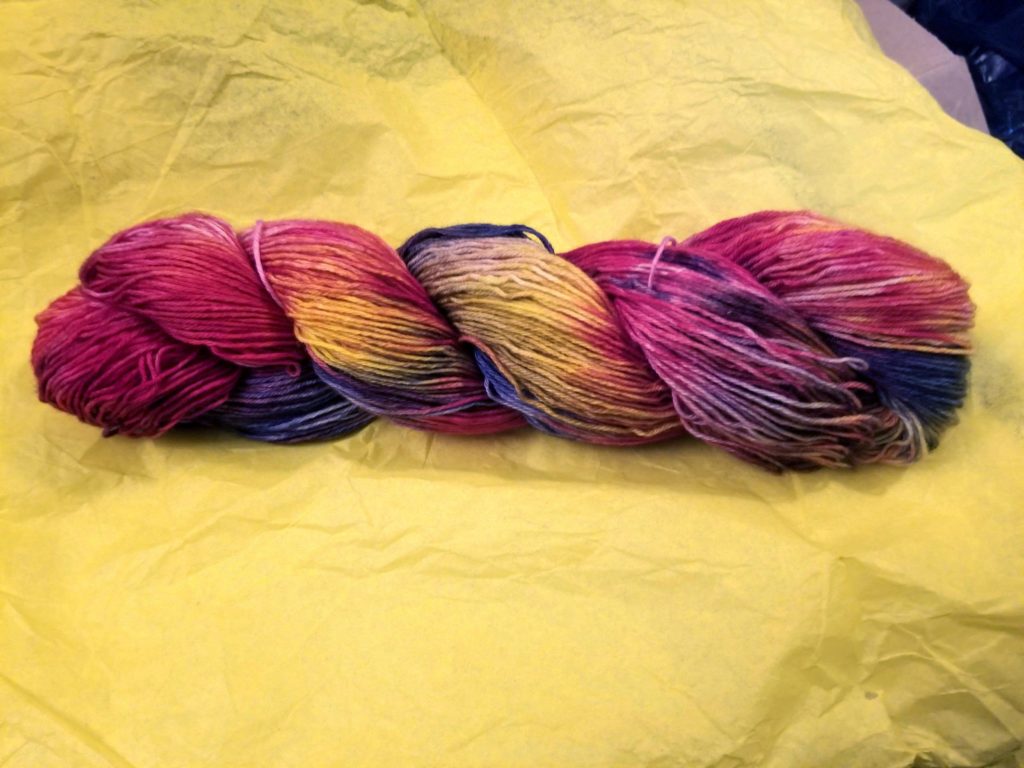
I visited the local yarn shop on Saturday to get excited about making socks again and found some really beautiful yarns. The picture doesn’t do it justice. In real life, it’s pretty dark and has touches of color throughout. It’s surprisingly difficult to find yarn appropriate for a men’s sock and requires quite a bit of hunting and scavenging. Most yarns are too bright and too colorful and it’s hard to find more muted colorways that are still interesting enough without being a boring solid color.
Now that I know what I’m doing again, it’s time to produce another truck load of socks. Get ready for another avalanche of sock posts. Lucky you. 😉

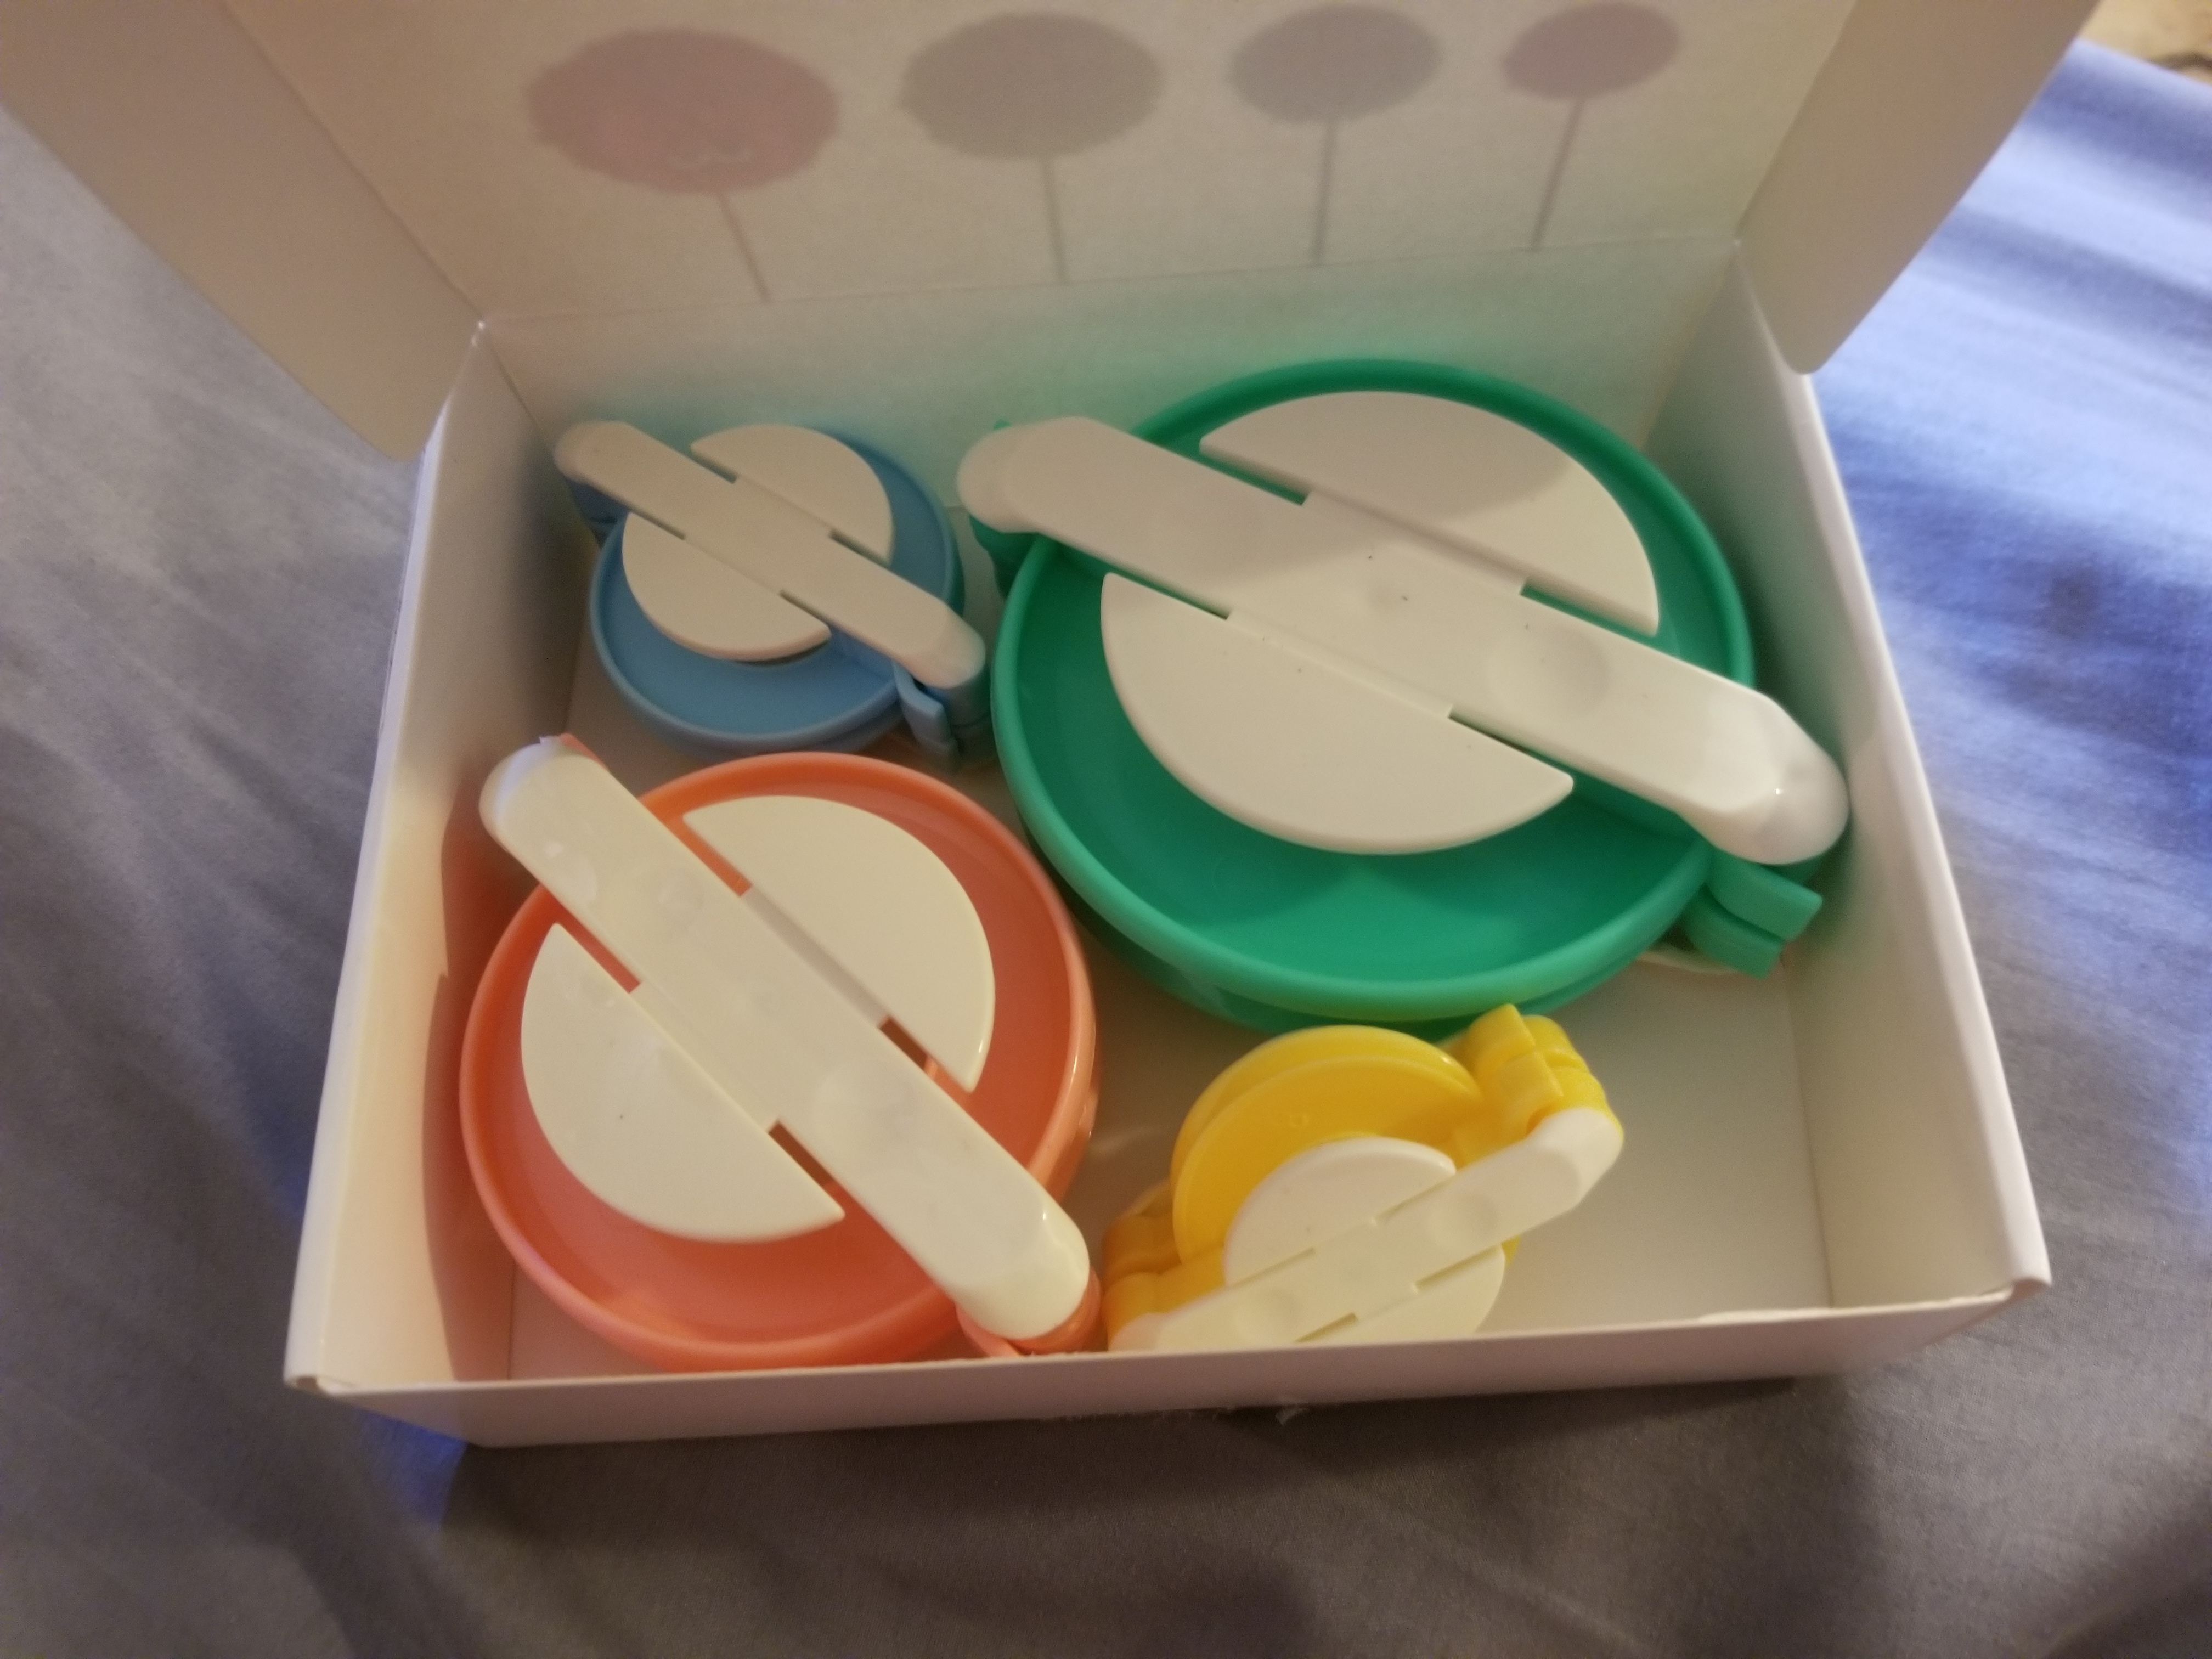
Apparently, I’ve taken up late-night shopping on my phone. All of a sudden plenty of amazon and craft company boxes started showing up. I didn’t realize how many buy buttons I clicked in the past few weeks but everything I ordered seemed to show up all at once! At least I will have plenty of things to write about. The first item I opened up was this set of pom-pom makers.
Now there are plenty of pom-pom makers out there, but this was the one marked as amazon’s choice, which means it’s inexpensive and has good ratings. Most of them look the same and they’re all made of cheap plastic, so why pay for a name brand when you can pay half price for the same thing, amirite?
I bought this because I’ve been knitting beanie hats like a mad man the past week and some of those hats are going to need a pom-pom dangling from the top. The directions are simple, just fold out the little arms and wrap each pair of arms in yarn and push the arms back in.
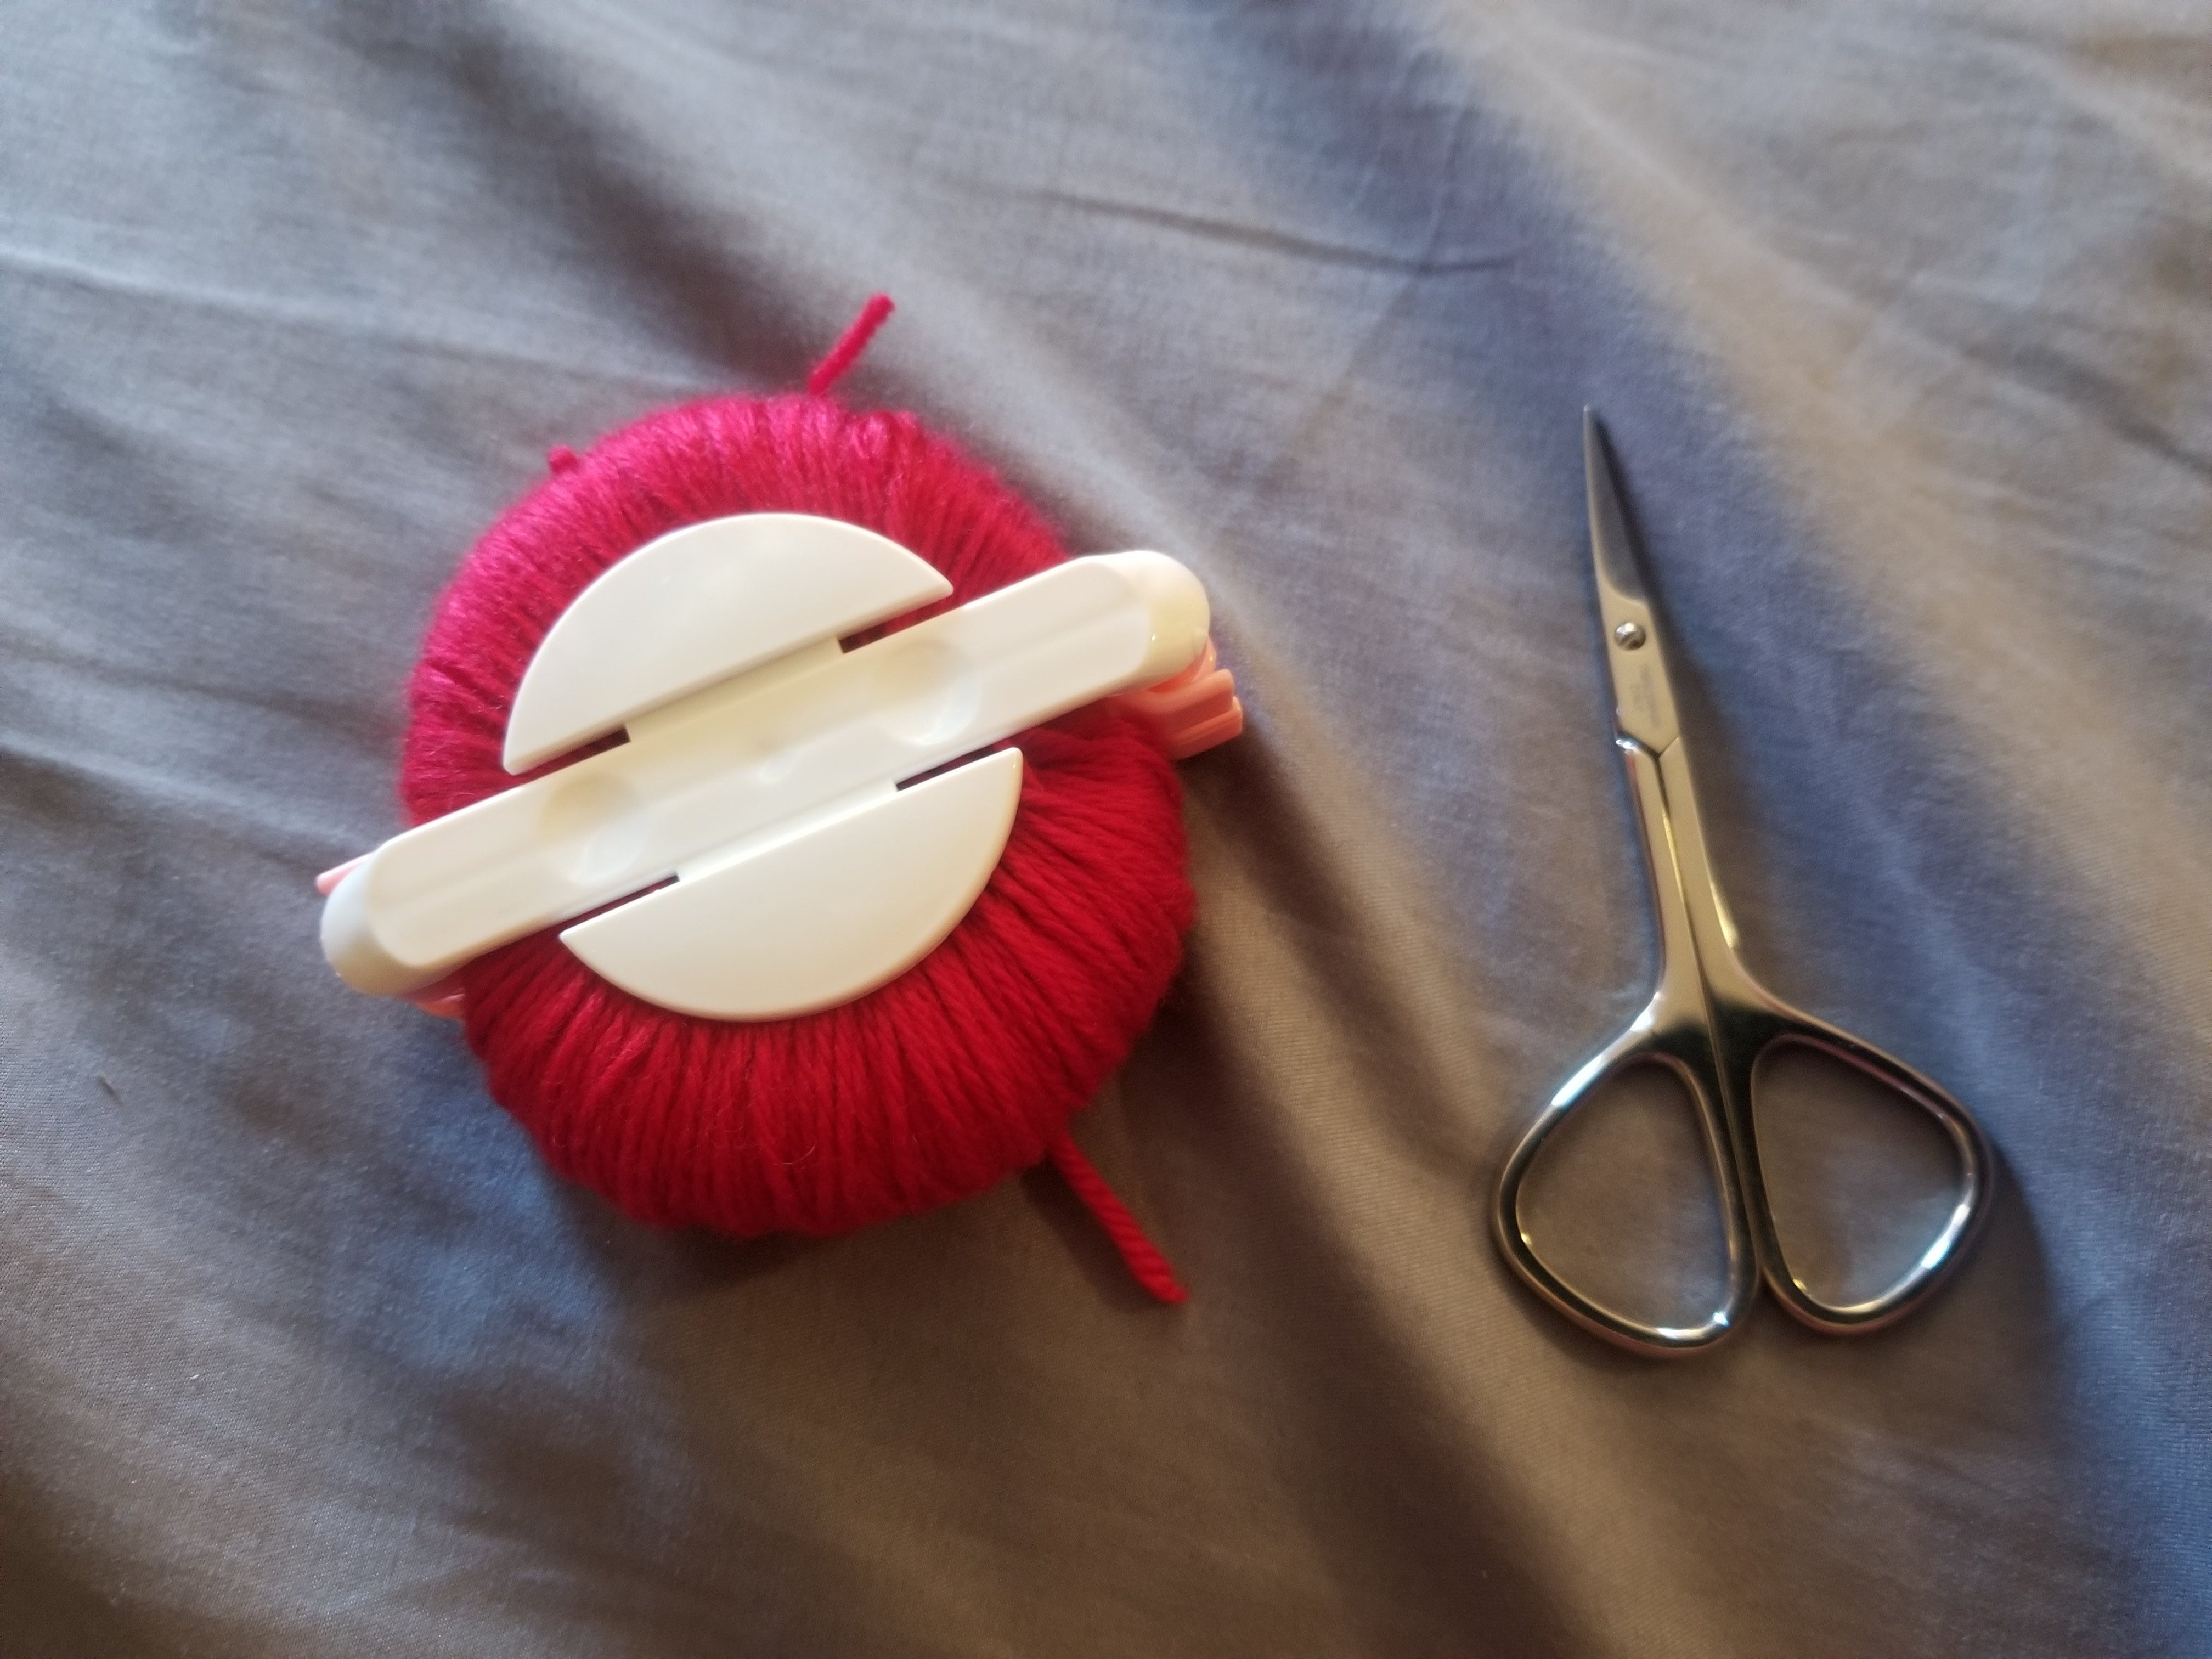
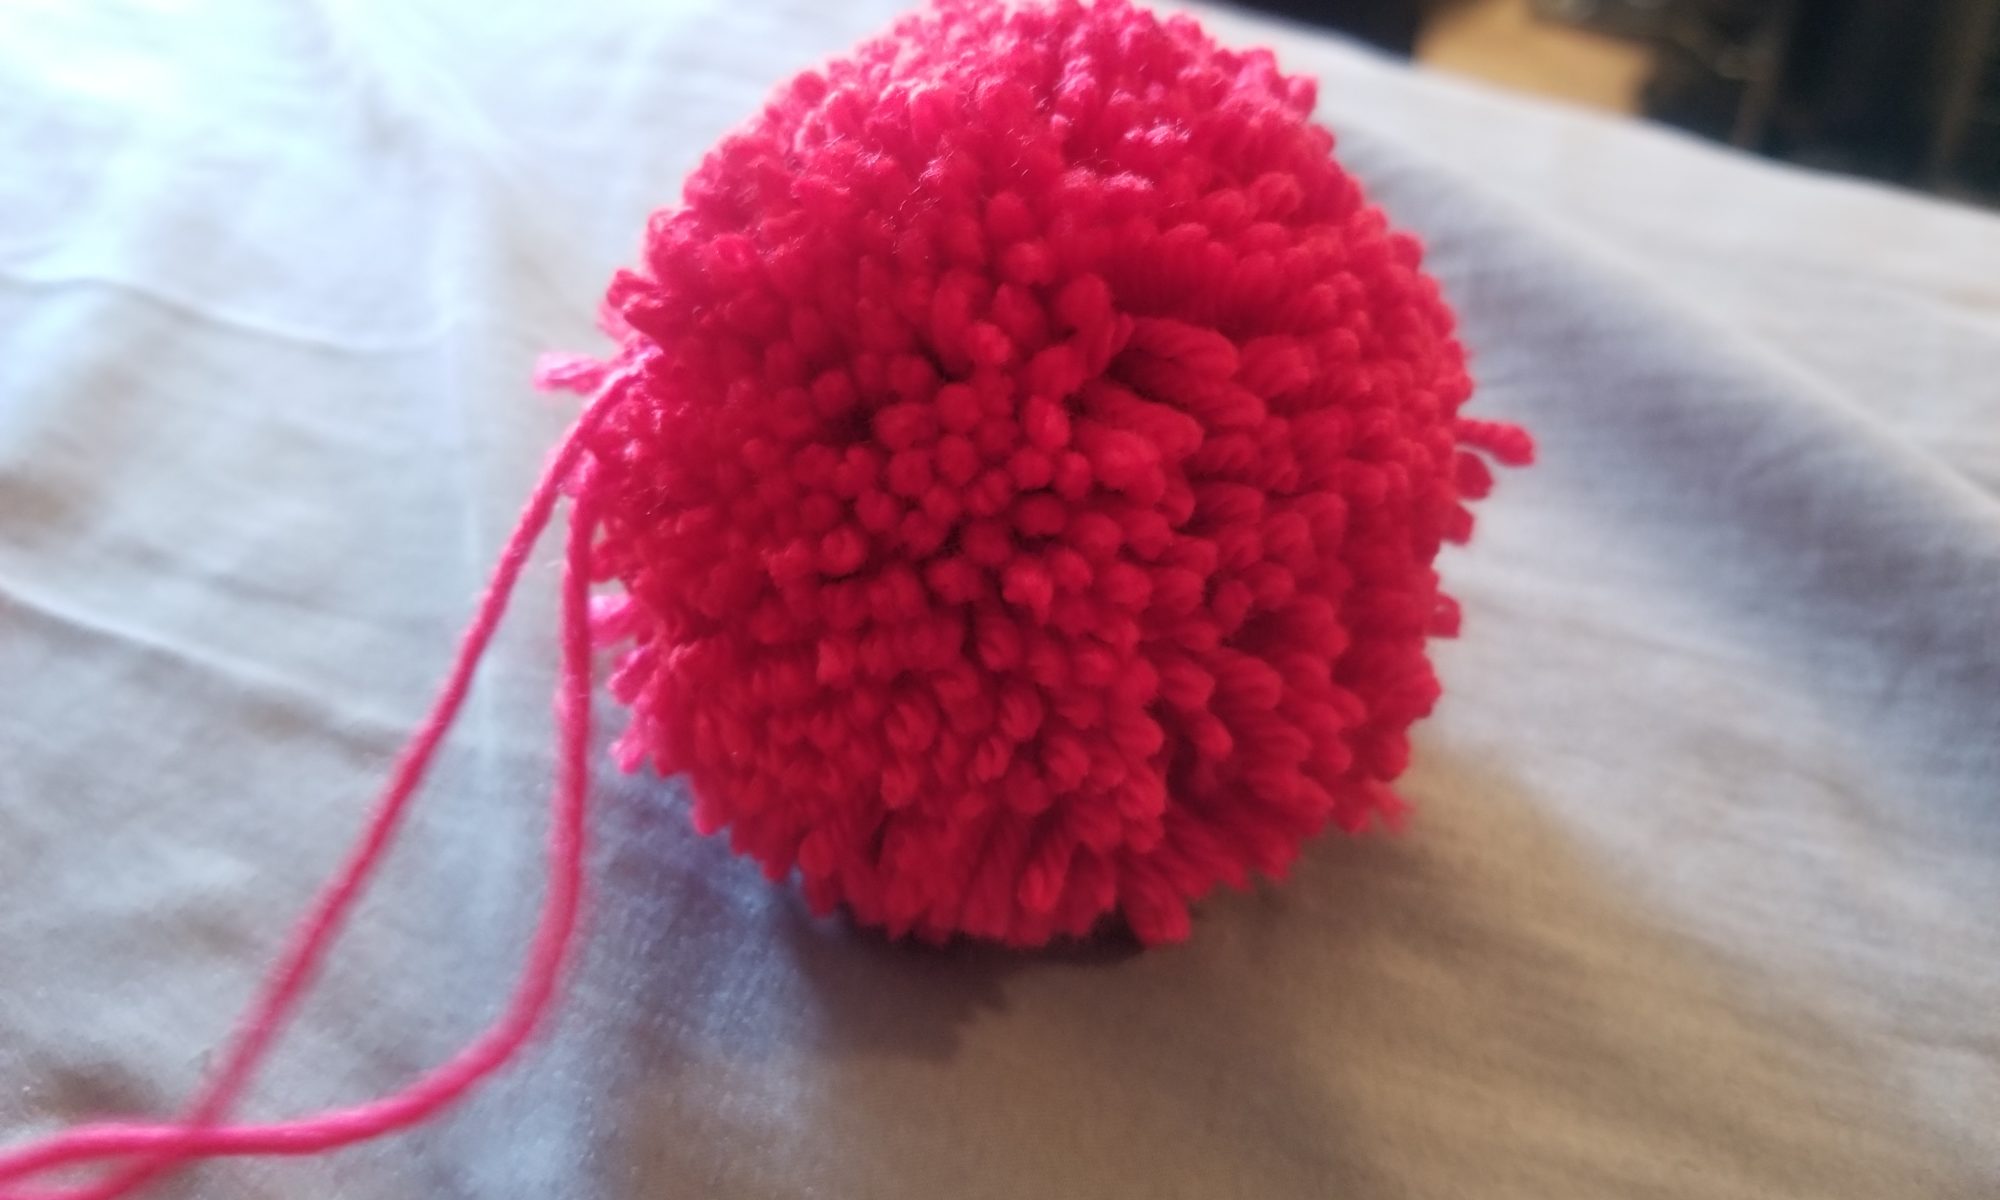
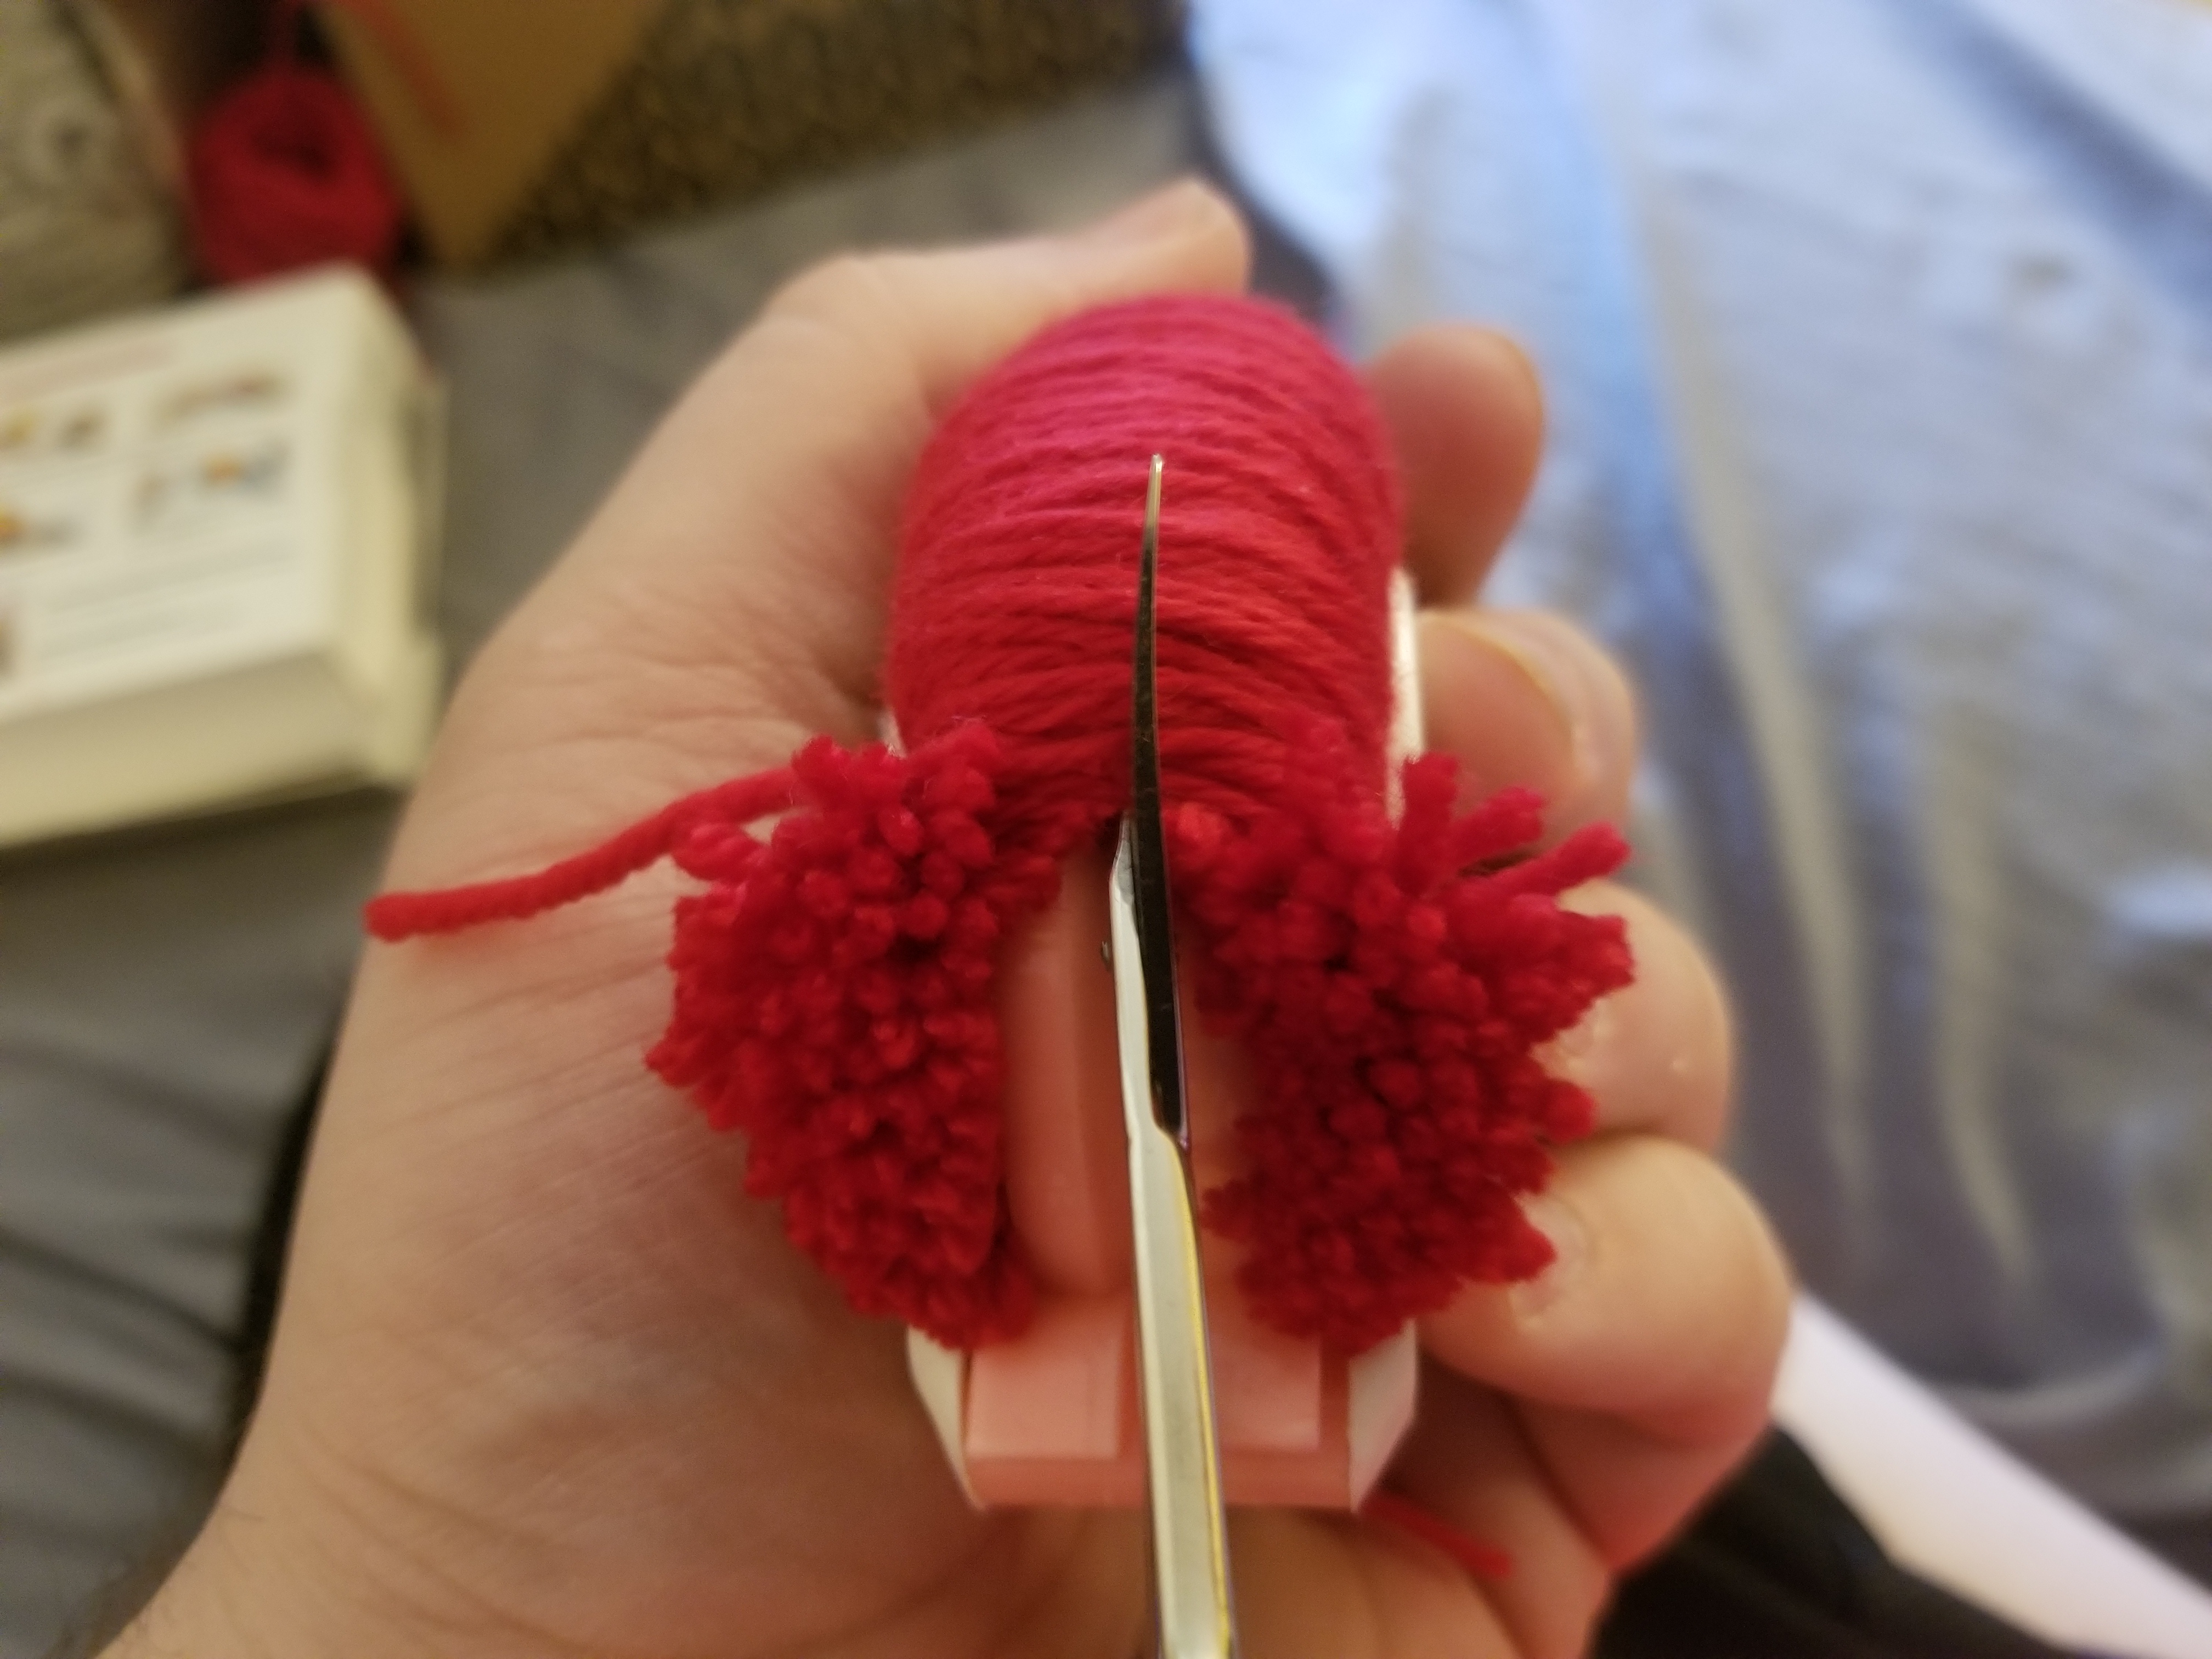
To be honest, I hated this part. Wrapping the arms was easy, but tedious. Then, something amazing happened. I started cutting the yarn down the center guide and the pom-pom started popping open in the most satisfying way.
It was so satisfying that now everything in the house will need a pom-pom. Good thing I’ve been saving all my scrap yarn from the million socks I’ve made!
After cutting each side, tie a piece of yarn around the center, pop open the arms again and the whole thing will fall apart to review your almost-perfect pom-pom.
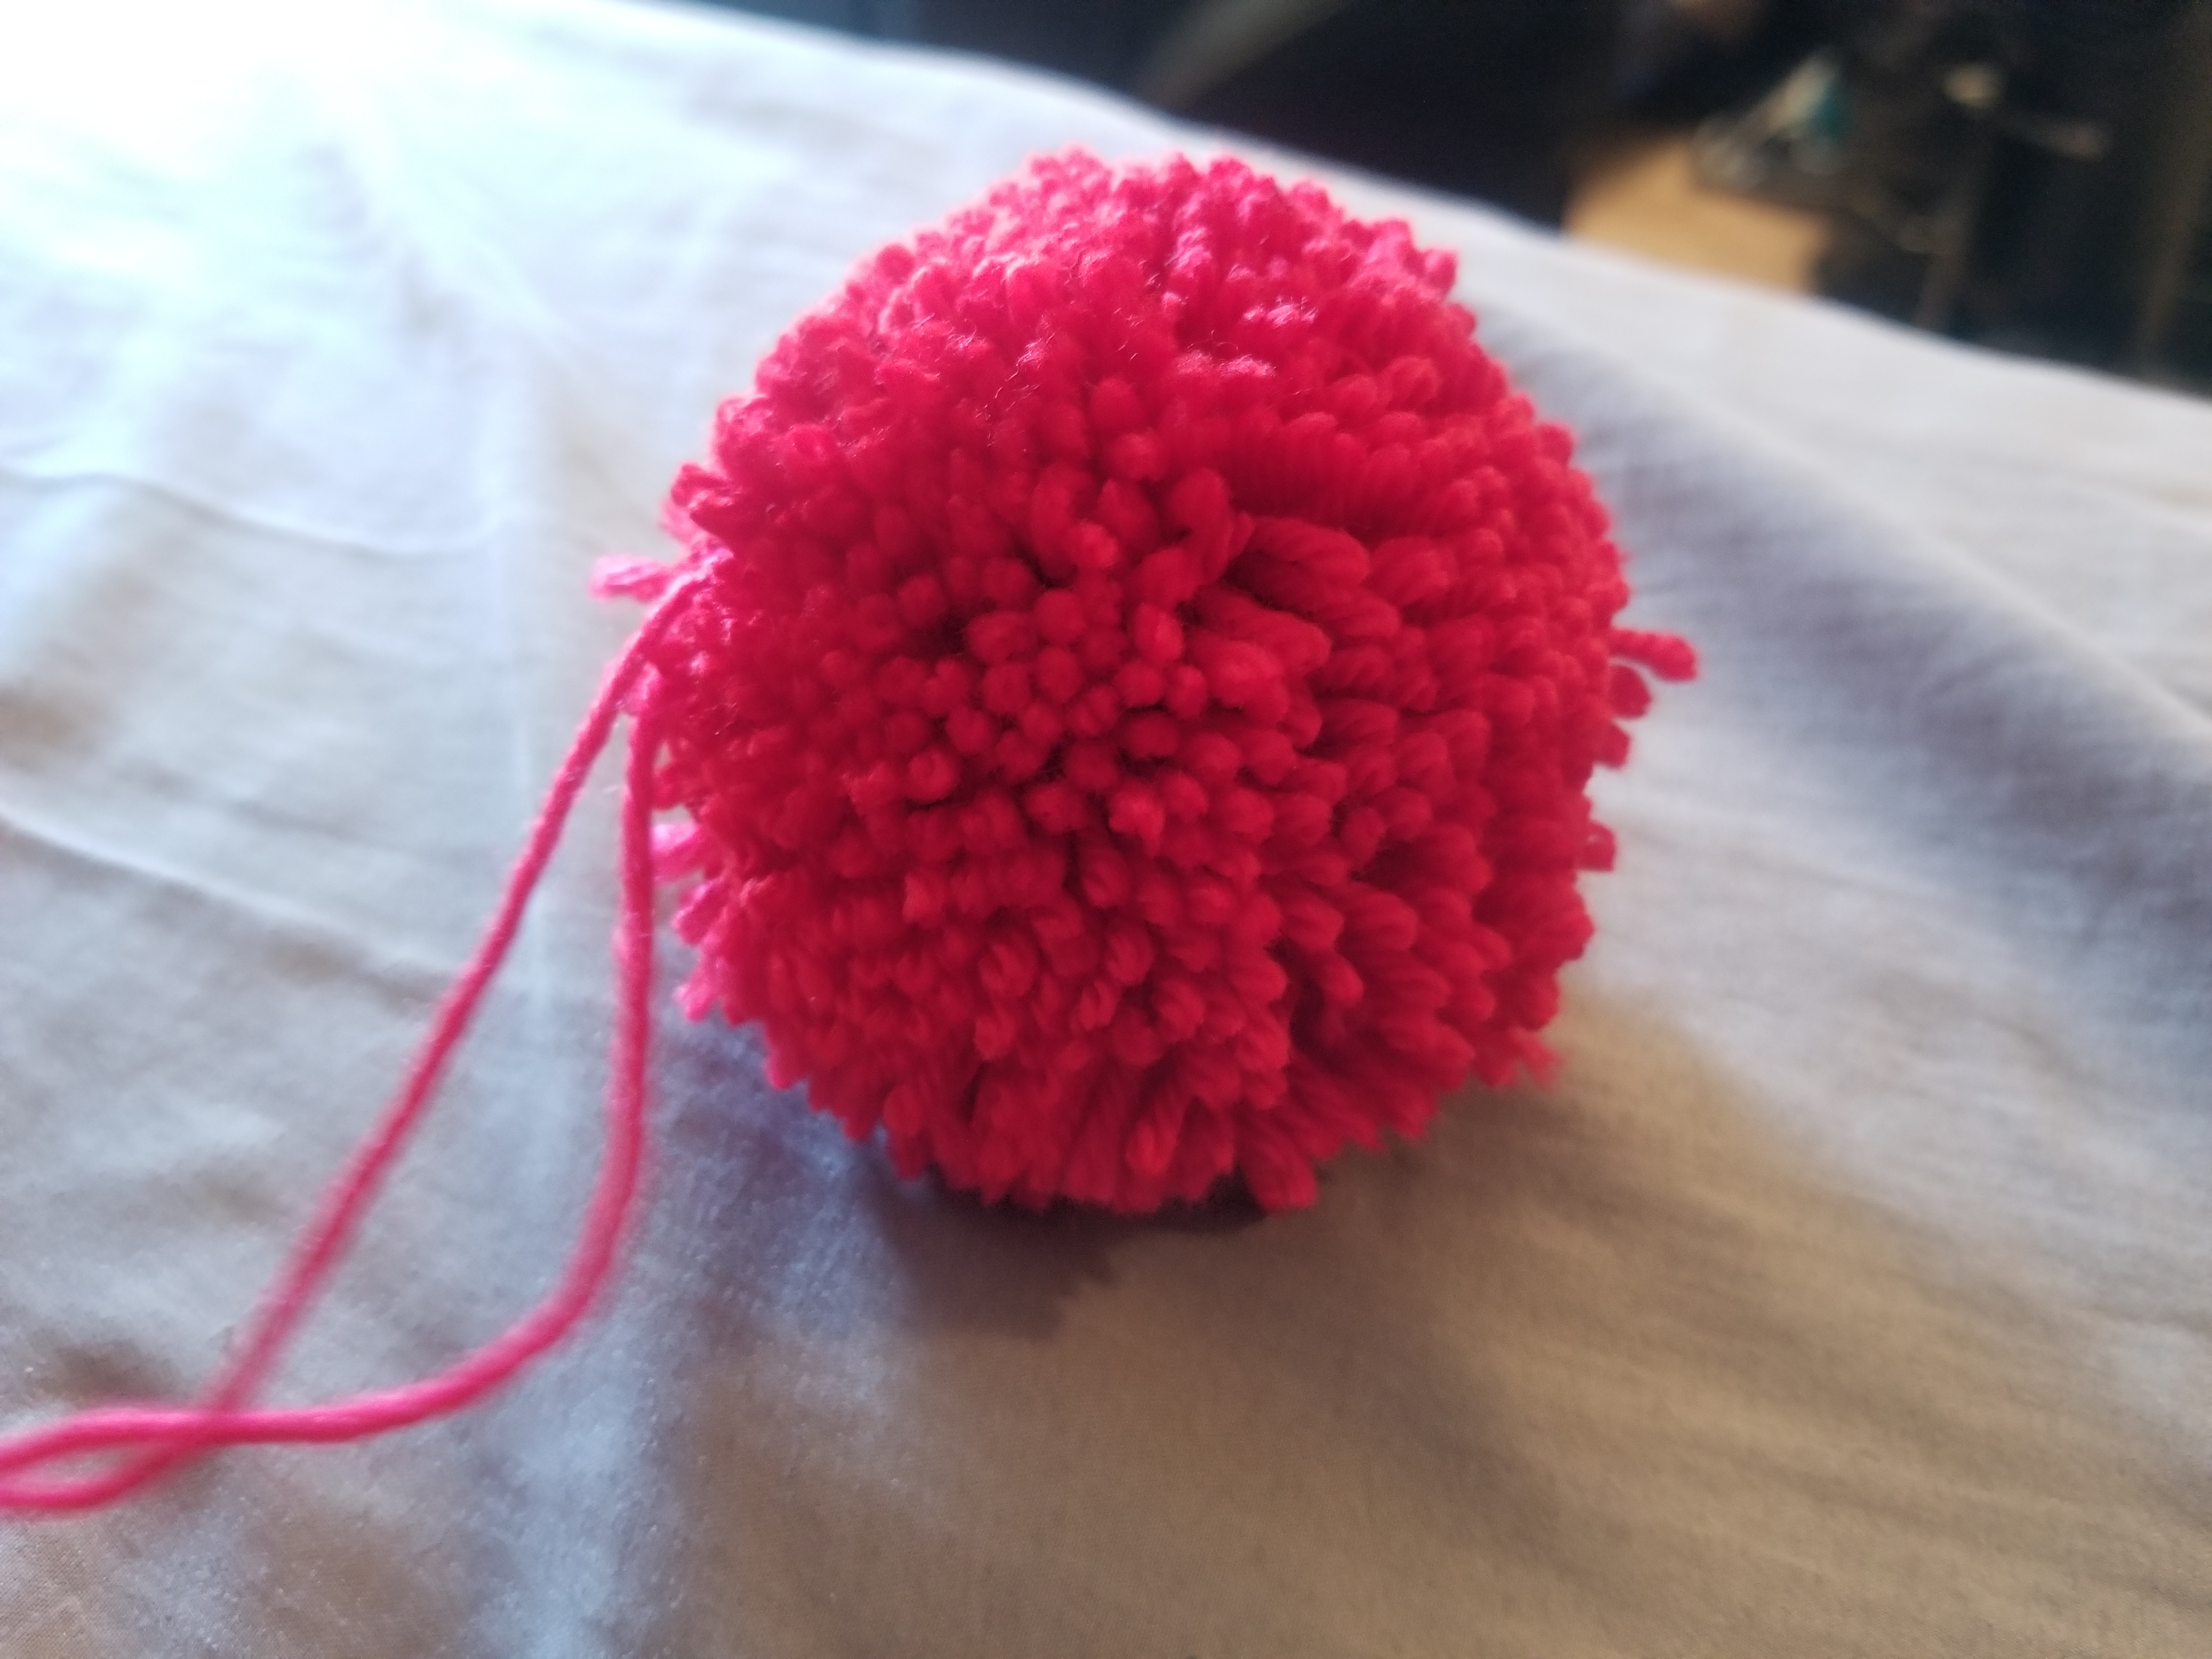
Pretty good for my first try. A few little snips here and there and it’ll be a perfect little ball for my hat.
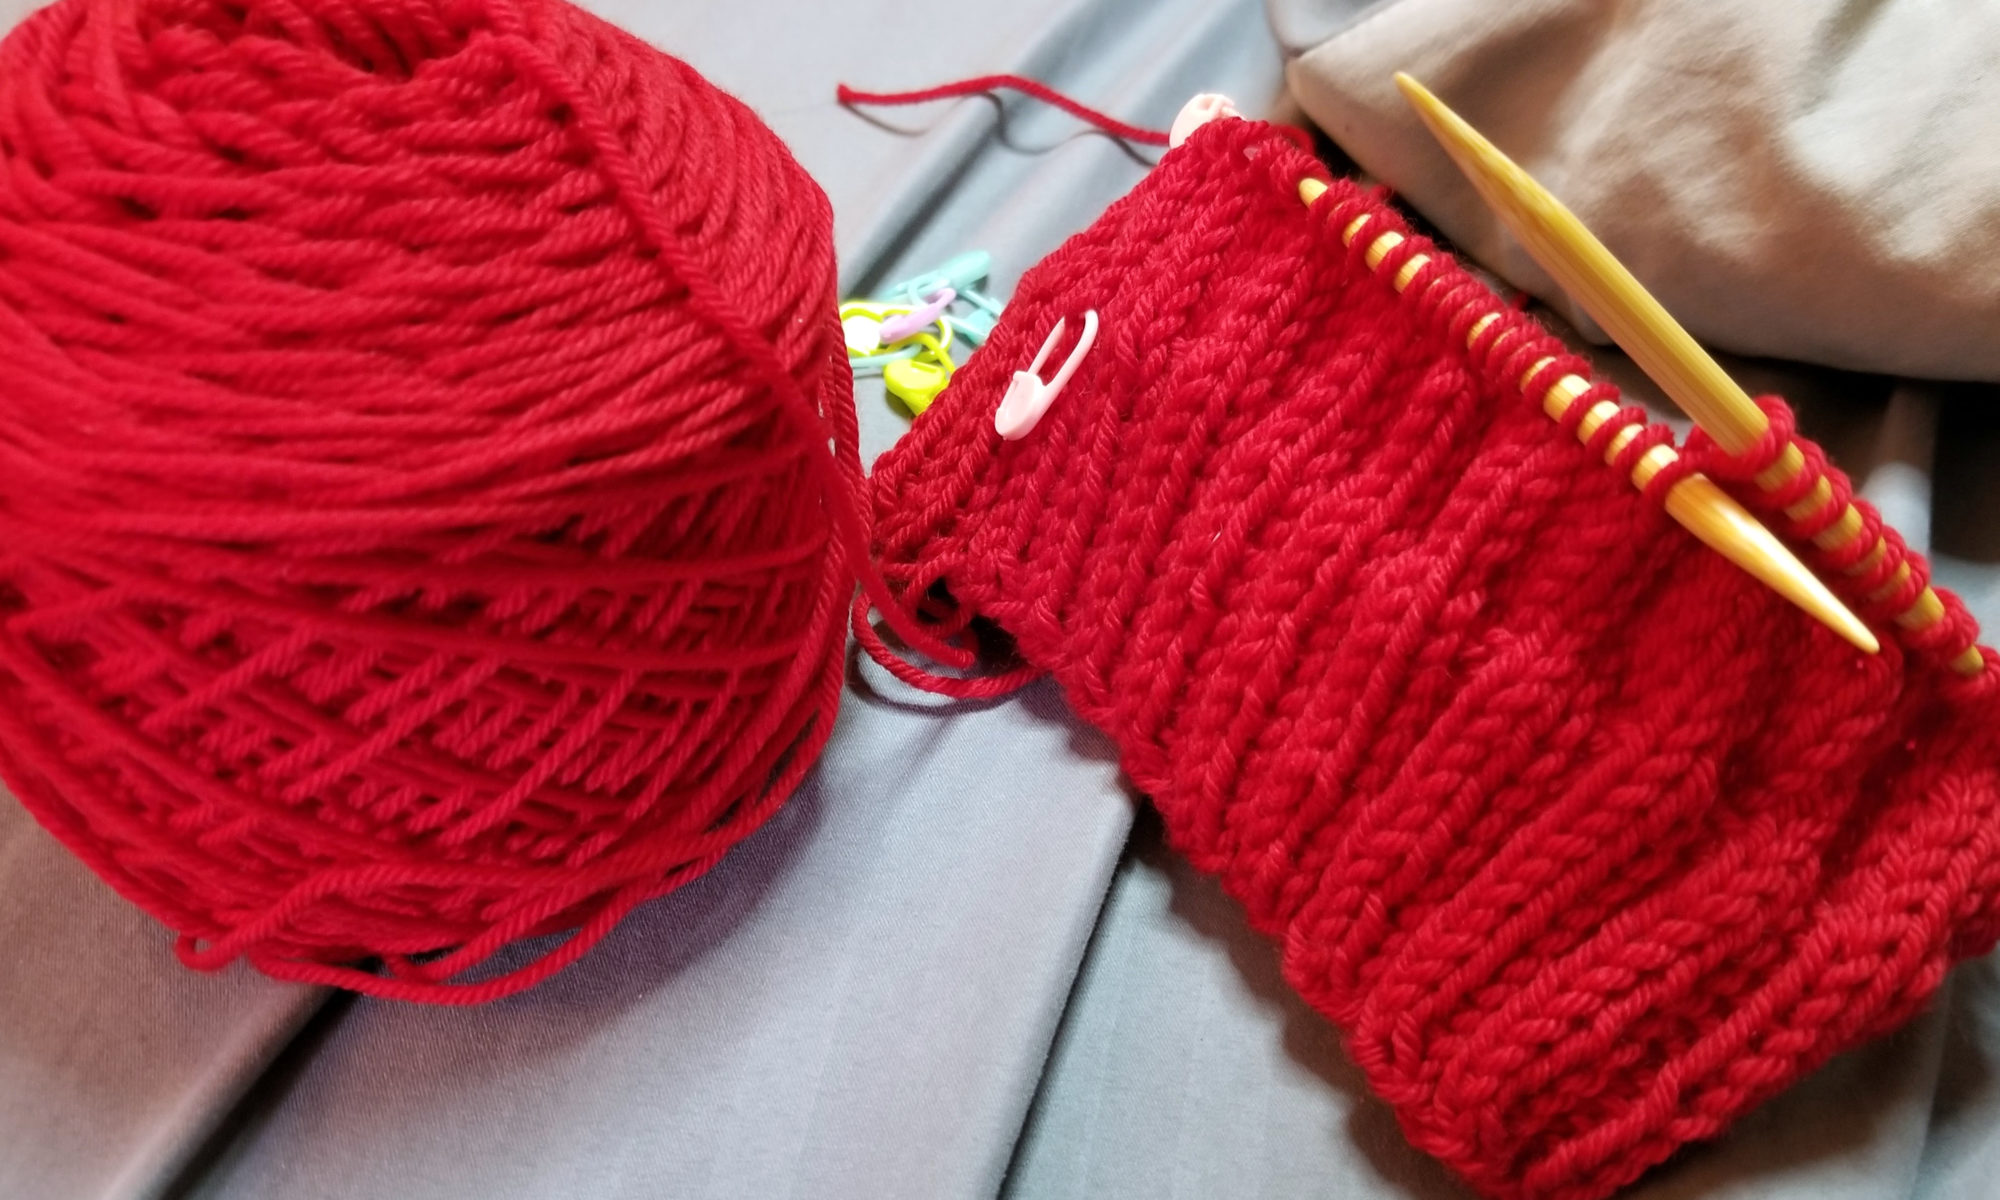
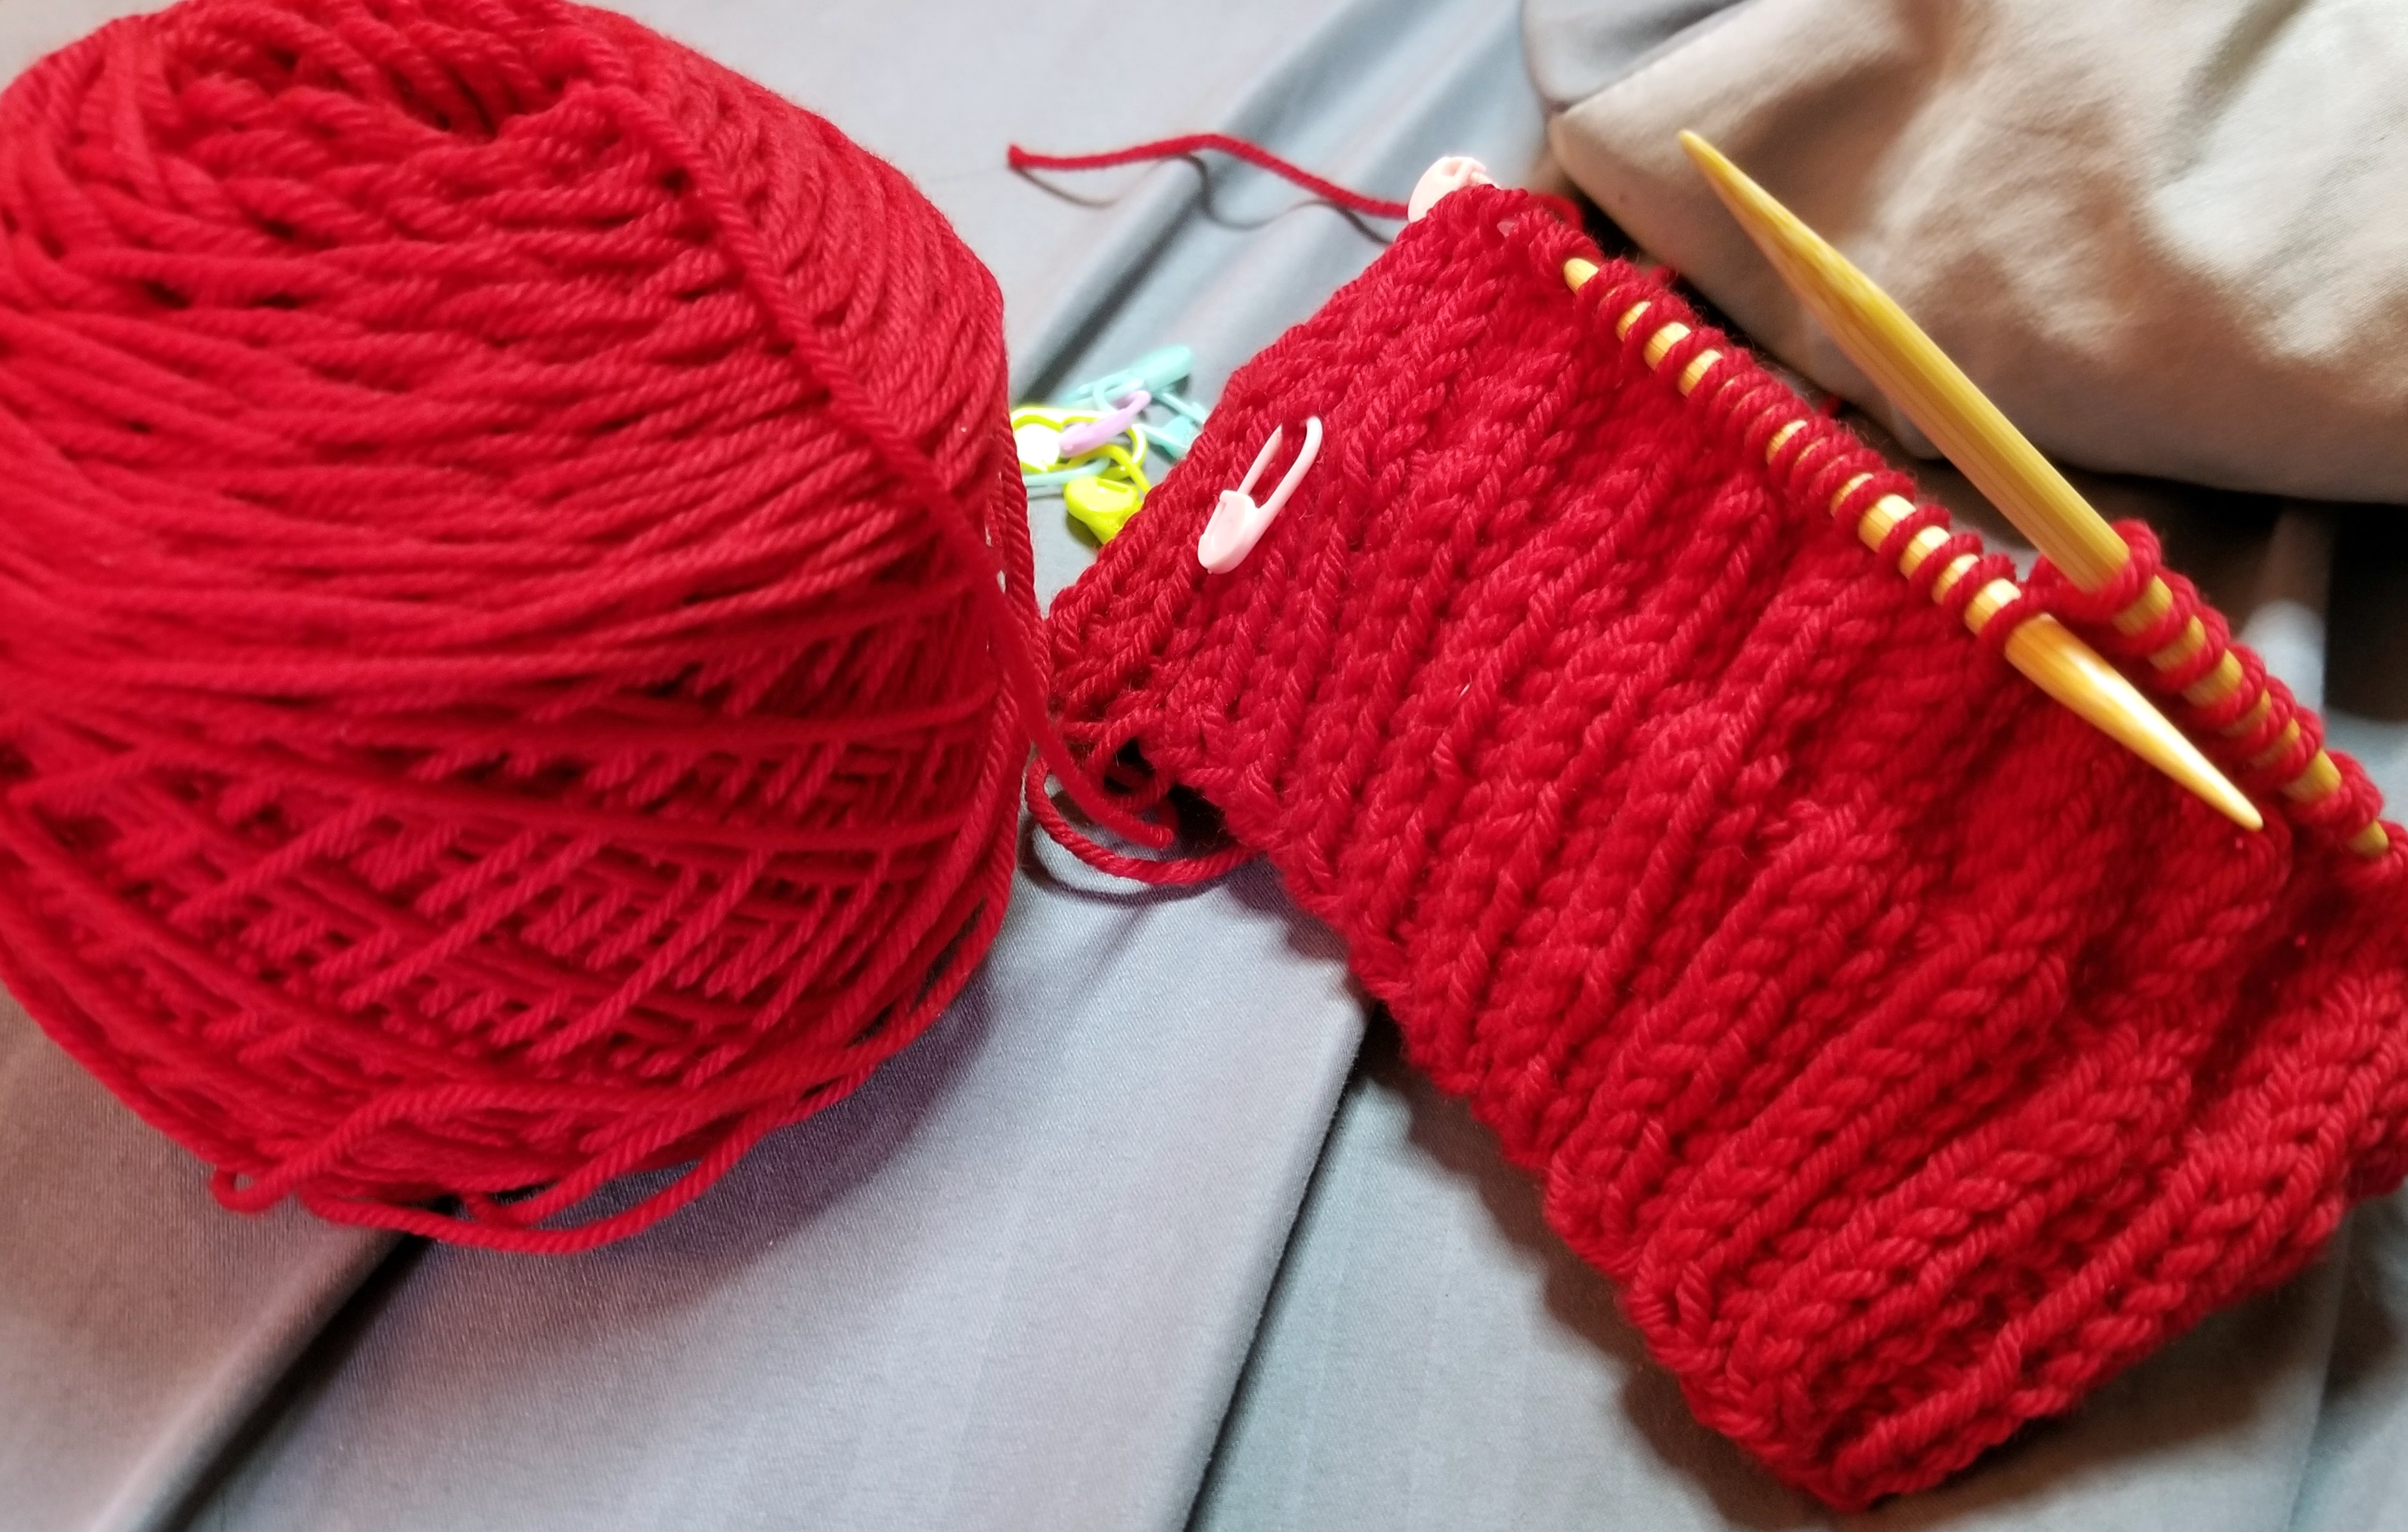
Craftsy.com had one of their big sales last week and I ordered a few beanie kits. I’ve never knitted hats, or knitted in the round really, so I thought I’d take advantage of a sale and give it a shot! The first kit I ordered was the Cloudborn Basic Hat kit in red.
As the product name suggested, it’s a pretty basic slouchy hat. A few rows of ribbing, a bunch of knits and then reducing it until it’s time to close up the top.
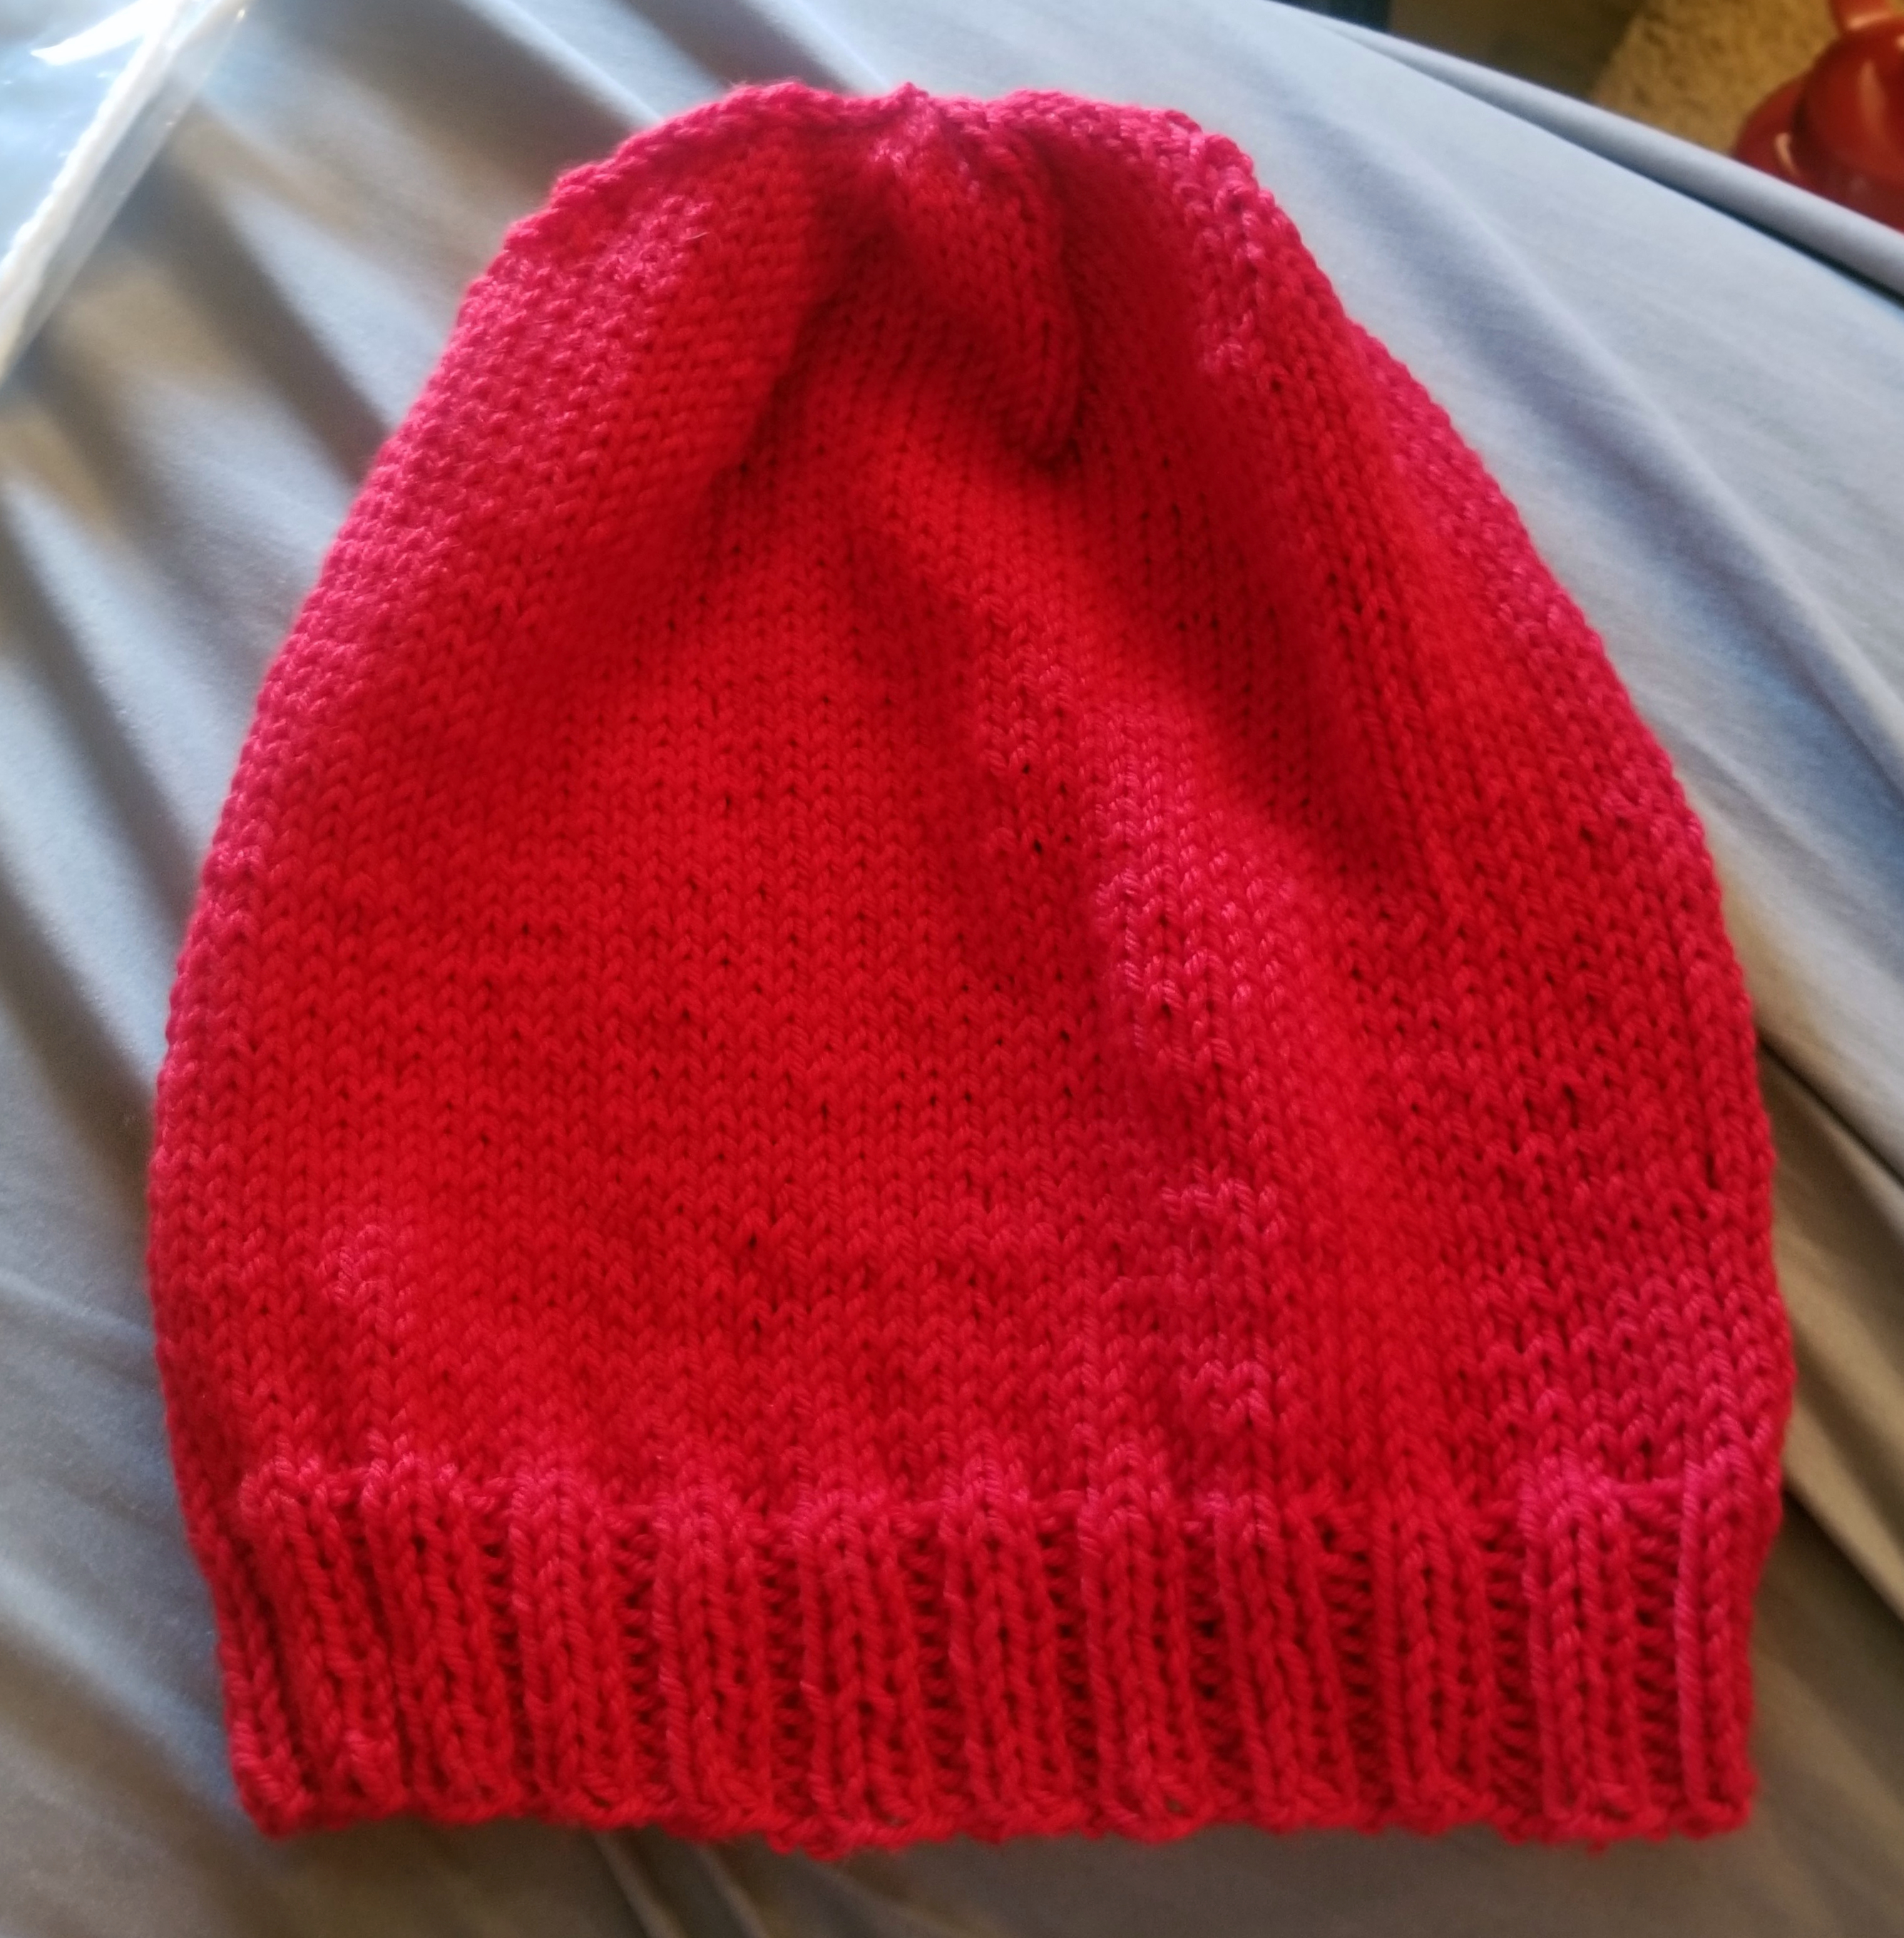
It was really hot this weekend in Seattle, so I pretty much locked myself up in my air-conditioned room and knocked this hat out pretty quickly while listening to some documentaries.
I’m pretty happy with it being my first hat. I sat down last night and started the next hat, which uses a chunky yarn, so I’m almost done with that as well. Once I get a few of these under my belt I’ll probably break out the fingering yarn and knit some finer stitched hats. I have lots of fingering weight yarn from all my sock stuff so I should probably figure out how to use some of that up!
Are you sick of socks yet? I kind of am! I should say, I am kind of sick of writing about them. I still find it enjoyable to make them.
I took a picture this morning of another custom order going out. These monsters are another pair of size 16. The last pair was reported to be slightly short and an additional inch was requested.
I also dyed these as well. Dyeing seems to be a little hit and miss for me. These are brown, sort of. They’re supposed to be chocolate brown but in person, they look almost purple. I also dyed some yarn “true black” the other day and they came out almost navy – dark, but not black. Maybe I’m not using enough dye.
But, aside from those issues, I seem to be getting better at some of the dyeing methods. This is one of many skeins I did last weekend.
You may see some strange out of place threads in there, but those are just extra ties I hadn’t cut off yet, so ignore those. But pretty decent, right? I was at least encouraged to keep trying, so you may see some more skeins pop up if there is anything worth showing. At least it wouldn’t be socks, right?
I did it again. I stuck myself with a bunch of custom work for friends and family. And, of course, I said they’d go out this week. I’m really good at setting myself up like this. They didn’t even ask, I offered. That’s how good I am at sticking myself with work.
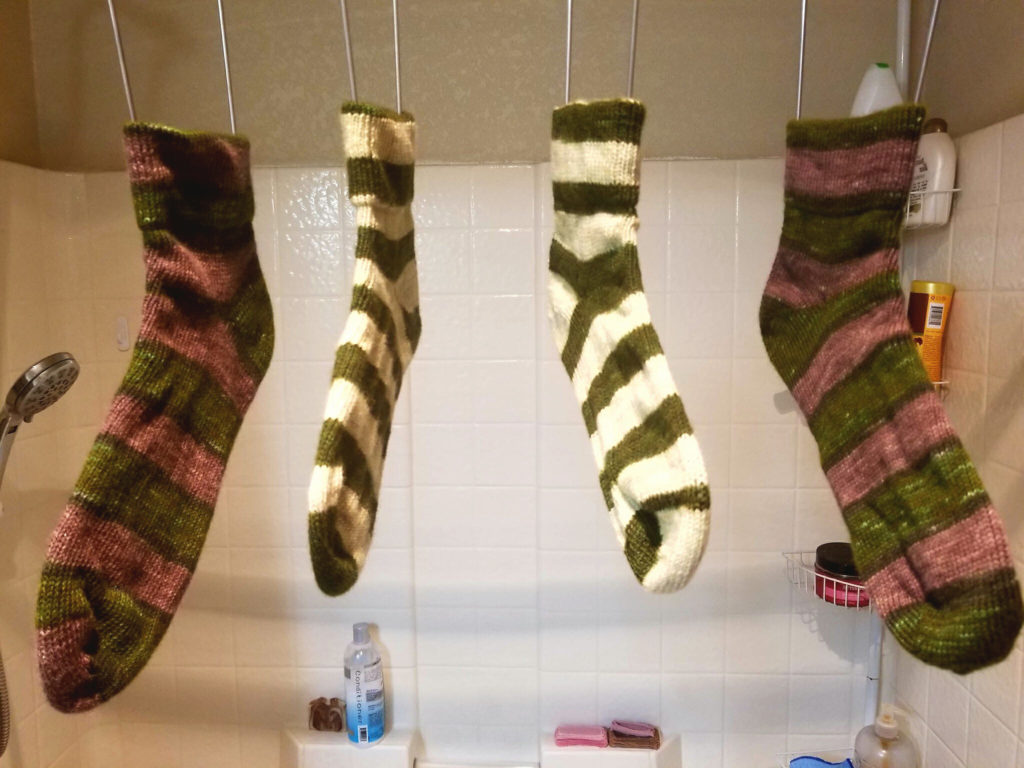
I decided I was going to attempt to make self-striping yarn. It started off pretty well. I prepped my yarn by creating a makeshift warp board with some clamps so that I could organize the skein of yarn into stripe sections. I dyed them in colors close to what was requested and then set down to wind all the yarn back into a ball so that I could knit with it.
And, that, is where the problems started. It didn’t occur to me how hard it would be to get it all back into a ball. It took me hours for each skein. So many knots… so many…
I tied it all up like I had previously, but I must be missing something that would make this easier. I’ve watched plenty of videos on it but no one ever shows the last part, they just set it all up and dye it… those sneaky bastards. They could at least warn people.
Regardless of my troubles, I finished the socks and now they are hanging to dry before being shipped off.
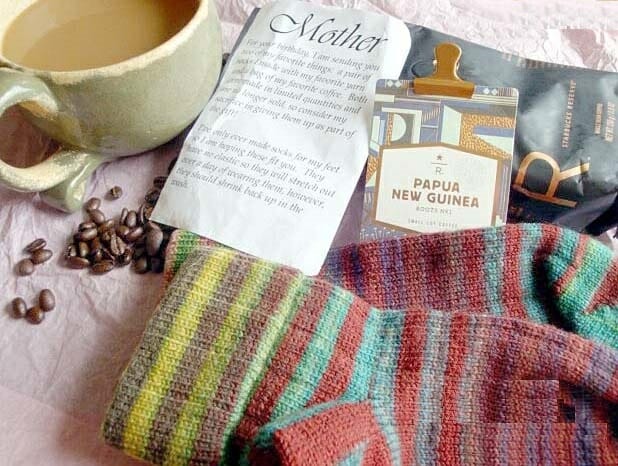
I’m happy to report all my research and planning on my mother’s birthday gift was a complete success. I was worried about it but she reported that the socks fit perfectly and even sent me a picture.
Did you know my mother is also a crafter? You should check out the stamping and card making she does over at her blog. http://craftiblog.wordpress.com