
I saw a youtube video a while back that was about making jewelry pins with shrinky dinks. I checked out my local stores, that had some, but not the ink jet printable films. While I do plan on drawing my own pins, I wanted a quick project to see if this was something I could get into and want to do more of. The printable film would make this pretty quick and easy.
I jumped on amazon and order some Grafix Printable White Inkjet Shrink Film and got to printing. These will shrink to about half the size, so make sure to size your items appropriately. My prints were all about 3 – 4″.
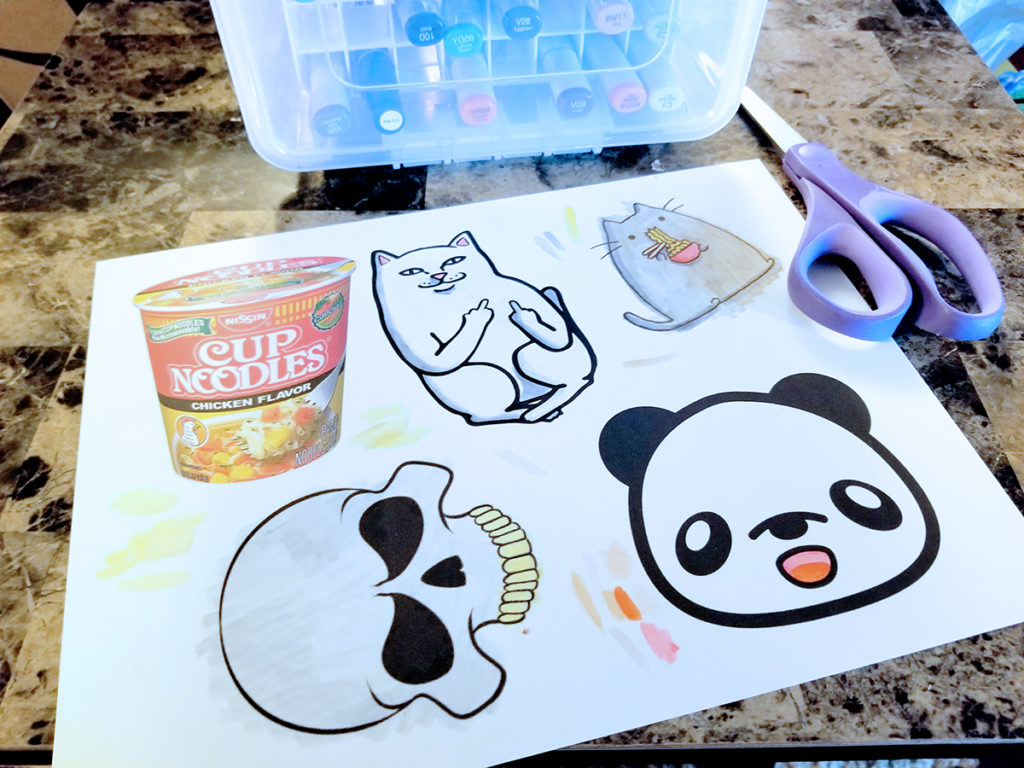
I picked out some cute things from an image search and got out my Copic markers (though you can use any permanent ink) and started coloring and doing some simple shading.
Things I noticed: If it’s a large area, it’s probably better to print the color. Markers tend to streak and they definitely look like they’ve been colored with a marker. This isn’t normal paper and it will look different than any paper you usually draw on. I was pretty sure things were going to turn out even if they looked a bit streaky.
I cut them out and placed on paper. They specifically say within the instruction to not put the film directly on metal, but you can put down some paper over metal – which seems to work best. I tried just putting cardboard down on the rack and that did not work well. Things did not bake evenly and I had to flip them over and bake them much longer that I should’ve. This batch I had learned that lesson and these worked out great.

Once they bake for a few minutes and stop shrinking. Remove from the oven and quickly smash them flat with a spatula so that they are completely flat. I recommend doing small batches if you are doing many pieces since you don’t have much time before they cool off and become very solid. Luckily, I picked very solid shapes and didn’t need to fuss with them much.
I do recommend you check the edges when they cool off. Several of mine had a frayed look to them that could easily be cleaned up with a nail file.
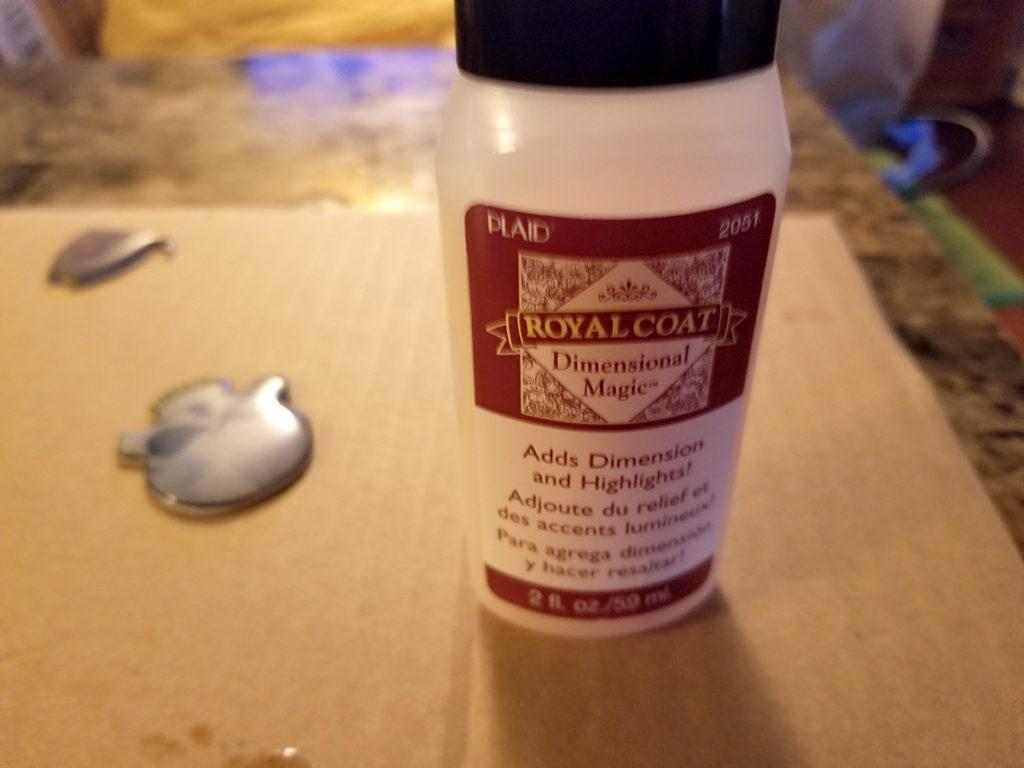
Next, I used a dimensional glaze on top of each to give it that plastic shiny domed look. It’ll also protect your design from getting messed up from use.
There are several options in different brands that you can use, this Royal Coat was the one I found at a local store. A more popular one seems to be Mod Podge Dimensional Magic. They’re all basically clear glue, so just pick one and give it a try.
I learned several things from putting the glossy coating on:
- Keep your bottle pointed downwards through the whole process and don’t tip it upwards, this will just trap air bubbles.
- Squirt some out before starting on something you can throw away. There may be bubbles trapped in the tip of the applicator.
- Outline the outside of your design, getting all the way to the edge, then fill in the middle.
- It’s tempting to really put a lot on and try to get a nice glossy dome shape on top, but at some point, the tension of the liquid will be too great and it’ll suddenly leak off the sides and all over your surface.
- If you mess up, just take it to the sink, gently rise off the glaze and dry completely before trying again (if it’s not dry it will all just run off again).
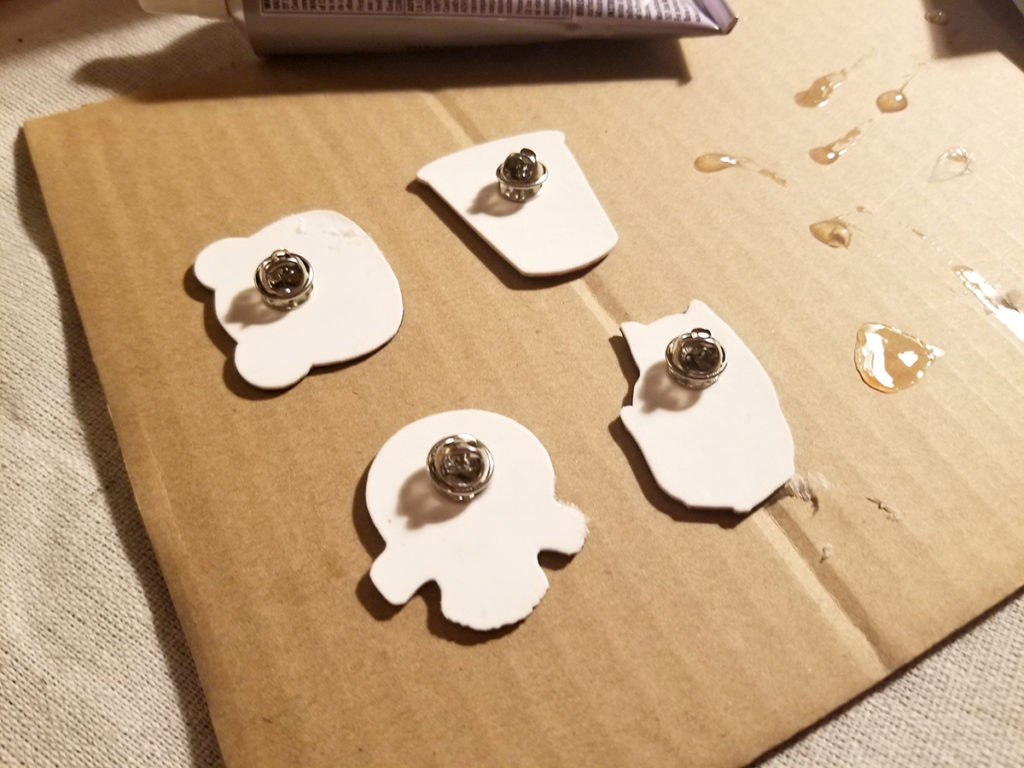
After the glossy coating is dry (I let mine sit for a day to be sure), get out some jewelry pin backs (or your favorite jewelry findings) and glue them down. I used my favorite all around glue, E6000. It’s an amazing industrial glue and wasn’t going to come off these pins without a fight. E6000 needs to sit for a whole day.
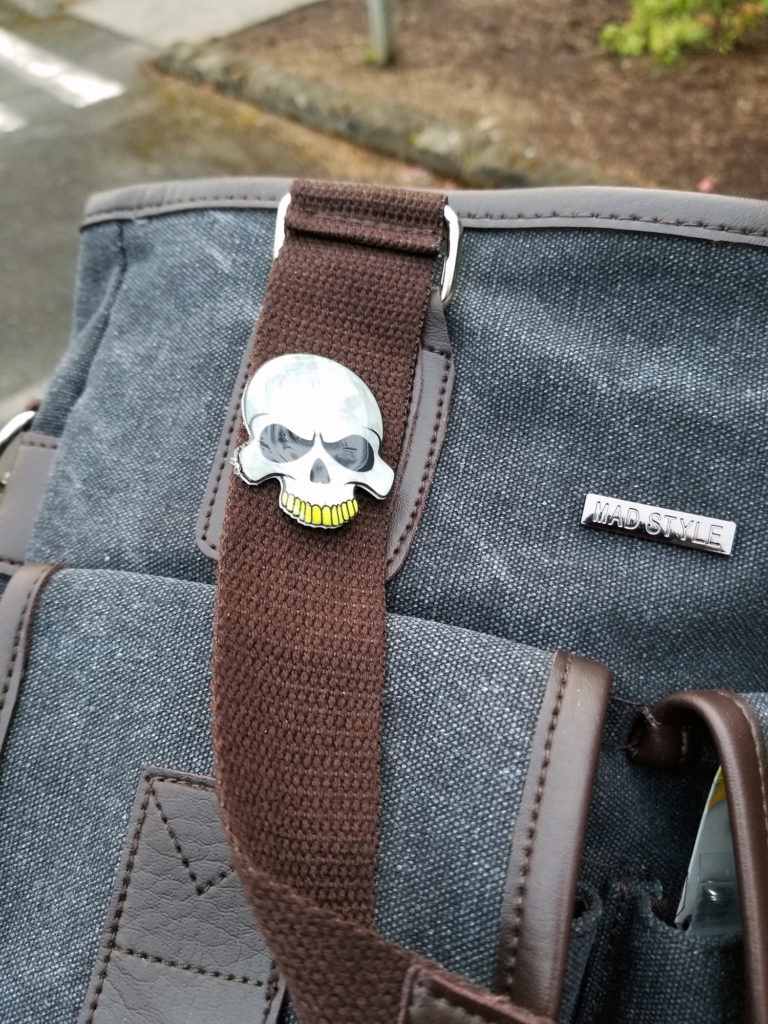
And here’s one of my pins on my work duffle.