
The last few months have been hectic. As I mentioned previously, I’ve been remodeling the house. While the remodeling is done, there’s been a lot of post-construction work I’ve taken on and then moving everything back in. I’m only partially moved in, however if I didn’t get some craft time in soon I was going to go mad! All the stuff I love has been packed away in boxes and inaccessible.
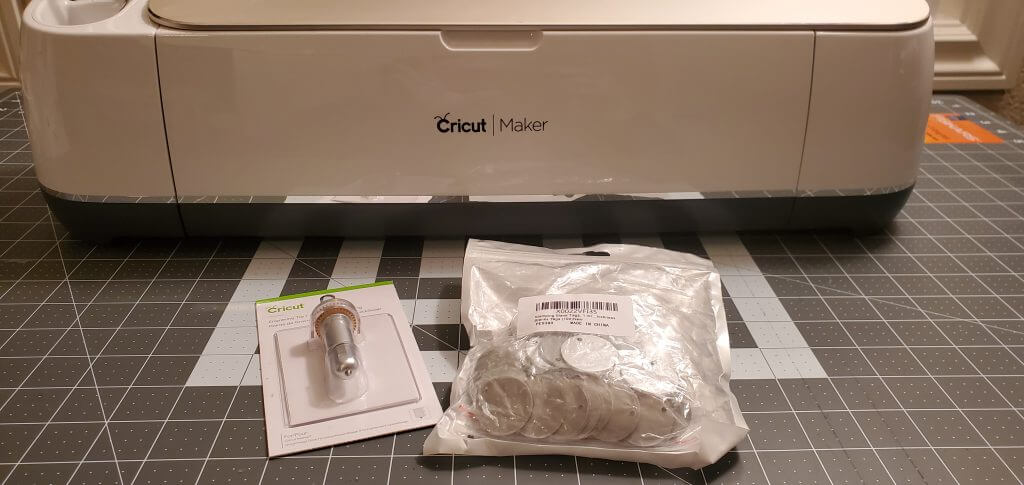
The new Cricut Engraving Tip has been sitting in it’s package for quite a while and I made sure to make some time to unpack the Cricut and give it a try.
For materials, I’ll be using:
-
-
- Cricut Maker
- Engraving Tool
- Aluminum Stamping Blanks (I used these 1″ circle blanks)
- Cricut Strong Grip Cutting Mat
- Vector line art images to engrave. I downloaded a free Geometric Lion and a Deco Heart design in DXF format from CNC File Sharing
-
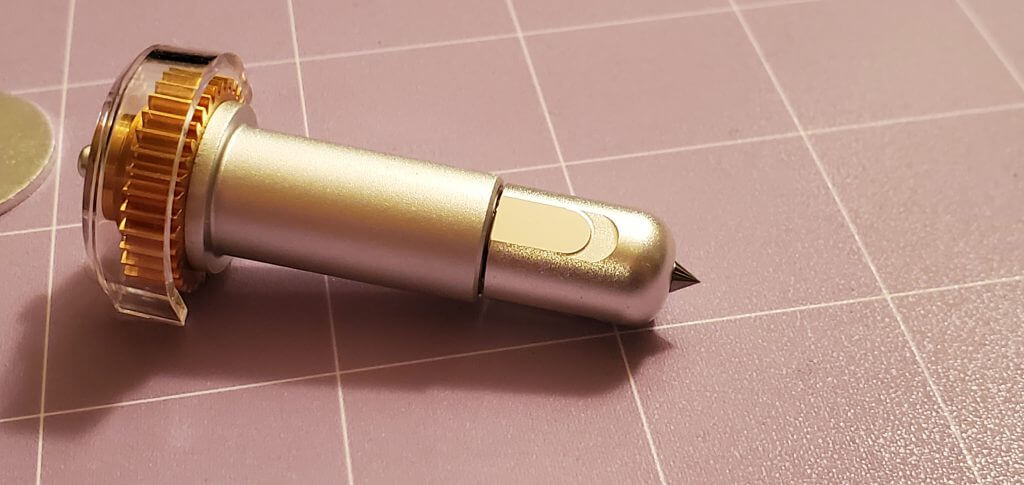
Most of the tips for the Cricut are pretty simple. This one is just a carbide steel pointy end that will scratch across our aluminum blanks. One of the nice things about this tip is that it uses the quick release housing so you can just buy the tip itself if you already have the housing from another tool purchase.
I thought it was pretty strange that this tip needed to rotate. From time to time it will lift up in the middle of a project, spin around a few times and then goes back to work. According to the FAQ, this lessens the wear on the tip. I don’t see how, considering the tip travels in all directions, but they would know best.
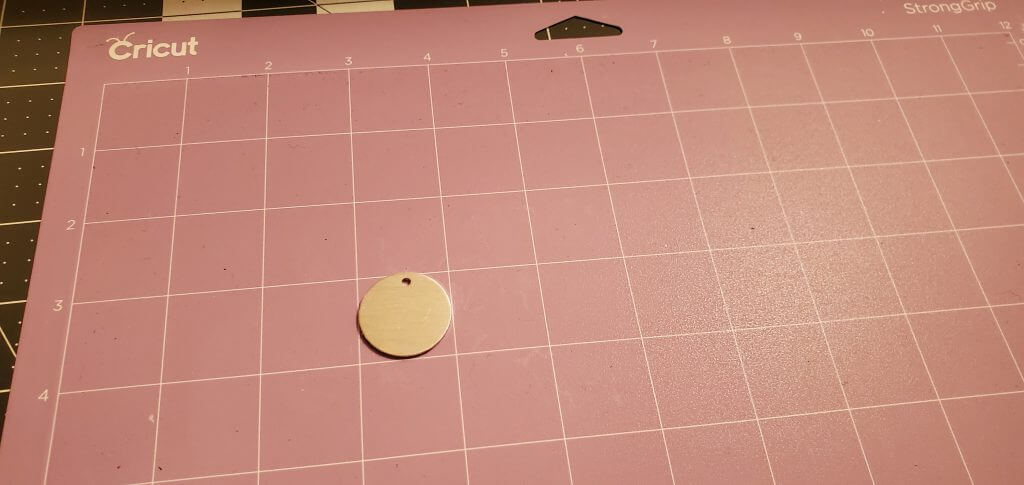
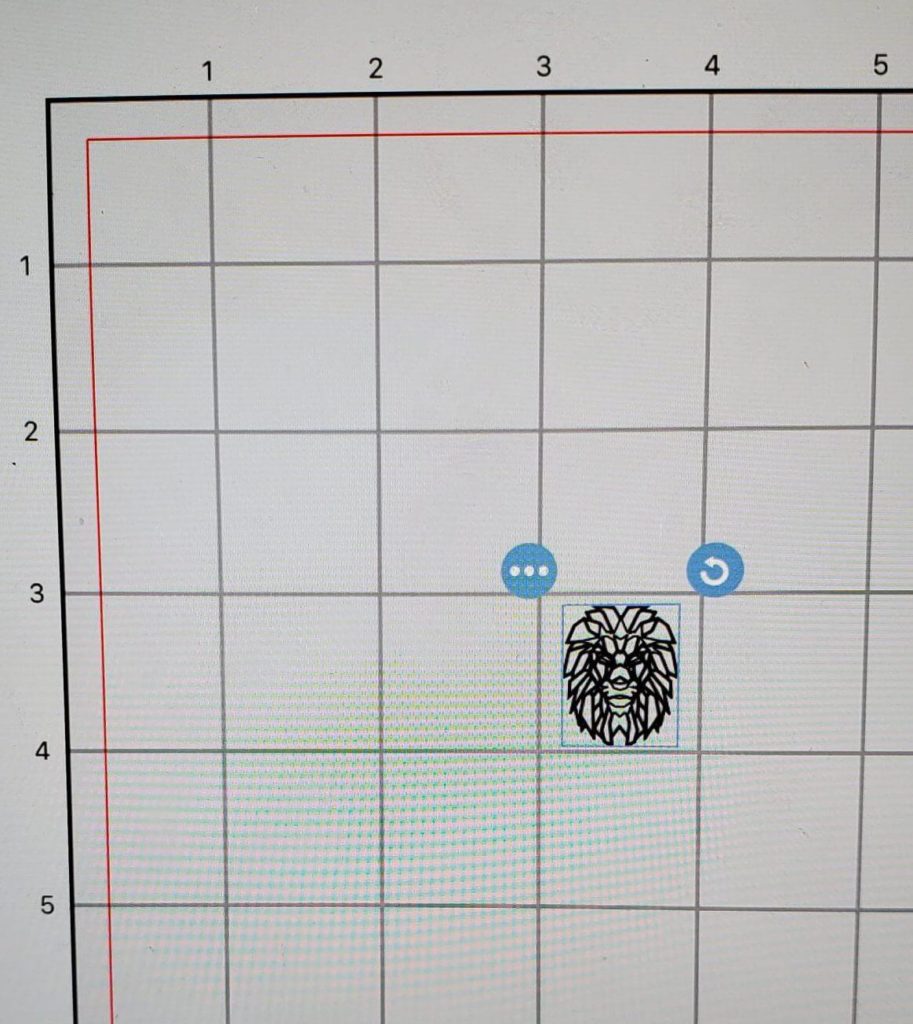
To start the project off, I placed my 1″ blank on my strong-grip mat making sure to place it in an easily identifiable spot. Some people choose to place it directly in the center on the cross-hairs, but I just picked a square and lined it and kept it as close to the lines as I could.
It’s suggested that you tape your material down, however, I chose not to. I know my machine well enough to know I didn’t need it. It’s a new strong-grip mat and it was difficult to reposition the blank once it was on the mat. As long as you line up your image so that it won’t extend past the edge of the blank, there shouldn’t be an issue with the blank moving. Besides, even if it did screw one up, these bulk blanks are like $0.15/each. I’m sure I’d survive that enormous financial set back.
In the software, I imported my DXF file that I downloaded. The preview of my image was solid black, but just import it regardless. Once the image is placed on your project, change the object to engraving and you’ll see all the lines again instead of a black blob.
In case you are new to the Cricut software, the basic steps you’ll need to do in order to start engraving your image:
-
-
- Import your image
- Change the line type to engrave
- Select the image and click attach so that all the layers stay aligned.
- Shrink it down to the correct size (I wanted mine smaller than my 1″ blank, so I set it to 0.80″)
-
Then go ahead and make it. You’ll position your image on the mat within the preview screen.
Before you put your mat into the machine, make sure to move those little white rollers out of the way. You don’t want them rolling over your blank.
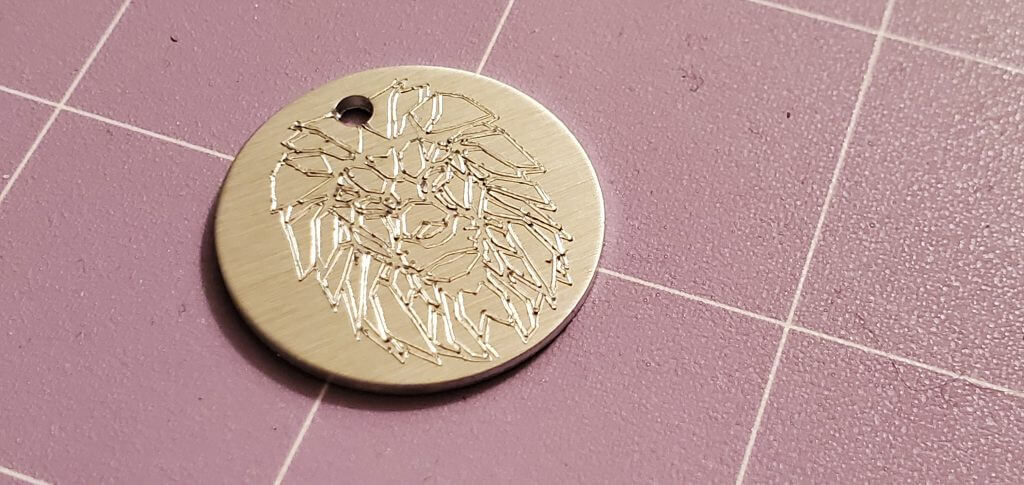
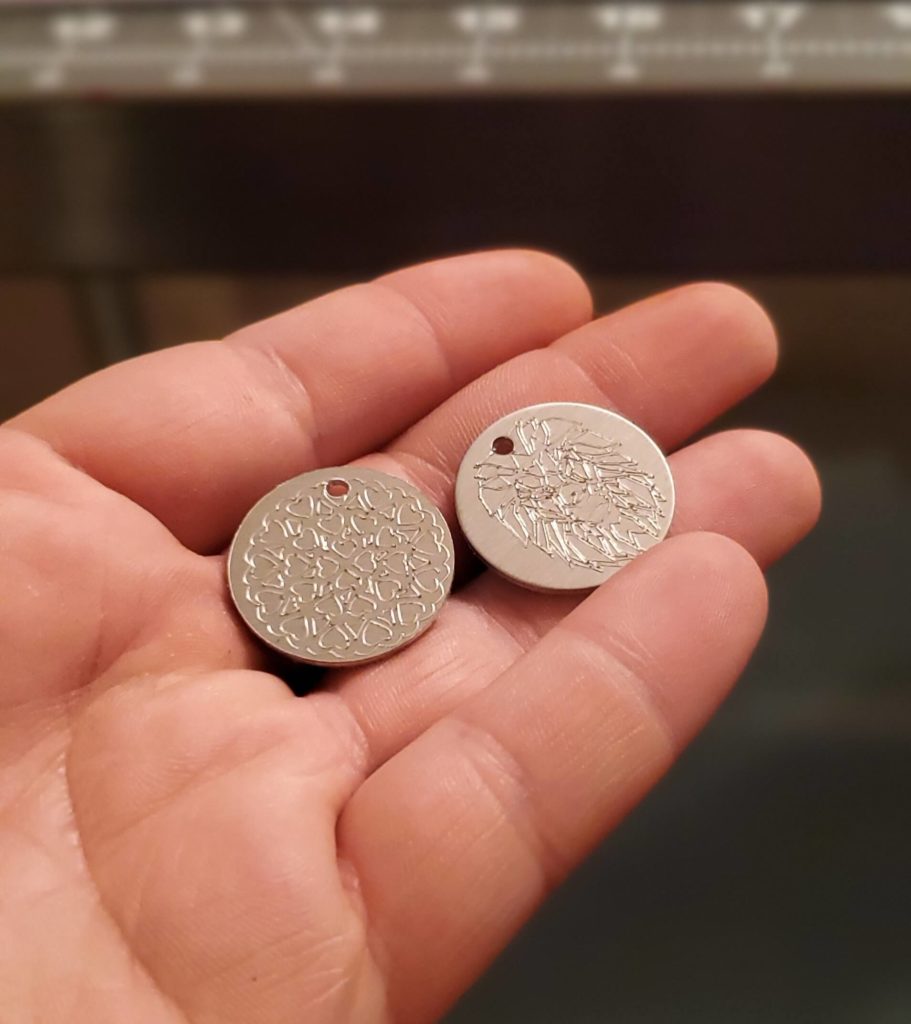
I put my mat into the machine and hit the start button. It came out exactly as I thought it would. To be honest, I wasn’t expecting it to go so easily. I grabbed my second image and repeated the process.
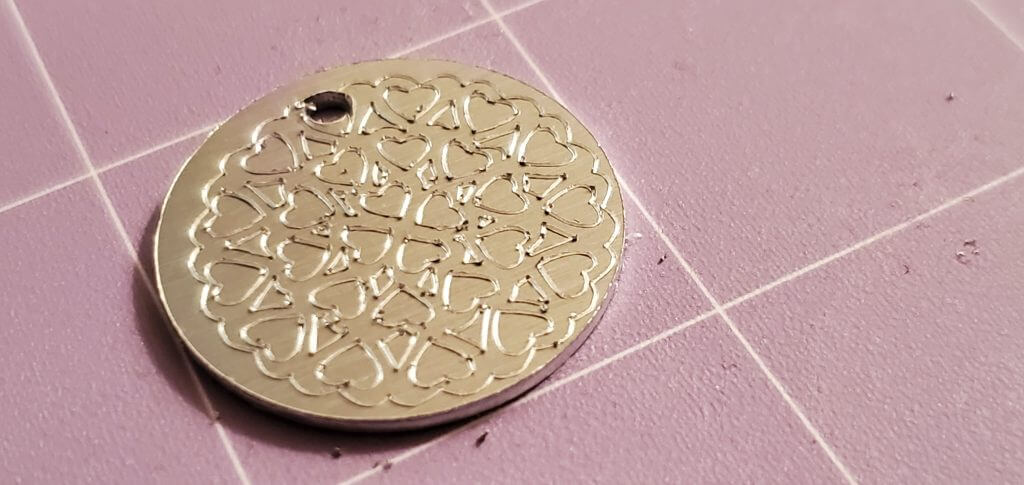
This time, the etching wasn’t centered on the piece. This is what I was expecting to happen. The problem with the Cricut is that the mats have a bit of wiggle room when you load them into the machine. No matter how careful you are, it may not be precisely positioned and the etching may be off slightly. Good thing these blanks are so inexpensive!
When you touch the etching you’ll find it’s pretty rough feeling. In fact, it will almost grip your finger from all the little edges sticking up. The booklet that came with the engraving tip recommends a 360-600 grit sand paper. Of course, my sand paper is packed away in some box at the moment, so I’ll have to try this in follow-up post.
Once I get it sanded down, I do want to try a few other things with these. For one, I’d like to try filling the etching with a liquid acrylic, or maybe a nail polish. I’ll probably need to find a squeegee to wipe off the excess as well as some nail polish remover. But, I’d like to see if I can fill it in with a color. The etching lines catch the light nicely, but it might be nice to make out the design from further away as well.
Overall, I was really happy with this engraving tip. I do wish there was some way to perfectly line the image up with the material on the mat. Nothing I normally do needs to be lined up as precisely as this and I think it’ll just take some practice to loading the mat into the machine to figure out exactly where everything needs to be.