If you spend any time on social media, you’ve probably seen people going crazy with resin crafts. Resin, in general, seems like it’s really gained popularity in the past few years. Now we’re using different forms of resins (polymers) for 3D printing, woodworking, and even getting your nails did.
While I’ve used polymers in a lot of projects, I finally gave in to trying pourable resin with molds. I think the tipping point was when I realized that I could use a lot of the products I already have with resin and I wasn’t going to have to buy a whole list of items just to try it out. I already have glitter and I already have mica powders, alcohol inks, and various colorants from soap making. All I need to get started was the resin itself but I did splurge on some coaster molds.
Materials List
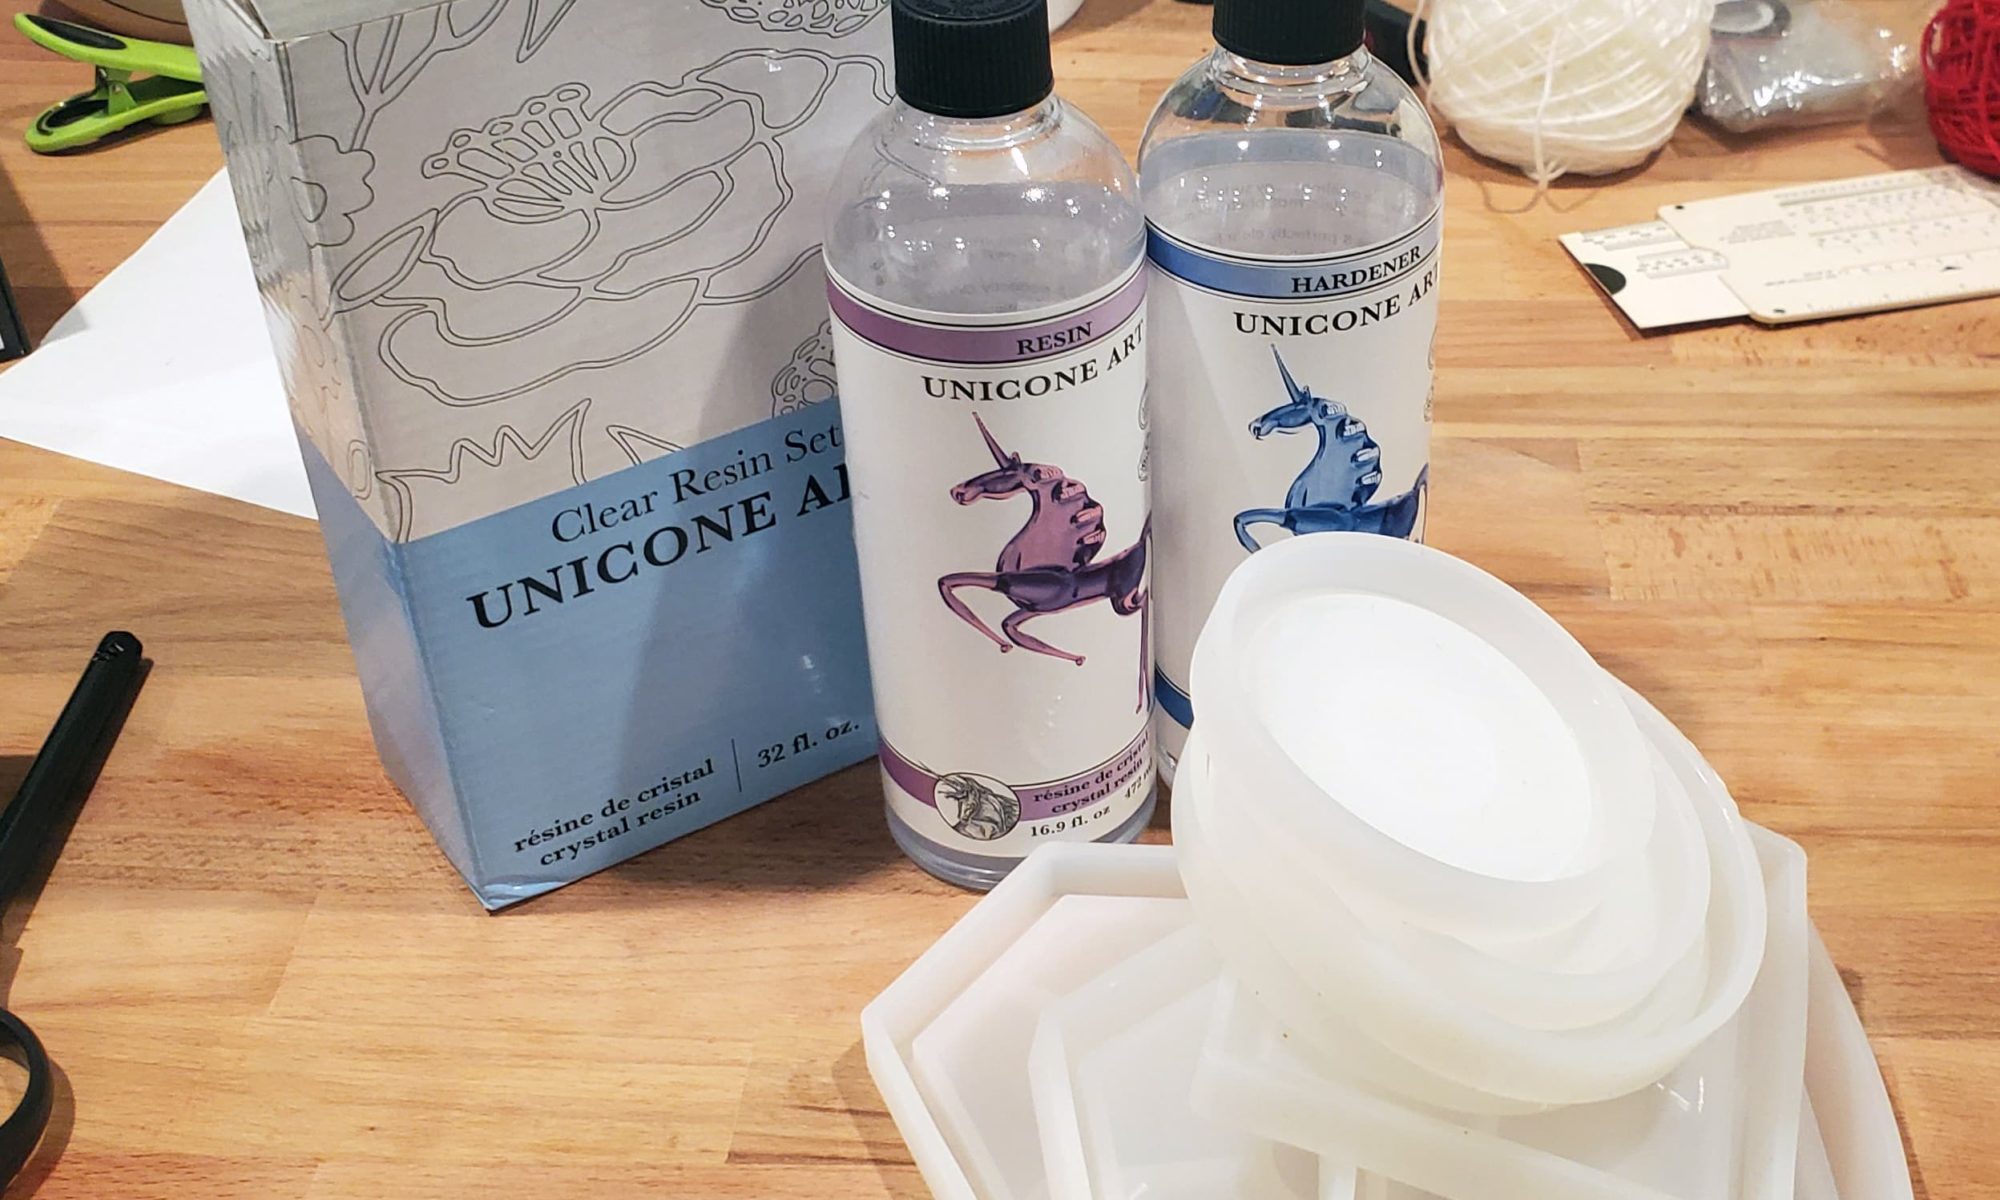
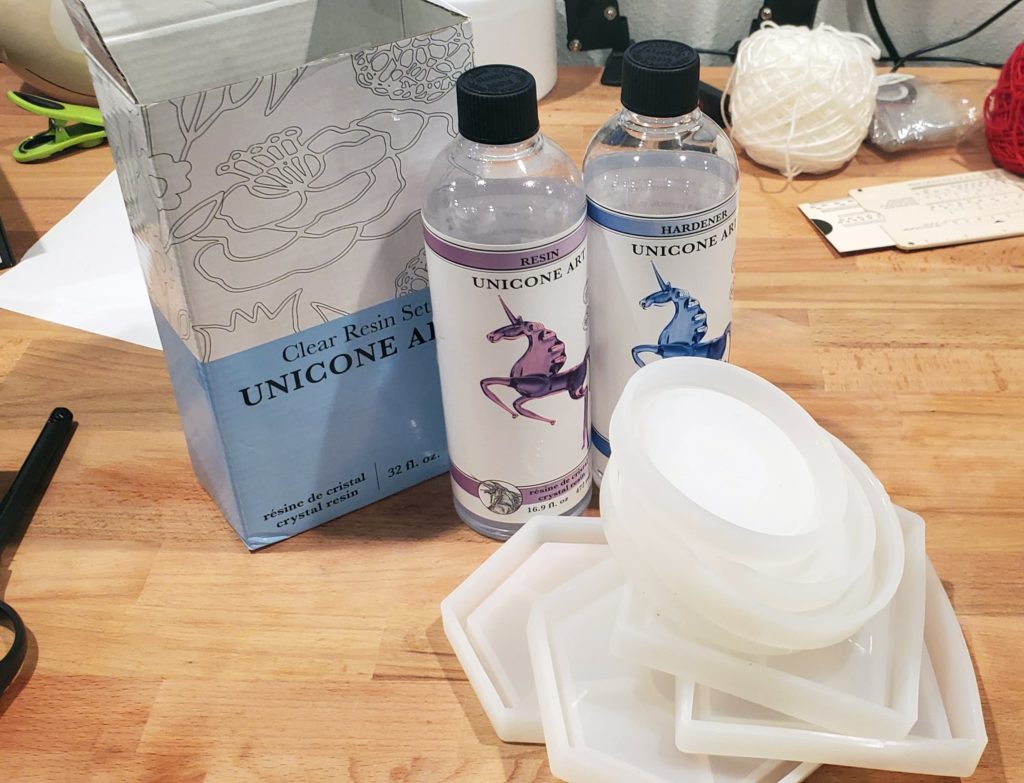
- Unicone Art Resin
- Coaster Silicone Molds
- Butane Torch, Candle Lighter or Alcohol Spray (for popping bubbles)
- A needle or something pokey to push stuff around in the resin
- Disposable cups or silicone cups
- Popsicle sticks for mixing resin
For the Stained Glass parts:
- Glass Cutter
- Glass Running Pliers
- Sharpie
- 2x Printed Pattern (one to cut, one to work on)
- Alcohol & Rag to clean the glass.
- Gloves, goggles, and a mask for safety.
Apart from glitters and playing with colors, a big part of the resin trend is encapsulating various items. I scoured my old art supplies to see what I could repurpose for this project and I found some stained glass I had packed away. While drawing out a design I realized I didn’t want to drag out the glass grinder and all the other equipment, so I kept my design simple with mostly straight lines and gentle curves to avoid the need for any other tools. I also didn’t want to do any intricate considering I don’t really know what I’m doing yet.
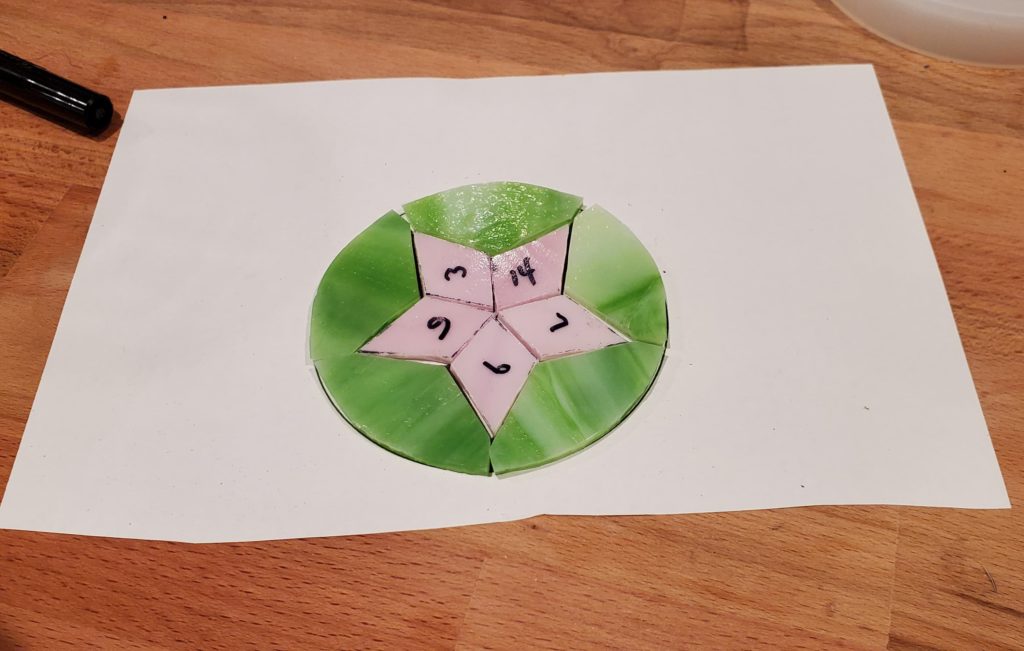
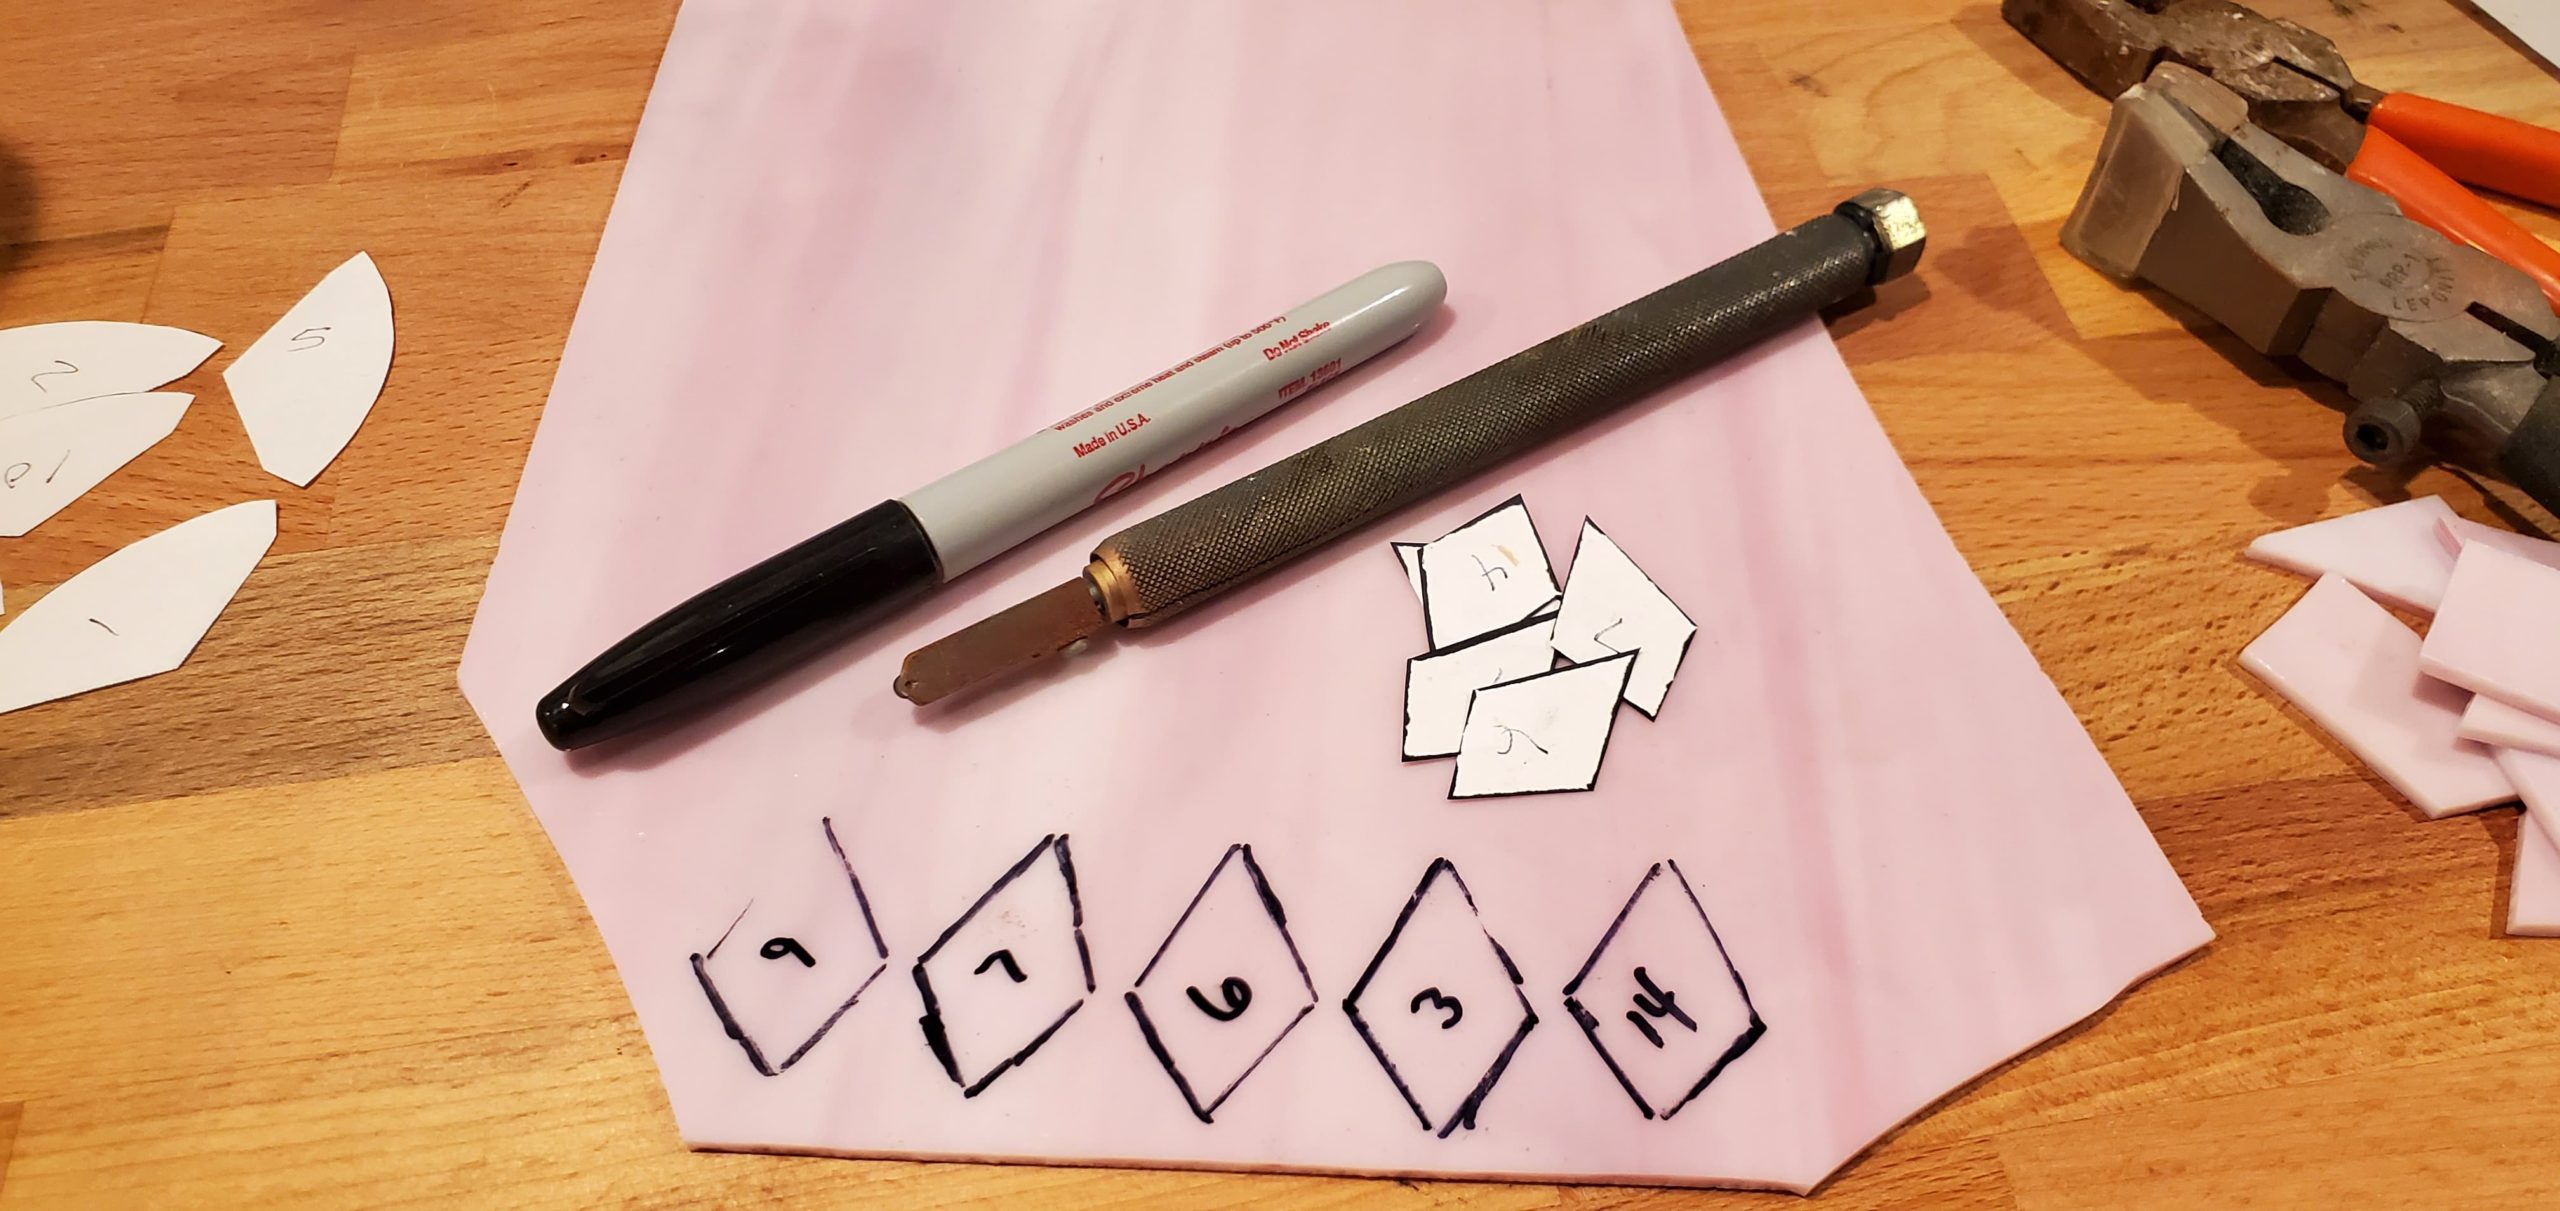
I started by cutting out my pattern and using a sharpie to trace each piece onto the glass. Using the glass cutter and running pliers, I cut out the shapes and kept track of them with one of my printed patterns.
The few parts that needed to be ground off was easily done with a piece by rubbing the glass edge on some 120 grit sanding paper.
Last, the sharpie marks and any glass dust was removed with alcohol and a rag.
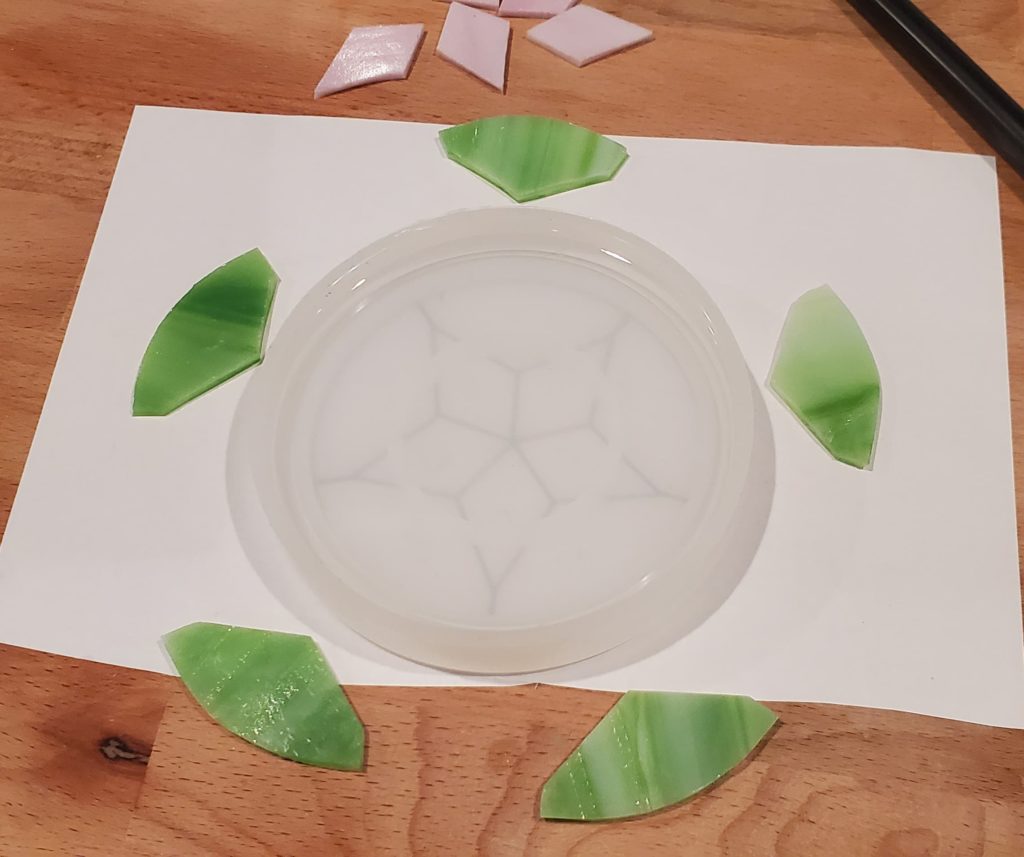
One of the nice things about working with these molds is that they are generally thin and transparent. I placed my design under the mold and I could still see it well enough through the mold.
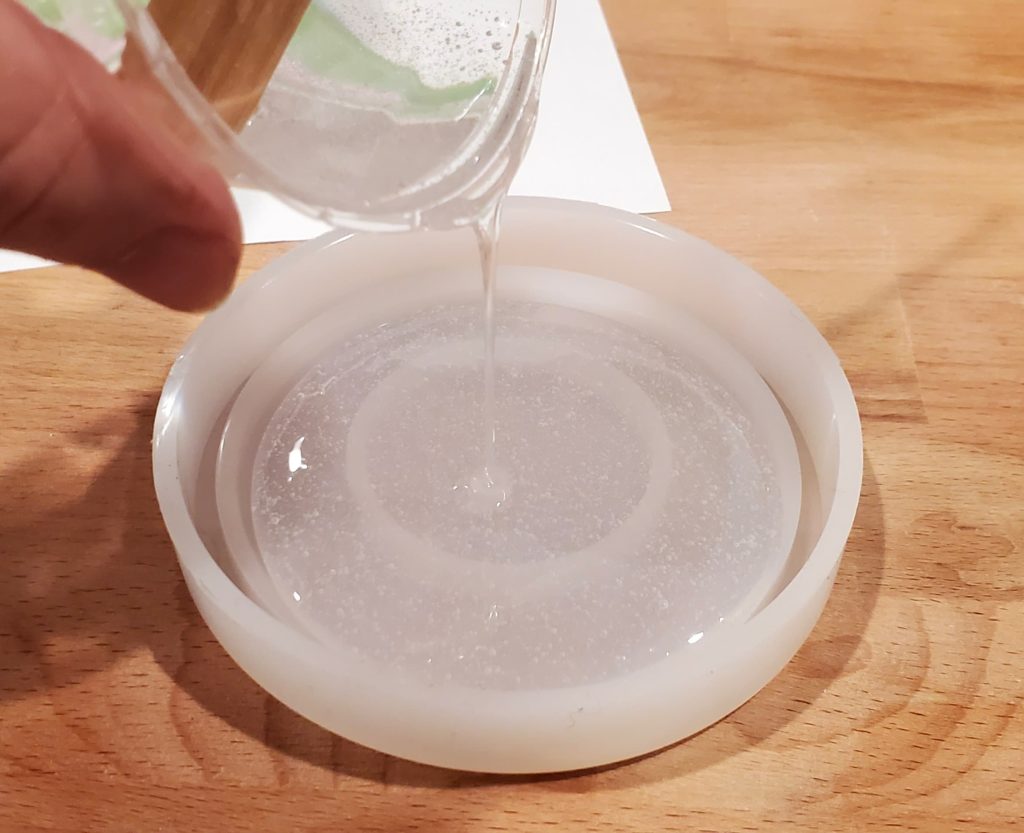
I mixed up enough resin to cover the very bottom of the mold and fill up the ridge around the perimeter. You can easily figure out how much resin you’ll need by adding tablespoons of water until you get to the level you want. Then I just marked the measurements on my disposable cups. Just make sure the mold is completely dry before you use it with resin.
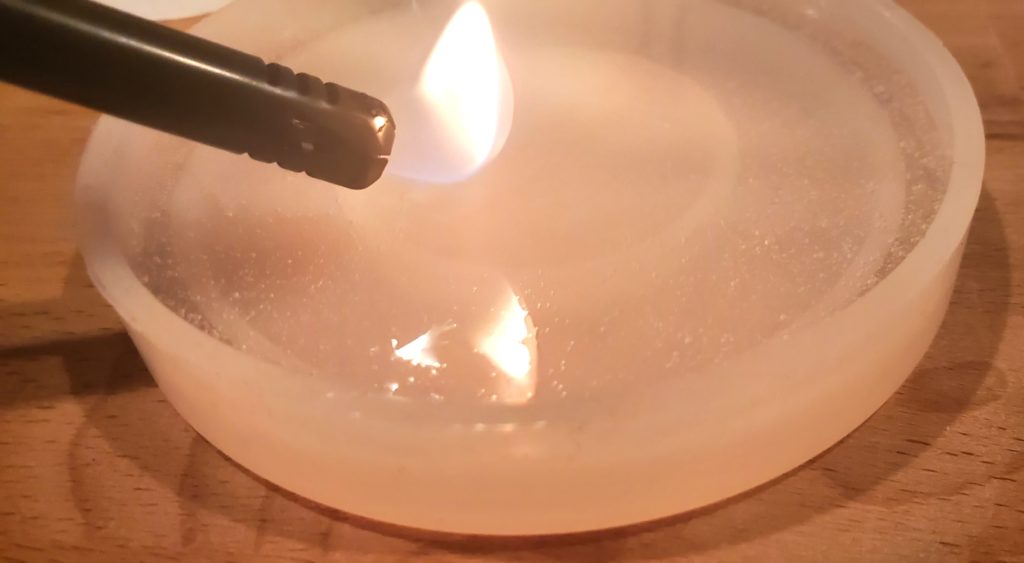
I let the resin sit in the mold for 10 minutes to let most of the bubbles rise to the top on their own. Then, using my candle/utility lighter, I quickly torched the top and the bubbles instantly popped. Just make sure not to overdo it. I’ve heard some people complain the resin will adhere to the mold if it is heated too much.

This particular resin will start to gel in 30 minutes, but I waited about 4 hours to let the resin set up. I plopped my glass pieces on top of the resin and quickly nudged them into place. They slowly sunk into the resin afterward.
I had hoped to pour a thin layer of black to fill the gap between the pieces and mimic the lead lines in a stained glass window. Since they had sunk in there were no gaps left to fill. Maybe in a future attempt, I will wait longer than 4 hours and see if they will sit on top of the first layer of resin.
There is a point of no return when you are layering resins. I waited 4 hours because the resin would have gelled enough to play with, but still uncured enough for the next layer to adhere. Once it hardens you’ll end up having to sand the first layer before pouring the next, which I wanted to avoid. If you pour freshly mixed resin on cured resin the layers may come apart later.
I capped the glass with another layer of resin and let it sit overnight to cure. I may have snuck a pinch of glitter into that layer as well.
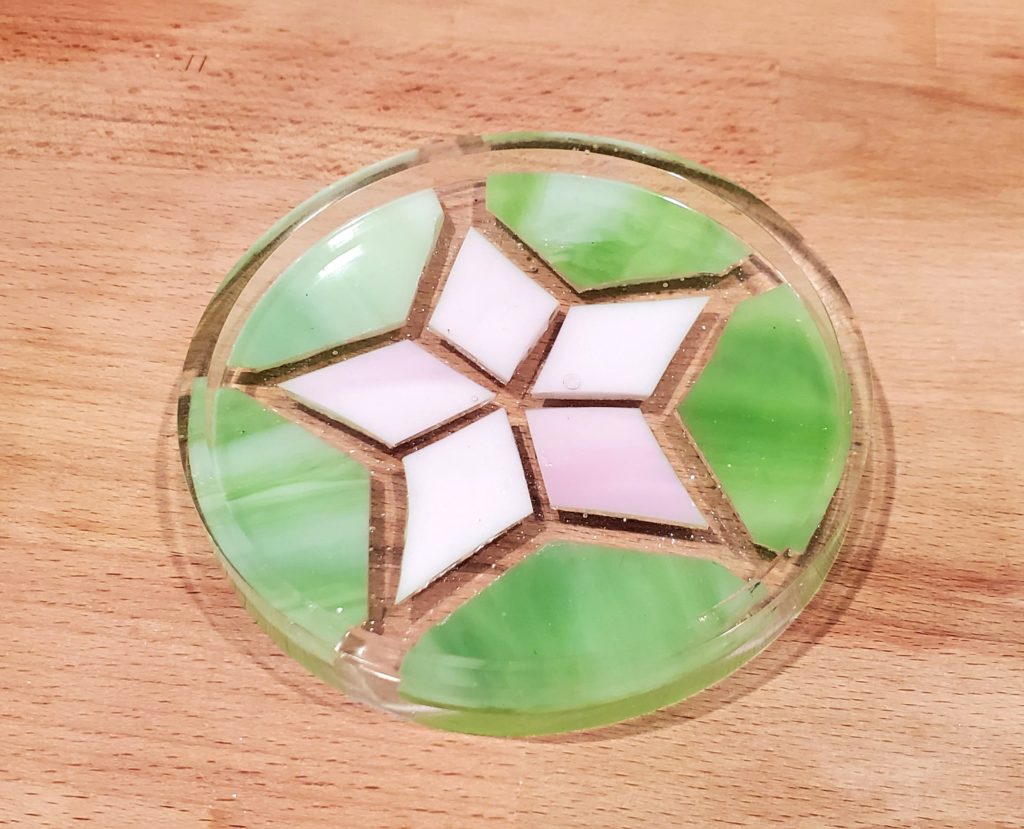
Around 24 hours later I got to pull the piece out of the mold. It was extremely satisfying to pull out a perfectly smooth and crystal clear piece. Now I understand why this has become so popular.
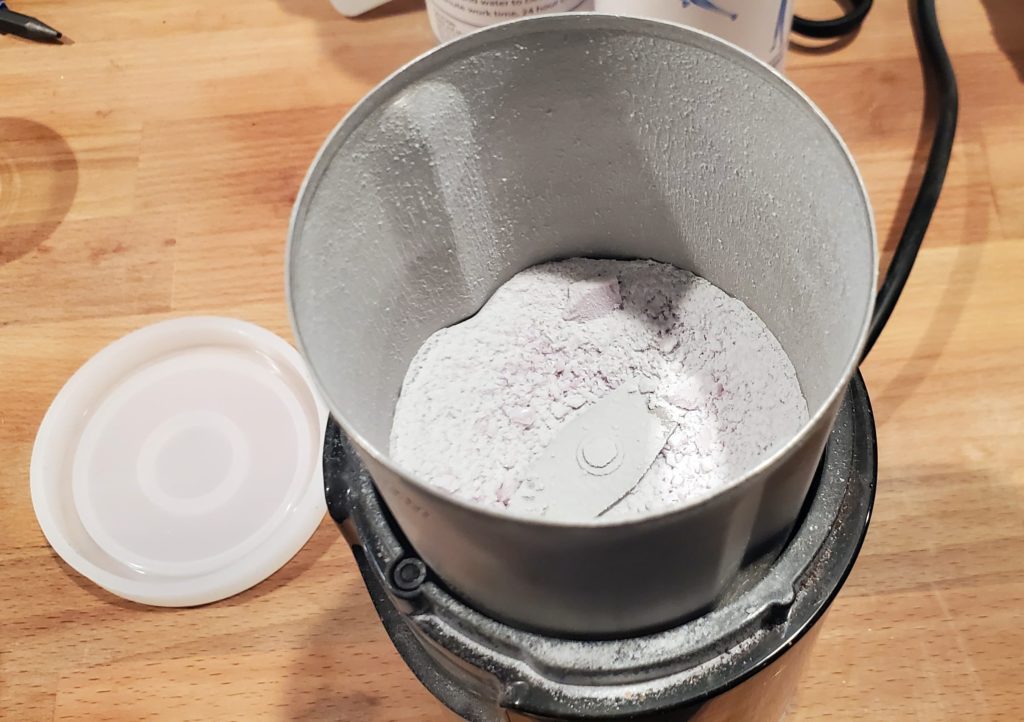
Before I cleaned up my workspace I wanted to see what ground glass would look like as well. I got out my craft-designated coffee grinder and ground up some of the small pink scraps of glass from cutting out the star. I mixed it into some resin and dumped it into one of the smaller round molds.
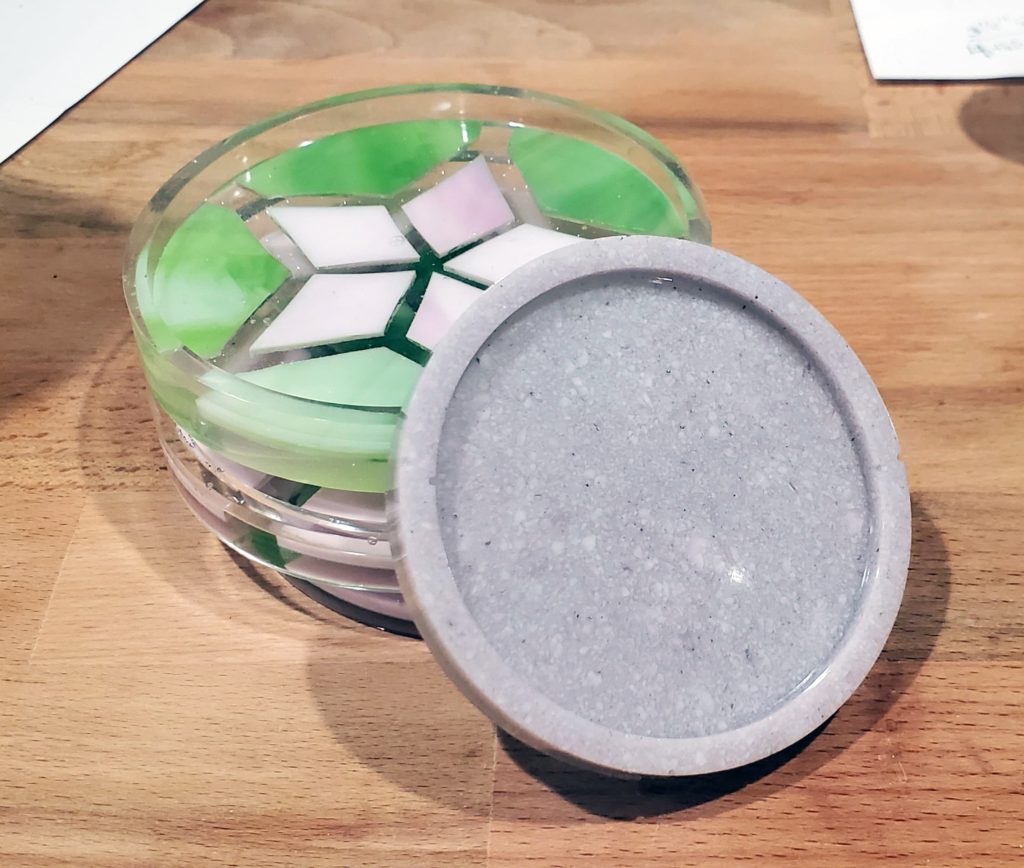
It came out looking like a granite countertop and the ground pink/white glass somehow turned into purple. I like it, but this was not what I was expecting at all! I bet I could get a completely different result if I play around with the amount of glass that is mixed in.
After making several coasters, I found I haven’t even used half the bottles of resin. I’m going to have to scour my old supplies and see what else I can come up with to use in resin. I can already tell this little experiment is only going to take me down a very dark path and I think it leads straight to the gallon jugs of resin.
hey buddy! glad to see you are still creating!
Thank you 👍 and also appreciated “this little experiment is only going to take me down a very dark path”. Luv it. Wish me luck as I am also adventuring onto another of many new Muses. Excited about this one 🙃