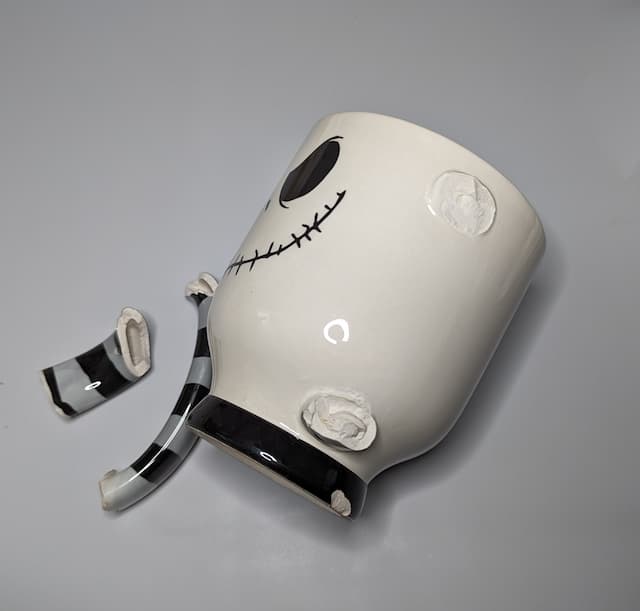
A couple days ago I was sitting at my desk working on an email to a client when I swung my hand over to grab my coffee as I proofread what I had just written. Next thing I know my favorite mug was rolling on the ground without a handle.

I make stuff.

A couple days ago I was sitting at my desk working on an email to a client when I swung my hand over to grab my coffee as I proofread what I had just written. Next thing I know my favorite mug was rolling on the ground without a handle.
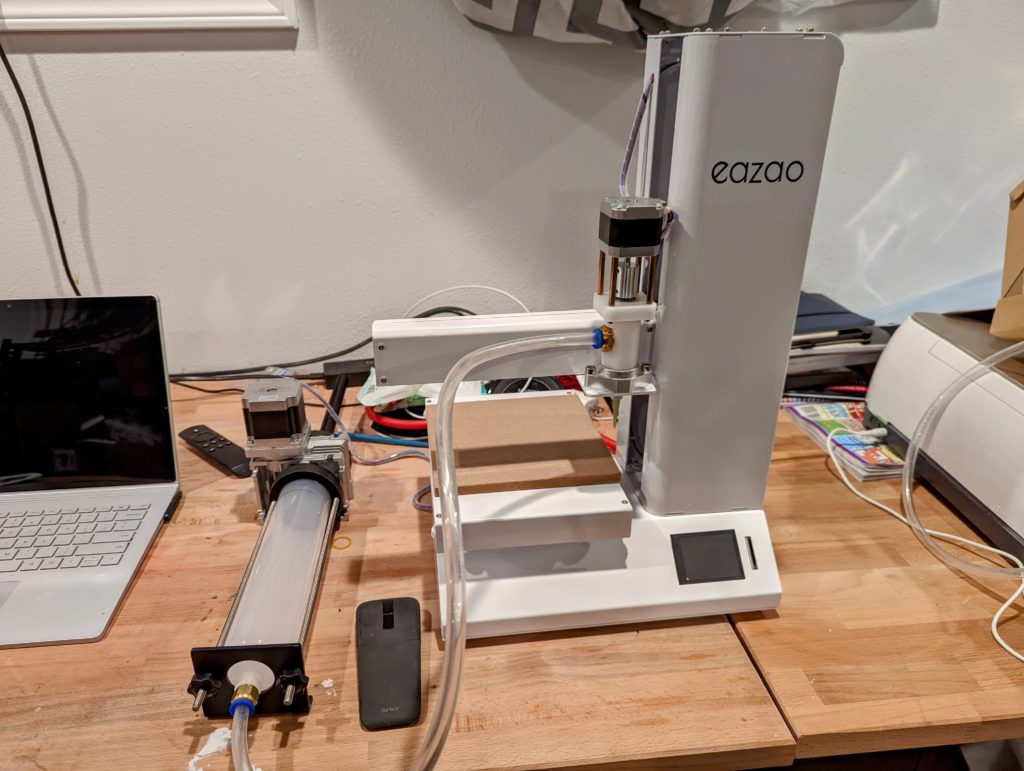
A while back, I had ordered another Kickstarter. Even though I’ve been burned before, it was pretty hard to resist ordering this Eazao Clay 3D Printer at a fraction of the price of anything else on the market. Kickstarters often take a very long time to materialize into a product (if they even do). Once this printer shipped it then sat in the California port for many, many months.
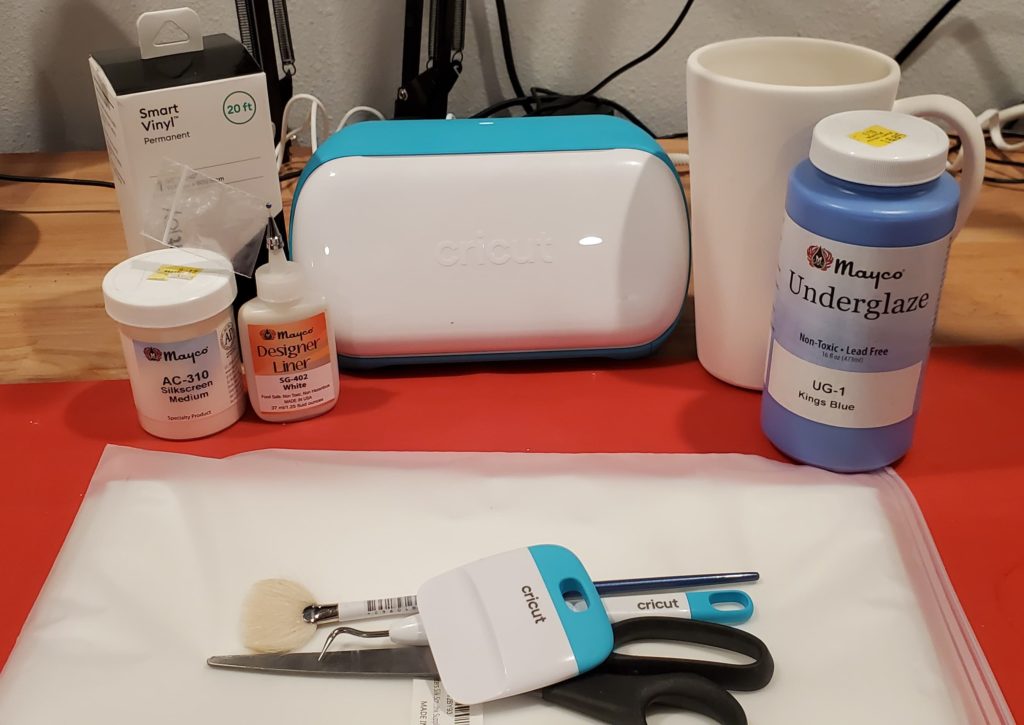
If you have ever made your own traditional silkscreens then you know it’s a huge pain in the butt. Framing your fabrics, photo emulsions, transparencies, cleaners, solutions, lamps, etc. It takes quite a bit of material and equipment to get started.
I’ve made silkscreens in the past and was moderately successful even with my small home setup. I mostly made silkscreens for ceramics but that was back before it was really popular. Now, companies like Mayco produce a large line of pre-made screens you can buy.
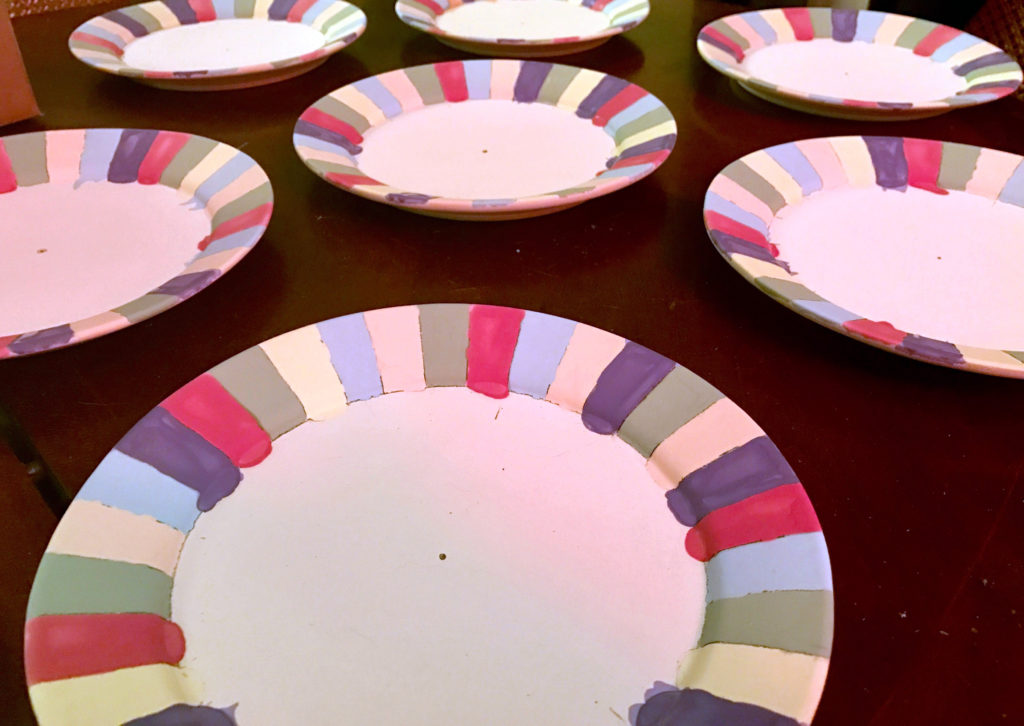
The plates I’ve been working on is moving very slowly. It had been a while since I’ve done a ceramic project. Not that long, but long enough I forgot how long it takes especially when you have limited time each night to work on them. Granted, the first layer was putzy because I had to figure out where colors go and matching them up on each plate. I started the second layer of underglaze and it’s moving much faster. I’m starting to realize these may not be finished by thanksgiving dinner, which is causing slight panic because that means I either need to go buy plates or serve everyone on disposable plates. Oy!
Next week I have some time off to get the house in order and finish up any projects before the big day. But with multiple layers, multiple firings to get these done and dry timing time between layers it will either squeak in at the last minute or totally be a disaster.
I really should’ve picked a quicker design instead of 32 little swatches on each plate. What was I thinking?
I recently realized Thanksgiving is coming up and I have a bunch of people coming to dinner. They won’t be coming for Thanksgiving, though. Instead, they will be coming for Meatballgiving. Because turkeys are stupid.
The plates we currently use were a first attempt at making plates last year. Some are too thick and some are a bit wobbly. I like them, but they definitely are not guest worthy. Plus, I don’t think I have enough of them.
With Meatballgiving quickly approaching I decided to just buy blank plates and decorate them myself. I had previously made some mini mock-ups (see below) and I decided to mostly stick with that. I originally did a mostly toned down rainbow of colors, but I think I’ll stick with solid bright colors. I’ll be keeping the jumbled up rainbow but adding more sections around the rim.
First things first, I created a template with my Cricut. I quickly added some lines and a center dot in illustrator and imported the lines and had the machine cut them out on a 12×12″ sheet of paper.
If your end up being interested in doing a similar plate set, here’s the template you can grab:
Next, I centered each plate on a banding wheel and found marked the center point. Taking my template, I aligned the center dot with the marked spot on the plate.
I didn’t want to use any adhesives which may distort the glazes and do crazy things during firing. So I grabbed a weight to hold down the paper while I make my marks. I then grabbed a mechanical pencil and extended the lead out further than usual so that the lead would slip through the cuts on the paper and hit the plate below.
And voila! I have a dozen plates ready to be underglazed in a bright rainbow of colors.
The template really saved a lot of time. You might think this is a lazy method, but considering these are just the salad plates and not the dinner plates, nor the mugs or bowls that still have to be done… I’ll happily accept being lazy.
I took a peek at the test plates in the kiln and I was not overwhelmed by the results. They are alright, but they are not what I hoped for. This is what I get for working off the colors in a brochure instead of physical test tiles. This is also the reason to do these tests before committing to a whole dish set. So I think my next project will be to take all my colors and make small color chips out of them. I already made a few but there is a whole shelf of colors yet to be made. It will be a project all by itself.
For the next test plate, I think I will stick with bright colors instead of trying to tone them down. The colors that came out bright on the plates are the ones I like the most. That and the purple came out a bit too close to the color blue.
After another week of working late and a weekend full of yard work and chores, I finally got around to glazing the test plates. I ended up creating 4 plates and loading them into the small test kiln. Last night I fired it up and I am hoping by the end of the day to be able to open it up and see how the designs came out. I checked on it before leaving the house early this morning and there was still 900 degrees of cooling left before I can open it up. Hopefully, one of these designs will end up being the new design for the household plates.
Even after firing up the kiln, I started thinking up new designs that might be cool. Who knows, I may make another batch of designs before deciding on one!
Unfortunately, I glazed the plates with clear glaze before taking this picture (dries white). So super boring photo, I know. But there is a design under that white coating.
Last night, I was using some of the small saucers as testers for a new plate design. These will be used in my house and I want them to be colorful, but muted. So I selected a rainbow of underglazes but I toned down each color. Instead of Red, I went with a Ruby. Instead of Green, I went with a Forest Green…. you get the idea. For some of these colors, I didn’t have a darker shade so I made my best guess and will just hope for the best. I also rearranged the colors so it wasn’t such an obvious rainbow. Hopefully, I like the outcome and can move on to the dinner plates and glasses.
The test plates were bisque fired in the kiln last night to set the underglaze. Tonight, I should be able to glaze them and shove them right back in for the final result.
Stay tuned.
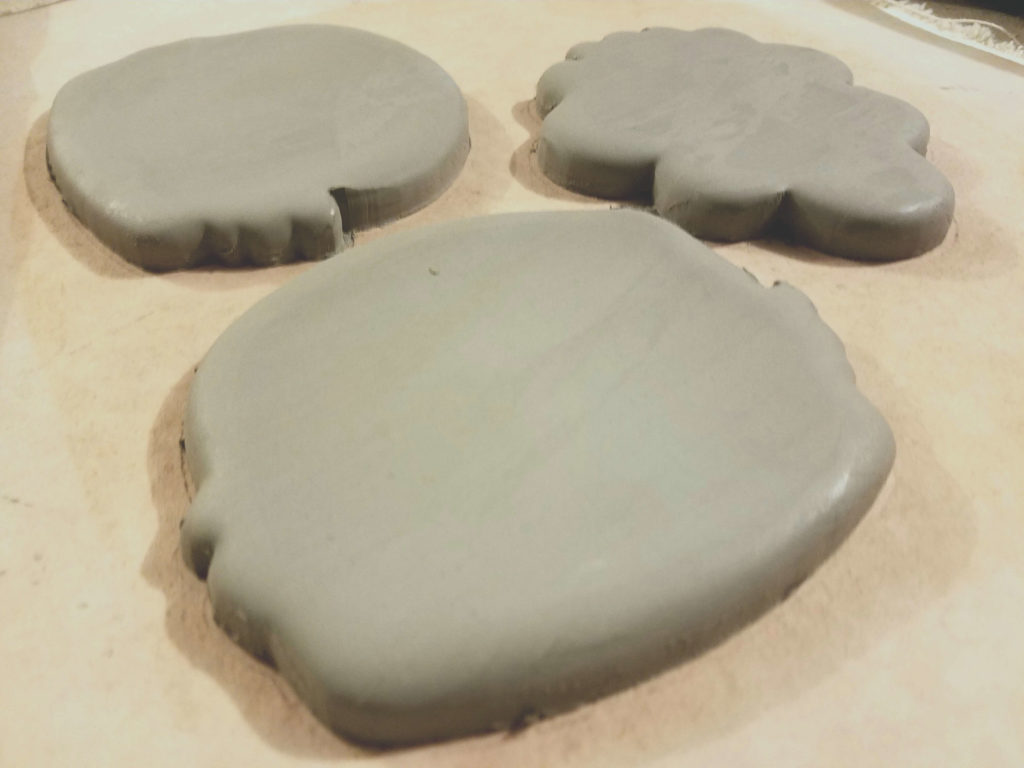
I took my cookie cutters off the 3D Printer and got to work on making some clay slabs to use them on. Everything did go off without a hitch.
If you’ve never used cookie cutters on clay, here’s a hint to great results:
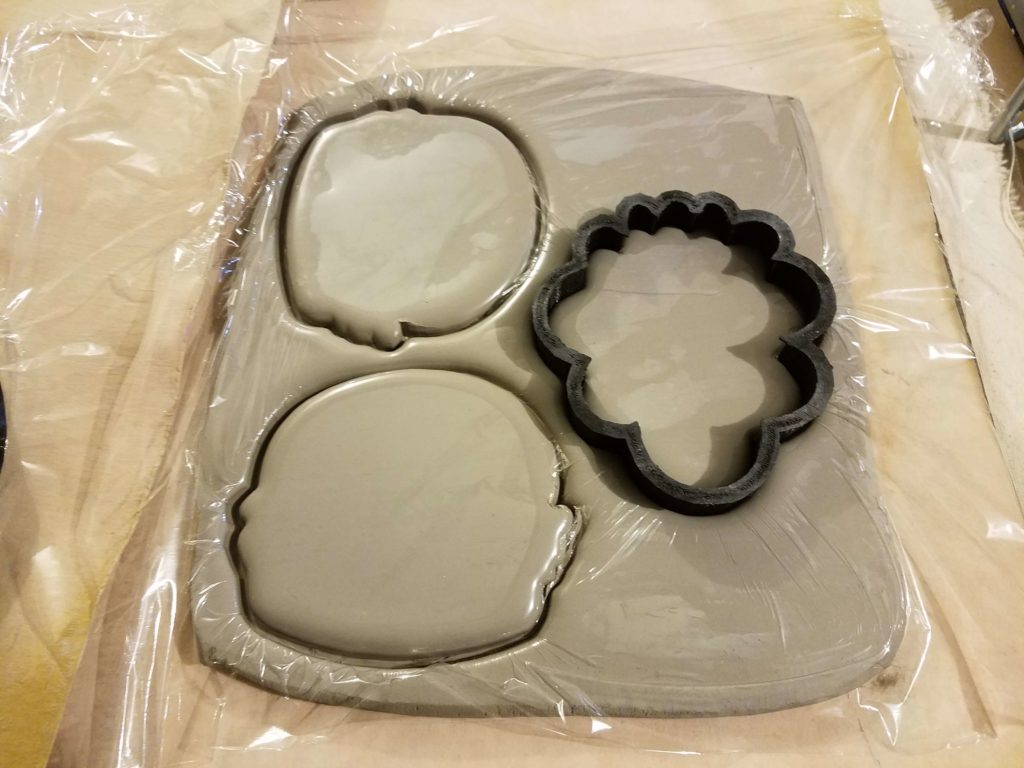
Yup, that’s all, plastic wrap. I keep a big Costco roll of it in the workshop and it makes all the edges of my clay perfectly rounded. You can still muck things up trying to pull the wrap off the clay, but generally, it’s pretty easy if you take your time and go slowly.
I’ll make a whole bunch of these while I’m at it. I just hate that I have to wait so long for them to dry out and be fired. I want the project done NOW and that just isn’t going to happen. Though I may go set these out in the sun today which will dry them out pretty damn quick.
I’ll also play with thickness. These are only a 1/4″ thick, but they seem a little too thick now that I’m looking at them again. The look I’m going for is cartoonish, so this may still work out just fine. I’ll make thinner ones tonight and see which I end up liking more.
If you haven’t figured it out yet, these are going to be coasters for my newly painted tables. Lumpy Space Princess (the cloud looking cookie cutter) will go on my Finn and Jake table and the Hamburger shaped ones will be Krabby Patties for my SpongeBob table. I still haven’t figured out my third table, but eventually, I’ll make some for that theme as well.
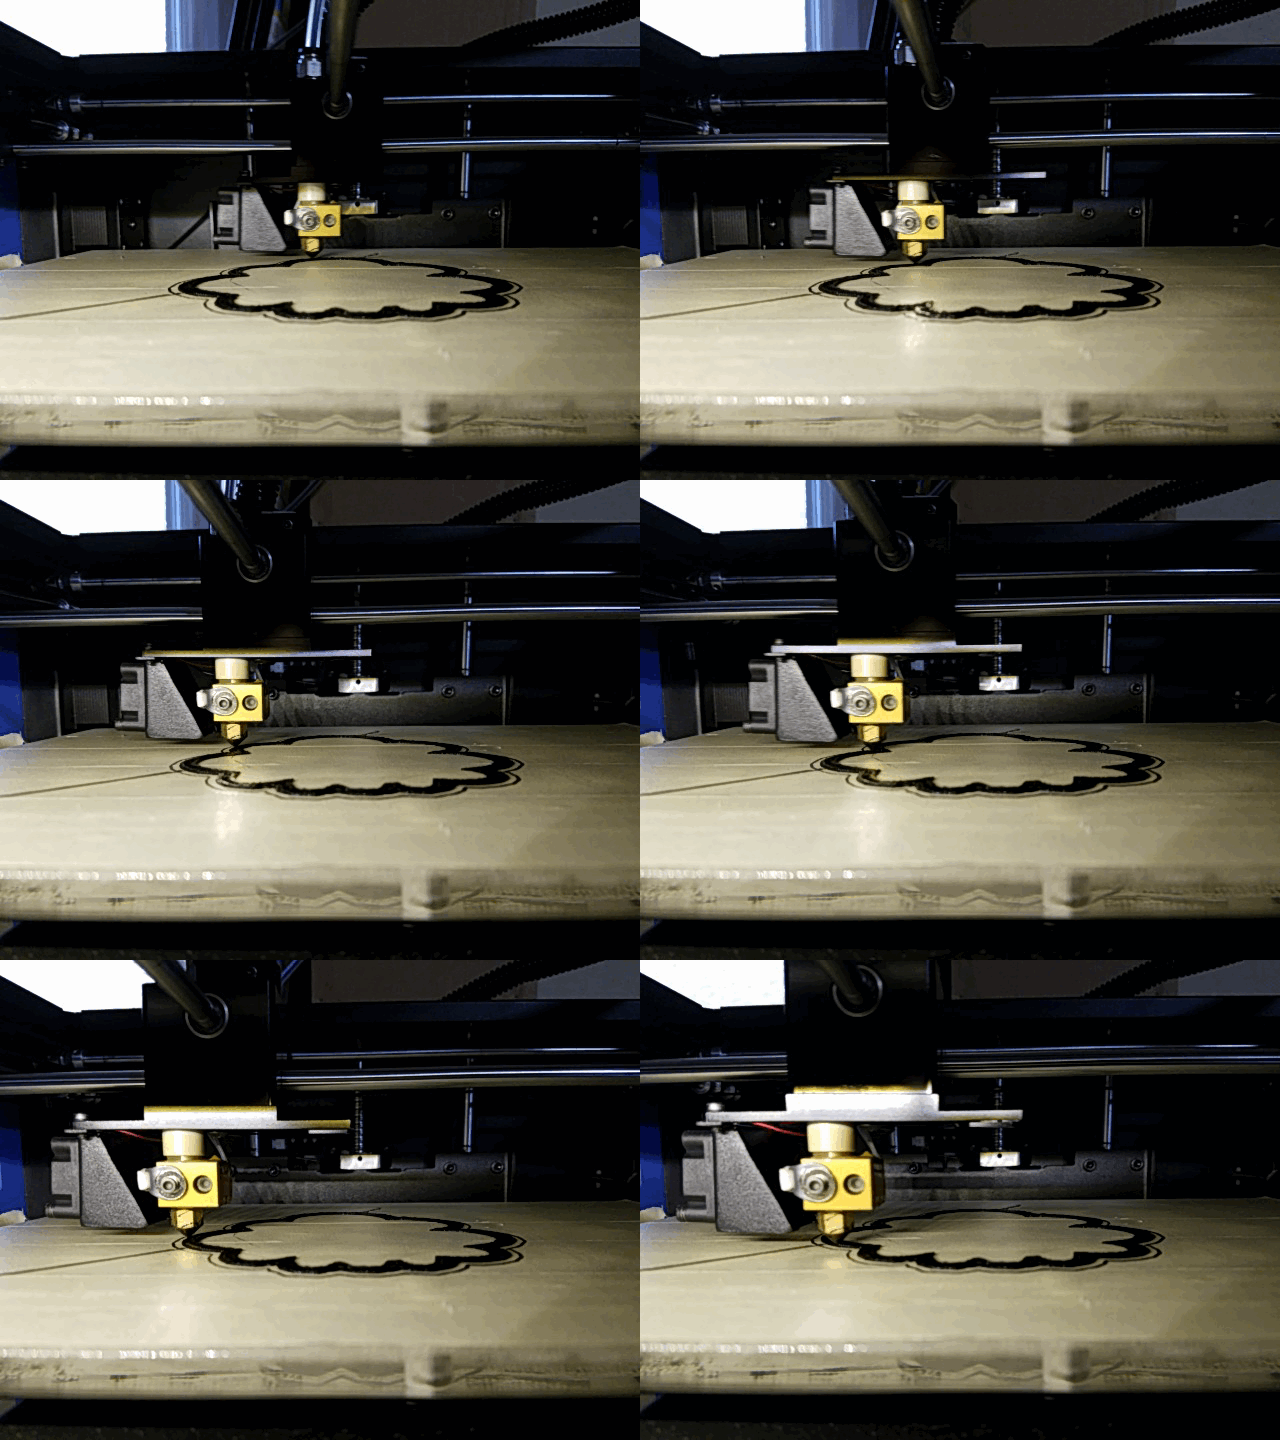
For an upcoming project I’ll be making use of cookie cutters…so why not make my own?
Does that shape look familiar? I’m making a few different shapes which take about 2 or 3 hours each to print.
Big thanks to cookiecaster.com for making it so easy! I uploaded an image and moments later I was printing.