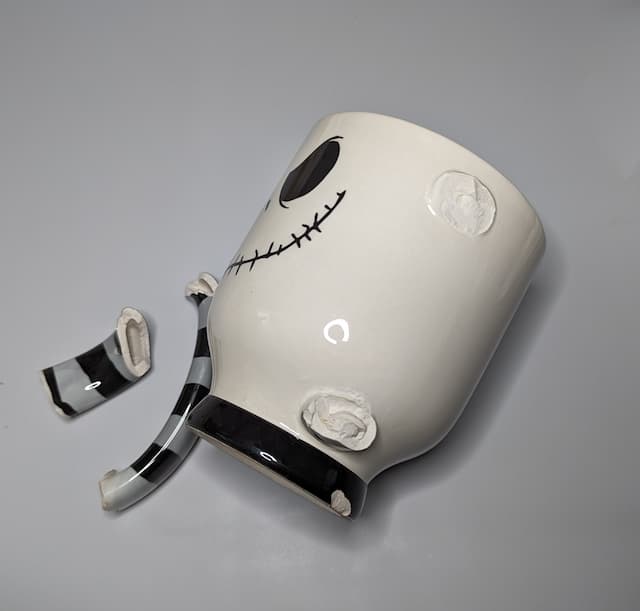
A couple days ago I was sitting at my desk working on an email to a client when I swung my hand over to grab my coffee as I proofread what I had just written. Next thing I know my favorite mug was rolling on the ground without a handle.
The Nightmare Before Christmas is a fun movie but I’m not really a fan. I saw it once, liked it and I’ll probably see it again some time. This is my favorite mug because it was a gift, the handle is really comfortable, it has a skull 💀 on it, and it holds a lot of coffee.
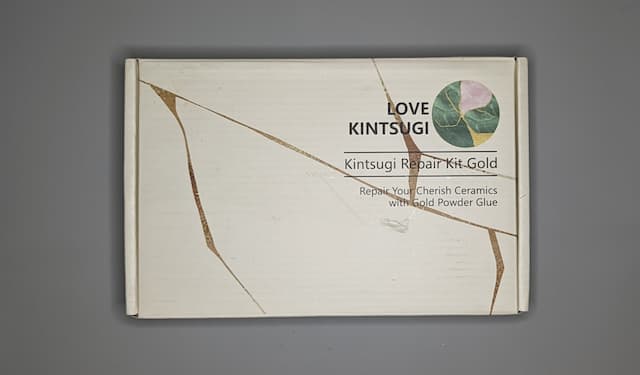
Just before I tossed it in the trash I remembered Kintsugi kits from my pottery days. I had never tried it but it was big on social media at the time. I got out my phone, pulled up the Amazon app and ordered a food-safe kintsugi kit.
I have no plans to lick the handle of the mug so I didn’t really need the food-safe kit, but it was the same price as the other kits, so why not? Besides, I never know what I’ll break next.
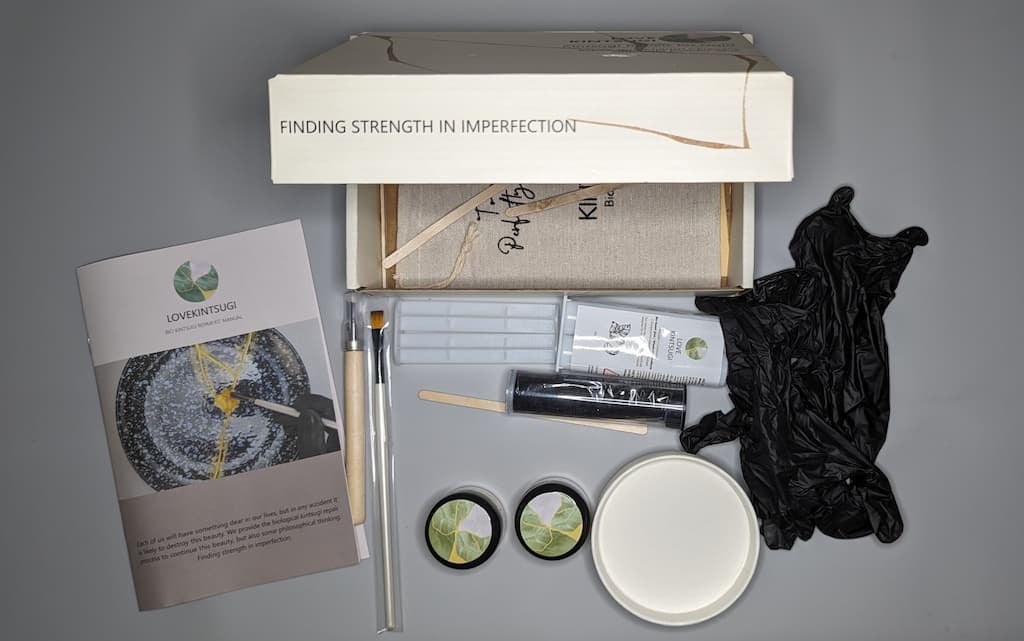
Surprisingly, the kit came with everything you’d need for the project. Gloves, mixing cups, stir sticks, food-safe glue, luster dust, brushes and scrapers. It even came with a putty to fill in any gaps of your reconstructed ceramic piece. They gave you enough product in this kit to do many many future projects.
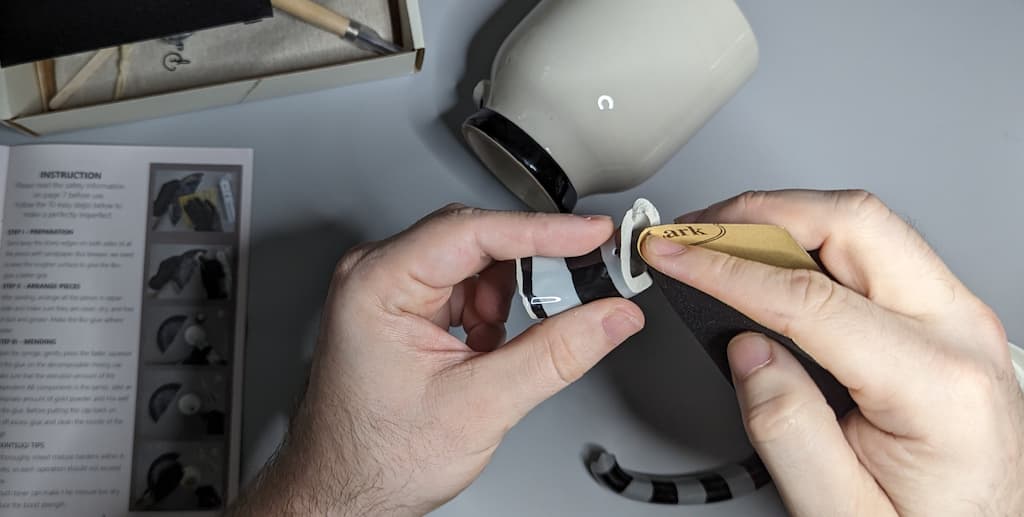
The instructions start off with sanding any sharp ceramic edges down. My breaks were all very clean and not sharp, but I did this anyway.
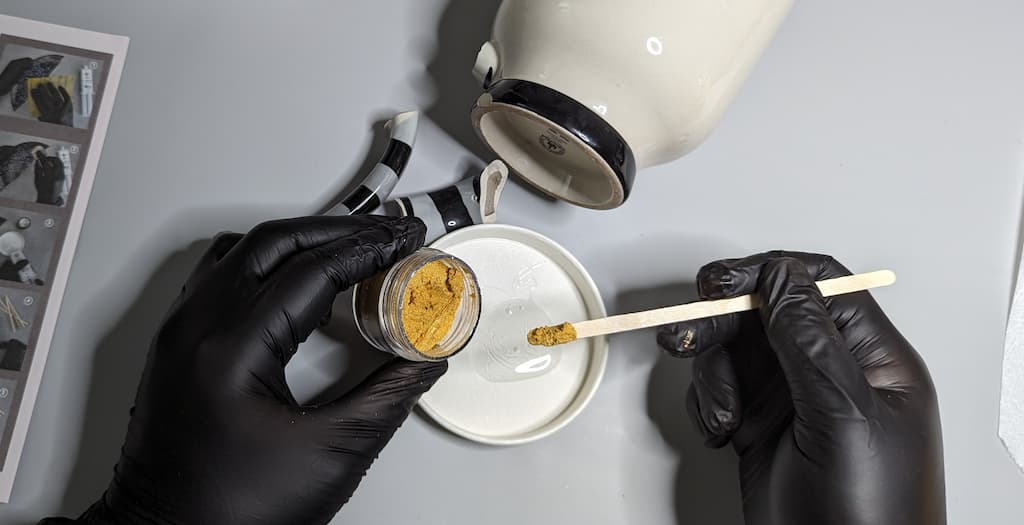
Next, I squeezed some glue into my mixing dish and thoroughly mixed in a small amount of gold luster dust.
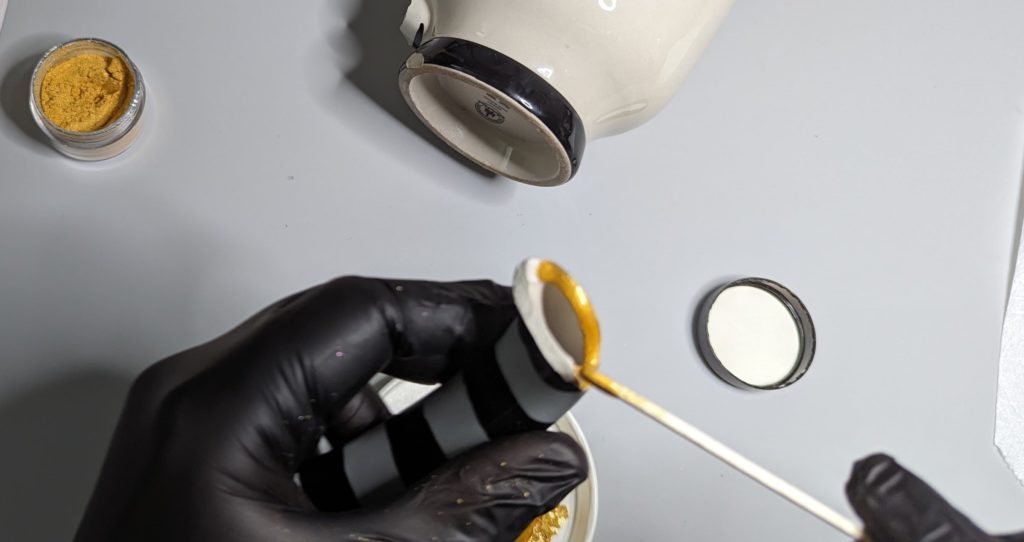
Using the stir stick I dabbed the glue on one of the breaks making sure there was enough so that it oozed out of the cracks when I pushed the pieces together.

You have about 6 minutes of working time with the glue so you do have to move a little fast or you need to only mix enough glue for what you think you can get done in that time limit.
I finished gluing the 3 joints together just in time for my glue to harden. I kept holding it for a few minutes until it felt solid enough to set down on the table.
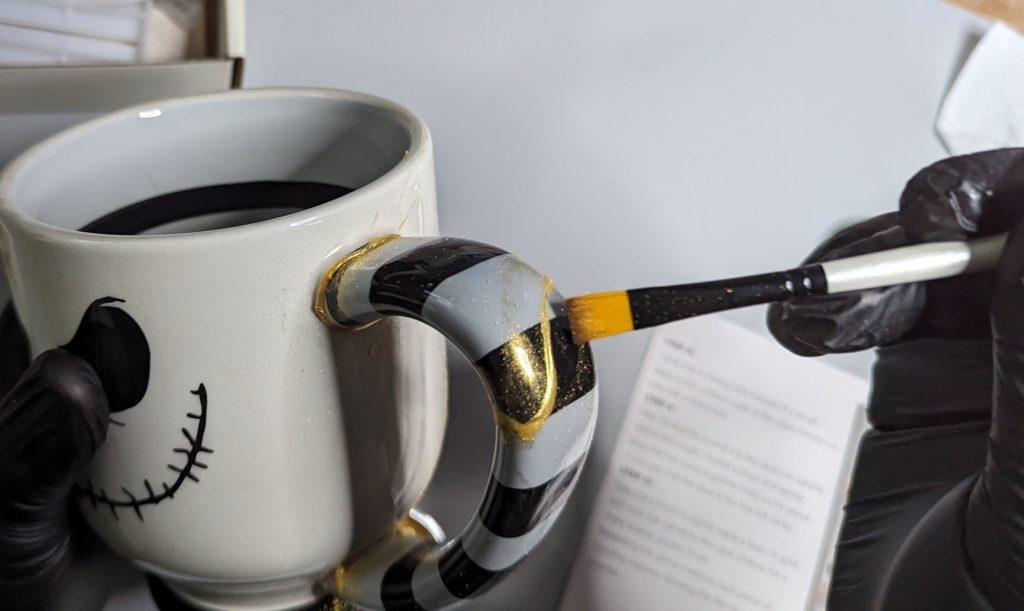
Once the glue is setting but still tacky, you can brush on more luster dust.
At first I thought this was kind of a stupid step, but the extra luster dust really does make a visual difference.
I put the mug down and came back later to wash the mug and scrape off any glue bits on the mug that shouldn’t be there. Like I said earlier, the breaks on my mug were pretty clean so there were no gaps I needed to fill in with provided putty.
I didn’t know what I was expecting when I ordered this kit, but I thought kintsugi was going to be so much more involved than this. This turned out to be one of the easiest projects I have done in a long time. I mean it’s luster dust and glue, how hard can it be?
I was hesitant when picking up my mug the first few times I made coffee, but I’ve been using the mug for over a week now and it’s not going to fall apart.
You came up with a great solution. And I like the gold lines on the handle!