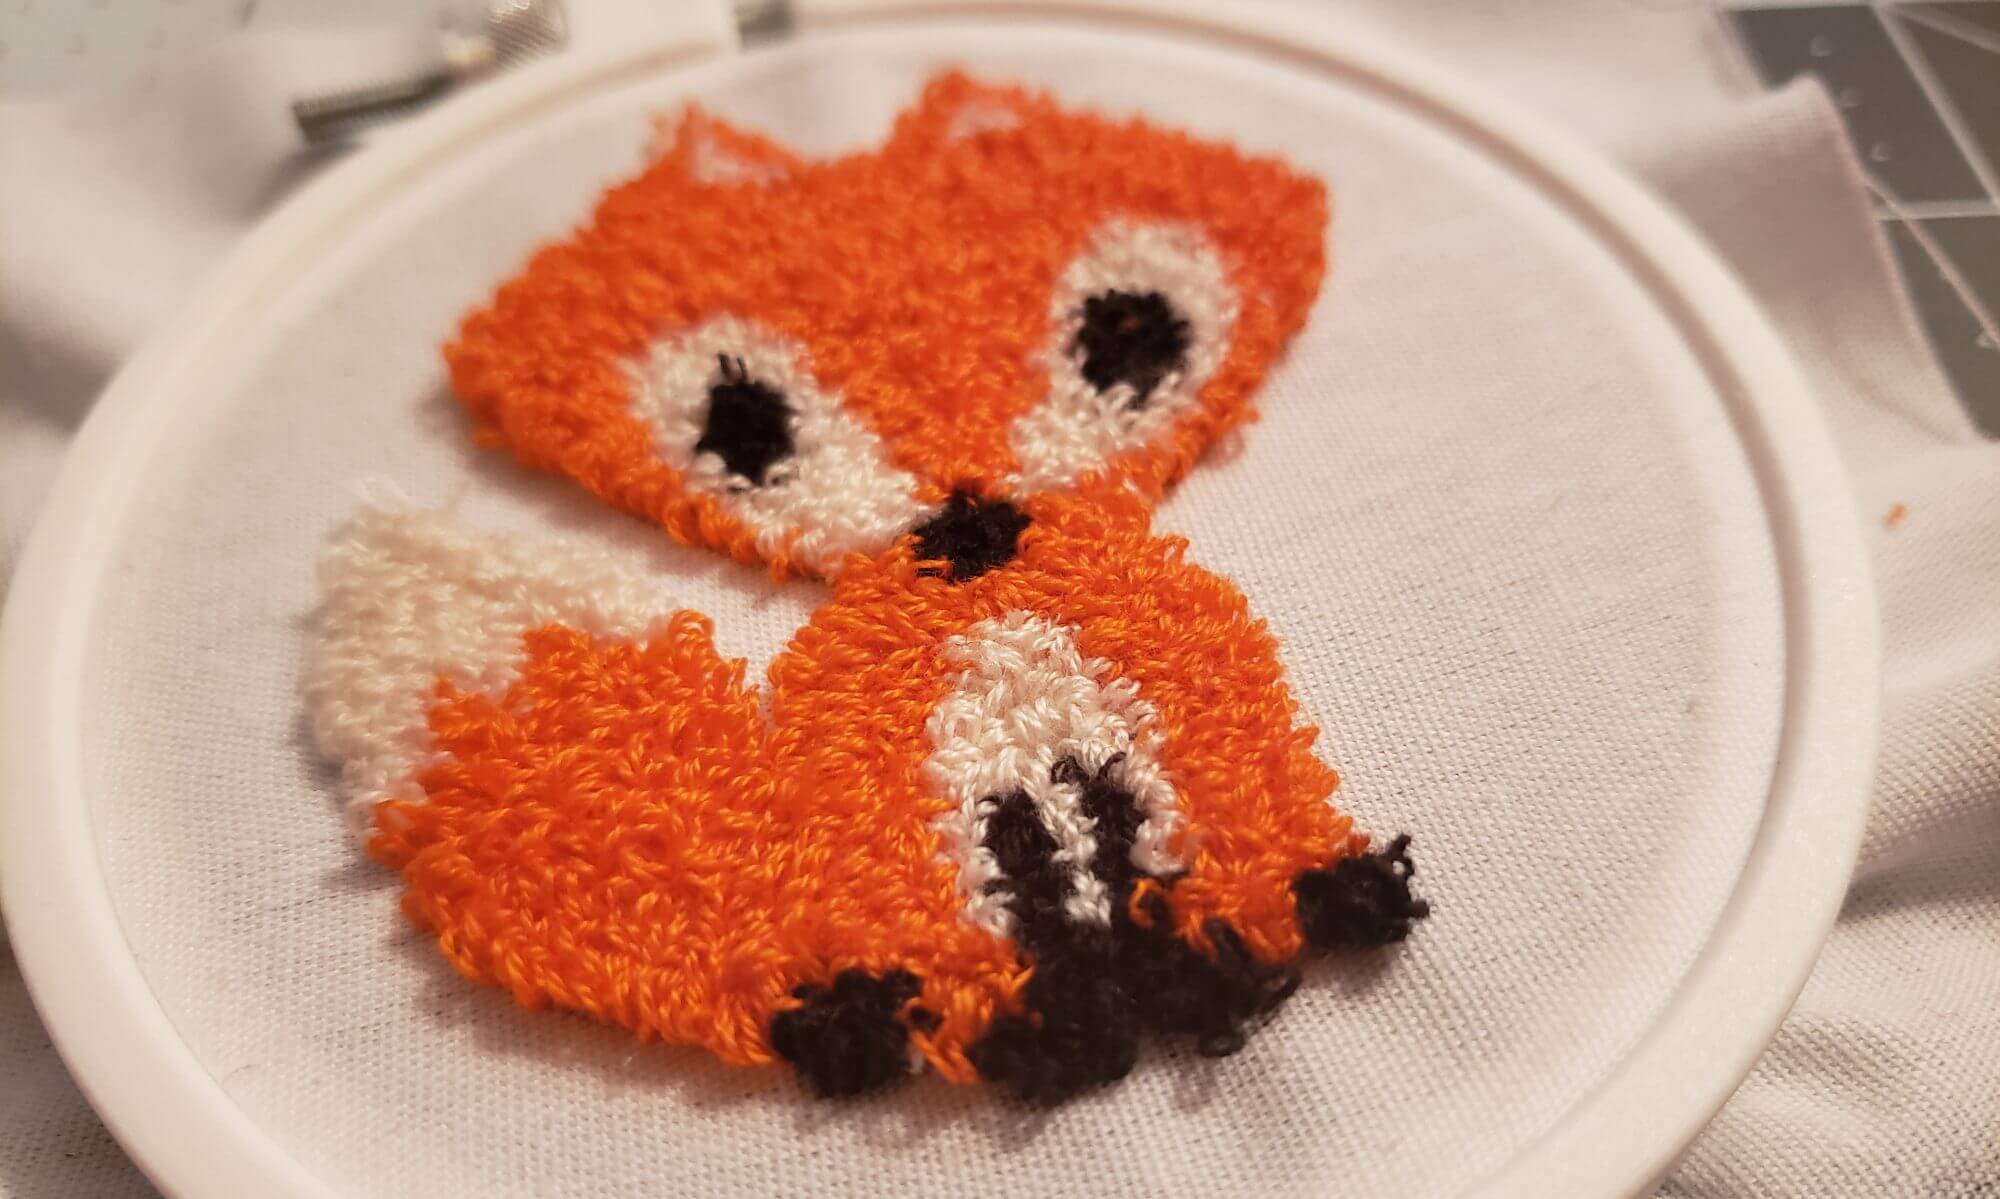
Finished Foxy

IMG 20160921 210954

img_20160921_210954

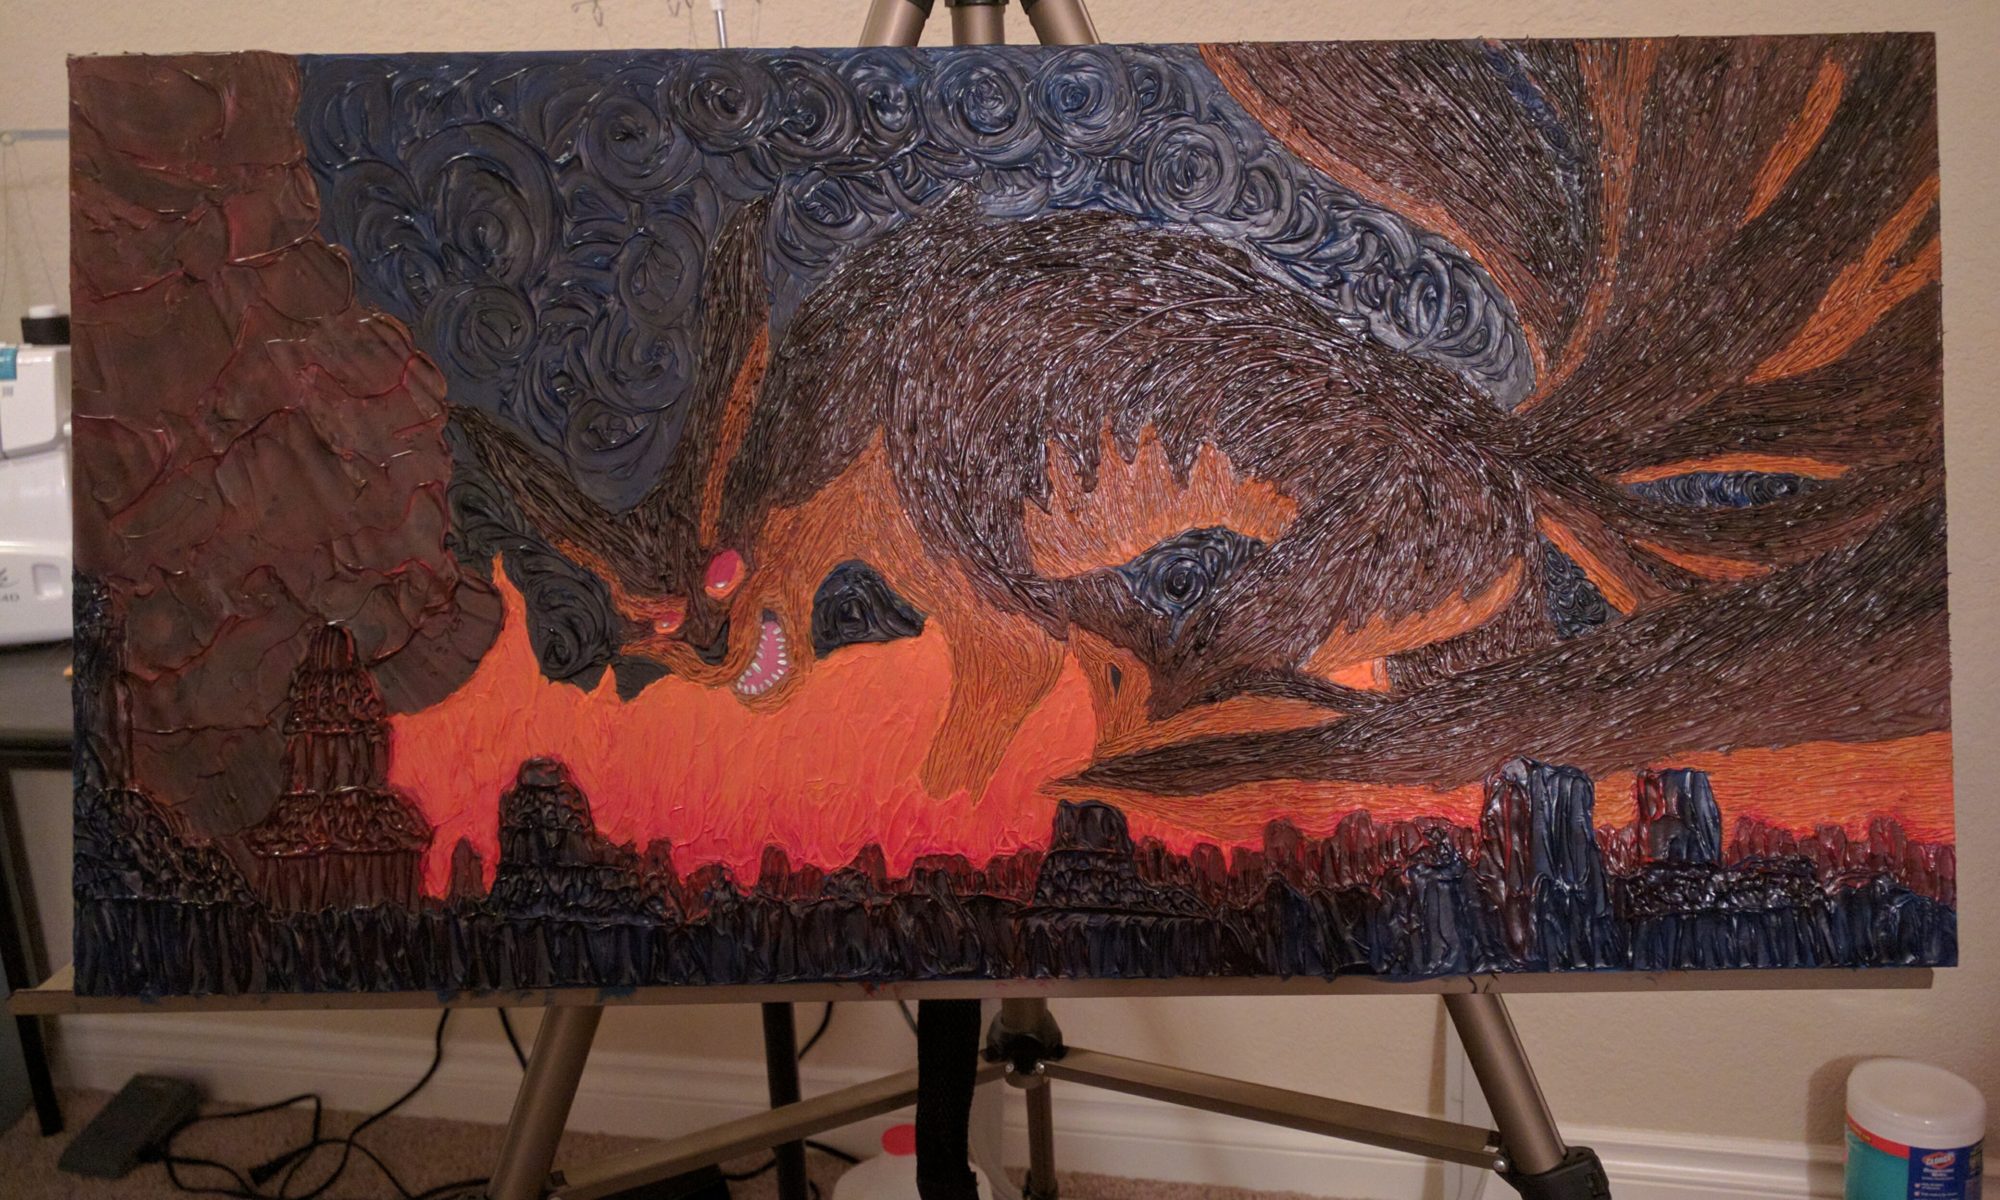
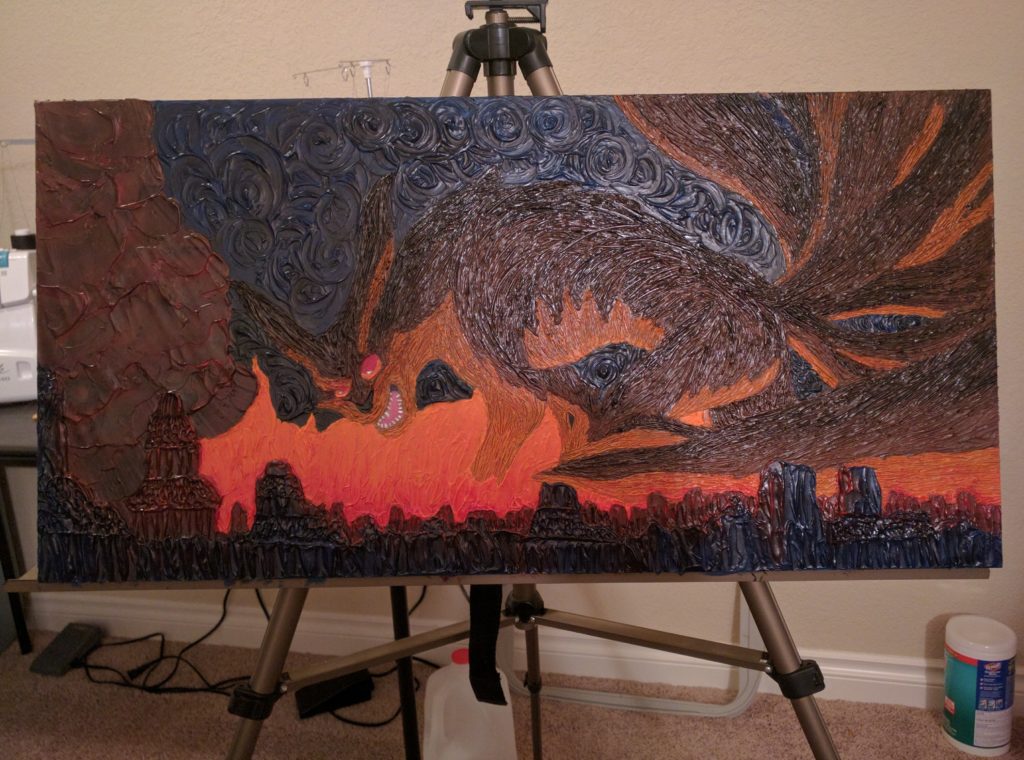
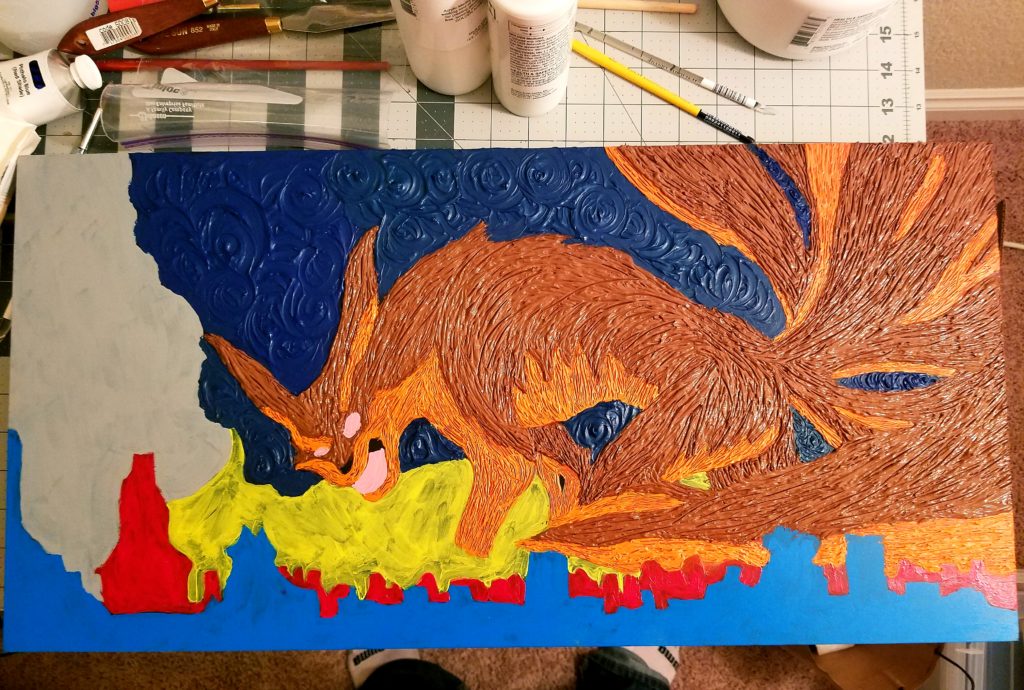
I was just going to let the finished foxy quietly drift off to its new owner.  I figured everyone was sick of seeing my posts about it on various social media.  After several weeks, I sure was sick of looking at it. However, I had several friends demanding to see the final product.  So I nabbed it back and took a few photos.

So here it is, teeth and all.  No more gumming the city to death.

Now that this is out of the way, it’s time to start something new.  YAY!

A fox gums the city

gummyfox

9 tailed fox with no teeth

My painting has come a long way since the last post.    The purpose of this painting was to make something for a friend but, for me, it was to play with mediums and do something different.  I fully expected it not to turn out, but right now I’m pretty happy with it.  It’s hard to take a photo because the mediums I used were so glossy and everything is shiny but I think you’ll see enough of it even with the light from the window.

The only part left untouched at this point is the mouth.  It’s funny, I actually forgot about it until my last photo.  Then, I realized there was still a big pink blob in the middle where a mouth was blocked out.  Next time I’ll have to remember to take some steps back and take it all in for a bit and not leave out an important part.  Right now he’s just running around gumming the city to death like a geriatric monster.   Hopefully tonight I’ll throw in some fangs and he’ll be complete.

I ended up trying 3 mediums in this painting.  Texture paste, which pretty much covers the entire painting.  Airbrush medium, which I pretty much used to wash over the whole thing and darken it.  Last, I tried the glazing medium, which I used for highlights and coloring in the monster.

Speaking of highlights, check out how that glazing medium made the reflections of fire actually come out on the billowing smoke and on the buildings.  It’s not as impressive in the photo, but in person with the gloss and texture, it’s really like the thing is glowing.  I actually shut the lights off to see if it was just a reflection off of something red in the room…. but nope, it was just my amazing glazing.

Hopefully tonight I’ll finish it up and maybe show a before-and-after photo before moving onto the next project.

So foxy!

wip fox

wip nine-tailed fox painting

After all my cleaning I finally got to sit down in my clean painting room and work on a project.  Hopefully, I can keep it clean for some time if I stick to one project at a time and clean up throughout the project instead of just flinging things around while I work.   Ok, I don’t do that, but I do somehow manage to destroy a room throughout a project.

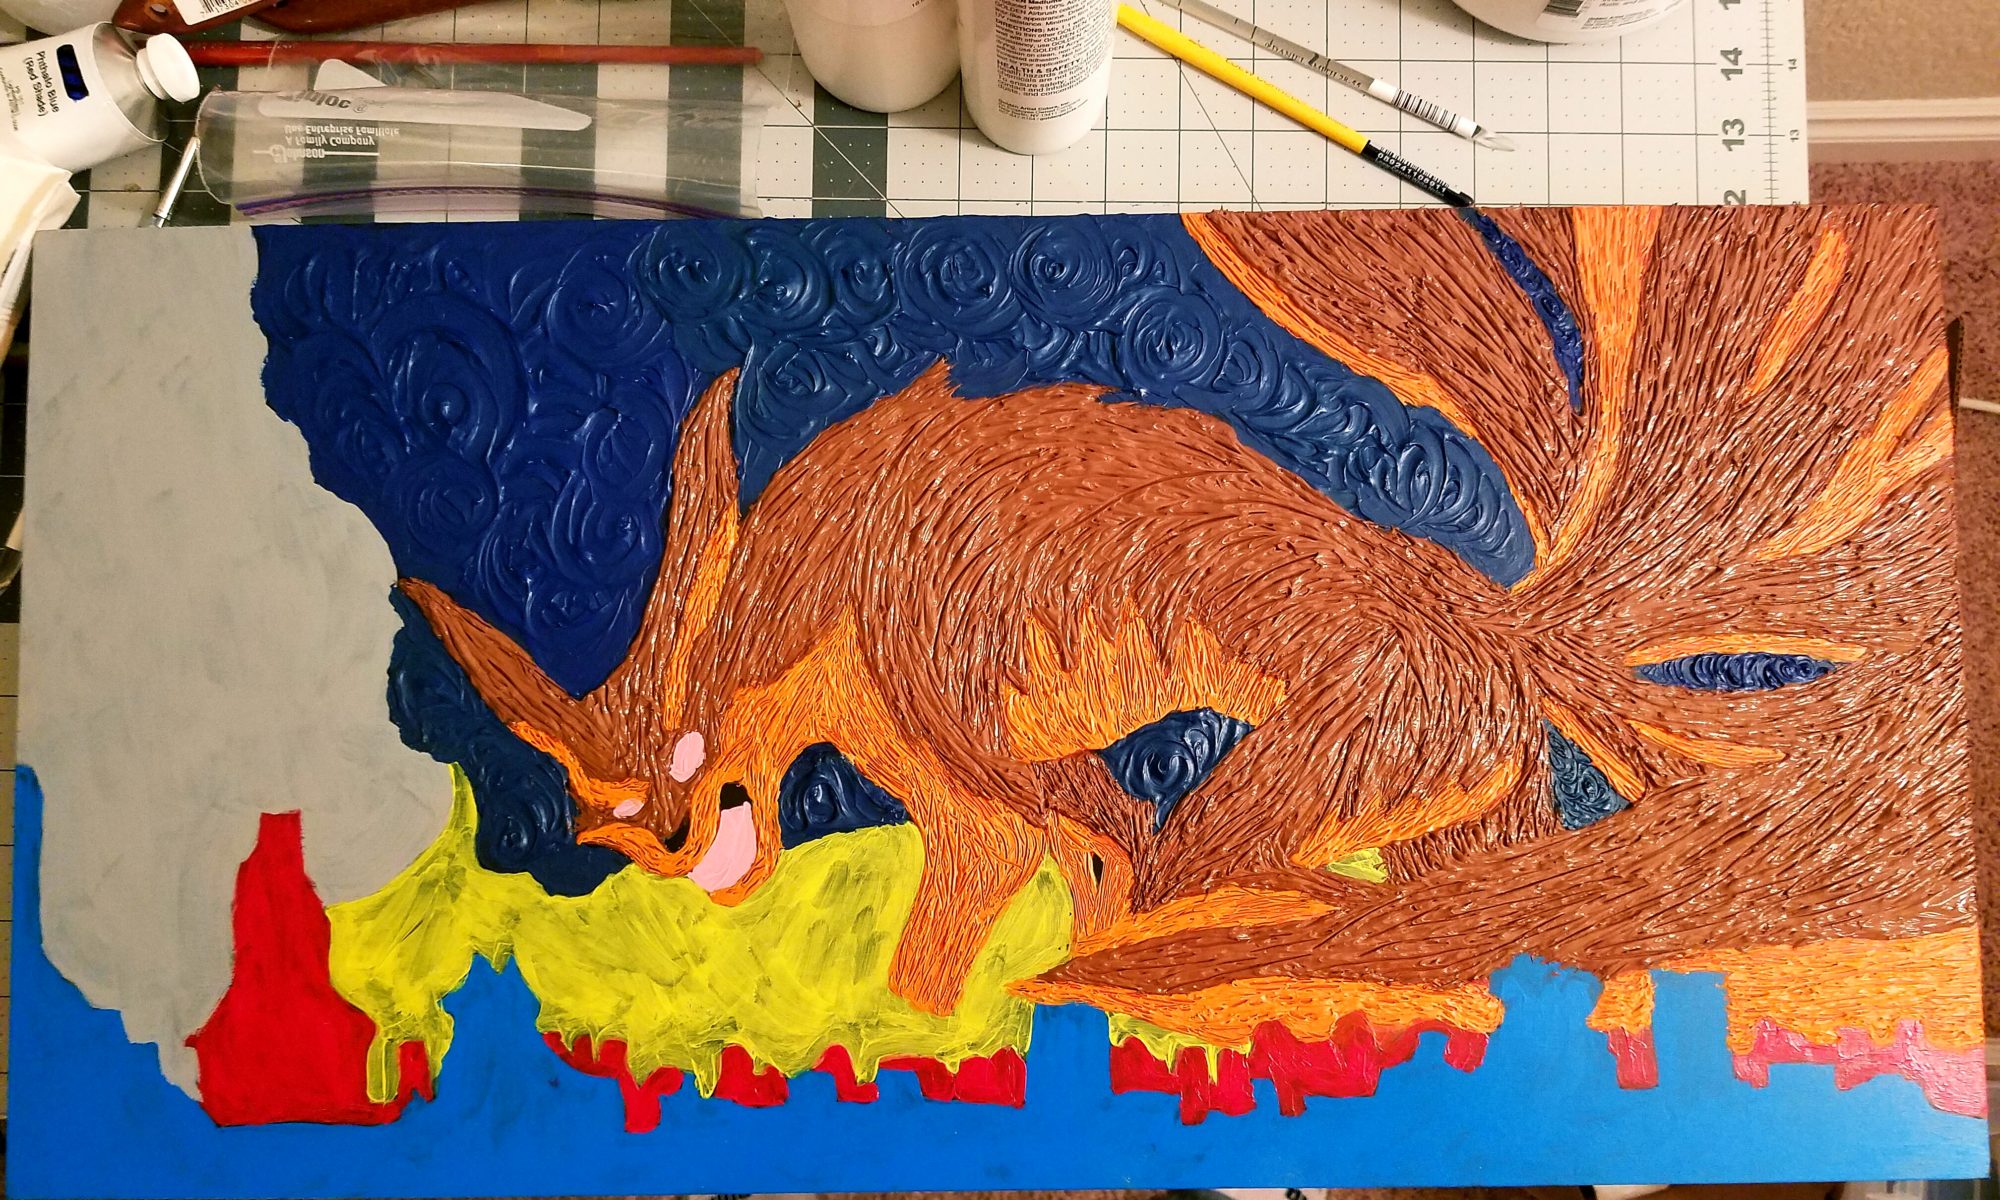
A friend has requested that I paint him a nine-tailed fox from the Naruto anime.   I dug up an image online and decided instead of copying it like I usually do, I’d take the opportunity to try something different… maybe push myself out of the comfort zone a bit.

So here is the fox so far.   It’s far from done, but I really concentrated on texture.  My sky started out more Van Gogh but ended up as just solid color swirls by the time I was done.  I guess I was a little obsessive and didn’t realize I was mixing the color streaks so much…. oops.  I still like it.

After filling in the rest of the painting with textures I plan to play with glazing techniques.  Which I also have not ever done.  Should be interesting, hopefully, I won’t ruin it all.

Palette

20160829 204720

rectangular painters palette melamime

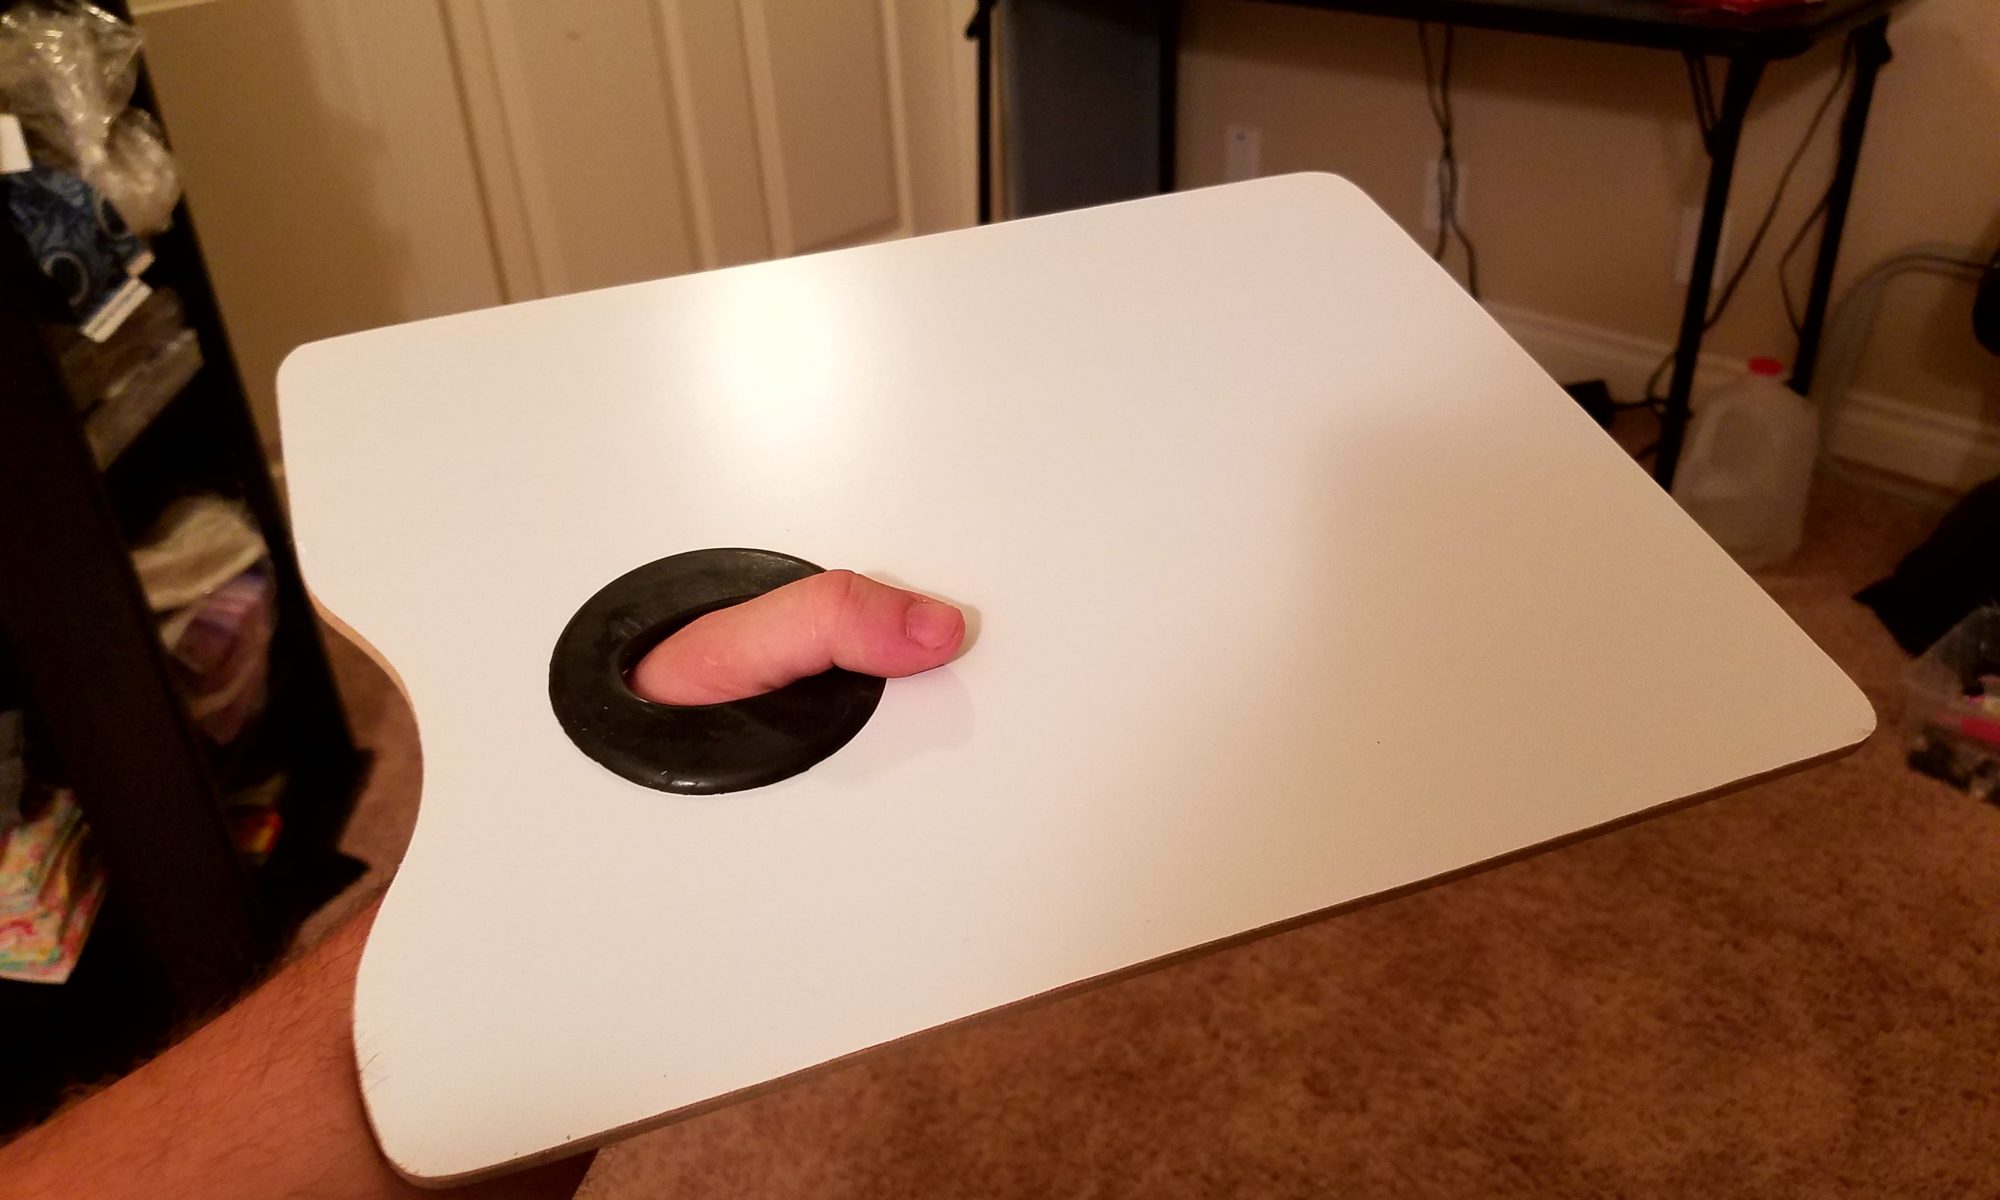
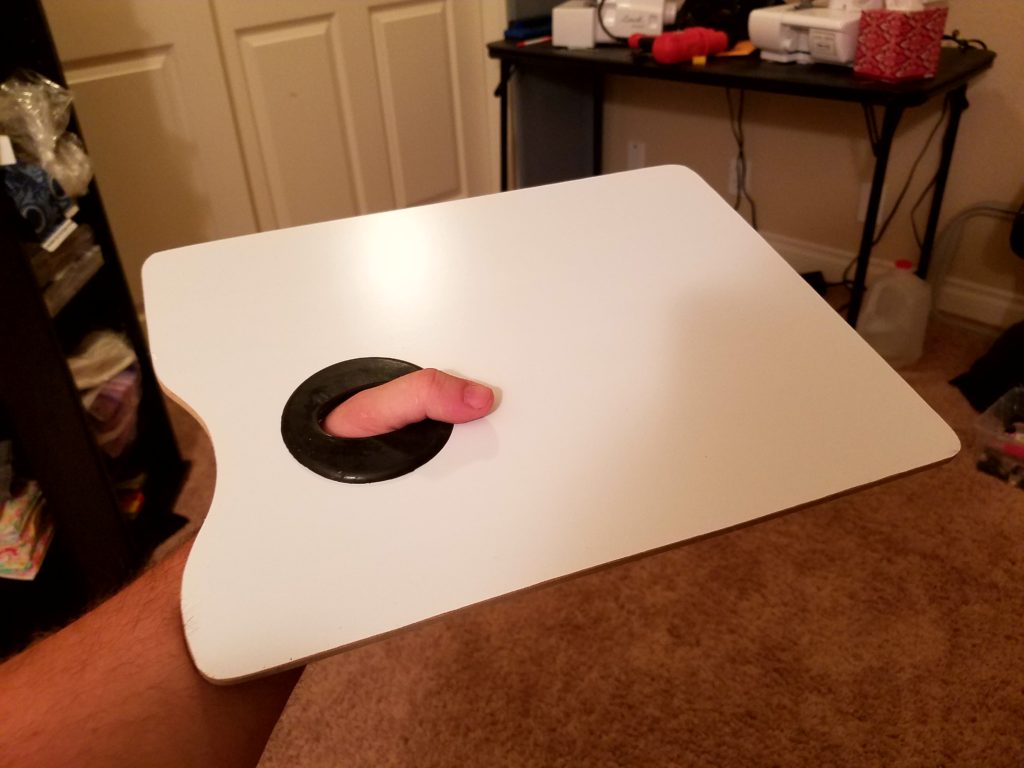
I finally broke down and bought a painter’s palette.  I’ve always been a little thrifty with painting.  I wait for the best deals, use household goods when I can, and buy relatively inexpensive brushes.  Art supplies can be very expensive and while I’m not a cheap person,  I do have a lot of interest in different art mediums so I need to spread that art supply money around.  Up until now, I’ve always made do with wax paper or palette paper… because cleanup is as easy as tossing the paper in the trash can.  But, using an actual palette seems to be a thing, and for $15-ish I figured why not give it a try?

When I bought it, it was all plastic wrapped and such, so you really couldn’t try it.   Slipping it on my thumb I noticed it wasn’t the most comfortable thing in the world, but after a few hours of painting, I’m sure I’ll appreciate the rubber thumb cushion.   After using it for a bit  I  realized what I’d really like is a plain board with a cushioned strap on the bottom so you can hold it flat in your hand without worrying about dropping it.

And then there was the cleanup.  I keep moist hand wipes around the art spaces to just do a quick clean up and I thought, ‘hey, this will be a breeze.’   Nope.   By the time I was ready to stop for the night most of my paint had dried and while most of the paint came off after a little wiping there’s still a very thin layer of paint on the board that’s almost like a stain.  I know you can use a razor to scrape old paint off, but I wanted to avoid scratching up my new palette on the first use.  I scrubbed with all my might and finally just tossed it on the table and decided it wasn’t going to get any better without a magic eraser sponge or something more than moist wipes.

So… I guess I’m happy I bought it, but I wouldn’t mind redesigning it and maybe changing it’s color since stains will obviously drive me crazy.   I’ll keep using it and maybe my attitude towards it will change.  Palettes are a thing, after all, I just need to figure out why.

And we have shelves

wp 1471610500310

wp-1471610500310.jpg

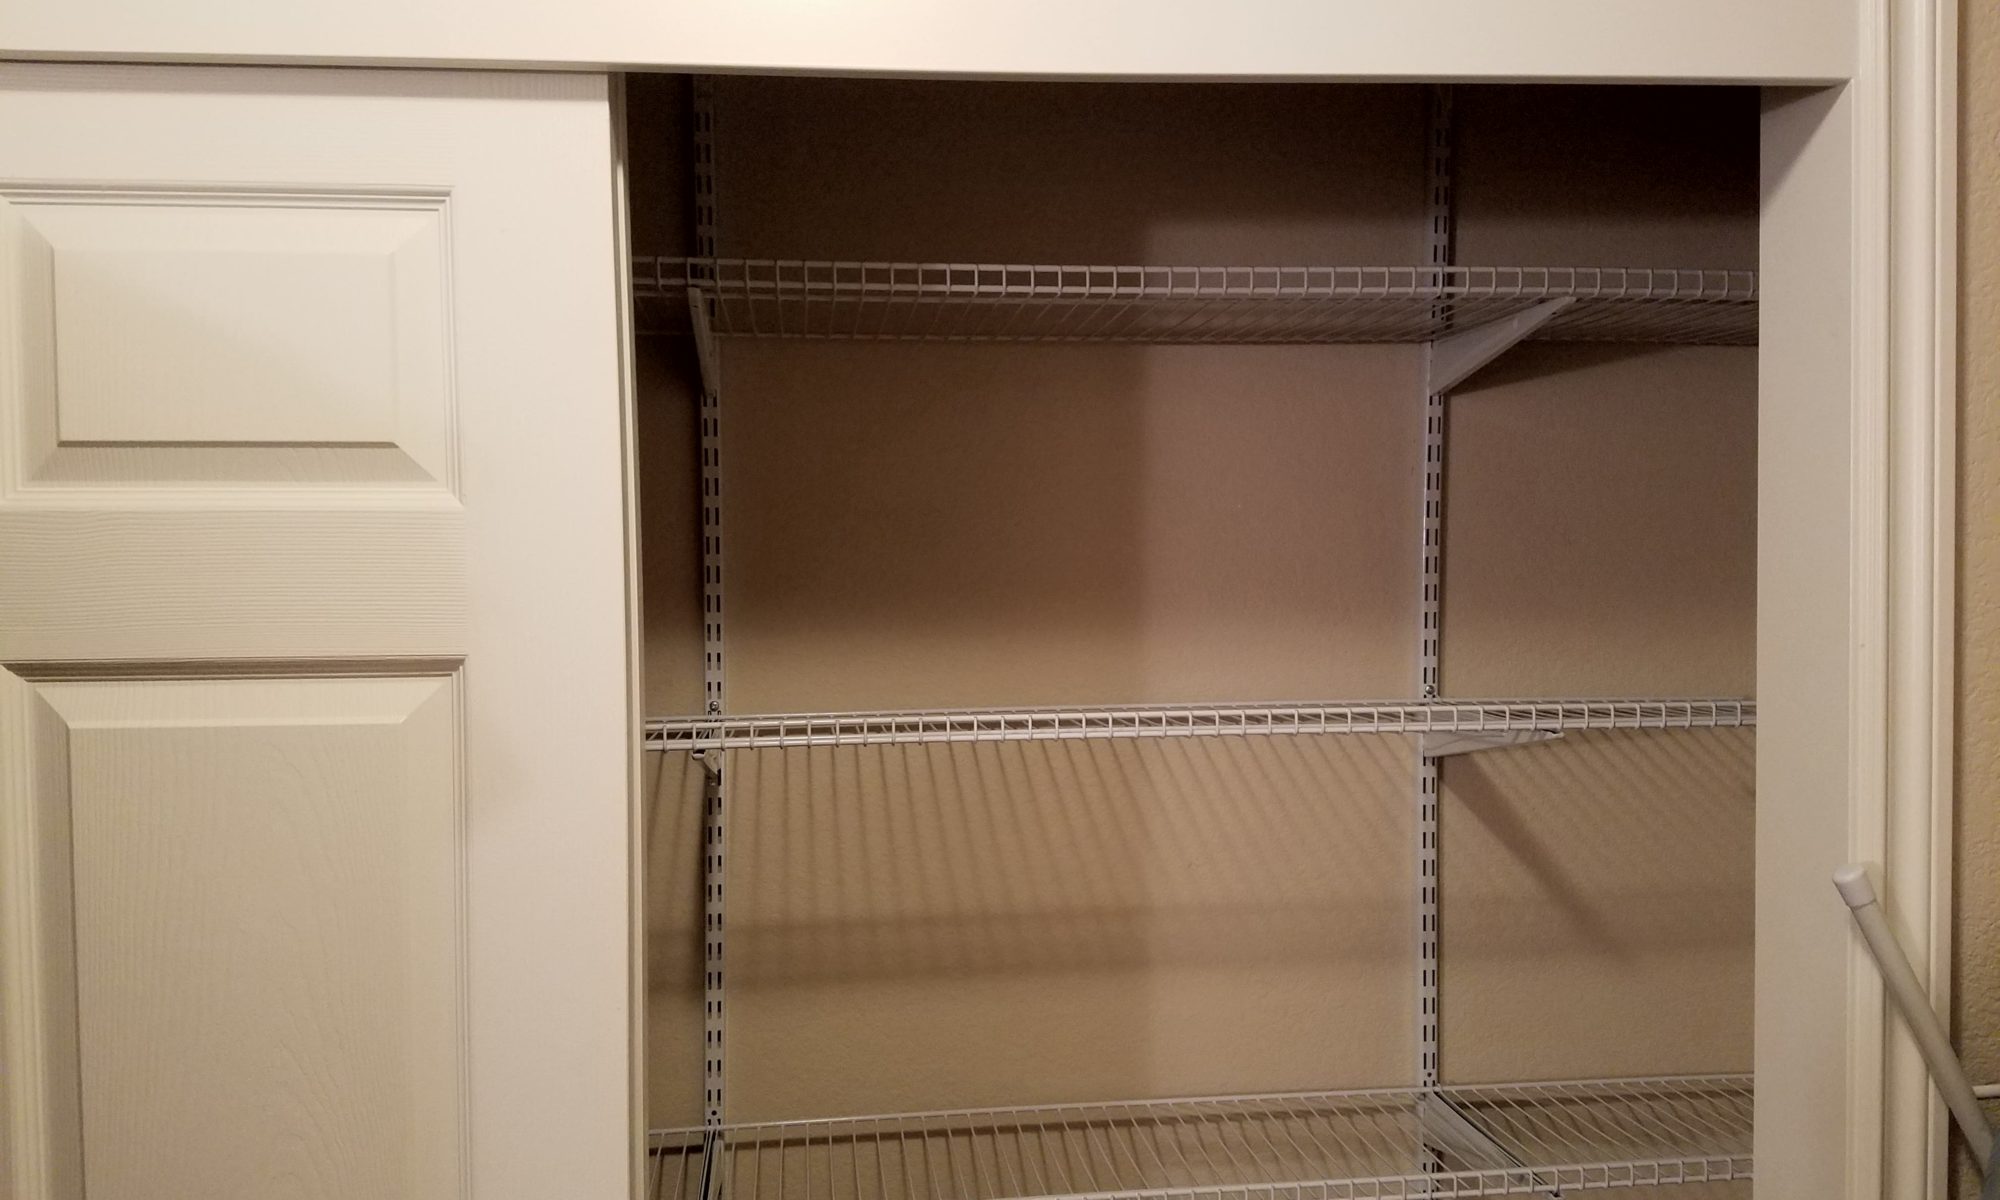
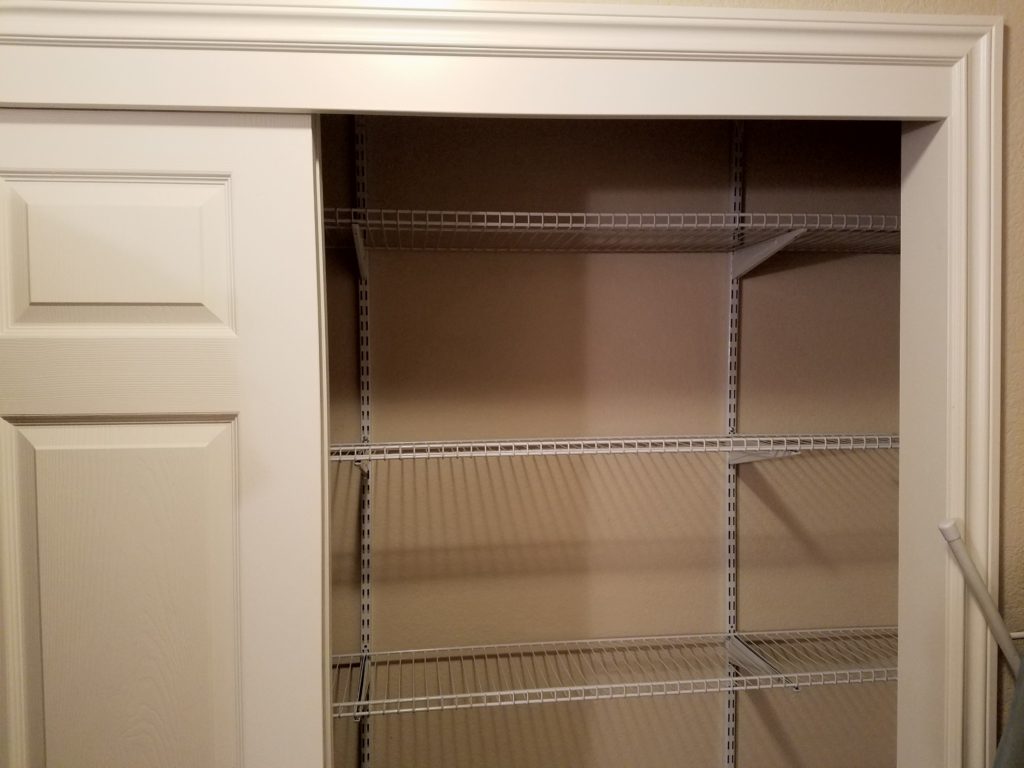
To be honest, not much art or crafts have been done lately.  Work has been taking its toll.  By the time I get home most nights I’m lucky to shove something in my face before heading to bed.  But, last weekend I did manage to get to Home Depot and grab a closet shelf system.   Things have been piling up and this closet has been a catch-all for junk around the house that really doesn’t belong anywhere.   So I took the few things out of there, hung up the shelves, and now it’s time to reorganize…. especially now with everything on the floor.

I’m slowly making my way through the pile of stuff and I am almost done.  It doesn’t seem like a lot of work but I’m coming across a lot of things that were always ‘next’ on the list after I finish the current project.  For instance, I had a pile of shirts I needed to cut down into reclaimed materials.   Lots of stuff that I don’t want to just slap down on a shelf and forget about…. so it’s a process of actually dealing with things instead of just organizing.  But soon my sewing room / temporary painting room will be ready for use again.  After this, I should really move on reorganizing one of the other art rooms (yes, I have many, don’t judge) but I may need to slip in a painting or quilt first.  My art has been suffering and life can’t be all cleaning.

One In & One Out

table

spongebob squarepants end table

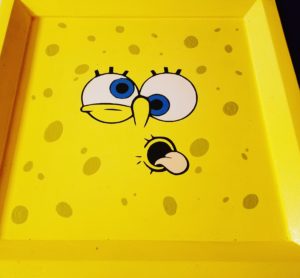
This last weekend I finally had time to bring in my SpongeBob end table from out on the deck where I had lacquered it.   I had sprayed it down and let it sit for several days since the can of lacquer said not to use it for 4 days and it was going to be sunny all week.   I never used a paint sprayer and it turned out to be quite the learning experience.  The spraying was fine, however, the wind liked to blow up the tarp I had put down on the deck.  Even with it being weighted down it got loose and stuck to the legs of the table.  Ugh!  So the backside is not as great, but who cares – it’s the backside after all.

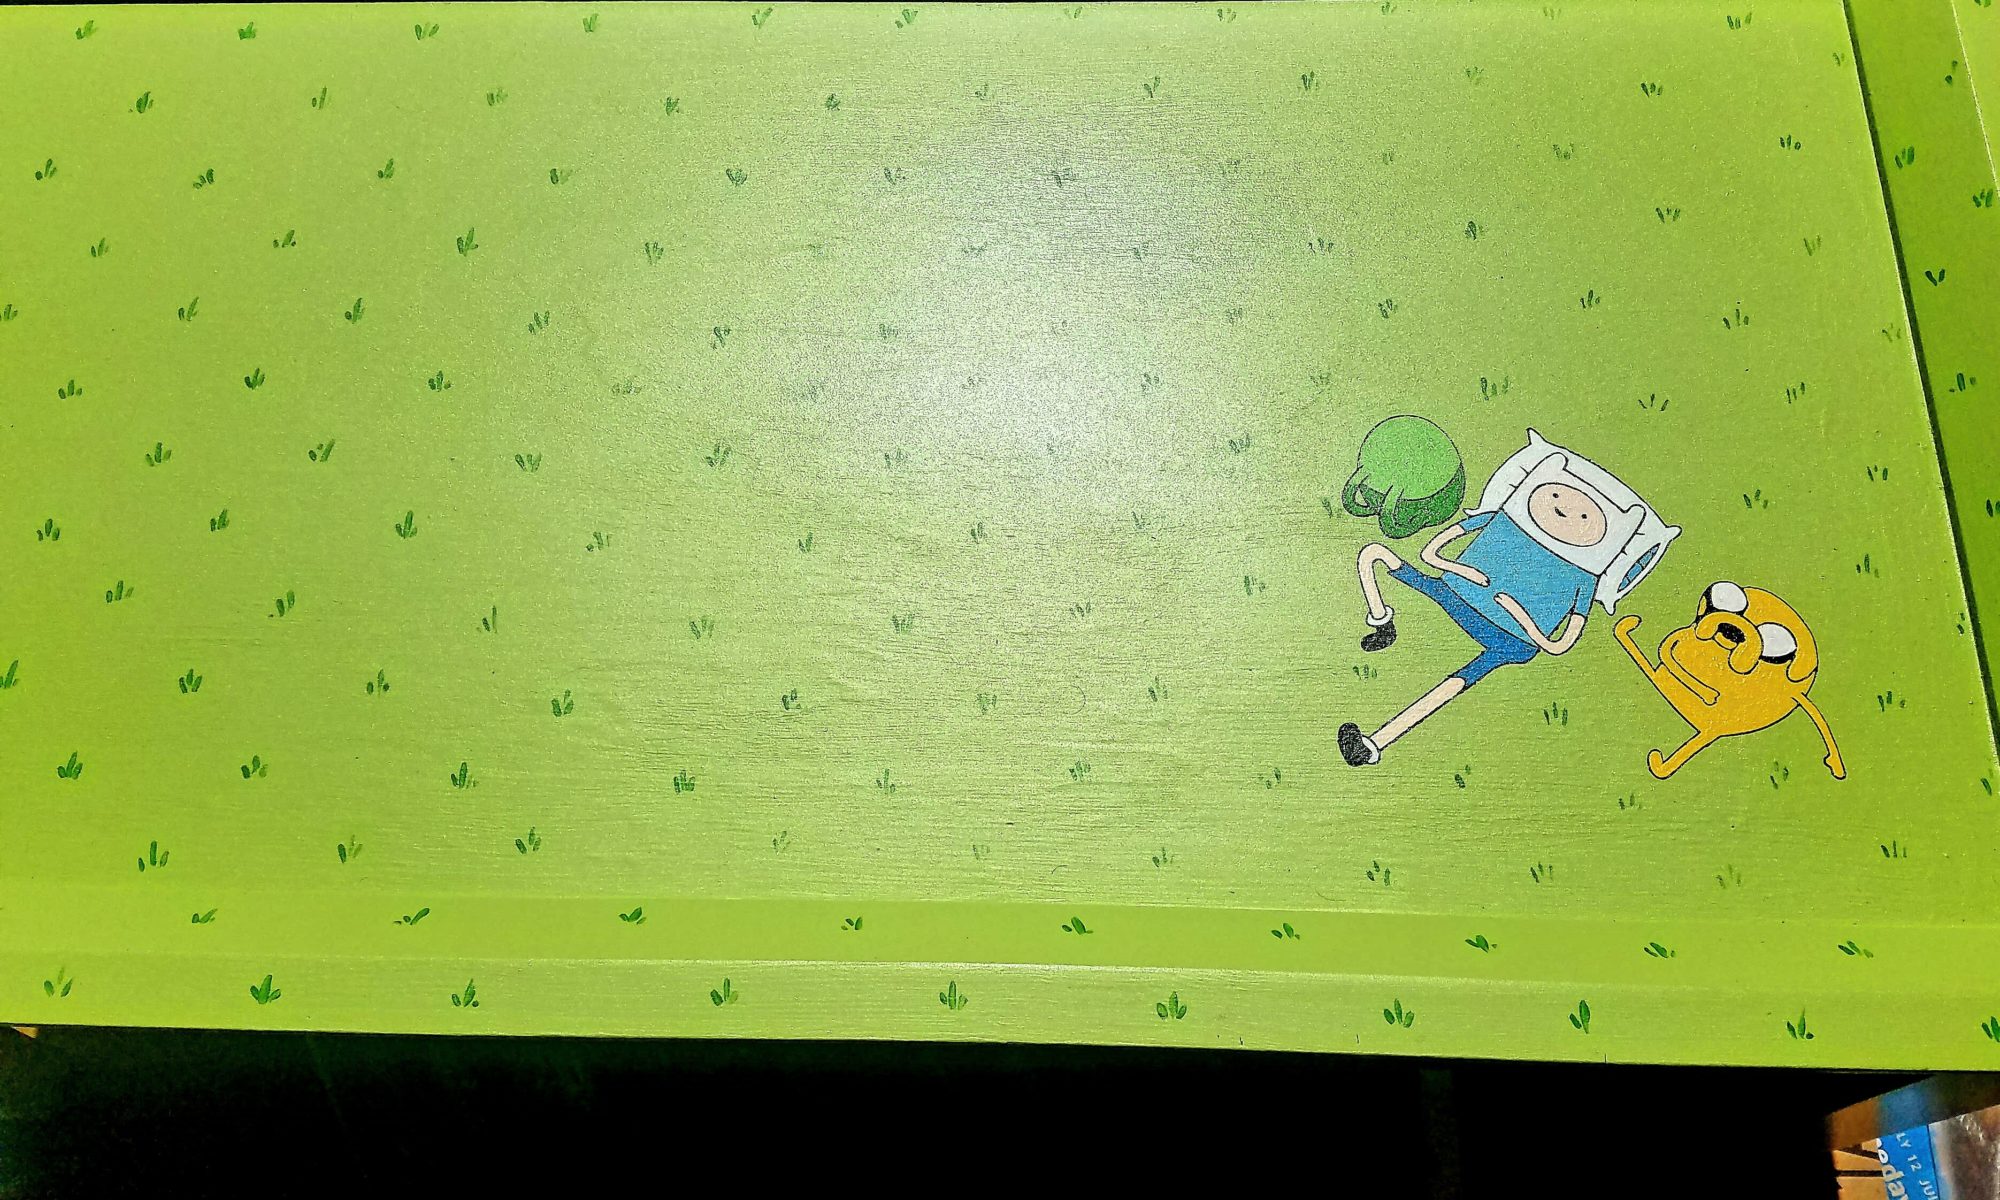
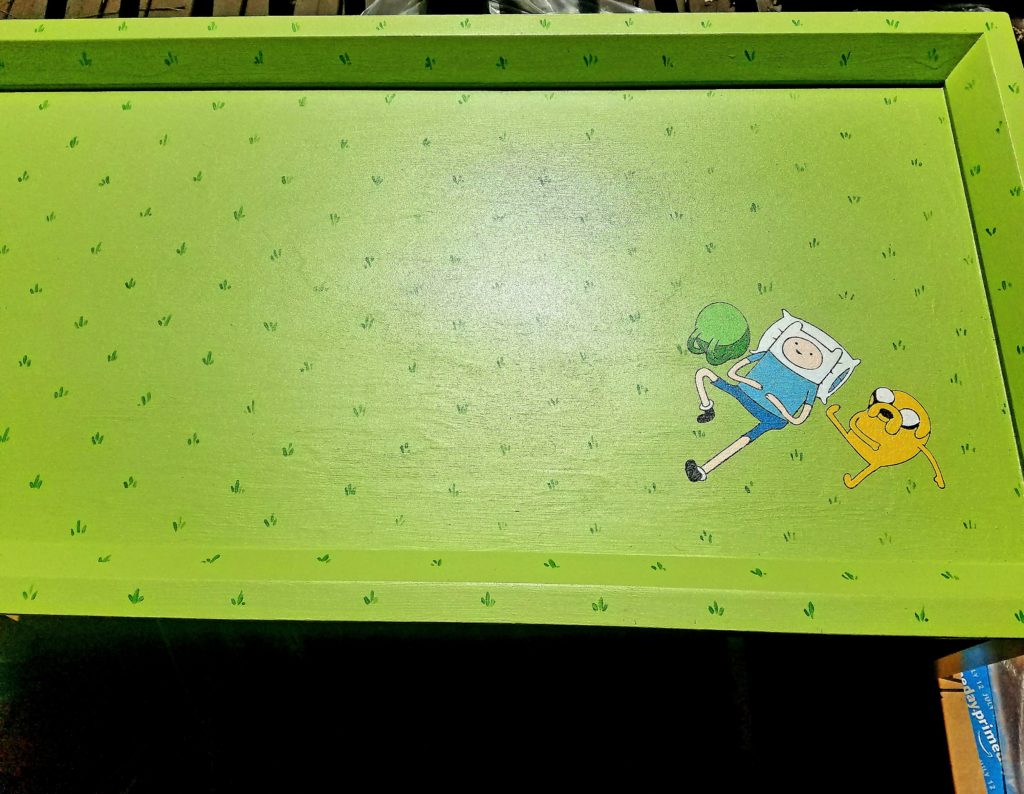
finn and jake coffee table

I brought SpongeBob in and took the coffee table out.  Again, I lugged out the sprayer and got to lacquering the table.    Then, I ran out around the second or third coat, and I didn’t feel the coverage was great.  The wind was blowing a lot of the spray away and this table is going to get plenty of use, so I wanted to make sure it was coated well.

This time, I got the same brand of lacquer but in aerosol form.   Easier right?   Nope.  When I came back the aerosol coats were all spotty (the picture was taken before this point).  Some parts glossy some parts satin.   It was supposed to be semi-gloss, so if by semi-gloss they meant some parts glossy and some parts satin then I guess they were right.   So I gave it another coat … how many coats was this going to take???   When I returned it was still spotty.

It’s staying out there and not coming in until it understands why it’s bad!

… or until I decide what to do about it.    I think I may just go get some gloss lacquer and go over the top where it’s spotty.   I think gloss should hide it pretty well, but I haven’t decided yet.  I may just go get some Plexiglas and cover the top so I don’t have to worry about it getting dinged and scratched from usage.

Besides that, I still have to make the themed coasters and stuff to go on it.  It never ends.
Taboret

wp 1469581212545
wp-1469581212545.jpg   wp-1469581204871.jpg

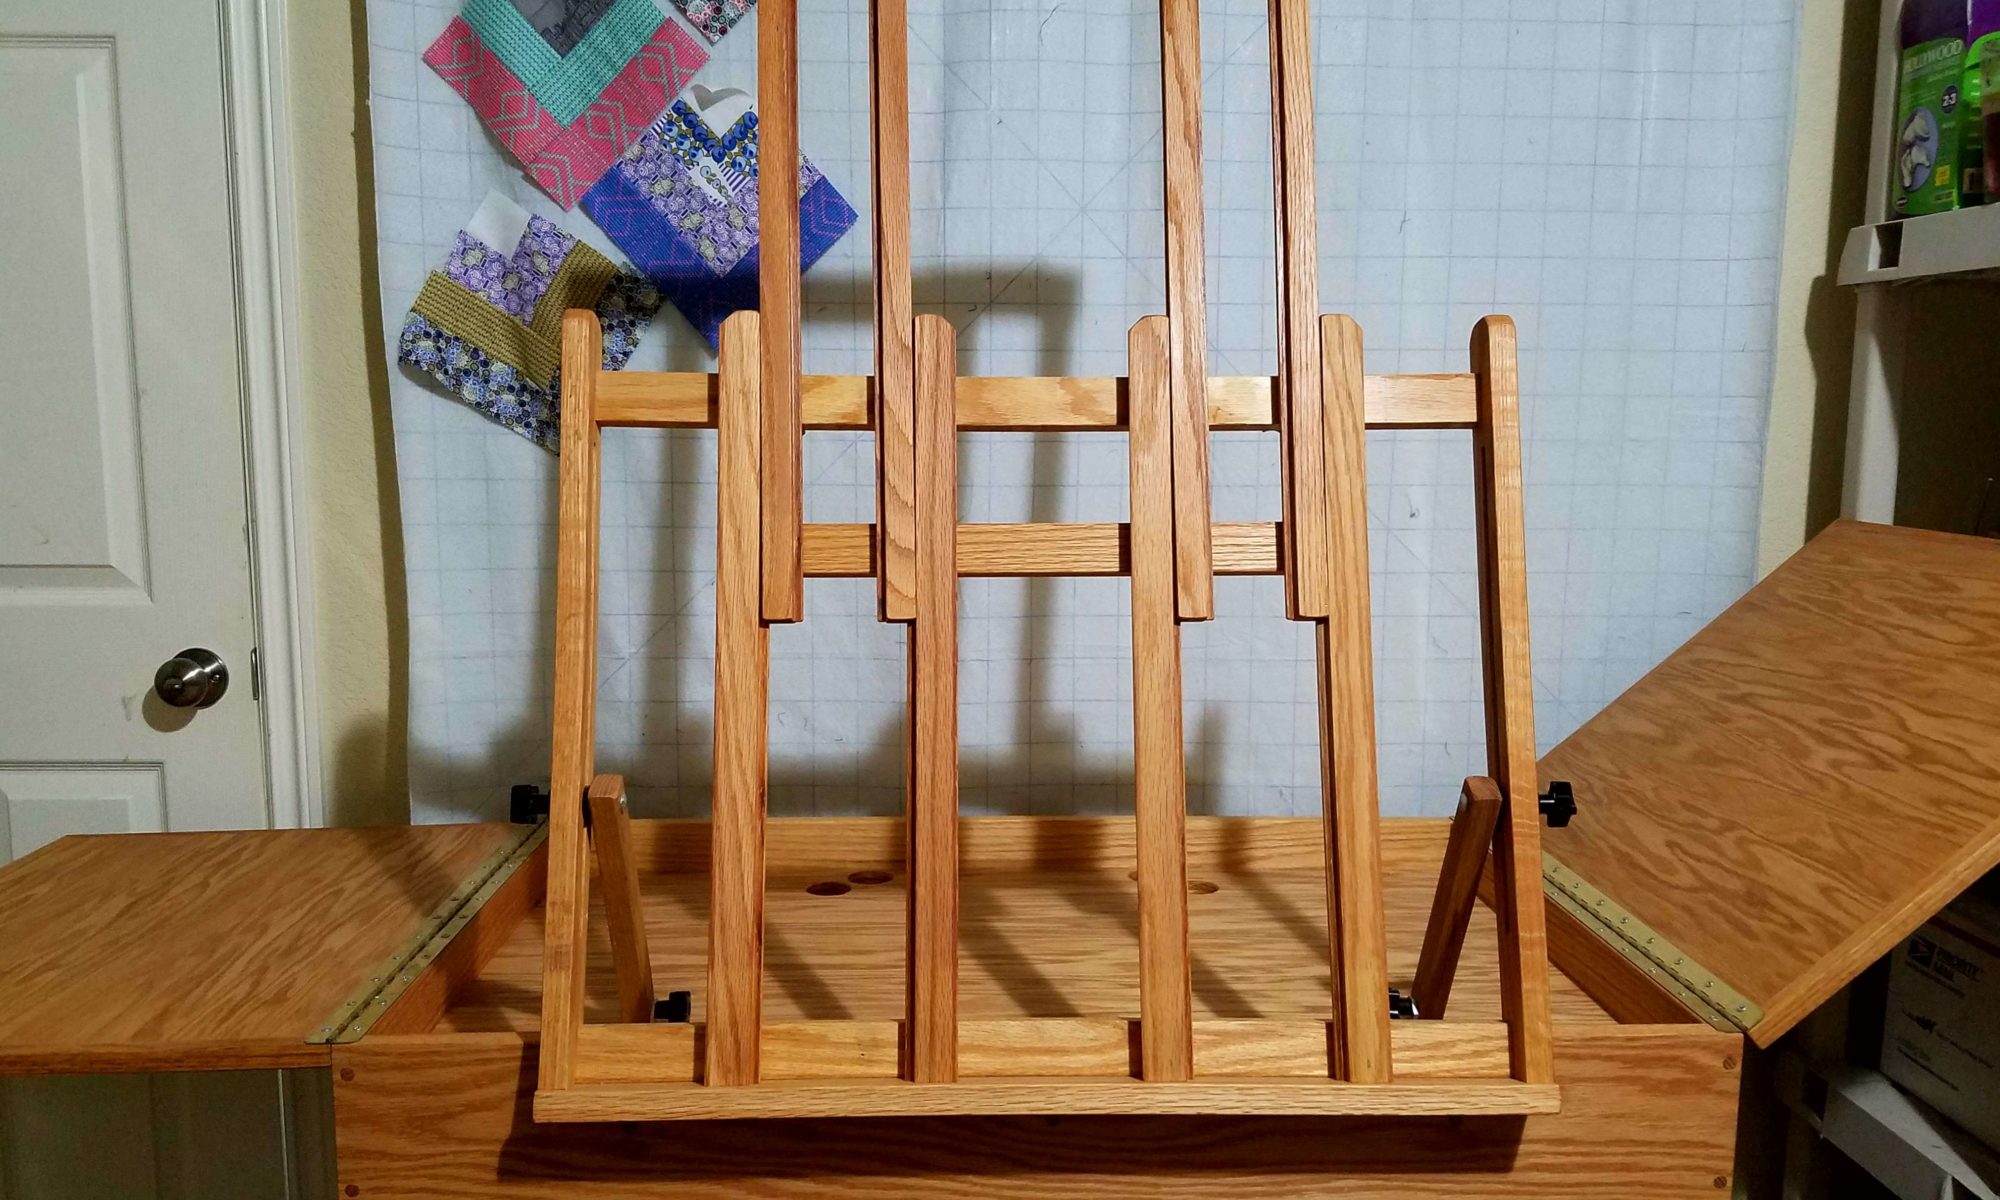
I may have snuck off this weekend and bought a taboret with easel.   I may also have snuck it into the house and right into one of the art rooms while no one was home.

It’s solid wood and heavy, but lighter than you’d expect it to be.  As you can see from the picture I need to remove some items in the room so the table and fold out without a shelf or door in the way.   More cleaning, YAY.   The room needed to be cleaned and organized but I was planning to keep pushing it off for a while.  If I want to use my new easel I guess I better get on it!

Hopefully, I’ll get to use it soon so I can tell you how much better the Becky Taboret is over my stupid little metal tripod easel that falls apart whenever I use it.

Ho Hum Plates

wp 1468354043416

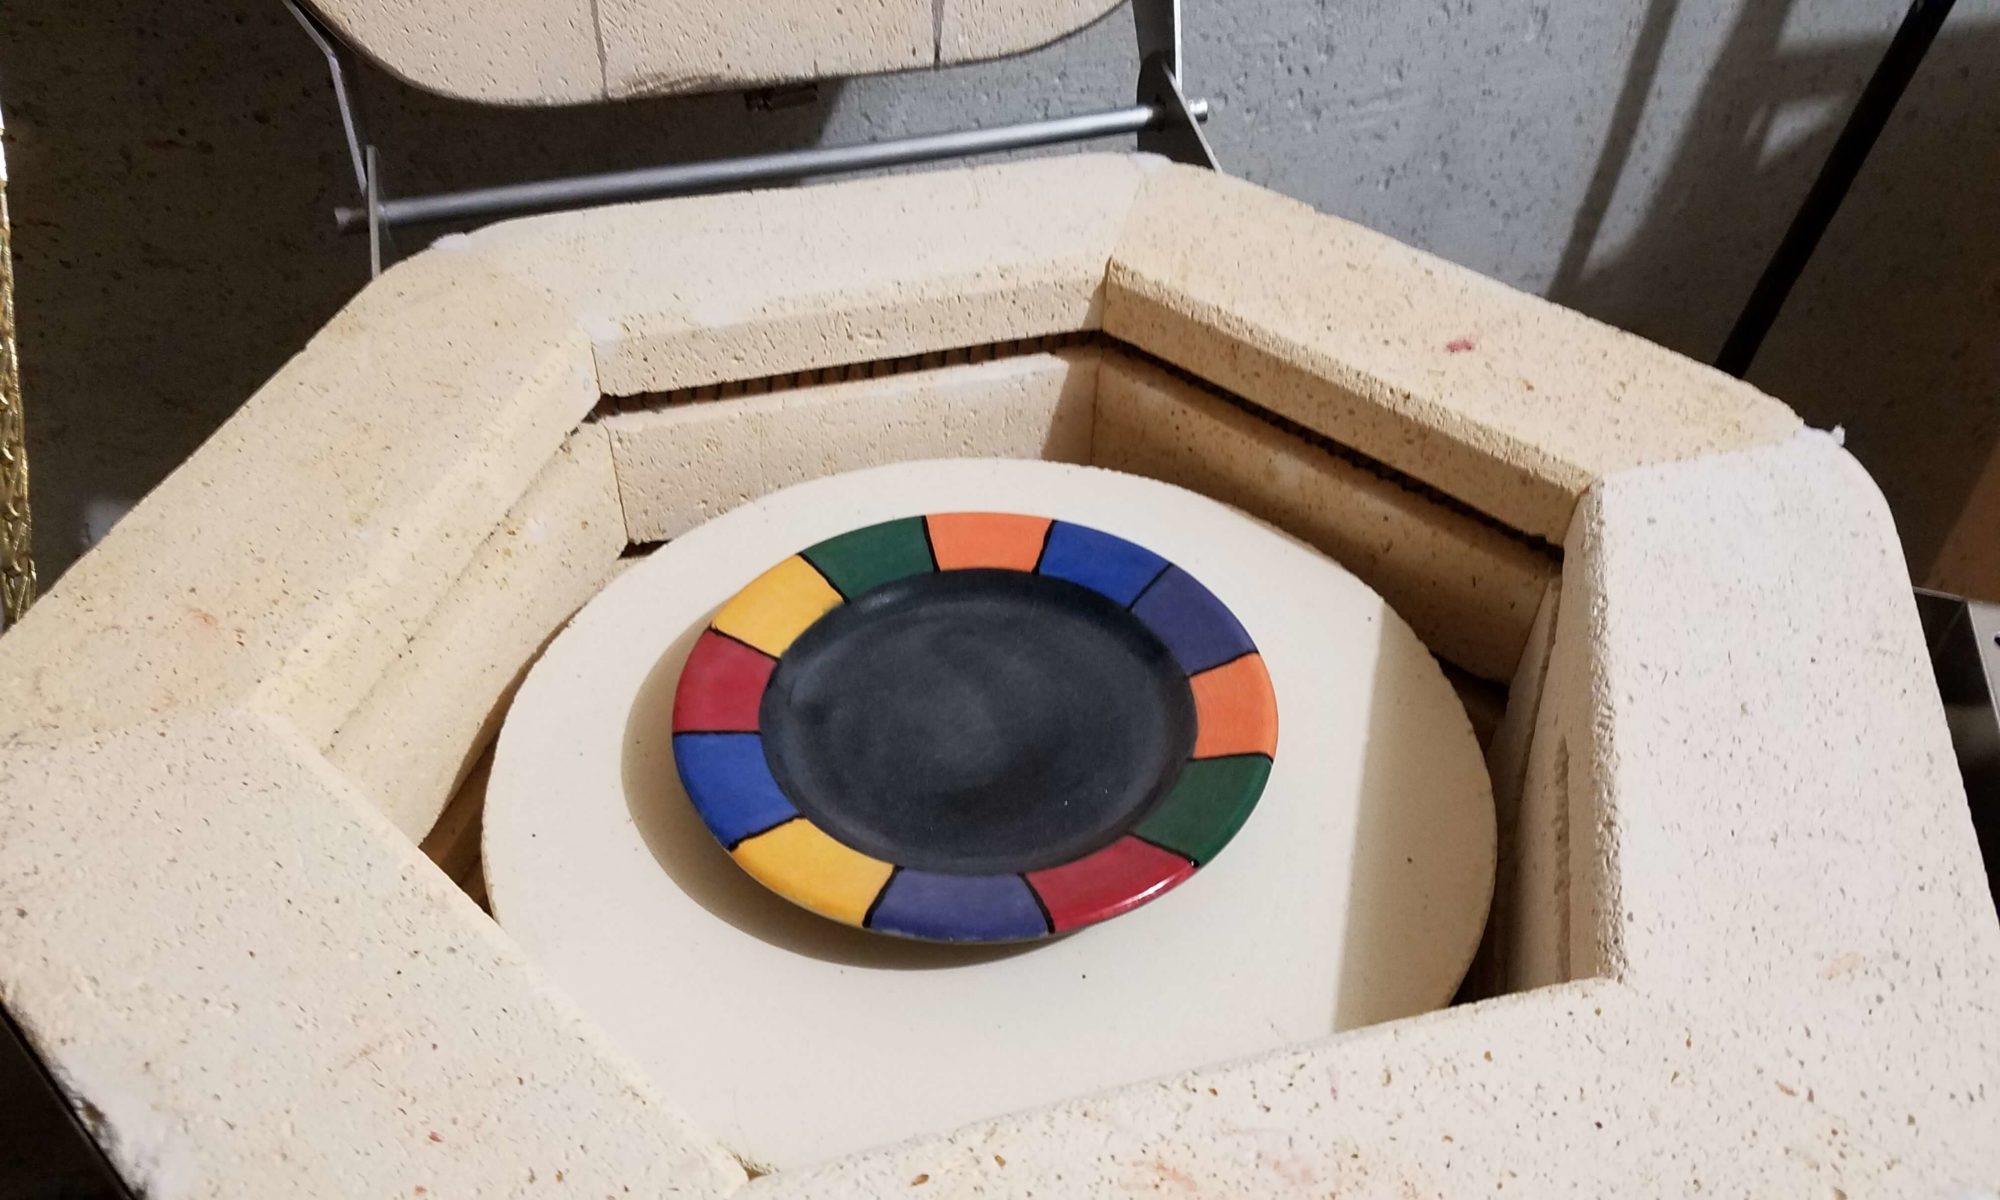
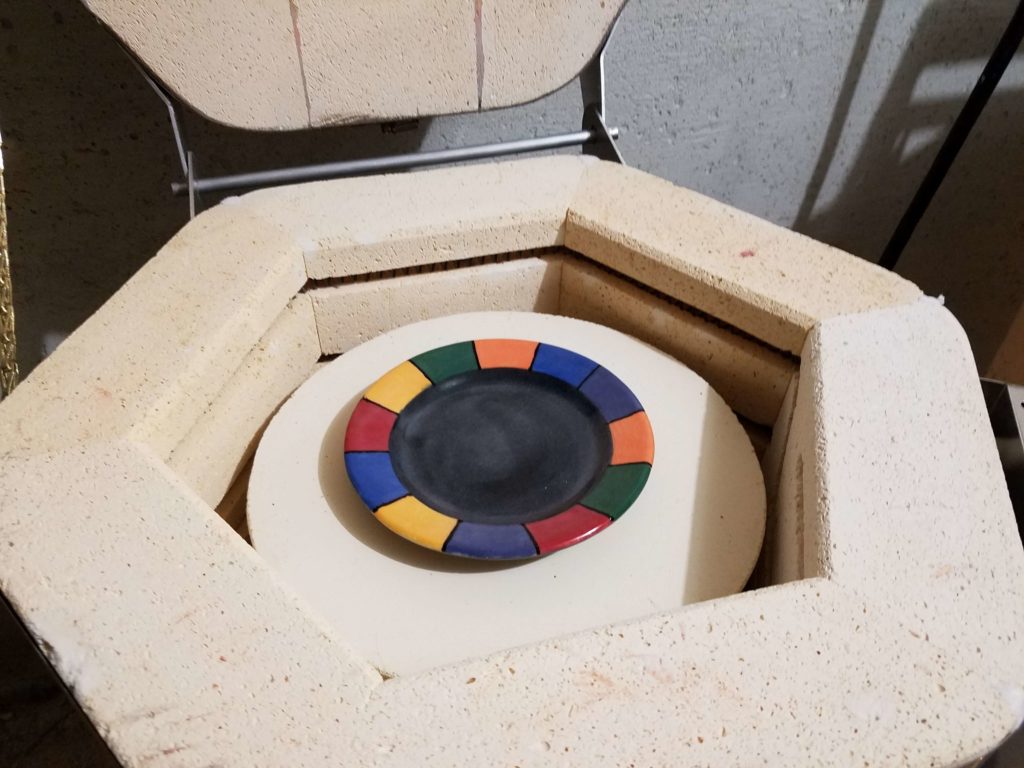
I took a peek at the test plates in the kiln and I was not overwhelmed by the results.   They are alright, but they are not what I hoped for.  This is what I get for working off the colors in a brochure instead of physical test tiles.  This is also the reason to do these tests before committing to a whole dish set.   So I think my next project will be to take all my colors and make small color chips out of them.  I already made a few but there is a whole shelf of colors yet to be made.  It will be a project all by itself.

For the next test plate, I think I will stick with bright colors instead of trying to tone them down.   The colors that came out bright on the plates are the ones I like the most.   That and the purple came out a bit too close to the color blue.

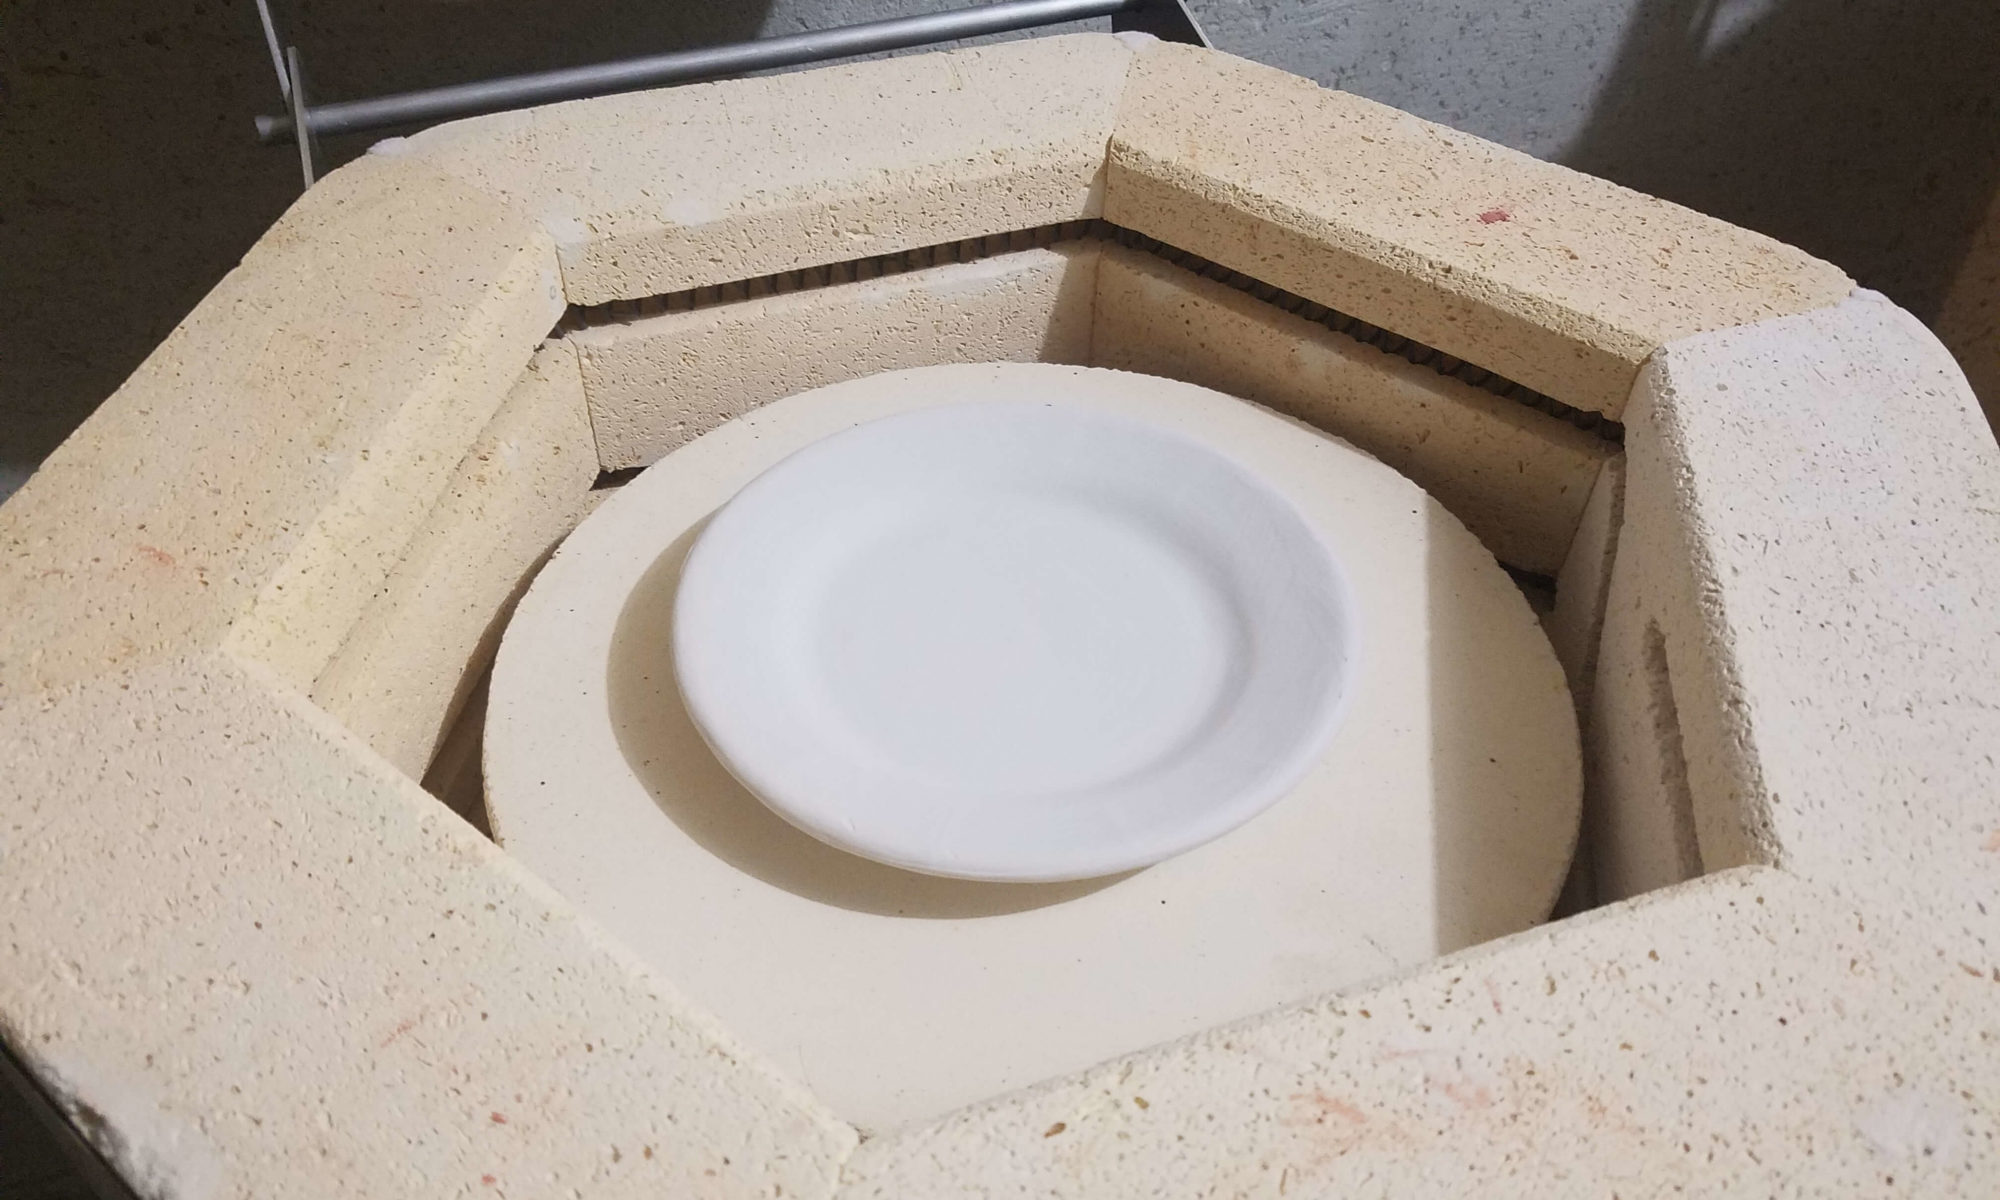
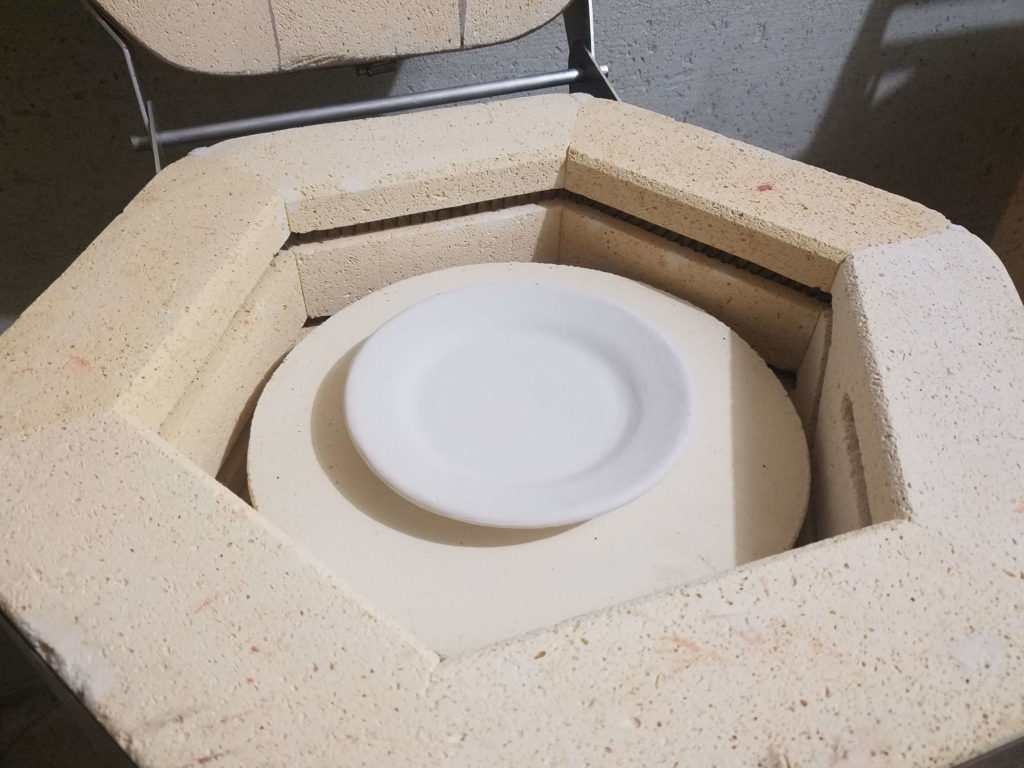
Loading up the test kiln

wp 1468248219107

loading the kiln with test plates

After another week of working late and a weekend full of yard work and chores, I finally got around to glazing the test plates.   I ended up creating 4 plates and loading them into the small test kiln.   Last night I fired it up and I am hoping by the end of the day to be able to open it up and see how the designs came out.   I checked on it before leaving the house early this morning and there was still 900 degrees of cooling left before I can open it up.  Hopefully, one of these designs will end up being the new design for the household plates.

Even after firing up the kiln, I started thinking up new designs that might be cool.  Who knows, I may make another batch of designs before deciding on one!

Unfortunately, I glazed the plates with clear glaze before taking this picture (dries white).  So super boring photo, I know.  But there is a design under that white coating.

Auditioning Plate Designs

wp image 199390138jpg

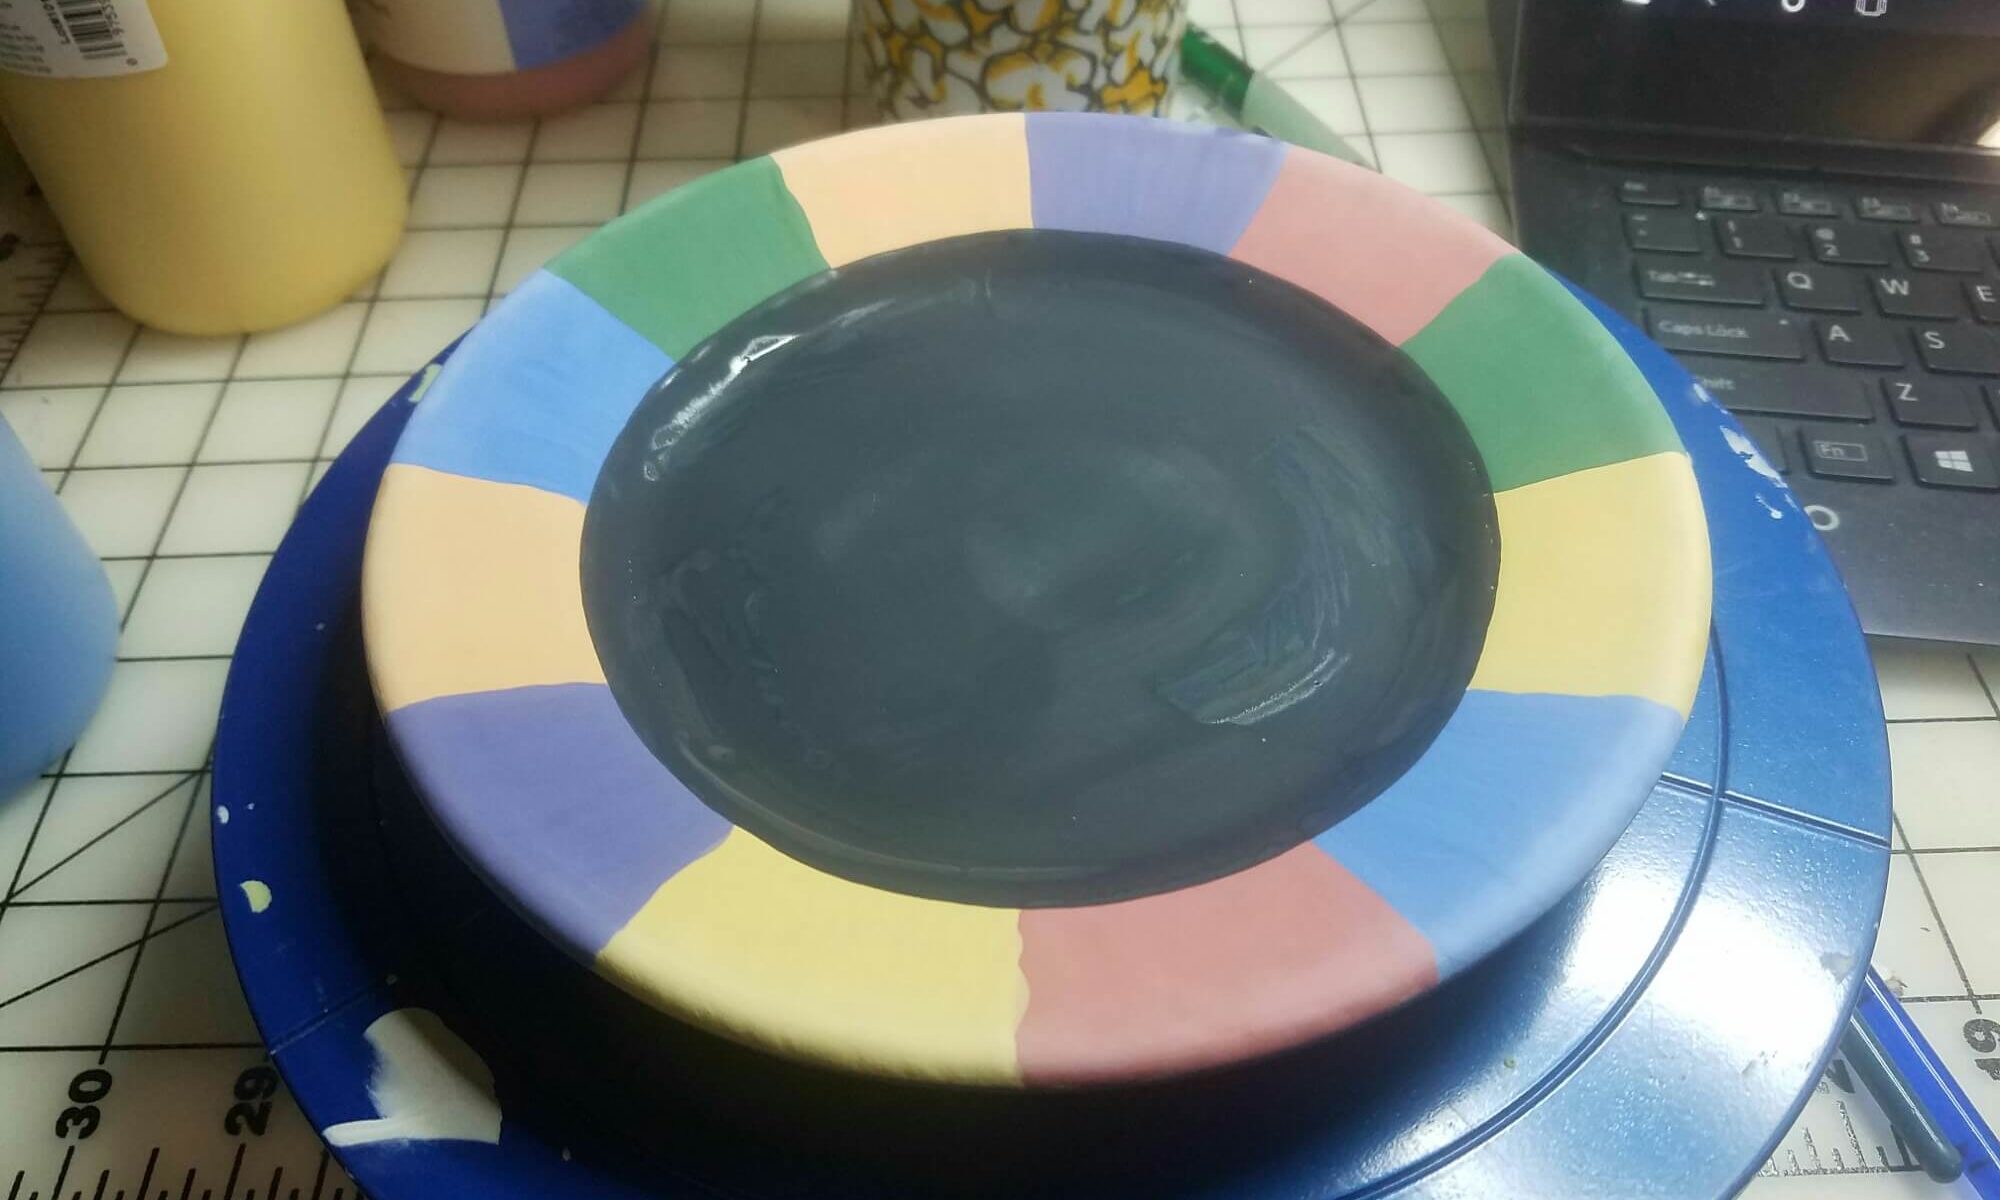
Last night, I was using some of the small saucers as testers for a new plate design.   These will be used in my house and I want them to be colorful, but muted.  So I selected a rainbow of underglazes but I toned down each color.  Instead of Red, I went with a Ruby.  Instead of Green, I went with a Forest Green…. you get the idea.  For some of these colors, I didn’t have a darker shade so I made my best guess and will just hope for the best.   I also rearranged the colors so it wasn’t such an obvious rainbow.  Hopefully, I like the outcome and can move on to the dinner plates and glasses.

The test plates were bisque fired in the kiln last night to set the underglaze.  Tonight, I should be able to glaze them and shove them right back in for the final result.

Stay tuned.