I am the craftmaster.

BD3F7257 9177 43B8 AC4B 01844921DF30

A few months ago I had ordered the Alvin CraftMaster II Deluxe Art & Drawing Glass Top Table through a local Art Store.  While I am a heavy Amazon user, I do prefer to give local shops my business, especially if they are willing to match or negotiate a little bit on price.  In this case they were willing to match the price if I was willing to wait a bit until they placed their next inventory request which was not a problem.

I used to have a drafting table in my room growing up and I was pretty fond of it.  My previous table was just a really basic tilting wooden table that I think was picked up at a garage sale.  What interested me in the Craftmaster was all the little shelves, organizing cubbies, and the fact that it was steel and glass (and wouldn’t easily be gouged).

I dragged the box up a few flight of stairs to my room and opened it up.  After a long sigh, I pulled out all the pieces and got to work.  I’ve put together many pieces of furniture in my time and I can say this was the easiest.  Everything was labled with letters that corresponded to the instruction manual and pieces were even label front/back and left/right sides.

Even the screws were well labeled.  They also gave you extra of each type.

Putting it together went almost flawlessly.  I did have to find a screw driver for two of those screws they give you (two types were phillips, the rest used the allen wrench they give you) and I would add a few notes to the manual, but overall it was a really solid set of instructions.

Since I had to wait for it to arrive, I had already moved into several other projects, so this desk will have to sit for a bit before I get to have fun with it.   Putting it together now was really more of a way to get it out of the way.  But having this desk sit there and stare at me everyday gives me more reasons to wrap up my current projects.

Christmas is upon us

fused shirts

Christmas is quickly approaching and I’ve somehow managed to get roped into another project.  This time, I have to admit, I did it to myself.  They said they wanted to turn old children’s sports jerseys into a blanket and I couldn’t let them do it because I was sure they’d screw it up or just not finish it.  So I offered even though I’ve never done it either, but I’ve quilted enough blankets and seen enough videos to get going on it pretty confidently.


I started by chopping up all the shirts into halves and then began fusing each half to the stabilizer.  At the moment, I am currently cutting down each half to the largest size I can get out of it so I can figure out how much I have to work with.   Which also means I haven’t actually designed the twin sized blanket yet…  *sigh*

But, since this is my first jersey/shirt blanket, I thought I’d share a few things while I’m cutting away.

  • The fusing is quite tedious and takes a long time.  This may not be a surprise to you but I usually don’t fuse the whole top of a blanket.  It will take you a night or two alone – make sure to put on a movie or two to keep you from getting too bored.
  • This project will likely take more than a bolt of stabilizer to complete.  I had 8 children’s jerseys (16 halves) and I am almost through the whole bolt and I’m not even sure if I have enough jersey for the top of the blanket.
  • You really can’t plan out the blanket until you have all your pieces fused, cut and squared.  Unless of course you are only using the images on the shirt and can measure just those areas.  I will likely have to fill in areas with random materials so I’m using as much jersey as possible.

Cutting all these shirts down will take a while, so I’ll have updates coming.


So slow

plates

The plates I’ve been working on is moving very slowly.  It had been a while since I’ve done a ceramic project.   Not that long, but long enough I forgot how long it takes especially when you have limited time each night to work on them.  Granted, the first layer was putzy because I had to figure out where colors go and matching them up on each plate.  I started the second layer of underglaze and it’s moving much faster.  I’m starting to realize these may not be finished by thanksgiving dinner, which is causing slight panic because that means I either need to go buy plates or serve everyone on disposable plates.   Oy!

Next week I have some time off to get the house in order and finish up any projects before the big day.  But with multiple layers,  multiple firings to get these done and dry timing time between layers it will either squeak in at the last minute or totally be a disaster.

I really should’ve picked a quicker design instead of 32 little swatches on each plate.  What was I thinking?

New House Plates

13CD286E 9313 4567 8B26 01D1314B1FA2

I recently realized Thanksgiving is coming up and I have a bunch of people coming to dinner.   They won’t be coming for Thanksgiving, though.  Instead, they will be coming for Meatballgiving.  Because turkeys are stupid.

The plates we currently use were a first attempt at making plates last year.   Some are too thick and some are a bit wobbly.   I like them, but they definitely are not guest worthy.  Plus, I don’t think I have enough of them.

With Meatballgiving quickly approaching I decided to just buy blank plates and decorate them myself.   I had previously made some mini mock-ups (see below) and I decided to mostly stick with that.   I originally did a mostly toned down rainbow of colors, but I think I’ll stick with solid bright colors.  I’ll be keeping the jumbled up rainbow but adding more sections around the rim.

wp-1468354043416.jpg

First things first, I created a template with my Cricut.  I quickly added some lines and a center dot in illustrator and imported the lines and had the machine cut them out on a 12×12″ sheet of paper.

If your end up being interested in doing a similar plate set, here’s the template you can grab:

plate-template

Next, I centered each plate on a banding wheel and found marked the center point.  Taking my template, I aligned the center dot with the marked spot on the plate.

2e6c5734-e859-4c68-b637-e3e0efa31f4b

I didn’t want to use any adhesives which may distort the glazes and do crazy things during firing.   So I grabbed a weight to hold down the paper while I make my marks.   I then grabbed a mechanical pencil and extended the lead out further than usual so that the lead would slip through the cuts on the paper and hit the plate below.

fd47d868-3c31-4031-9b43-67cc97c96a50

And voila!  I have a dozen plates ready to be underglazed in a bright rainbow of colors.

13cd286e-9313-4567-8b26-01d1314b1fa2

The template really saved a lot of time.  You might think this is a lazy method, but considering these are just the salad plates and not the dinner plates, nor the mugs or bowls that still have to be done… I’ll happily accept being lazy.

Trying out the LoopdeLooM

A557DDD2 84AD 432F 8D2C 913CA3F18854

Yesterday, while browsing the store during lunch, I stumbled upon the LoopdeLoom.  I usually avoid gimmicky things or things not marketing towards my general craft experience level, but this one called to me.  I don’t know if it was my desire to finally have a loom of some type or the 40% off the clearance price sticker that did it, but I got one.  It’s marketed at young girls, so, to be honest, I wasn’t expecting much.

The instructions were very simple.  Stick the pegs in, cut your yarn for the length of the project (2 x length + 12″).

500692f9-3d46-493a-be6a-93a8678195d1

My first impression of it was that it was very plastic, but it all seems to move smoothly.  I really like the idea that if I like this I can chain several of these together for larger projects.  Starting off seemed rough.  At first, it didn’t seem like I picked the right yarn, it was very bare and sparse looking.  But once I got a few rows in everything started pulling together.

a557ddd2-84ad-432f-8d2c-913ca3f18854

After a short while of watching T.V. and putting yarn on the loom, I filled it up and was ready to progress into the next section.  This just meant pulling the sticks out and then putting them back into the base without any woven material on them.

4654ceb8-813b-49cf-b9d3-4e61ac9d583e

After about an hour and a half of mindlessly adding thread onto the loom and watching late night shows, I realized I had progressed pretty far.  After a few minutes with this thing, you really master it and clip along at a good pace.

A close up of a cake

The only issue I had through this project so far was the pegs kept smacking each other whenever I moved onto the next row and I moved the giant switch.  As you can see in the last picture, two of the pegs are stuck together.   Now, it’s not an issue really, you just give them a nudge and they go back to where they’re supposed to be.  But row after row of this happening really made it annoying, especially when you have a good pace going.  But this may be why they include a few extra pegs in the box.  Eventually, they’ll likely get all bent out of shape…. it just seemed really soon for it to already start happening.

I really wish the pegs (at least the shafts) were metal.  Other than that I was having fun with this thing.  Another night or two and I should have myself a nice soft scarf for the upcoming winter.

Now Hiring a Barista Mouse

852F9C74 3383 4330 A6C2 E546481508D2

building miniature cabinetI finally got to sit down and start building all those pieces of furniture for the café.  Most of it went pretty easy.  But the display case in the front of the café that holds all the pastries was such a pain.  All those little shelves and nothing quite fit together right… then you realize you glued everything on backward and then a cabinet nob is super-glued to your hand…. it was a little nightmare.

A room with a red chairI had to rip some stuff a few times, so I think I’m going to end up painting some of the furniture to hide my mistakes.   And I got a nice big gluey fingerprint on the front of the glass cabinet (notice now I strategically left that out of the picture).   So I’ll have to come up with a way to hide that…. maybe a nice sticker or sale sign or something.

Now my friends have decided I need a little mouse barista.   I started searching taxidermy on Etsy and a few other sites… cute stuff but not really matching what I want.   Google image search provided some nice hits but nothing that was for sale…  just images and art pieces people made.   According to Etsy, the going rate for a stuffed mouse is about $80+ … I’m not sure I need a barista mouse that much.  At least not for my first model.  But, I should figure out something cute to stick in there.

Arsenic Mouse
Mouse by Amanda’s Autopsies

Glue and Sort

AEFF6FD5 0F47 4C45 AD3B 2FE82A5558E5

Last night, I had a short bit to sit down and keep working on my miniature café.  I can’t wait for retirement when I can do whatever I want all day and not just try to squeeze in a little time here and there.

Anyways… I was going through all the pieces again when I stumbled upon a piece of gold foil wrapped up in a packet of wires.

There IS fabric after all!   And the first thing that came into my mind was “OMG… I lied to the internet.”   Normally I would wait until there was more done to post about, but I had to correct this situation.  After all, you can believe anything you read on the internet and I will not be responsible for ruining that.

So yes, packed away with some wires was a small packet of scraps that will be used for table cloths and seat covers.   Honestly, they kind of suck and look dirty, so I’ll likely replace them if they don’t clean up well.

I got my walls glued together and set aside to dry.

I got some of the signs (menu board and outside company sign) put together.  And then I sorted through the rest of the furniture pieces to make sure I have everything and that the correct pieces were in the right groups.  Some of them were so similar I could’ve easily mixed them up and not realized it until something didn’t quite fit.

chinese language manual

Last, I started going over the little LED lights and how to wire it.  I tested the lights and everything appears to work.  But by the time I deciphered most of the pages in Chinese on lighting I realized I didn’t care enough and went to bed.

So yeah, not much progress but I feel better having righted a wrong.

First Miniature

img 0032 e1476115079900

A graffiti covered wall

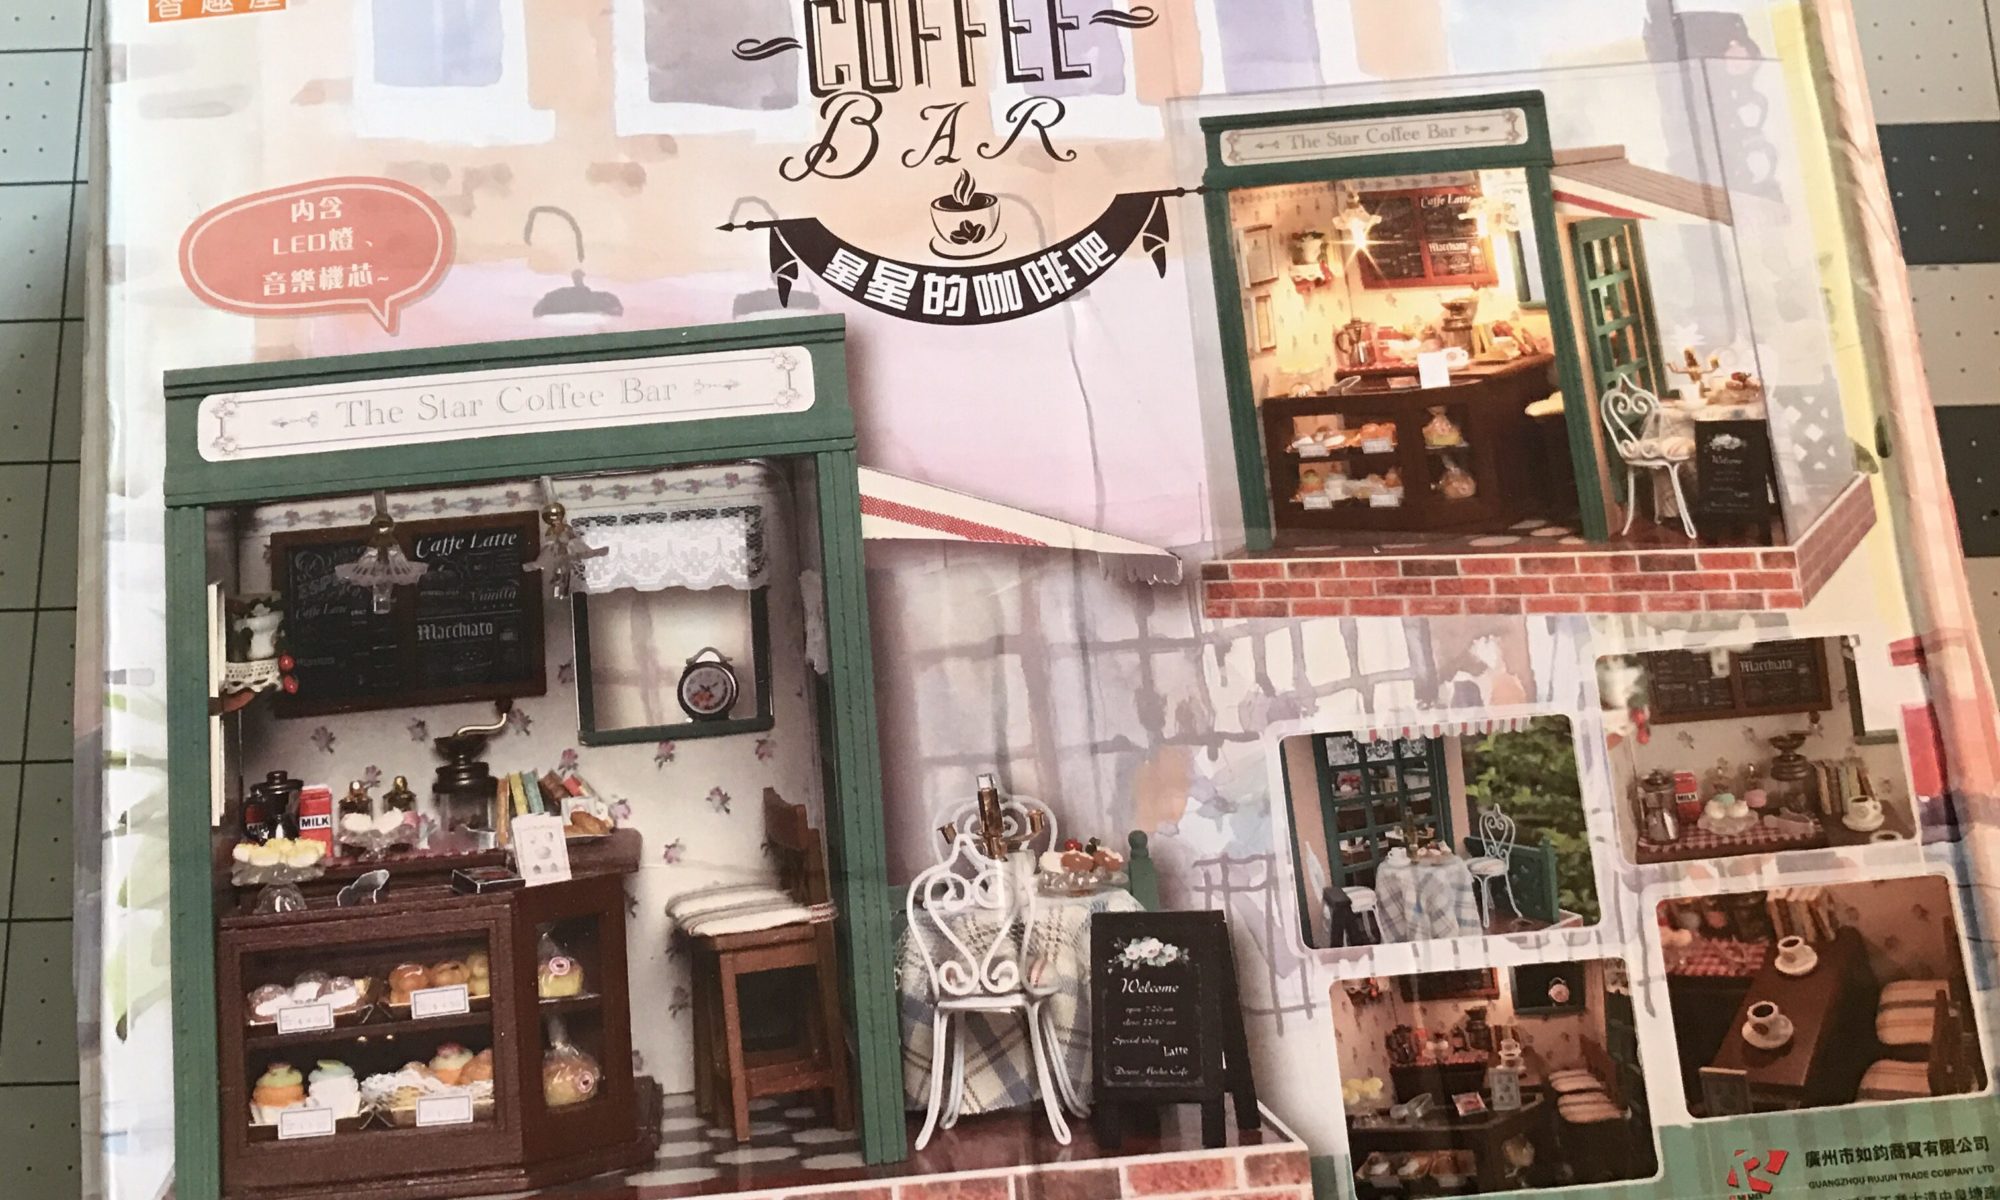
I’ve always been slightly fascinated with miniatures.  After browsing Etsy for a while I finally bought a few kits.   I don’t really care about pre-made kits since I tend to make most everything myself.   But the ones I picked out were really cute and I figured I should see how others construct these things before venturing off into my own projects…. which is very unlike me.

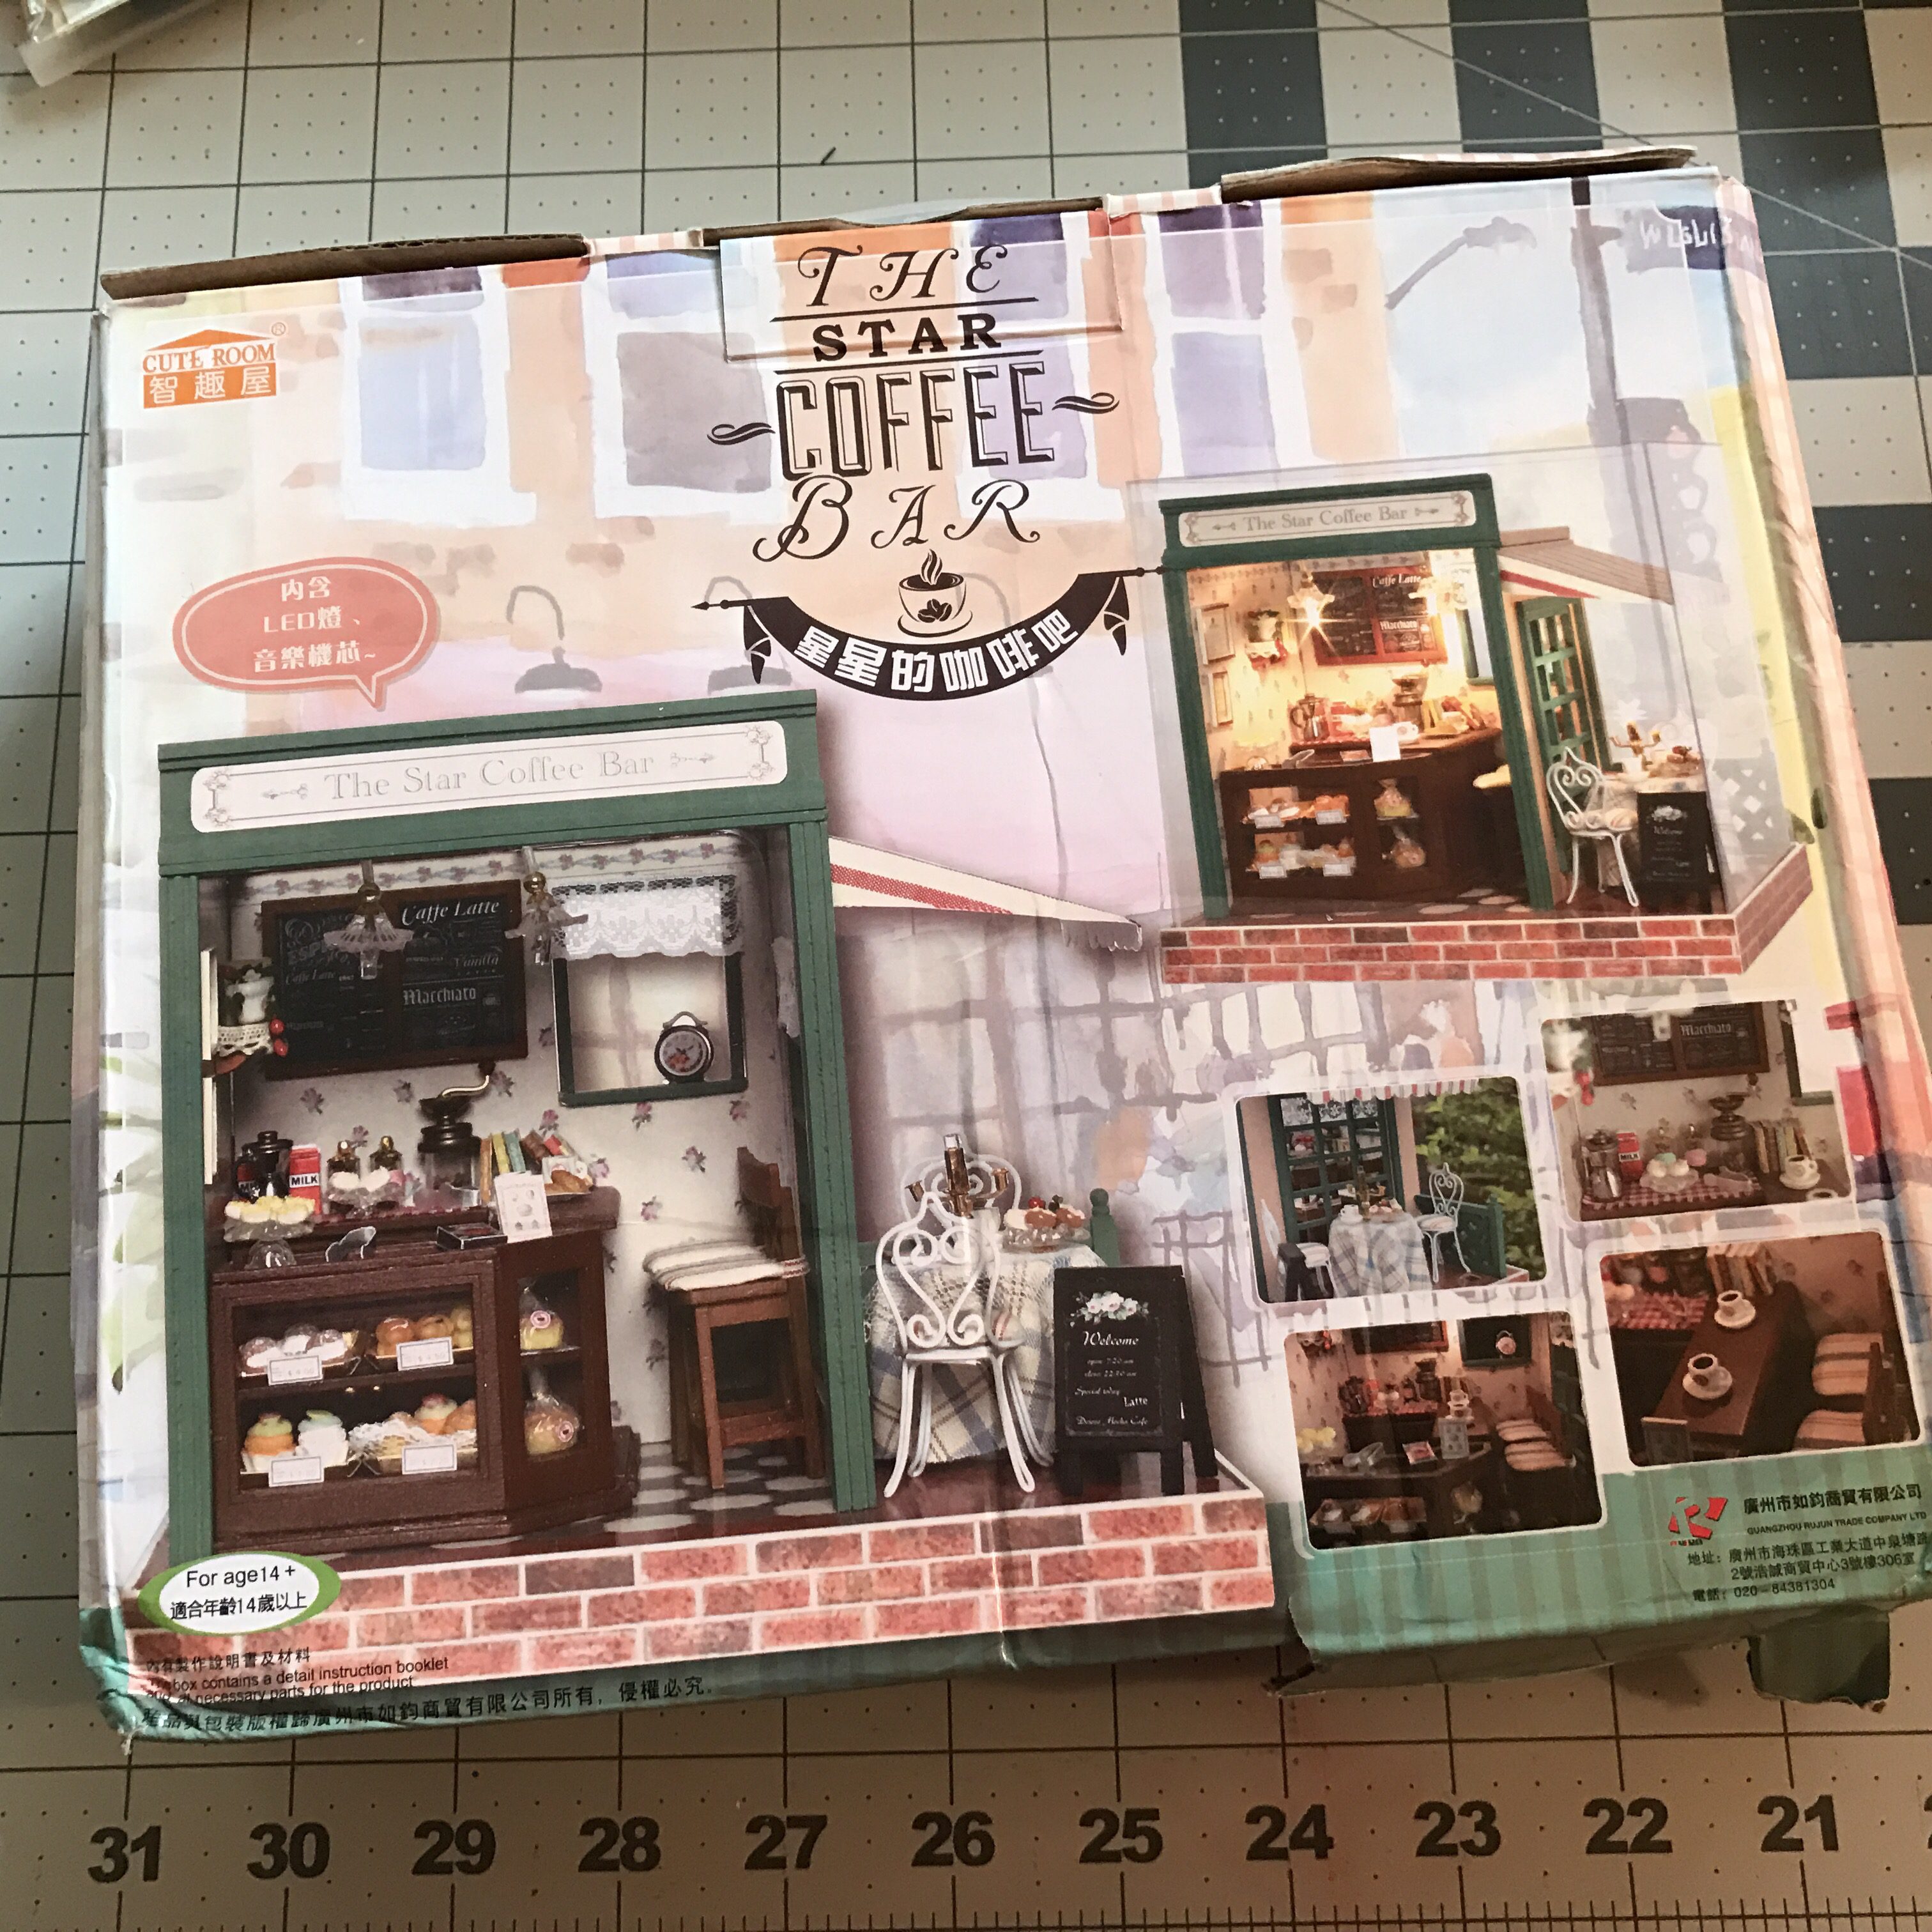
First thing, wait for the kit to arrive.   Then wait more, because it’s coming from China and will be weeks.   I knew this when ordering, so no big deal.  It was also cheap, so I am not expecting much.

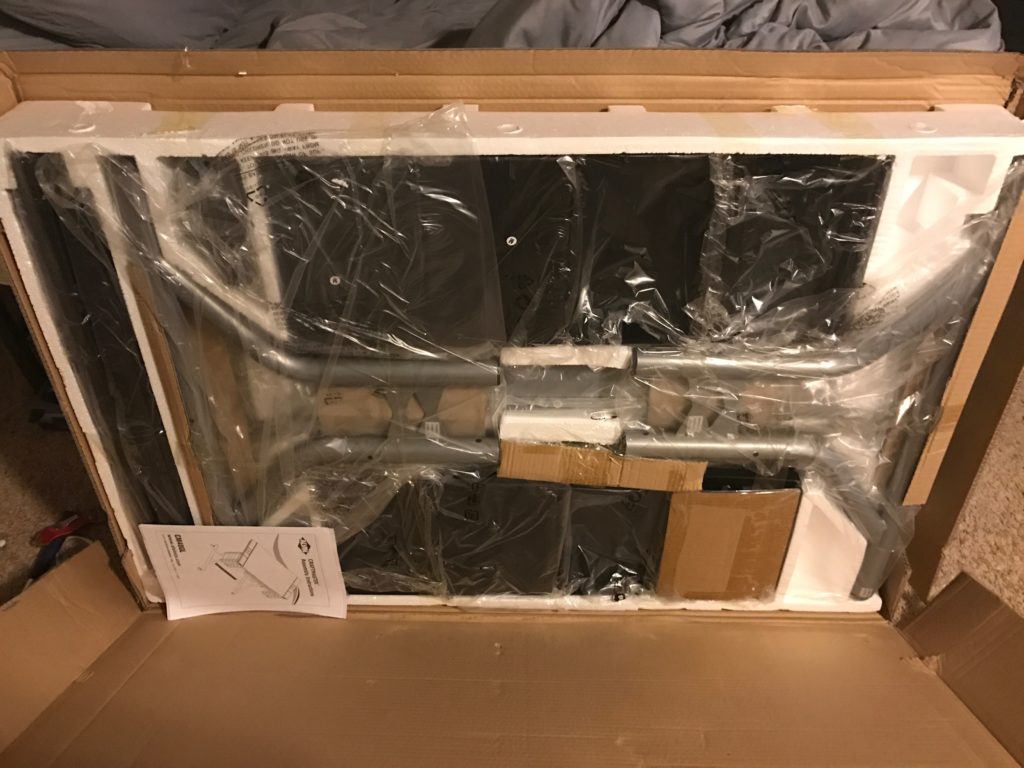
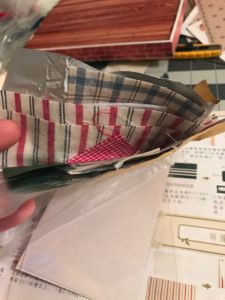
When it finally arrives, take note of the smashed up package and realize it probably won’t make a difference because… well because it’s super cheap and wouldn’t be worth the effort to return it if something was wrong.

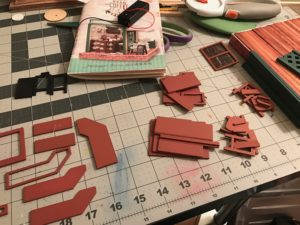
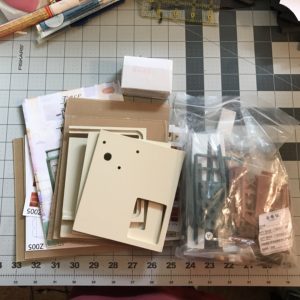
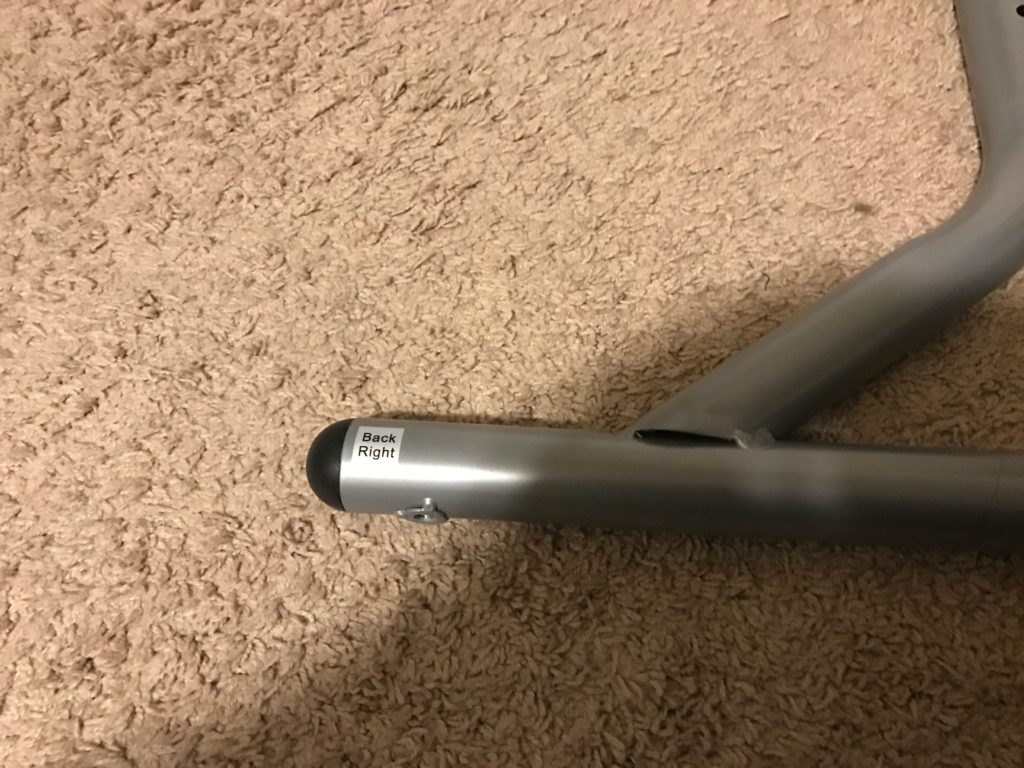
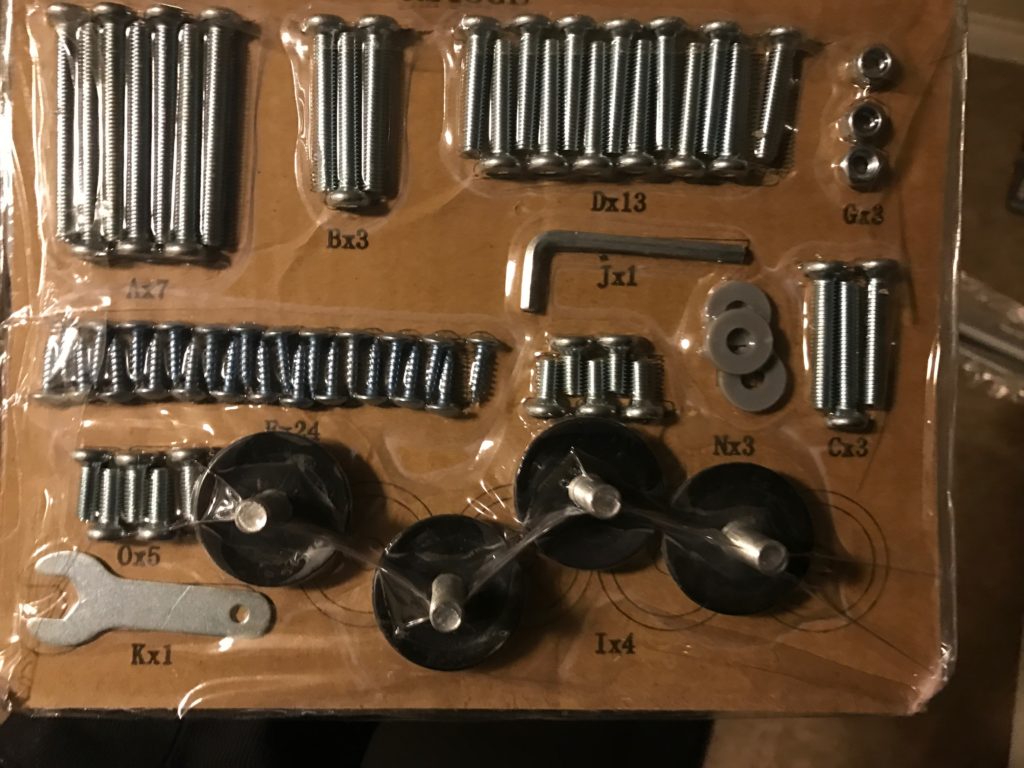
Next, open the package and dump everything out.

img_0033.jpg

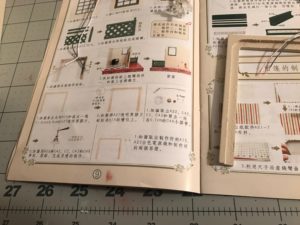
See?   Just as I expected.  Plastic, more plastic, some wood, and lots of paper you’ll be gluing on everything.   Even the fabric in the picture is actually just folded paper.  The only fabric in the kit was a cut-up doily for the window decorations.

Next, take all those papers and throw them out.

Did you do it?   Good, now go get them out of the trash and put them aside, you might want those as templates later.   But throwing them out felt good, didn’t it?

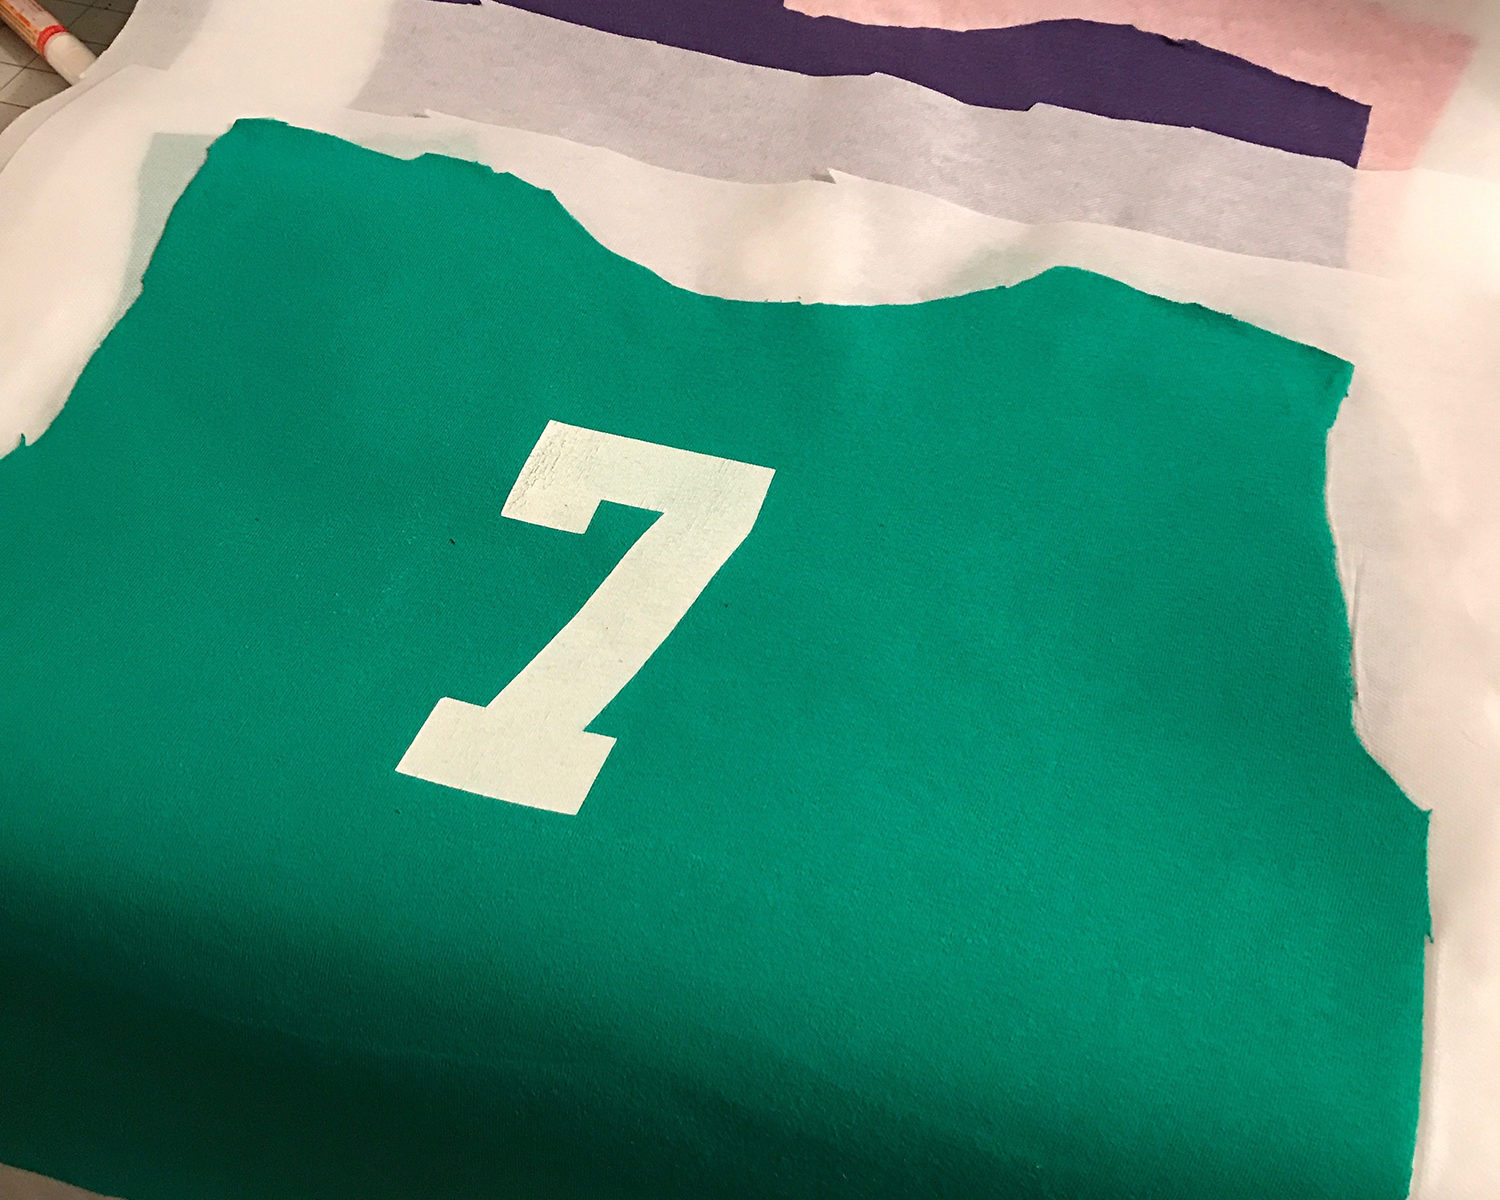
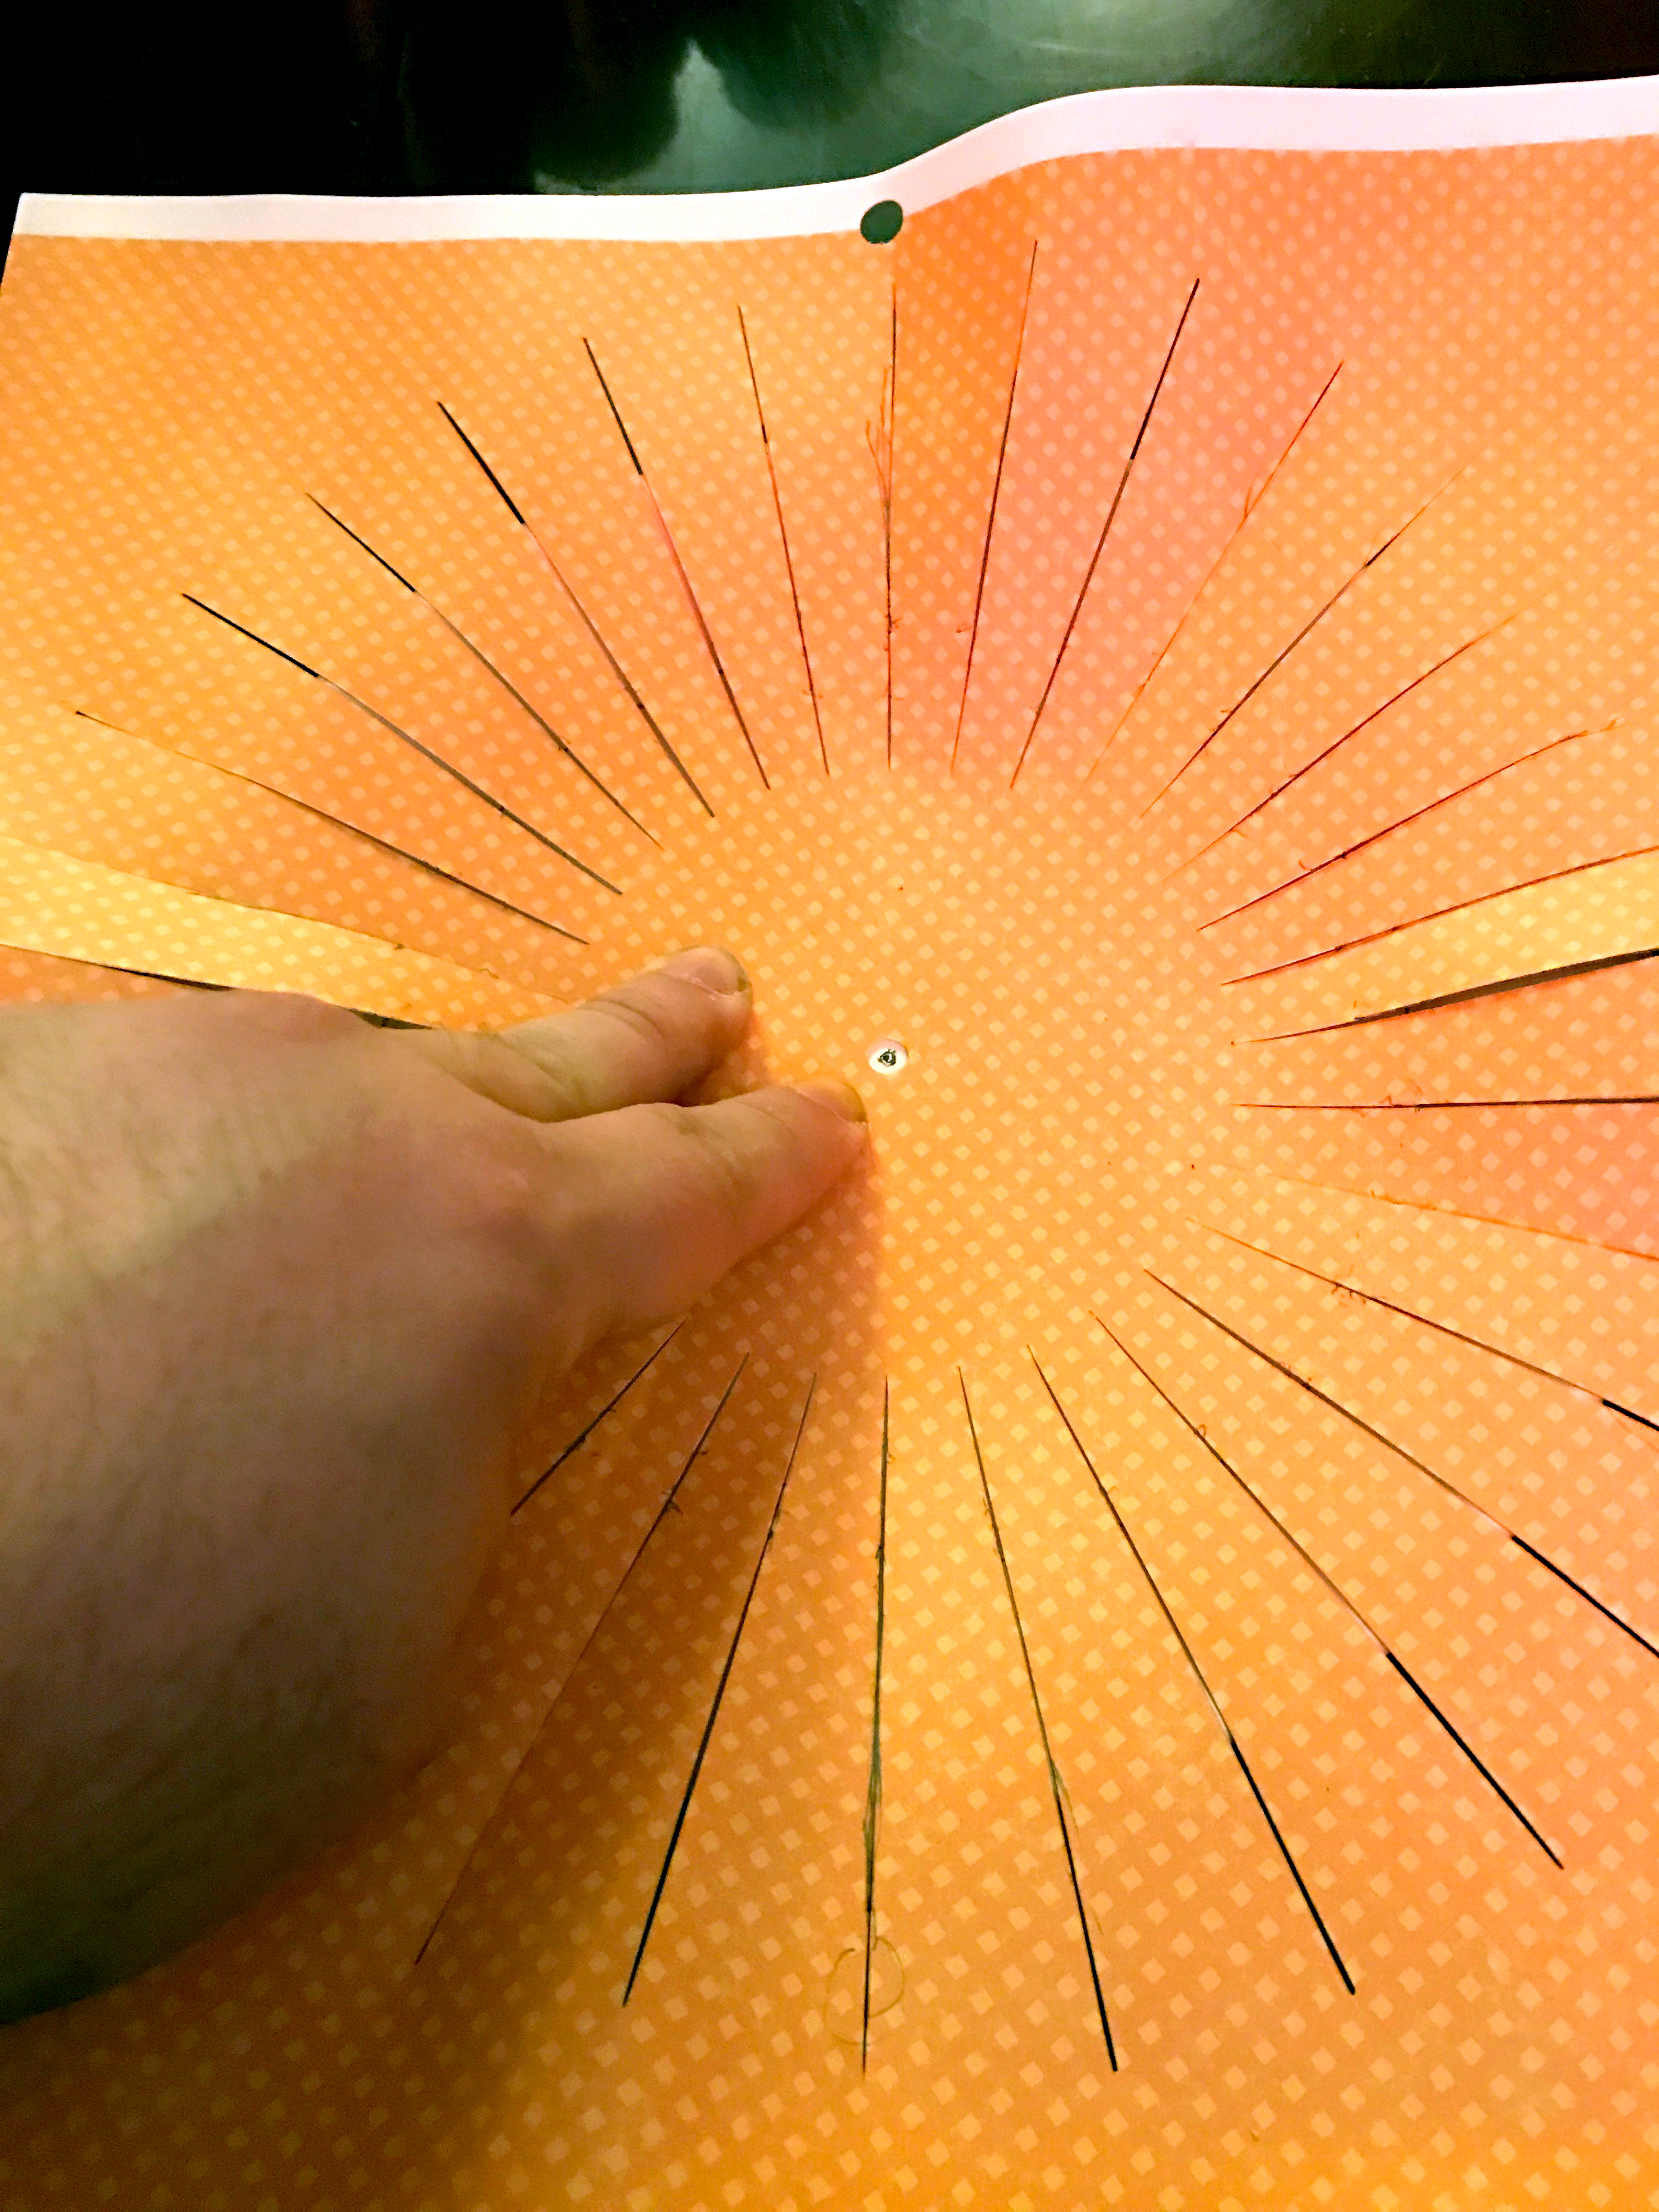
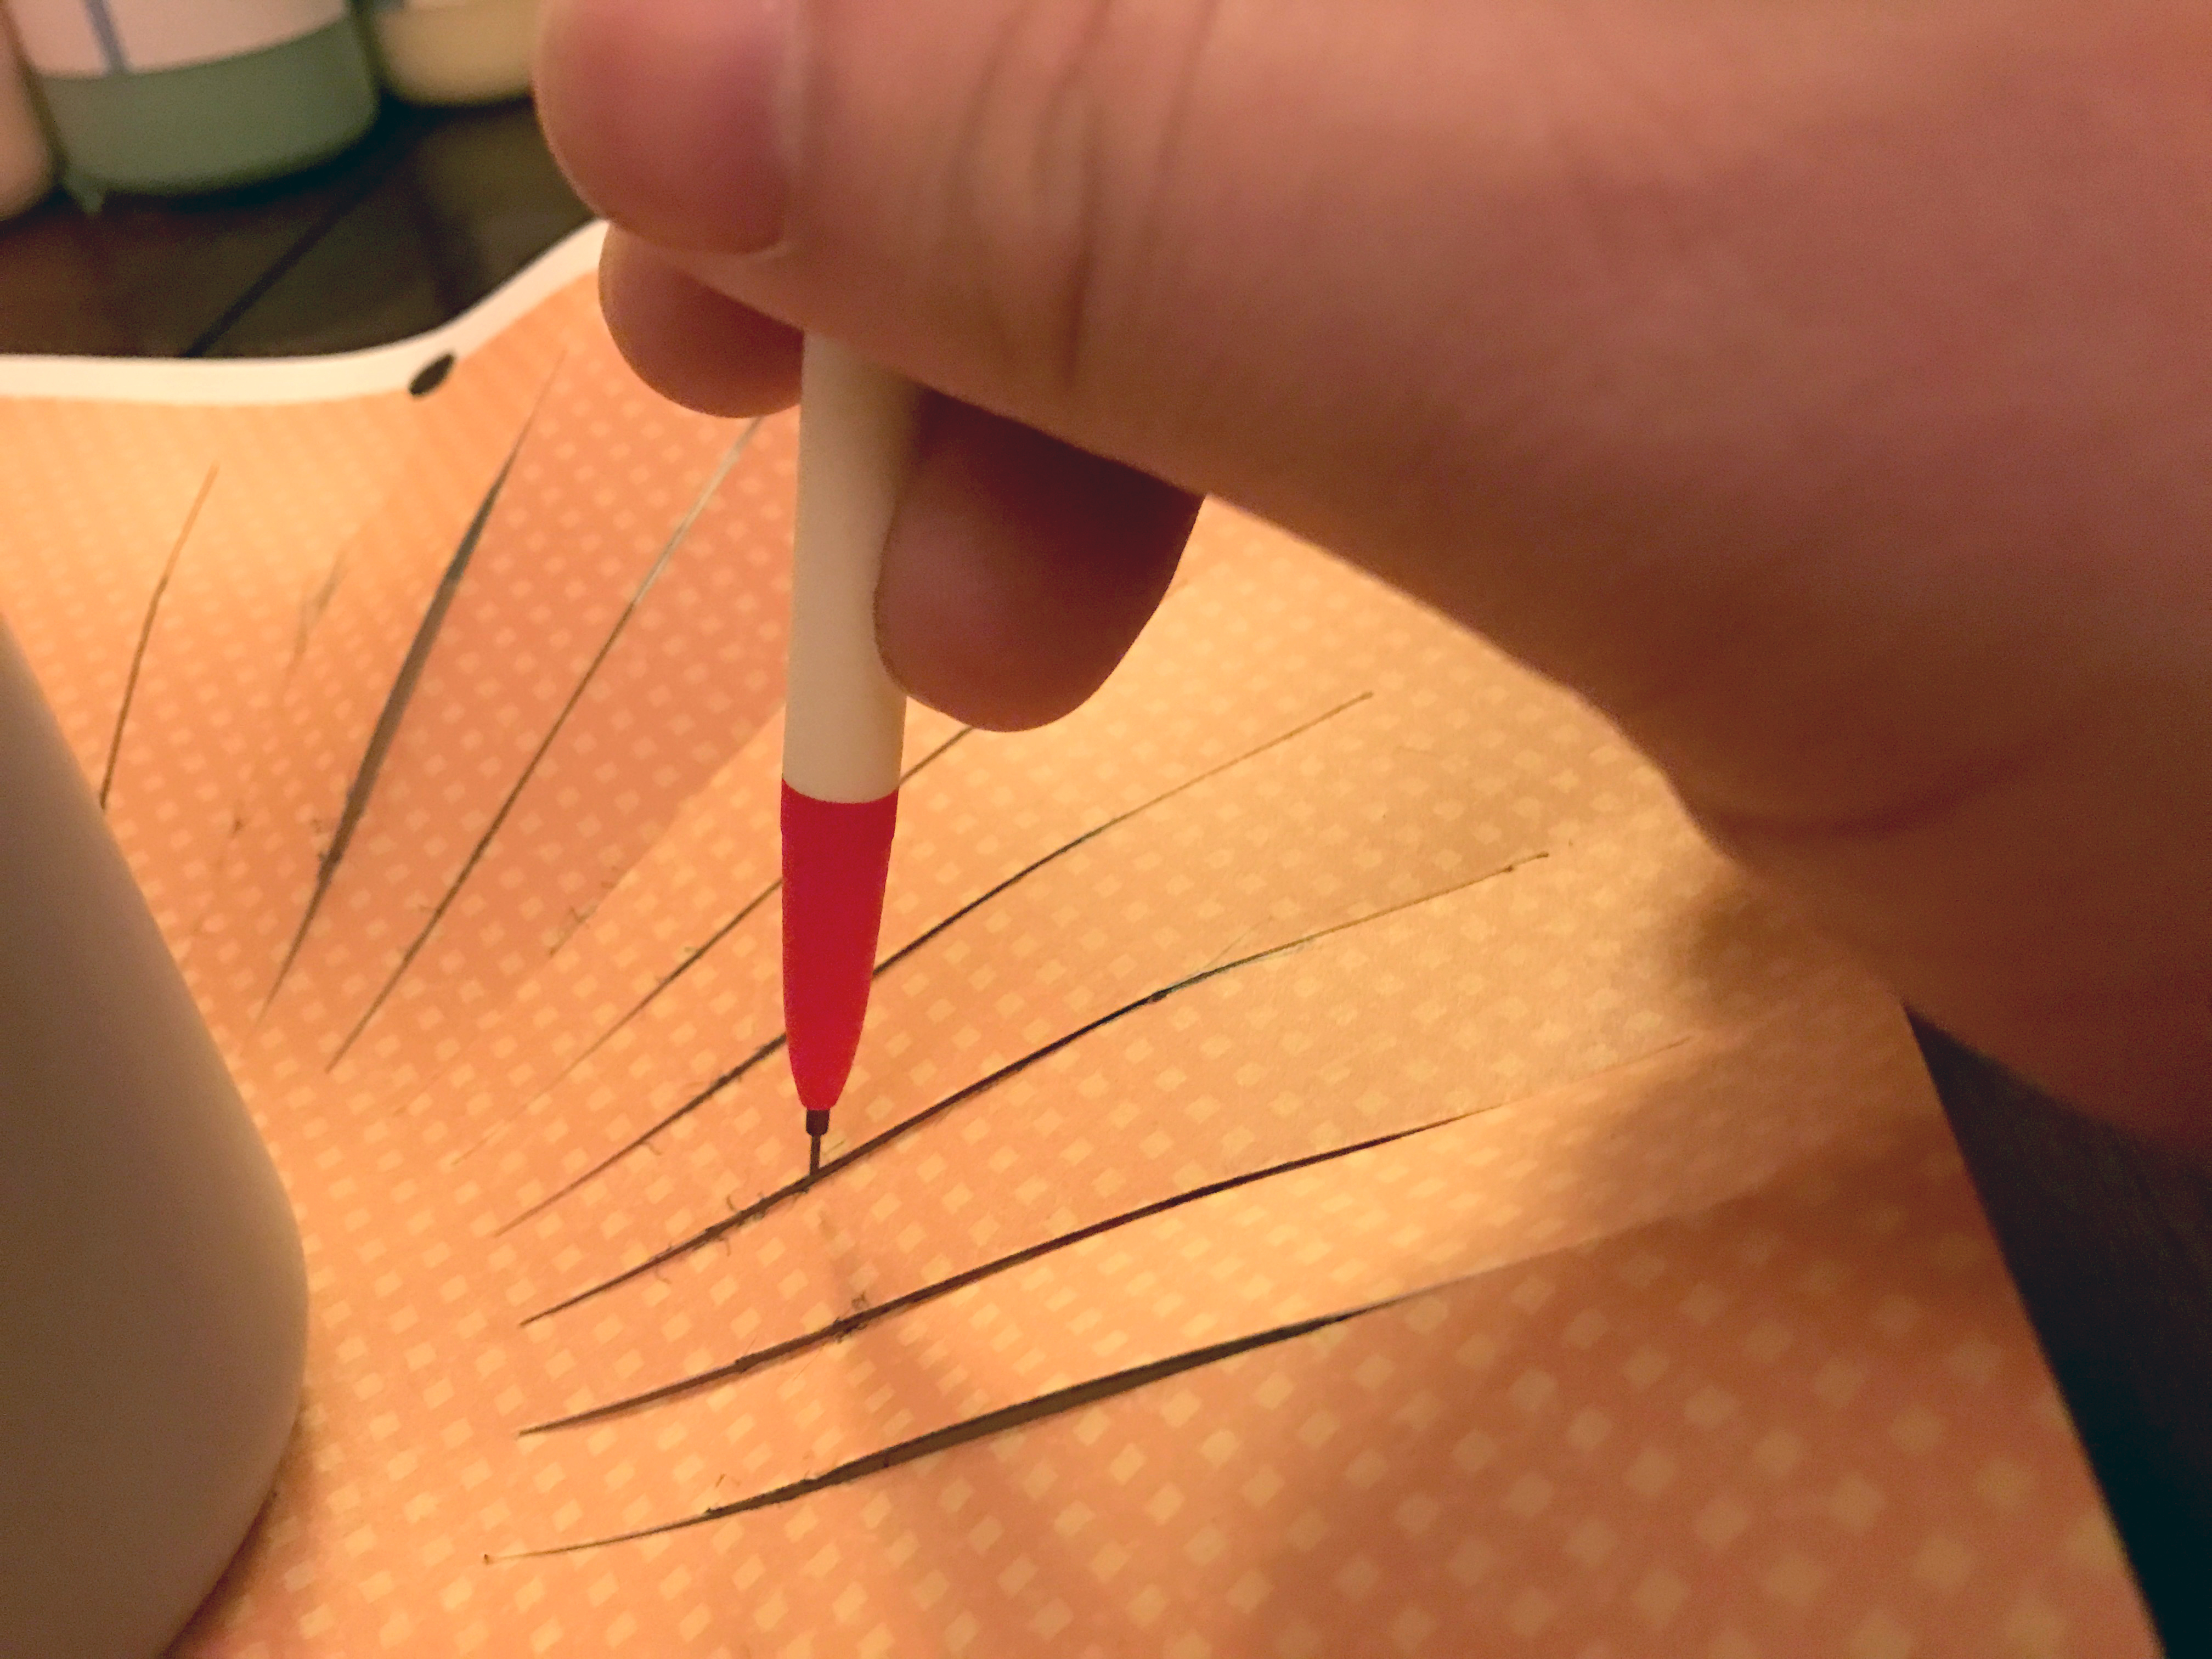
After gluing a few pieces of paper down to walls and floors I realized I would not be happy with the results.  I mean, I know it’s just a kit, but I also want to walk away with something I want to look at again.   Then, I cut through a sheet of paper that was stuck to another sheet…

oops

Which was fine.  The whole time I was gluing I was thinking about how I could make this better with all my craft supplies.  So this little accident just forced me to do it.   Sure, I could’ve just scanned it, fixed it in Photoshop, and reprinted it…. but that wouldn’t’ be much fun.

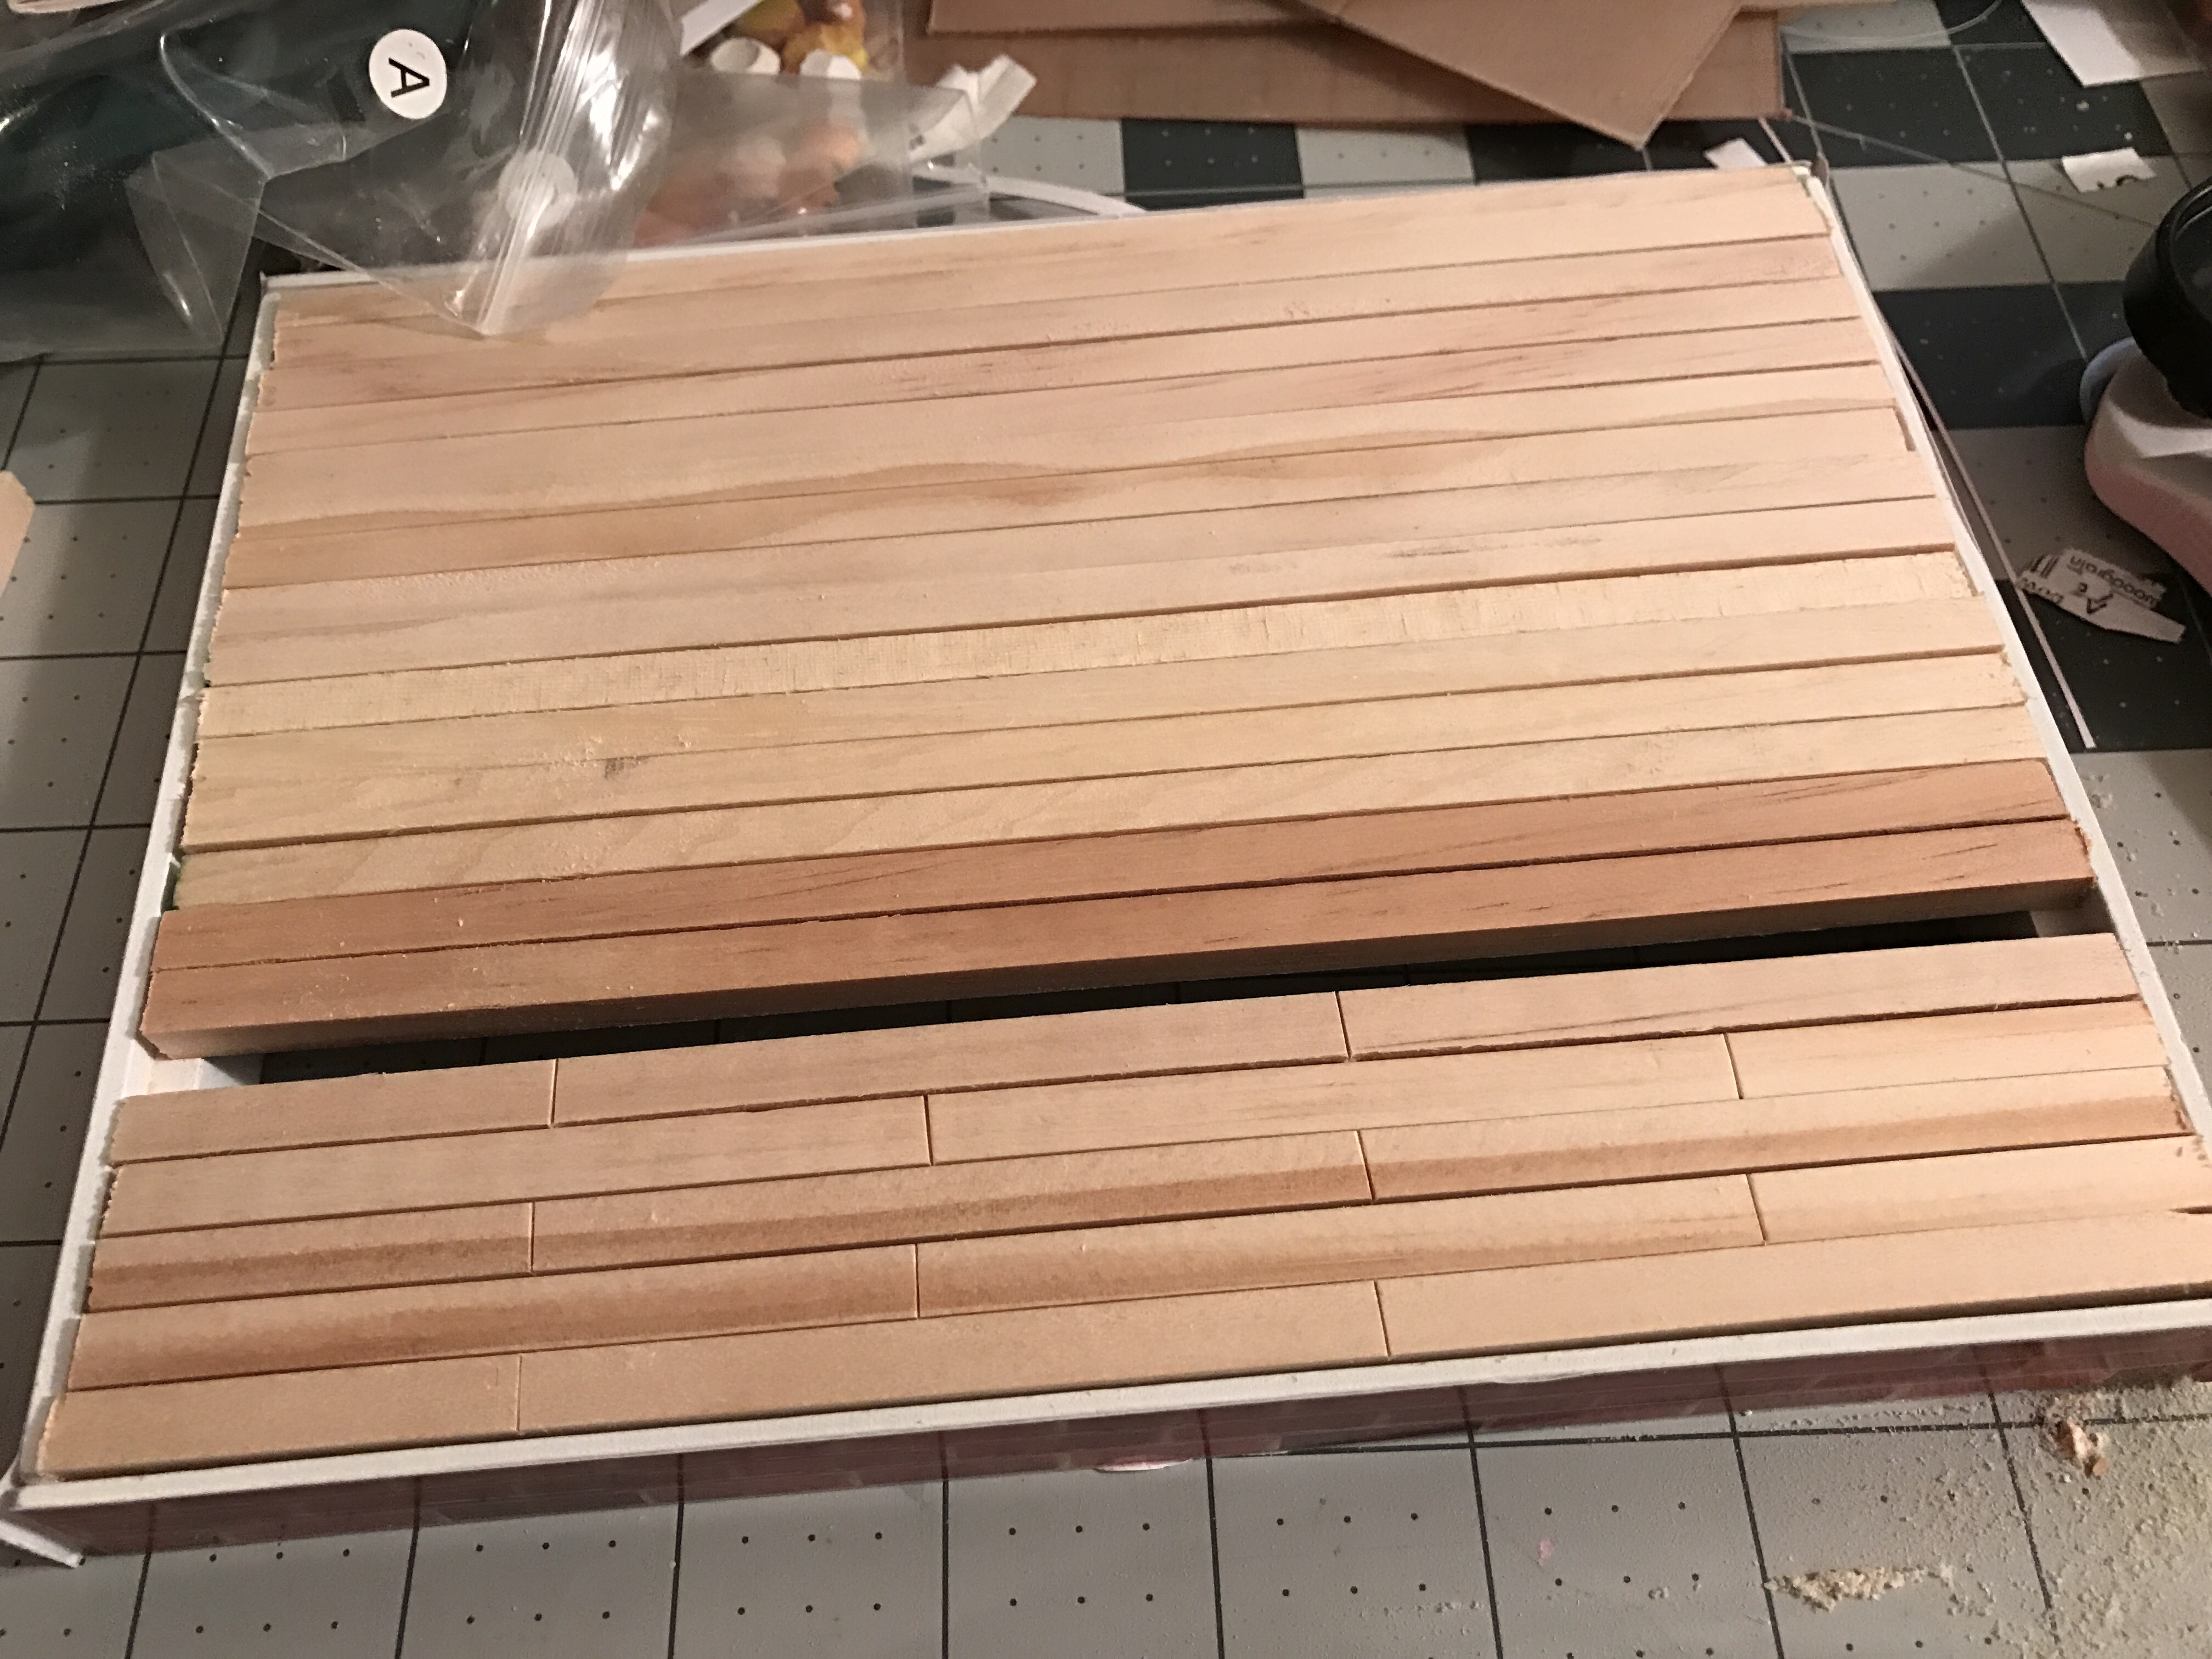
First, I went to Home Depot.   While I had most things, I didn’t have scrap wood.  And my floor was going to be a wood floor.    In the dowel section, they have square dowels… I grabbed a bunch of those.   Over in the painting section, I grabbed some cherry stain.

I rough-cut the pieces down to size to fit their wood base in the kit.   It already had a notched area where the floor was somehow supposed to sit.  (I’m not sure how, I couldn’t get it their floor piece to fit, to begin with).


A brick wall

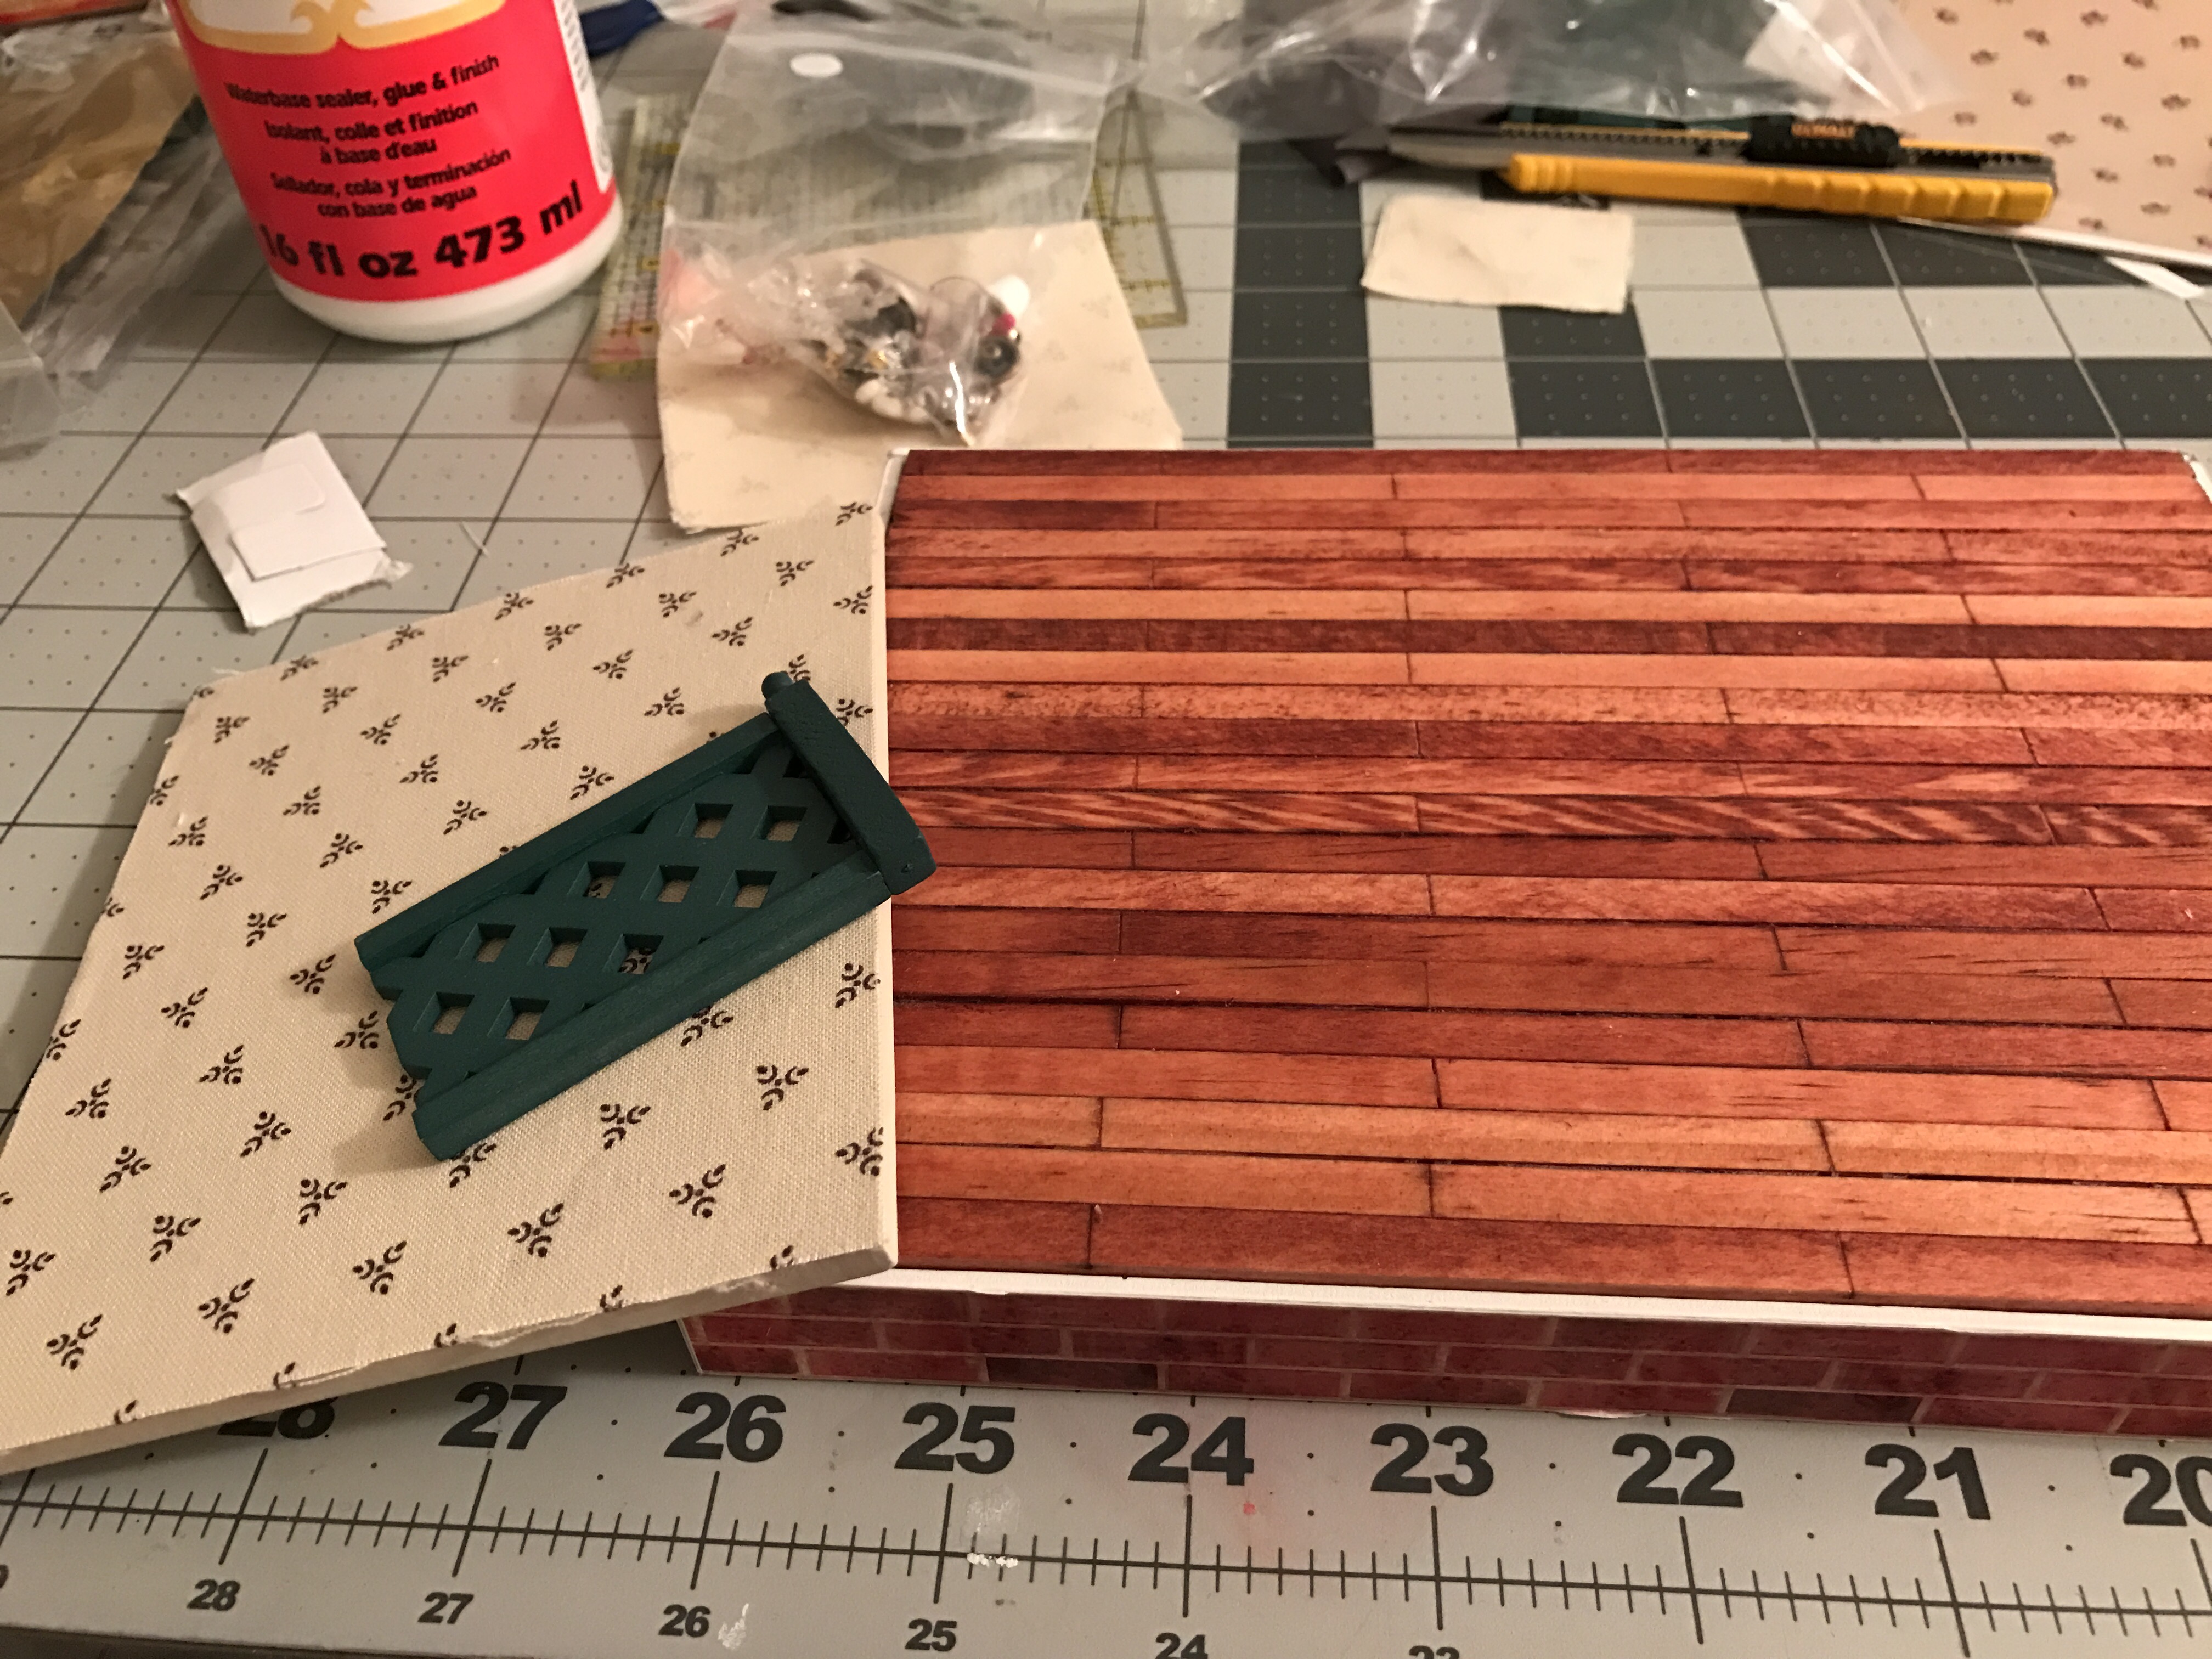
I also took a razor blade and cut in little floorboard markings about every three inches.  Then I applied a light coat of cherry stain and varnished it.

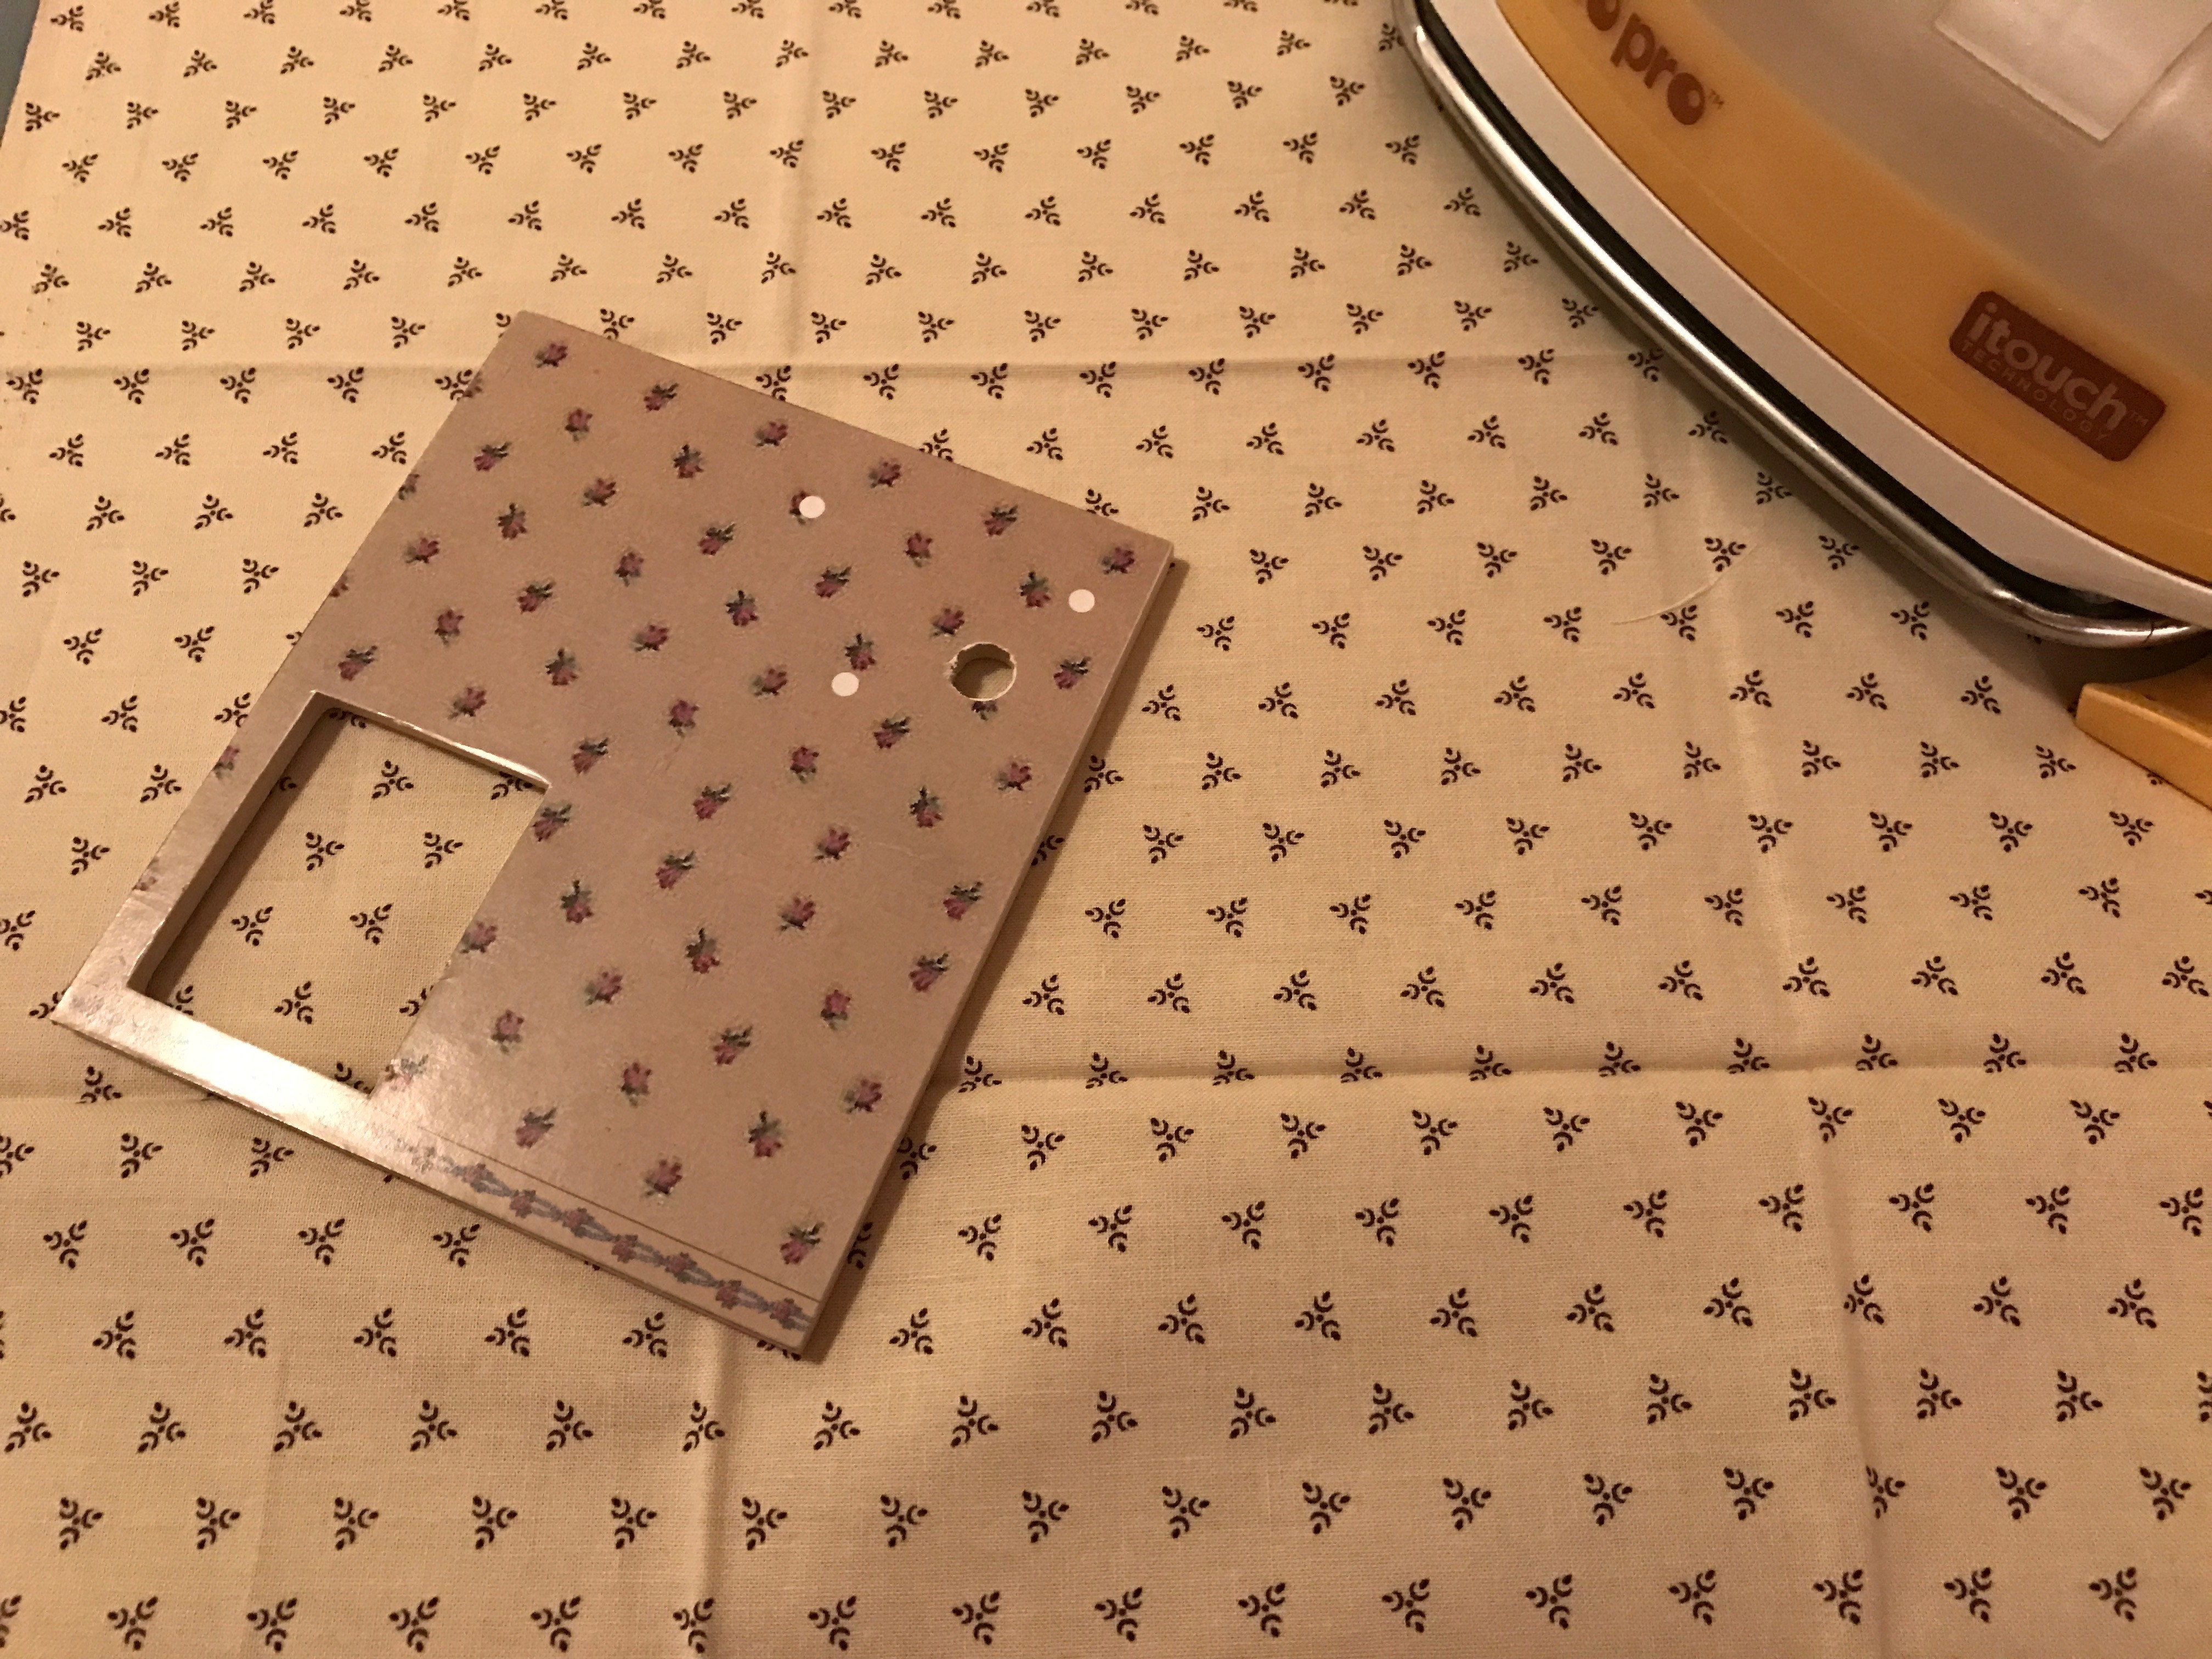
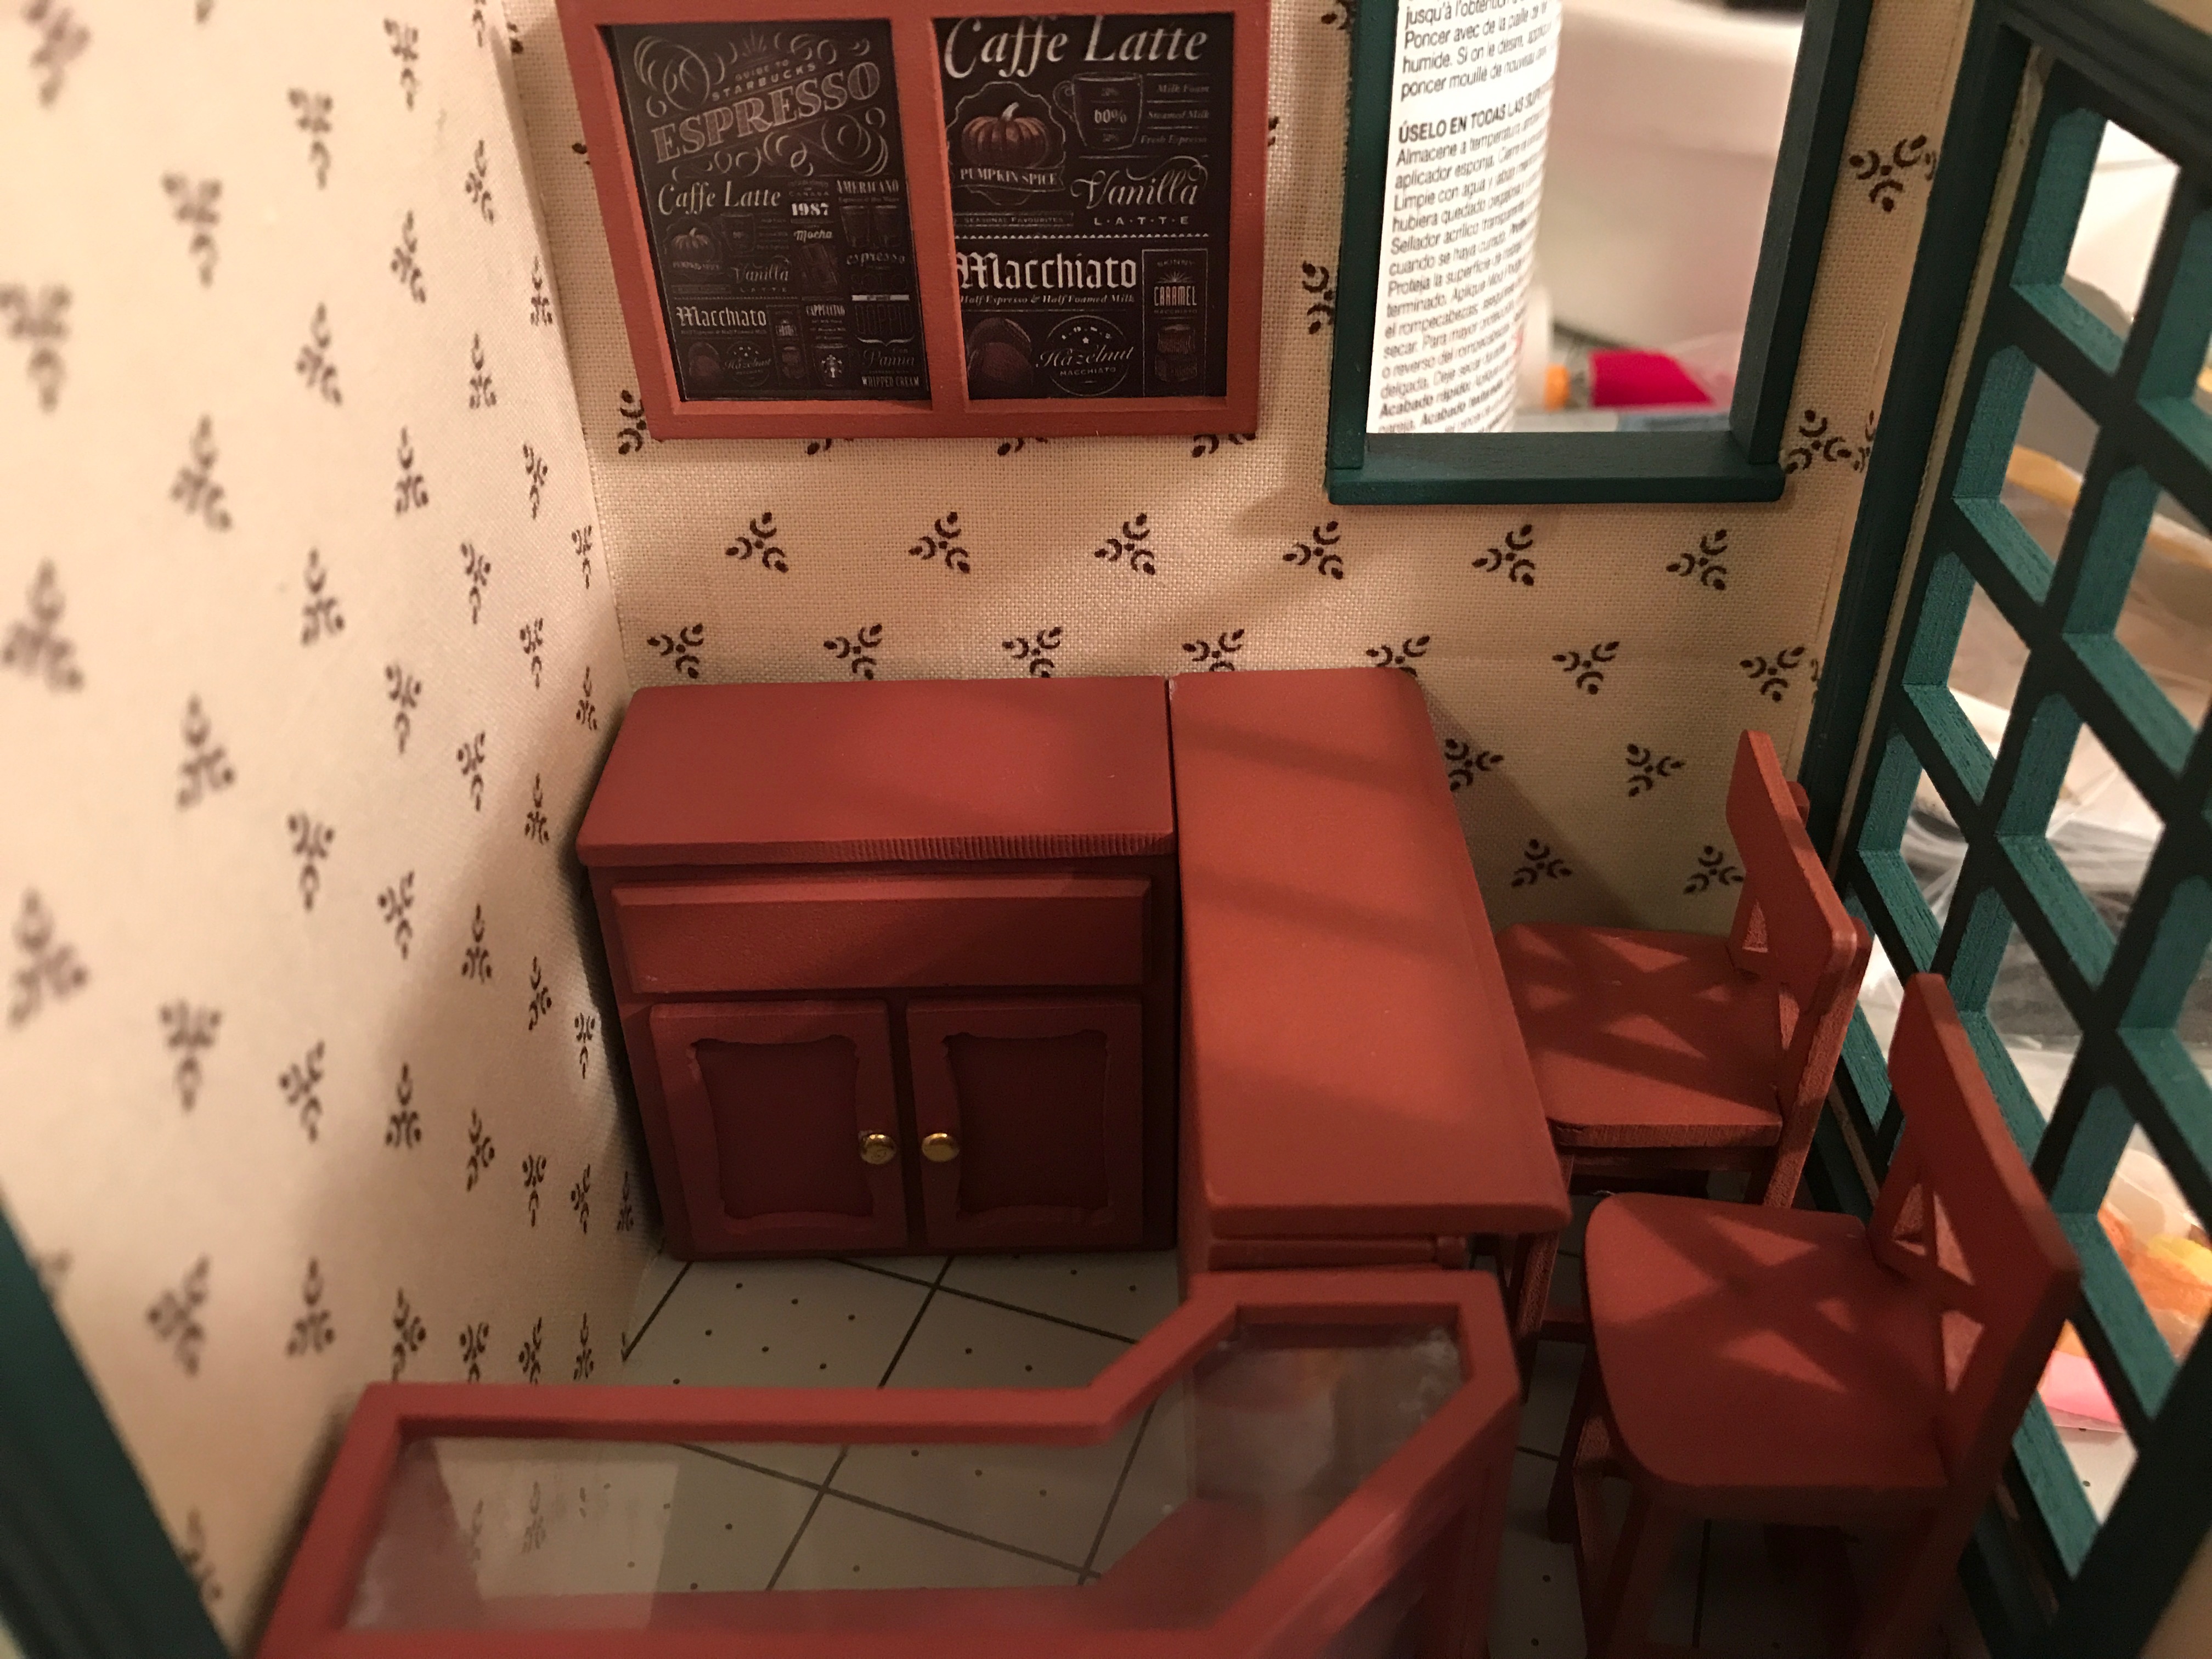
Next, I took the walls that I had previously glued paper ‘wallpaper’ too.  I picked something similar off my shelf of fabrics.   Maybe a little too similar, but I still wanted to retain the café look, and finding mini prints was fabric was proving difficult even with my large selection.

wallpaper

Now the walls are covered, the floor is stained and varnished, windows were put in and some various other accessories were glued.   All that took a long time…. but it was mostly waiting around for things to dry or the time it took to saw all those wood pieces.img_0041.jpg

Stained tuned for the next segment where I’ll be erecting walls and adding the LED lighting.   OOooOOooOohhh!  Exciting stuff!


Paint your soul

IMG 20160926 213858

img_20160924_180955

So I set up a canvas and painted my soul.  But then I realized they don’t make black dark enough for this project.  So I picked something else.

I found a beautiful series of photos on Pinterest of ballet dancers.  I’m into ballet, but the photos were so stunning that I wanted to paint one of them.   I won’t post them here, they aren’t mine to post, but they really were pretty inspiring.

So my friend, Mark, who knew I was nervous to do skin tones and paint any type of realism, told me to start drawing it out.  He likes to draw in oil pastels, so he also suggested working through the colors that way.    Oil pastels were never really an interest of mine but I thought I’d give it a shot.   After all, he takes a lot of my suggestions, I should take his too when he offers some.

img_20160926_213858

Did you know oil pastels are nothing like painting?   Yeah, I didn’t think that one through as far as I should have.   I got through a sketch and then ruined it with pastels.

I think the last time I used them was almost 20 years ago in art classes.   I kind of forgot you could really layer colors like other mediums.   So my whites were nowhere near white enough and I just kept smearing colors around but not getting what I wanted out of it.  As you can see it’s nowhere near done and I threw down the pastels in disgust.

I’m discouraged and I’m opting to let this project sit a bit longer.   I’m just not ready for skin tones and realism.  I know I won’t do it justice and I’ll be disappointed.

So it’s time to plan out something else out for this canvas that will fit in around my cartoon house.

Finished Foxy

IMG 20160921 210954

img_20160921_210954

I was just going to let the finished foxy quietly drift off to its new owner.  I figured everyone was sick of seeing my posts about it on various social media.  After several weeks, I sure was sick of looking at it. However, I had several friends demanding to see the final product.  So I nabbed it back and took a few photos.

So here it is, teeth and all.  No more gumming the city to death.

Now that this is out of the way, it’s time to start something new.  YAY!