I’ve known for a long time you can use some ceramic products on glass, I just never got around to trying it. I used to do a lot of glass fusing but I never really got into it. It just wasn’t very consistent and that frustrated me. But I got out some Mayco Designer Liners, which are known to work if you sandwich your painting in between two pieces of glass.

But the real question was whether or not it was going to work with a microwave kiln.
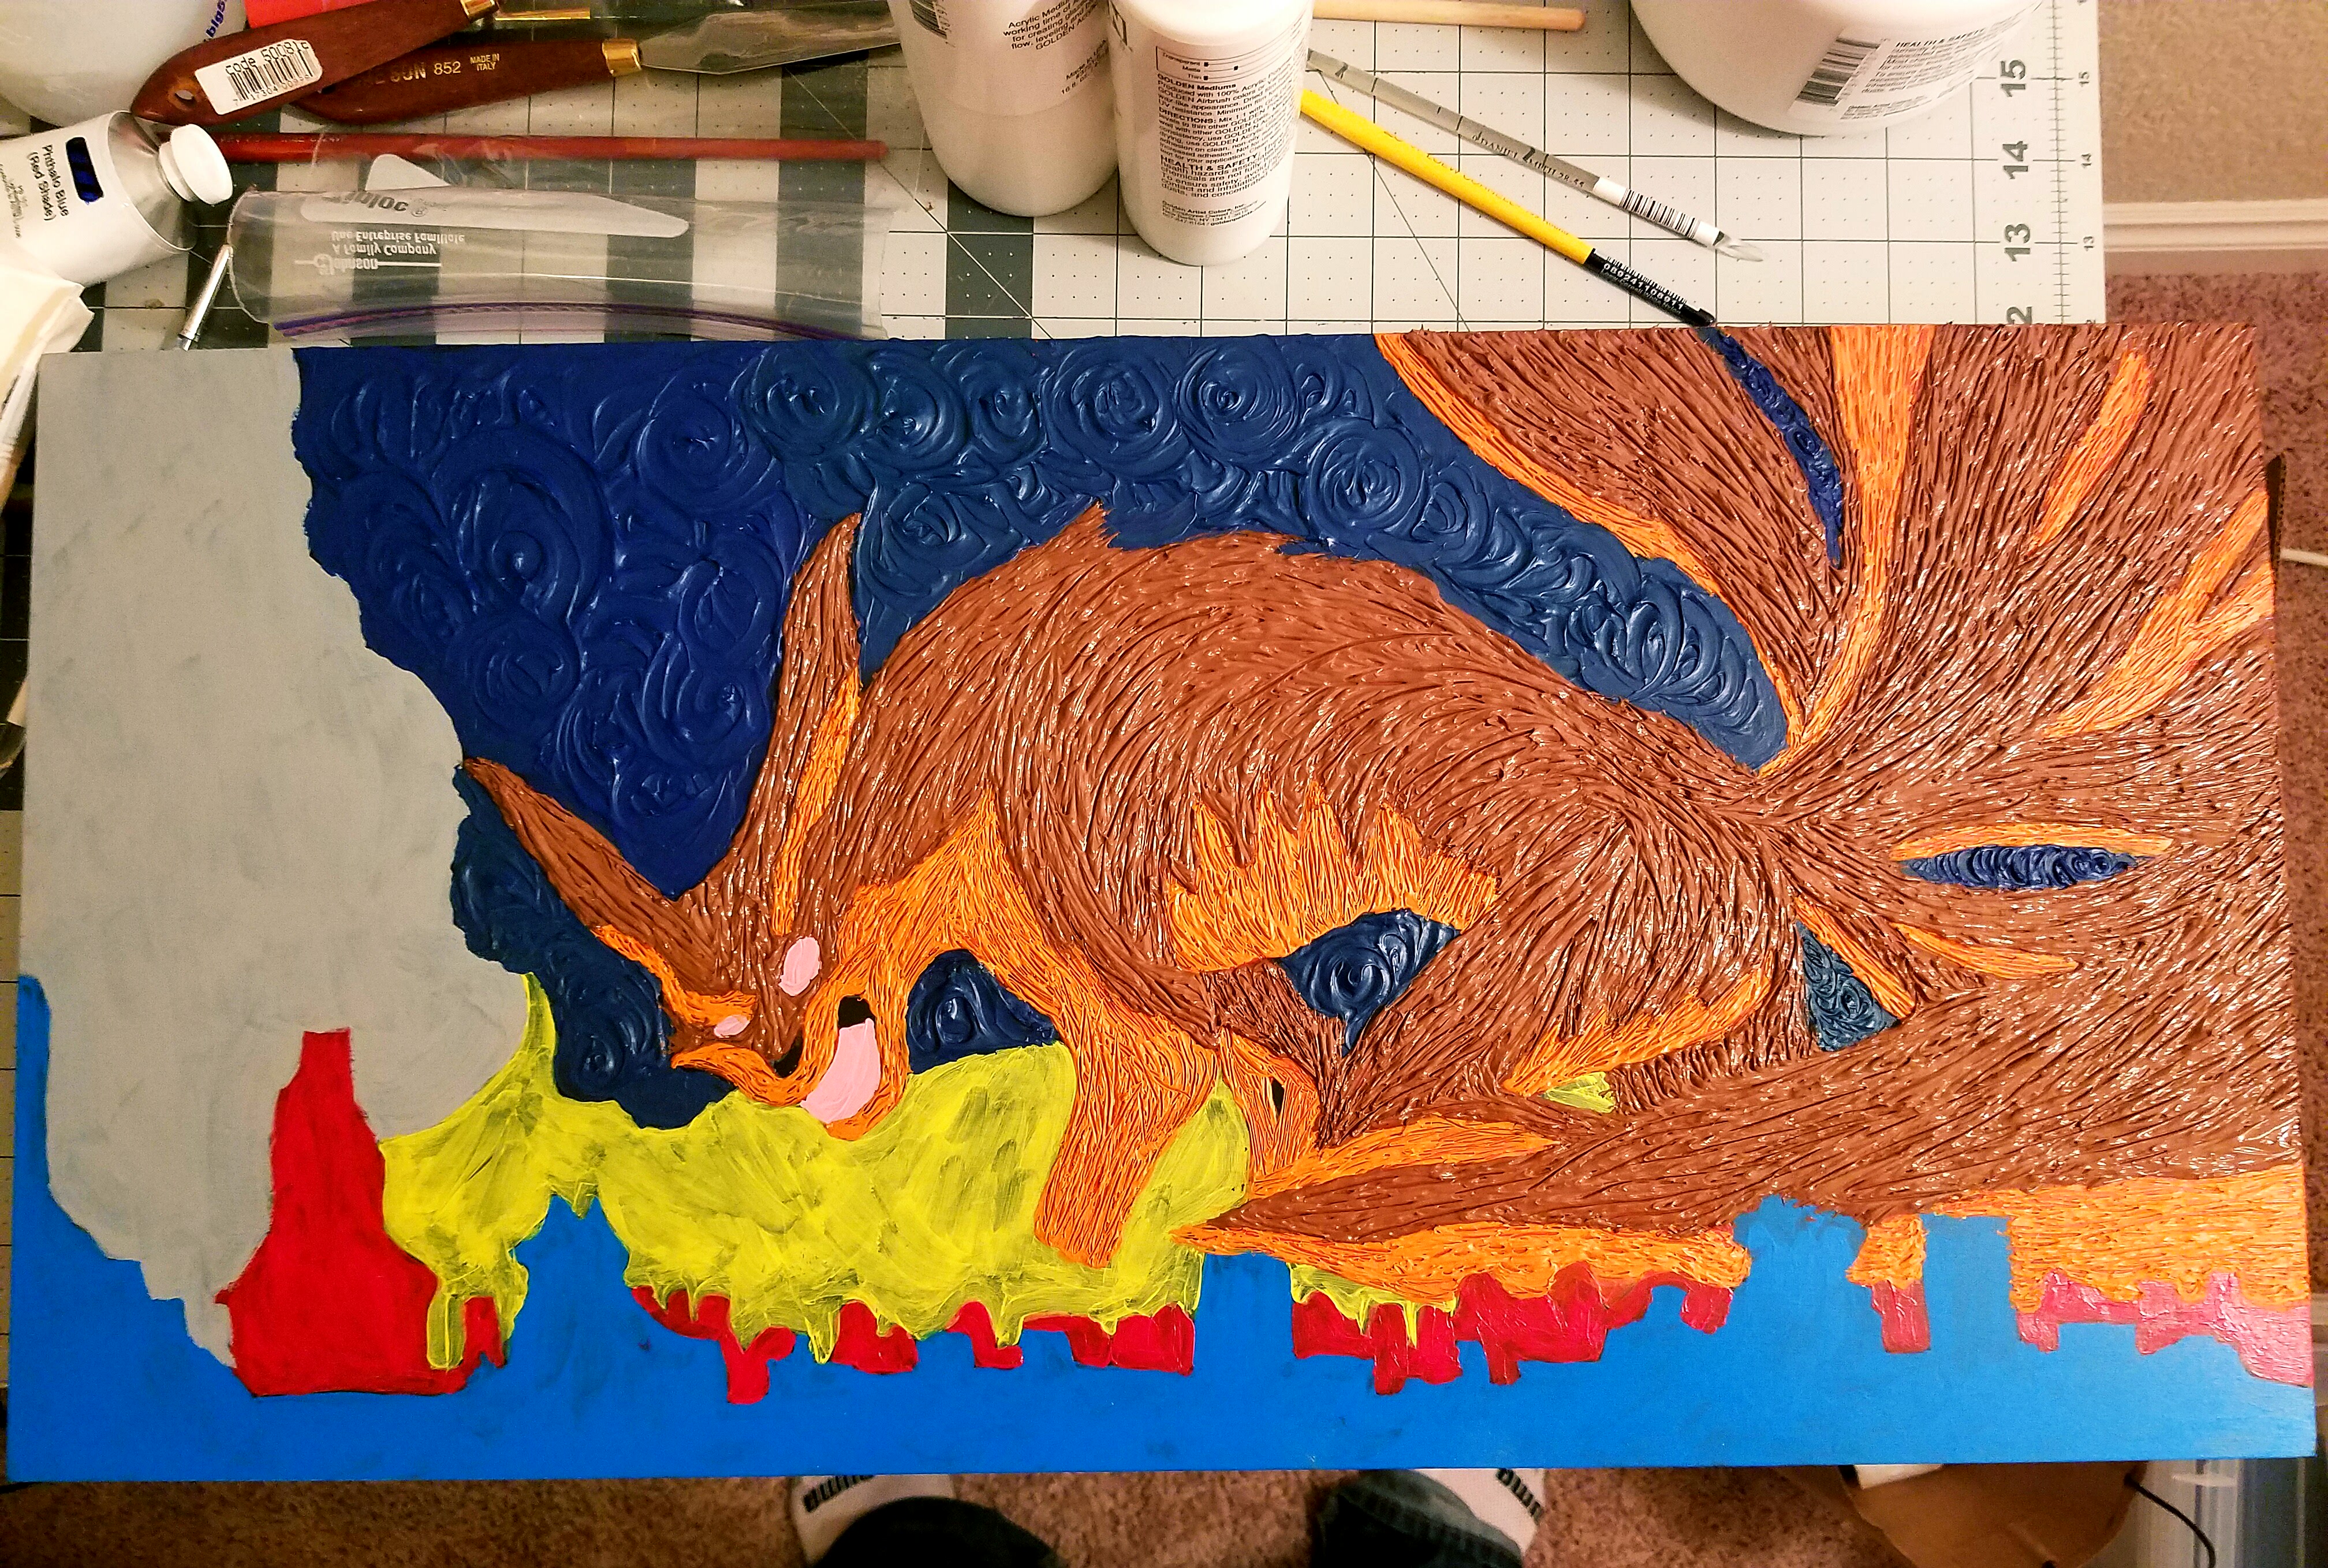
Painting on glass is a pain especially with a water-soluble product like Designer Liner. If you try to do any layering, the previous layer will come off the second it gets wet. Dripping product onto the glass will work, but brushing will not.

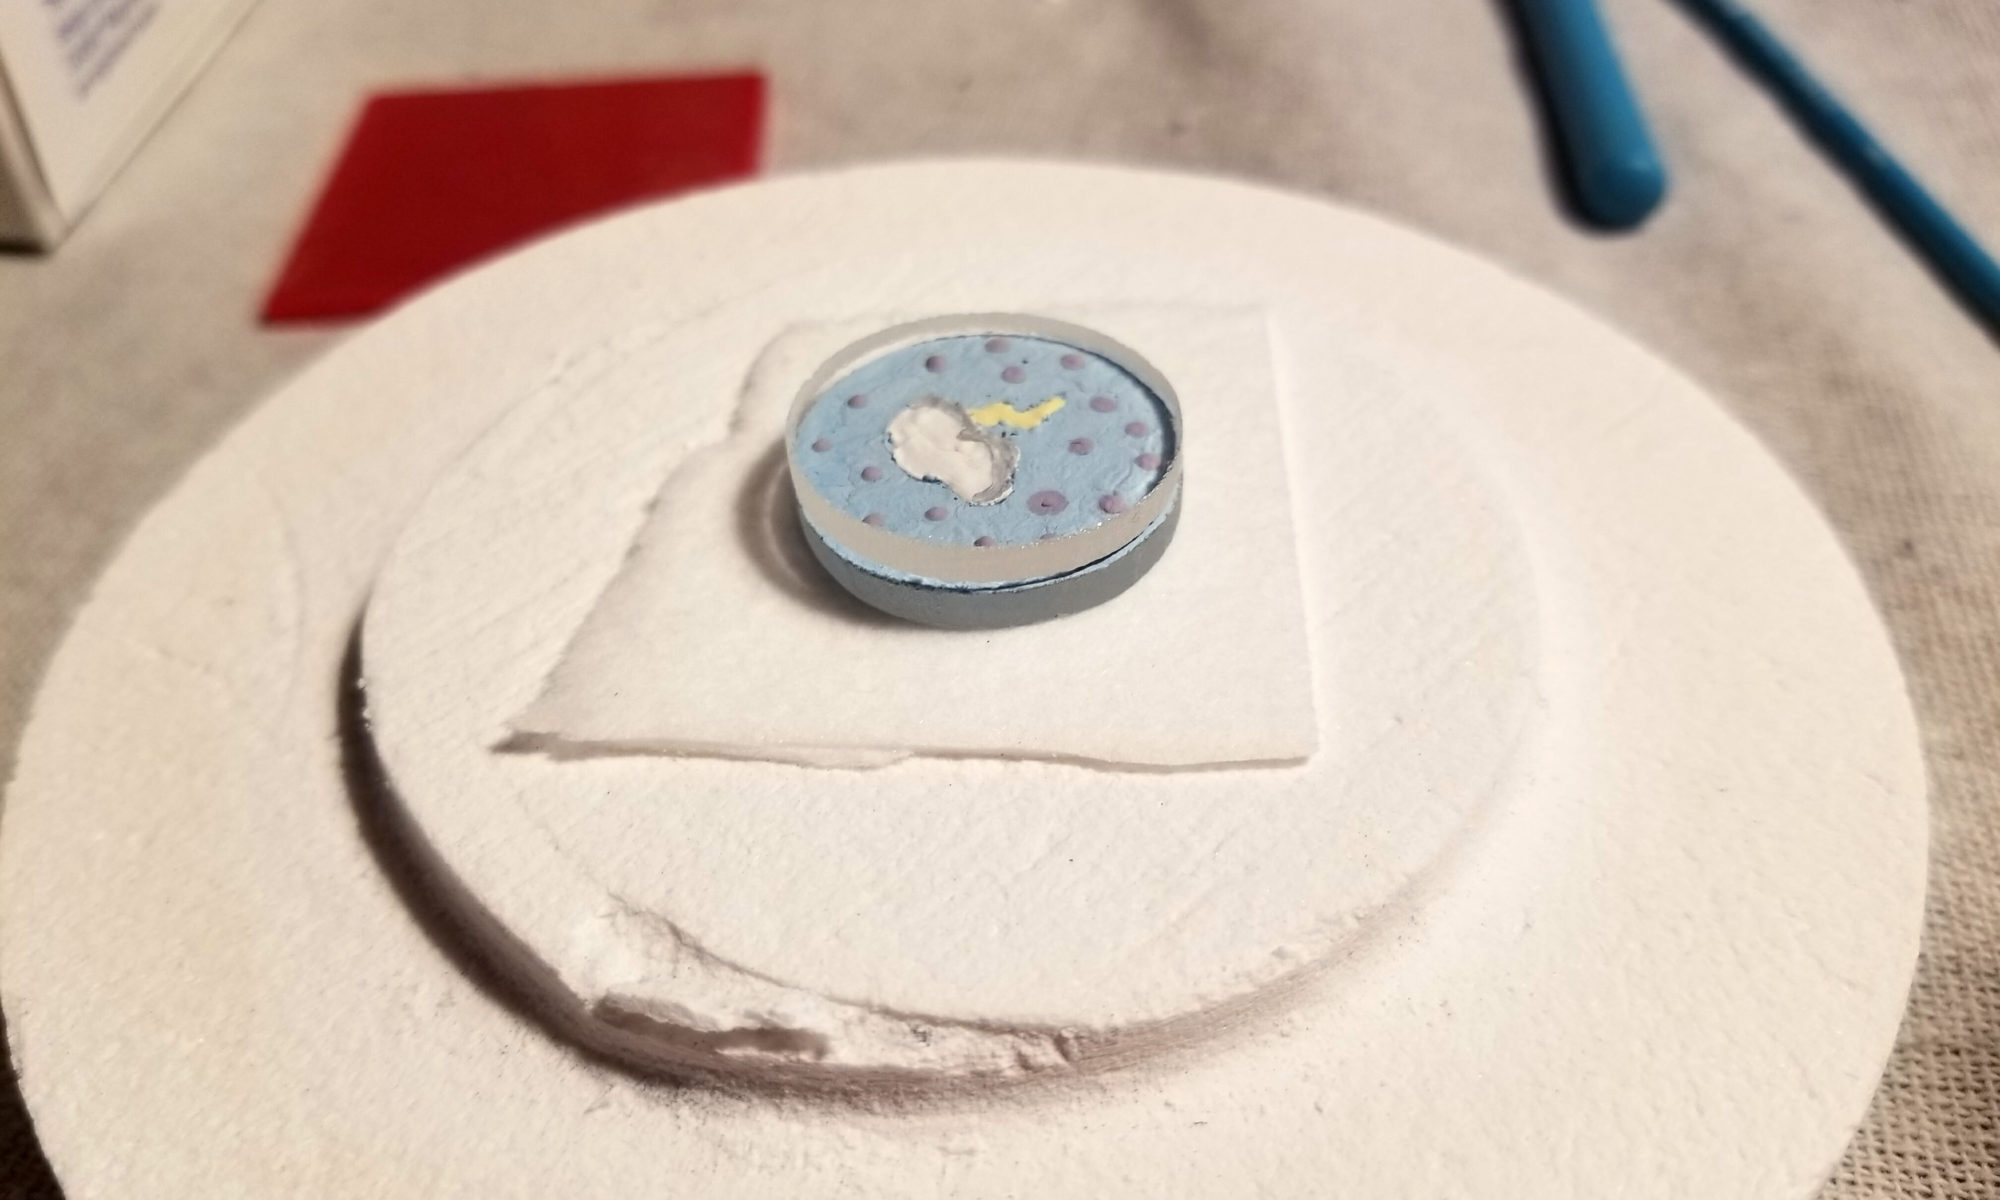
Using a glass calligraphy pen seemed to work well at dropping product where I wanted it. It also let me scrape product away. Eventually, I had a cute little lightning design and after letting it dry completely (we don’t want to have boiling liquid on glass) I sandwiched the design with another piece of glass and crammed it in the microwave.

The results were not great.

The product cracked around the edges (the liner, not the glass) and a giant bubble of air was trapped in the middle. In an actual kiln, these air bubbles would eventually rise to the surface and it wouldn’t be an issue. An actual kiln would be fired for many, many hours and not a few minutes like this microwave one. Now that I see the result, I’m not sure if this will actually work.
I could try nuking it again to see if I can get the air to release, but I don’t really want to try, it already looks bad. Also, I need to try and get the Designer Liner a lot thinner. I was warned about this but I guess it wasn’t thin enough…. hence the cracking.
I may try again after pondering it a bit, but for now, I’m moving on to other projects.

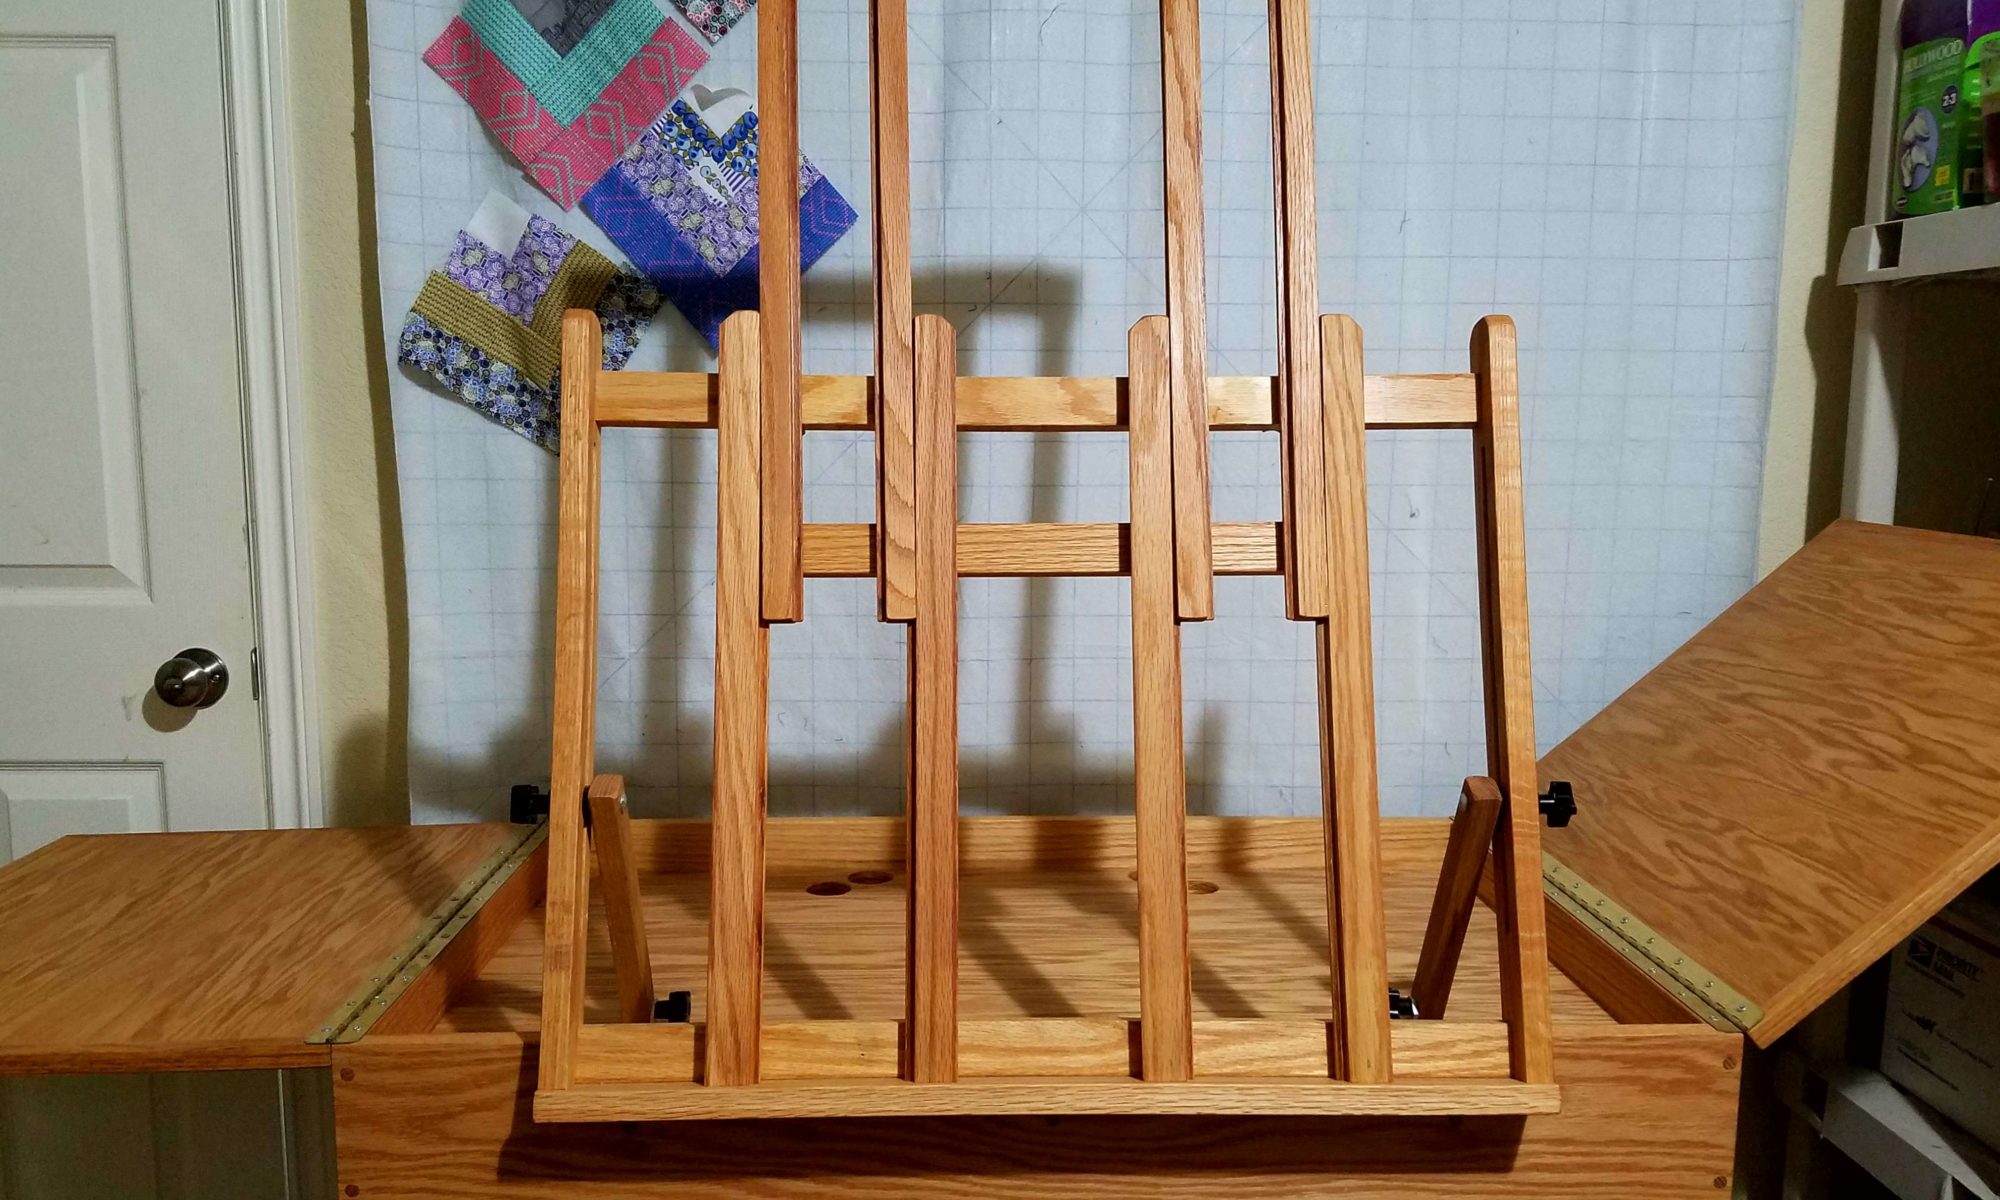
 I bought these TV trays on


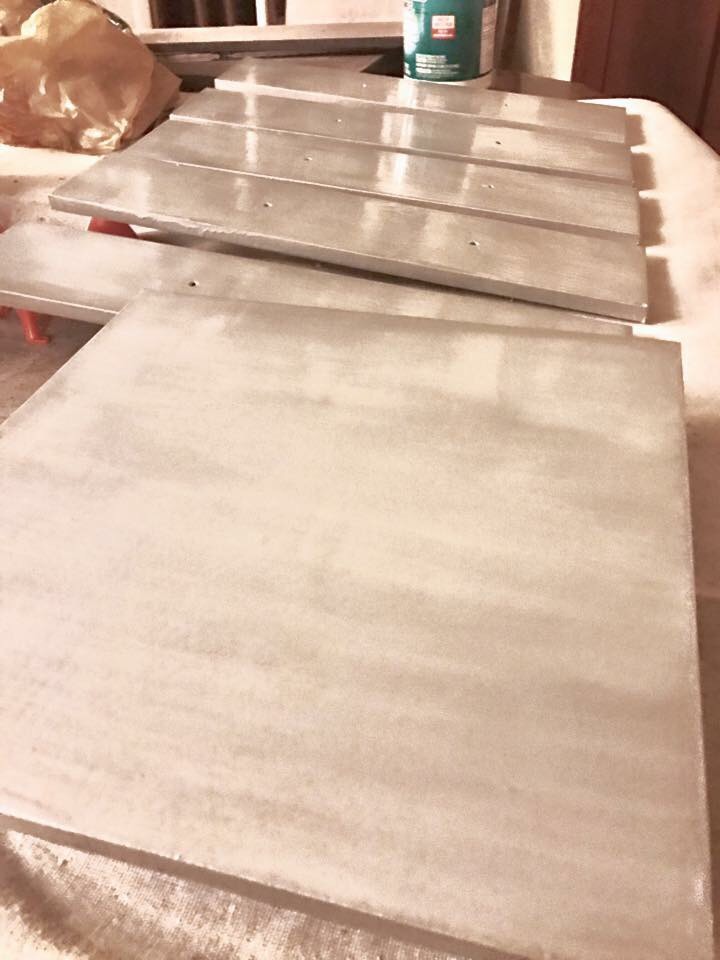


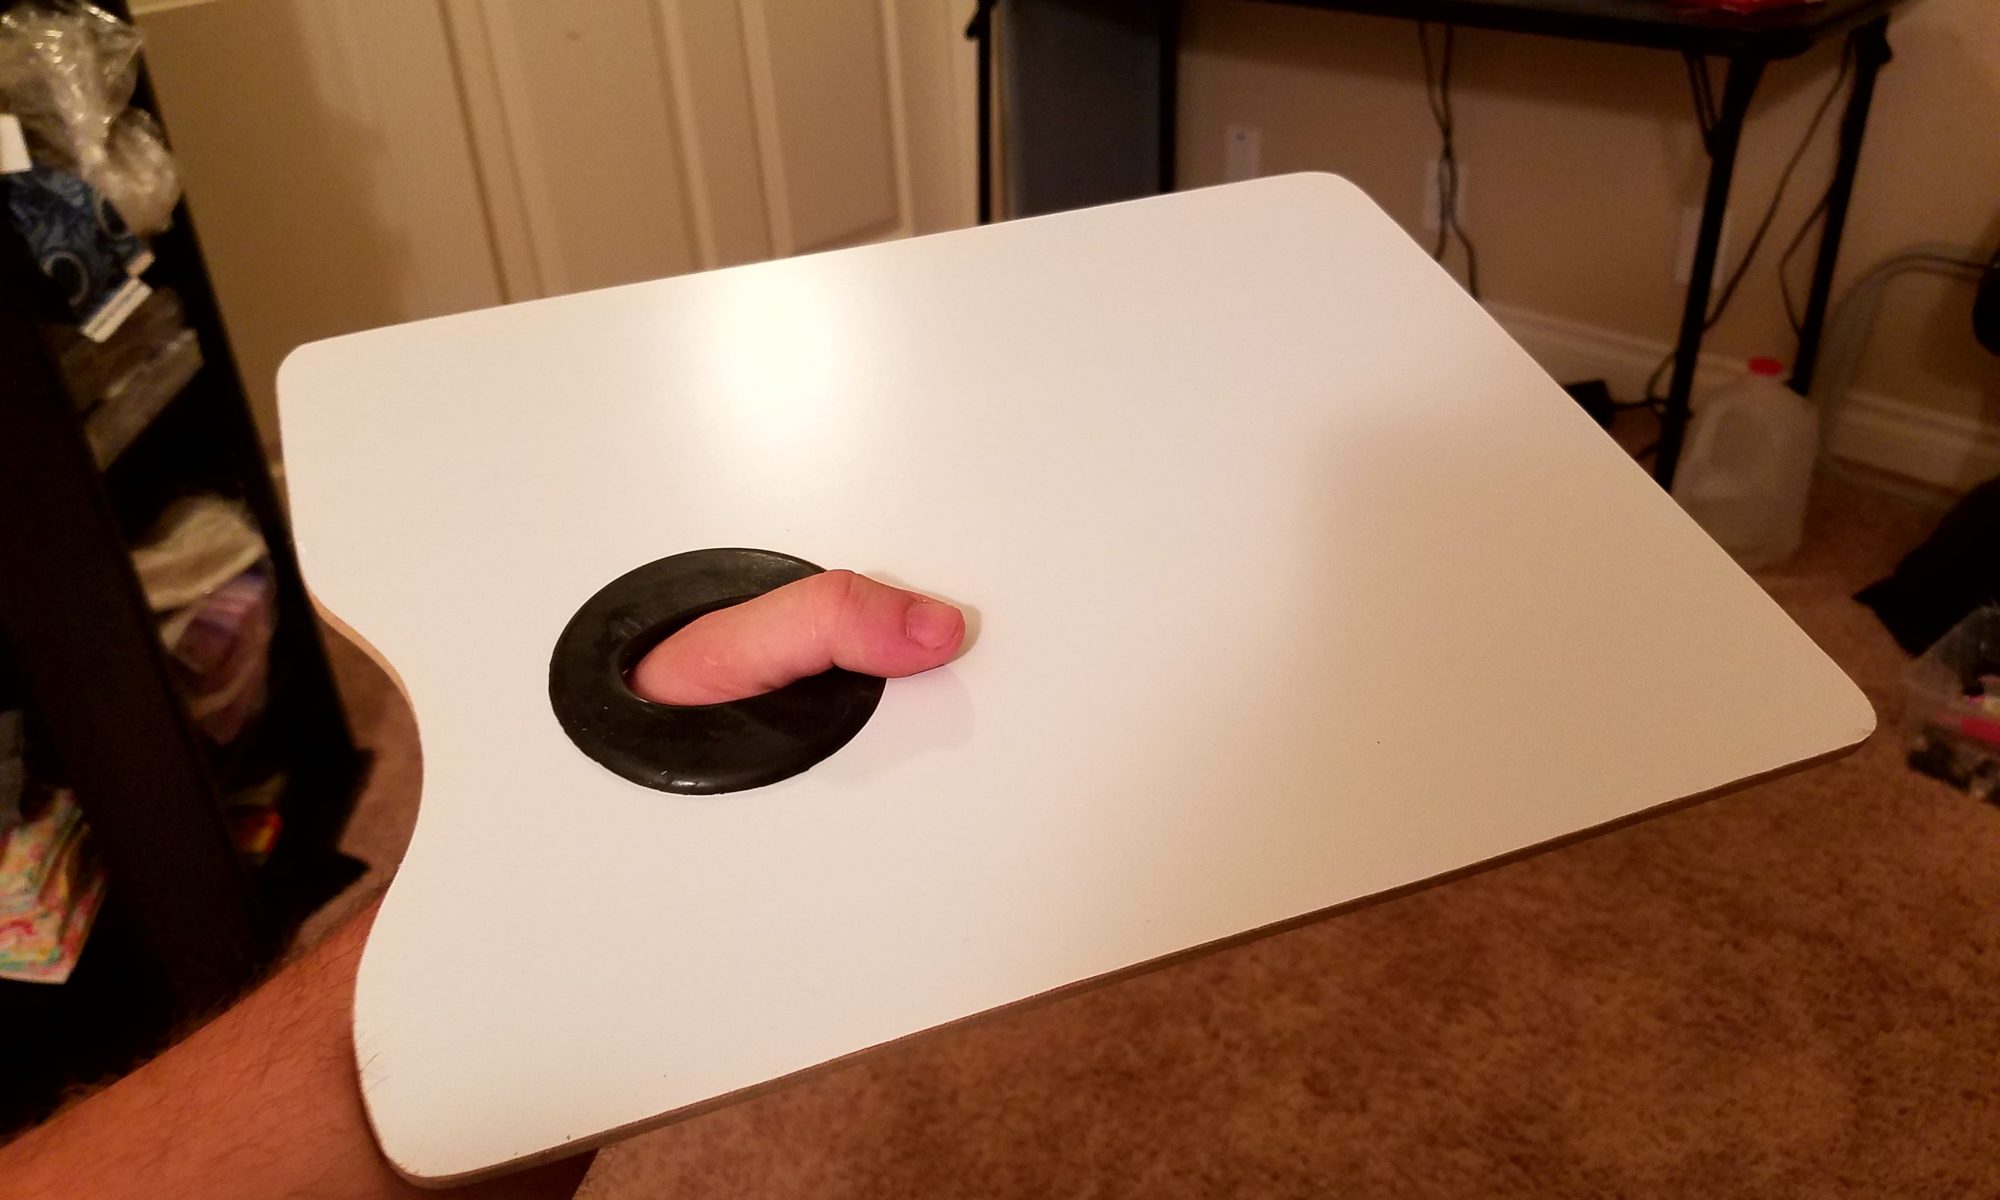

 . I’ve always been a little thrifty with painting. I wait for the best deals, use household goods when I can, and buy relatively inexpensive brushes. Art supplies can be very expensive and while I’m not a cheap person, I do have a lot of interest in different art mediums so I need to spread that art supply money around. Up until now, I’ve always made do with wax paper or palette paper… because cleanup is as easy as tossing the paper in the trash can. But, using an actual palette seems to be a thing, and for $15-ish I figured why not give it a try?