Making some stamps with COLOP Photopolymer

My mother, after seeing my doodles and watercolor  post, suggested that I try making stamps, which sounded fun.   I had most of the equipment from other projects to give it a go.  All I really needed was the photopolymer.   After ordering a bottle of COLOP photopolymer off amazon, it showed up a few days later (it wasn’t even amazon prime, so I was impressed).

My first idea was to shove it into my 3D printer.  The whole idea behind my new printer was that it uses UV Resin, which is what a photopolymer is.   Shine a UV light on it and it cures.   It turns out that this stamping resin is so highly viscous that it’s barely a liquid and 3D printer resin is still quite liquid.   I started pouring it into the printer and it was hard to stop it from pouring because it was pulling itself out of the bottle.

Well, I can tell you that didn’t go well.   It was far too thick and the printer didn’t like it.  After editing the 3D printer’s program to see if I could make it work, I found the cured photopolymer wasn’t sticking to the platform and just ended up making a mess.

Continue reading “Making some stamps with COLOP Photopolymer”

Kudo3d Bean on Indiegogo

Just under a year go I contributed to an Indiegogo campaign for a SLA printer called Bean and it finally showed up at my doorstep last week.

Kudo3D Bean Indiegogo showed up!

This printer has been basically been running non-stop since it showed up.  I’m having a lot of fun with it.  So far I’ve mostly been printing little figurines from one of my favorite 3d artists, who recreates a lot of characters I like.  I know his models are good and this has let me figure out all the ins-and-outs of printing with resin.

Continue reading “Kudo3d Bean on Indiegogo”

Creating a whole other messy room

I finally broke out some of my miniature kits that have been collecting dust.  The one I plucked out of the stack was a miniature craft room which is just crammed to the gill with stuff.   Why clean my craft room when I can spend time creating a whole other messy room right on my desk?

finished piece to my miniature sewing room kit

I forgot how long these take.  I’ve already spent several nights and I only have a few pieces put together.   It isn’t helping that these kits are usually from china, so the instructions are usually more confusing than helpful.   I’ve already messed up big once and ruined the two side pieces to this shelving unit.  I had to run to the store and buy more wood to make and paint those boards to match everything else.

Continue reading “Creating a whole other messy room”

Cheating with Watercolors

The other day I was poking around on my phone and decided to play with the stylus my Note 9 comes with.   I rarely touch it.  When I do use it, I use it for a long period of time and the Note 9’s stylus only holds a charge for 20-30 minutes.  This can be aggravating when you’re using it to draw since you have to keep taking breaks to let it charge for a few minutes.  Nevertheless, I was thinking about Fall, so I doodled out a pumpkin.pumpkin doodle from my phone

Now, I had a doodle on my phone, a ton of watercolor palettes sitting within eyesight of the couch I was sitting on and a new Cricut upstairs.   After letting those 3 facts bounce around in my head for a minute, I came up with a plan and uploaded my sketch to Cricut.   After shoving some watercolor paper into the machine, it drew out my pumpkin for me.

Continue reading “Cheating with Watercolors”

Custom Order of Pillows

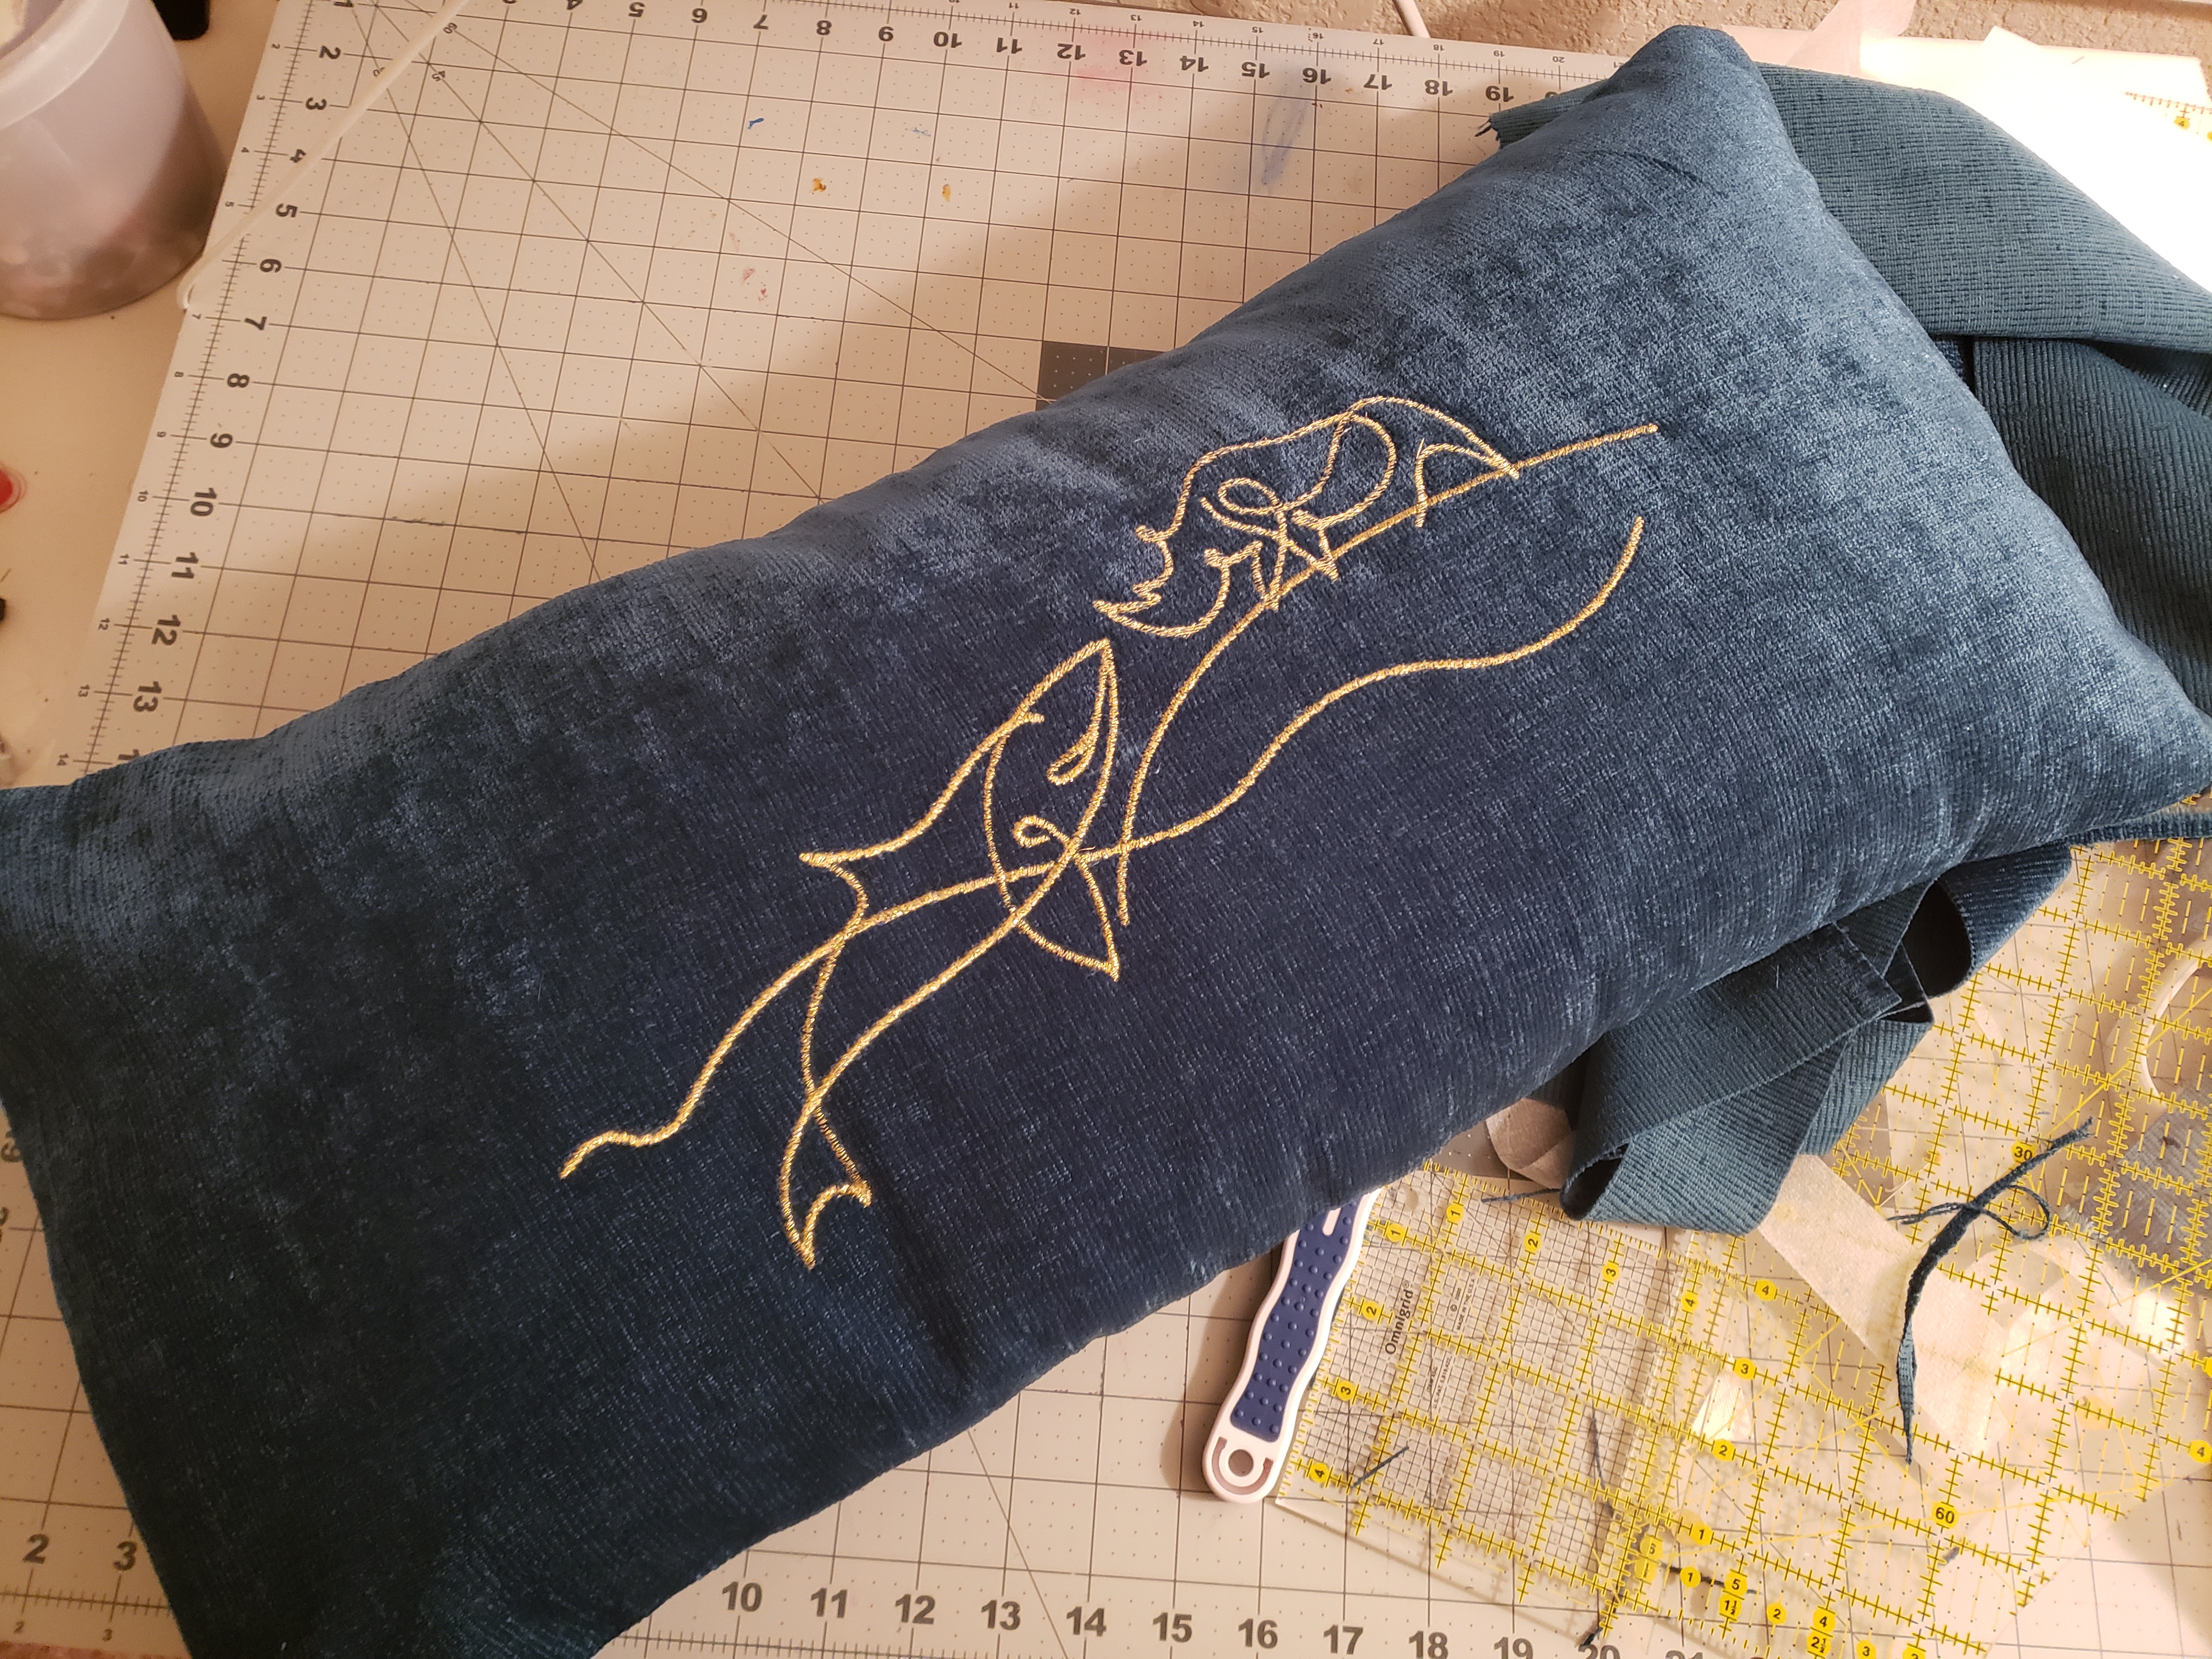
Recently, a friend asked me to do a custom order of pillows for a wedding gift.  And because I can’t say no to anyone, I got out my laptop and started digitizing their invitation artwork and slapped it on some fabric and sewed a series of lovely pillowcases.

custom embroidered pillowcase

I was glad their artwork was line art as it made for an easy embroidery job.  Though, they did want gold thread, which is always a pain to work with.  Metallic threads constantly snap when you sew with them.

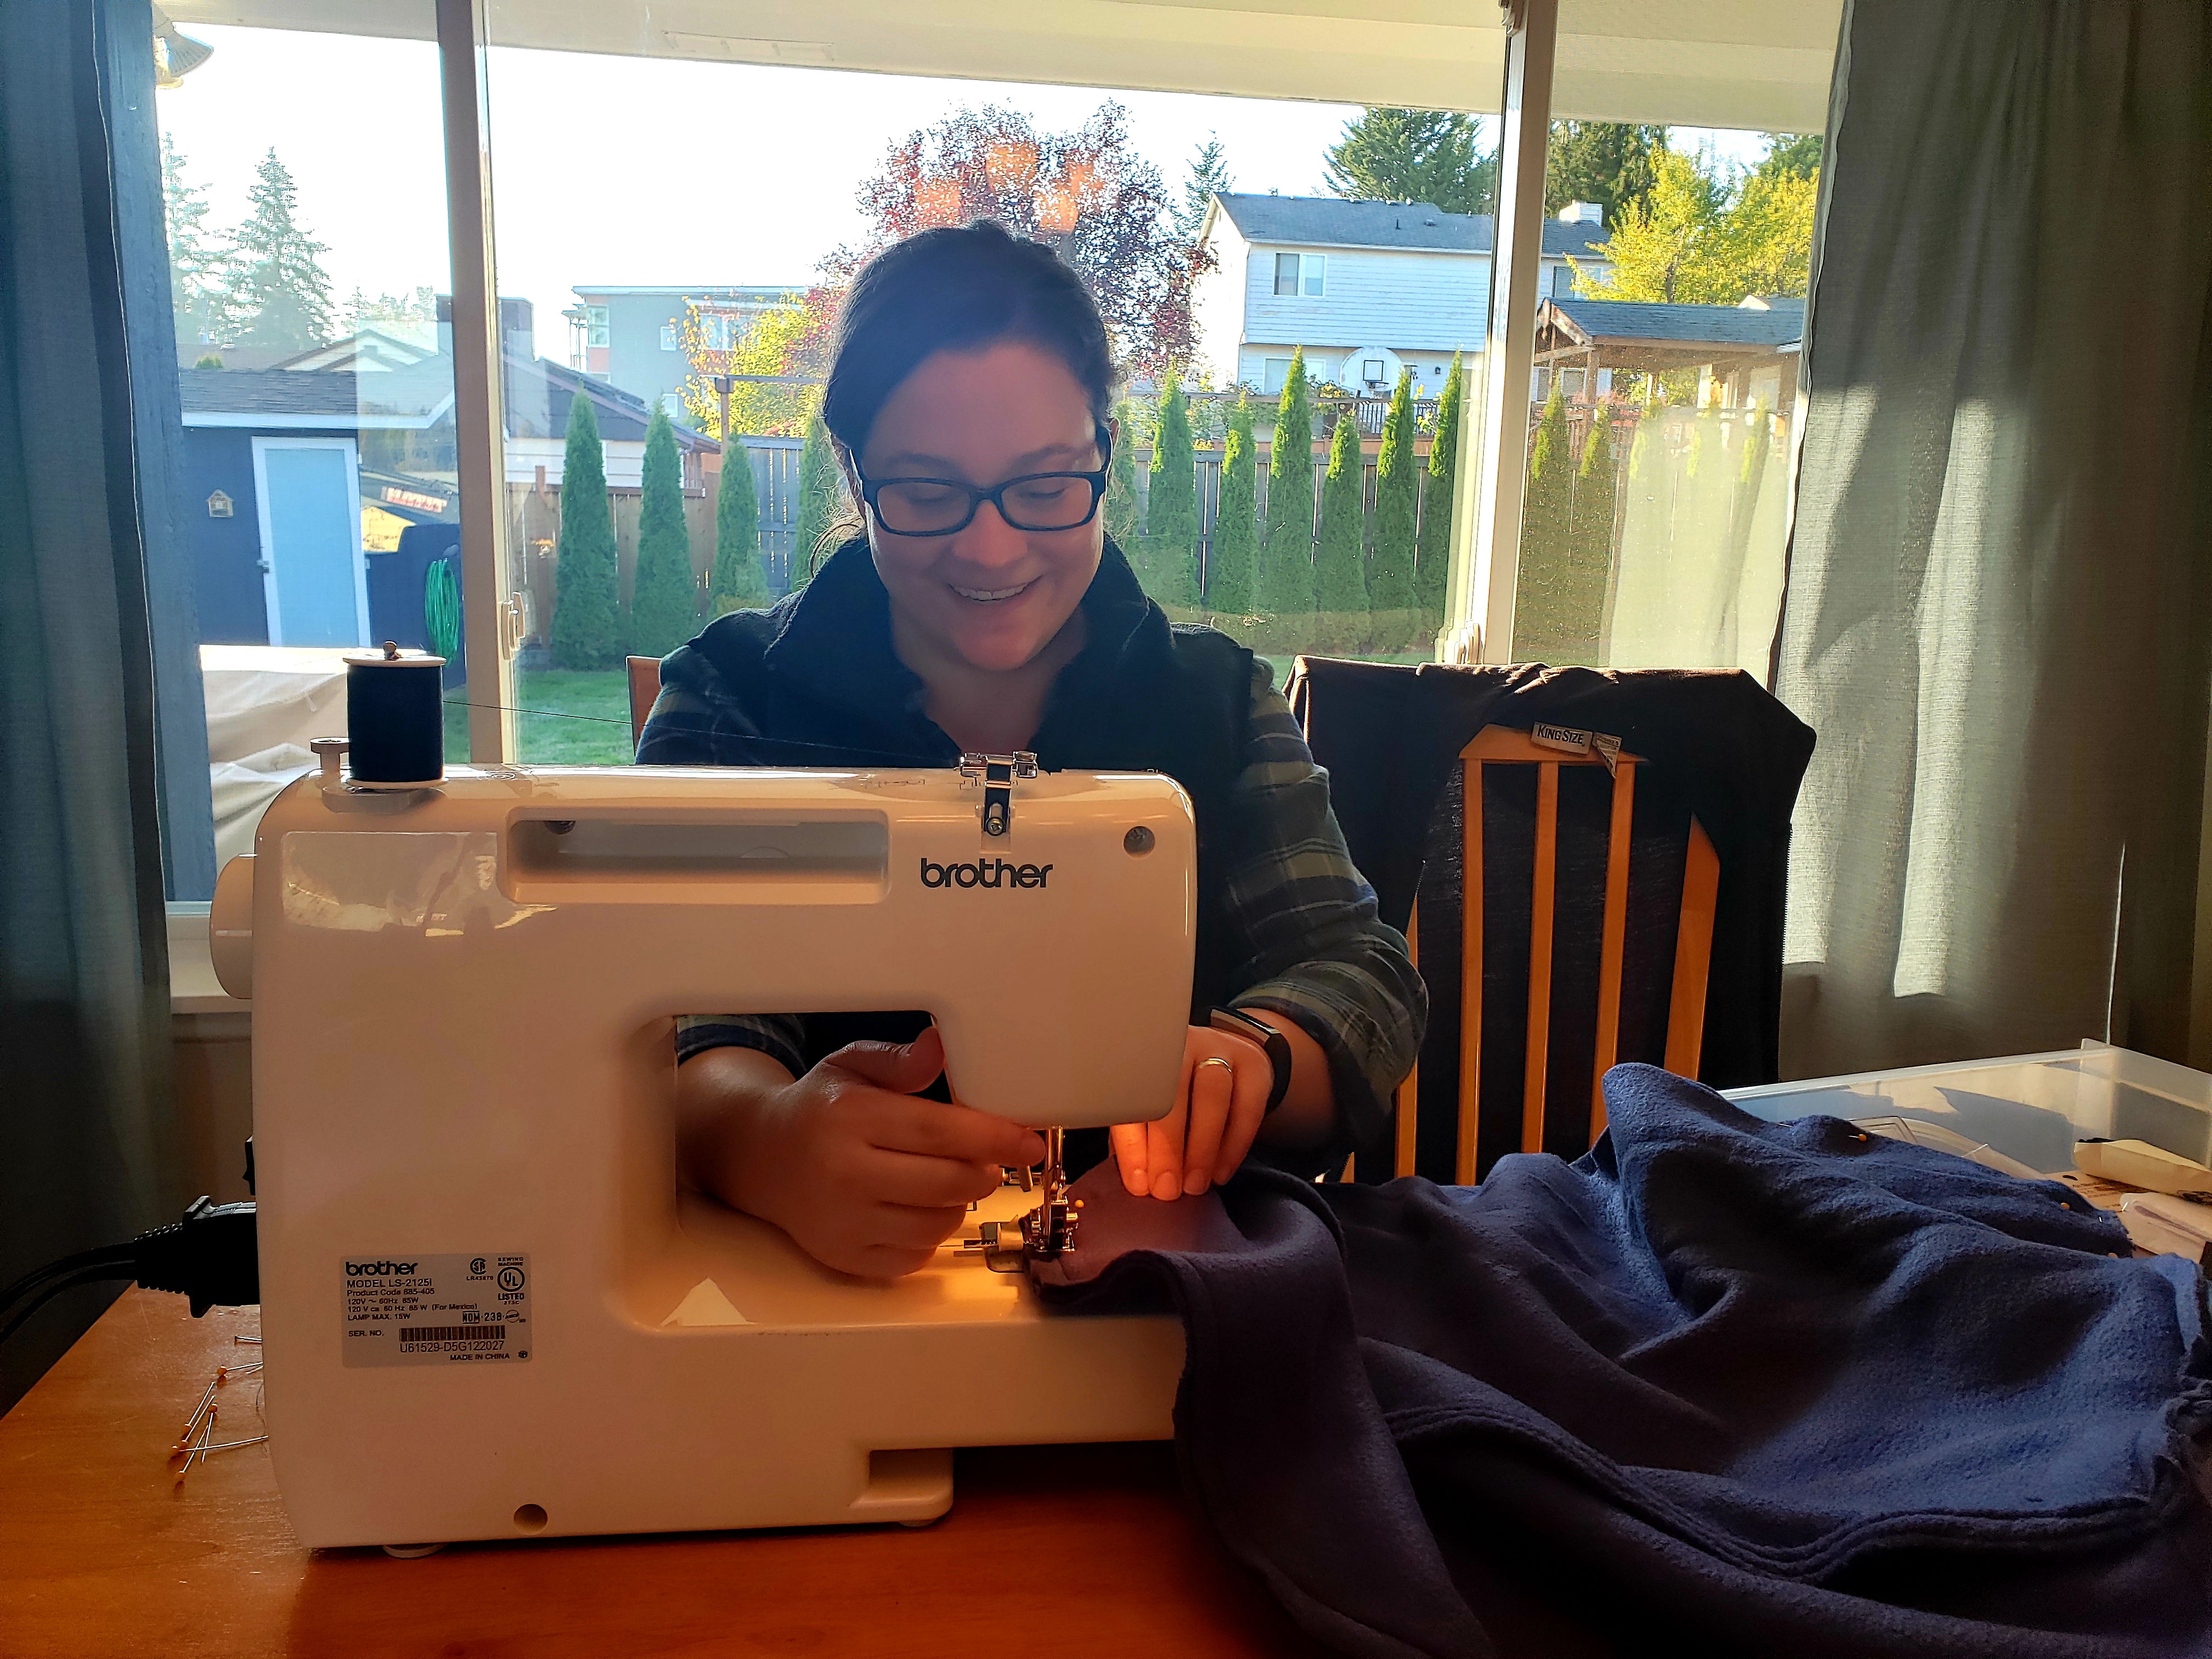
Once the job was finished and the pillows were delivered, I had some extra supplies left over and I hit up my home-girl, Jess, and asked if she wanted to learn how to sew pillowcases.

Jess learning to sew pillowcases

The hardest part was the cutting the fabric up for a very large pillow.   We worked through folding fabric to cut on a small mat and then sewed the pieces together.

I pretty quickly realized how spoiled I am with my monster sewing machine at home that threads itself and auto adjusts for different fabrics.  The fleece she picked out for her pillows was slipping and sliding all over, but with a few pointers she was sewing pillowcases like a pro!


jess' fabric painted pillow cases

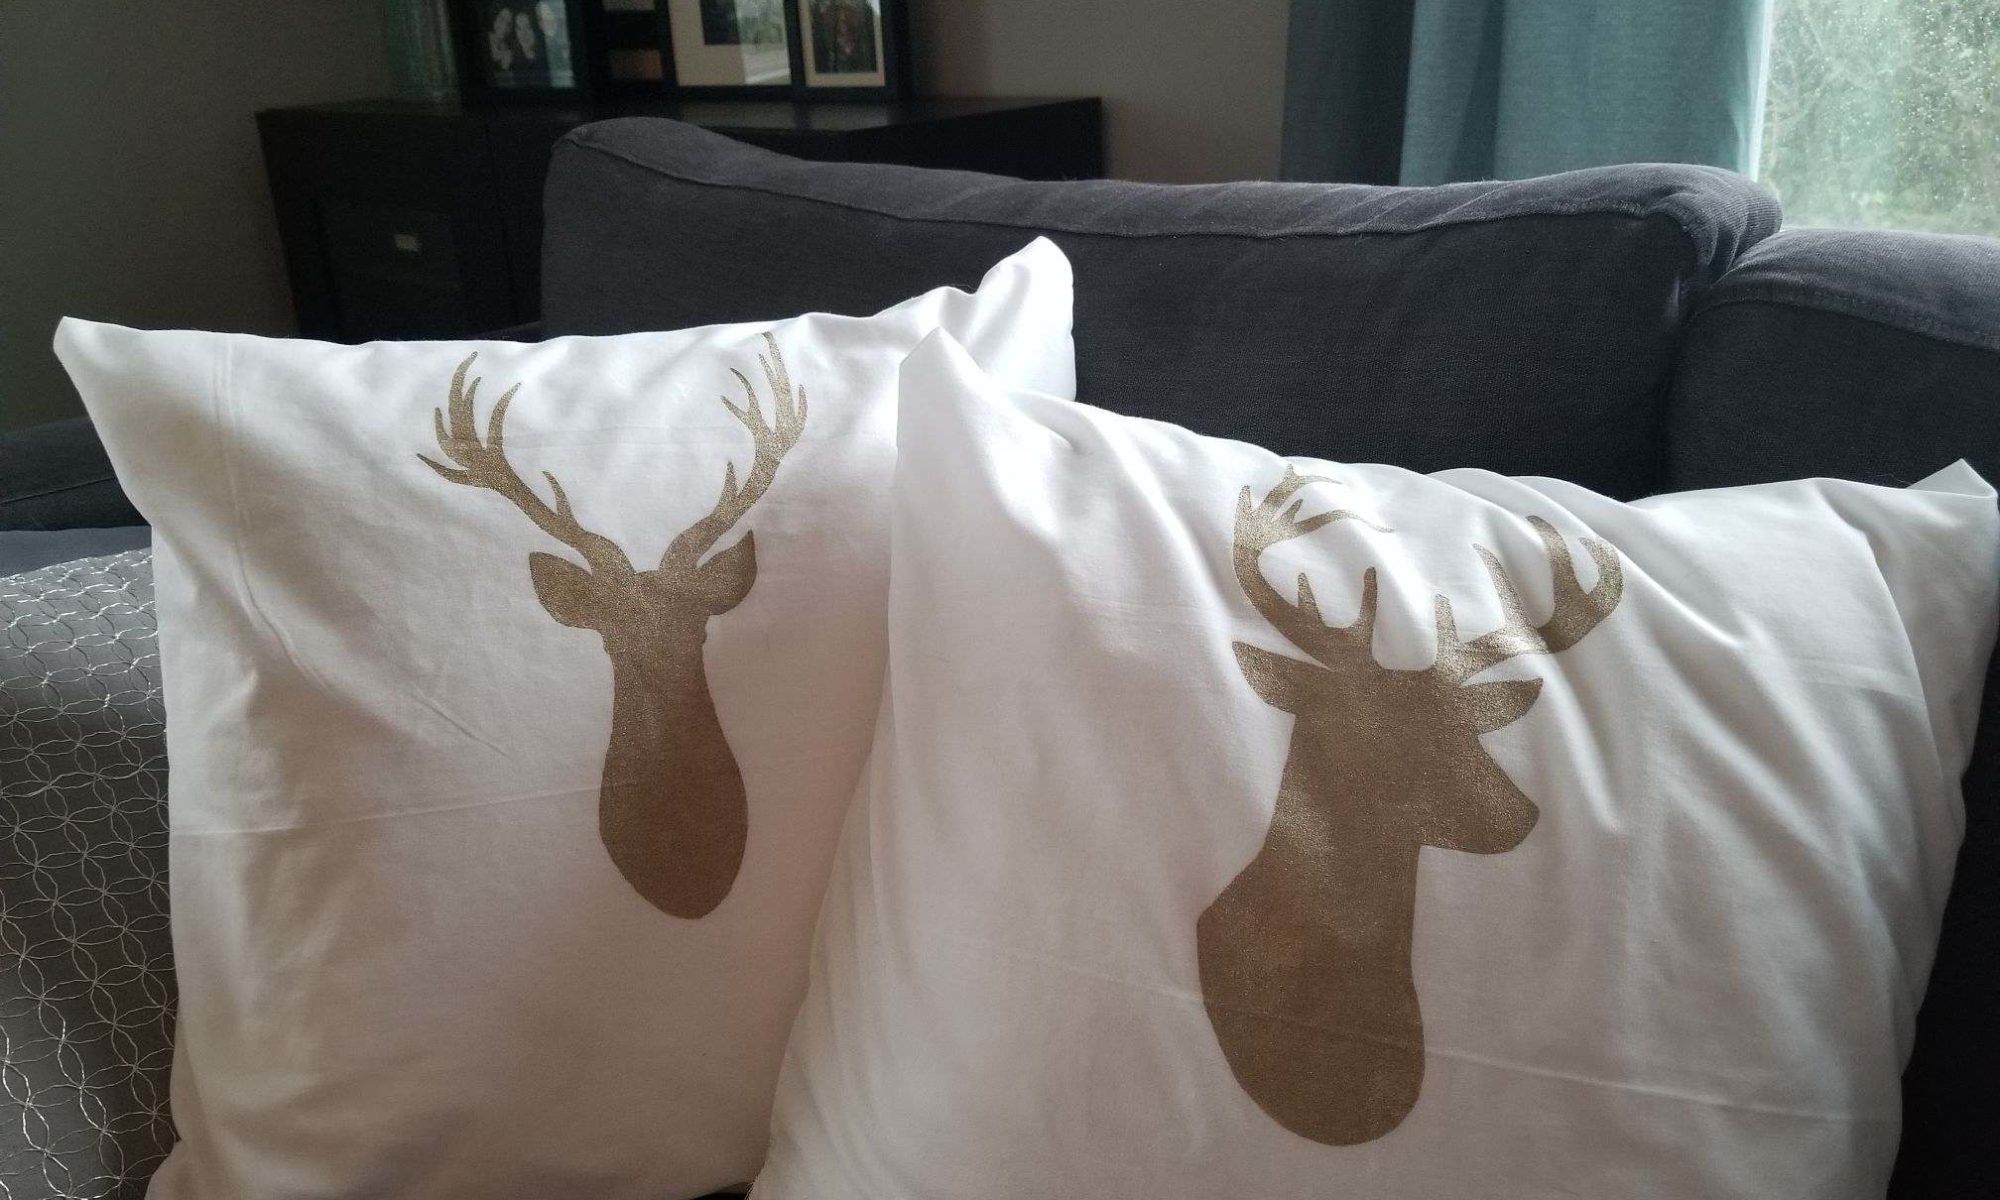
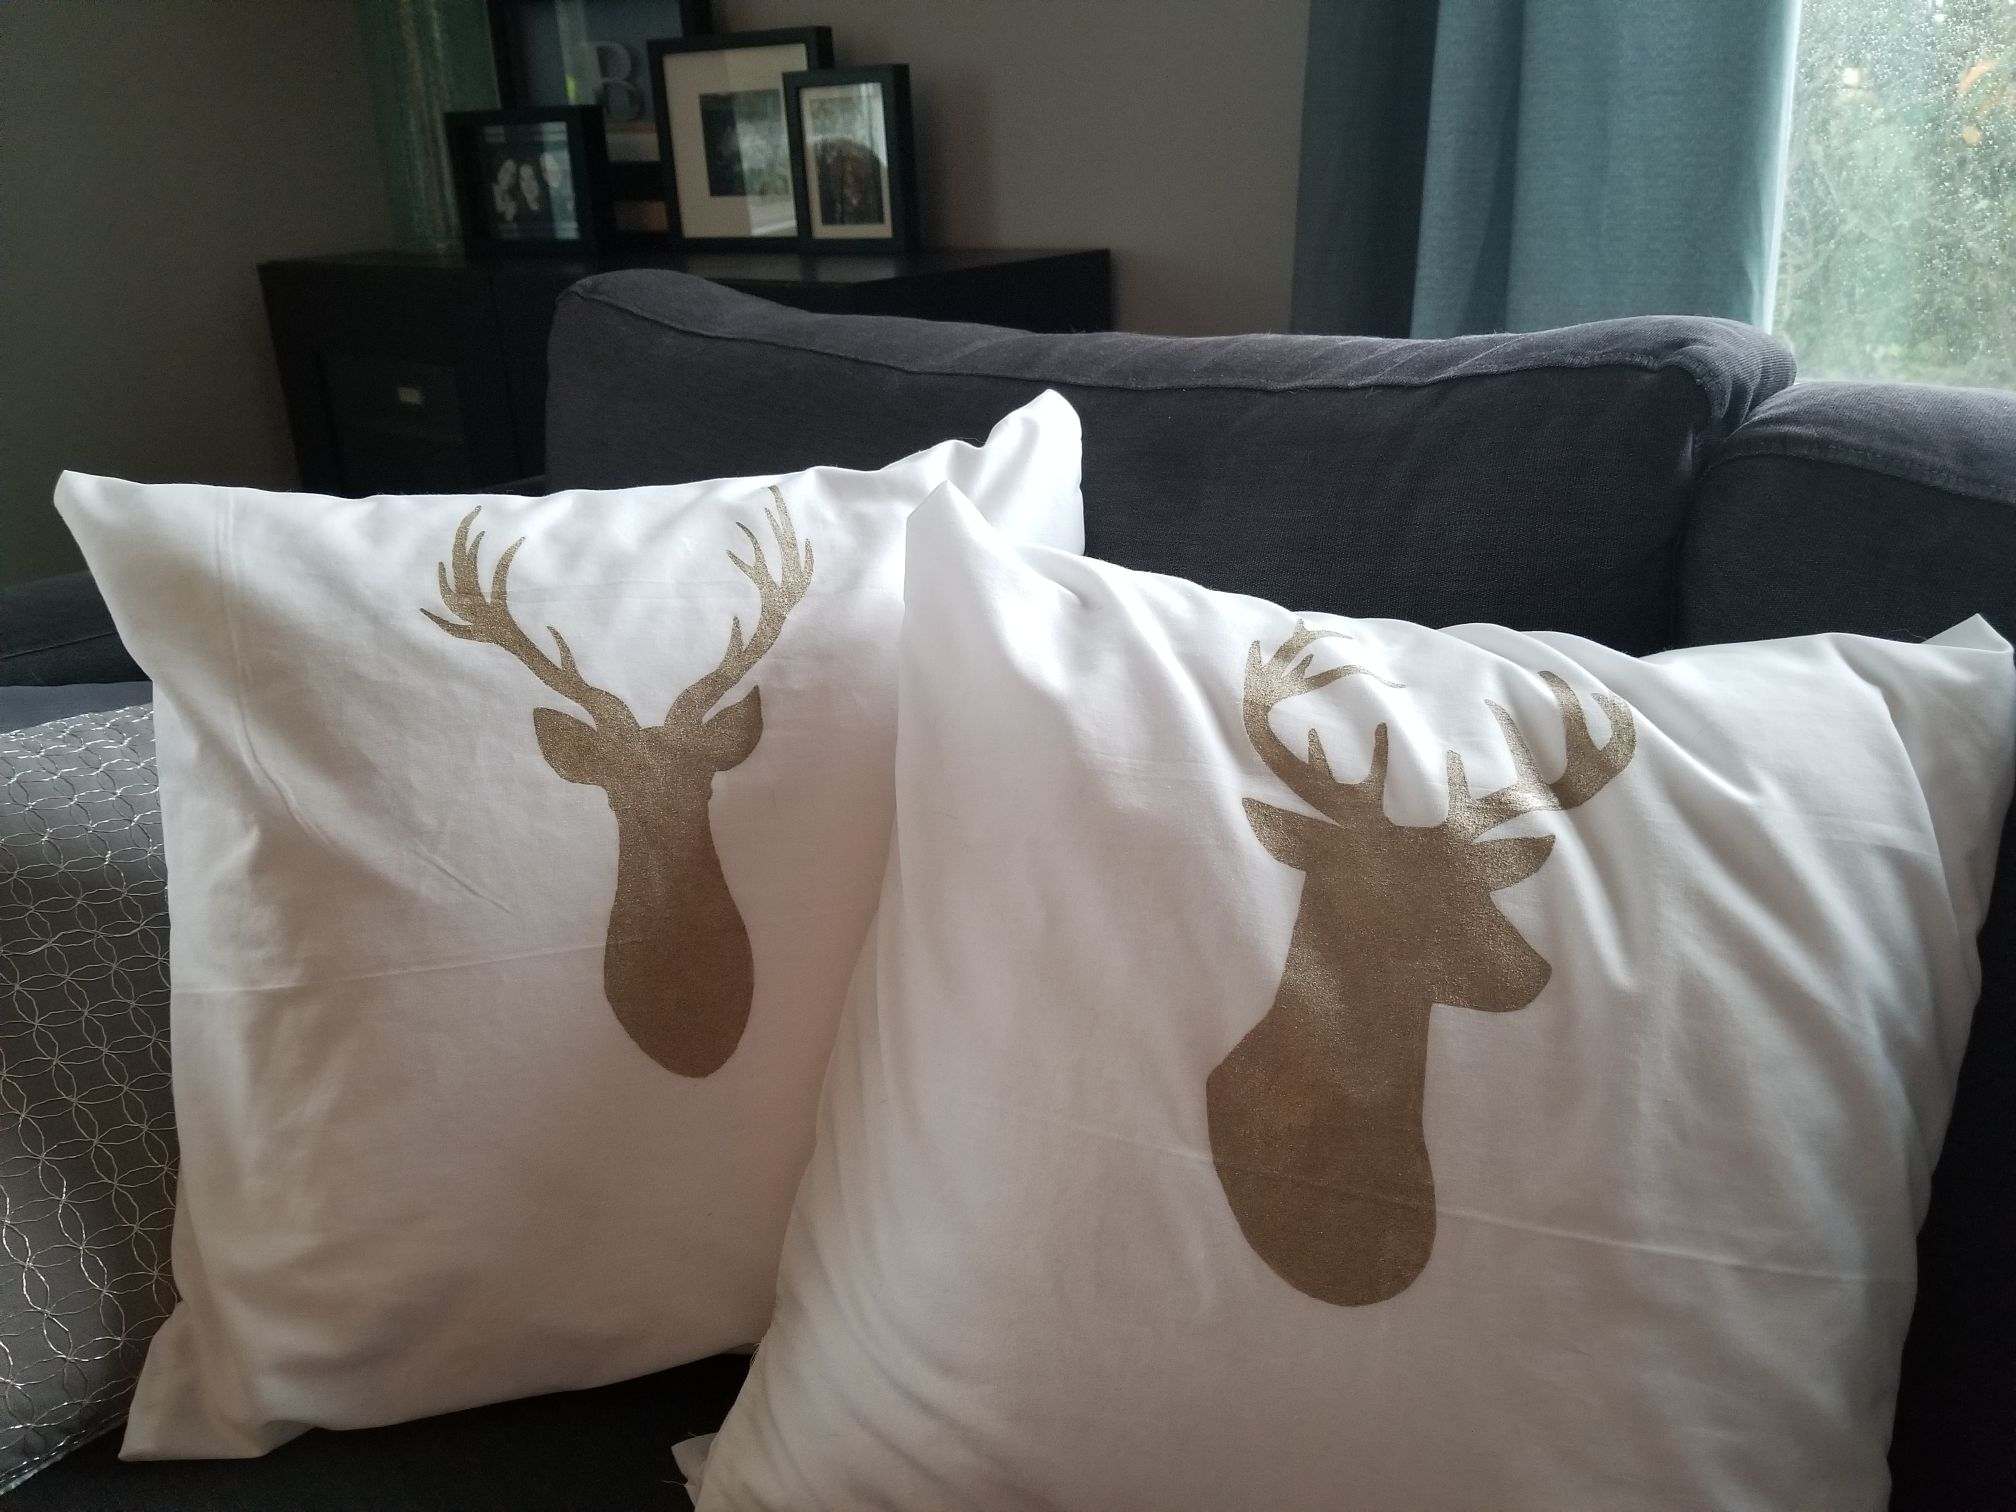
After our little sewing session she went on to make more pillowcases and even did some fabric painting on them!  She painted them so well I thought she had bought precut iron-ons.

I actually taught someone something, so that was pretty cool.

Cricut Maker and Clear Linoleum

The other day, I had this bright idea to cram clear linoleum stamping material into the Cricut.   It just BARELY fit.

I downloaded a simple ‘thank you’ SVG file from the internet and let the Cricut have at it.   My idea was just to let it cut a single layer and then take it from there with my manual carving tools once the design was in place.

It wasn’t perfect but it actually started the design for me.  I did notice the blade getting caught in the material once or twice but it recovered shortly after.   Once cut, I ripped the linoleum off the mat and started carving away.  This is when I realized it is extremely difficult to see the design and accurately cut it out when the material is clear.

I tried putting color paper under it and and changing my lighting to be able to see the cuts better, but not much was helping.   I finally got out an ink block and patted it all down to get an idea of how I was doing so far.

That’s when I noticed my cuts weren’t great and a bunch of the initial cut wasn’t great either.   This was way too hard for a simple thank-you stamp.   So I tossed it and searched my other materials.   Unfortunately, everything else was slightly too thick to fit into the machine.

I’m trying to decide if I should try again with some different settings to see if I get better cuts, or do I see if I can get it to draw on the linoleum without destroying a marker.  I think it might cram the marker down too hard and screw up the tip if I don’t pick the right settings… I guess there’s only one way to find out!

The Cricut knife blade has been a disappointment

cricut knife blade cutting chipboard

So far, the Cricut knife blade has been a disappointment.  As I mentioned in my last post, I was taking my template idea back to the drawing board.  Maybe I started with way too intricate of a design.  Let’s start over with a random polka dot design.

cricut knife blade cutting chipboard

I loaded my polka dot SVG into the software and pushed start.   Right away it started the same stabbing motion and slowly started stabbing out my circles.  So far what i’m noticing is that it’ll cut lines and slight curves with relative ease.  Which, makes sense when you’re sliding a flat knife through a rigid material.  Some turns will not be possible.  I was hoping that it could at least cut a nice circle though or at least cut the first few layers quickly until it gets deeper into the material.

Continue reading “The Cricut knife blade has been a disappointment”

Trying the Cricut Maker Knife Blade

I’m finally ready to try out the new Cricut Maker Knife Blade.  It’s been sitting next to the machine all week and I have some time to play with it.

cricut maker knife blade

The knife blade is made to dig in and cut thicker materials, like the 2 mm chipboard materials being sold.   I went back to one of my never-started projects collection and grabbed a bag of cashmere scarves that I planned on dyeing at one point and I thought I’d make a template for that project.  I wanted to use chipboard so I could use light-sensitive dyes.  Even if the dye liquid bleeds into the material, UV rays wouldn’t be able to penetrate the board keeping the image sharp on the scarf.

In the past week, I had put together some files I wanted to use as a template.  One of those templates was a Damask stencil we’ve probably all have seen a thousand times.  If it can cut this out of the chipboard then I should be able to pretty much cut anything.

Continue reading “Trying the Cricut Maker Knife Blade”

Making a Wallet with the Cricut Maker

Finished Faux Leather Wallet

One of the things I’ve really been wanting to try was making a wallet with the Cricut Maker. A few days ago I began scouring the internet for patterns. I wanted something free and simple to try things out. When I came across the MakeSupply company’s website, I was pretty much in business. They offer free templates you can download and even videos on putting them together. I downloaded a Bi-Fold wallet template, converted it from PDF to SVG images, and uploaded it to the Cricut app.

faux leather on cricut maker

I have real leather to work with but I pulled out some faux leather instead. This is my first wallet, after all, I didn’t want to waste more expensive materials. Faux leather is pretty thin and the machine easily cuts through it with perfect cuts. Continue reading “Making a Wallet with the Cricut Maker”

Tore the Knit Up

I thought I could handle it but the perfectionist in me just couldn’t.  In a post a few days ago I said I didn’t care about the mistakes, but then I looked at it again and I started pulling out a few of the rows and tried to re-knit it.  Then I realized I kept making more mistakes as I sat and watched my crime shows.   I tore the knit up, rewound the skein and started over.

knitting a scarf

I picked a simple pattern, something I could do while watching my shows and mindlessly knit away.   The good thing about a rib stitch is that you can quickly see what stitch you’re supposed to do from the rows below.

I picked a 2×3 rib stitch (2 knits, 3 purls), so it will stretch to more than twice it’s width.

It still has its problems, but those problems are not from me.  This particular skein of yarn had a bunch of breaks and was rejoined at the factory.  So those inconsistencies are just knots.