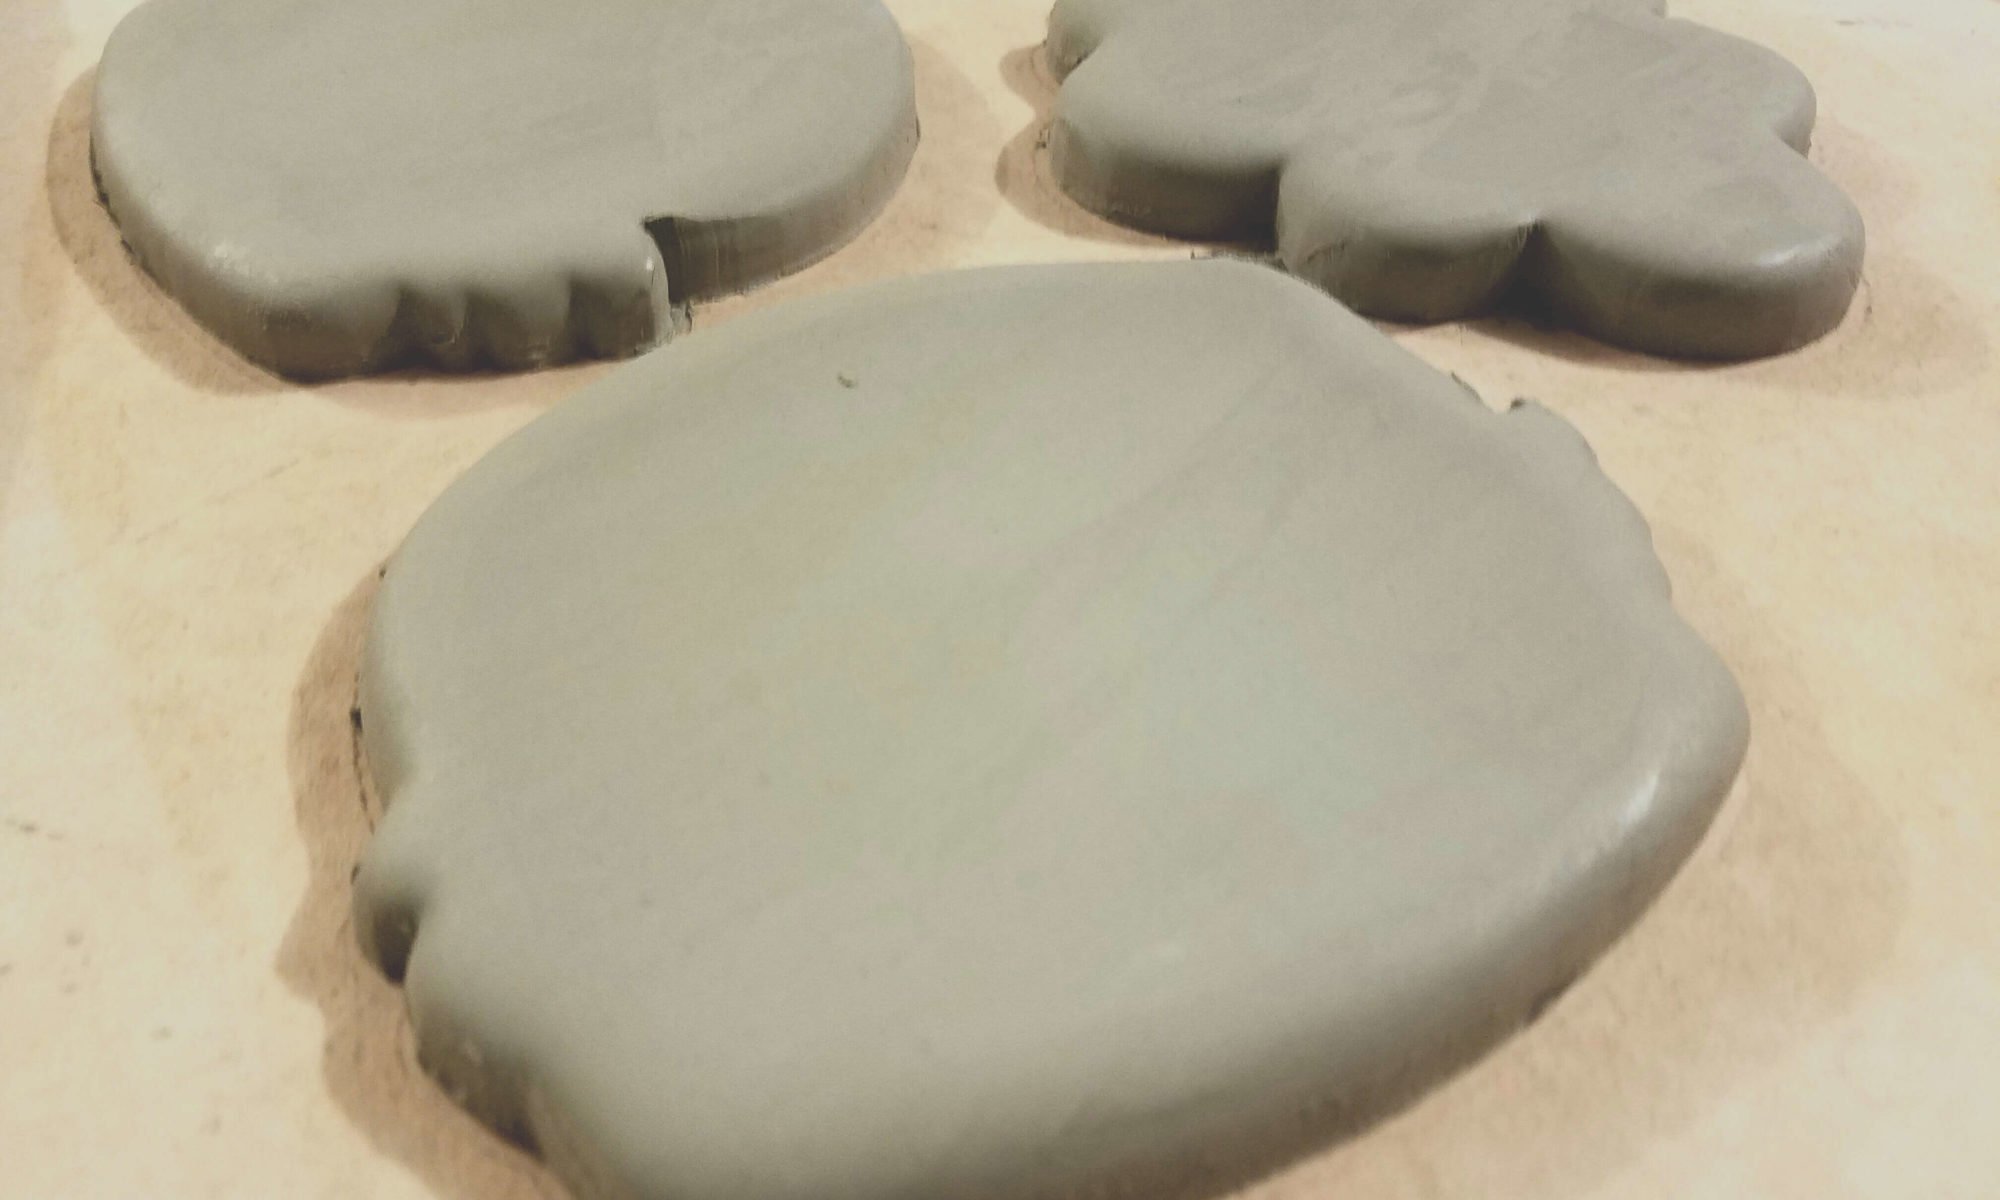
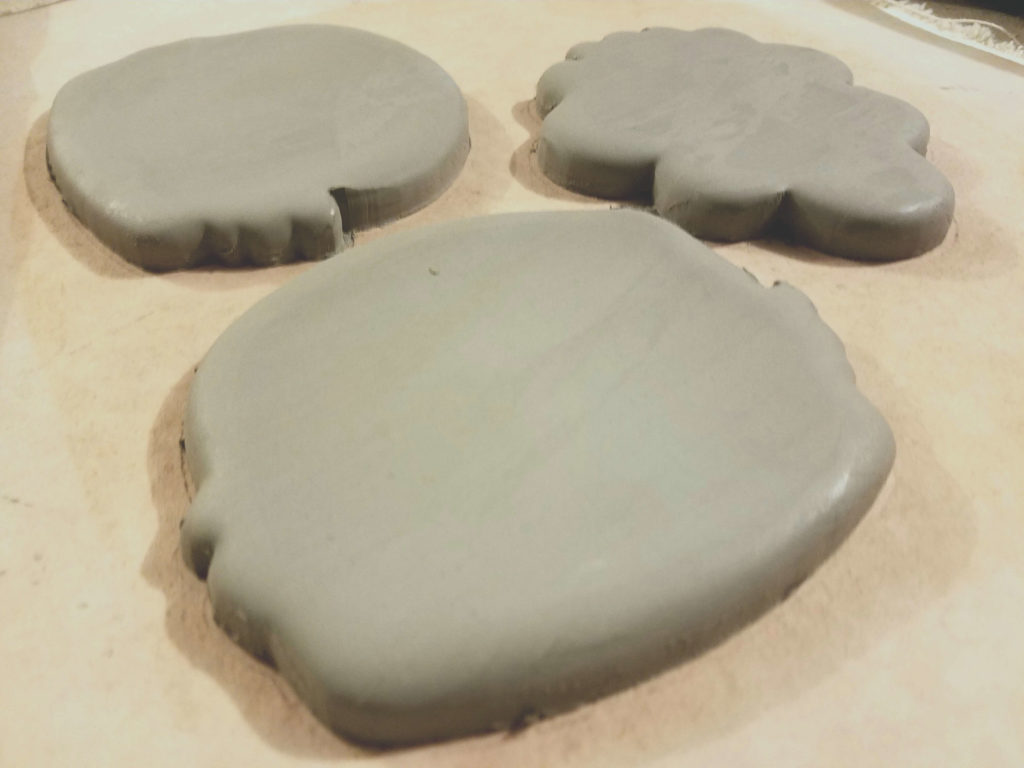
I took my cookie cutters off the 3D Printer and got to work on making some clay slabs to use them on. Everything did go off without a hitch.
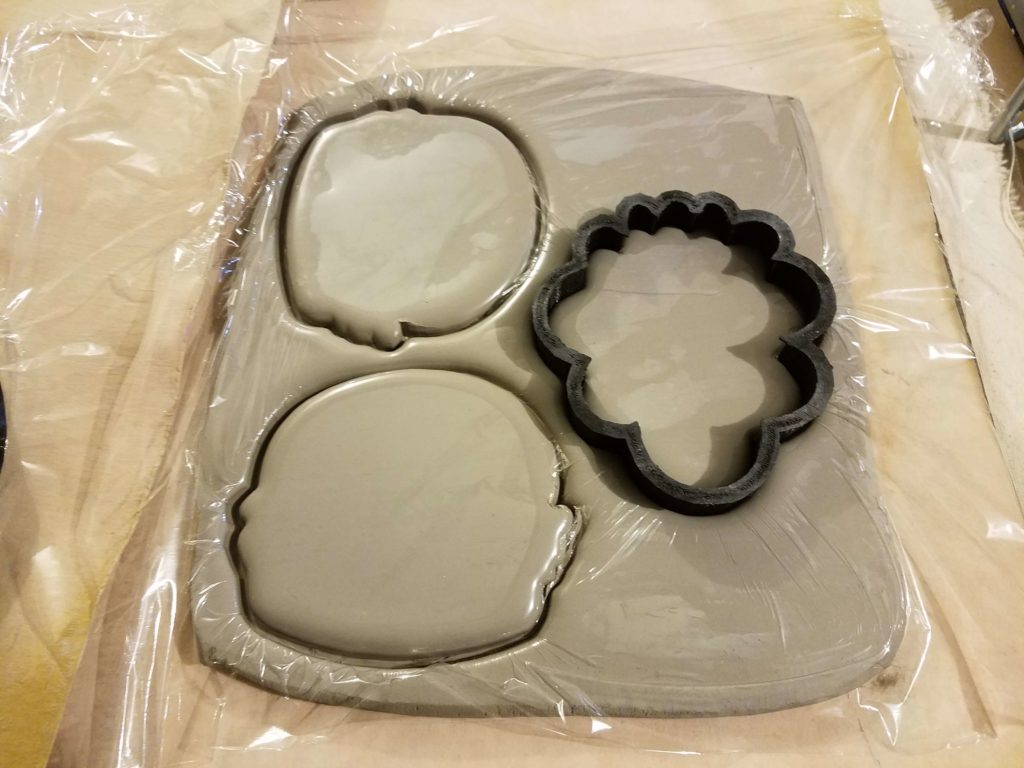
If you’ve never used cookie cutters on clay, here’s a hint to great results:
Yup, that’s all, plastic wrap. I keep a big Costco roll of it in the workshop and it makes all the edges of my clay perfectly rounded. You can still muck things up trying to pull the wrap off the clay, but generally, it’s pretty easy if you take your time and go slowly.
I’ll make a whole bunch of these while I’m at it. I just hate that I have to wait so long for them to dry out and be fired. I want the project done NOW and that just isn’t going to happen. Though I may go set these out in the sun today which will dry them out pretty damn quick.
I’ll also play with thickness. These are only a 1/4″ thick, but they seem a little too thick now that I’m looking at them again. The look I’m going for is cartoonish, so this may still work out just fine. I’ll make thinner ones tonight and see which I end up liking more.
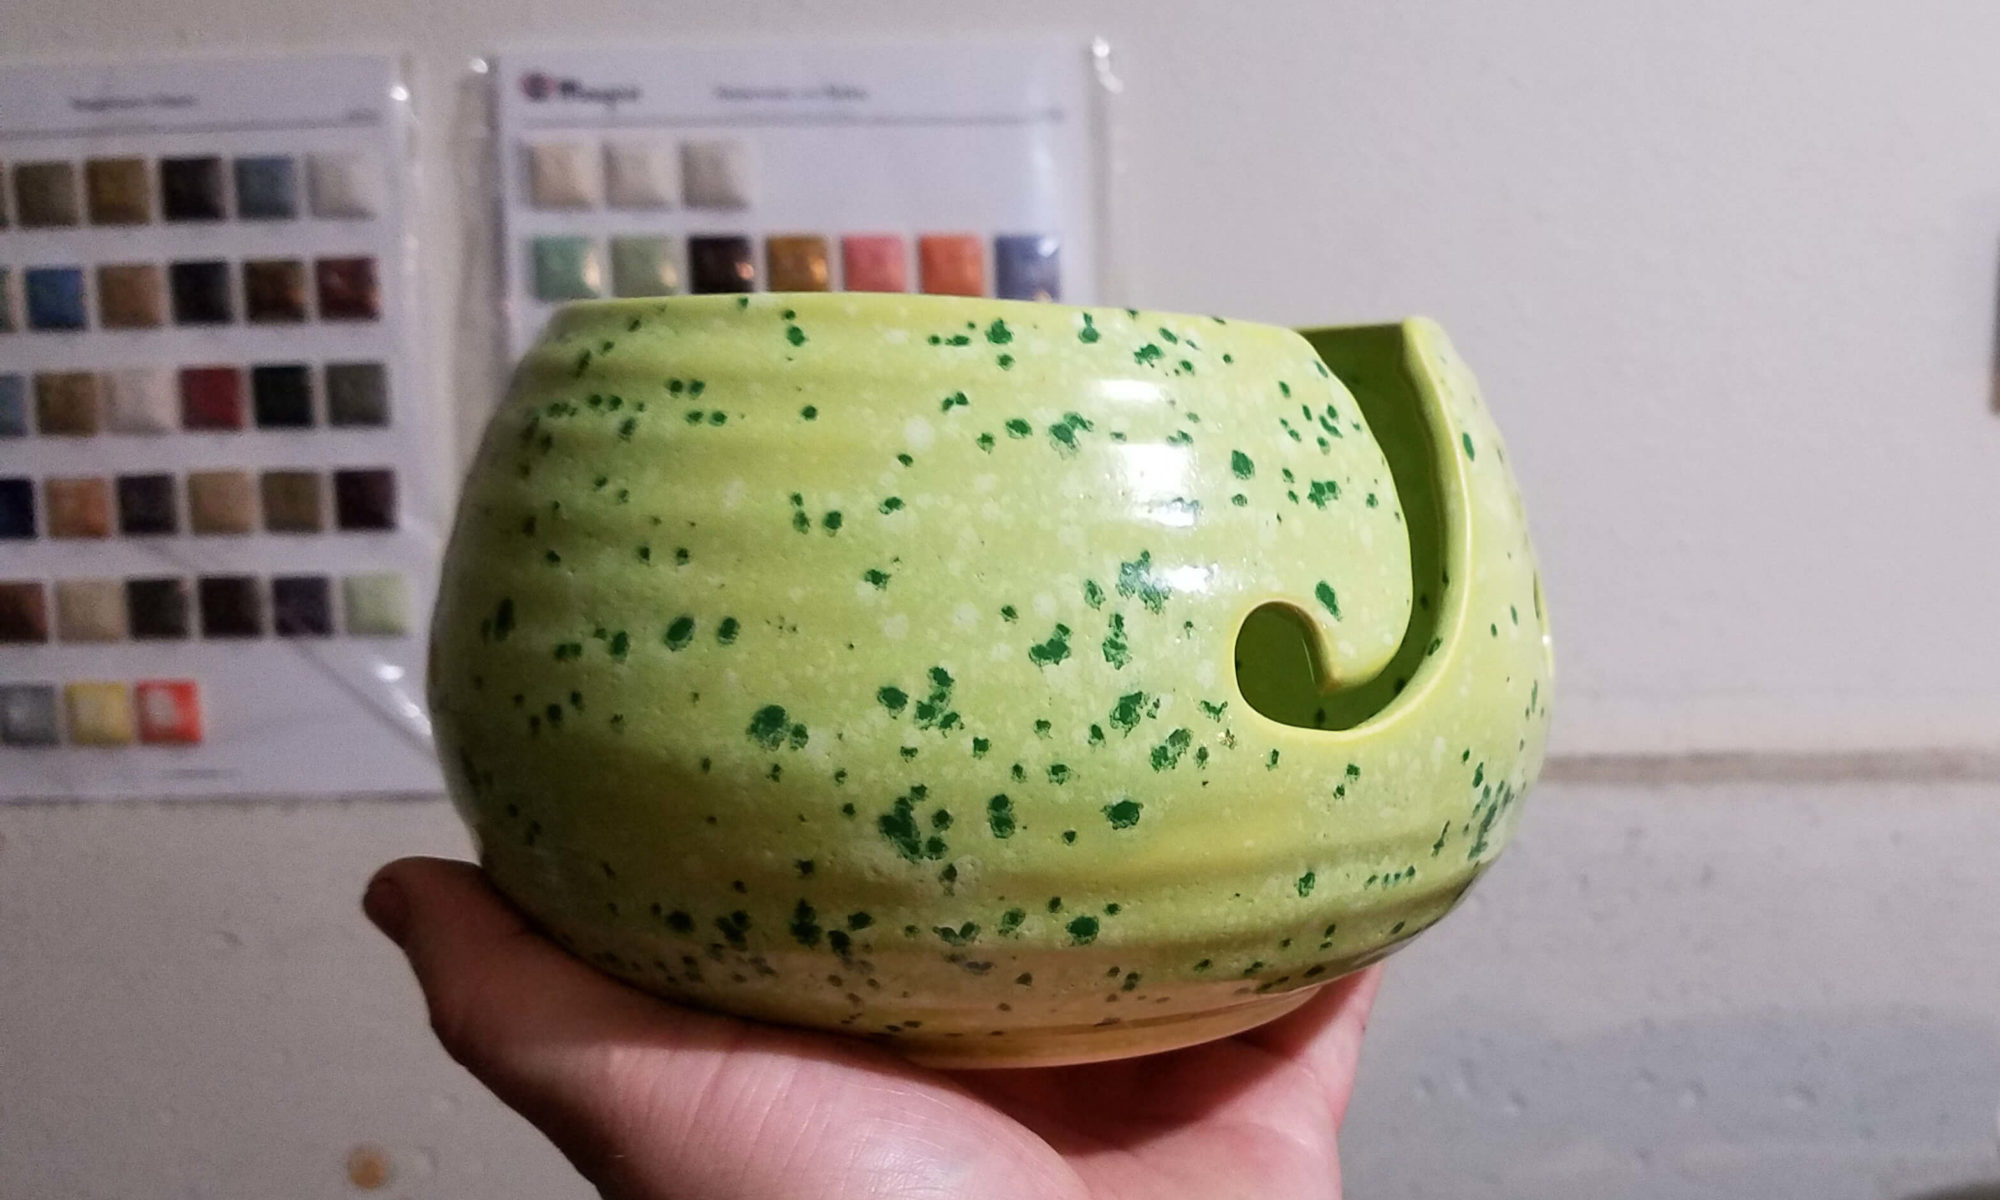
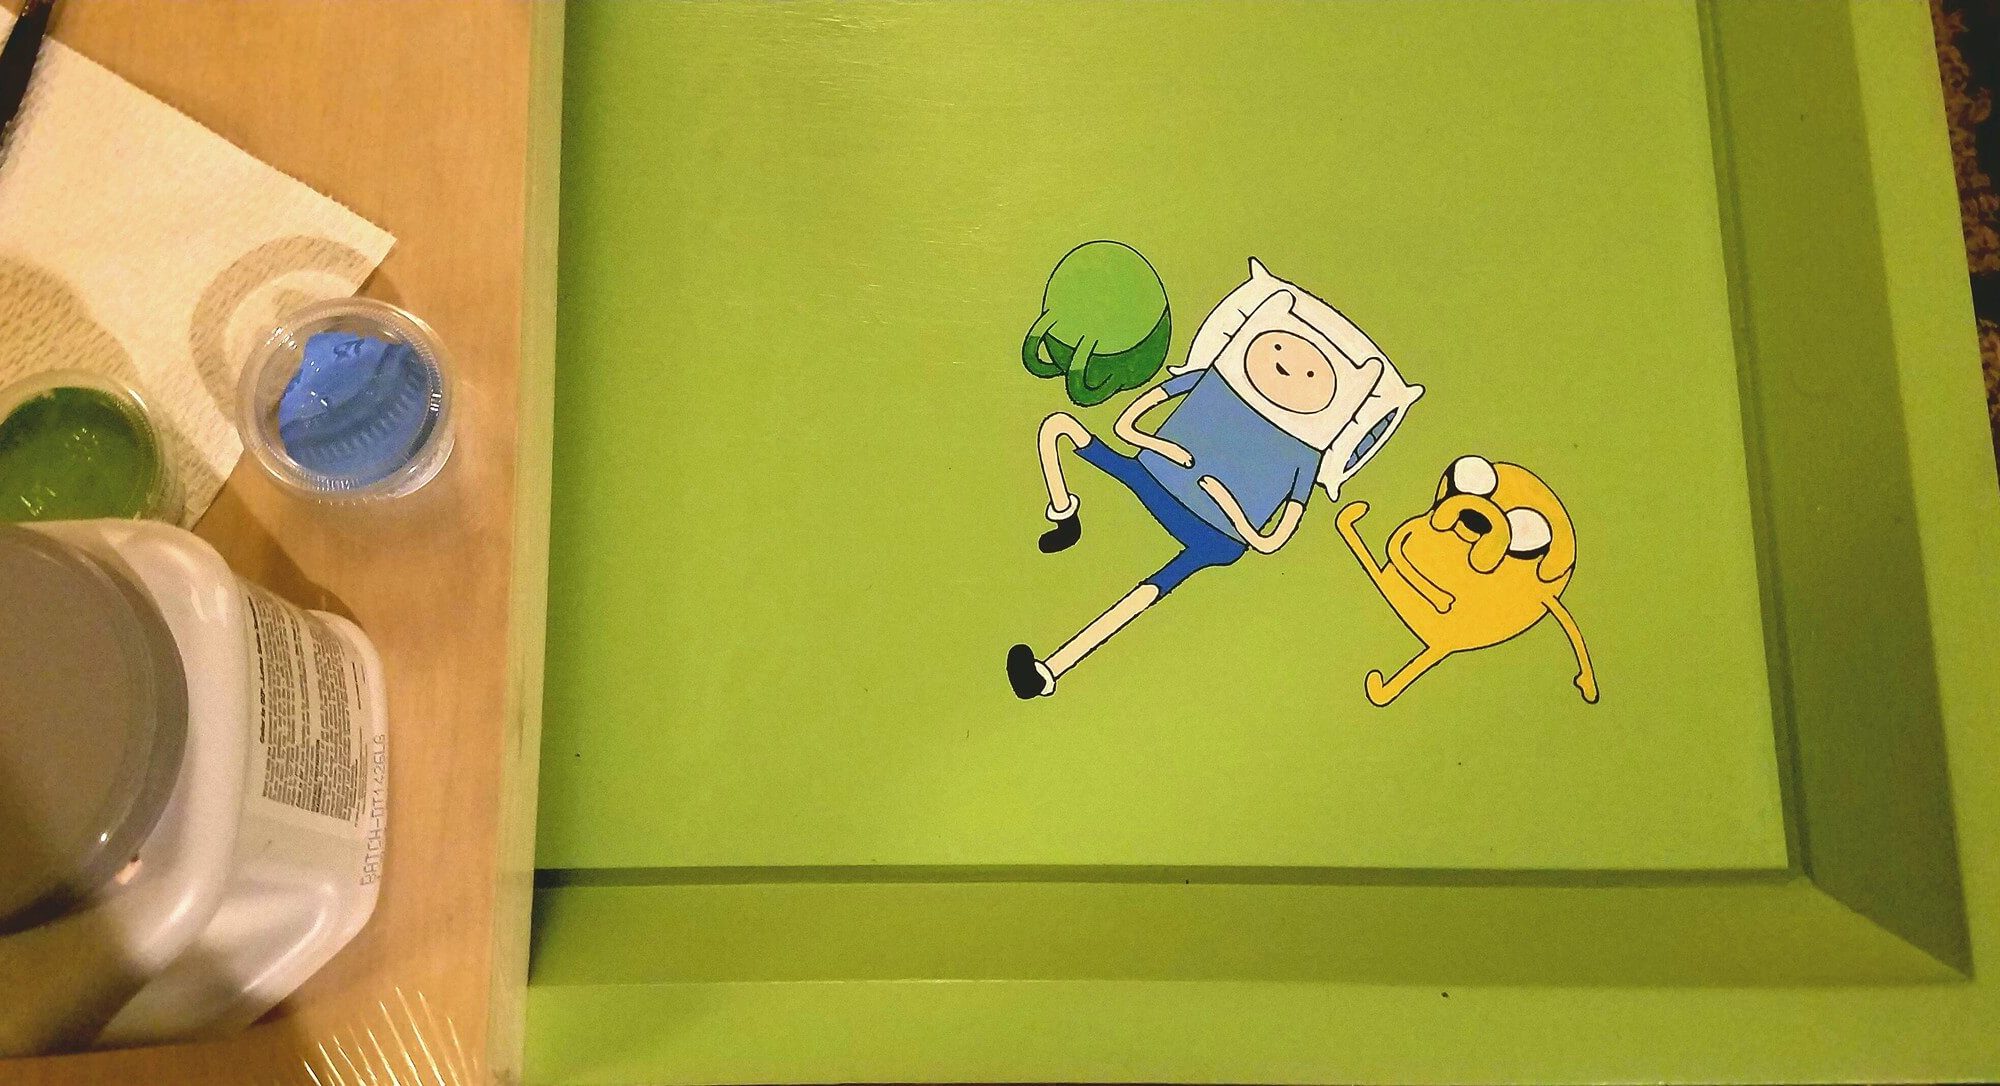
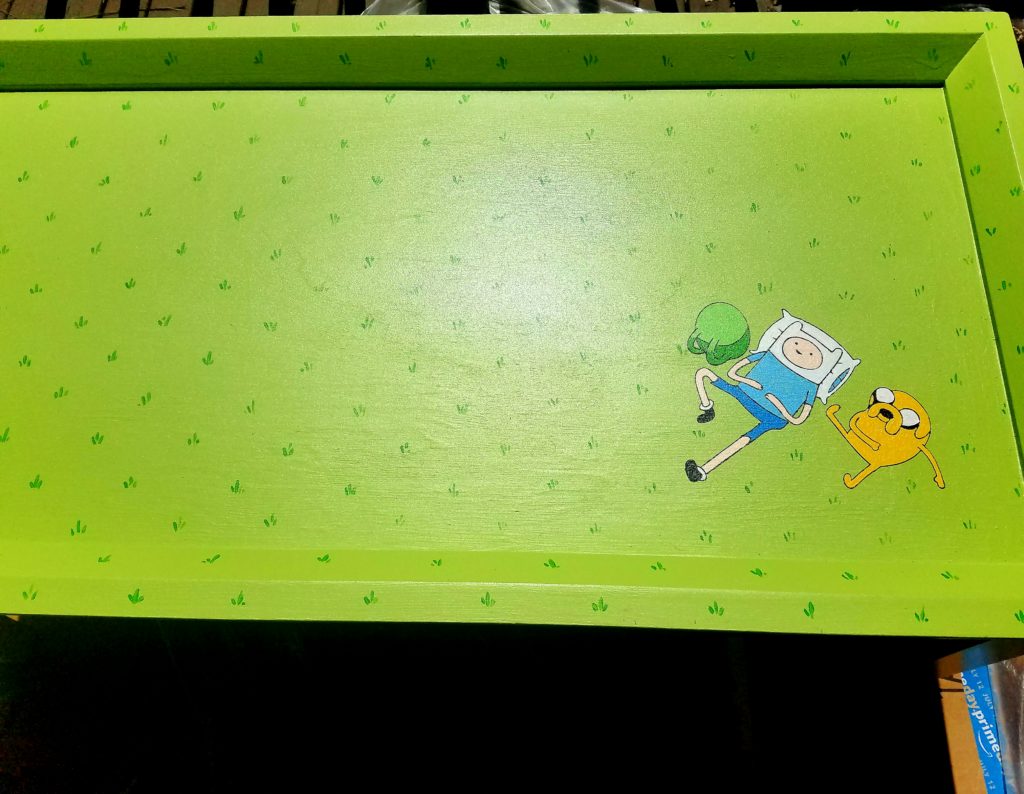
If you haven’t figured it out yet, these are going to be coasters for my newly painted tables. Lumpy Space Princess (the cloud looking cookie cutter) will go on my Finn and Jake table and the Hamburger shaped ones will be Krabby Patties for my SpongeBob table. I still haven’t figured out my third table, but eventually, I’ll make some for that theme as well.