
For years I have watched people mulling paint online in visually appealing and almost hypnotic videos with glittery paints that swirl and metallics that color shift. This isn’t going to be one of those posts, I don’t have it in me to do video or the energy to make everything Pinterest perfect.
Many people have taken to upcycling their old expired eye shadow palettes into watercolors and I happen to come across a few palettes recently and I’d thought I’d finally give paint making a try.
I ended up breaking this post into 3 different projects, each turning a separate palette into watercolors.
- An inexpensive teen’s eyeshadow palette with homemade binder
- A more expensive eyeshadow palette with homemade binder
- A more expensive eyeshadow palette with professional binder
(Spoiler Alert: The 3rd palette gave the best results and was a lot less work.)
First, I had to make my homemade watercolor binder for the first 2 palettes.
Making Watercolor Binder:
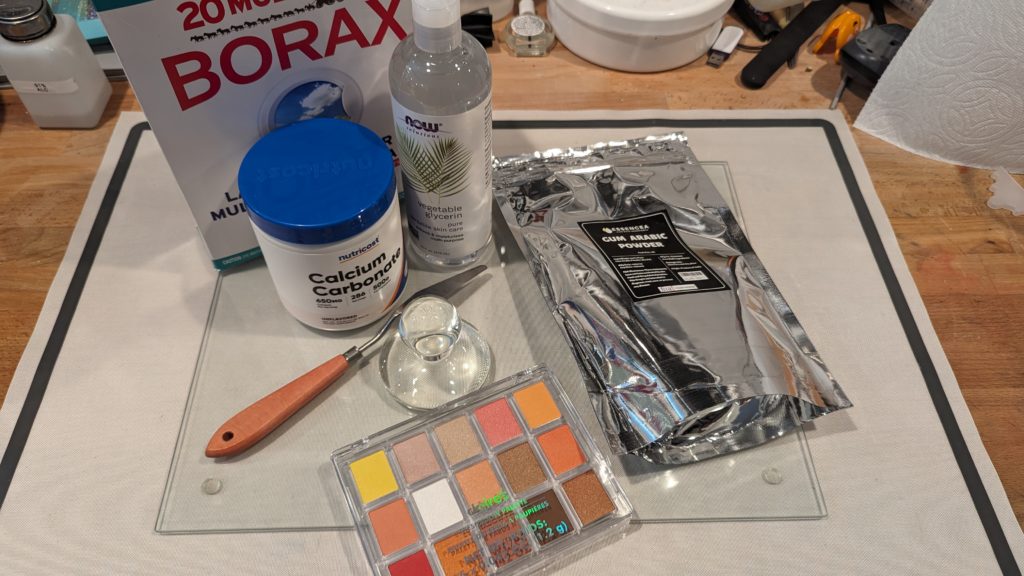
What I Used:
- Borax
- Vegetable Glycerin
- Gum Arabic Powder
- Muller
- Palette Knife
- Tempered Glass Cutting Board
- Eye Shadow
- Condiment Squeeze Bottle
- Condiment Cups
- Calcium Carbonate (for making gouache, Optional)
The first thing I noticed when looking up watercolor binder recipes is that there are hundreds of them. Professional watercolor manufacturers aren’t going to give out their secret krabby patty recipe and every page I found had their own version.
Really you only need gum arabic to make a water color binder. You’ll notice recipes with borax, glycerin and other ingredients will be listed as being colorfast and or giving the binder some shelf life (up to a year in the fridge).
I ended up following the recipe on:
https://www.naturalpigments.com/artist-materials/making-gouache-step-by-step-guide
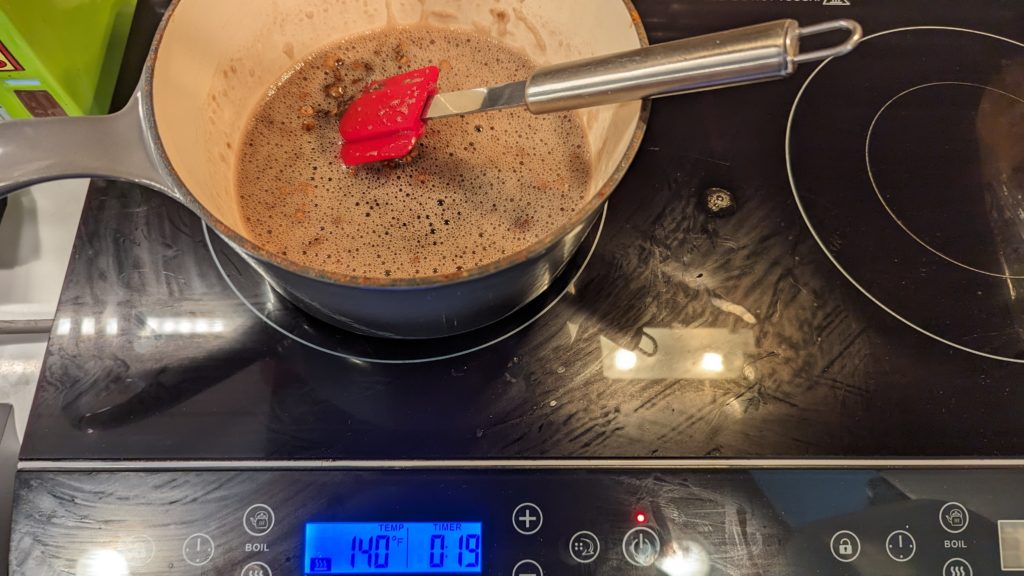
My only advice for making the binder, is that it is going to take at least 30 minutes for the gum arabic to become saturated and dissolve. I thought I screwed up every step of the way, but I just needed more patience and lots of stirring.
Afterwards, I poured my binder into a big ketchup bottle and let it cool completely.
Palette 1: Inexpensive palette with homemade binder
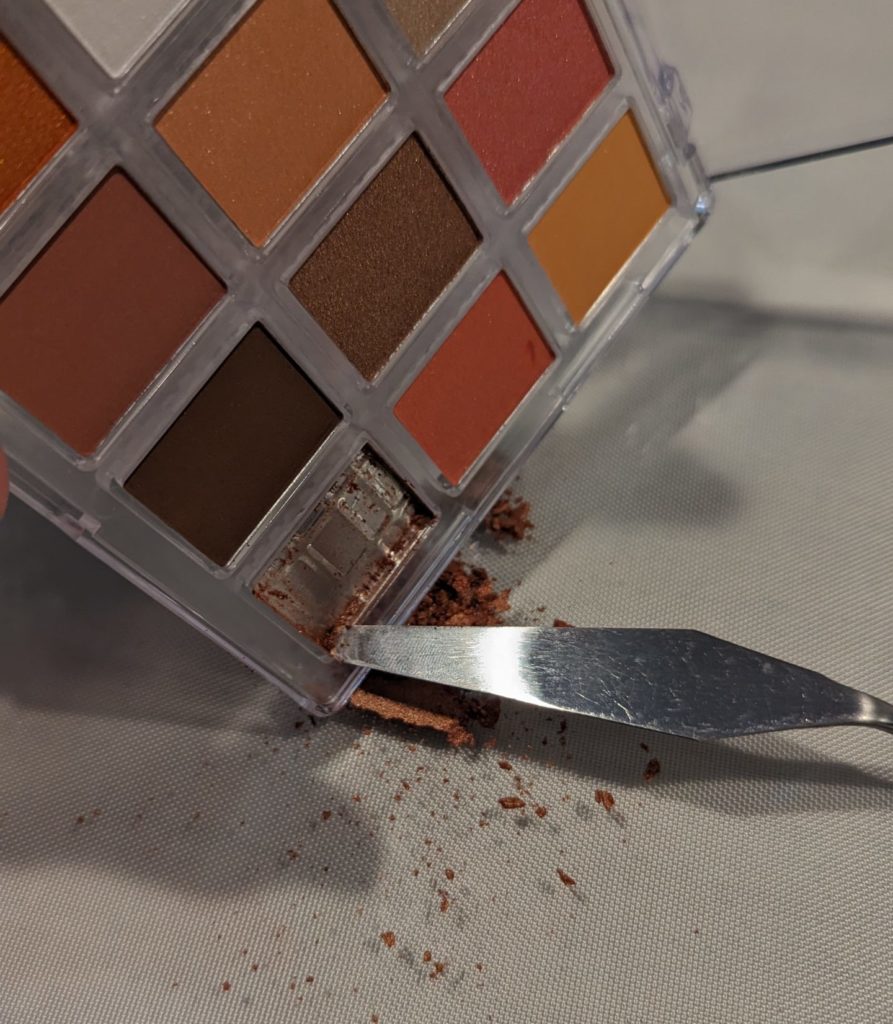
The binder will be like lava for a long time. In the meantime, I started scraping out the eyeshadow palettes. It became a game to see if I could pop out the entire pan in one big satisfying chunk.
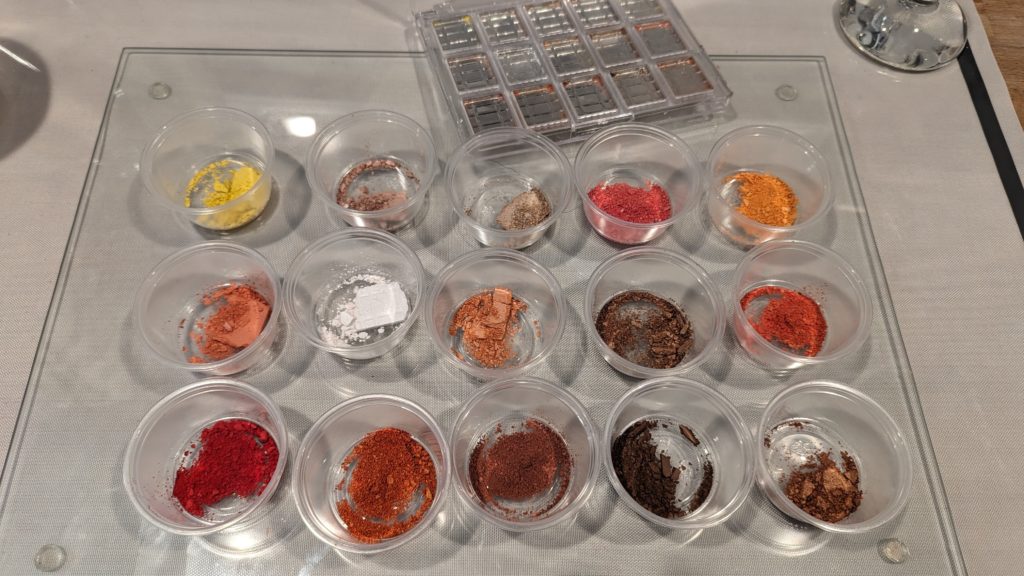
I put each pigment in a condiment cup. I always have these around my craft room. I often use them for saving mixed acrylic paint, but I’ve found many uses for them over the years.
I also cleaned out the palette with just a quick rinse in the sink.
Once the colors are removed from the pans and the binder is cooled off, we can finally get to the fun part.
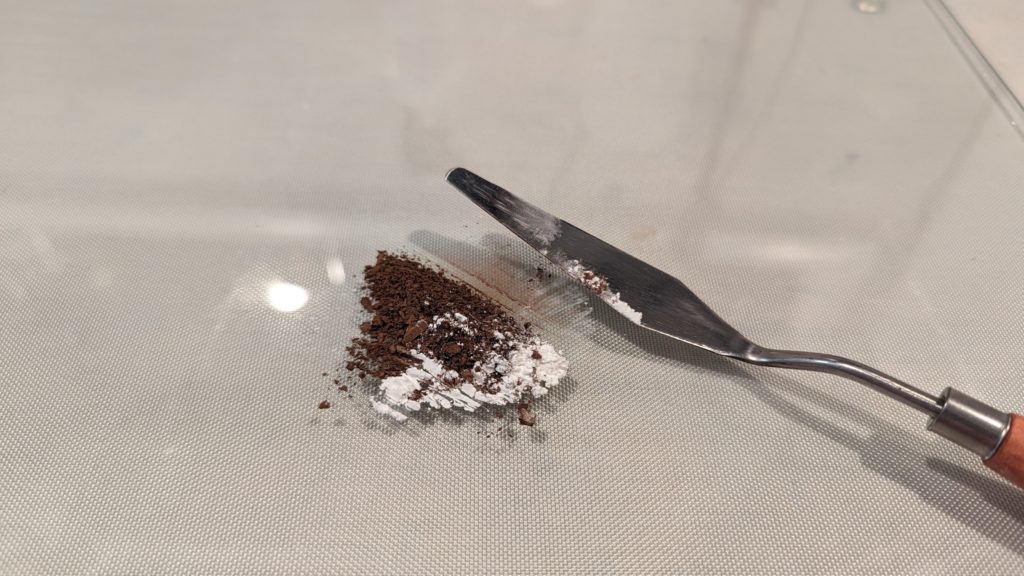
I dumped my pigment onto a glass cutting board, grabbed my palette knife and started chopping up the pigment. I also experimented with adding small amounts of Calcium Carbonate to the pigment, which turns the result from a watercolor into a gouache paint. I planned on letting my palette dry, so it is debatable how useful this actually is since the transparency will be dictated by how much water you mix in with your brush.
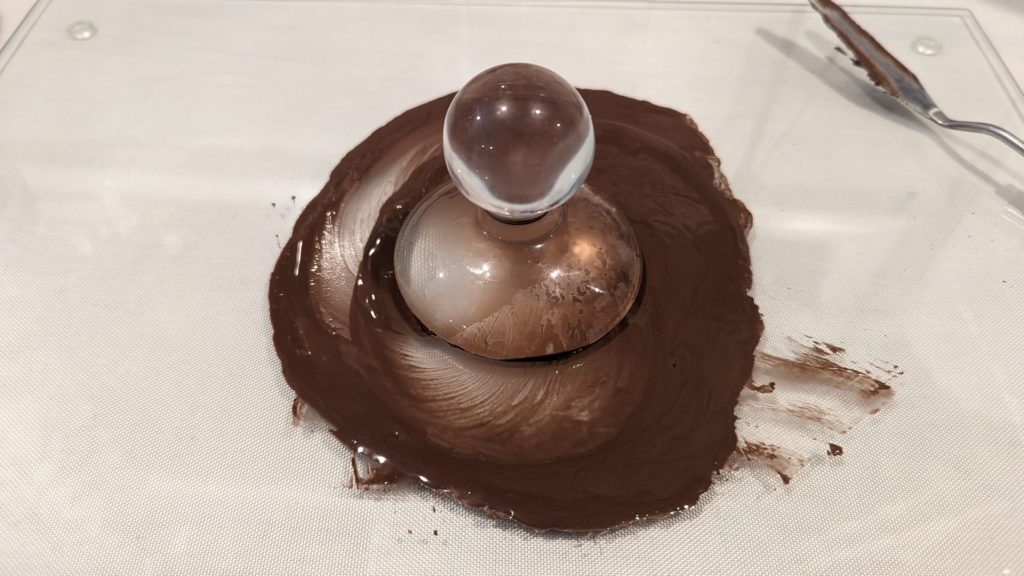
Now, the satisfying part we see online: mulling.
Start by squirting some of your binder onto your pigment. The instructions I see online talk about adding drops at a time until you reach a honey consistency. After doing several palettes, I can tell you it is going to be about a 1:1 ratio of pigment to binder. Just squirt a bunch of binder onto the pigment and start mashing it together with your palette knife.
When the pigment and binder are mixed and there’s no dry pigment remaining, now you can start mulling.
Because we’re working with eyeshadows, it’s not as satisfying as the videos online. They’re mixing large batches of paint and we’re just mixing a single little pan’s worth. But, it still was pretty fun and it finally satisfied the need to try this.
DO NOT: mull glittery eye shadows or metallics. This may scratch your muller.
Glitters and metallics can be mixed with your palette knife. My palette had several glittery shades and they mixed very easily without the muller, likely because they’re mostly glitter and very little pigment.

It won’t take much to mull the paint into a smooth consistency. Using my palette knife, I scaped and scooped up my paint off the muller and cutting board and let it dribble into my pan.
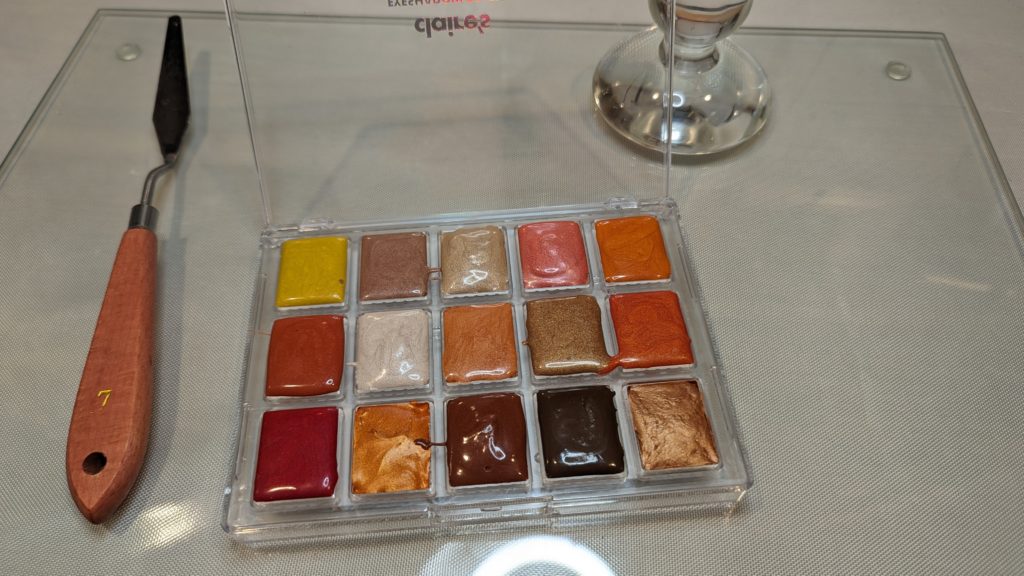
I made a little bit of a mess putting the paints into the pans, but overall I was pretty happy with how it came out.
You can use the wet paints immediately, especially if you decided to make them into gouache. But I put mine back into the palette to dry. It can take several days and up to a week to dry and they will probably crack.
I waited and tried them out on some watercolor paper. The result was very usable but not great. This was a child/teen palette and probably have a lot of fillers in them. I wasn’t expecting amazing watercolors. Before starting the project, I swatched a few of the shadows onto my arm like a beauty guru and I already knew the color payoff was not big.
My test swatches took 4 layers of watercolor to build up to this much color.
Palette 2: A more expensive palette with homemade binder
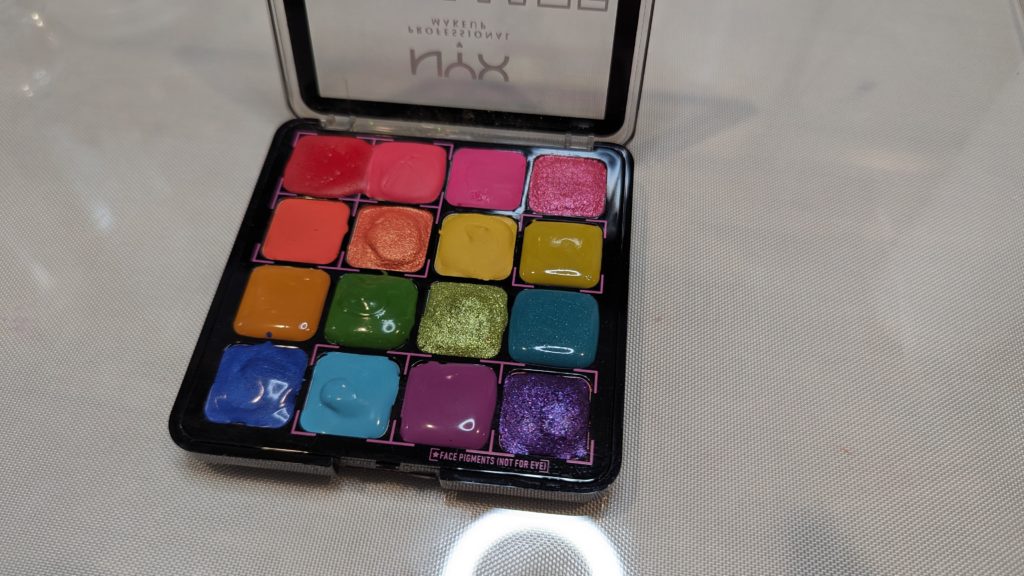
I decided to try an adult palette to see if a higher quality of eyeshadow would give better results. I stopped by my local discount stores and grabbed a small palette. It was after Christmas and the shelves were noticeably bare, but I did come across this NYX palette with a rainbow of colors. These looked far more fun than the previous one, so I also mulled all these into watercolors as well.
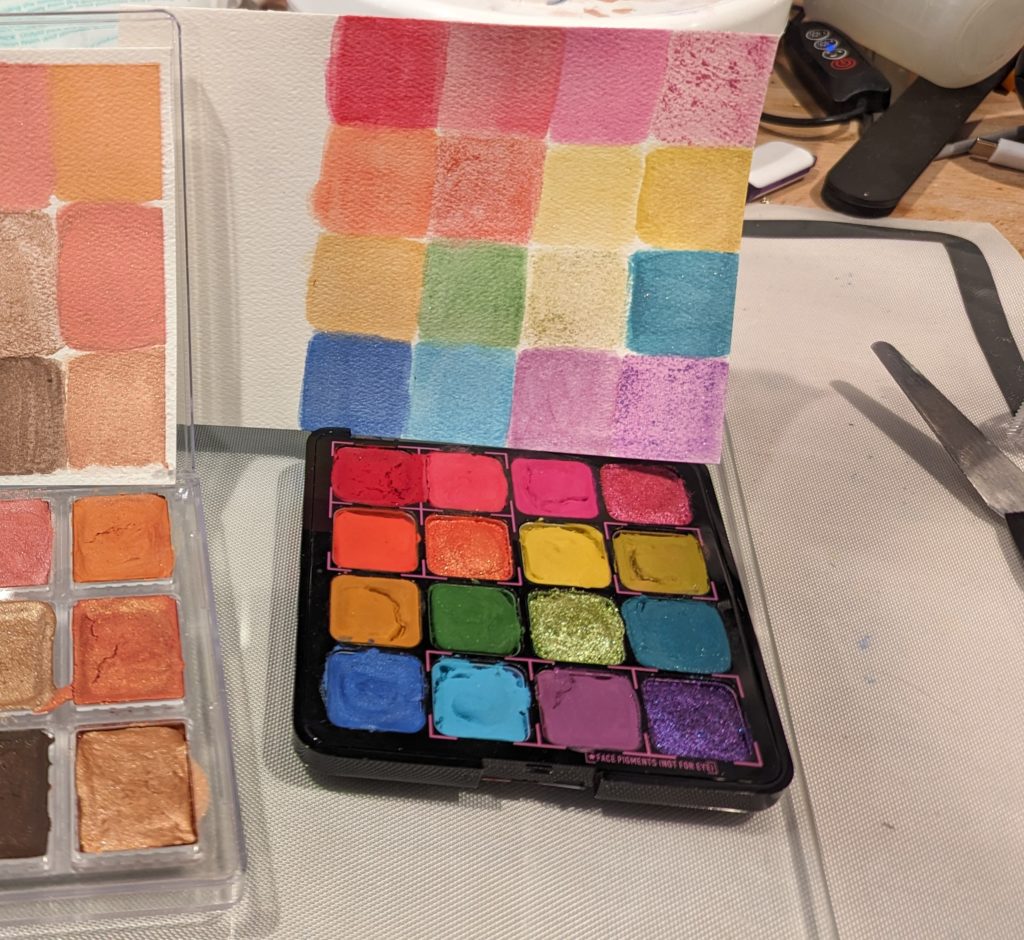
After swatching these on some watercolor paper, it was pretty clear these had much more pigment in them. It only took about 2 layers of watercolor to build up to this much coverage and get a nice solid square of color for most of these.
Palette 3: Nice palette with a professional binder
At this point, I had mulled my way through 2 palettes over the course of many nights and I also waited a week for each to dry before testing them. I talked myself into taking the last logical step and I wanted to try a professional binder instead of my homemade binder and try using it on a professional palette as well.
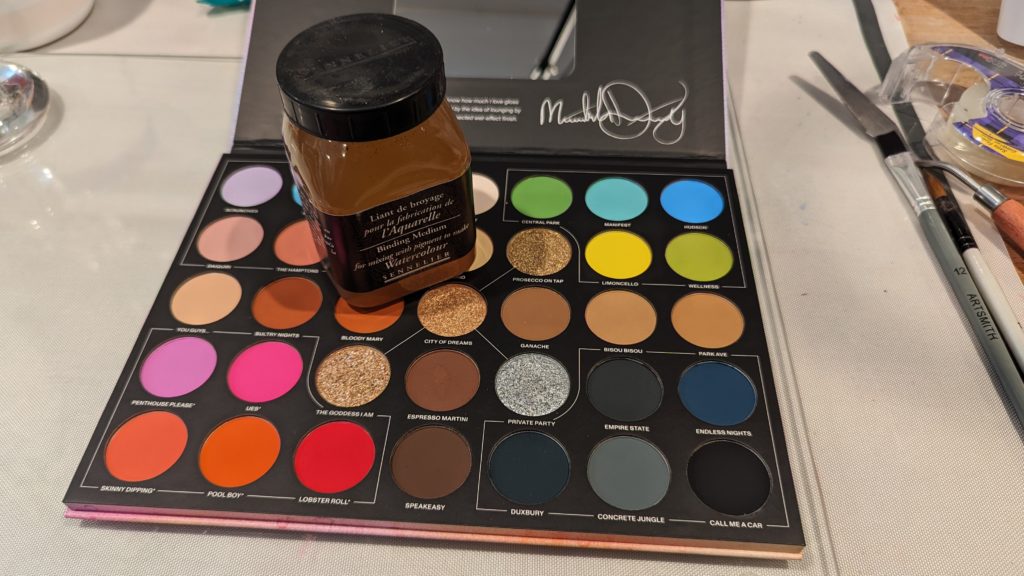
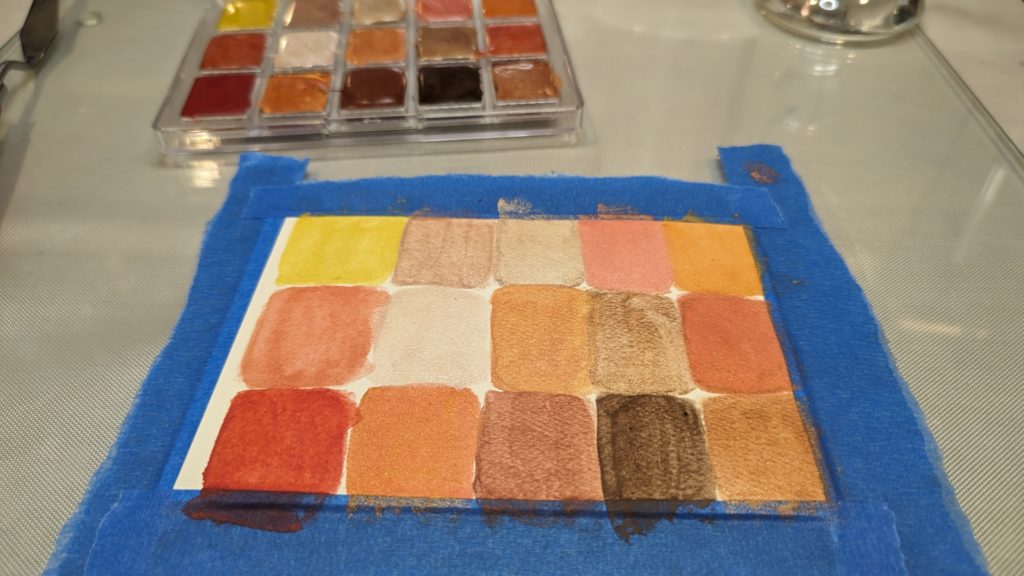
I ordered Sennelier Watercolor Binding Medium and then stopped at my local Ulta and grabbed the Morphe x Meredith Duxbury palette. I chose this palette because it 1) had skin tones, which are always hard to come by in paints, and 2) a rainbow of other colors and 3) a limited number of glitter/metallics.
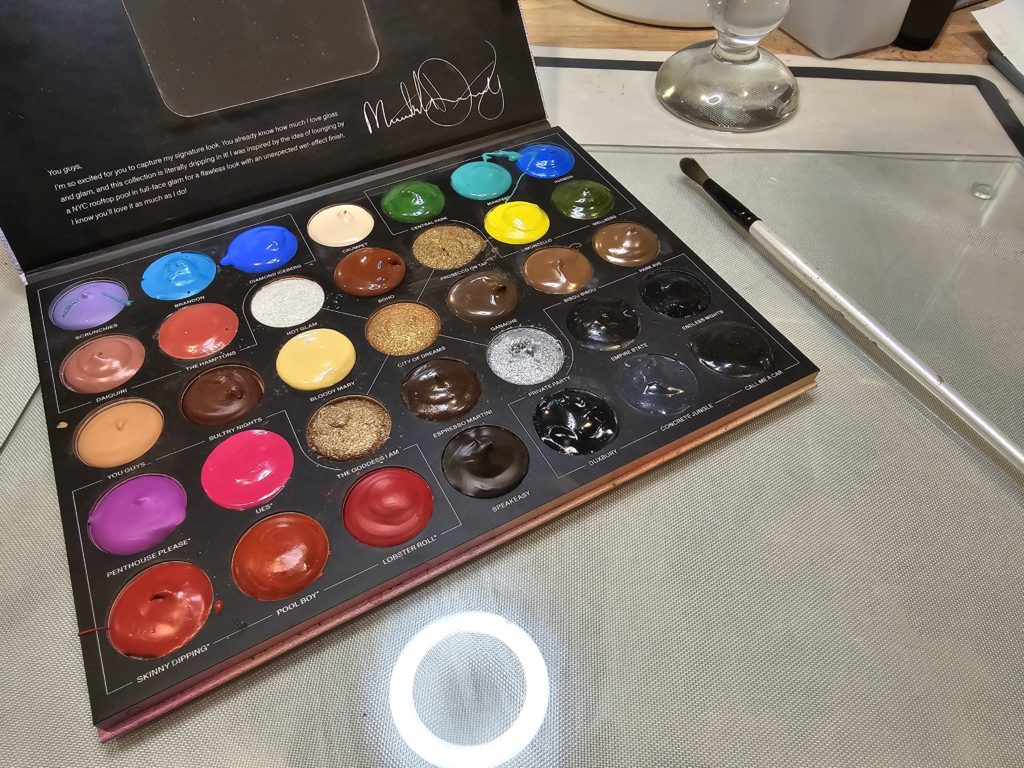
I spent the next several nights chipping out the eye shadows and mulling them all into paints with the professional binder.
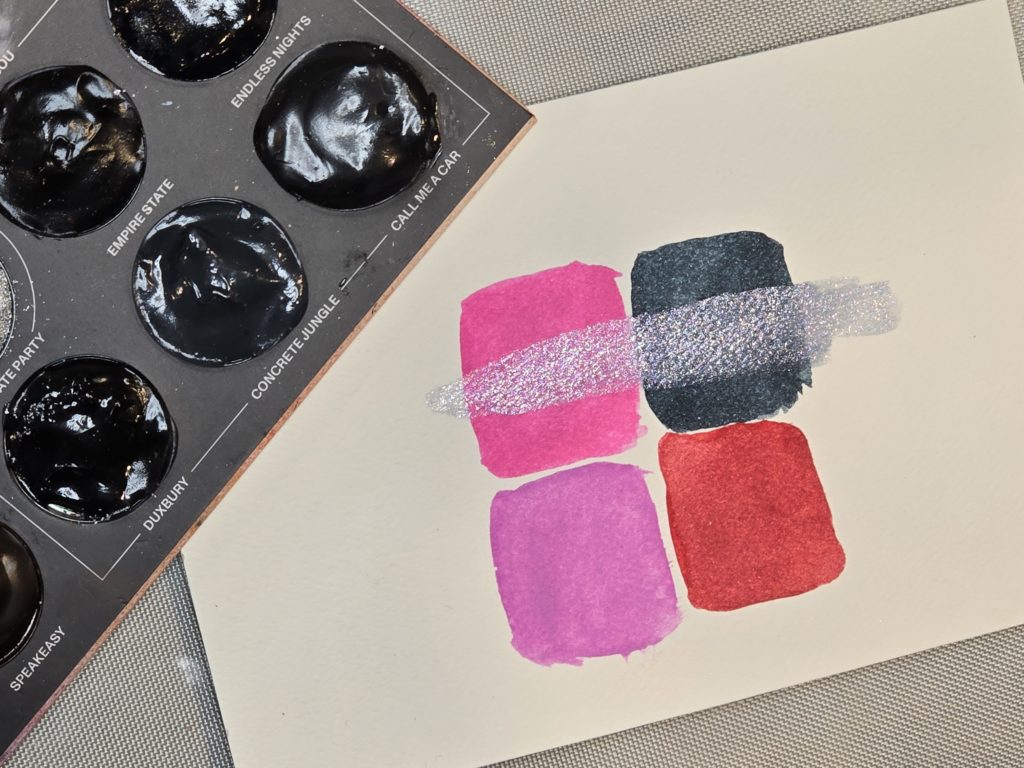
By this time, the project has been going on for weeks now and I’m running out of patience and just wanted to report my findings. I swatched a few of the colors from the first several eyeshadows that were dry. The rest of the colors will probably be drying for a while.
These really paid off. Unlike the homemade binder, these only took 1 layer of paint for this level of vibrancy. I also swatched one of the glitters on top. At first I thought you couldn’t even see it which is why i just brushed it on top thinking it might make a nice highlight. It also dried with nice coverage and is pretty reflective.
I’ll give the rest of this palette time to dry but I will have to come up with a project to use these paints on.
Wow! Love all the colors and your detailed results. I will look forward to seeing what you paint.