
Have you ever liked a type of art but had no idea what it was called so you couldn’t look up how it was made? I certainly have. I recently came across the word “Cloisonné” and realized it was one of those things I had always wanted to know about.
Essentially, Cloisonné is an ancient enameling technique where you outline your design with strips of metal, drop-in enamel paste to color in your design, and then fire it in a kiln.
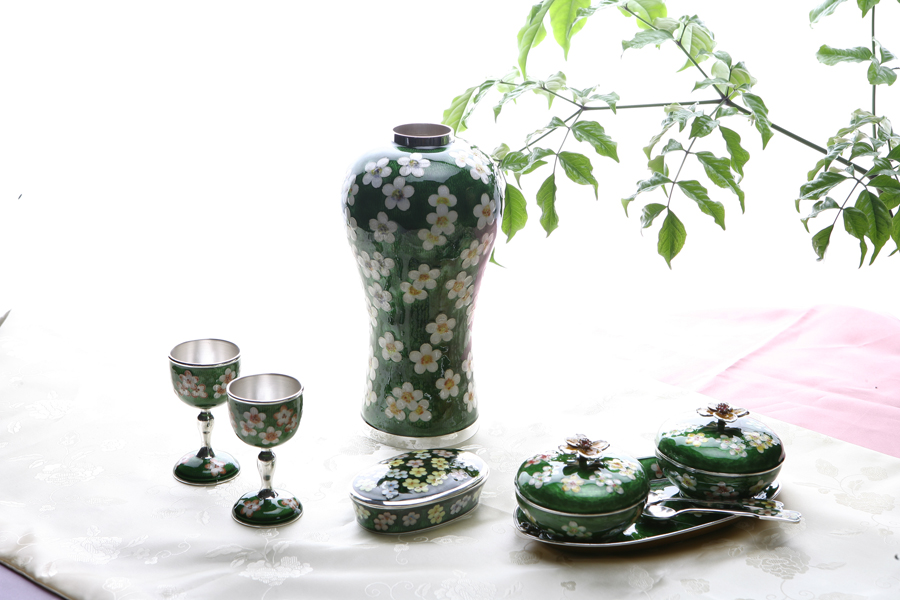
Because enameling must be fired with a torch or kiln, we mostly see enameling when it comes to jewelry using precious metals and jewels. Well, I say no.. no to all of that. I want to play around with the technique, but I don’t really want to make an investment in it. I ordered some aluminum metal strips and I have resin and colorants to use so I thought I would show you how to poorly create a faux-cloisonné piece. I’m sure anyone who actually does enameling will hate this but I am just playing around, so don’t expect anything fancier than a half-assed proof of concept.
For my first attempt, I’ll just make a little pendant. I used the following materials:
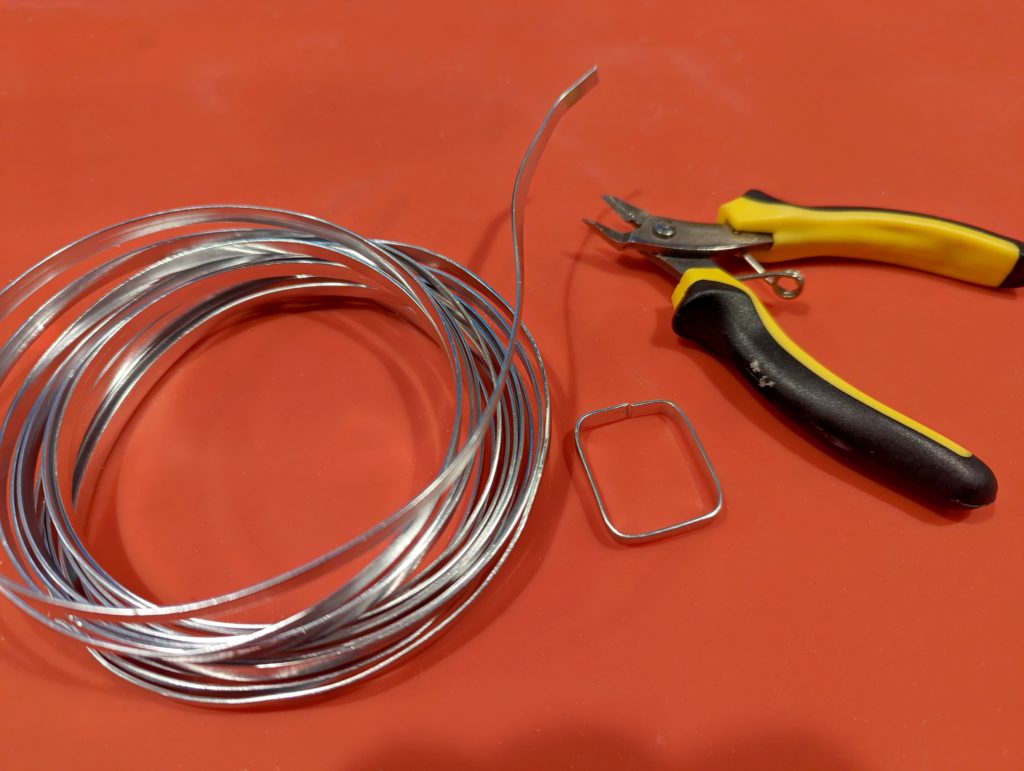
- 18g Flat Jewelry Craft Wire
- Wire Cutters (the ones that come with the craft wire are awful).
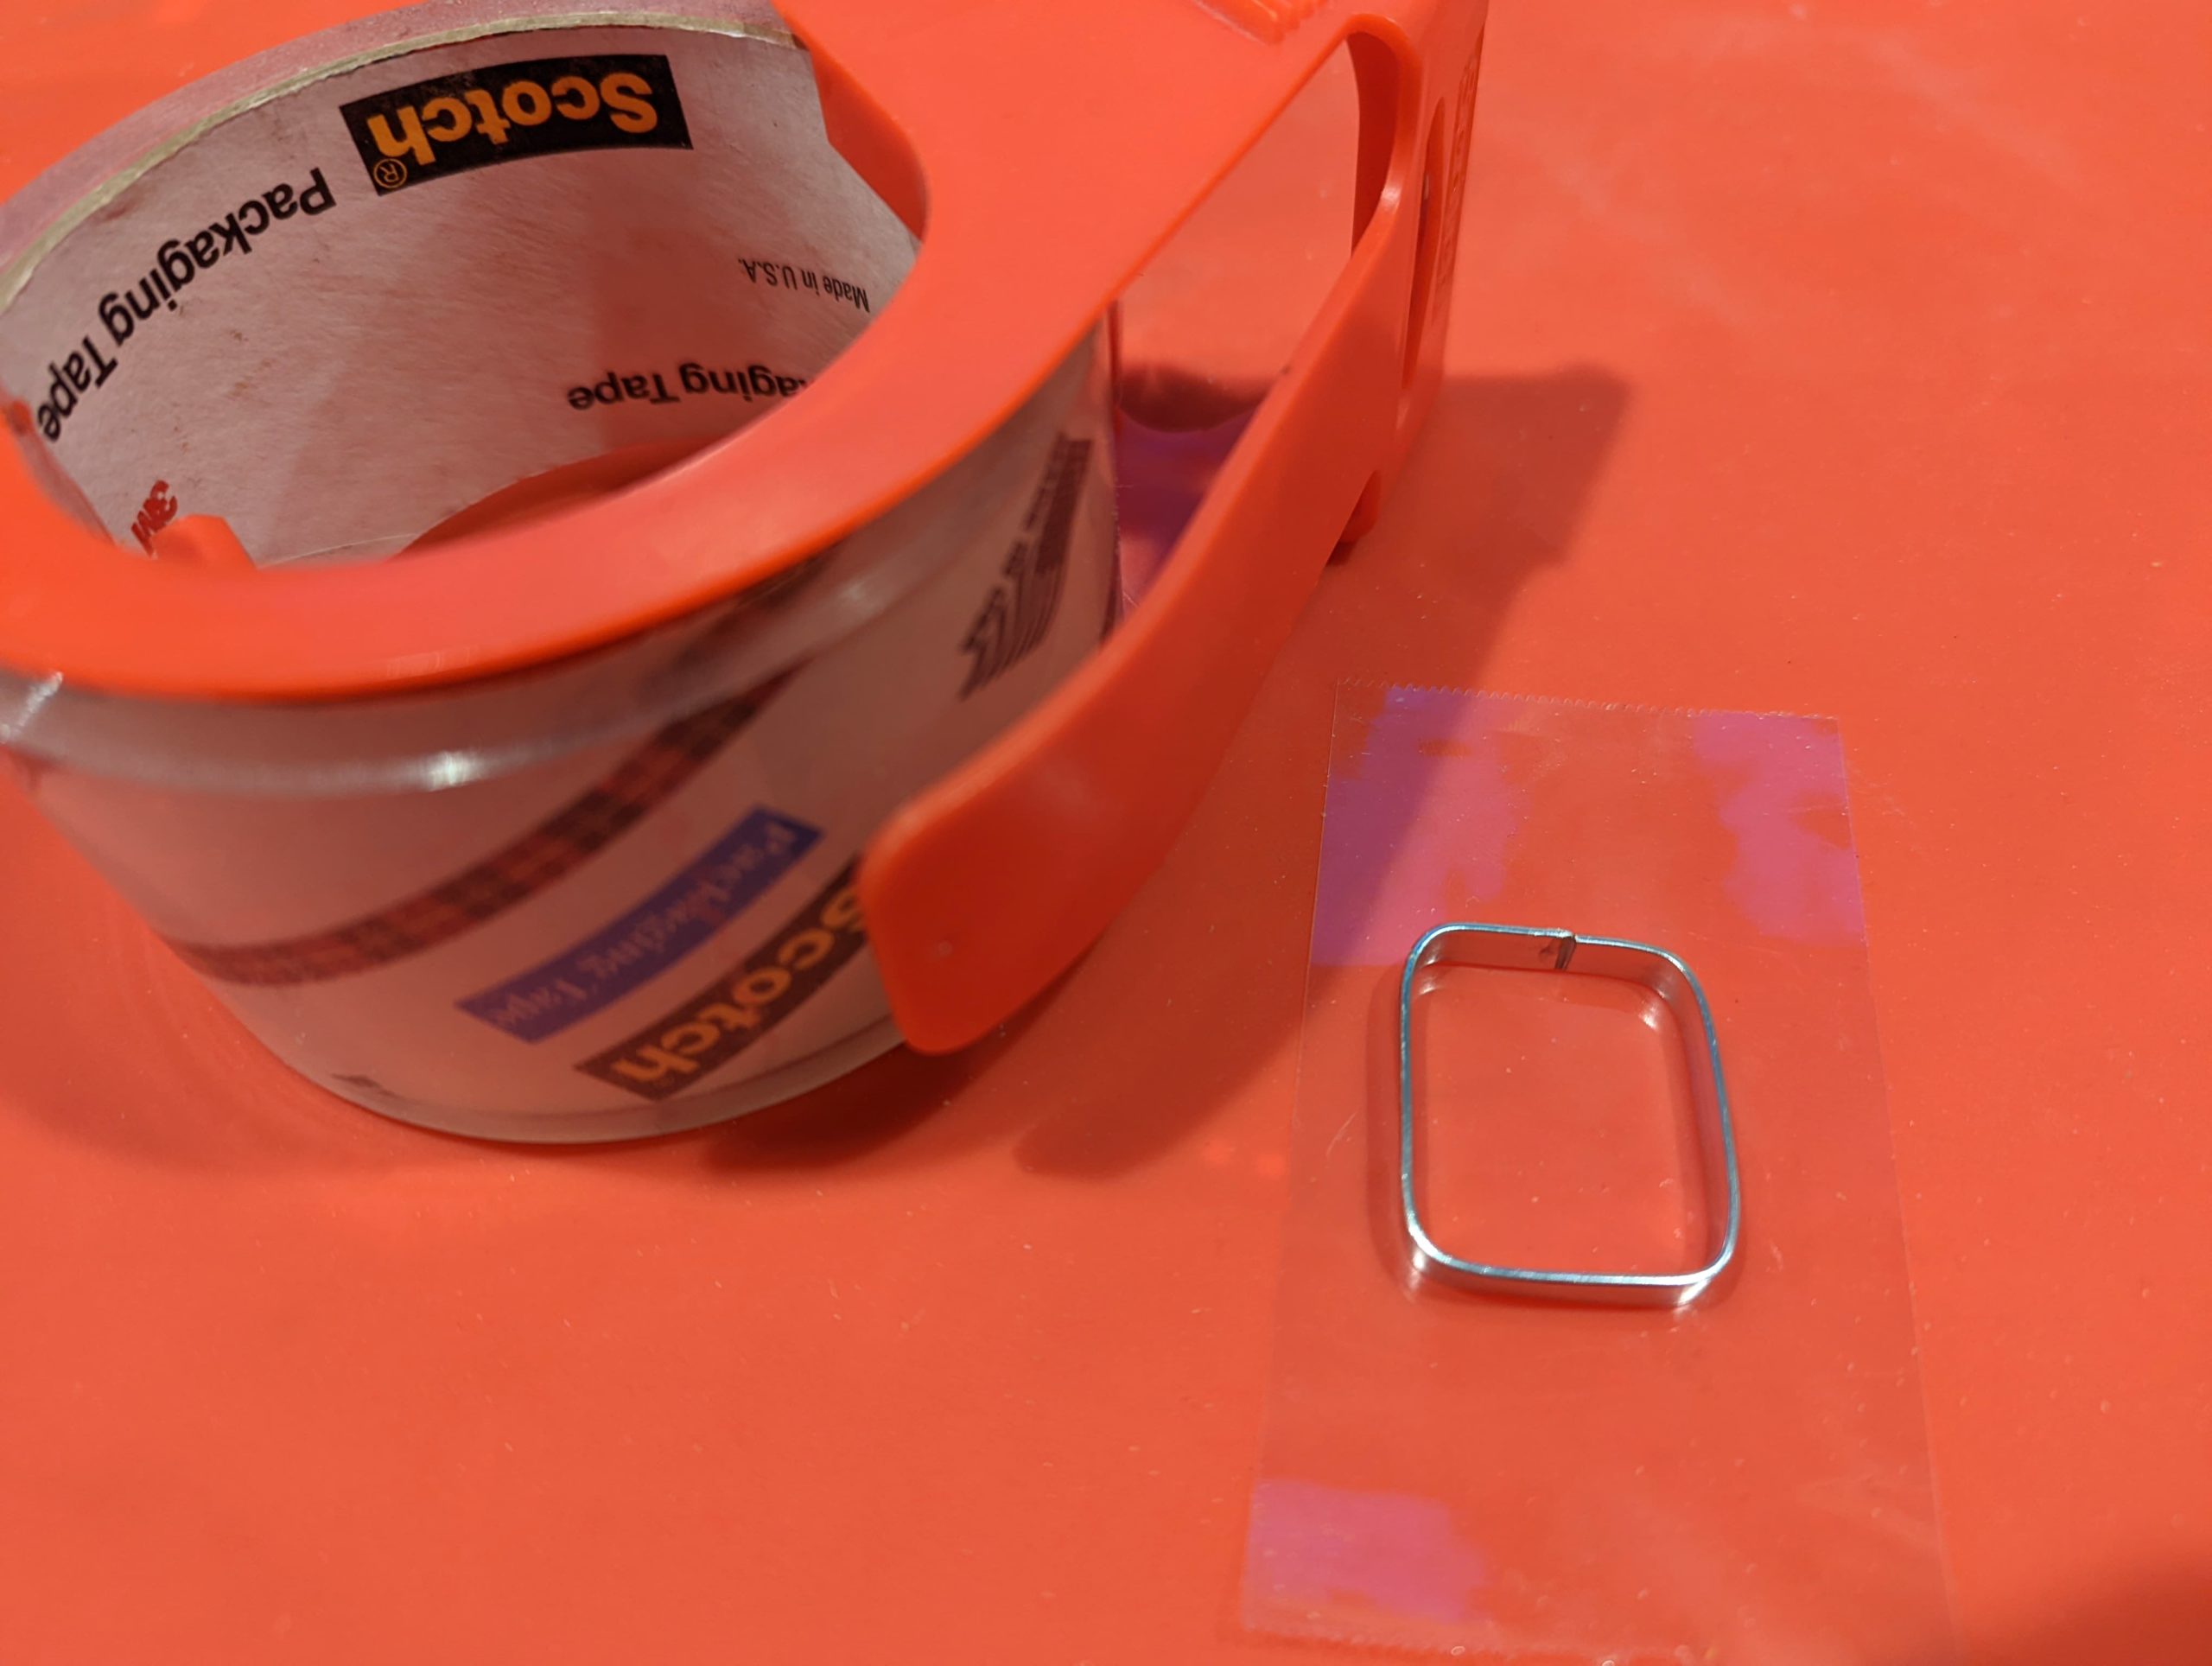
- Clear Scotch Packing Tape
- UV Resin
- Resin Colorant (I used Alcohol Inks)
- Wire Jig board (optional)
- UV LED Lamp to cure Resin
- Mixing cups and stir-sticks to mix the color into the resin
I started my project by creating a border in which I’ll put a simple design. I quickly realized the wire snips that came with the aluminum strips were pretty much useless, which is why a separate pair was included in the materials list.
In Cloisonné, you would normally glue each piece down to the object you are working on top of. The glue used is temporary but strong enough to tack the pieces into place until it’s fired. Since I’m not working on top of anything and this is more of a pendant or stand-alone piece, I stuck my border piece down to a piece of packaging tape and I’ll continue building my project on that.
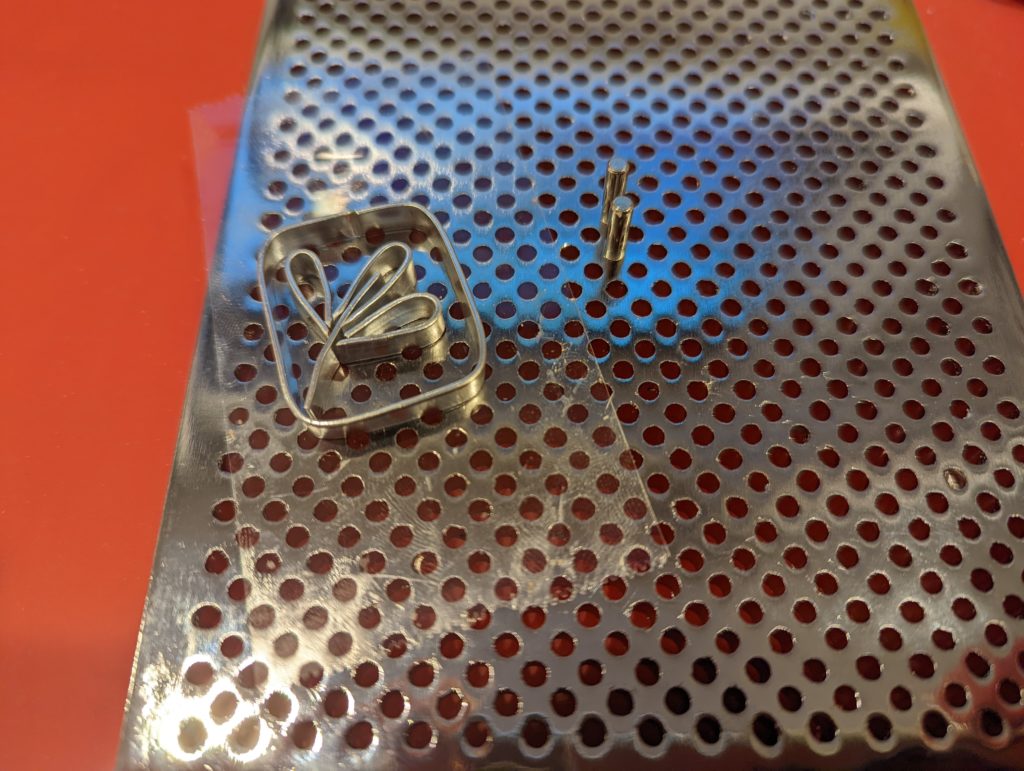
I happened to have one of these wire-bending jigs. If you also have one I would suggest digging it out and using it. Aluminum is really easy to bend, but this will help make any lines straight and orderly. It will also keep your shapes consistent if you are making multiple.
I created a simple plant shape and stuck each piece down to the tape as I went.
I did notice a few gaps in my metals strips where the resin could leak out so I did take a moment to cure a drop of resin in those areas before moving on.
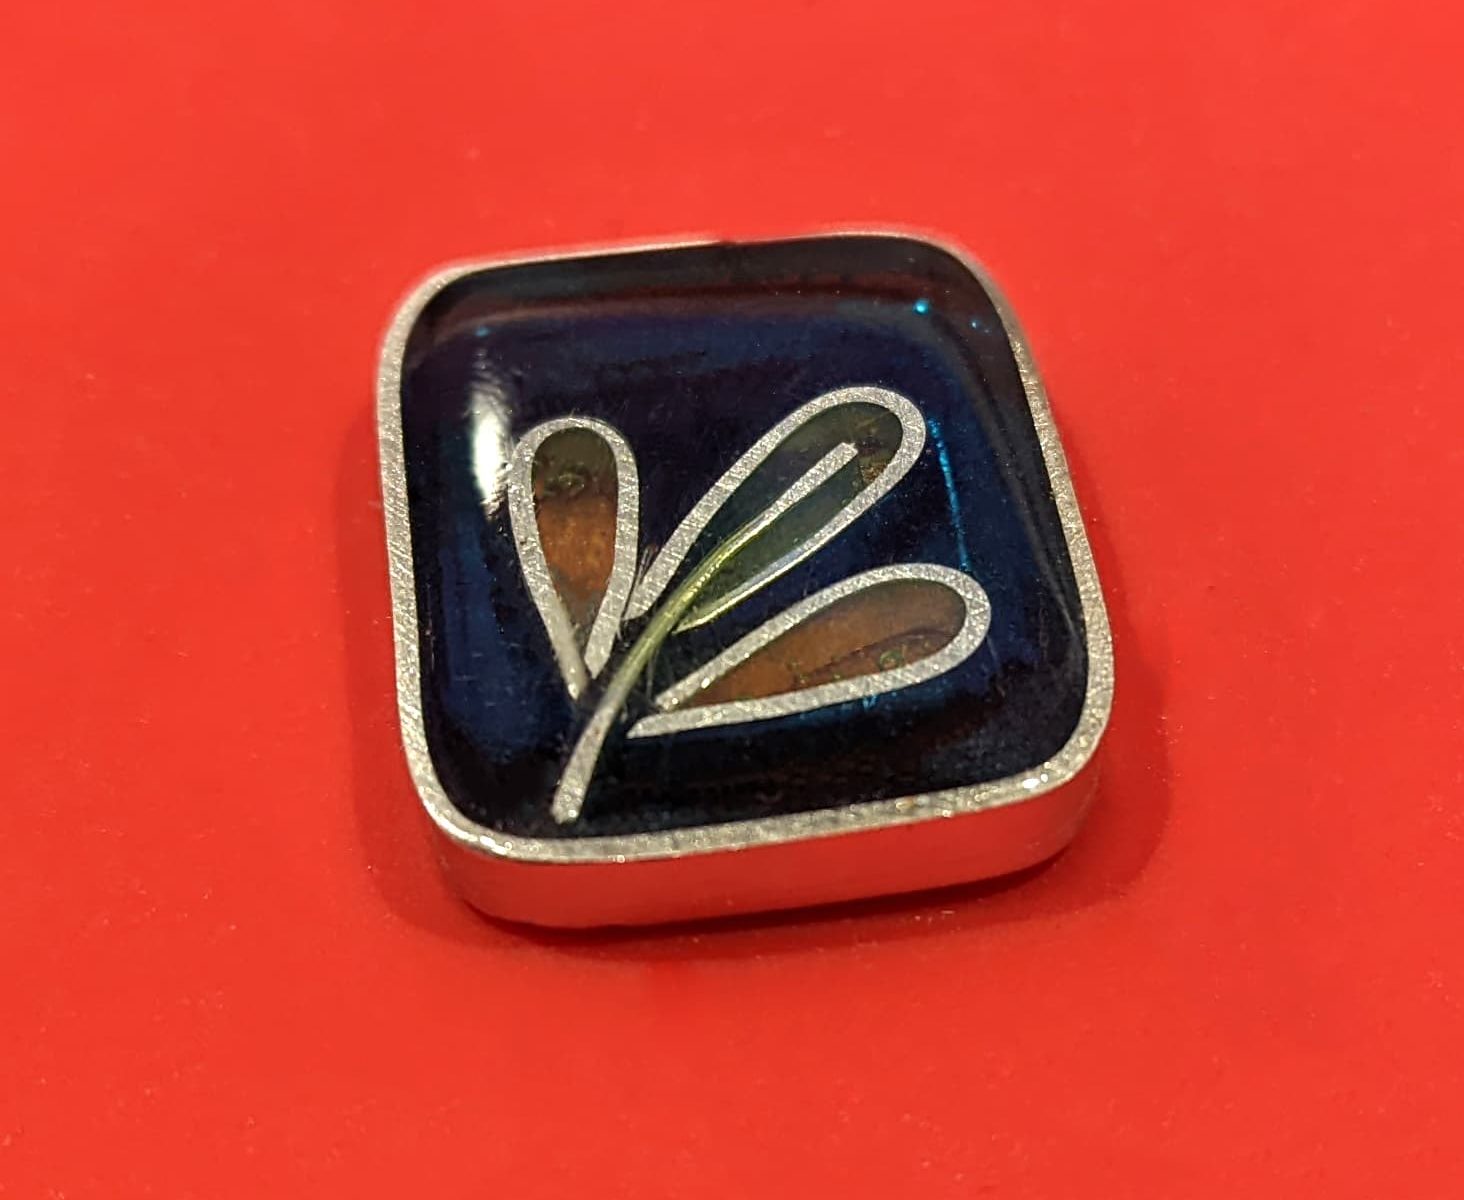
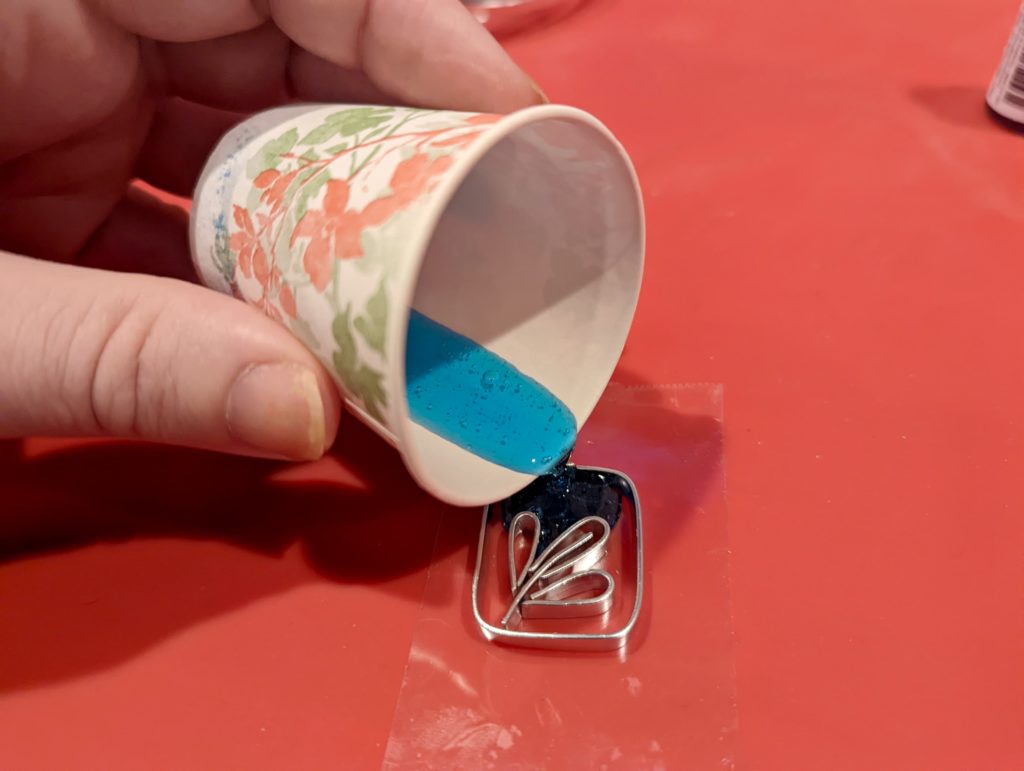
Next, we get to color everything in. My piece is tiny, so I only mixed 2 colors: blue for the background and yellow for the plant-like thing. Using a mixing cup and a stir-stick, I just added one drop of alcohol ink to a small squirt of resin before carefully pouring the resin between the metal channels.
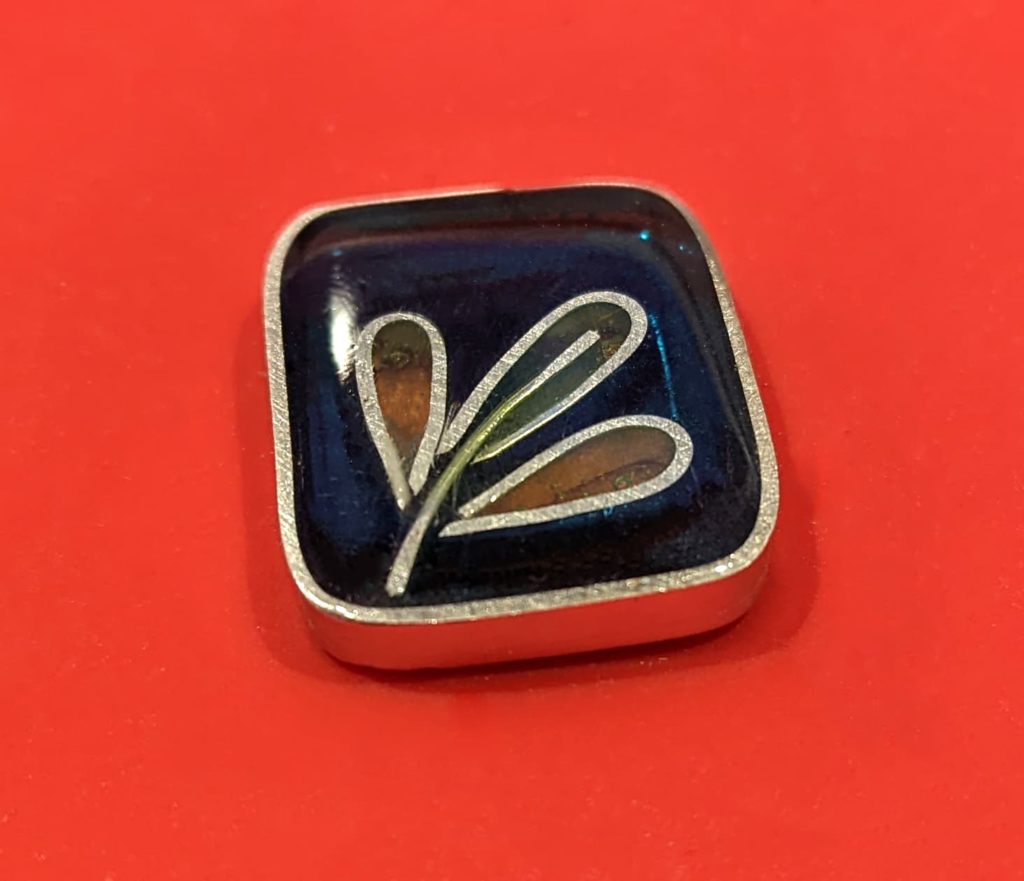
I let my piece cure for a few minutes under the UV lamp and decided to top it off with a dome of clear resin.
If this wasn’t just a quick test piece, I would glue a bail finding onto the back with some E6000 glue and leave it set for a full day.
It’s pretty dark here because it’s sitting on the table. But if you hold it up it looks like a tiny piece of stained glass.
Now that I’ve gone through the process, I’ll have to come up with a project to use this technique on and really spend some time cutting the aluminum nicely and in a more intricate design.
What would you make?
That’s so cool! I’m just starting out doing resin art, and I was wondering: does epoxy resin work for cloisonne/wire art as well as UV resin? I have a bunch of epoxy, but I’m afraid to try it with my wire art.
Absolutely, it will just take a lot longer and you’ll need to be more careful about how things fit together to avoid leaks.