I thought I could handle it but the perfectionist in me just couldn’t. In a post a few days ago I said I didn’t care about the mistakes, but then I looked at it again and I started pulling out a few of the rows and tried to re-knit it. Then I realized I kept making more mistakes as I sat and watched my crime shows. I tore the knit up, rewound the skein and started over.
I picked a simple pattern, something I could do while watching my shows and mindlessly knit away. The good thing about a rib stitch is that you can quickly see what stitch you’re supposed to do from the rows below.
I picked a 2×3 rib stitch (2 knits, 3 purls), so it will stretch to more than twice it’s width.
It still has its problems, but those problems are not from me. This particular skein of yarn had a bunch of breaks and was rejoined at the factory. So those inconsistencies are just knots.
Didn’t I just said I wouldn’t get around to trying the Cricut Maker until all the cleaning I was doing was complete? Apparently, I’m a big liar because I had an hour before bedtime last night and I jumped right into unboxing the new machine.
One nice thing I noticed after opening the box is they gave you a few pieces of material to get you acquainted with the machine. Once you load the software you can do these simple test projects with the materials provided.
Speaking of software, I’d like to point out the new machine lets you use pretty much any device. I thought I had saw an iPad in their advertisements, but I didn’t realize you could use android as well. To get started, I just pulled out my android phone and told it to run the first project.
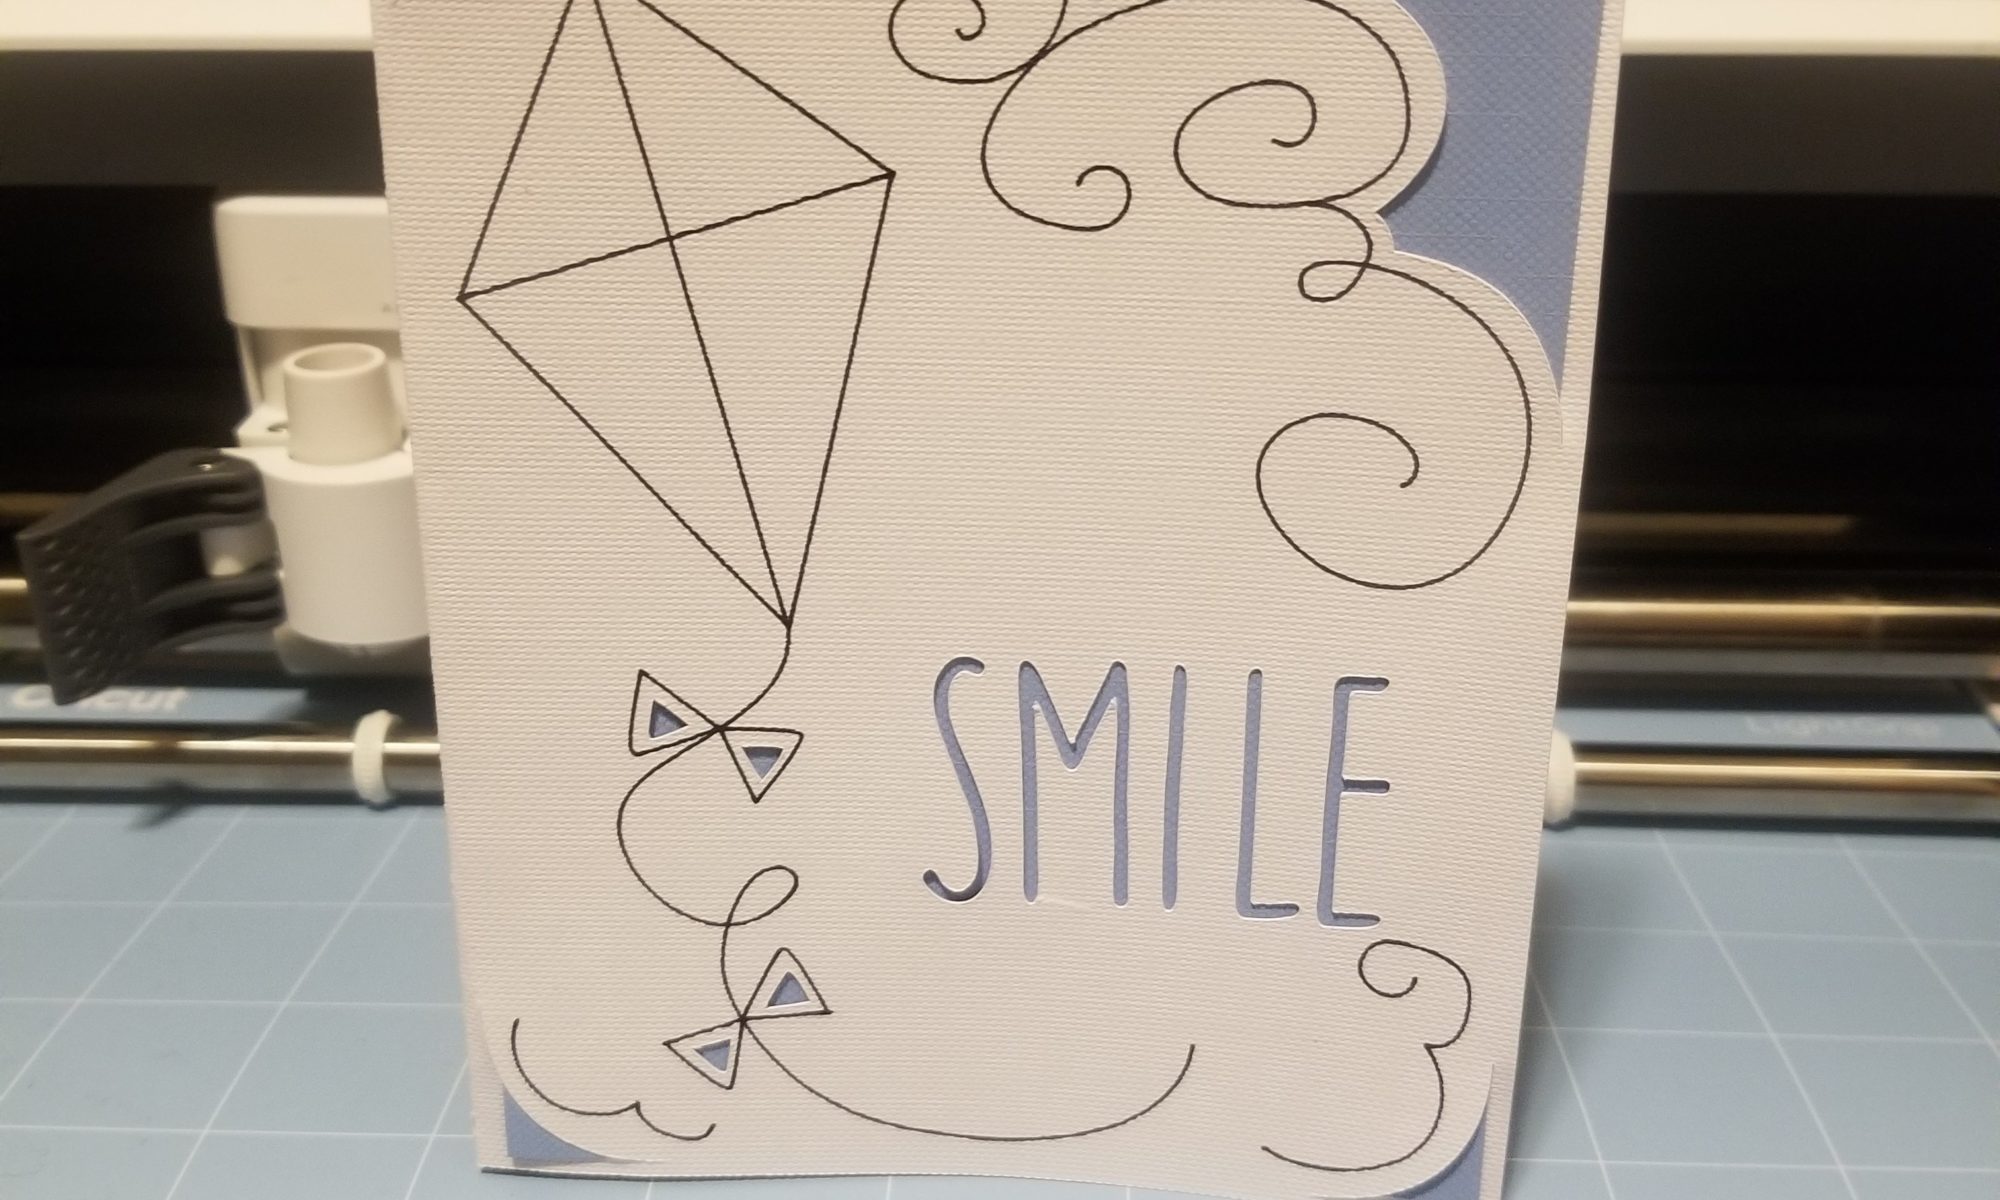
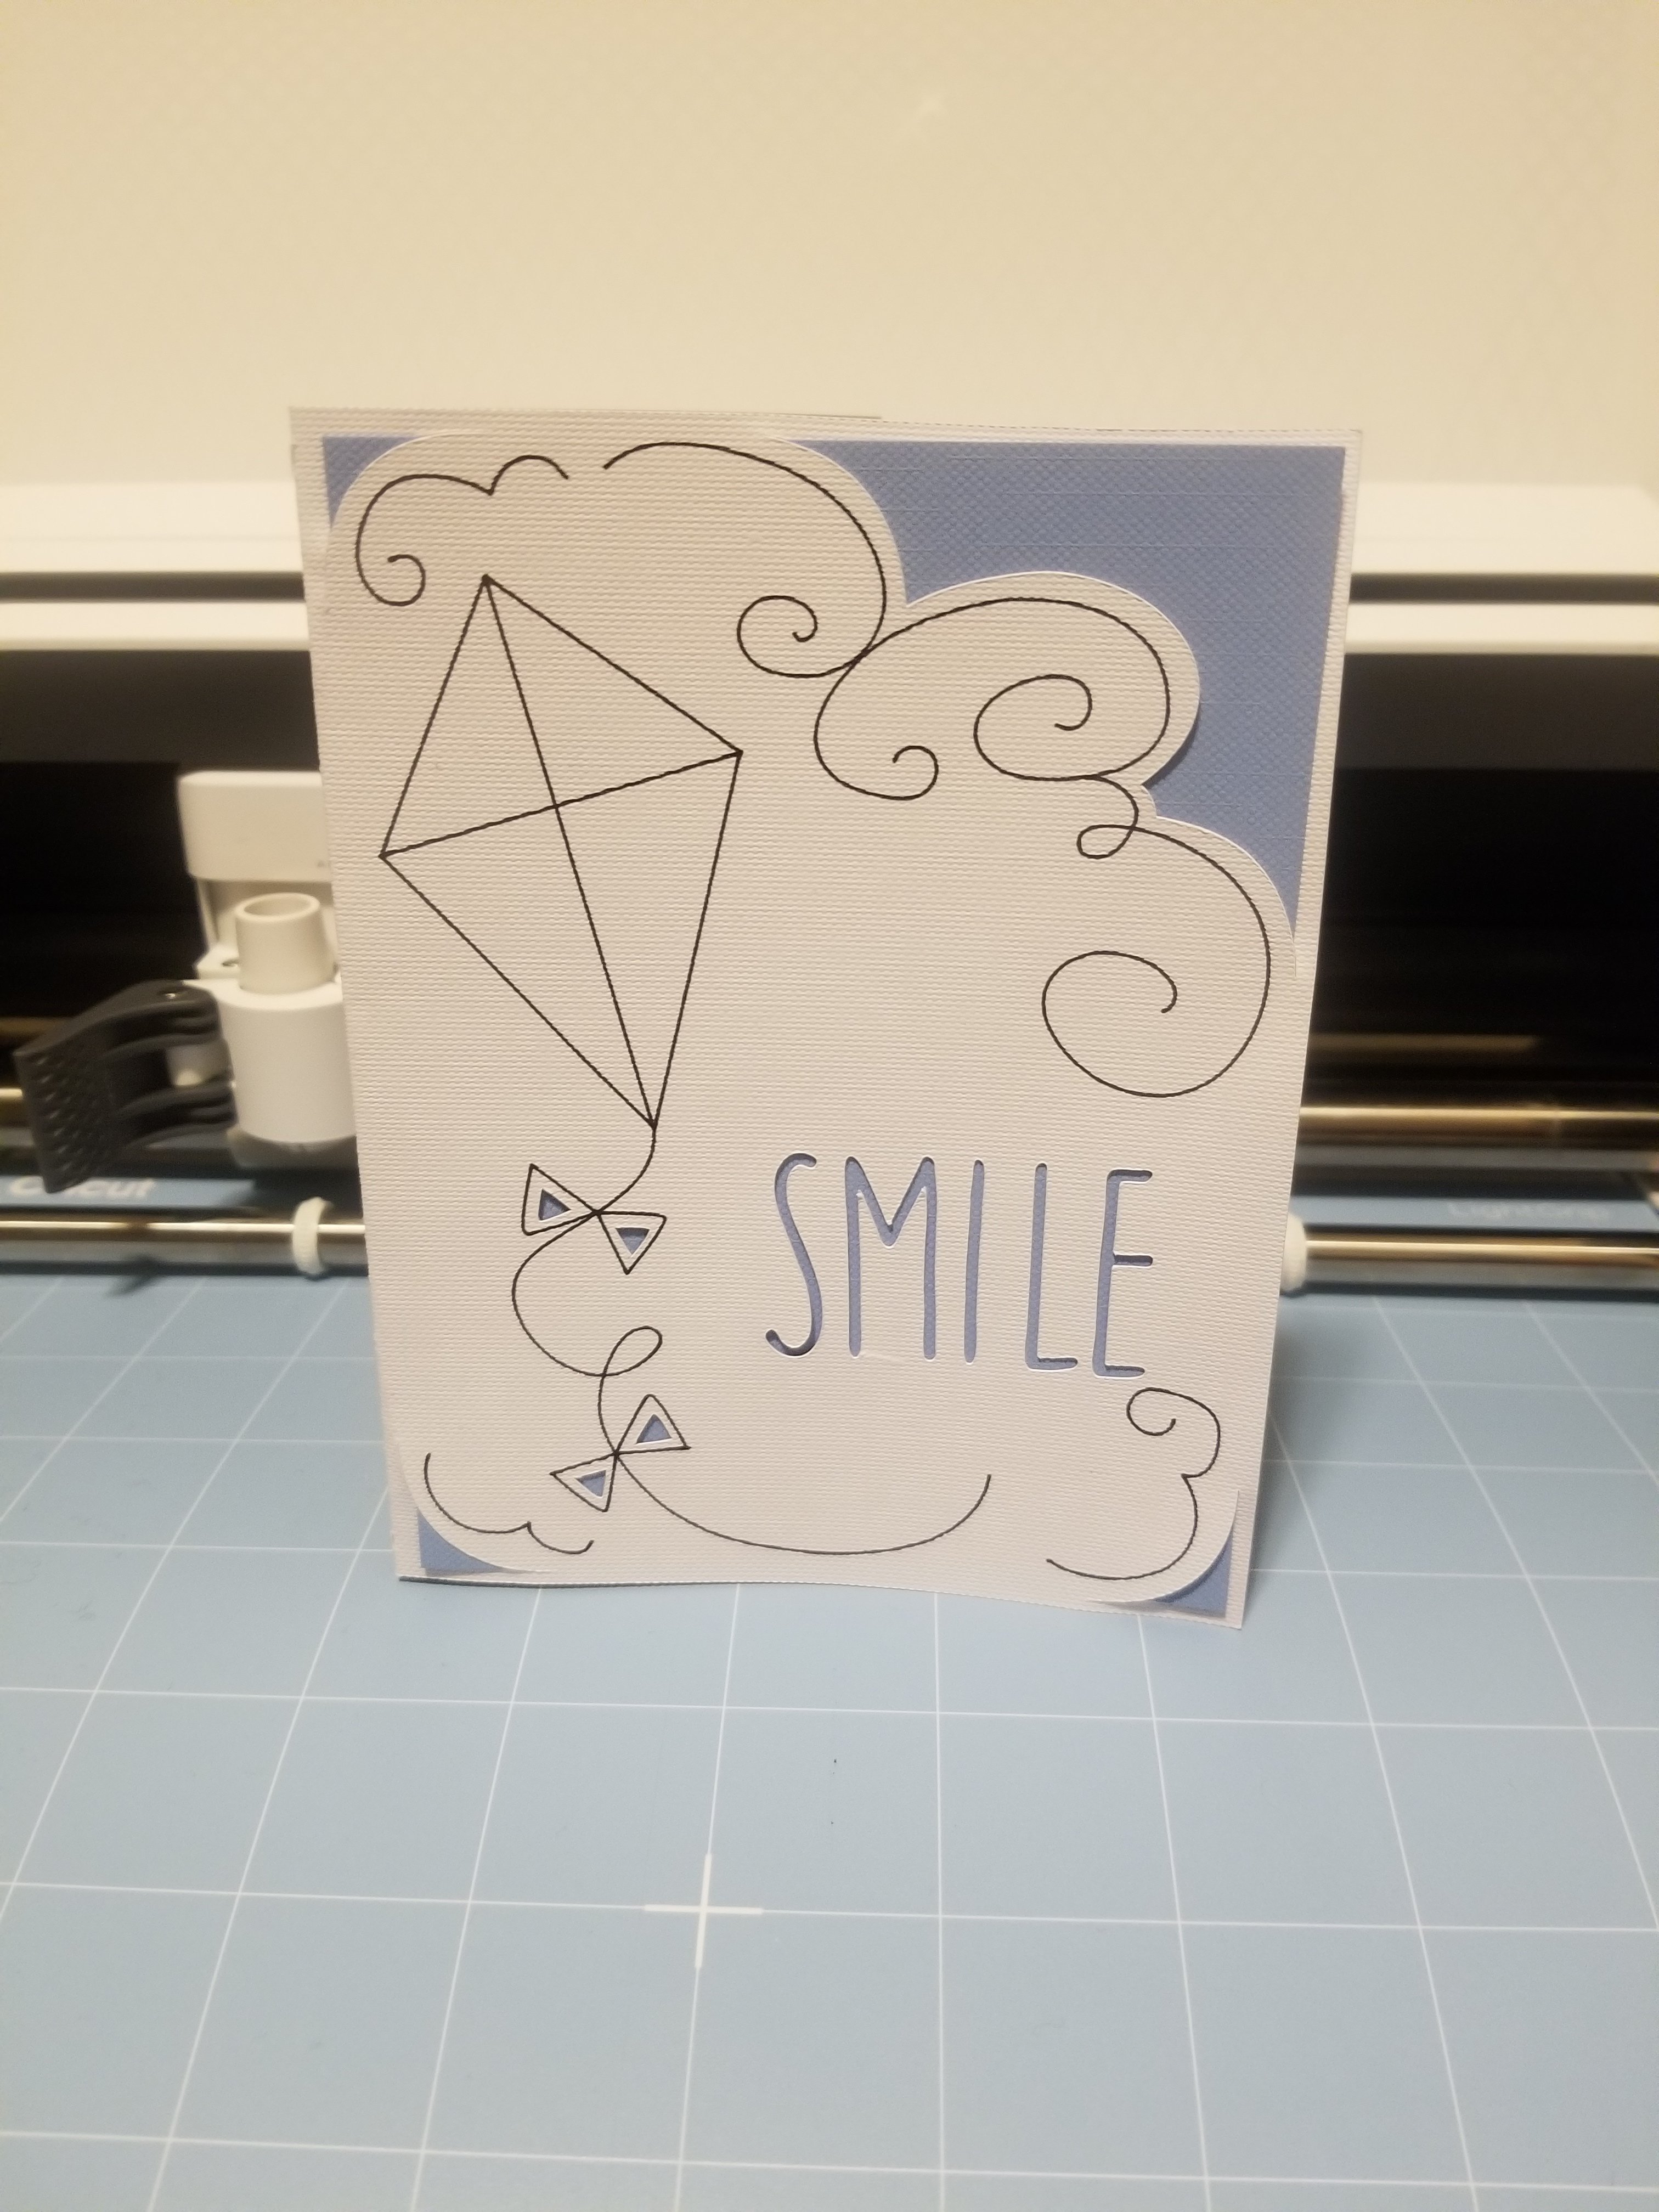
It’s a simple card and kinda cute. It demonstrated it could draw and cut the paper. Which, my old one did. What I did notice with the tools on this machine is that everything is much finer. The cutting blade actually cut fine angles and pieces without issue. The previous machines it was more of a needle tearing through the paper, which worked, but also caused problems if you did anything tiny.
Also the pens are finer. These are more like micron pens instead of fat markers which pretty much made the pens on the previous machine useless since they could only do large letters.
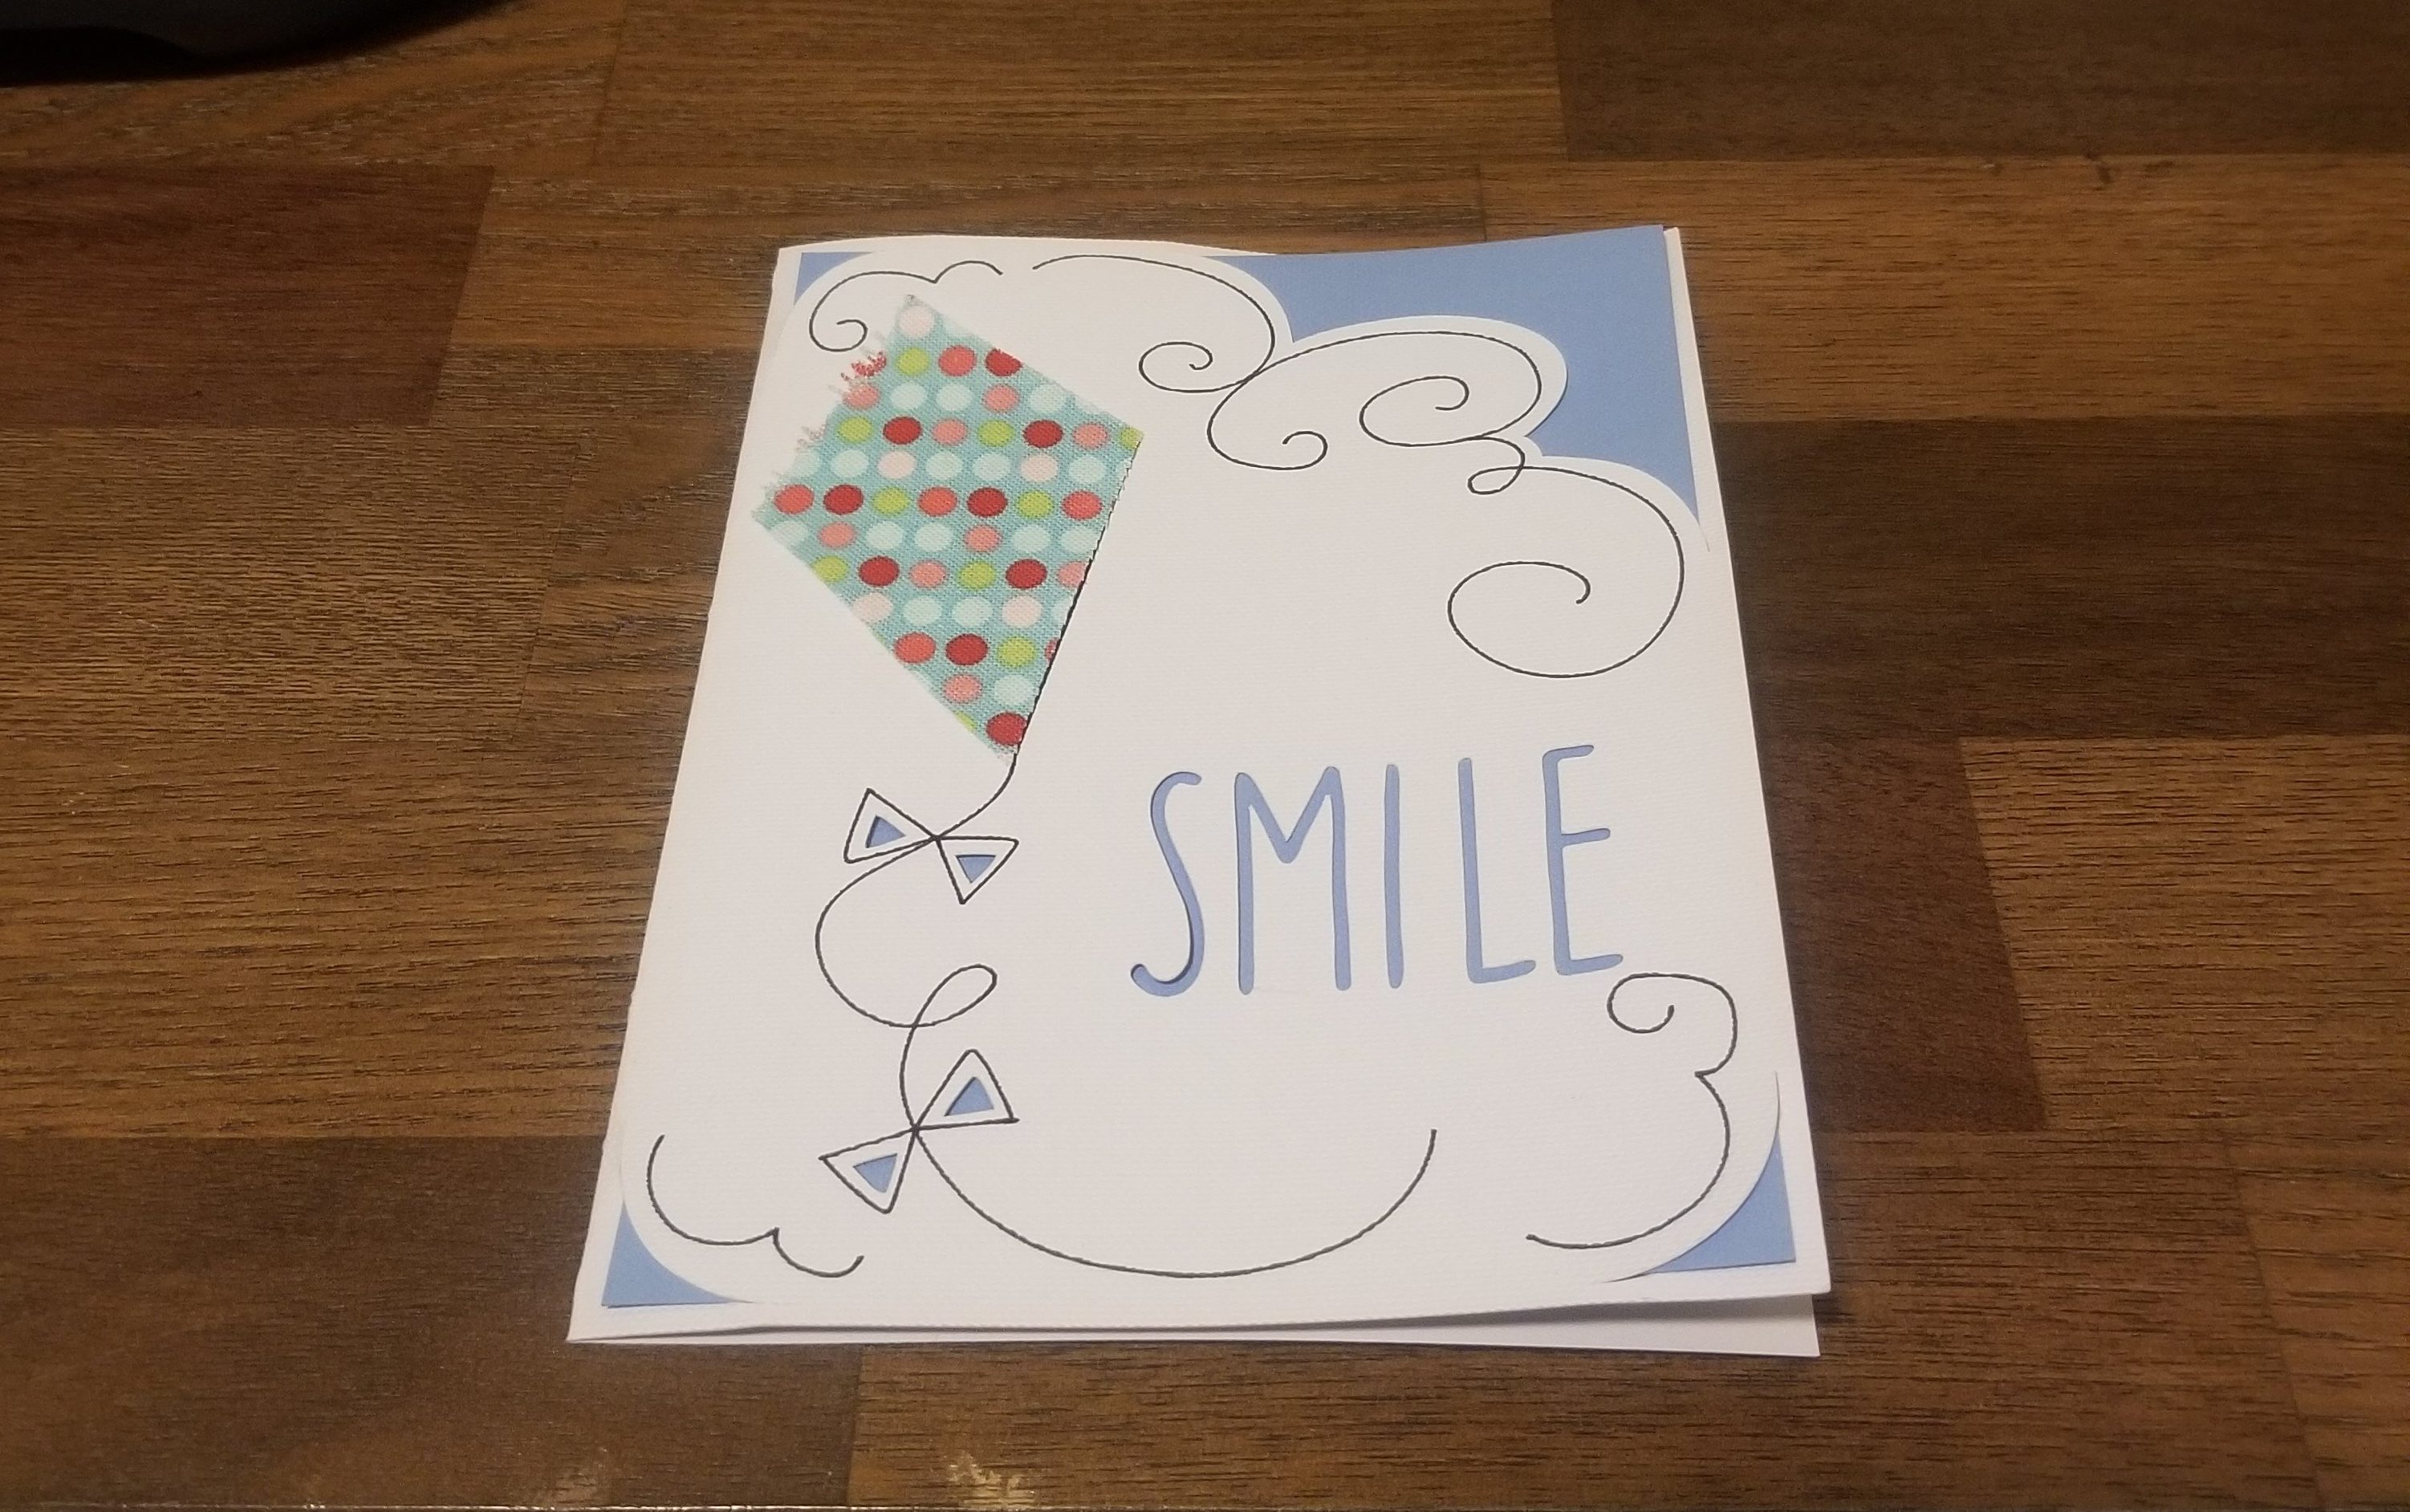
Last, you could test out cutting fabric to embellish the project, which was what I was most interested in. The sample fabric was basic quilting cotton and it cut 4 straight lines without a problem. I would’ve hoped for something slightly more impressive as a demonstration, but it did the job.
After browsing the marketplace for projects to cut, I realized there wasn’t much for me there. I’m well aware I’m not their typical demographic. So a market place of frilly items like doll clothes and lady hats isn’t going to provide much value to me. But I’m used to that. Generally, I prefer to design my own projects but it’s nice to know if I need party signs or random things that they are available.
I spent the weekend cleaning, again. I’m still cleaning my room. It’s not that I’m a slob (I am though), it’s that I have too much stuff for my tiny room. What I’ve been doing is more of a deep clean and simplifying my life a bit. I’ve been going through every drawer, all the clothes in the closet, even under the bed where the monsters are and throwing out things I don’t need.
I made my way through half the closet, half a dresser and one of the desks. Yes, one of the desks — I have multiple. I also have 3 dressers. I’ve really crammed a lot into my small room.
You see, I take up most of the house so I opted to not have the master bedroom. Instead, I take up the other 3 bedrooms and a garage, which all serve as craft rooms. Also, my crafts spill out into the dining room as well but let’s pretend that isn’t happening.
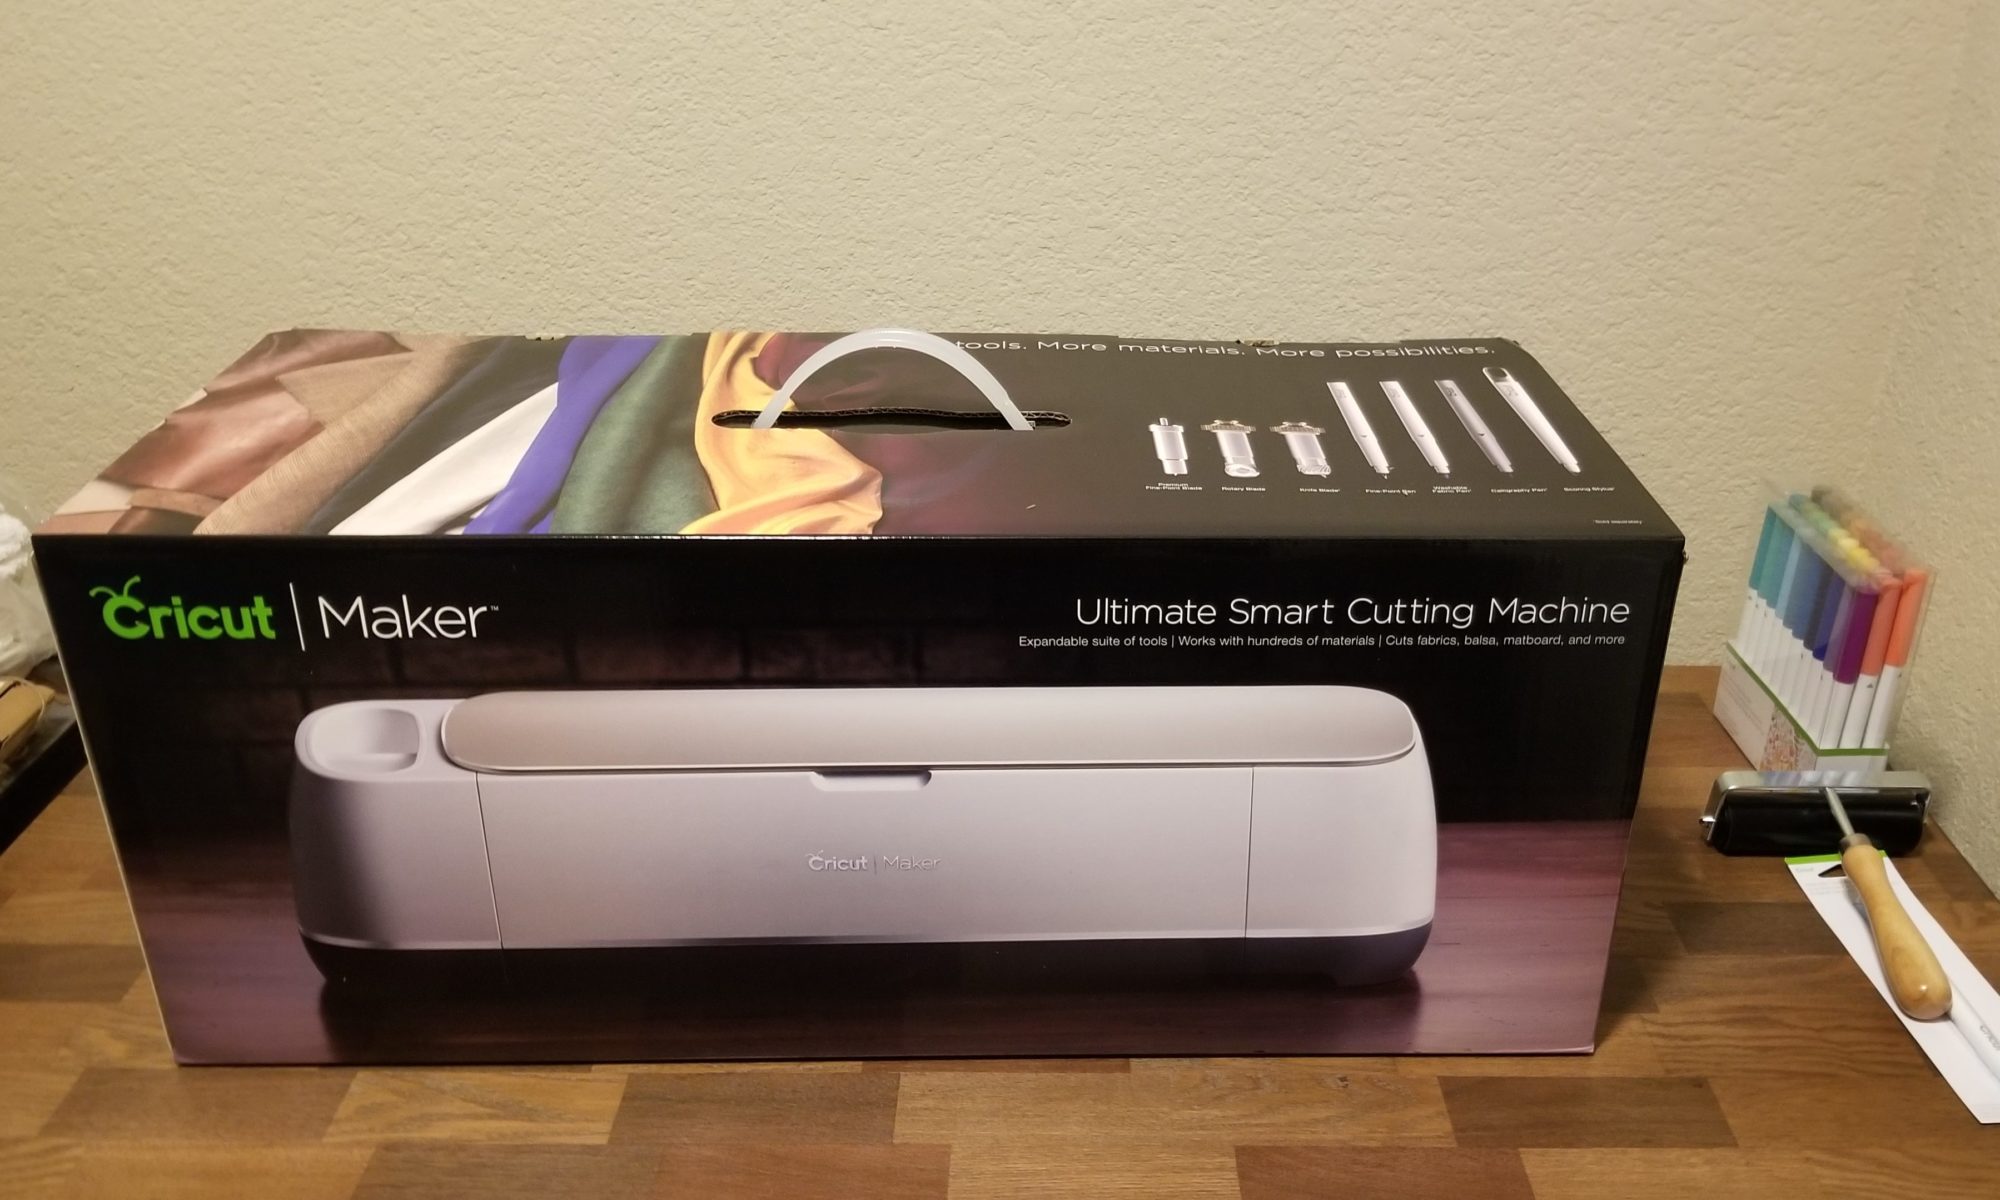
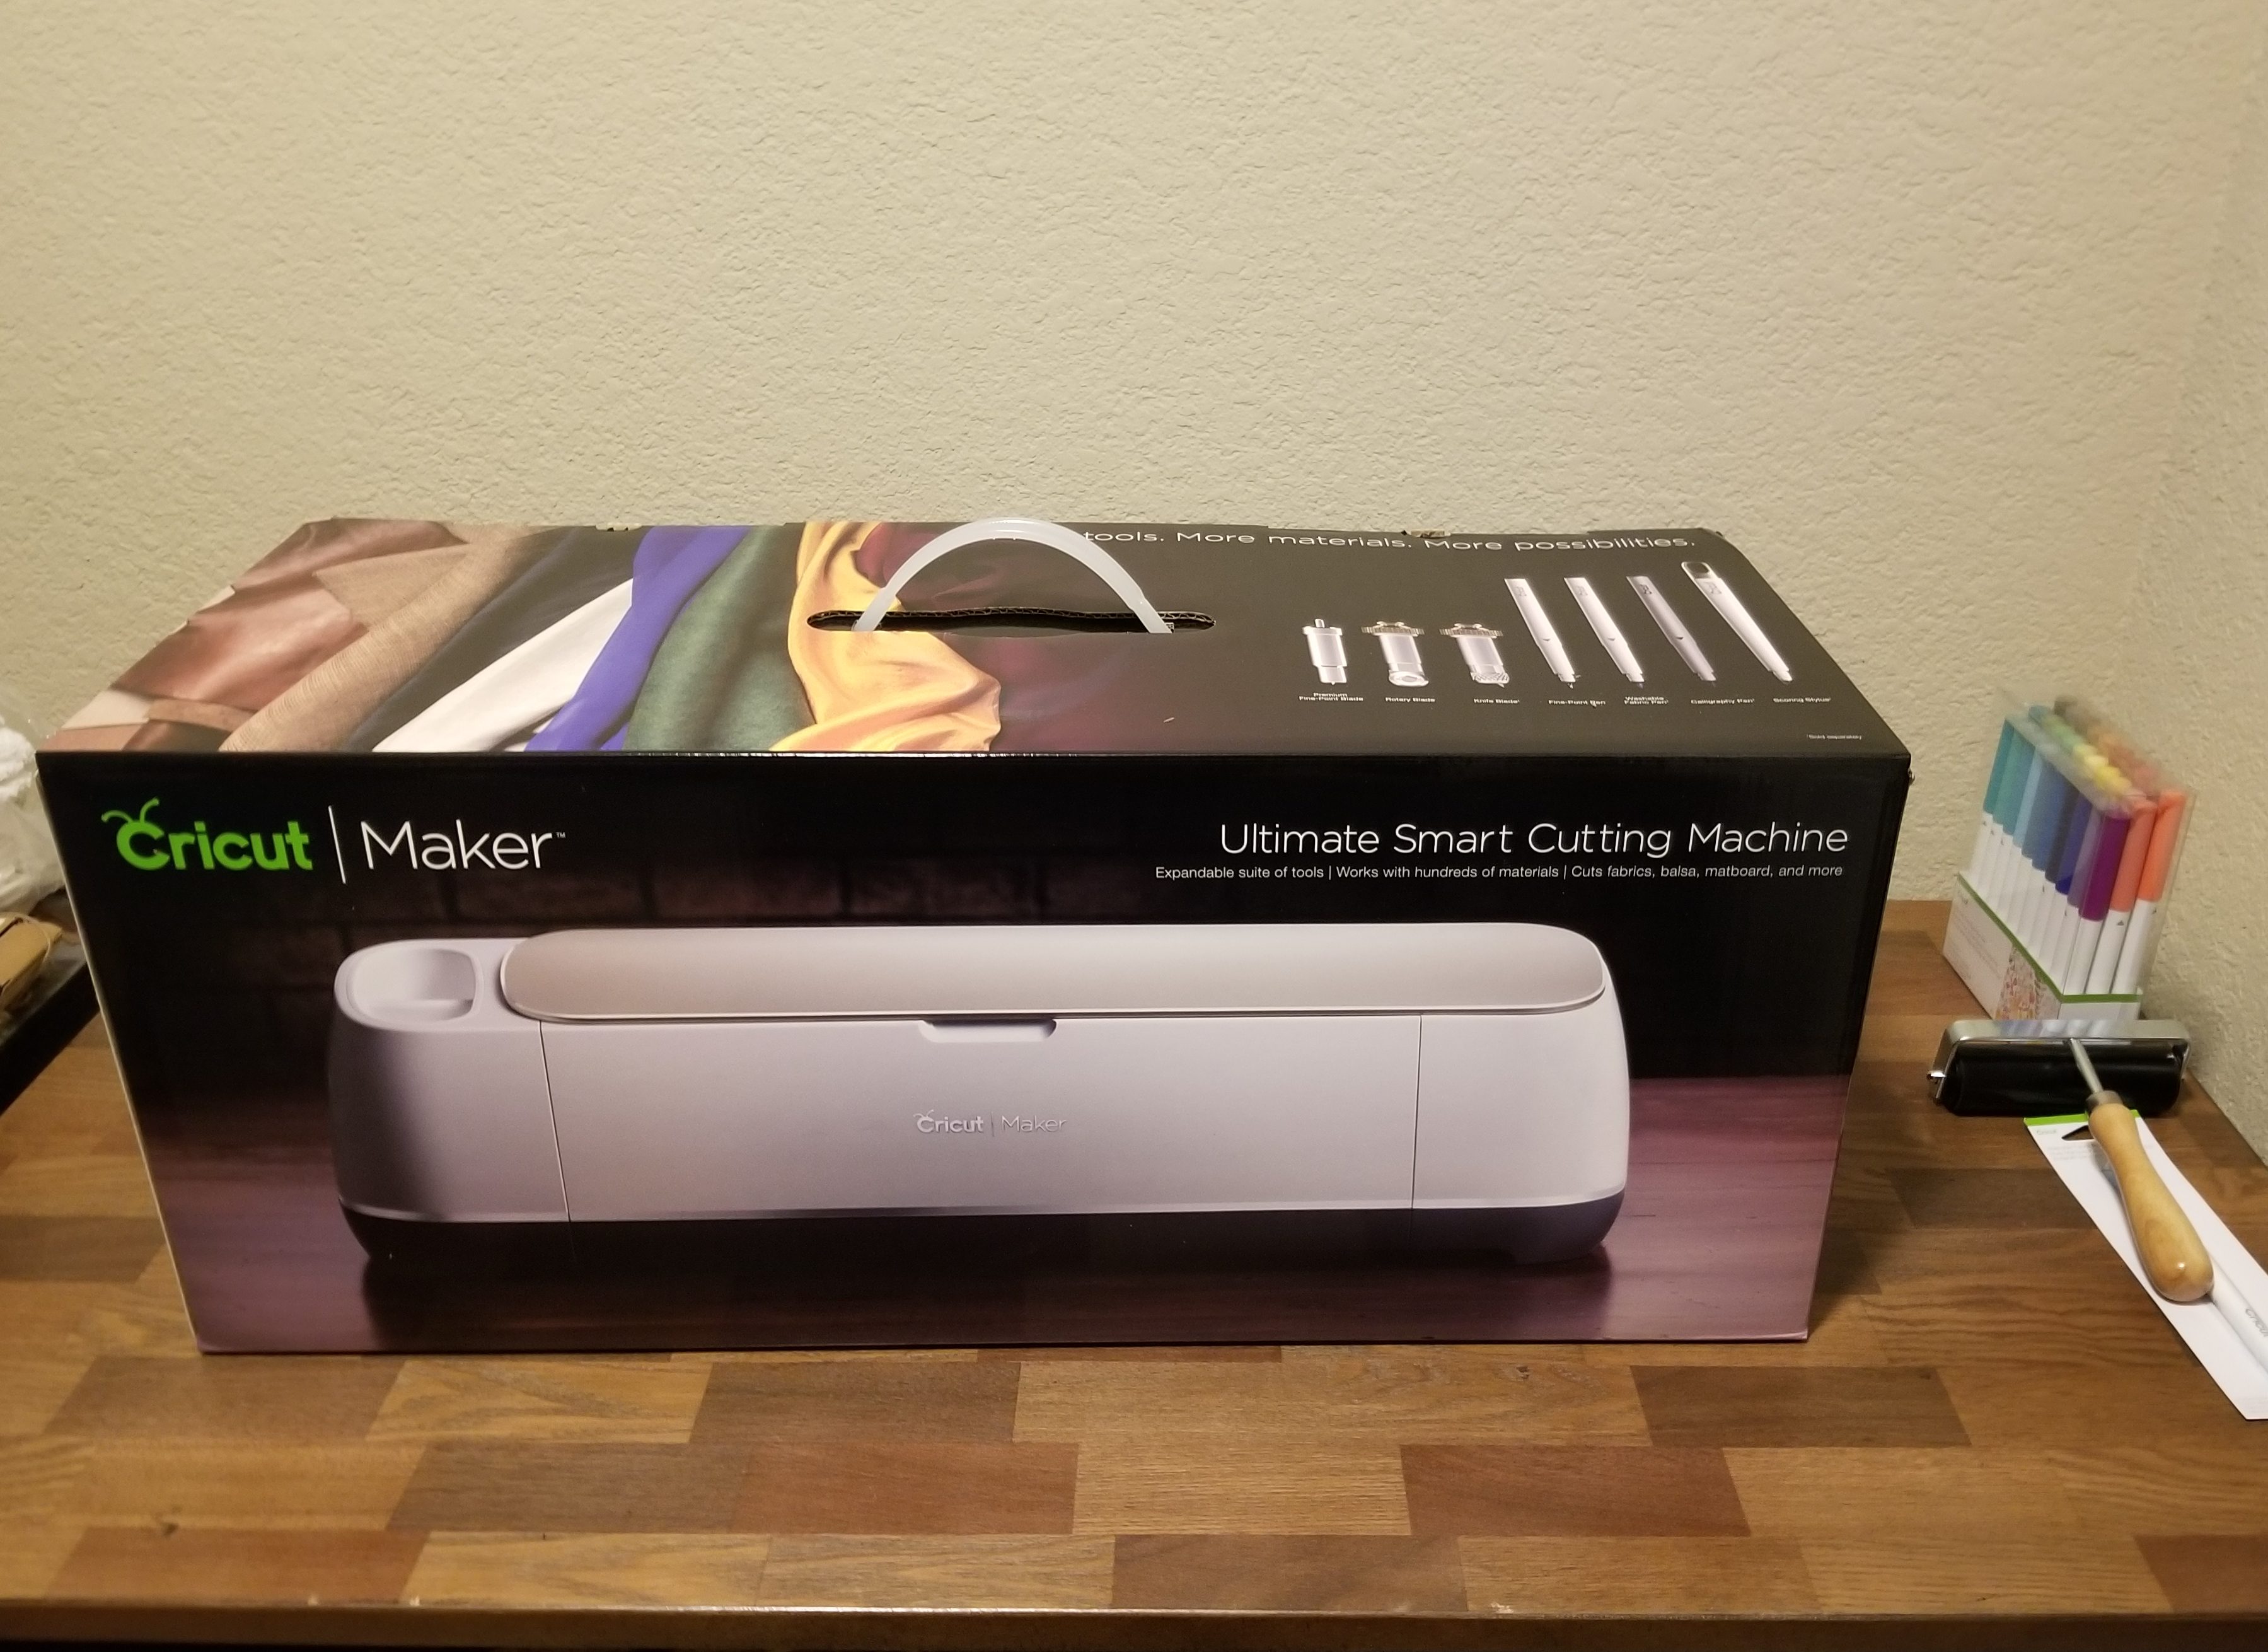
So after all the cleaning I have been doing, I still have half a closet and a desk to clear. Then, I have this to play with:
It’s been sitting there for 2 weeks now waiting for me to finish cleaning and I can’t wait to play with it. I’ve had several models of Cricuts before, but this one is extra awesome. Now it cuts fabric and chipboards and all types of materials because it has new cutting heads. So it’s really going to be used for several types of crafts I enjoy.
Next room to clean is the sewing room. Once I get the Cricut cutting fabric, I’m going to want to do some sewing!
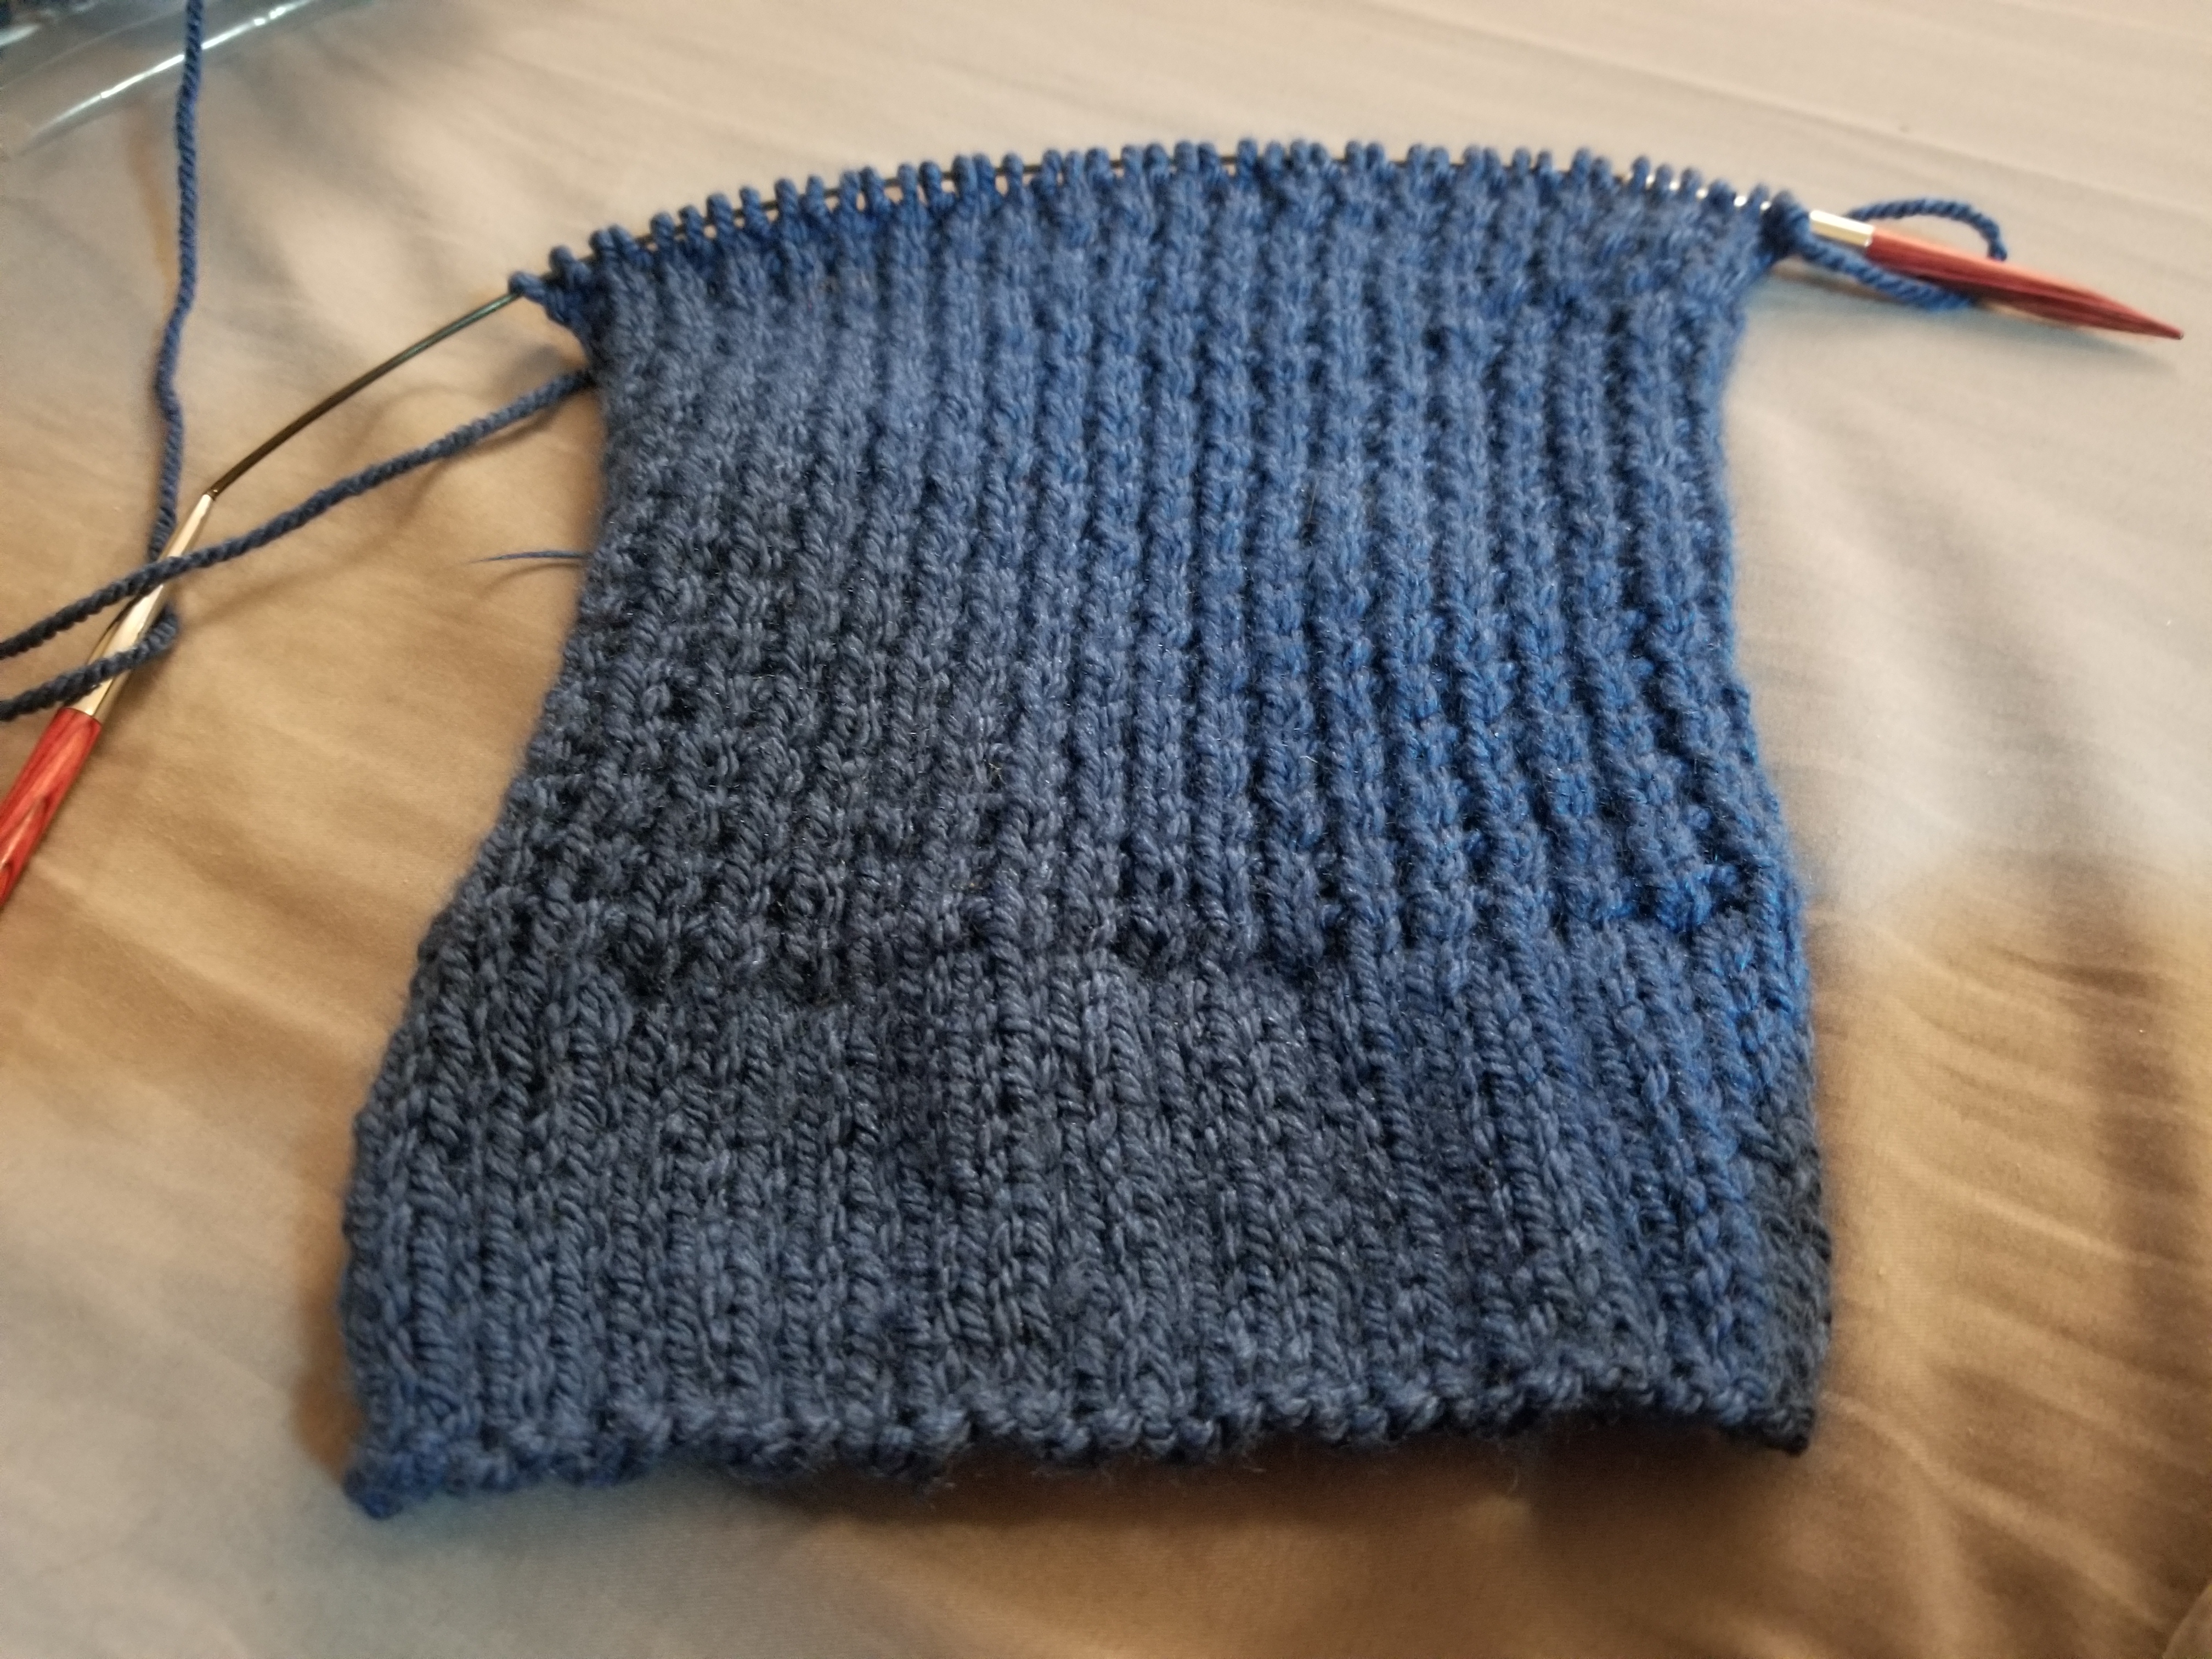
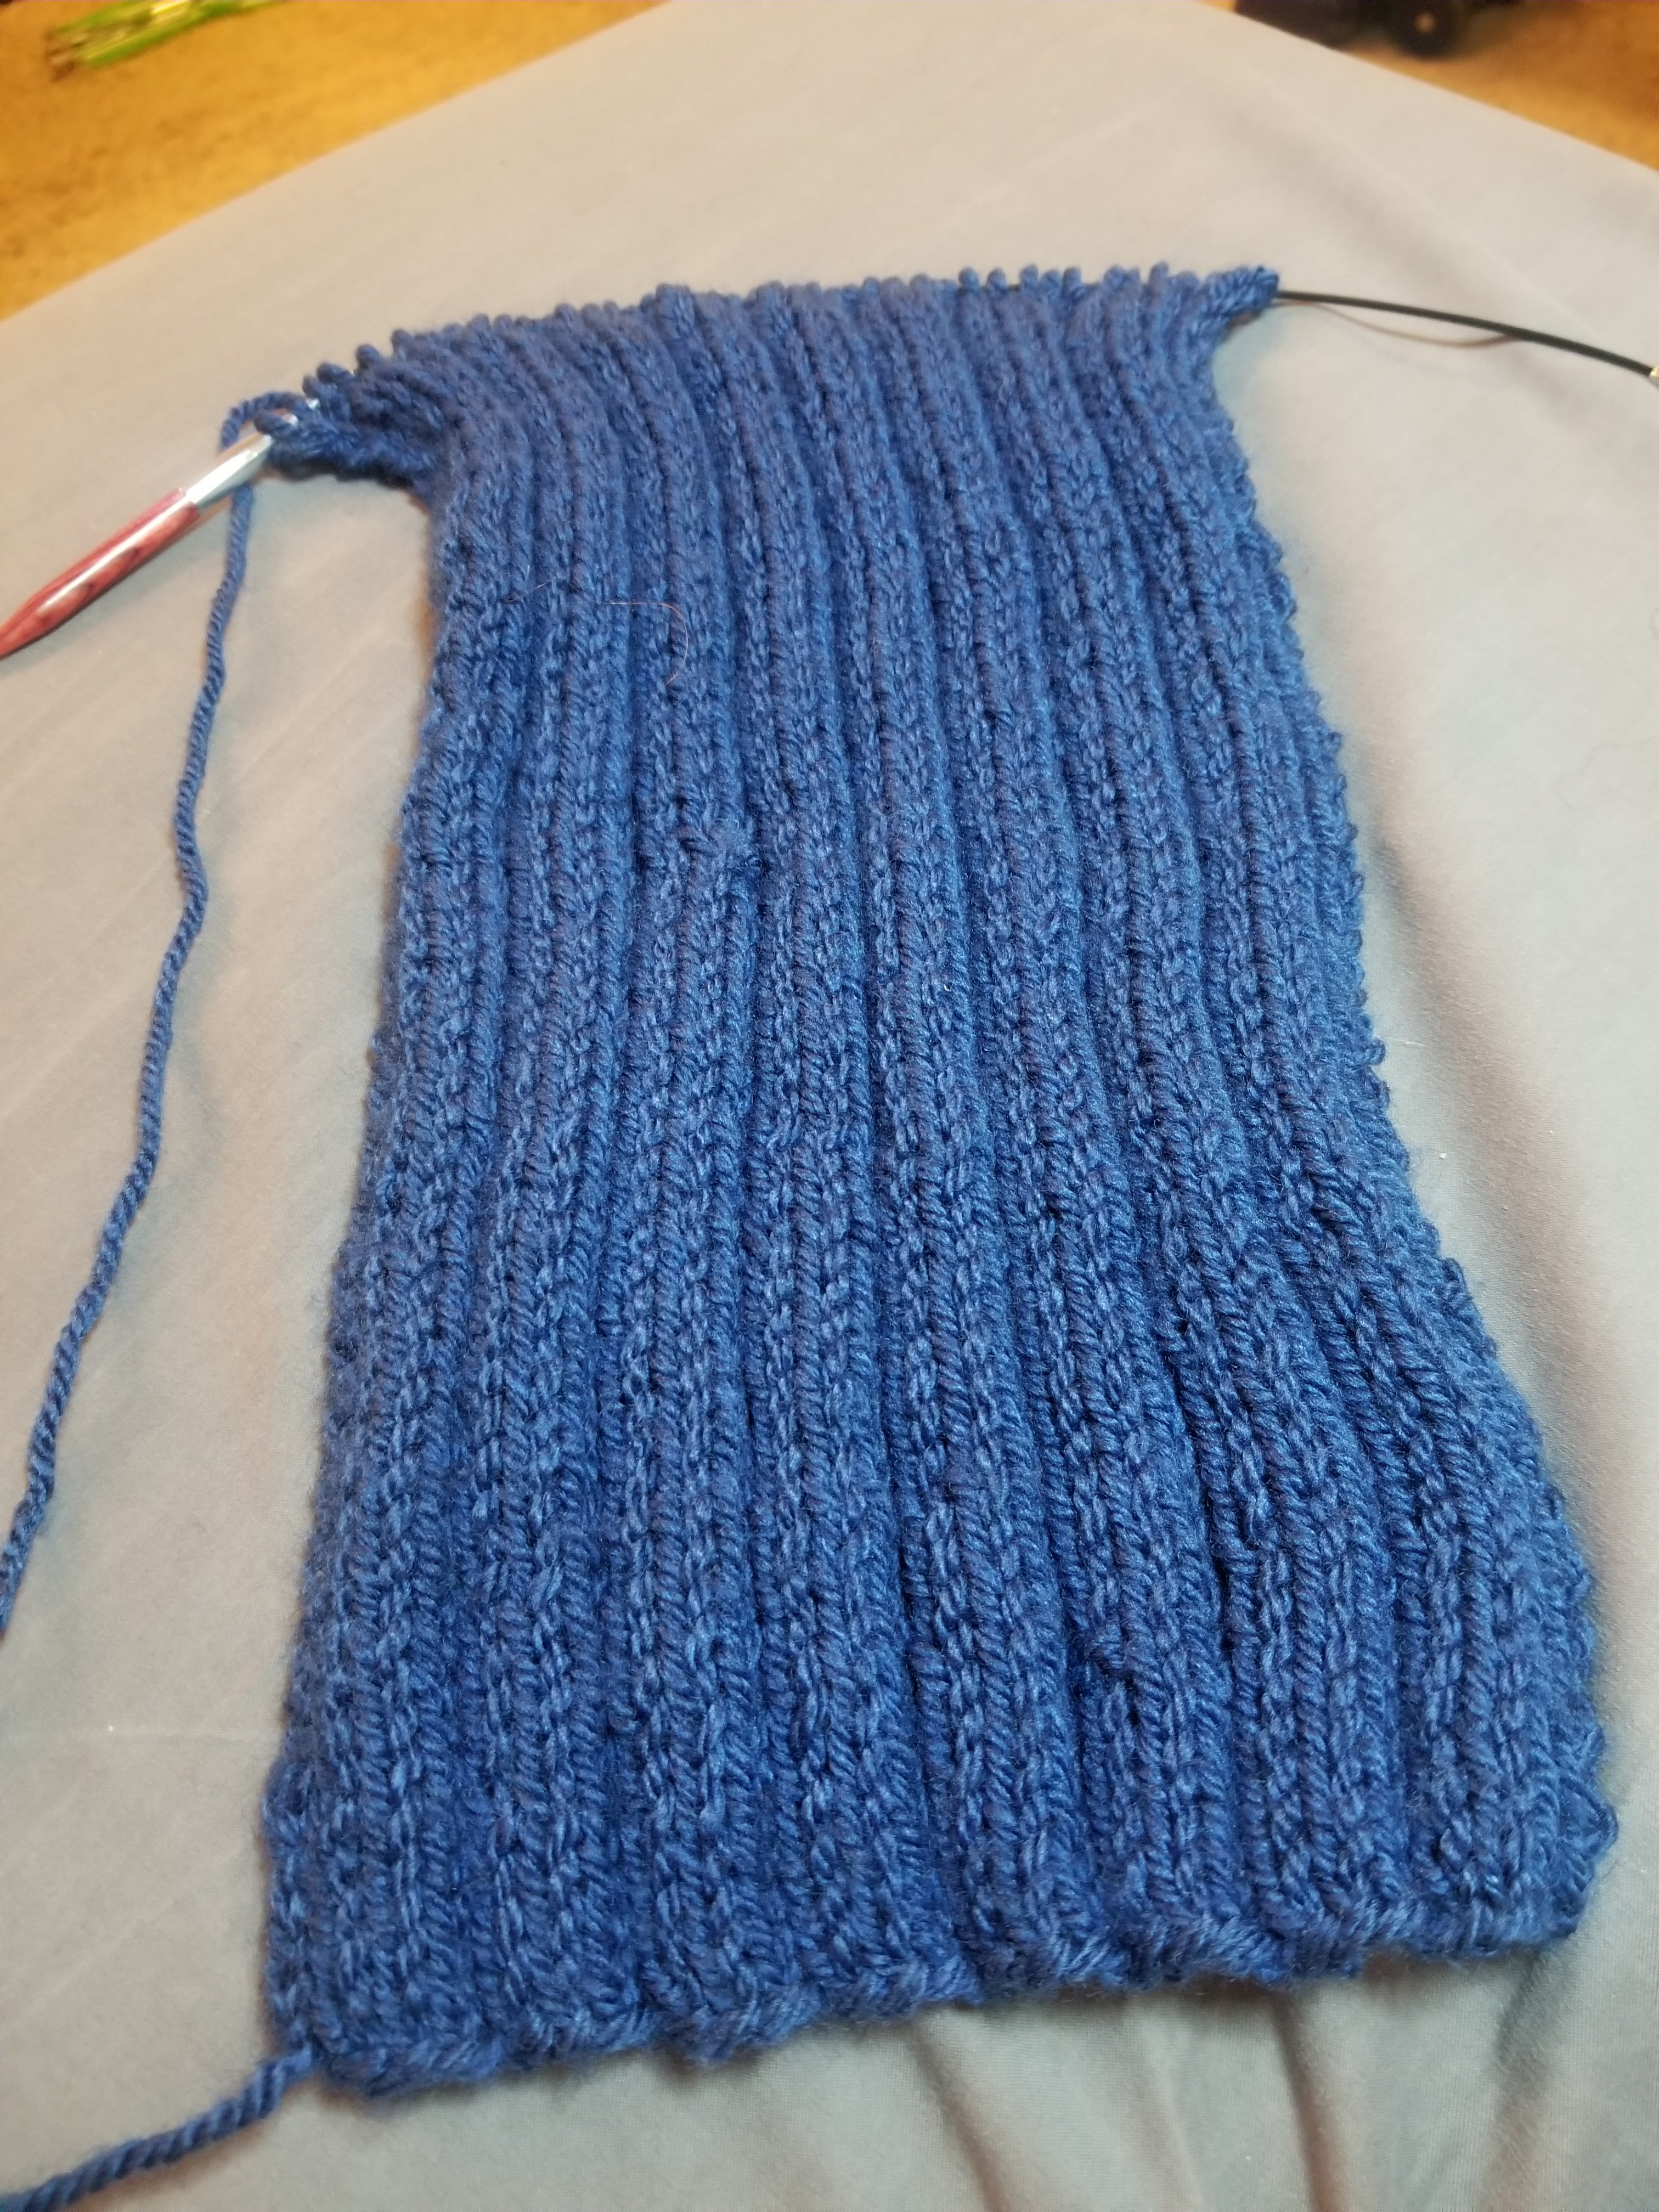
I received another Craftsy box last Thursday, which contained a Worsted 3-Way Scarf Kit I bought during one of their latest sales. I really do love their sales. Generally, you can’t even get the yarn for the price these kits go for. Even if I wasn’t going to knit a scarf, I’d probably still buy the kit just for the deal on yarn. So I got the kit, picked out one of their 3 designs that came in the kit and got to knitting. This started off a weekend of yarn.
I picked the kit in the color “Denim”. It turned out to be a pretty simple pattern, which is basically knit the right side and a 1×1 rib on the back which gives this texture. I generally put on a documentary when I work on crafts and sometimes I get sucked in and lose count of my stitches. I’ve already screwed up several times. You might be able to see my mistakes at the top right. But as I go it’s getting easier and easier, so I may just rip it all out and start again. Or I might leave it, because — who cares.
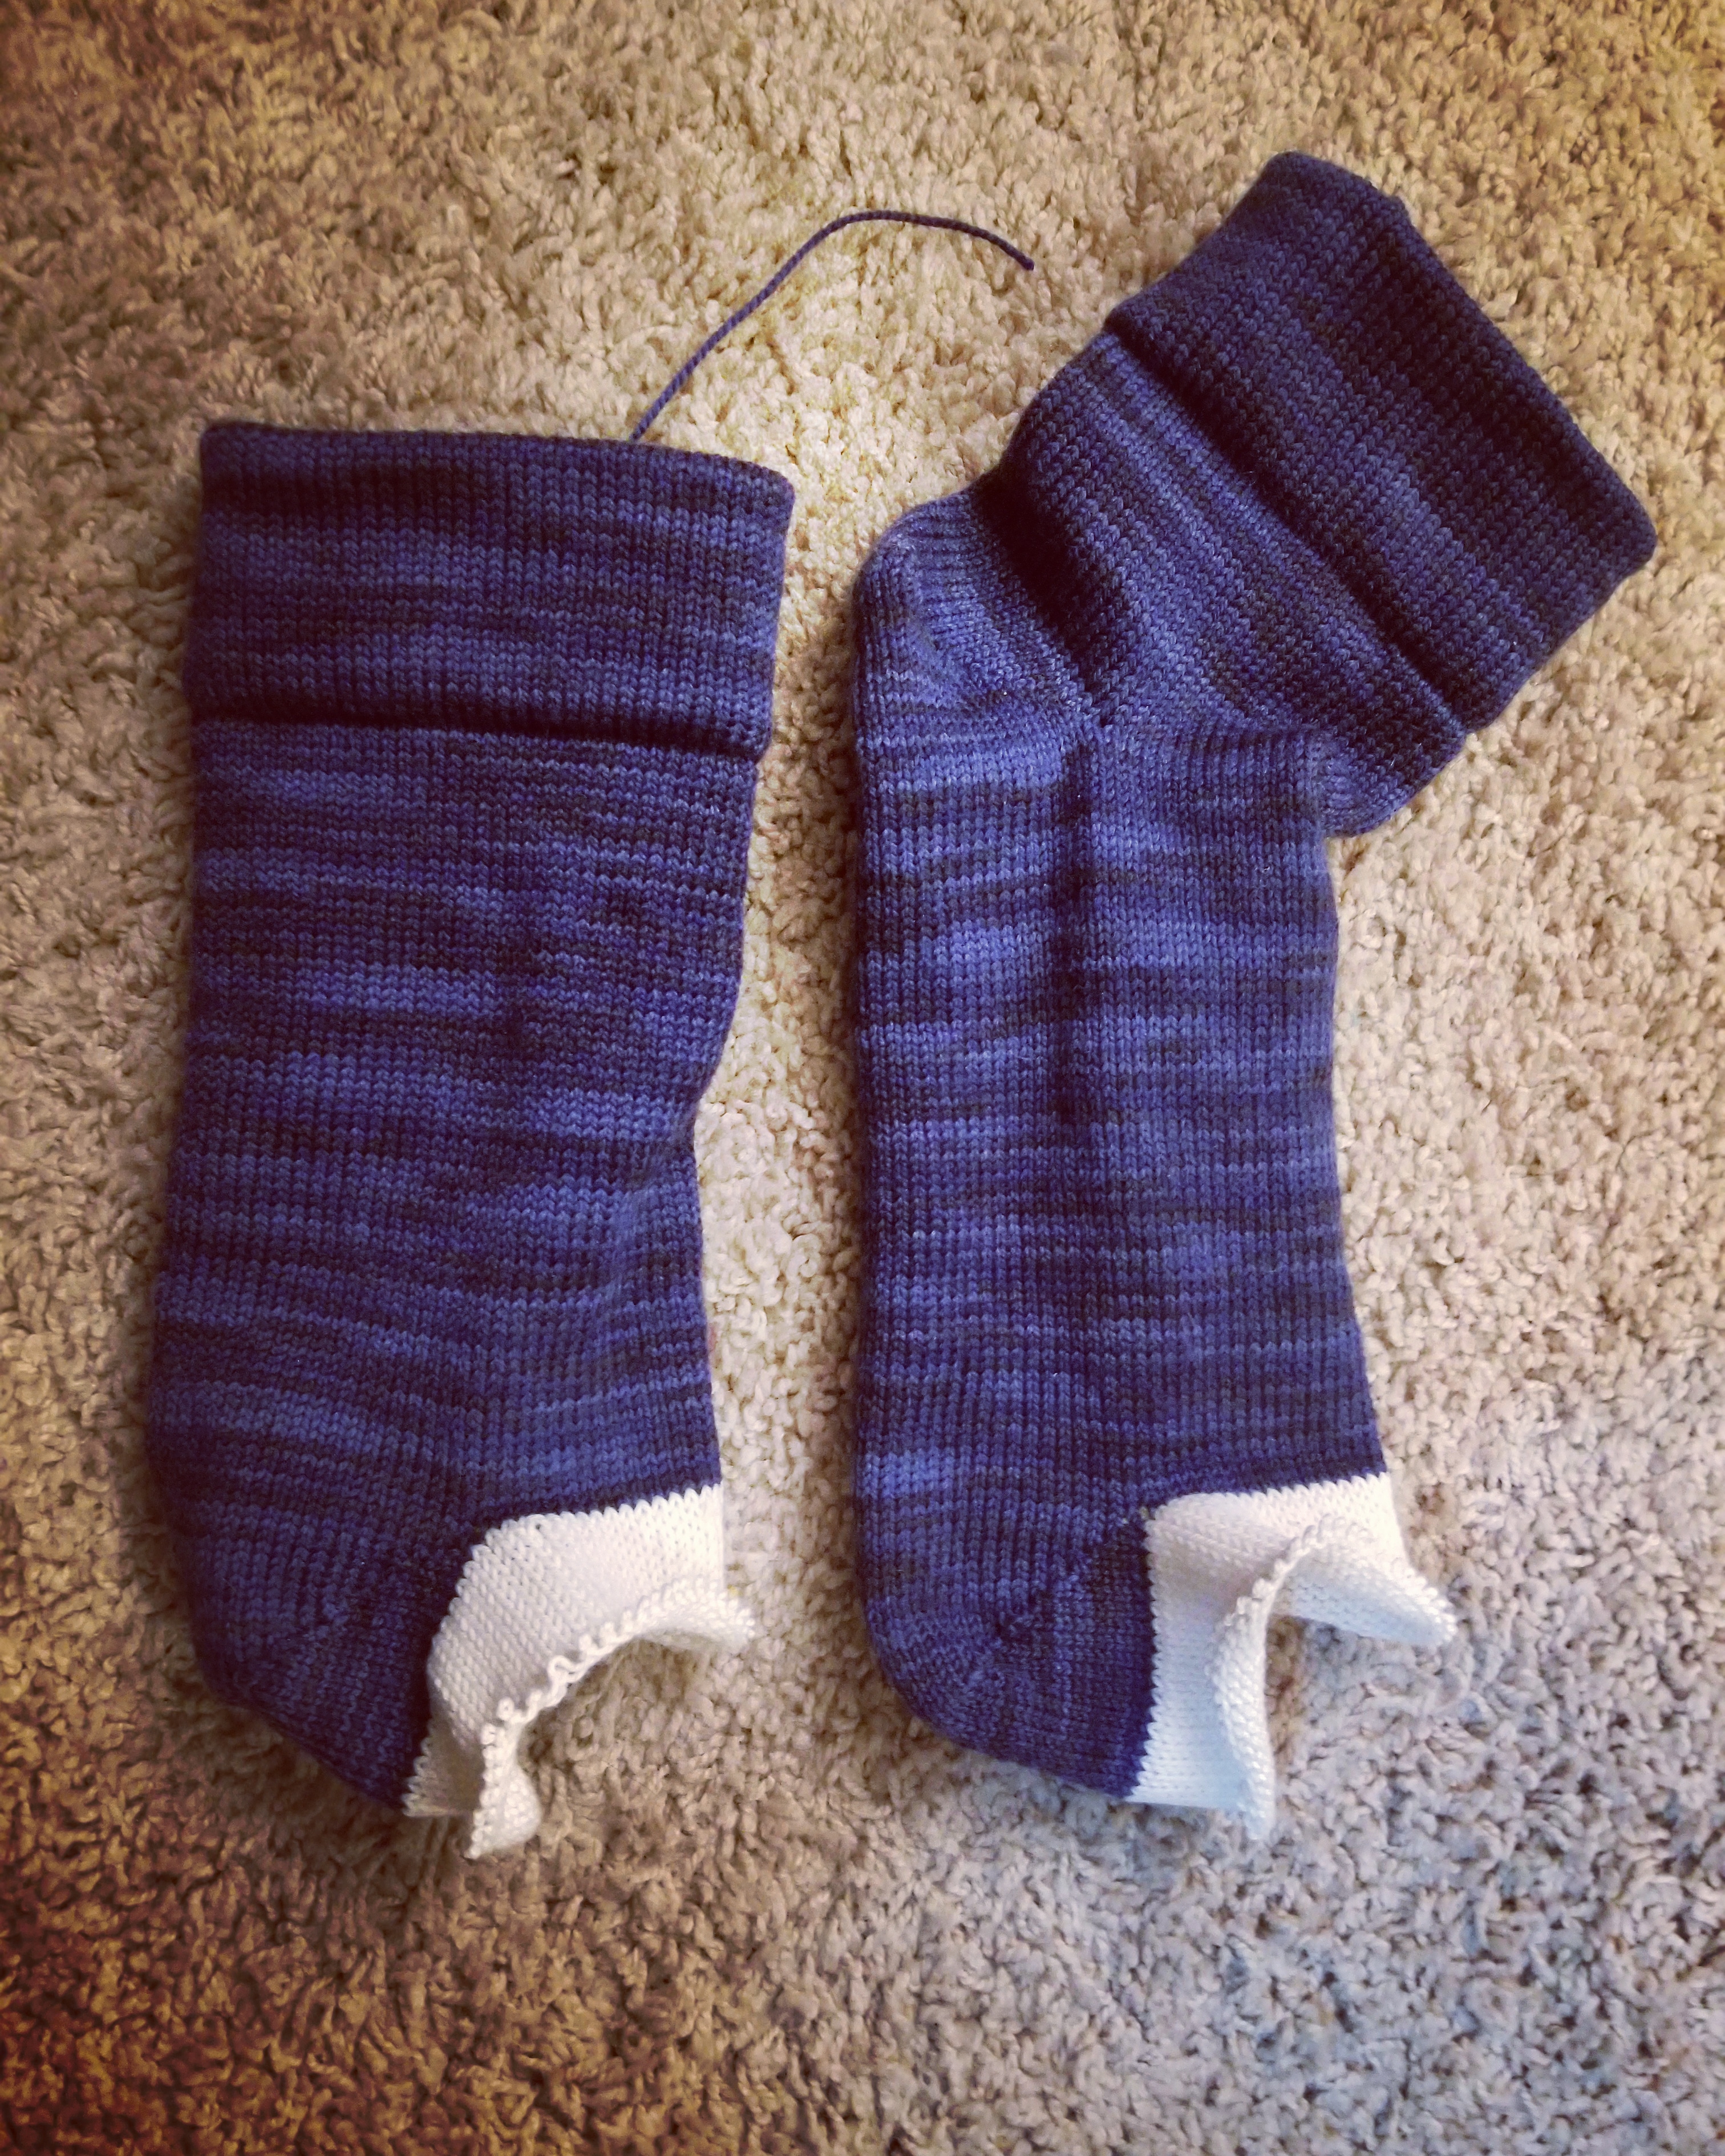
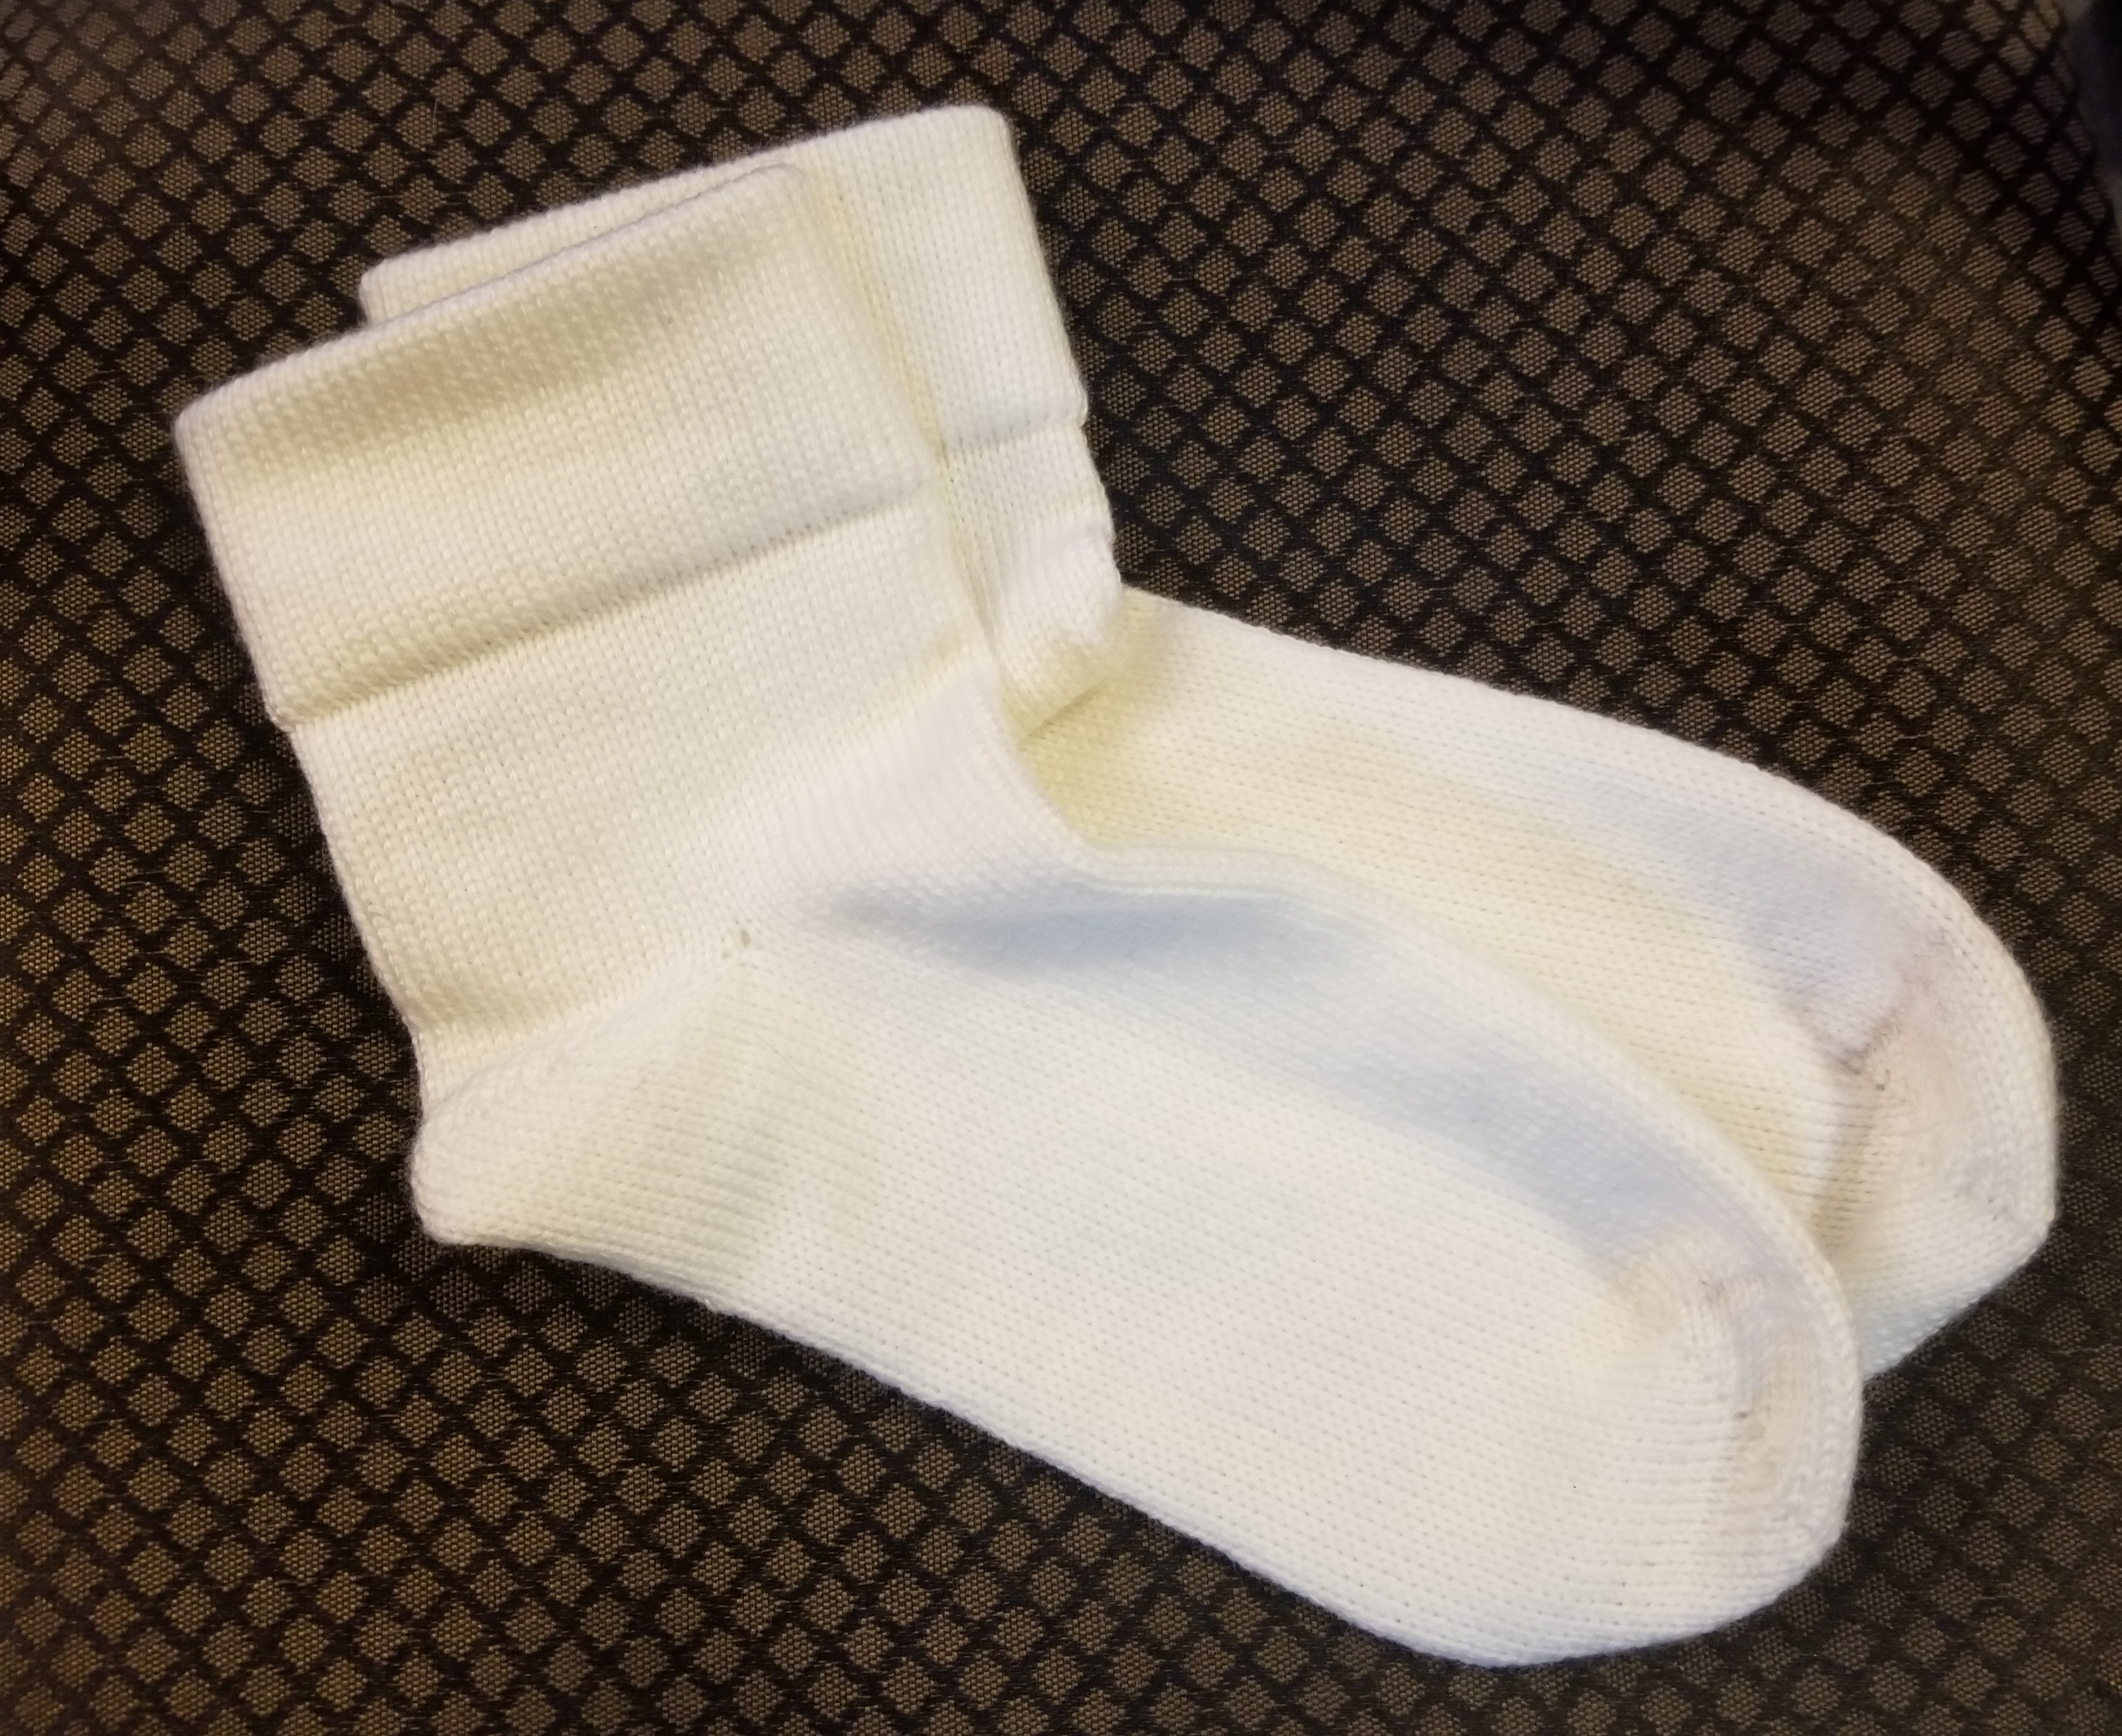
When I needed a break from that I started knitting socks. Turns out you can screw those up pretty badly as well. Take these socks for instance:
Somehow, I completely missed an ankle and heel on one of the socks. It was going to smoothly and then when I preparing to sew up the toes to all the socks I made, I saw this. I thought about ripping it up and trying again, but I’ve done that before and it really isn’t worth it. The way the toes and heels are made basically knots the yarn together, so it’s very difficult to reclaim the yarn. I’d rather just not.
As you can tell, I was totally winning at everything last weekend.
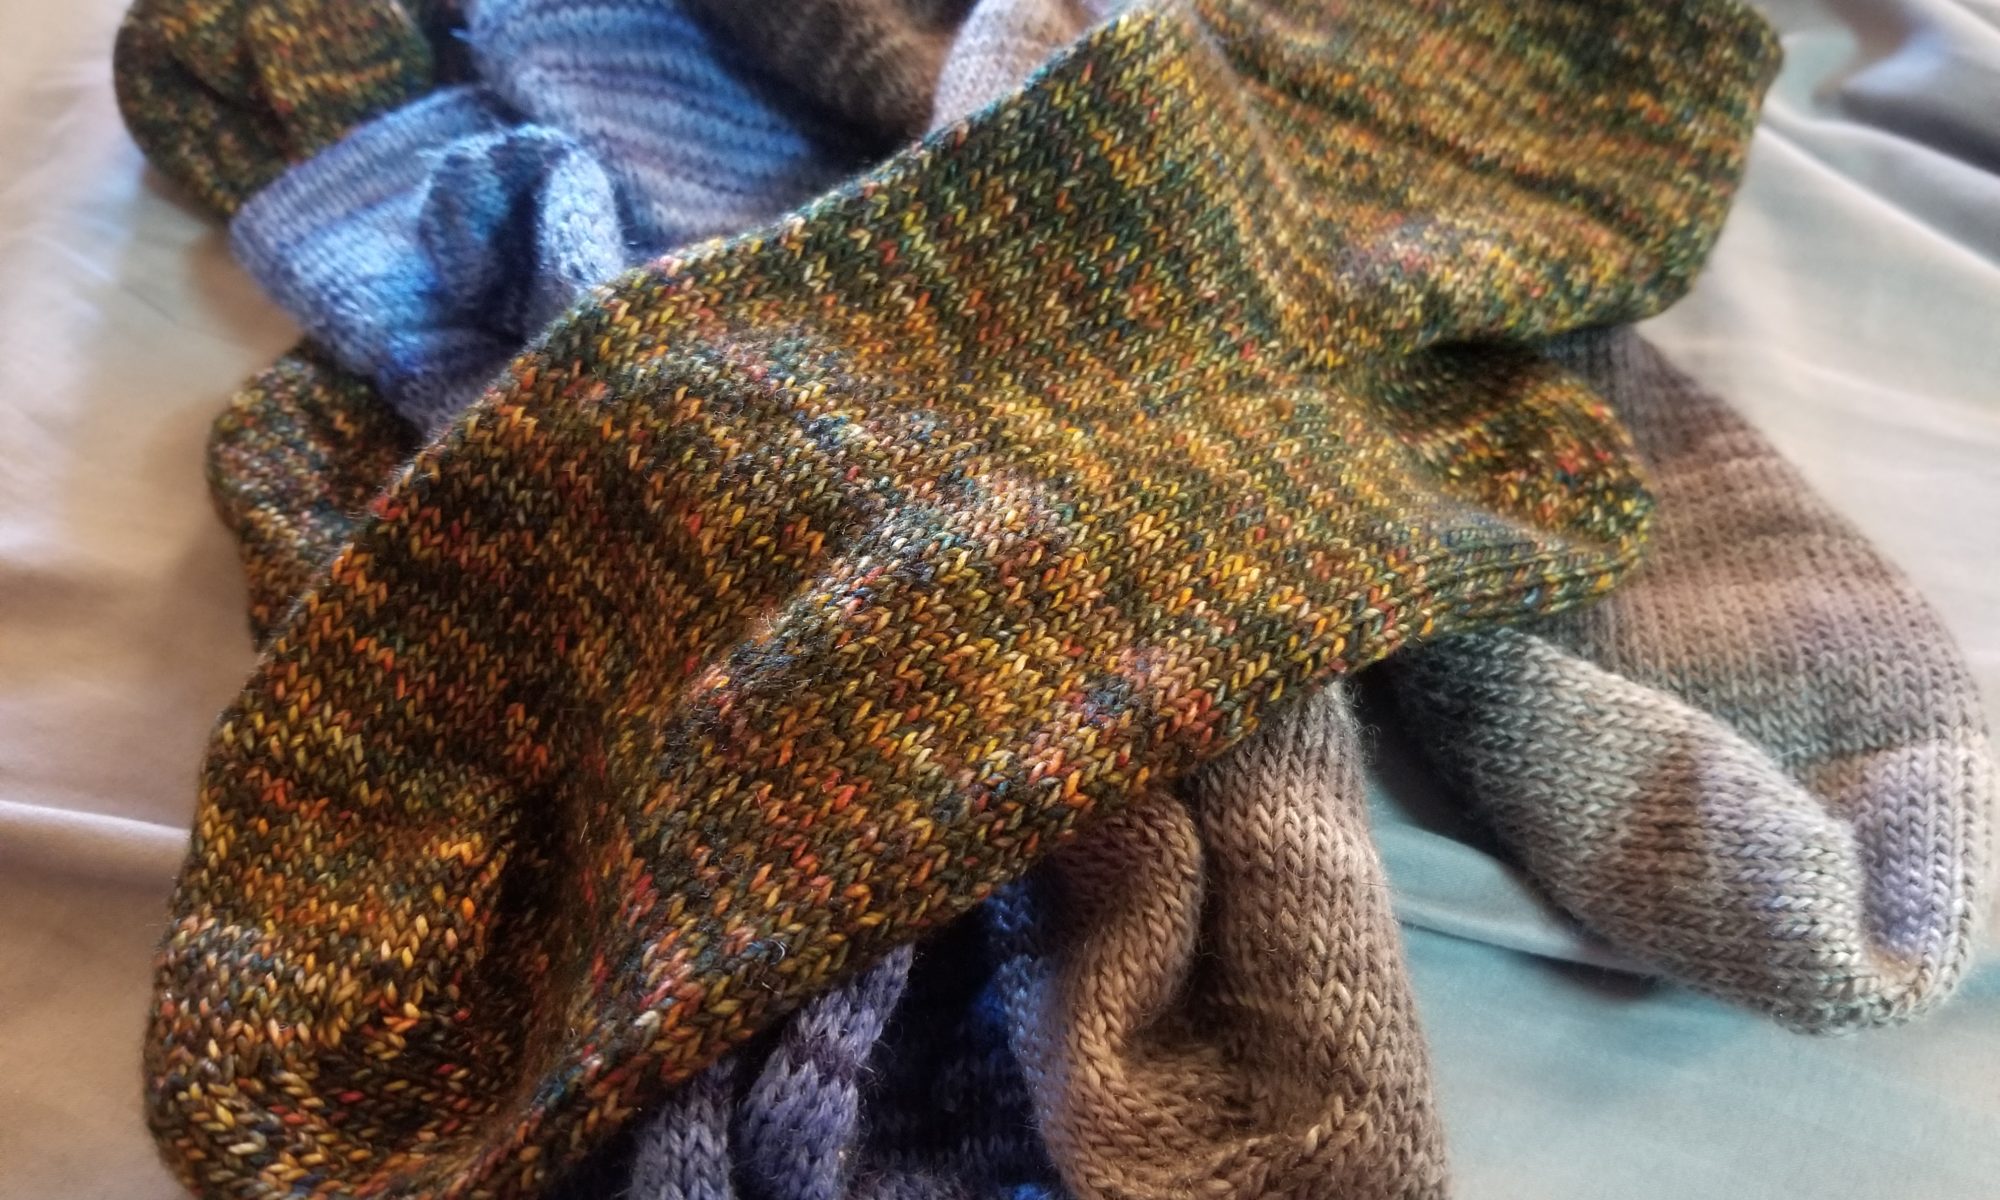
In the end, I still came out with a pile of finished socks. And that sock on top is made from the yarn I was excited about in my last post.
And when I wasn’t playing with yarn, I was deep cleaning my room. I don’t know if you know this, but I’m a bit of a craft supply hoarder. So I went through all my dresser drawers and started tossing anything I haven’t looked at in years.
Who needs this drawer full of shirts? Not me! This drawer could fit so many hanks of yarn in it. And this other draw would be perfect for paint brushes!
So yeah, I love plenty of drawers empty now and waiting to be filled with supplies that are hiding throughout the house.
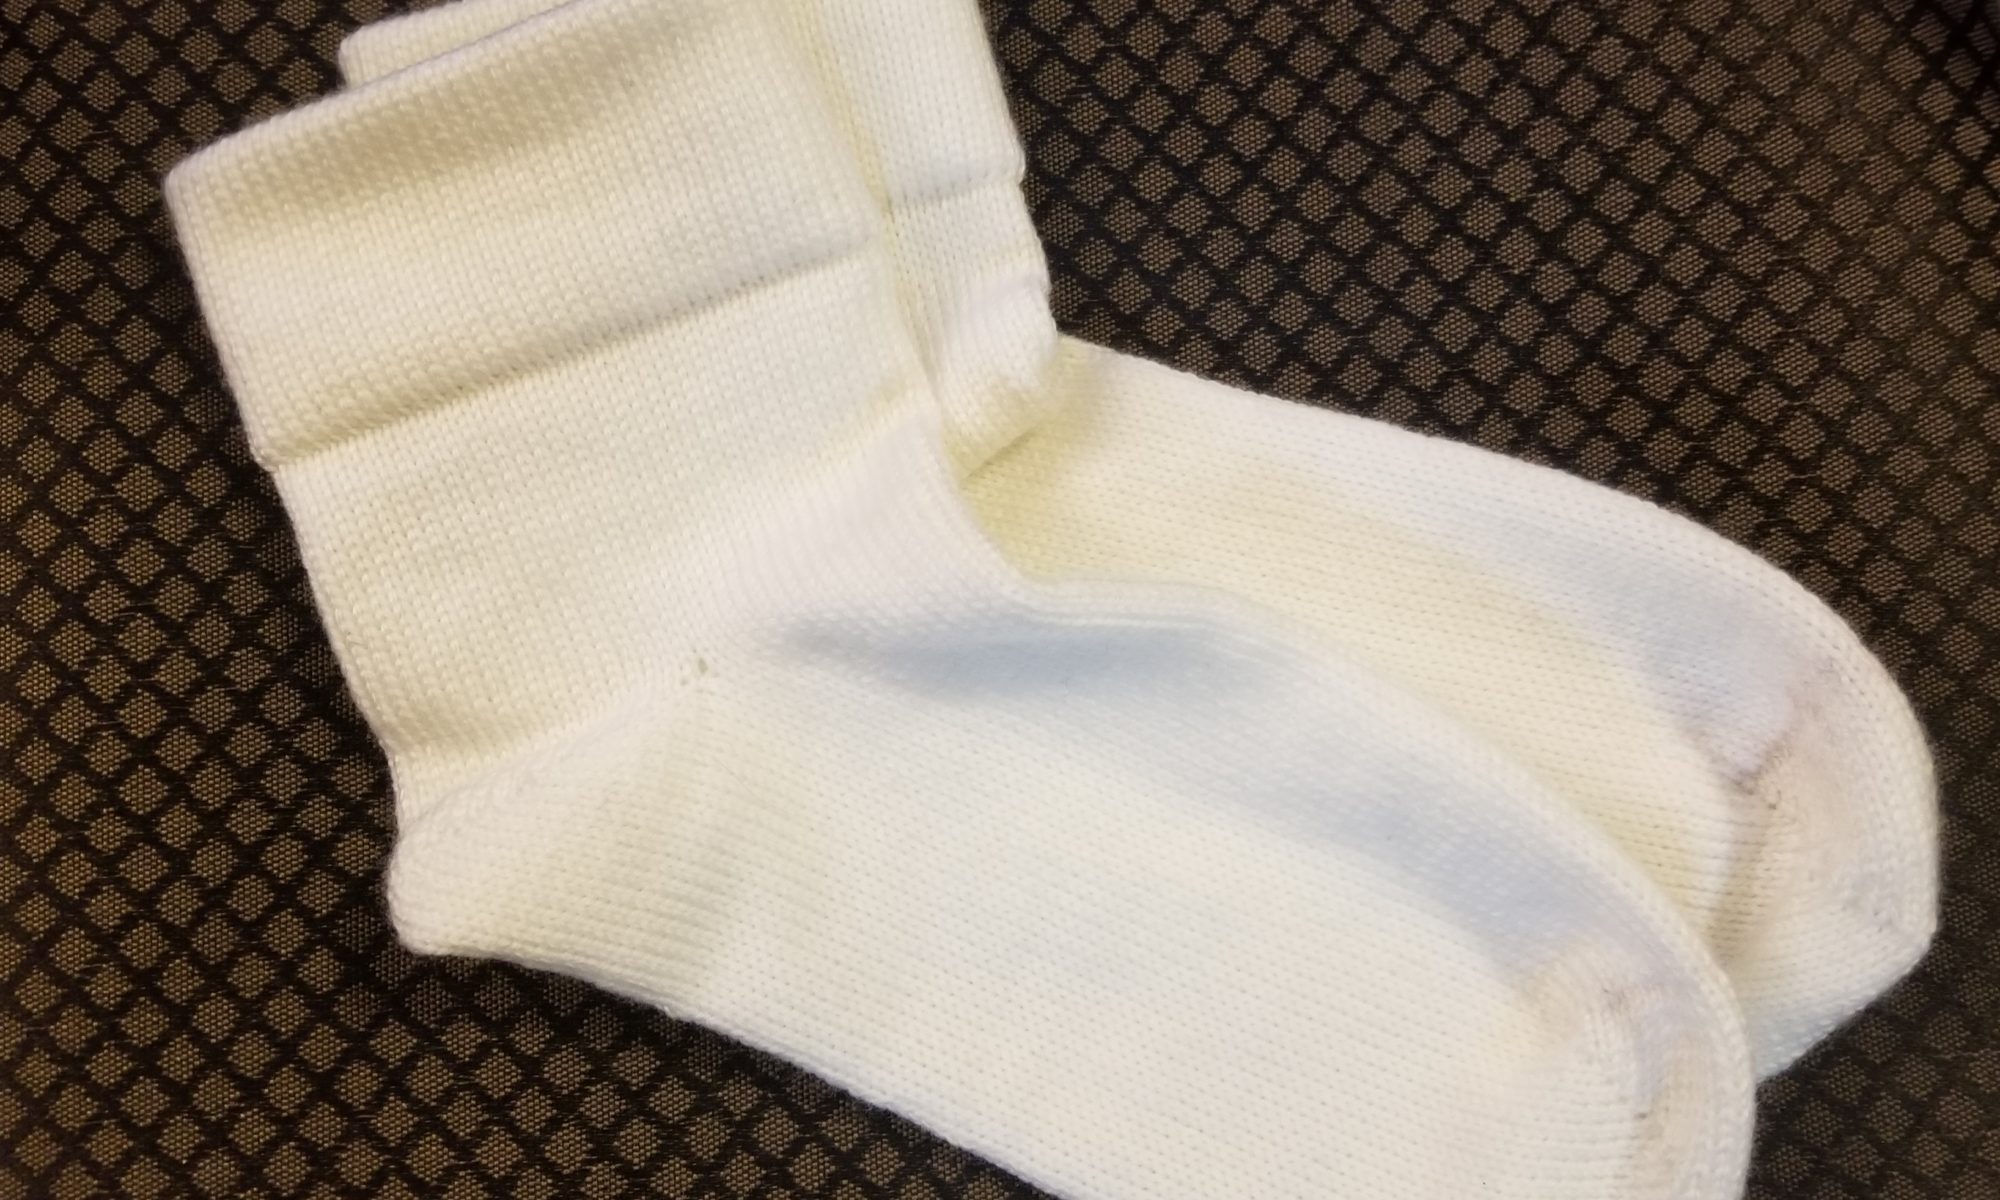
Last weekend, I noticed that some of my socks have been wearing out. It’s been about a year since I’ve made socks and my feet can destroy shoes pretty quickly, so it wasn’t a surprise to start seeing holes in my socks. I wanted to play with new toys, but I decided to get the sock machine up and running instead.
It took a few tries to remember how to make a sock, which was frustrating, but I eventually remembered all the steps and started pumping out new socks.
I started with some cheap yarn because all the steps were still stored in my head somewhere and I wasn’t 100% sure I was remembering the pattern for my foot correctly. For a while I sat there staring at the machine and thinking how much easier it would be if I would’ve just written it down somewhere. Even after making these socks, I still haven’t written it down. You know what would be smart? Putting a basic pattern here while I’m thinking about it, so I remember the row counts next time I bring the machine out.
Basic Men’s Ankle Sock – Size 12/13
72 needles
~100g/400m wool fingering yarn
Knit 50 rows
Hang Hem to form cuff
Knit 25 rows for leg
Work Heel
Knit 65 rows for foot (or length necessary for foot)
Work Toe
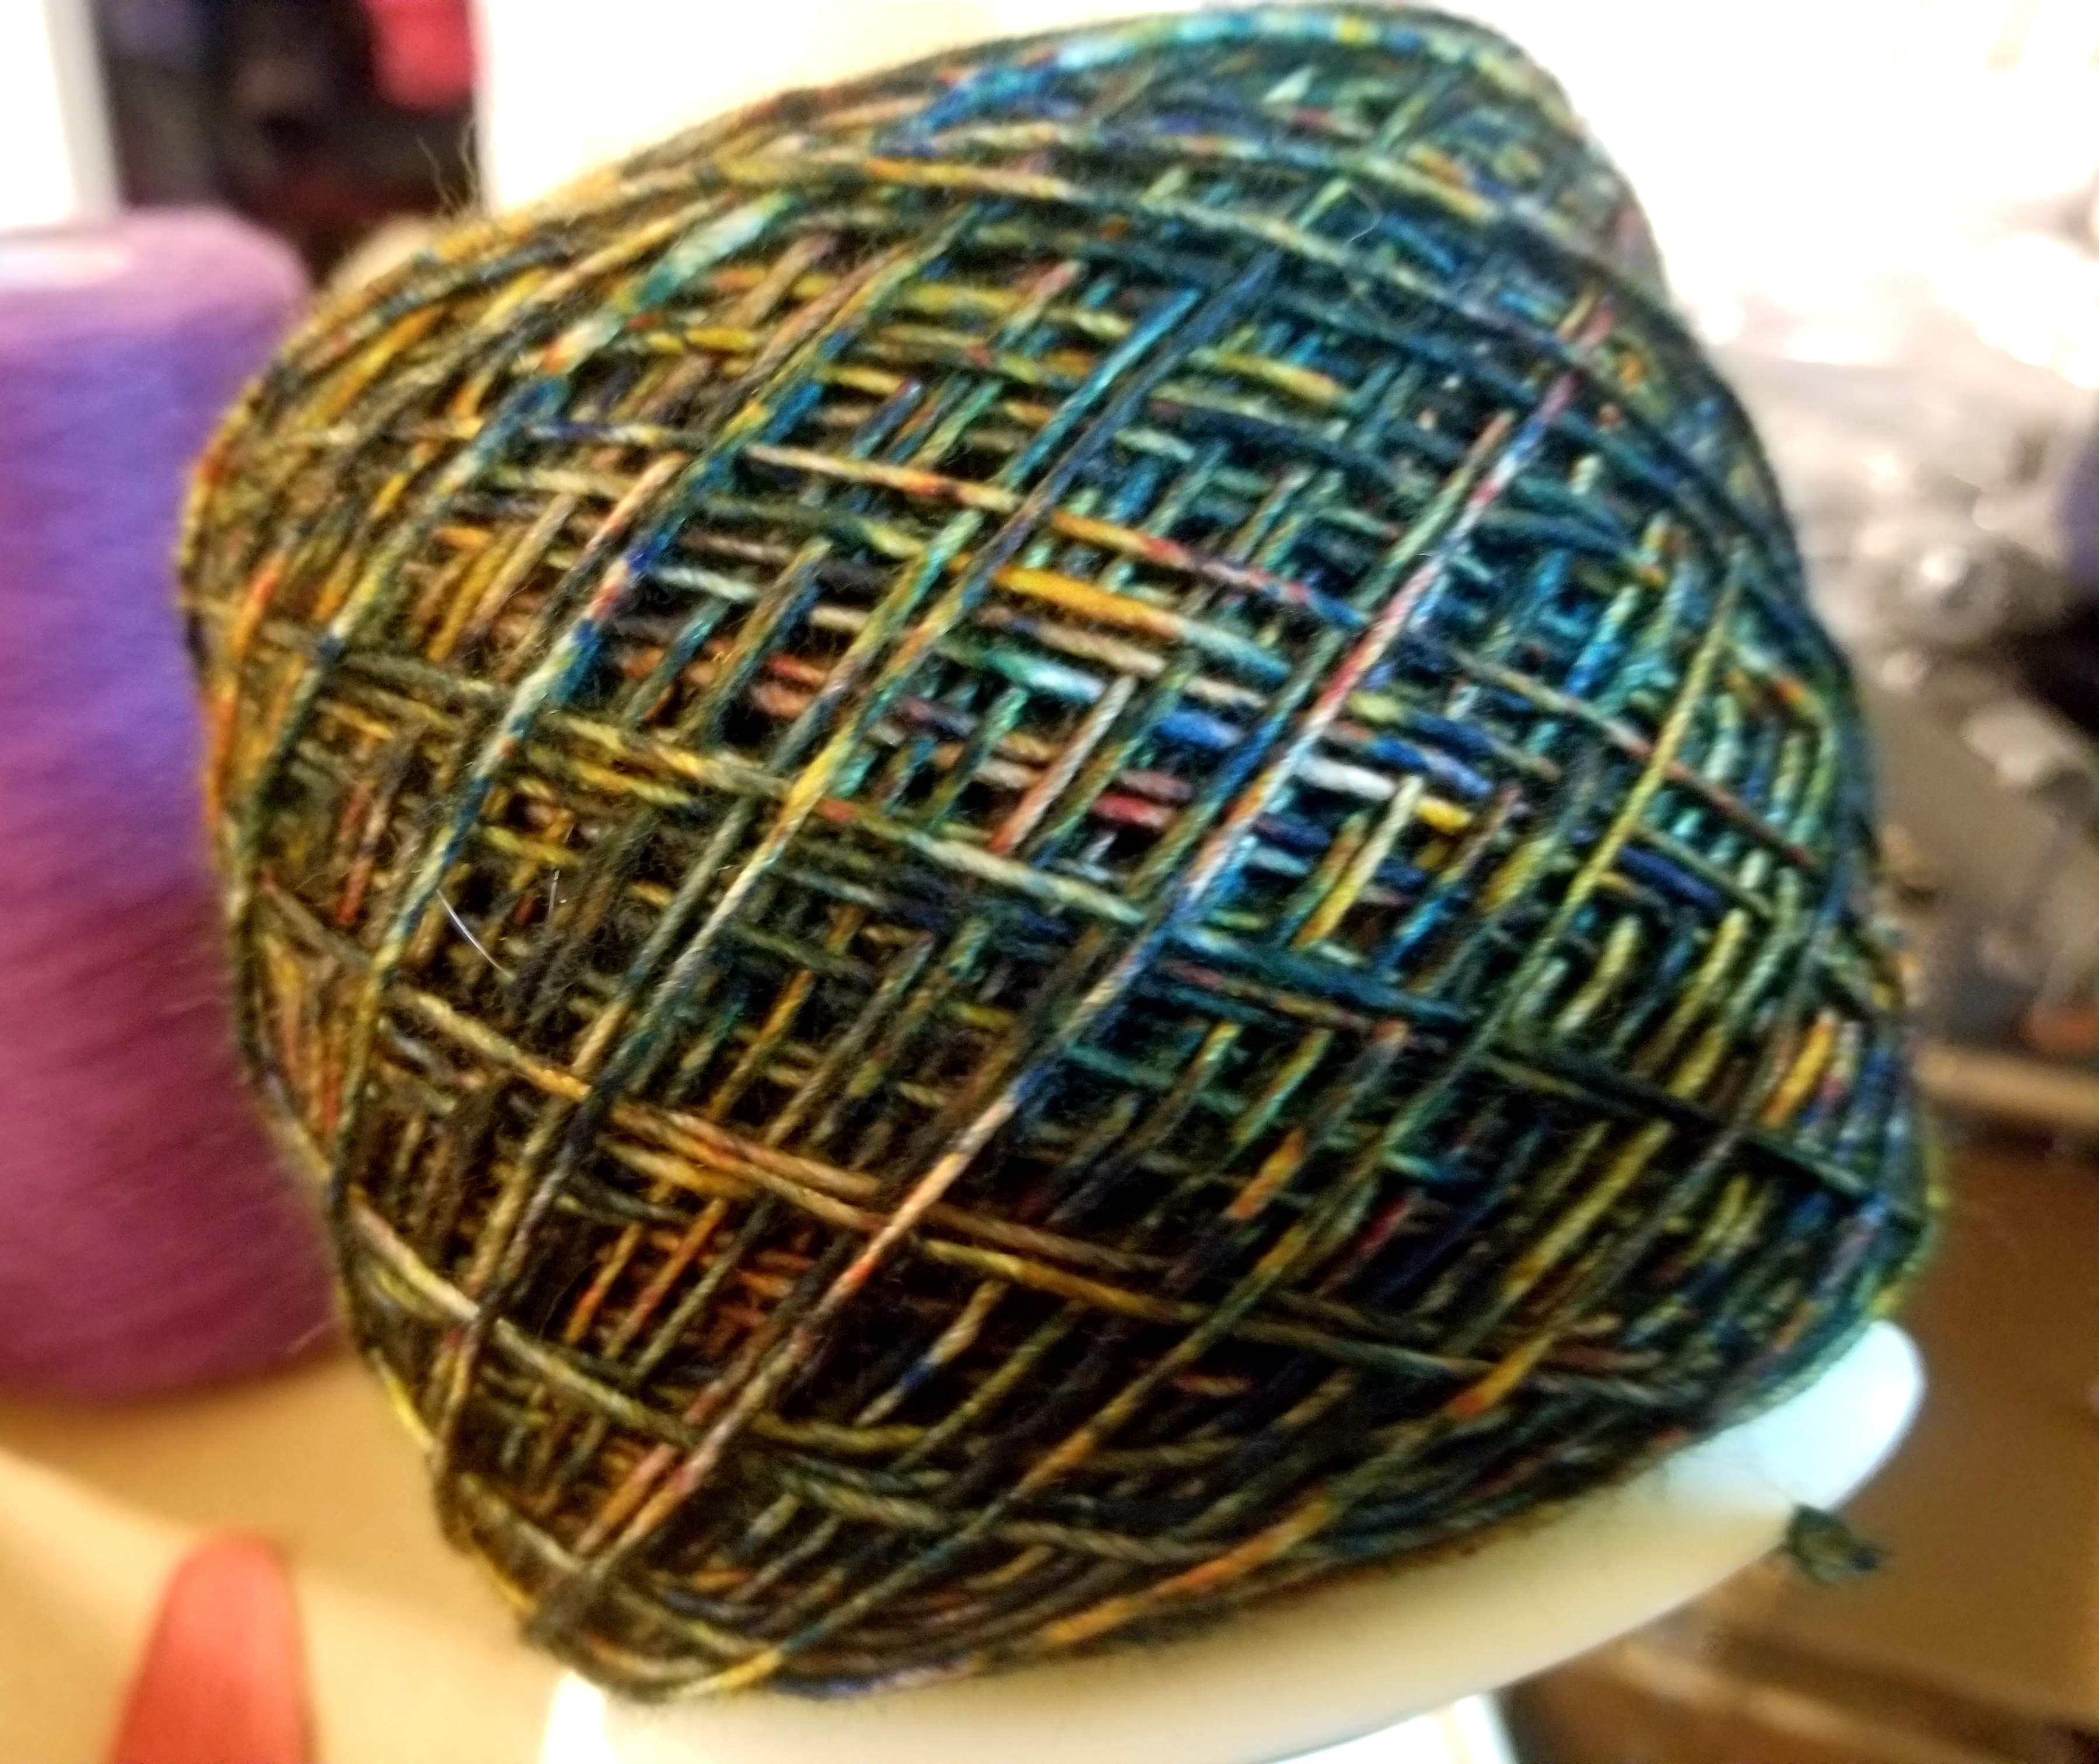
I visited the local yarn shop on Saturday to get excited about making socks again and found some really beautiful yarns. The picture doesn’t do it justice. In real life, it’s pretty dark and has touches of color throughout. It’s surprisingly difficult to find yarn appropriate for a men’s sock and requires quite a bit of hunting and scavenging. Most yarns are too bright and too colorful and it’s hard to find more muted colorways that are still interesting enough without being a boring solid color.
Now that I know what I’m doing again, it’s time to produce another truck load of socks. Get ready for another avalanche of sock posts. Lucky you. 😉
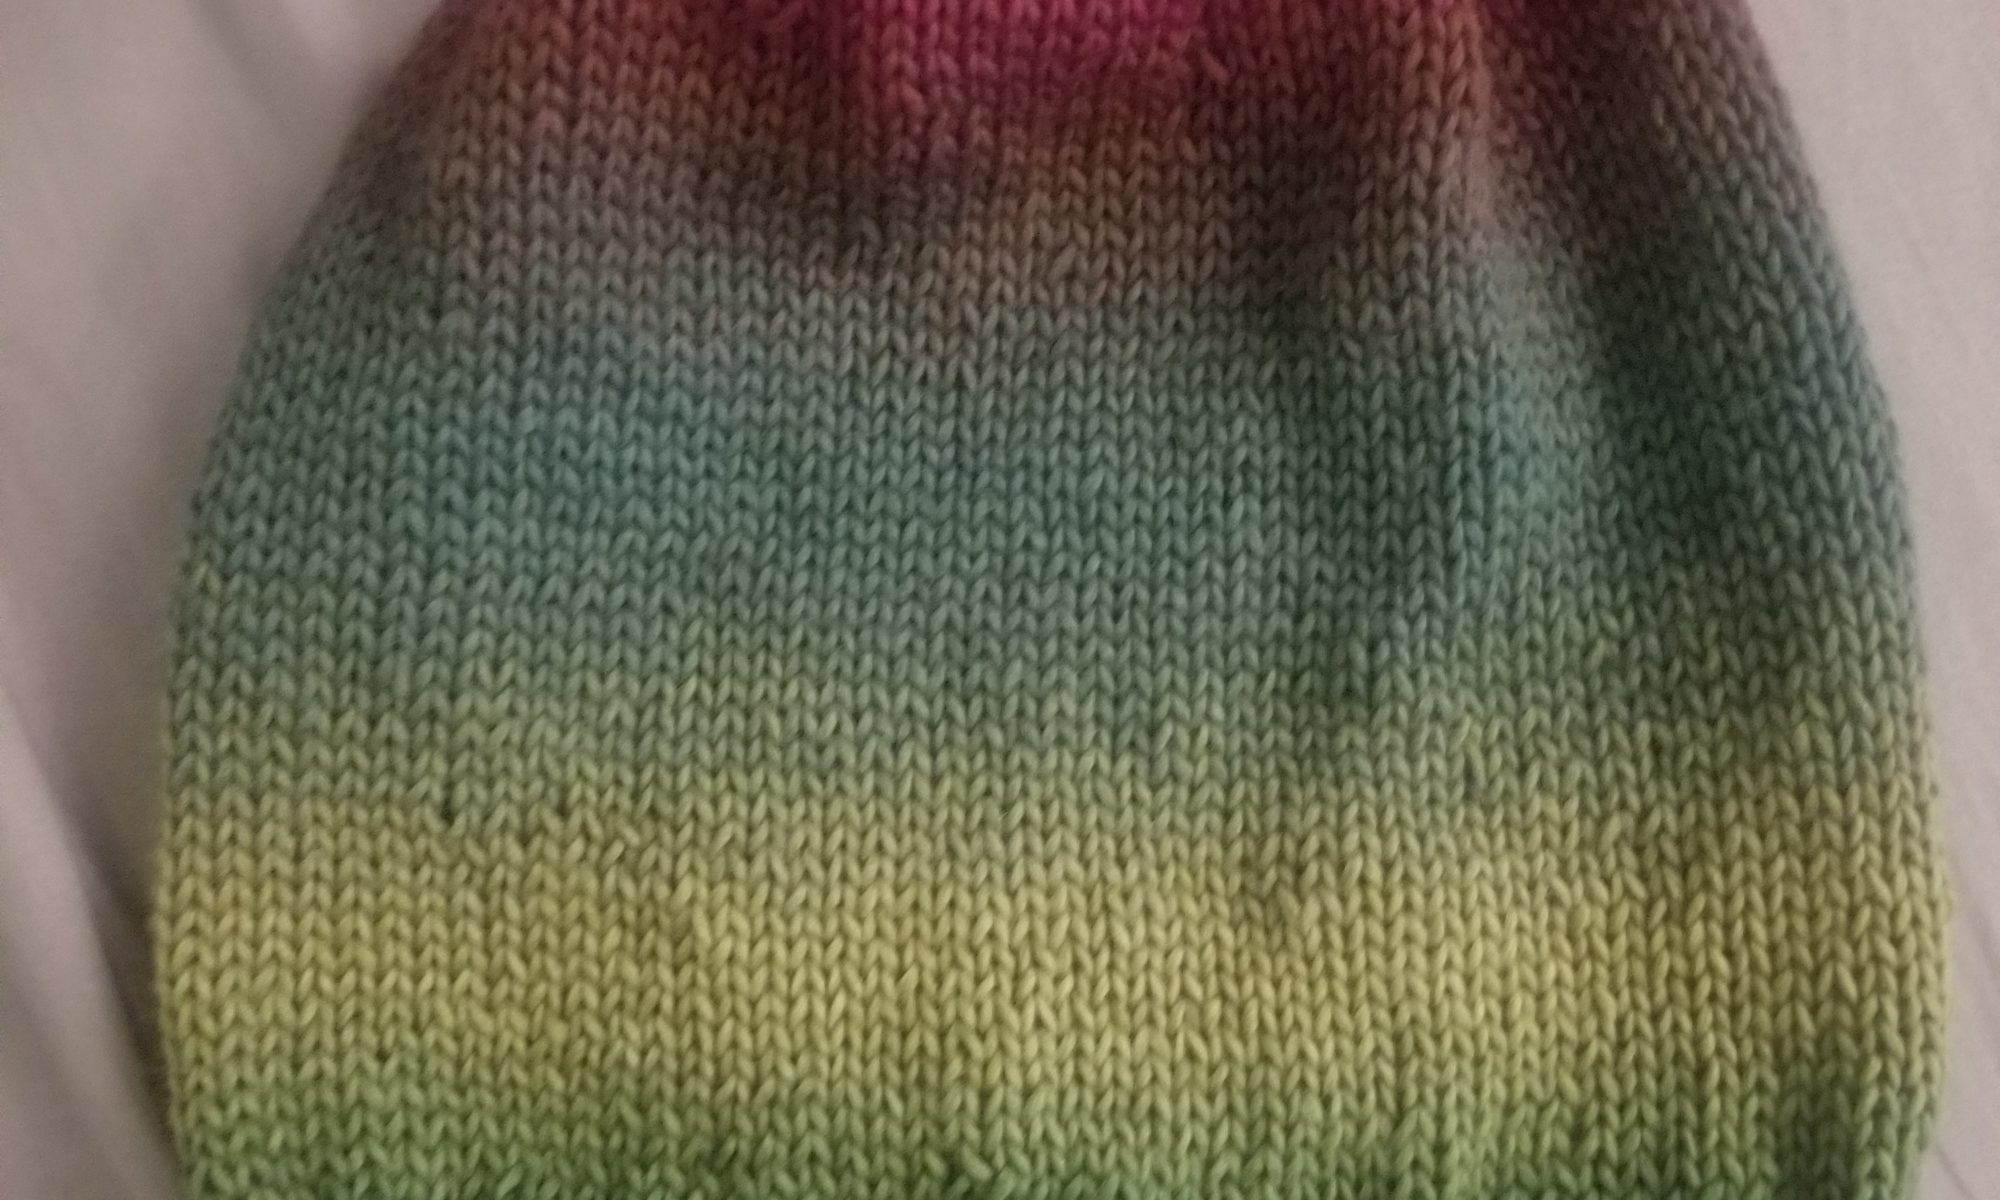
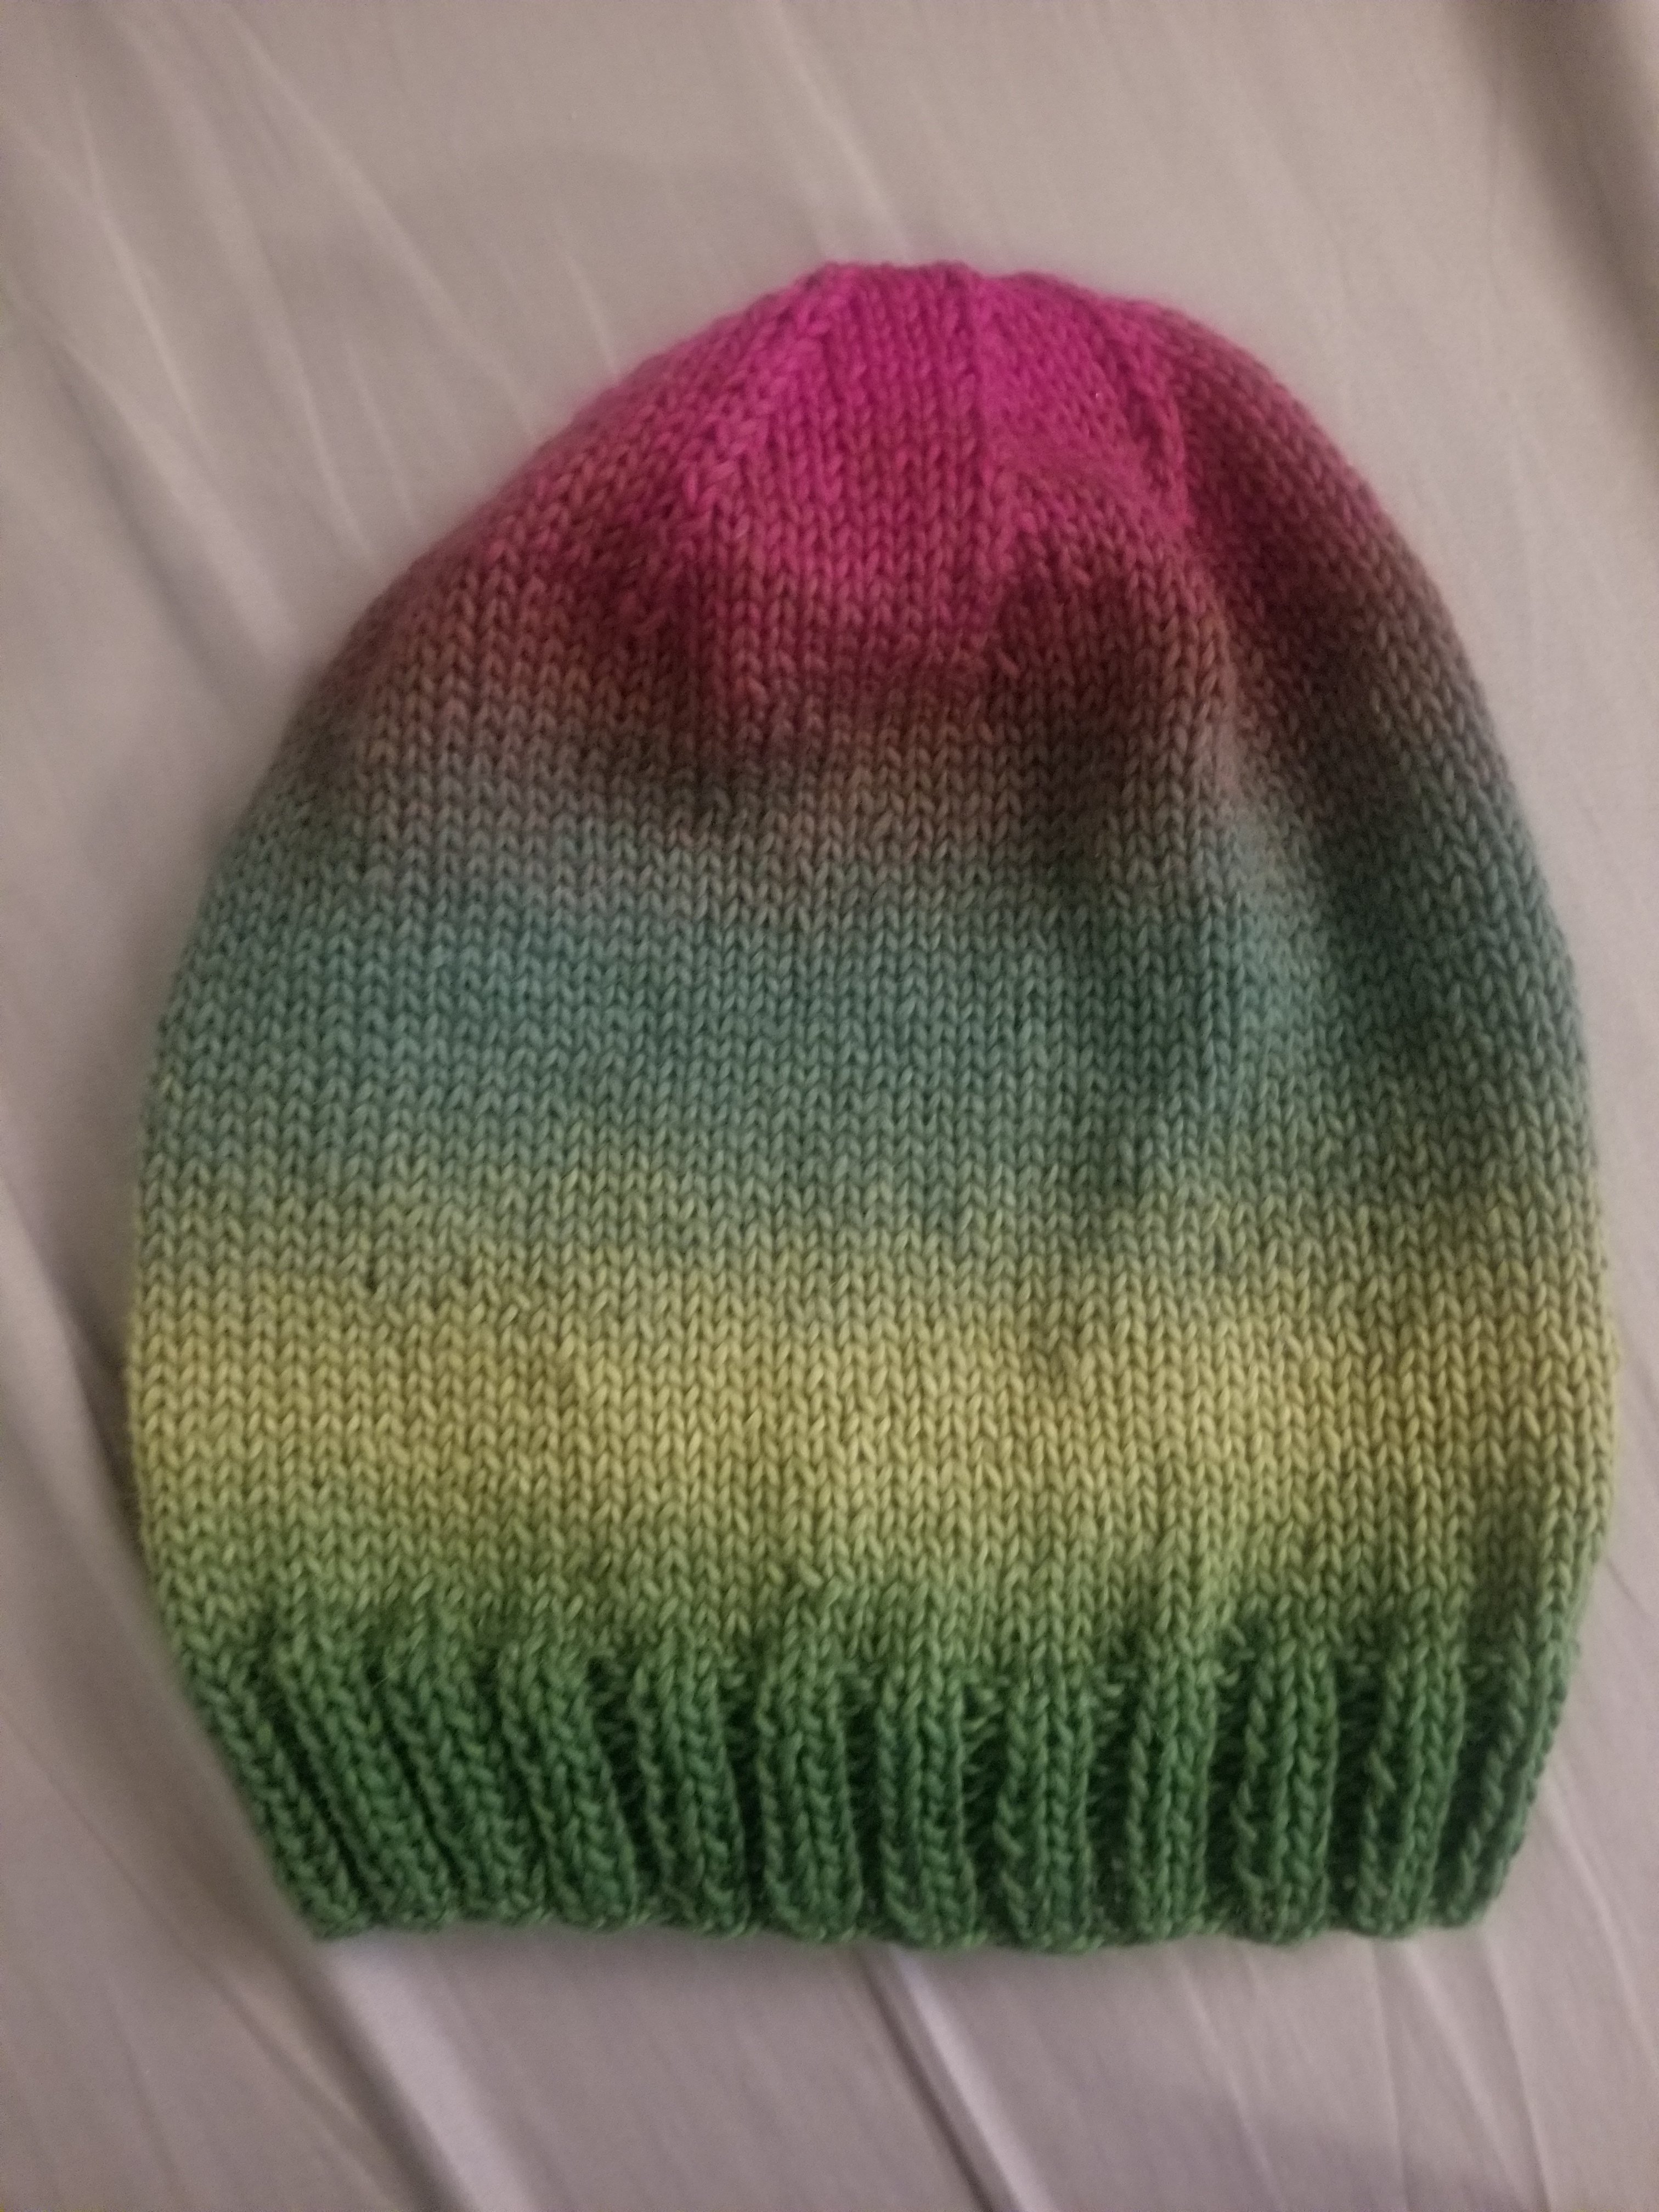
One of my local yarn shops is going out of business so I have been stocking up on some of those expensive specialty yarns I might not normally buy. Some of the yarns I was looking at were $70 a skein! This ombre yarn was probably half that price normally and with the going-out-of-business sale prices, I figured I could splurge to make a basic ombre knitted hat.
One thing I noticed, after my first few hats, was that they were pretty loose on my head. I’ve never really knit clothes that needed to have any specific dimensions, so I had pretty much just assumed I would get the right size if I used the right needles and the correct weight of yarn. None of this really matters when you knit a blanket or a scarf as long as you’re consistent.
I pulled out the same basic pattern from the Craftsy Cloudborn Basic Hat Kit I did a few days ago and started by checking my gauge and knitting some sample swatches (I know, I should’ve done this the first time). It took me a few tries to get it right, but it turned out I needed needles 2 sizes larger and I have to knit much more tightly. And because I was knitting tighter, I crammed a lot more rows into this project and it took a lot longer than the previous hats I made. So I’ve been knitting every night to get this done because I decided I wasn’t going to open any of my recently arrived packages of goodies until I finished this project. I’ll probably wait on those packages until this weekend when I really have time to get into them. Until then I’ll cram in some new projects with all the fun yarn I bought.
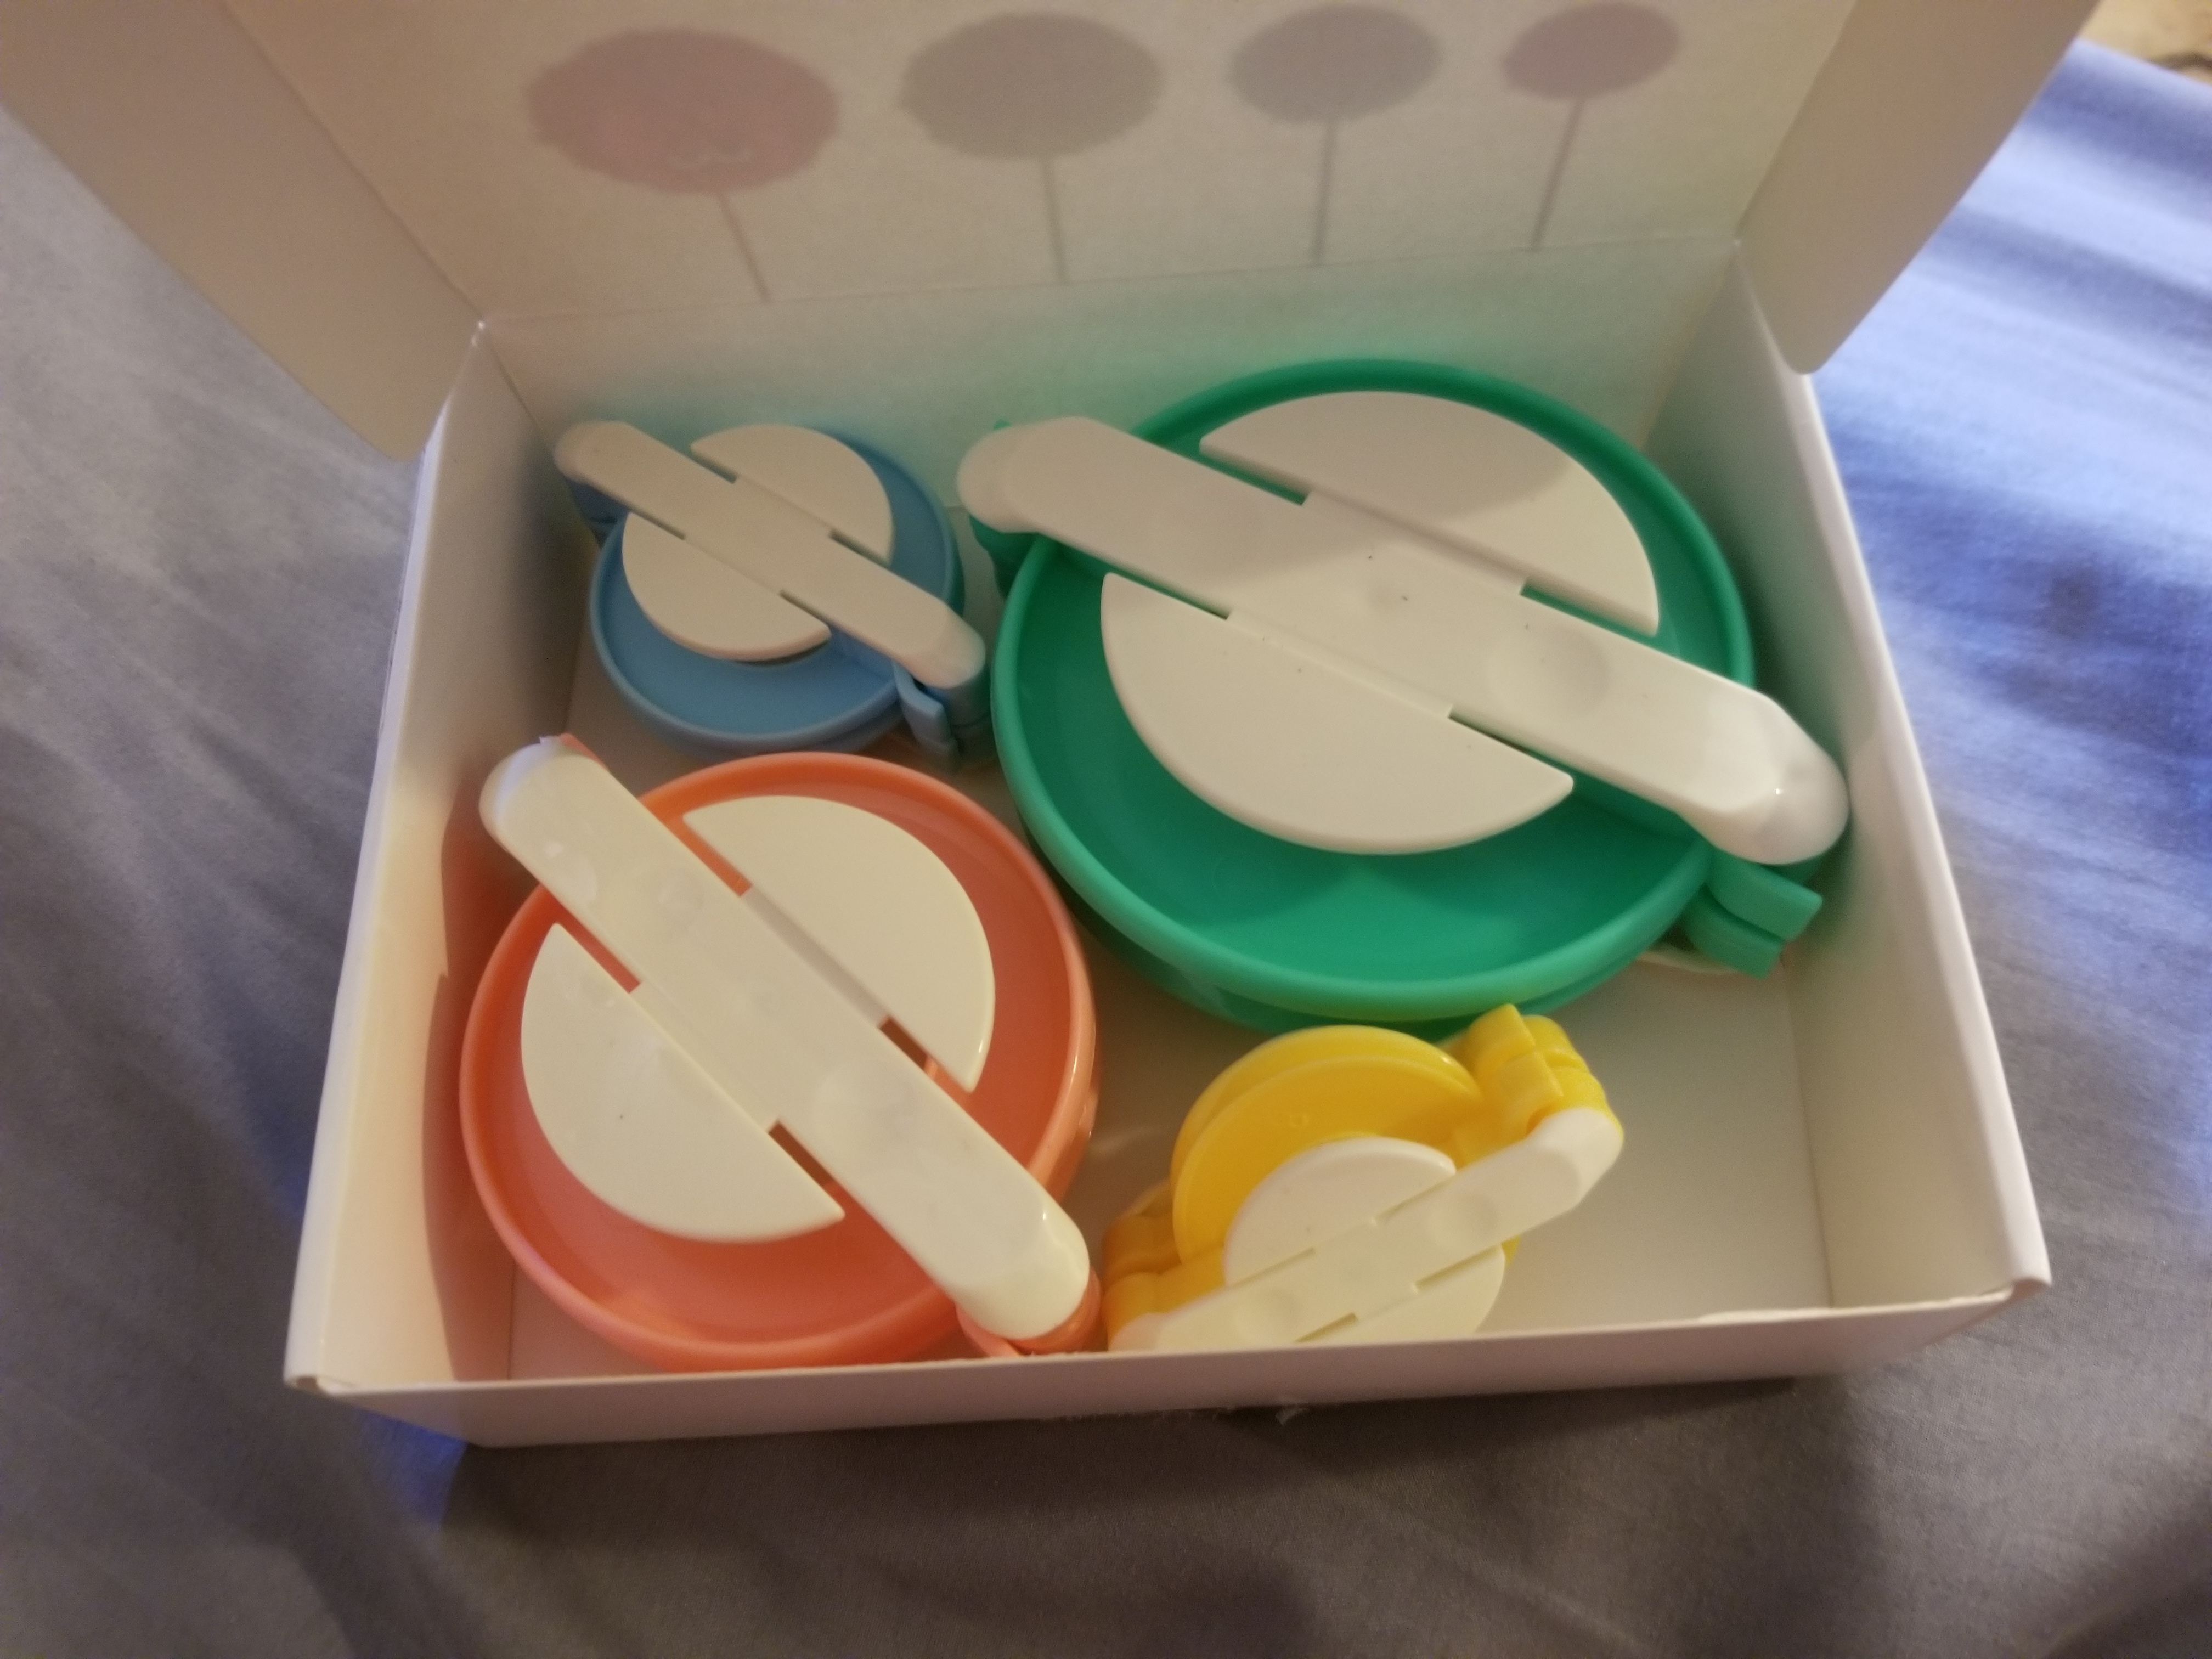
Apparently, I’ve taken up late-night shopping on my phone. All of a sudden plenty of amazon and craft company boxes started showing up. I didn’t realize how many buy buttons I clicked in the past few weeks but everything I ordered seemed to show up all at once! At least I will have plenty of things to write about. The first item I opened up was this set of pom-pom makers.
Now there are plenty of pom-pom makers out there, but this was the one marked as amazon’s choice, which means it’s inexpensive and has good ratings. Most of them look the same and they’re all made of cheap plastic, so why pay for a name brand when you can pay half price for the same thing, amirite?
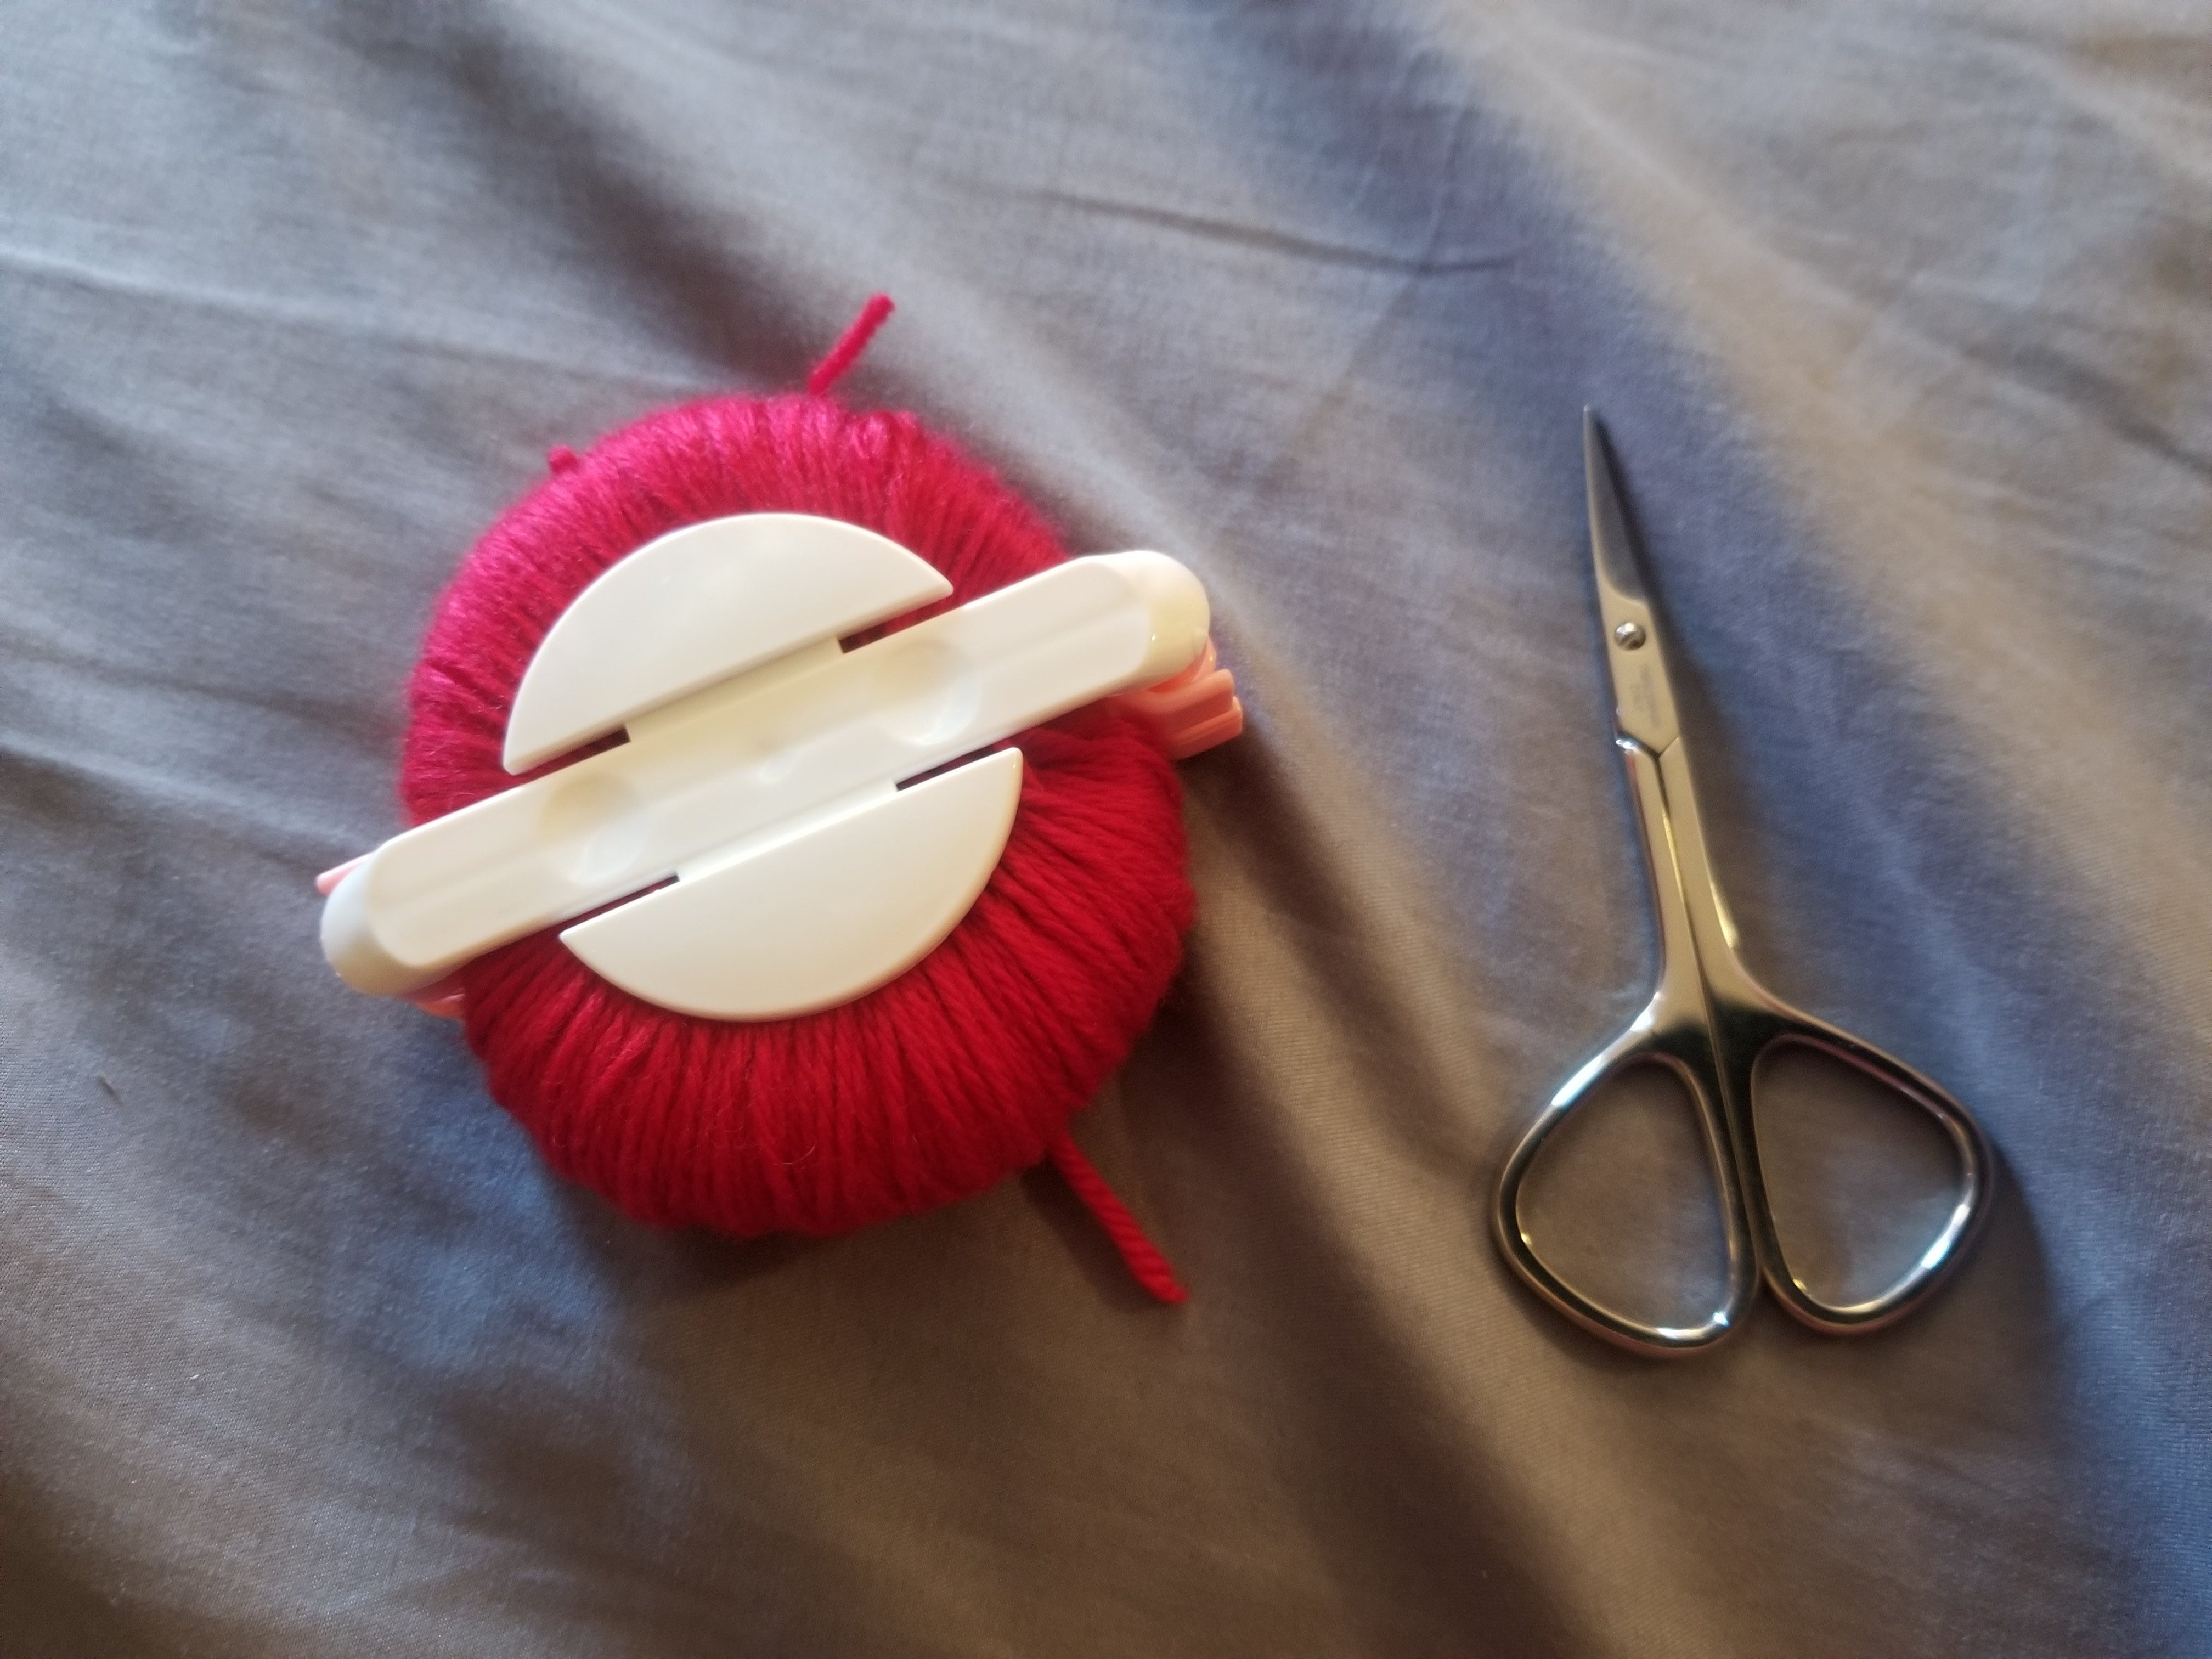
I bought this because I’ve been knitting beanie hats like a mad man the past week and some of those hats are going to need a pom-pom dangling from the top. The directions are simple, just fold out the little arms and wrap each pair of arms in yarn and push the arms back in.
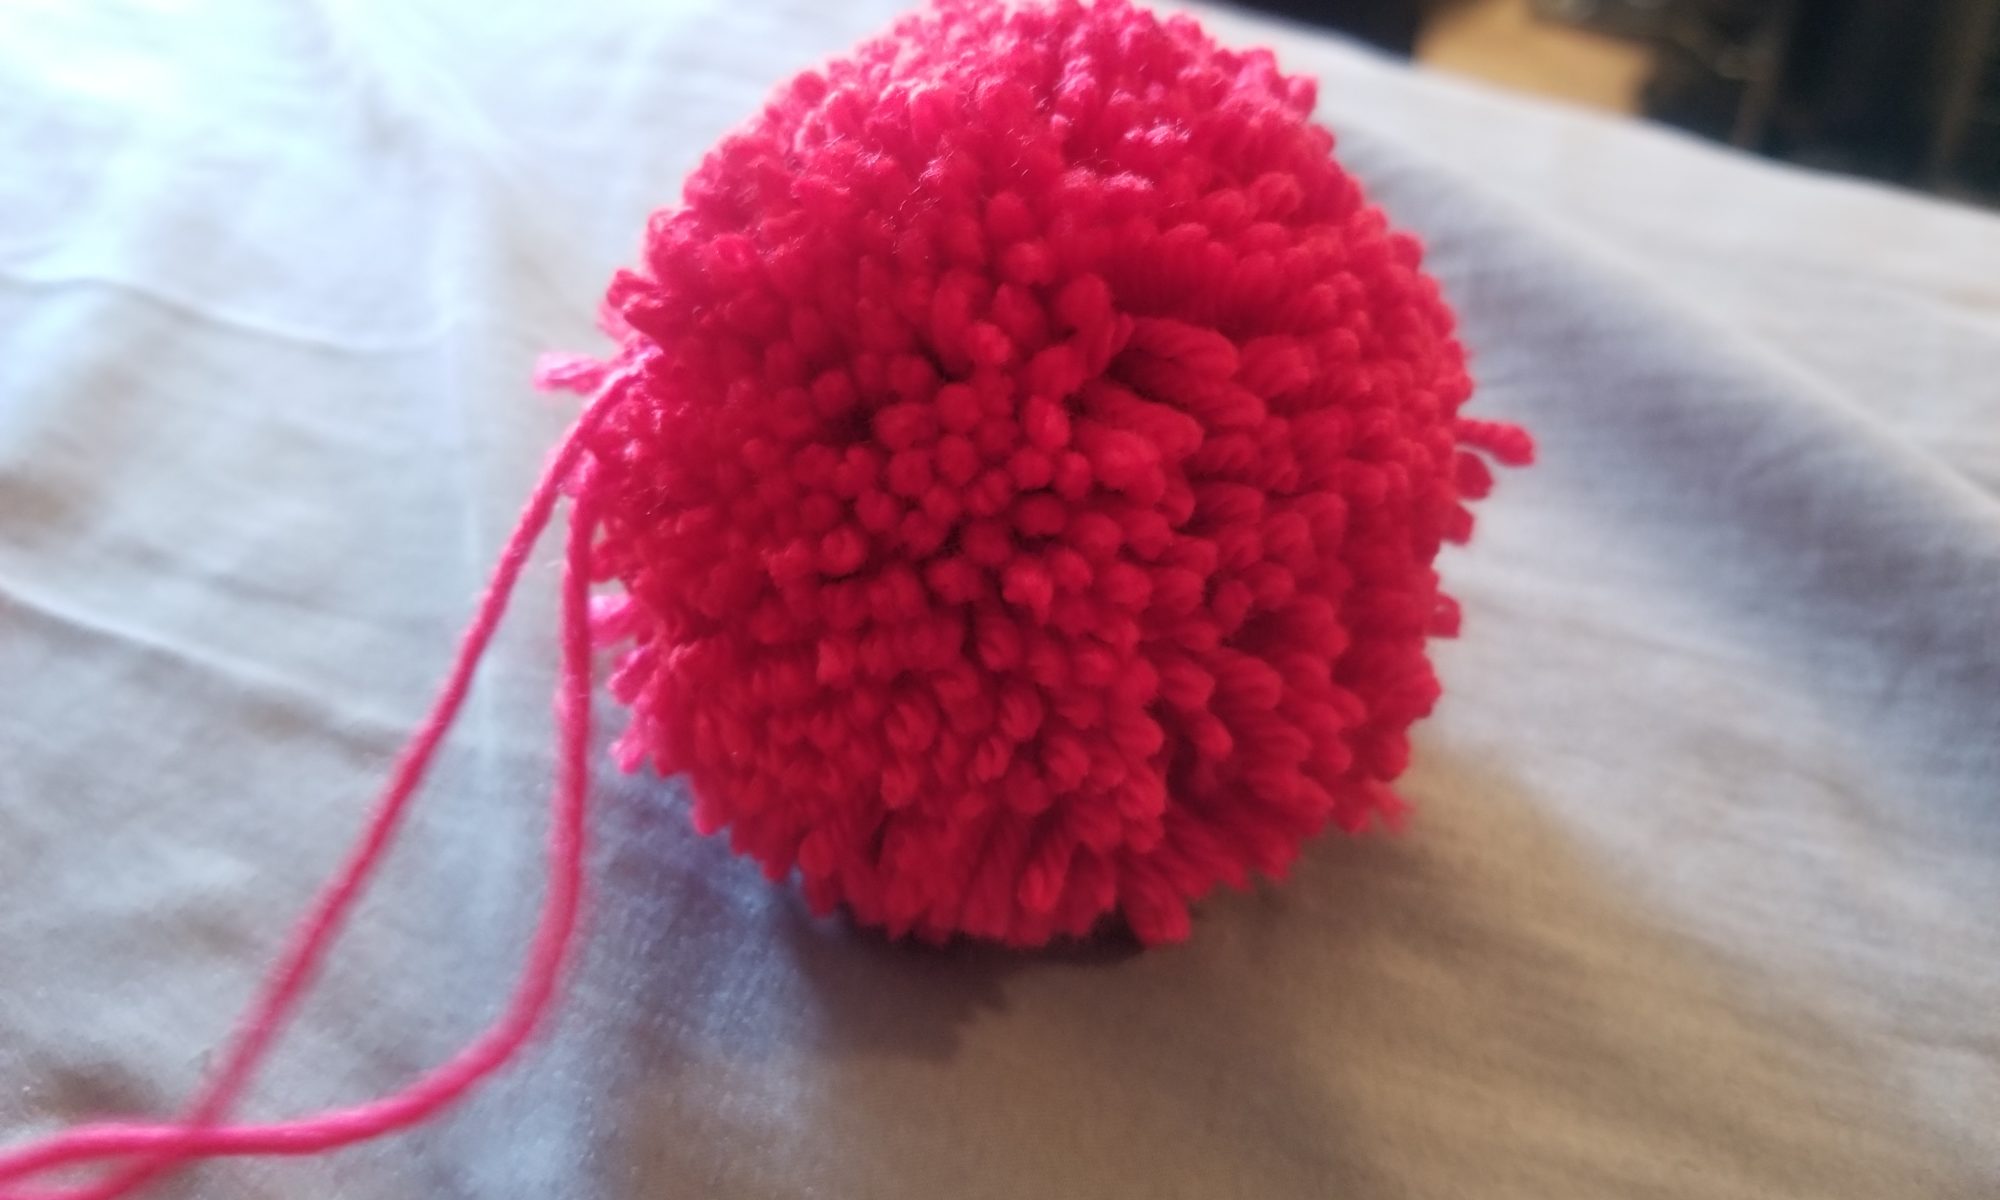
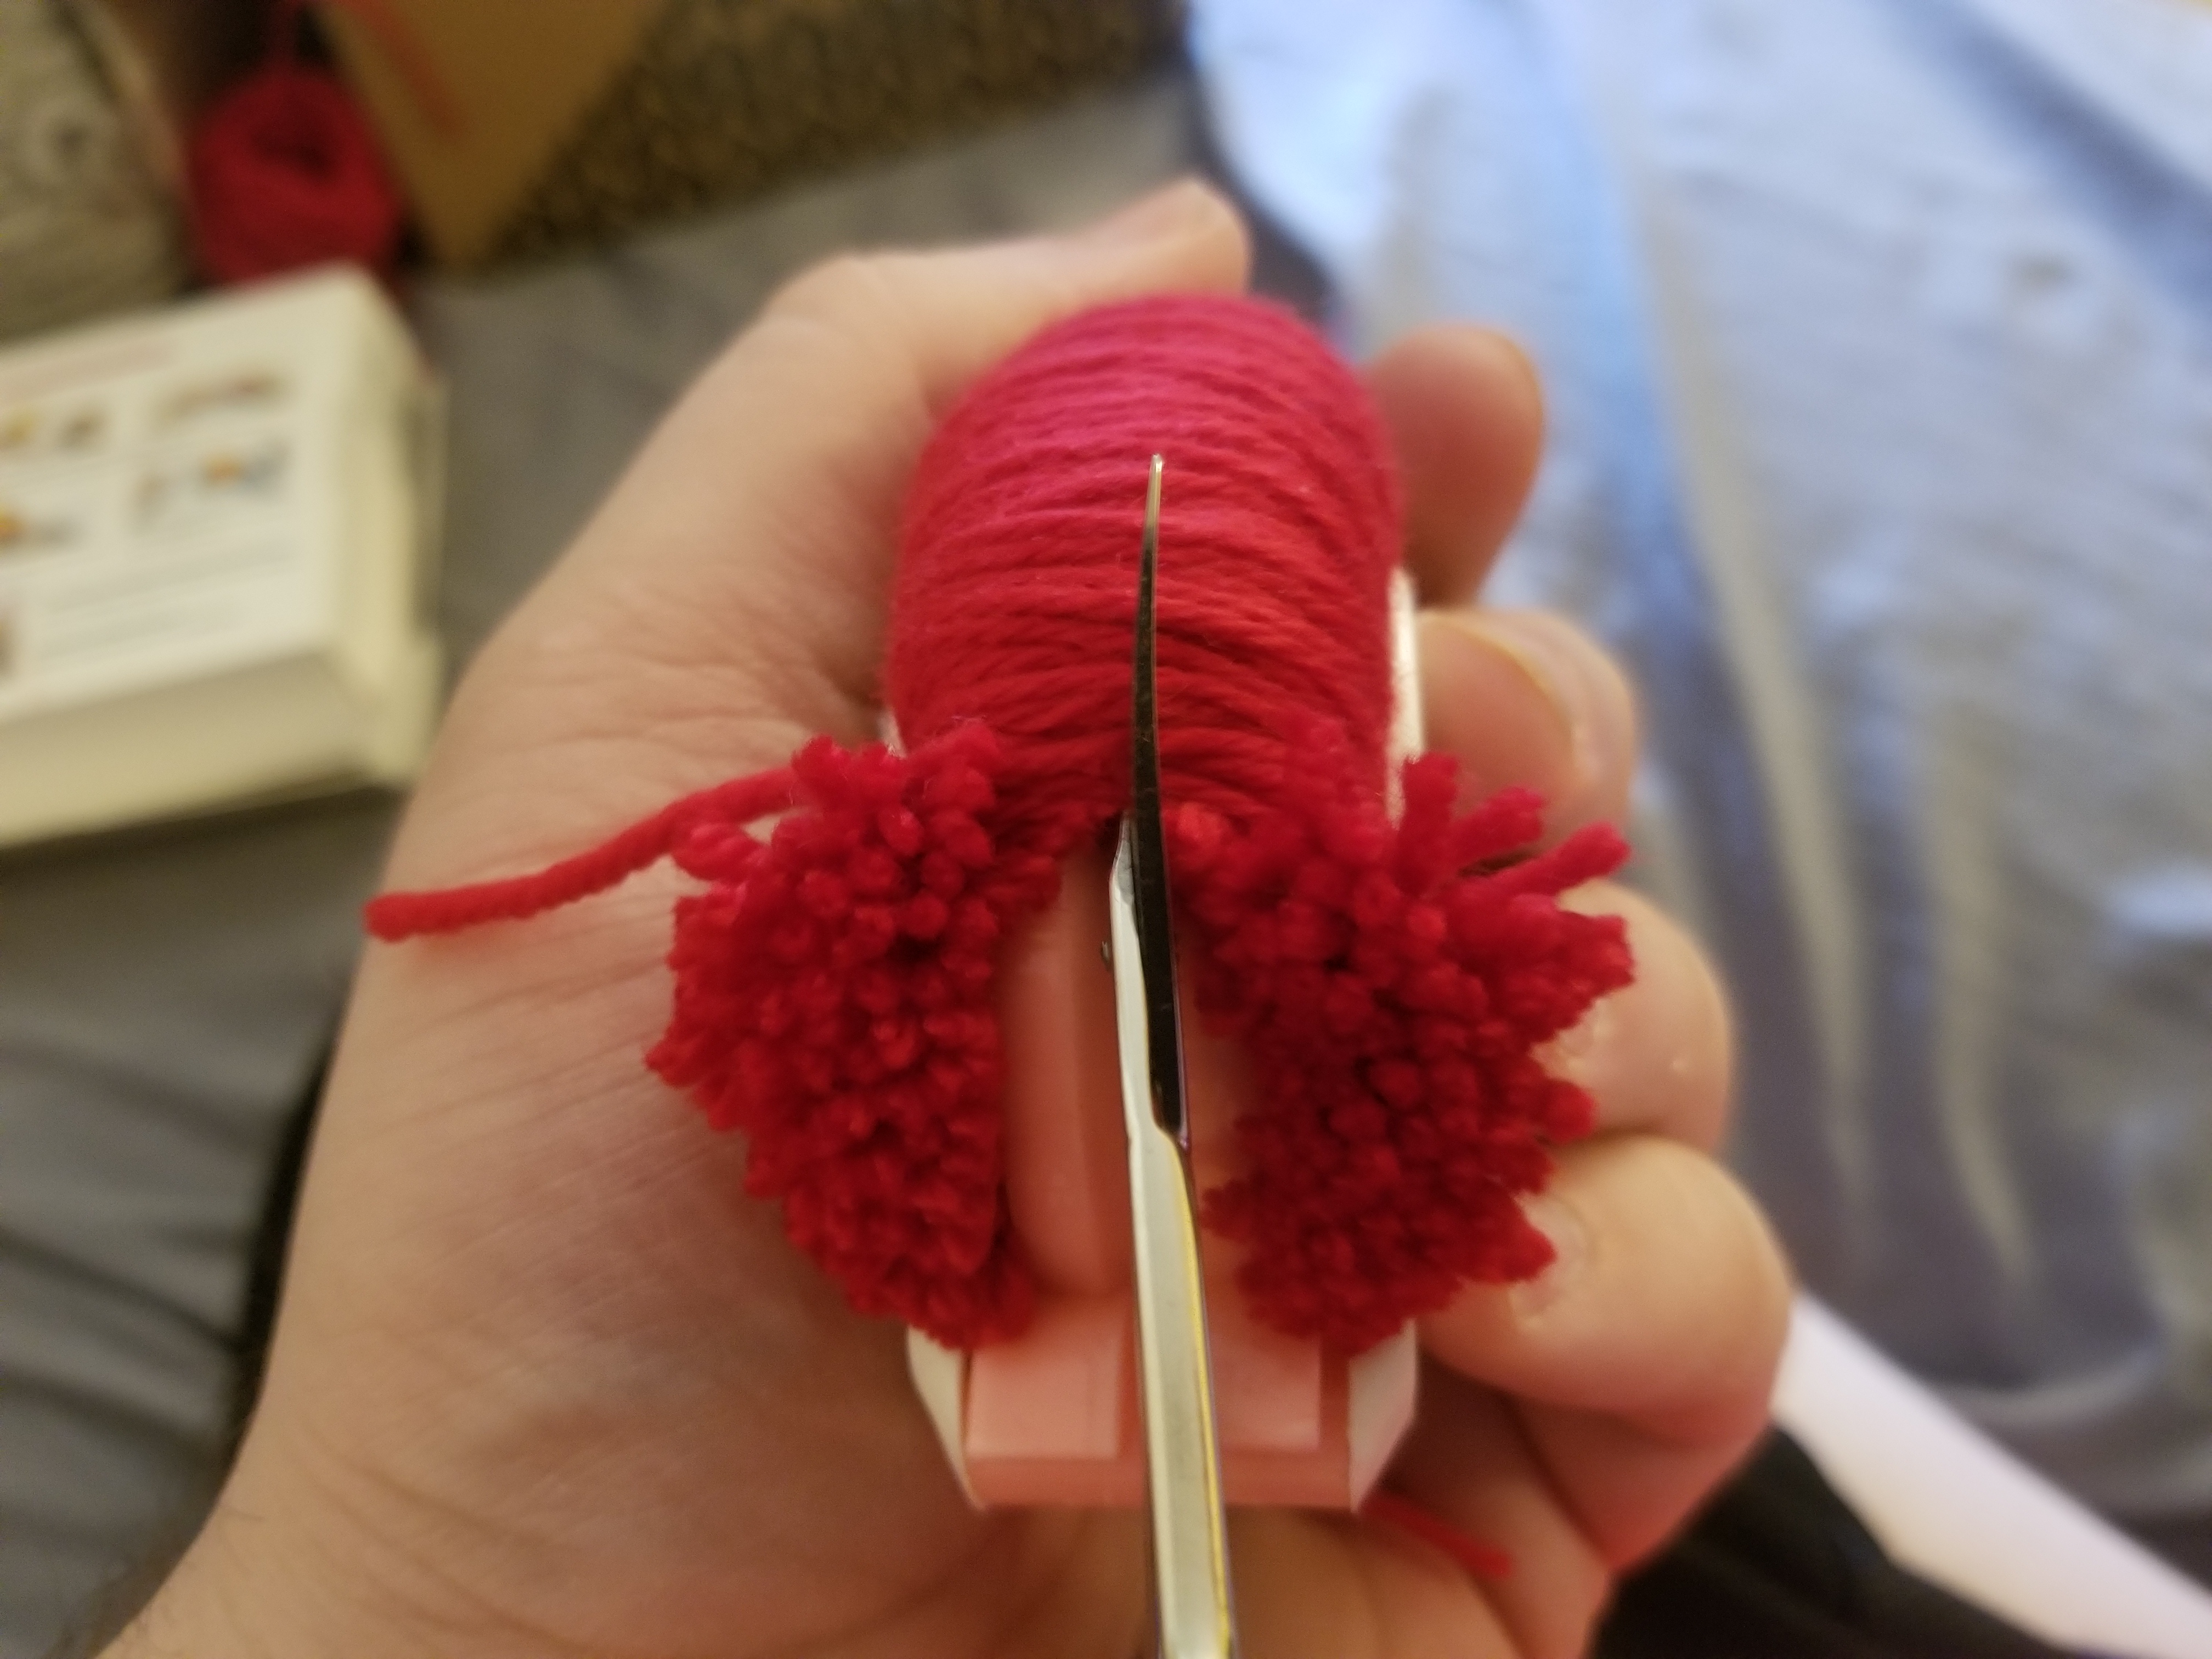
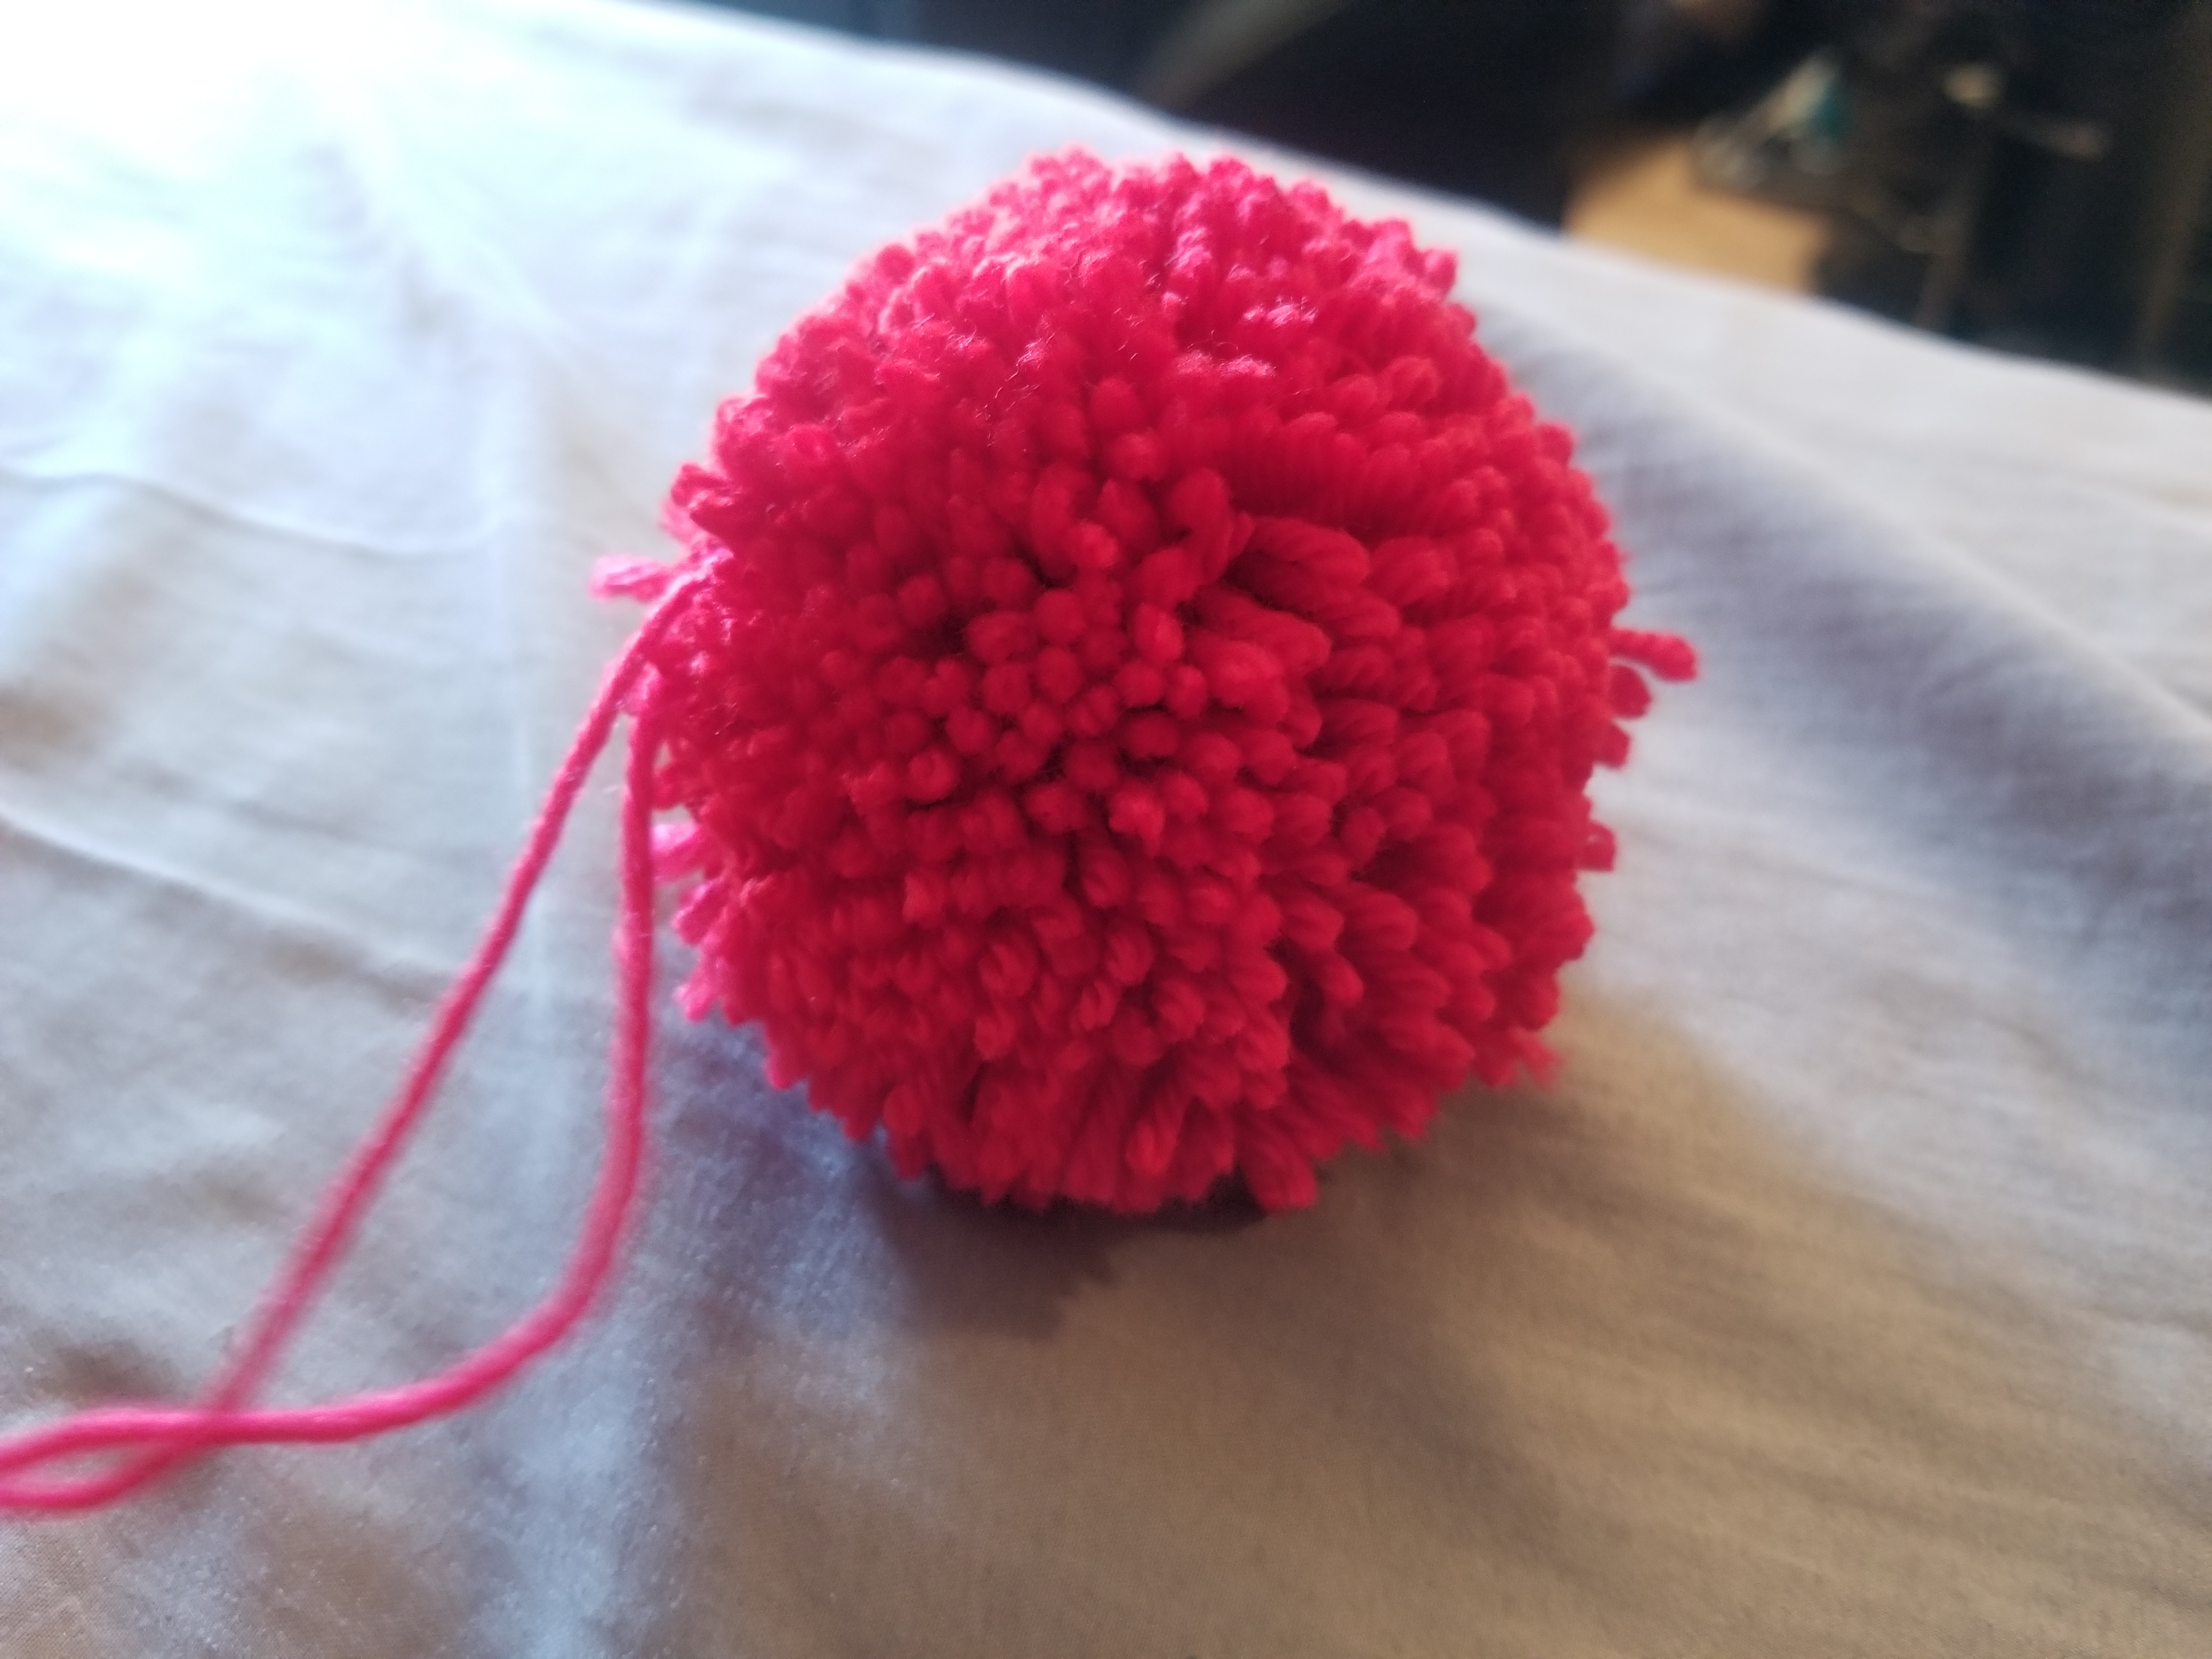
To be honest, I hated this part. Wrapping the arms was easy, but tedious. Then, something amazing happened. I started cutting the yarn down the center guide and the pom-pom started popping open in the most satisfying way.
It was so satisfying that now everything in the house will need a pom-pom. Good thing I’ve been saving all my scrap yarn from the million socks I’ve made!
After cutting each side, tie a piece of yarn around the center, pop open the arms again and the whole thing will fall apart to review your almost-perfect pom-pom.
Pretty good for my first try. A few little snips here and there and it’ll be a perfect little ball for my hat.
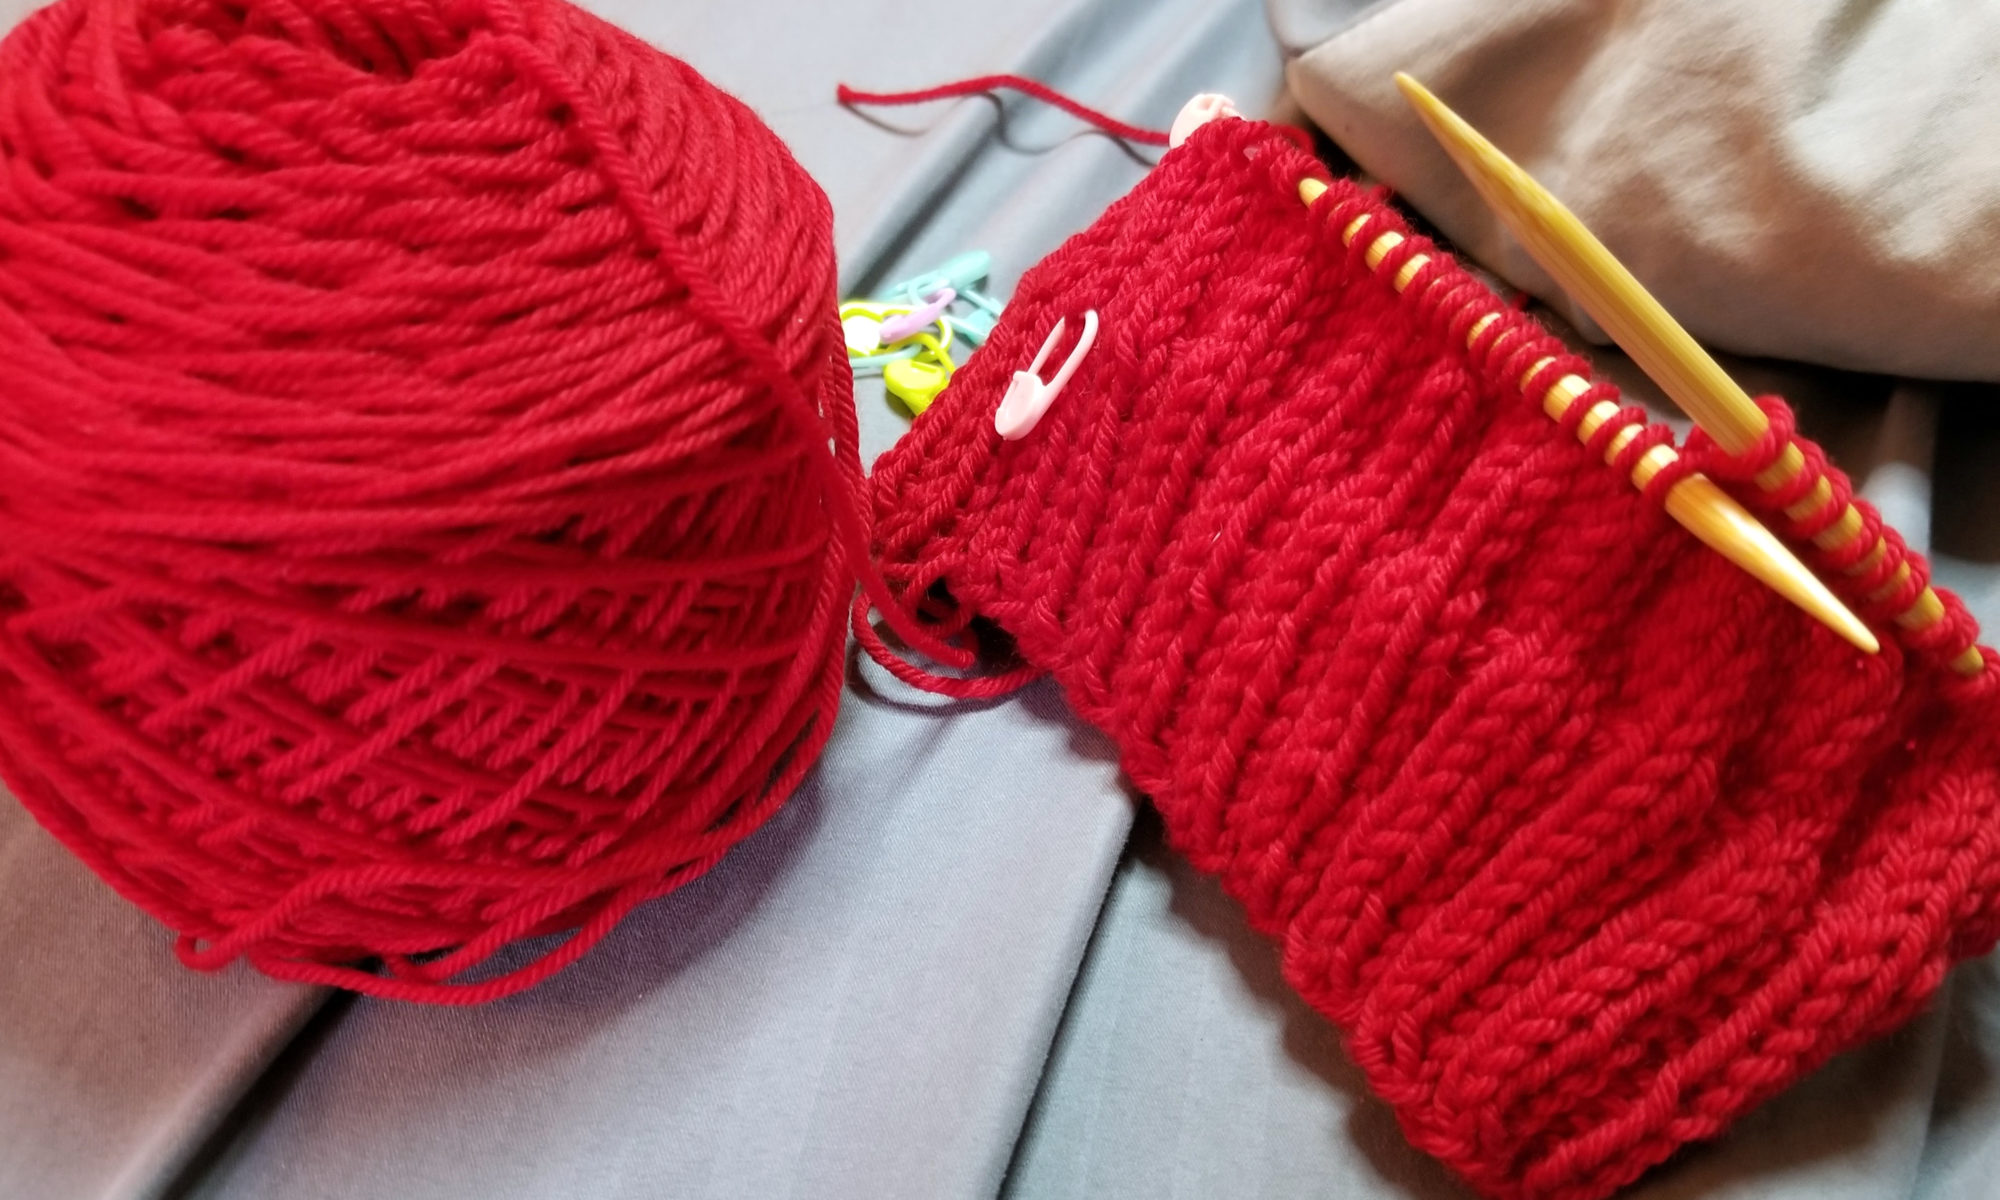
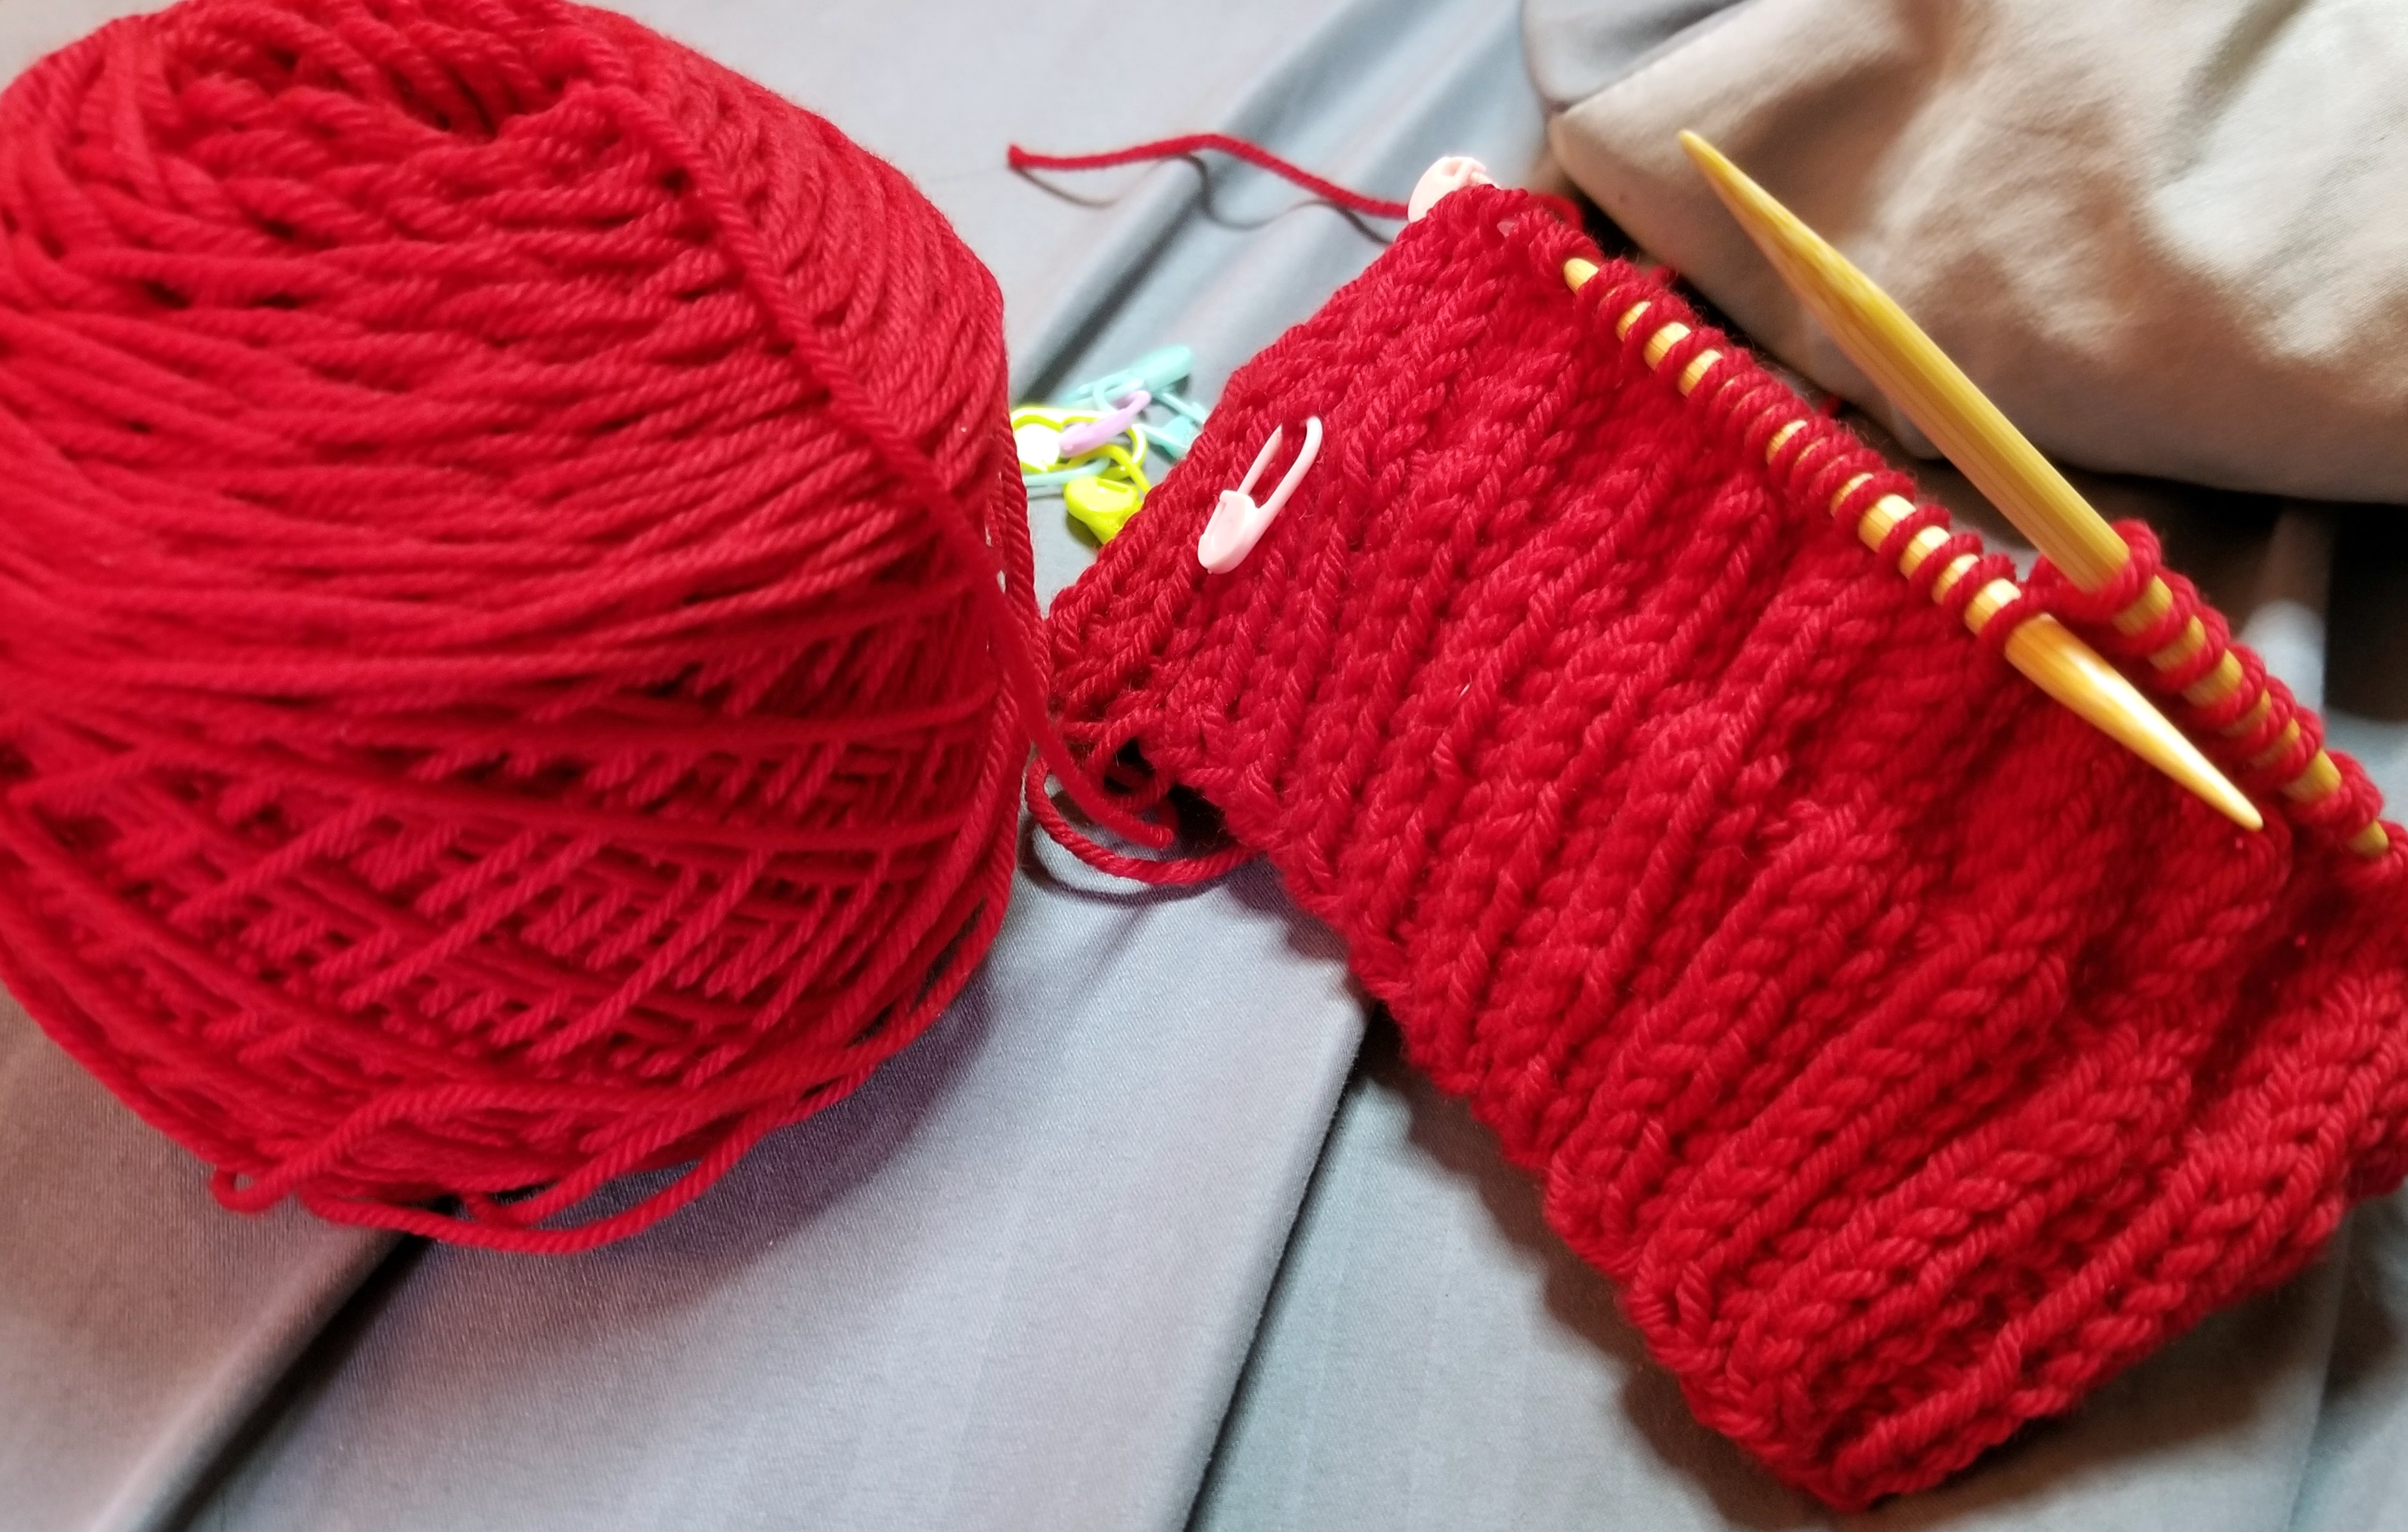
Craftsy.com had one of their big sales last week and I ordered a few beanie kits. I’ve never knitted hats, or knitted in the round really, so I thought I’d take advantage of a sale and give it a shot! The first kit I ordered was the Cloudborn Basic Hat kit in red.
As the product name suggested, it’s a pretty basic slouchy hat. A few rows of ribbing, a bunch of knits and then reducing it until it’s time to close up the top.
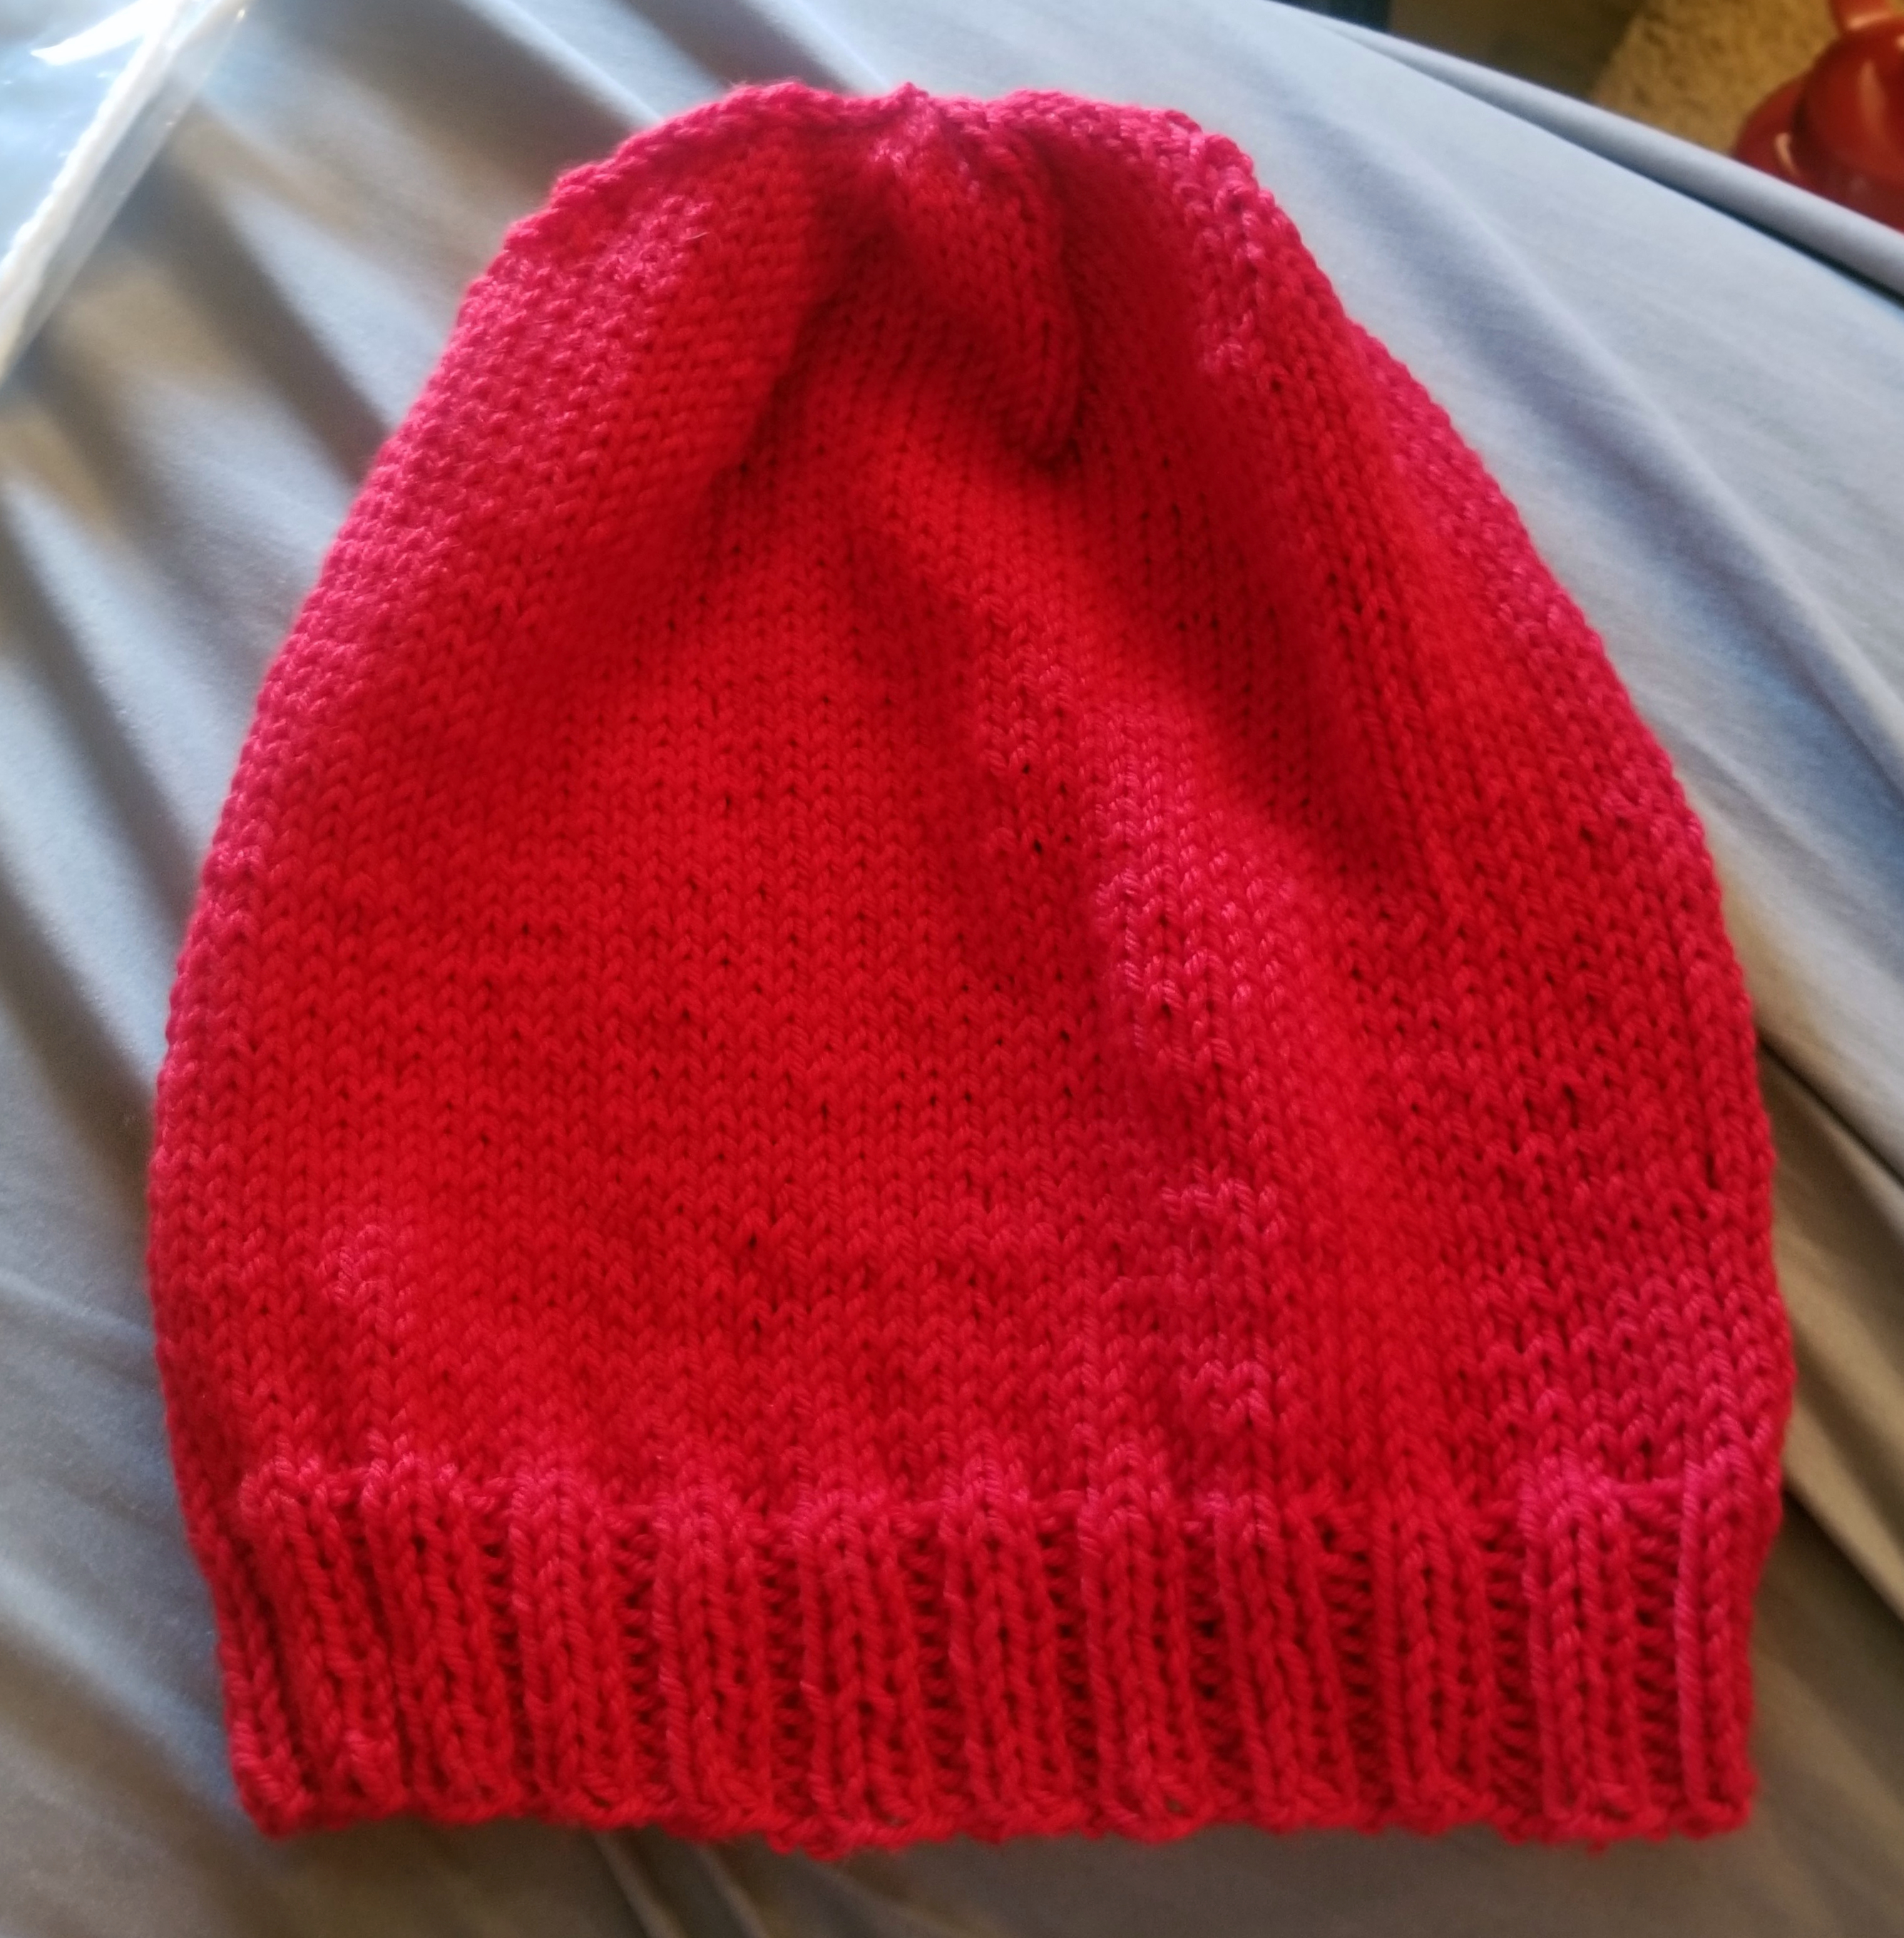
It was really hot this weekend in Seattle, so I pretty much locked myself up in my air-conditioned room and knocked this hat out pretty quickly while listening to some documentaries.
I’m pretty happy with it being my first hat. I sat down last night and started the next hat, which uses a chunky yarn, so I’m almost done with that as well. Once I get a few of these under my belt I’ll probably break out the fingering yarn and knit some finer stitched hats. I have lots of fingering weight yarn from all my sock stuff so I should probably figure out how to use some of that up!
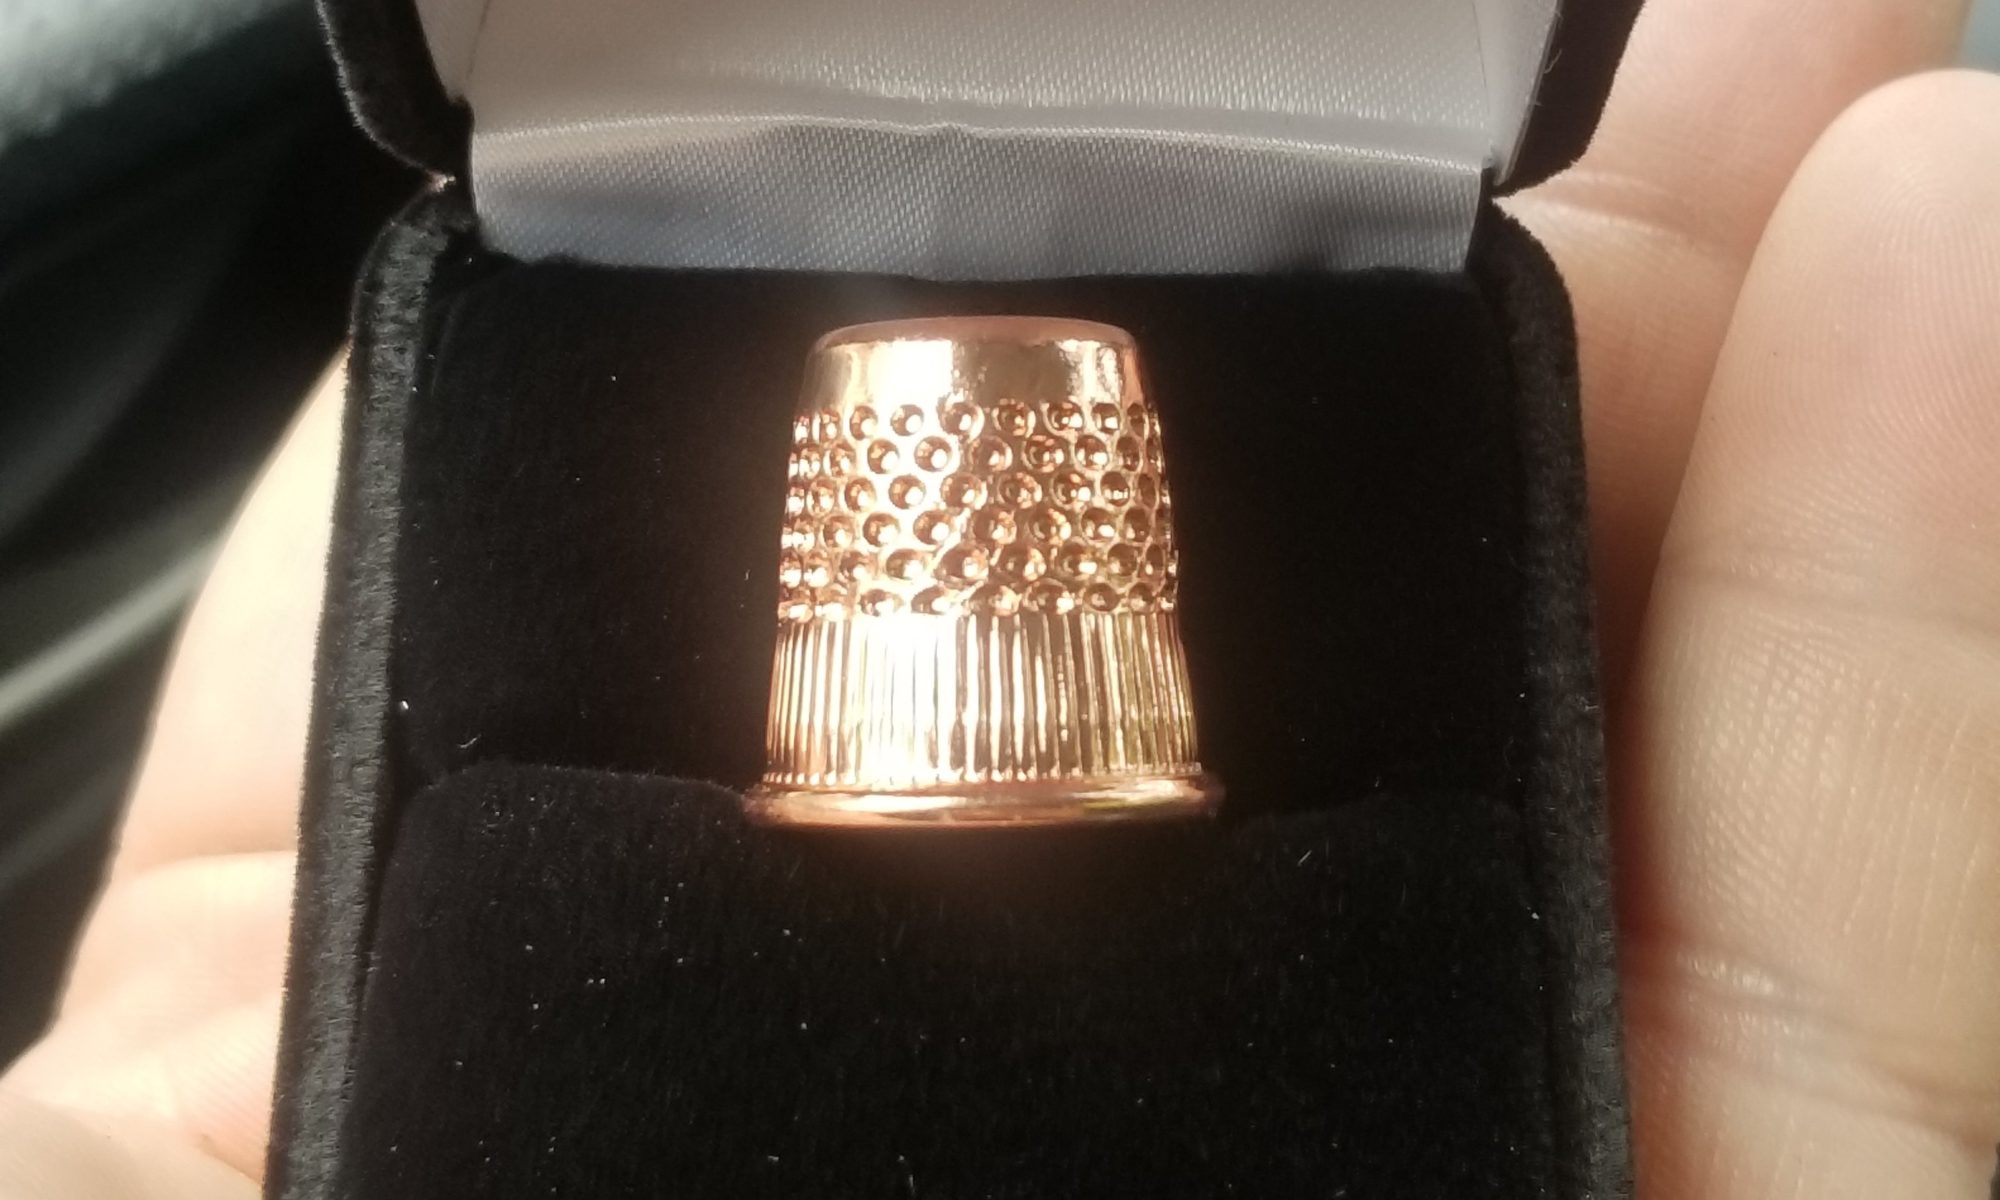
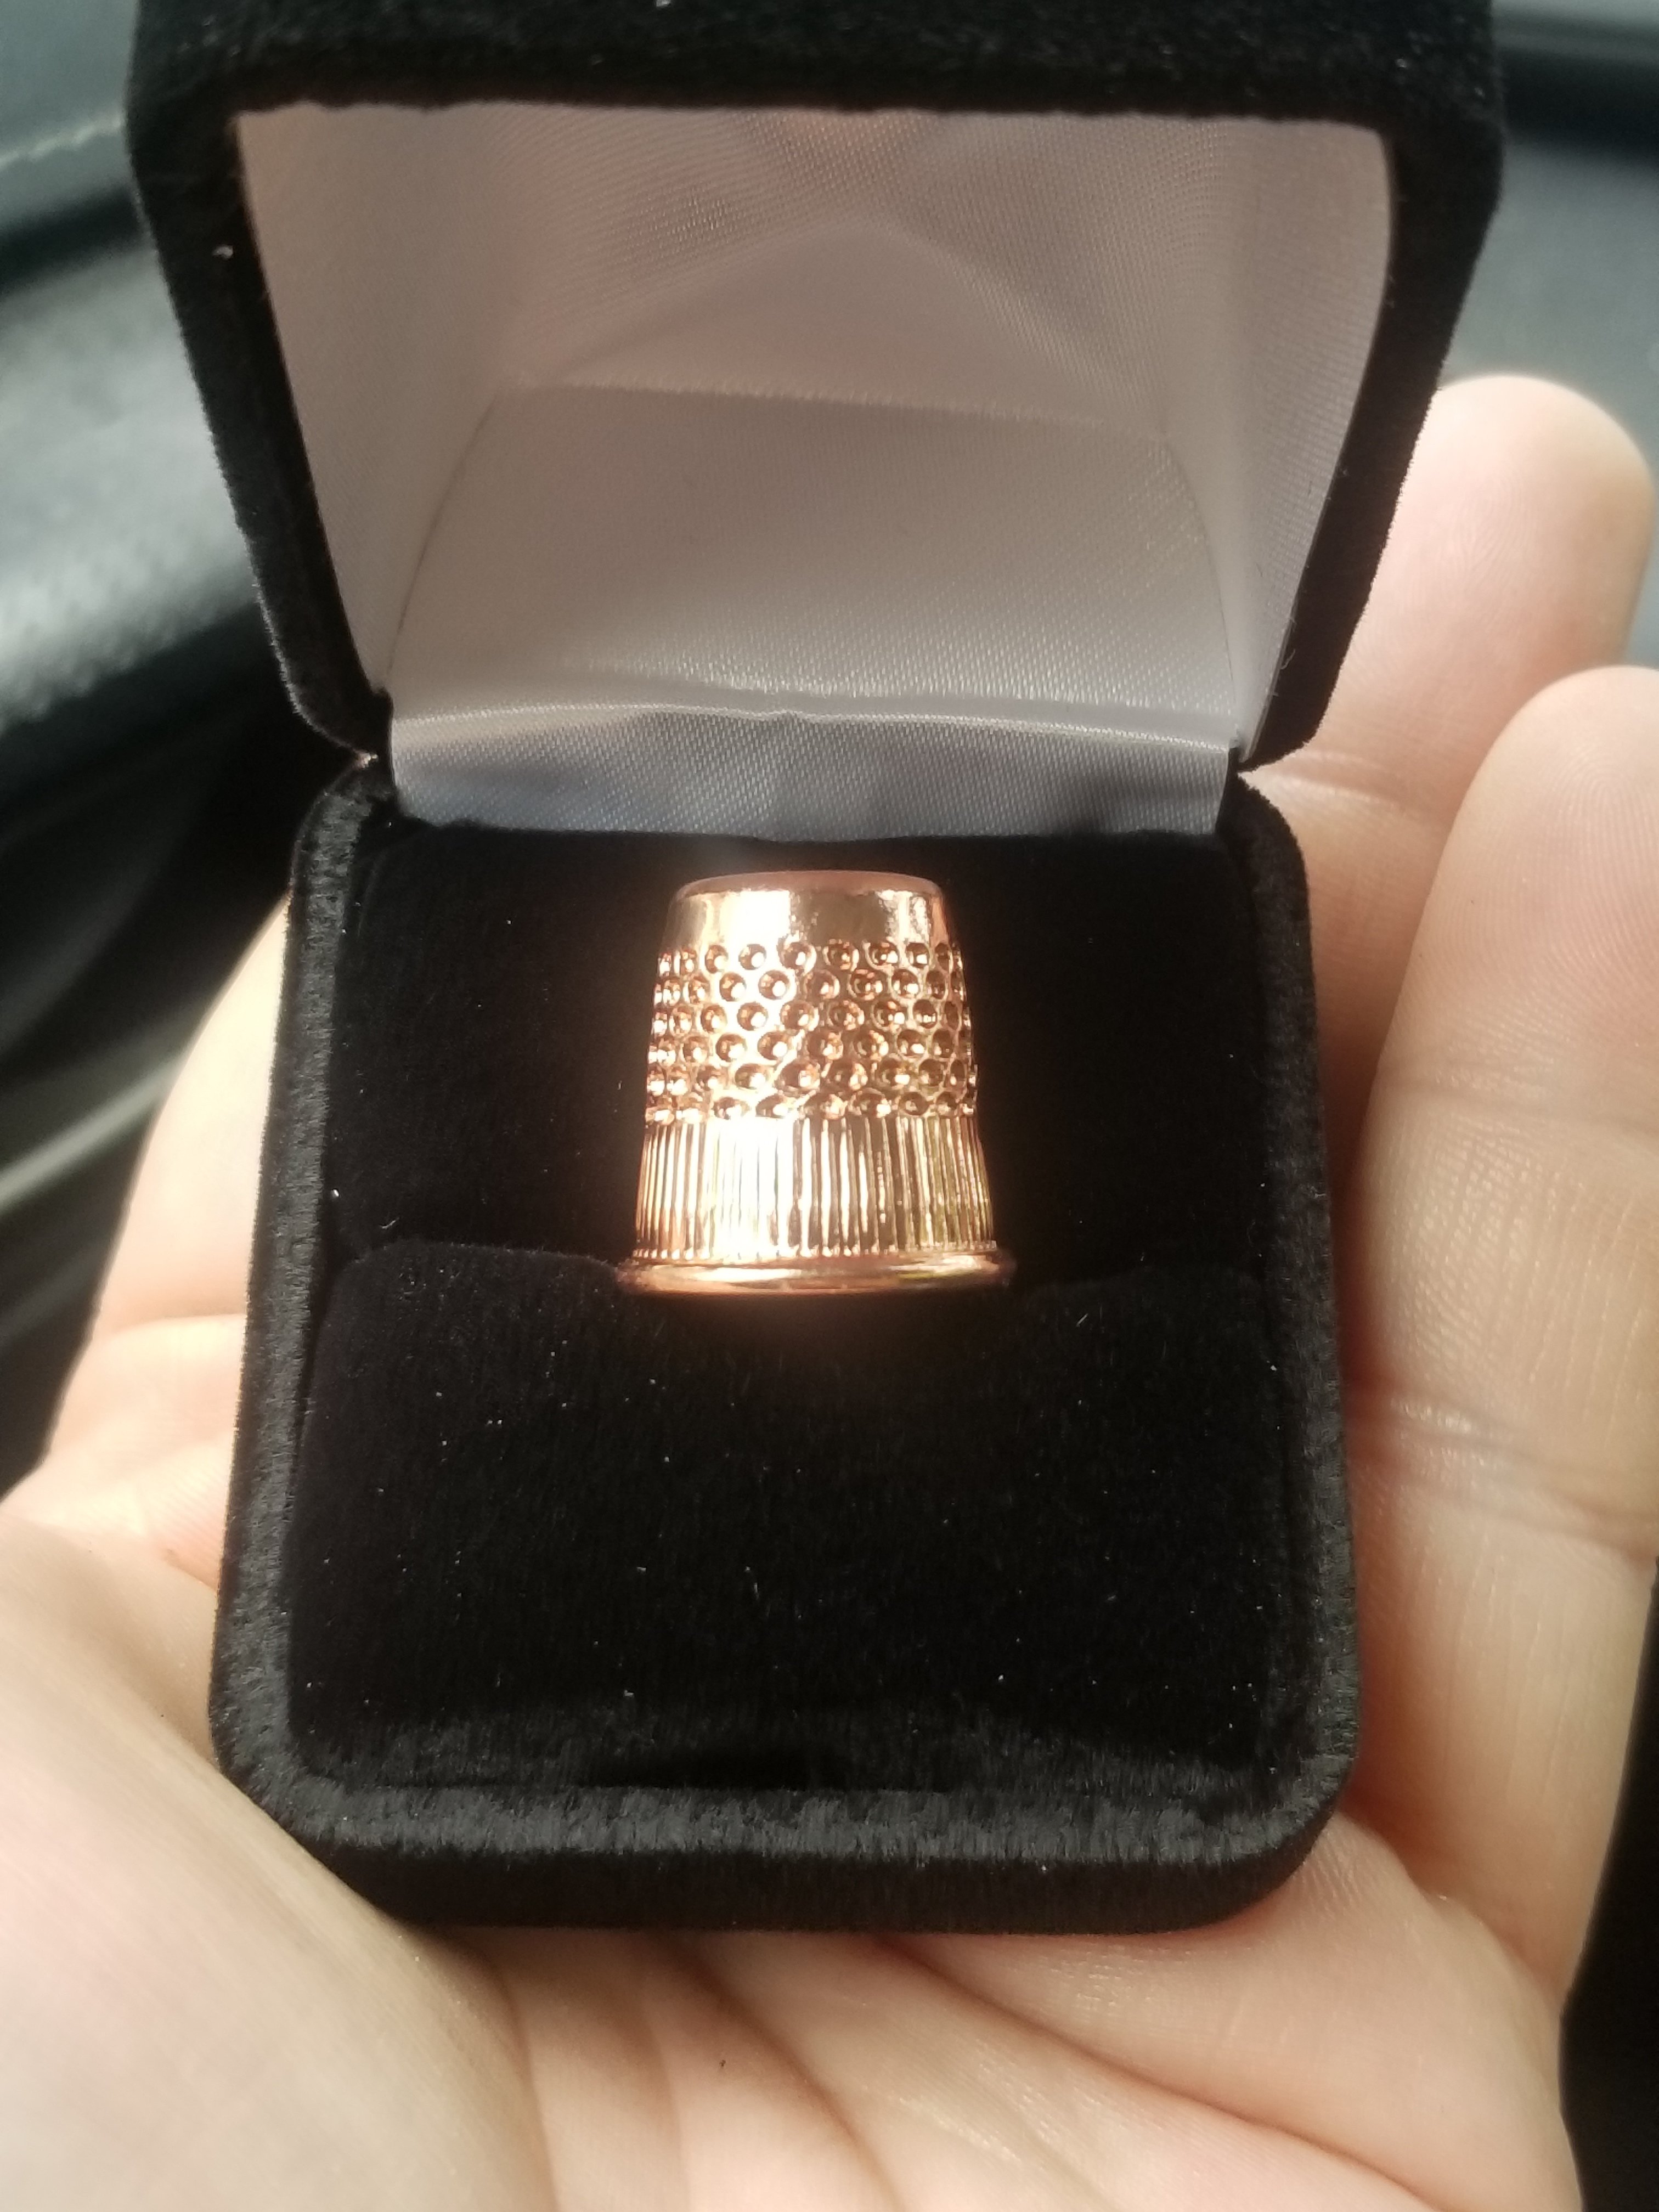
Baby Lock and Brother are coming out with their latest release of their high-end sewing machines and because of this, I’ve got a golden thimble in the mail to woo me into giving them more money for the latest machine. Ya know, because apparently I’m a baller in their eyes.
I like being on the list of people they want to schmooze to buy a new product. The problem I have is with the approach they’re taking with the new release. They want me to slap down $1000 down payment for the right to a discount when it eventually comes out. Which, I guess is not uncommon these days especially when you’re talking the amount of money these things go for. You put money down for the right to buy the latest Tesla car and you put money down for the right to buy a flagship Baby Lock machine too. If you’re not a sewer, you probably wouldn’t know that. Oh right, back to the problem… They don’t tell you anything about the machine. Just that it is coming and it has features.
It 👏 Has 👏 Features. 👏
No word on what those features would be but for $18,000 it better have some life-changing features. I’m not looking for a new machine, but if I was, I’d need a lot more information than that before I’d pony up some money. And for $18,000 I better be able to throw some fabric into the sewing room and return to find whole new outfits sewn and waiting for me to try on.
I tried googling the new machine but they are keeping it pretty hush-hush. Not even any rumors on it. Even the sales people didn’t have anything on it. I kind of feel sorry for them. It can’t be easy selling a mystery product at that price point.
I’ve wanted to play with a loom and try different types of weaving as long as I can remember. I shop online for them all the time but I just never pulled the trigger on actually buying one. The problem is that I look at what companies are selling and I just can’t seem to justify the price in my mind. If you look at most small looms (tabletop or lap) it really takes the most basic of woodworking skills to make one. I don’t understand how they charge hundreds to many thousands of dollars for a few pieces of wood and screws. As a beginner, I don’t really want to make one, I want to know how a professional one works first.
So the last time I was at the fabric store I saw a mini weaving loom loom on the shelf. Basically a picture frame with sawed out grooves for yarn. For a few dollars I figured I could play with this and see how interested I really am in it and maybe use up some of that scrap yarn from all the socks I’ve made.
While this is great for tapestry work, not so much for weaving. I didn’t realize you’d end up sewing your way through it since there is no heddle or shuttle and then using a rake/fork to push all your work down since there is no beater. After playing for a bit and I decided I hated it. I may make some hangings at some point with it, but my main goal is to use my piles of scrap yarn to make some scrappy scarfs.
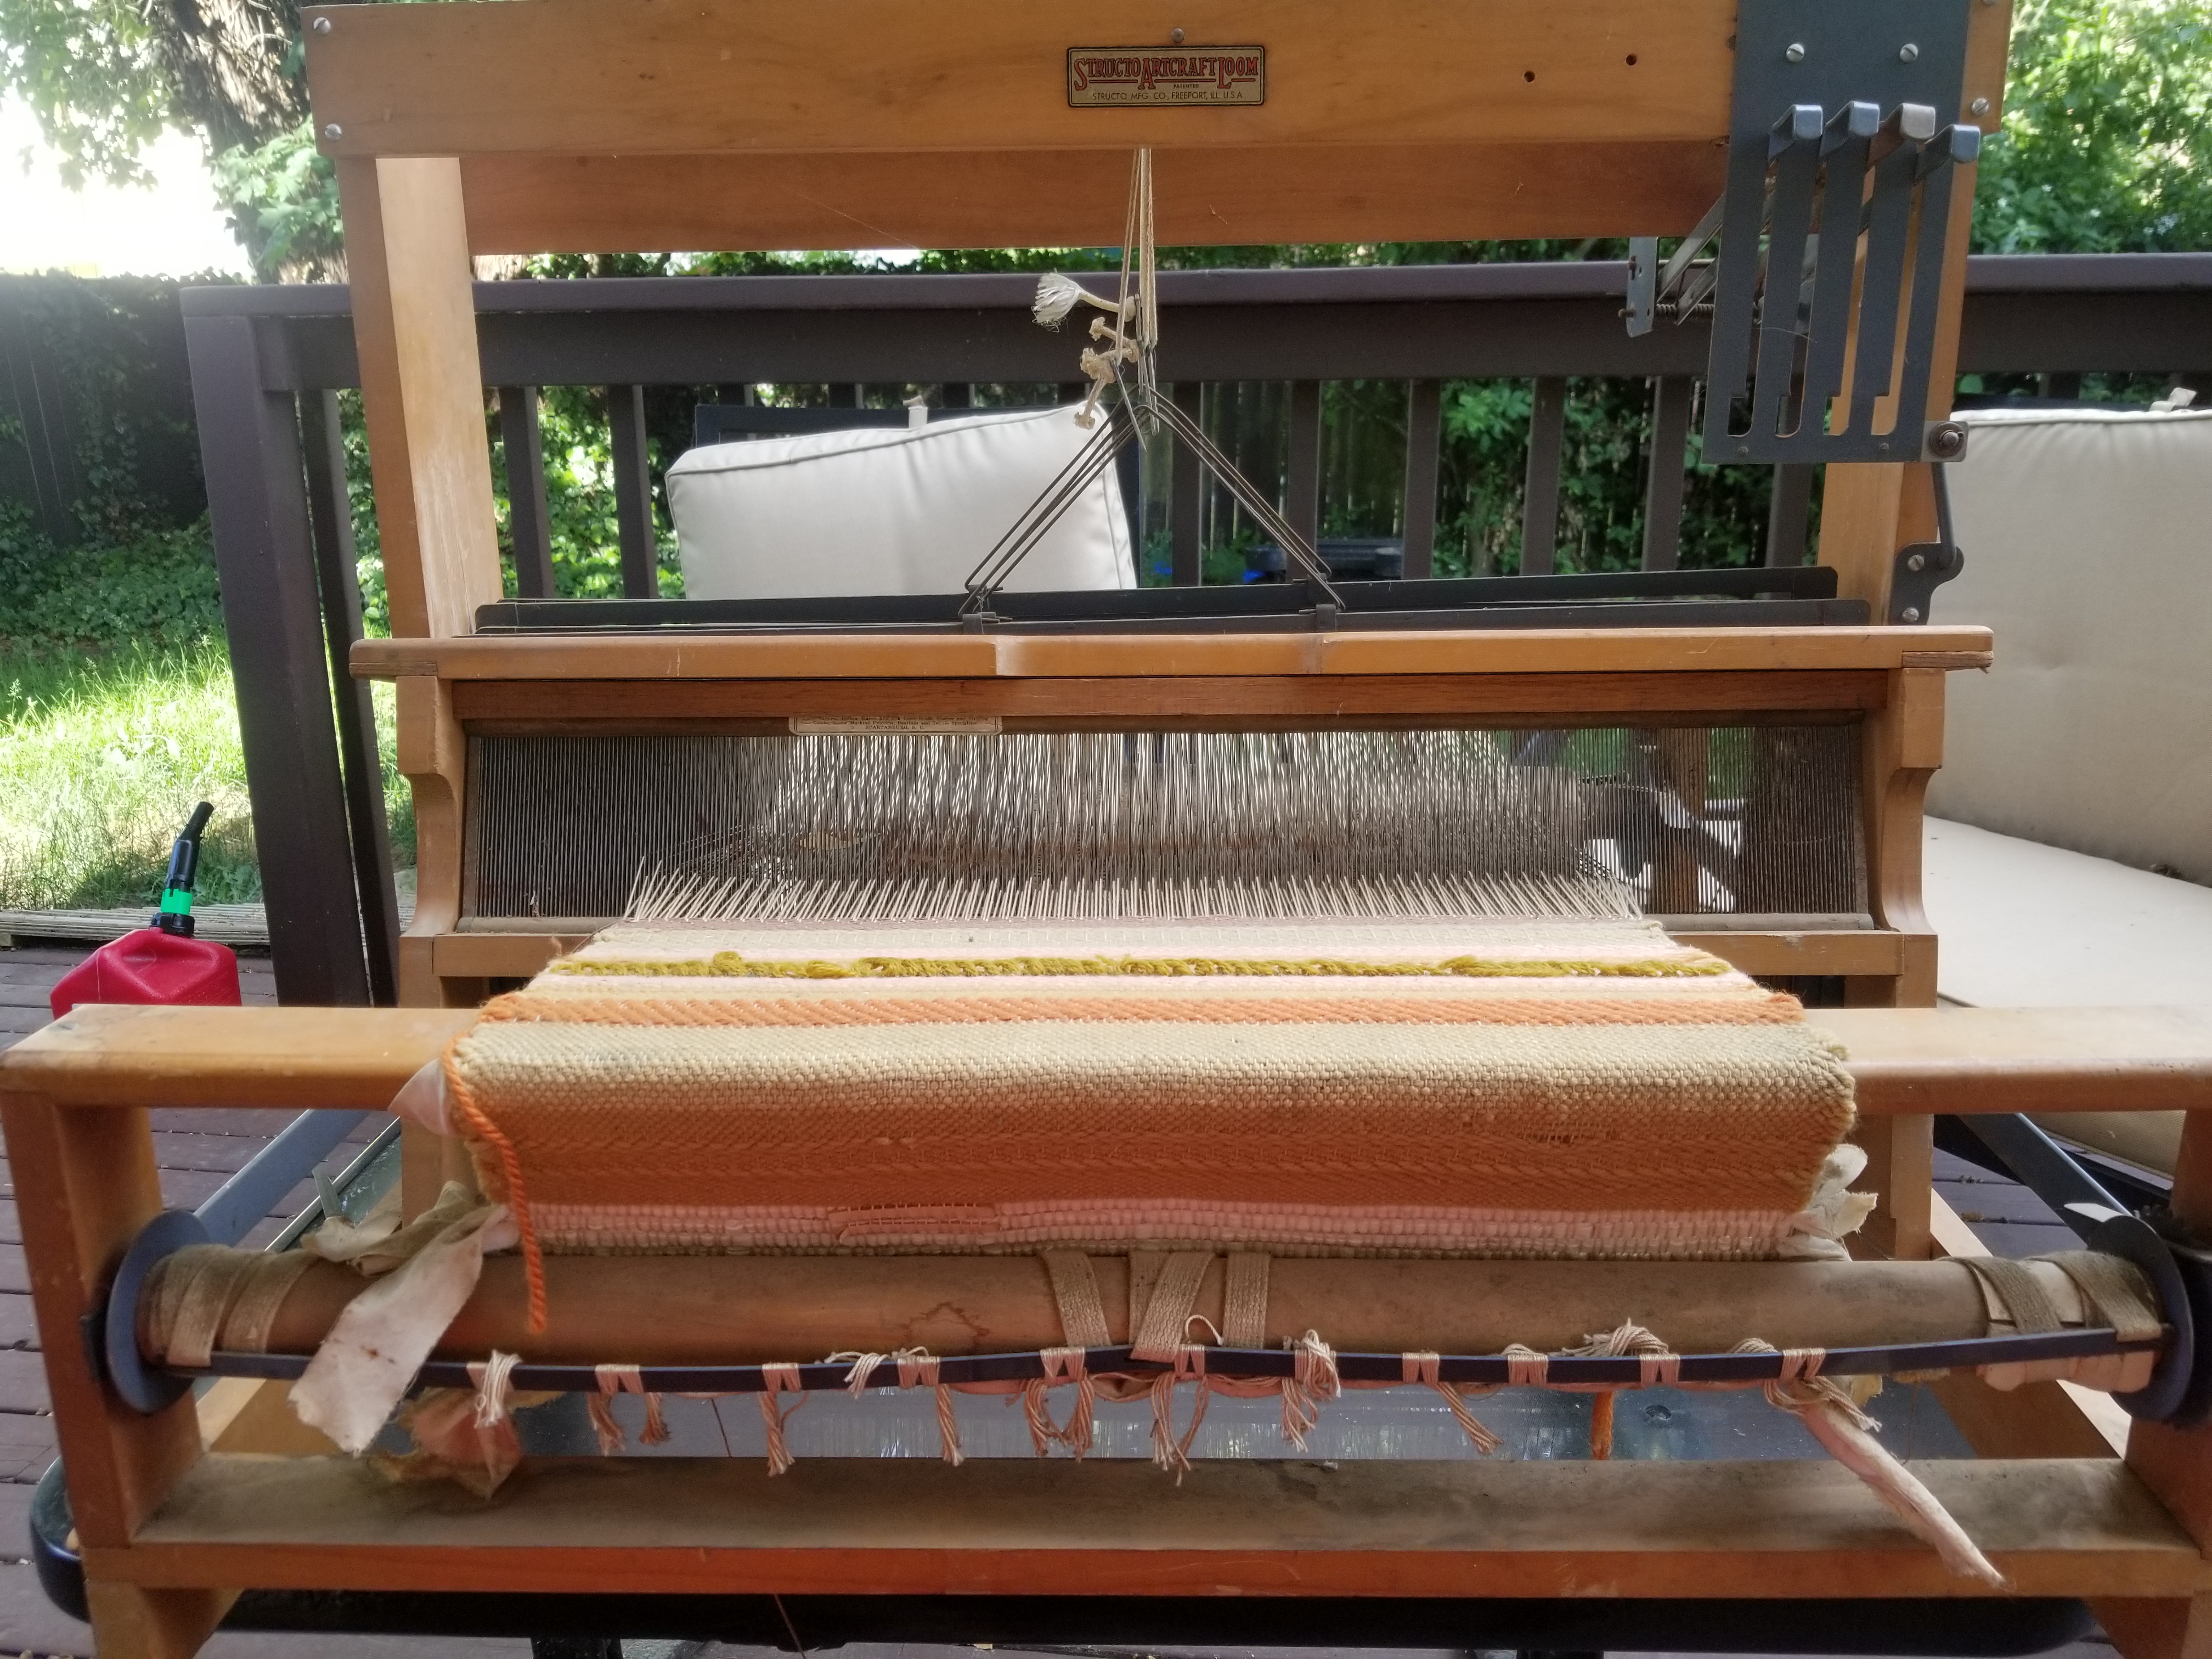
I took to scouring craigslist for local looms. Most looms you find are large floor models, which I definitely don’t have space for nor do I want to move one. Eventually I saw an ad for a 1927 model from an artist’s estate listing. I emailed and that weekend ran over and got it.
I dragged it to the back deck and ignored the fact that I had not completed the mowing. See that gas can in the picture? Yeah, that’s supposed to remind me to do yard work and not waste my day on my arts and crafts. Adulting is horrible like that.
There was no way this thing was going in the house until it was sparkling clean. I have a severe allergy to dust and cleaning this was going to be a struggle. It had been sitting in storage since the mid-70’s. I could tell because there was brittle newspaper jammed between the layers of warp thread on the back roller.
Hours later, all the dust and grime was gone and it resembled a wood loom again.
Now I need to figure out where to put this thing since I haven’t found my second hoarder house yet. More to come once I find a place to set it up.