I’ve always found resin, painting and the creativity people put into nail art very interesting. I’ve decided to try and put those things together and paint with UV gel nail polish. Not on nails, but on a small wood painting panel.
UV Gel polishes are just liquid resin (supposedly a safer version), which I’ve used in my craft room for years. Normally, I’d add colorants or pigments to clear resin and pour it into molds or paint it onto something, but with polishes they will already have colors mixed in for me.
The added bonus to using gel, and what I’m probably most excited about, is that there is their ability to instantly set. With a nail lamp, each layer is cured within seconds and you aren’t literally sitting there and watching acrylic paint dry. And like oil painting, I can pretty much keep playing around with it in a wet form until I decide I’m happy with what I have.
What I used:
- 200 UV Gel Nail Polishes (2 Kits)
- 200 Pcs Nail Swatch Sticks
- Aokitec UV Light for Nails
- 4×12 Wood Painting Panel
- Cheap brushes
- Acetone (for brush cleaning)
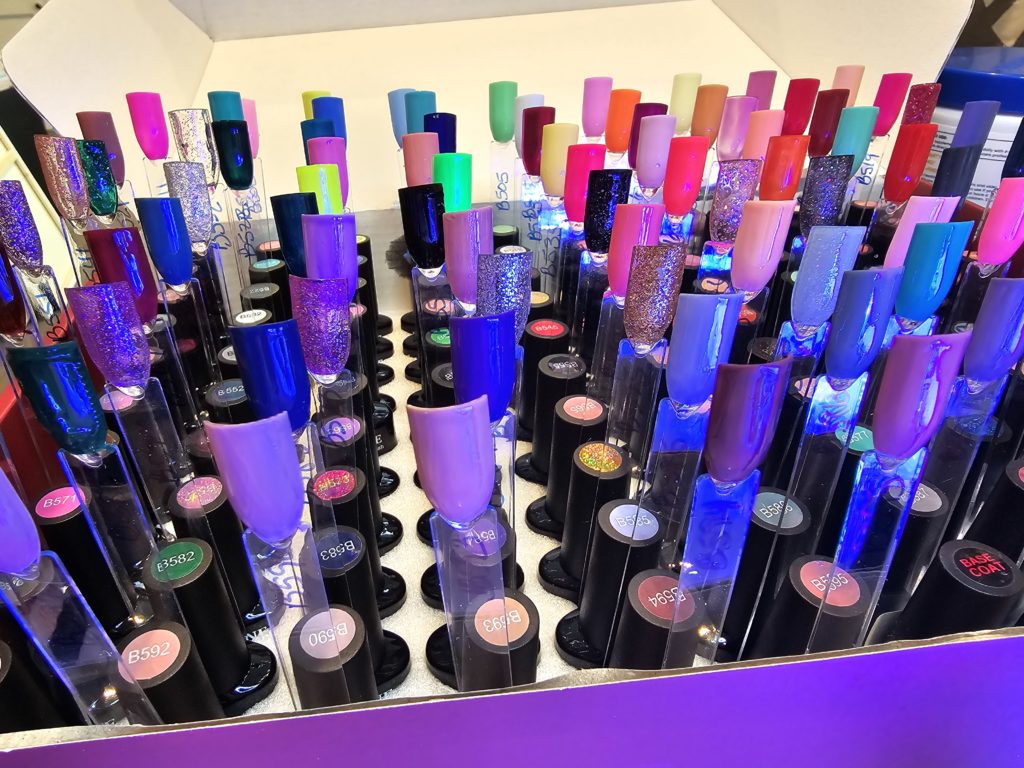
I started off by googling the largest UV gel polish kits to see how many colors I could get. The kits I found on Amazon had 100 pcs each and I ordered both, giving me 200 colors to work with.
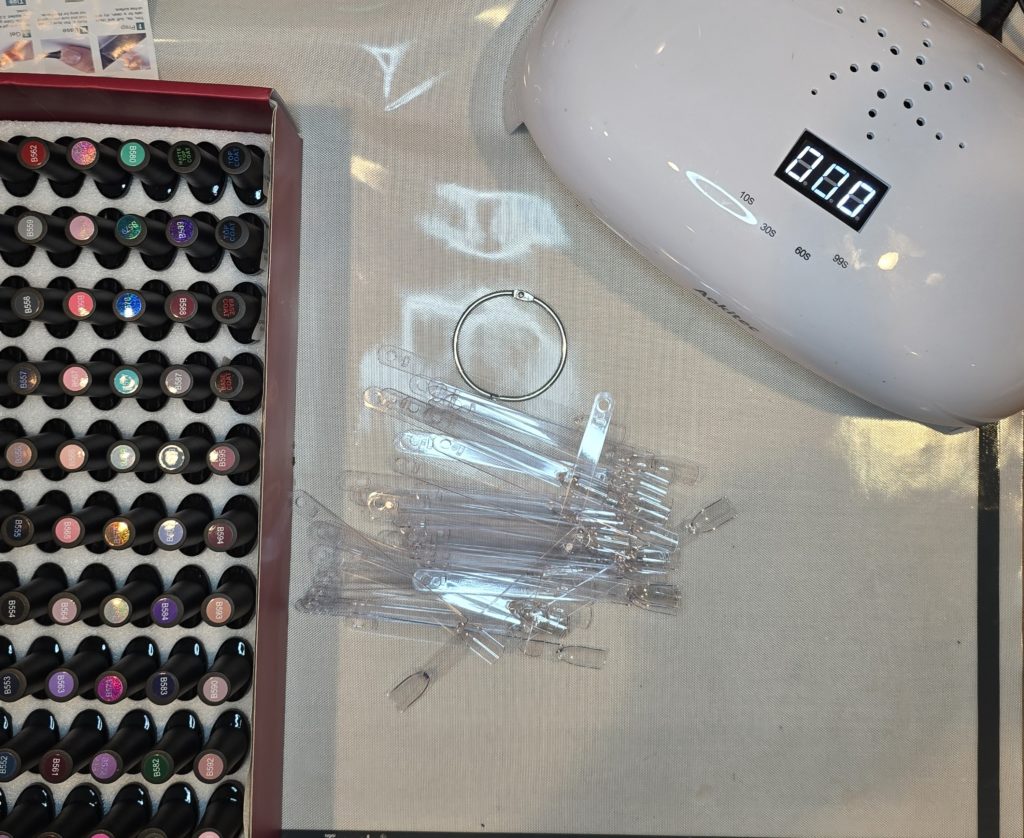
Before I even had a design in my head, I started off swatching all of the colors.
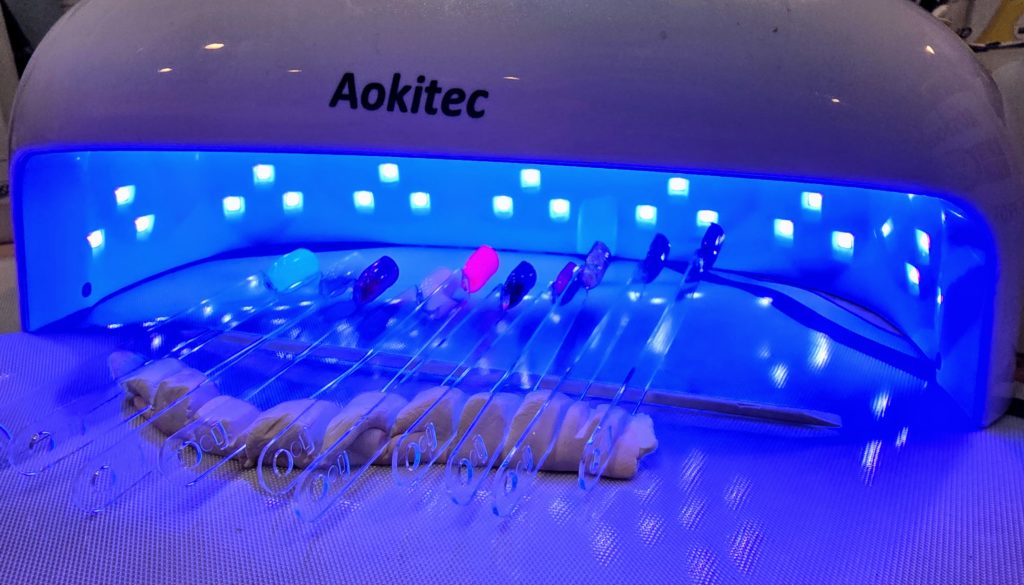
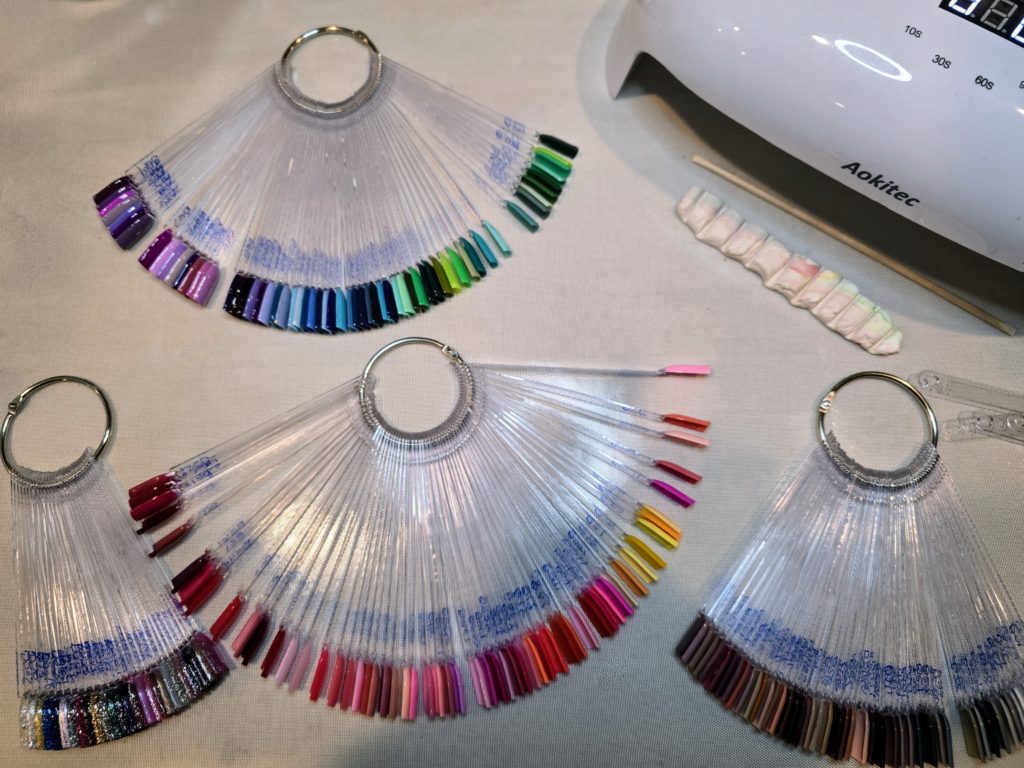
I got into a rhythm of swatching several colors at a time and pressing them into a chunk of leftover polymer clay at that was sitting on my desk. This way I could start painting the next round of swatch sticks while they cured under the lamp.
This still took several nights of swatching and listening to YouTube videos.
I had just been labeling them and jamming them back into the box next to their bottle of polish to keep them organized.
It was at this point I realized they were still tacky until a top coat was added, so I had to add top coat to all 200 swatches and cure them again before moving on. I don’t wear nail polish, I don’t know these things!
Once cured, I organized mine into 4 general categories:
- Glitters
- Neutrals (skin tones, browns, grays, black, white)
- Reds/Pinks/Oranges and Yellows
- Greens/Blues/Purples
Putting each ring into any type of color order seemed like too much work, but I did clump similar colors together at least.
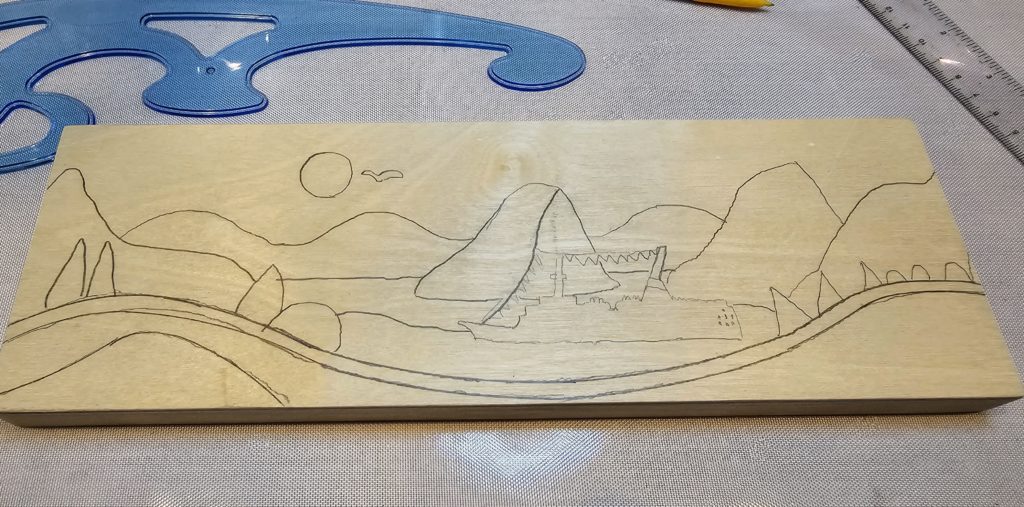
Grabbing my pencil and rulers, I started doodling. I wanted to keep this simple because I wasn’t sure if this was going to work out yet.
Recently, I escaped work and took a cruise up to Alaska. I thought that might be an interesting subject and much different that my usual paintings.
Normally, I would plan every last detail out but I decided to aim for something more whimsical and freeform.
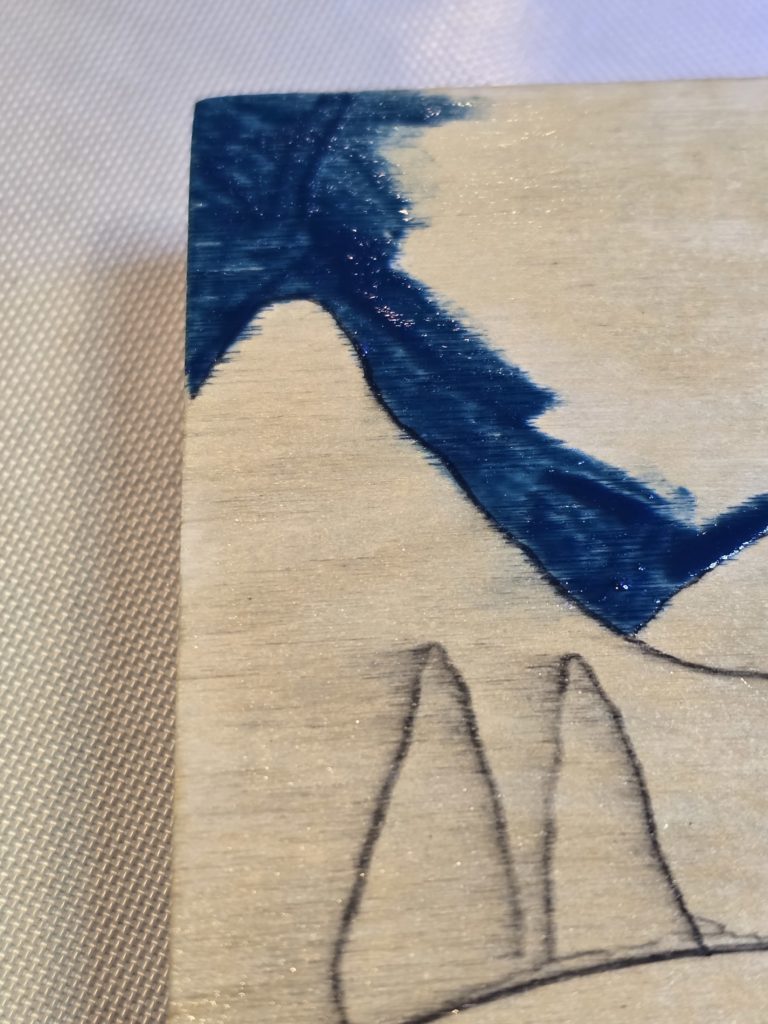
After my first few strokes I came upon my first problem. The gel polish started spreading through the channels of the wood grain and even seemed to soak in a bit.
Because I did the swatches, I knew it would be 2 layers of painting for most colors to get solid coverage. Even though I had many nights of swatching, I really hadn’t considered what would happen when I painted on untreated wood.
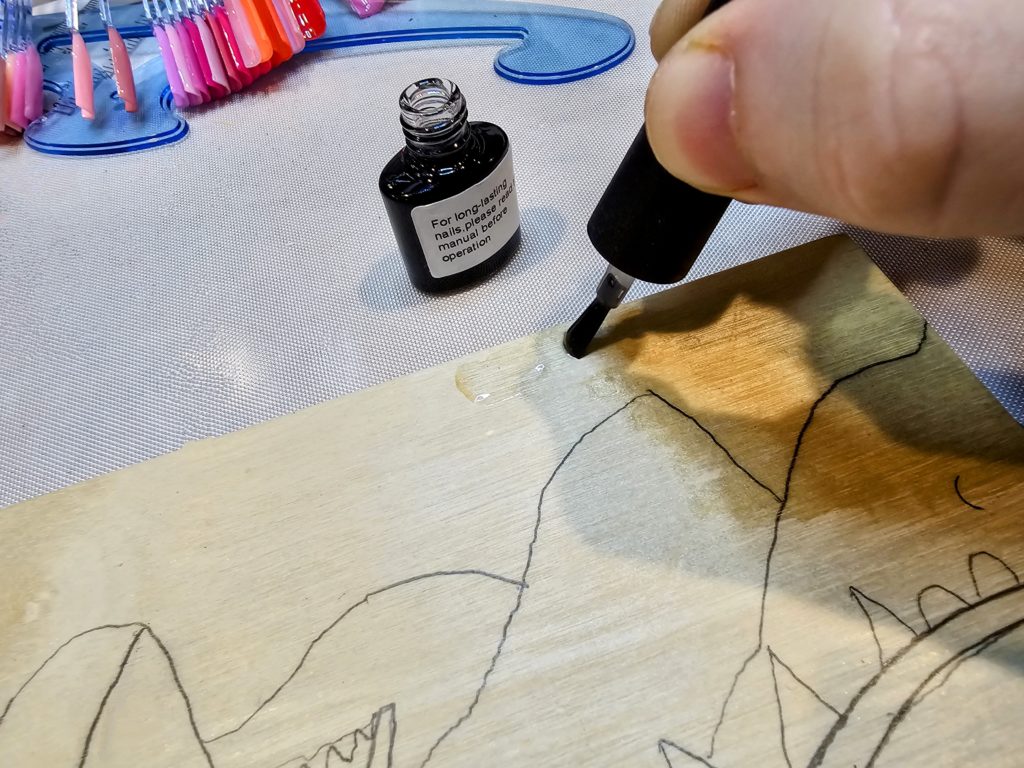
The polishes came with a of base coat and painted the entire board with it, curing it before moving on.
I went back and gave it a few test swipes of nail polish and this did indeed fix the problems I was having.
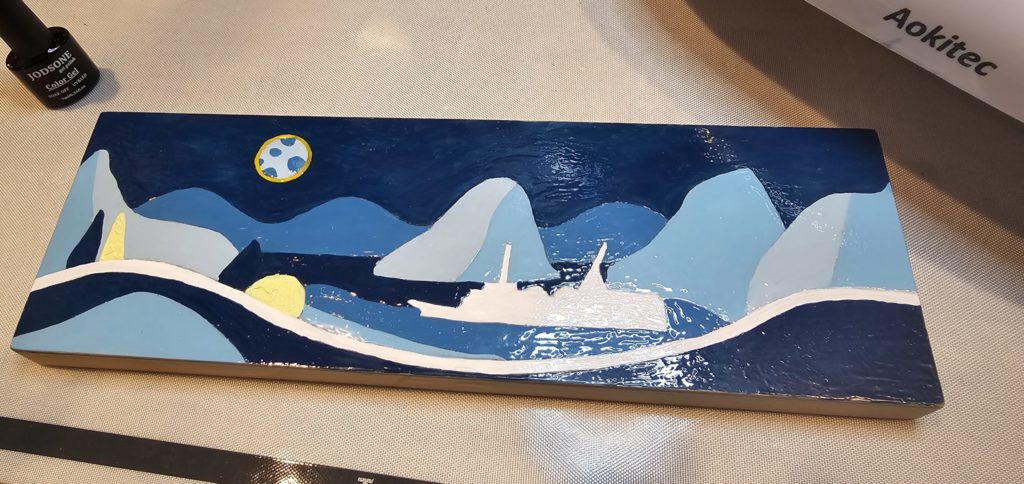
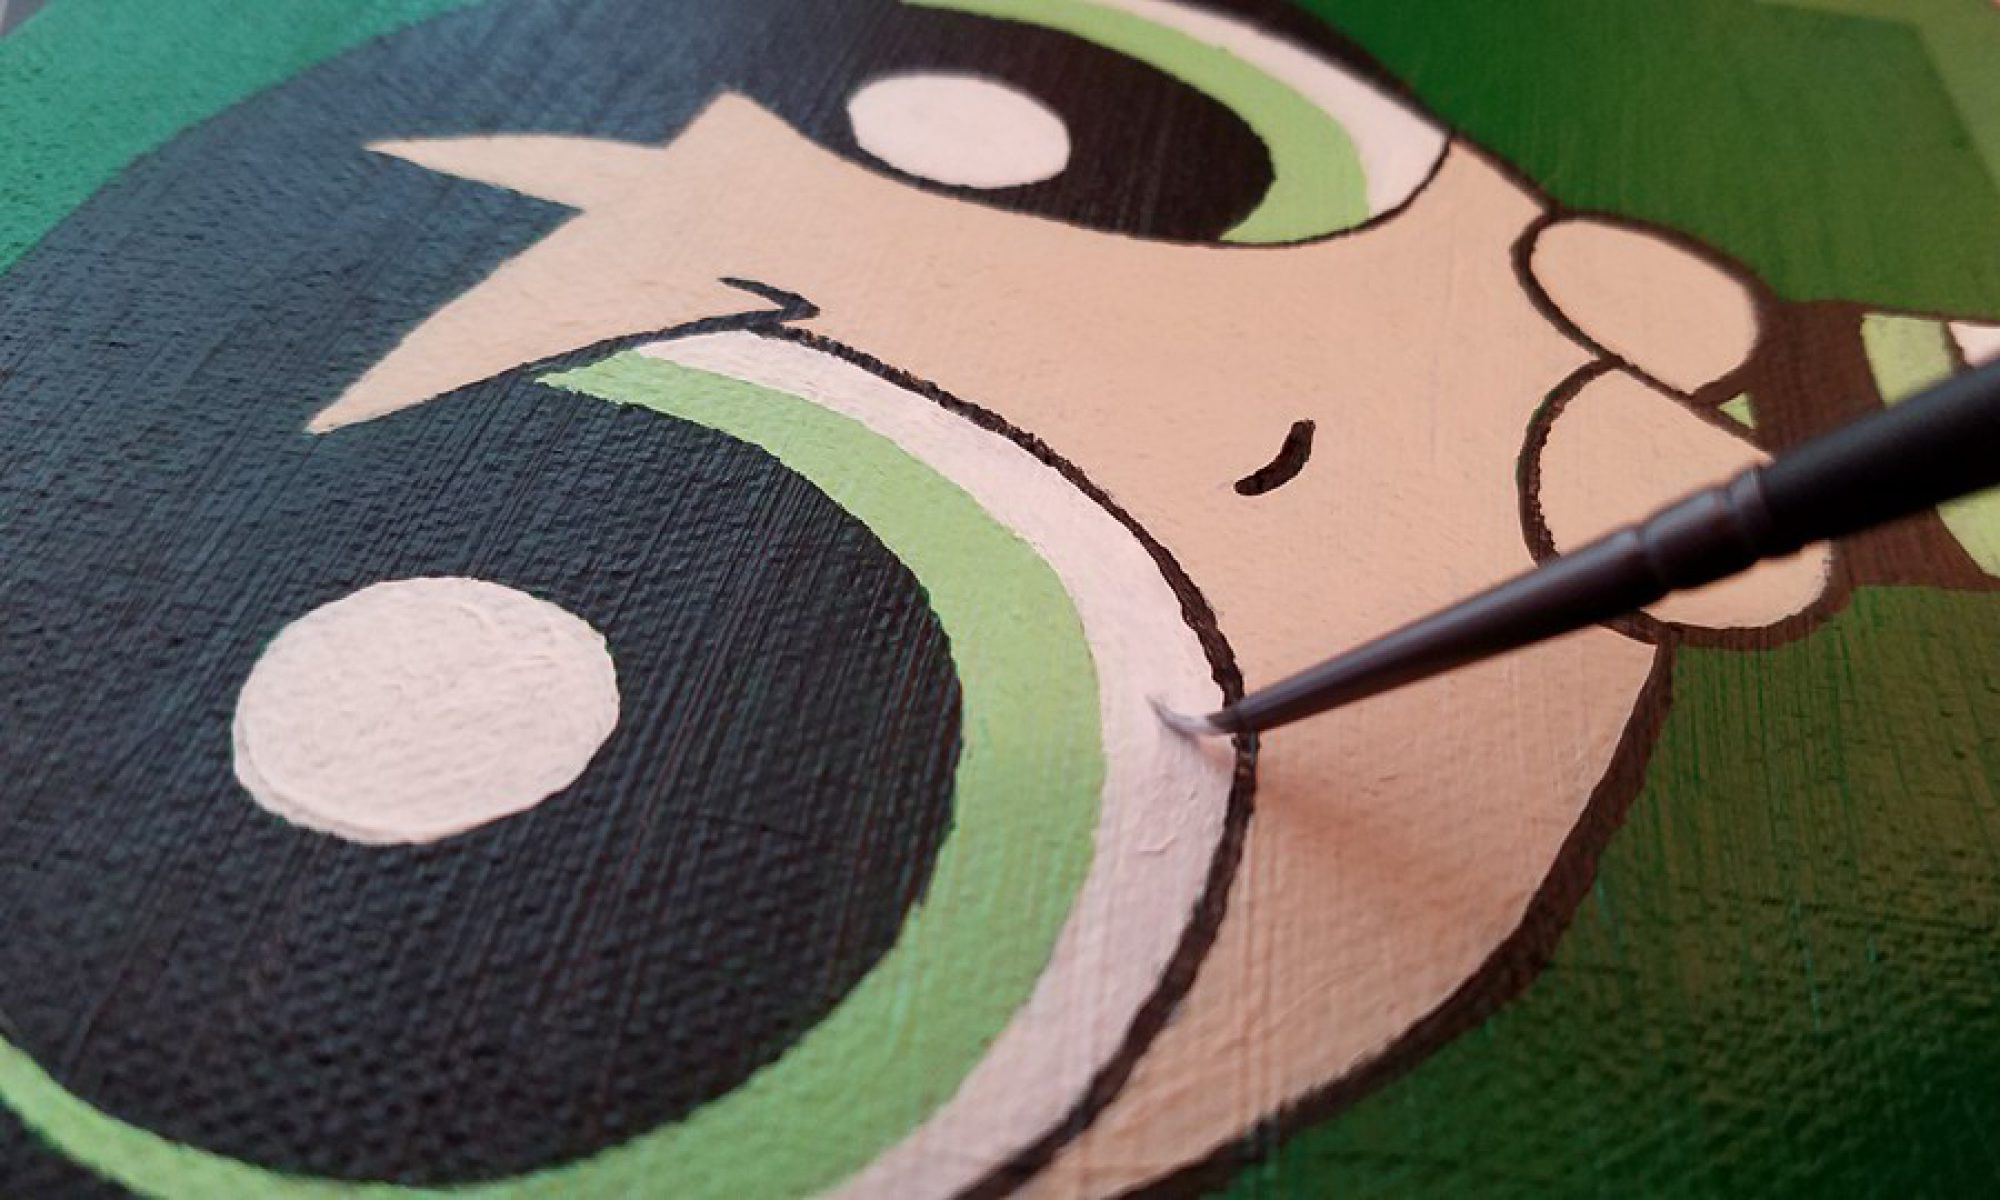
I blocked in all my shapes for the first coat curing every so often so I didn’t mess it up.
One down side is that every thing is tacky, even after being under the nail lamp for a bit. The cured polish also accepted finger prints and dings pretty well too. I had to keep reminding myself to try and not rest my hand on the painting while working.
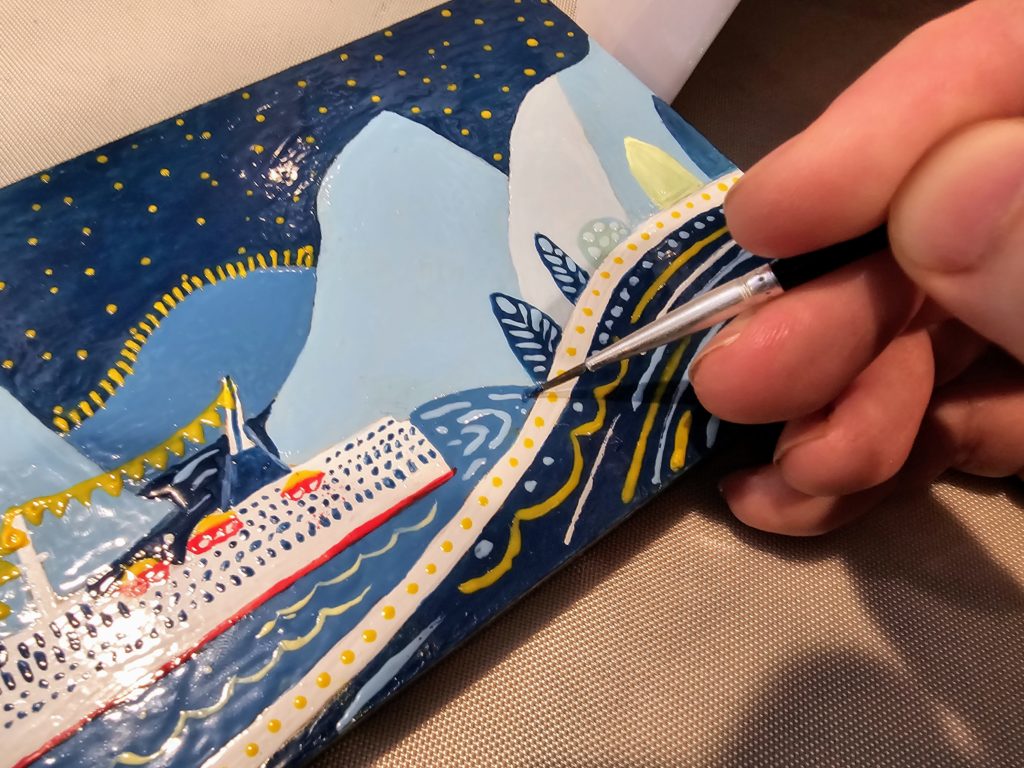
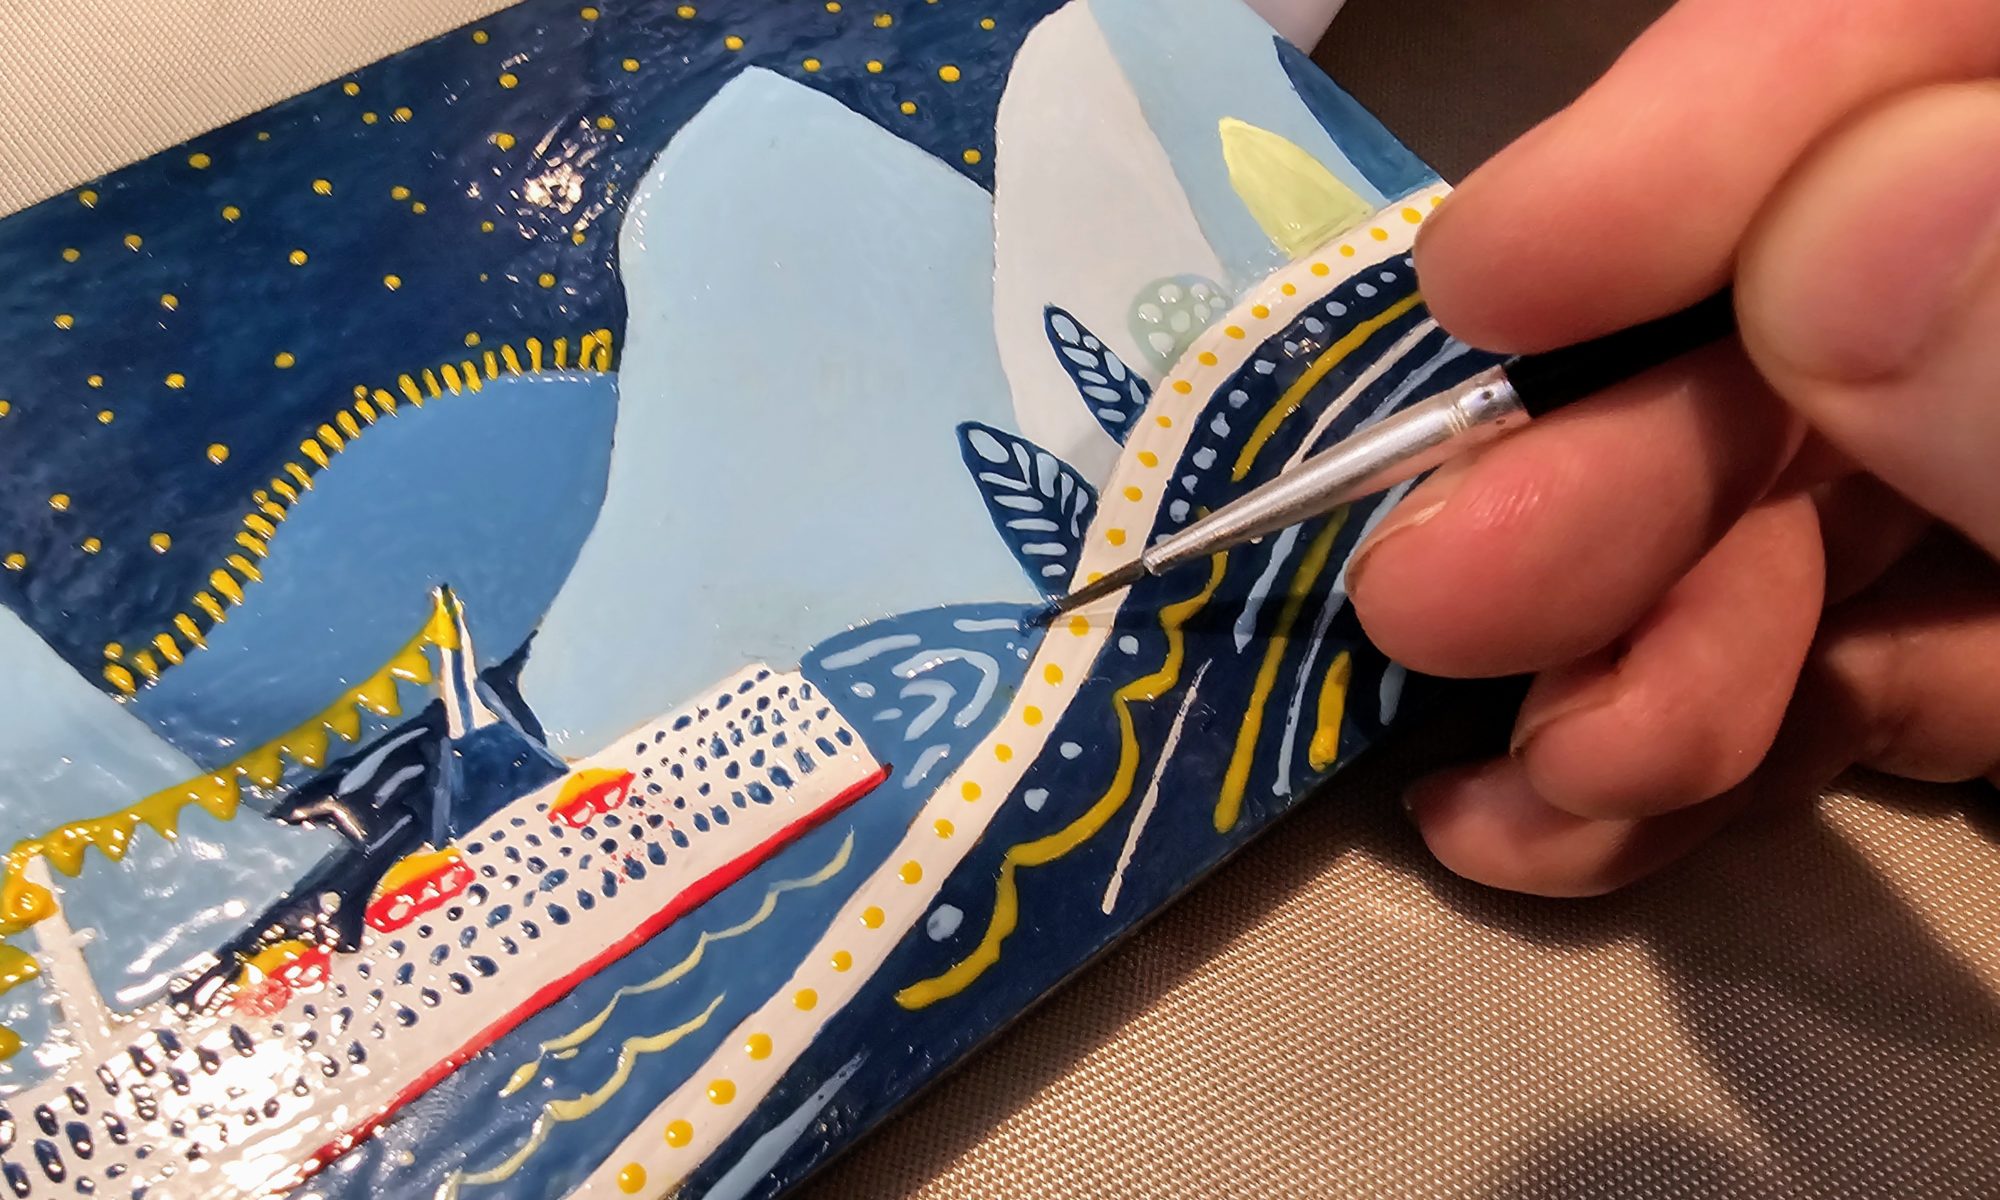
I spent time decorating my shapes with dots, lines and swooshes. After pushing around gel for a few more nights I was generally happy with what I made.
Before finishing, I added a little body-shaped smudge off the stern off the cruise ship. This is where I imagined that I tied a brick to my foot and jumped off the boat so I didn’t have to go back to work. (Shhhh… it’s our little secret.)
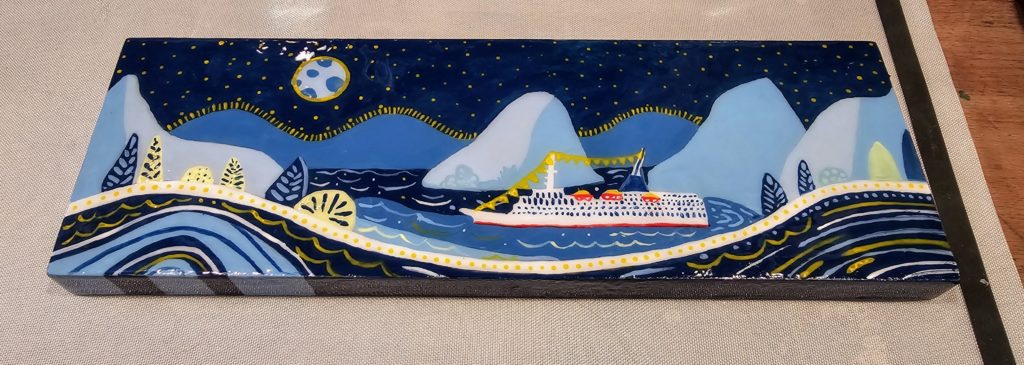
I was aiming for whimsy and overall I think I got there (or at least a good first attempt). The point was to have some fun with it and while it may even verge on childish in places, I decided to leave it alone before I wrecked it. It could probably be elevated with some details, shadows or redoing some of the line work — but overall I like it.
The last step was to add the top coat. I carefully took a picture to avoid reflections, but it is GLOSSY. In person, it’s actually pretty impressive and eye catching with the clear coat added to it.
The funny thing about this project is that I took so much time to swatch out almost 200 colors and ended up using like 4 blues and a yellow to paint the entire thing.
I think I’m going to do a few more paintings about my trip and I will probably keep painting the same style so that it feels like a series. Maybe, I might even use a few more colors next time (but probably not). Also, I found some builder gel, so I may try to add some 3D elements to the next paintings with moldable UV gel.
Update:
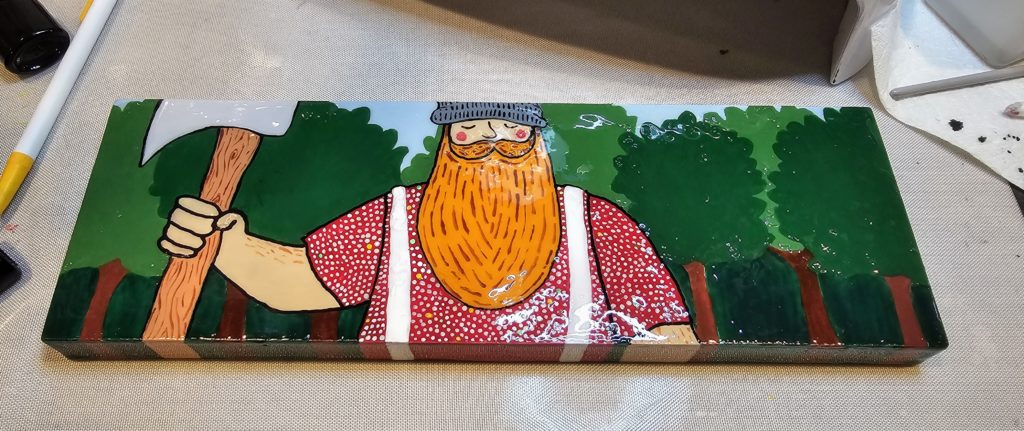
As I had mentioned, I did continue painting events from my trip. This one is about the lumberjack competition I went to.
Update 2:
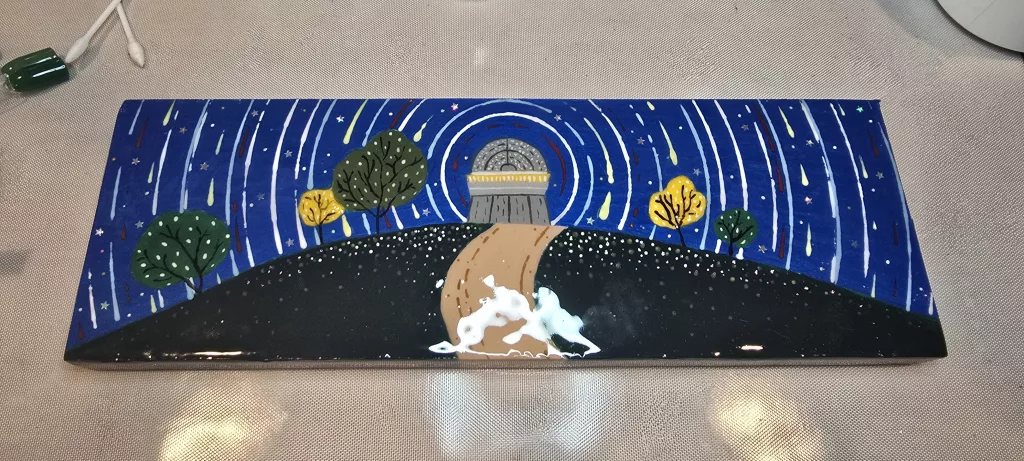
Another stop during my trip was an observatory. I made sure to include plenty of glitter throughout this one, though you can’t really see them very well in the picture.
Update 3:
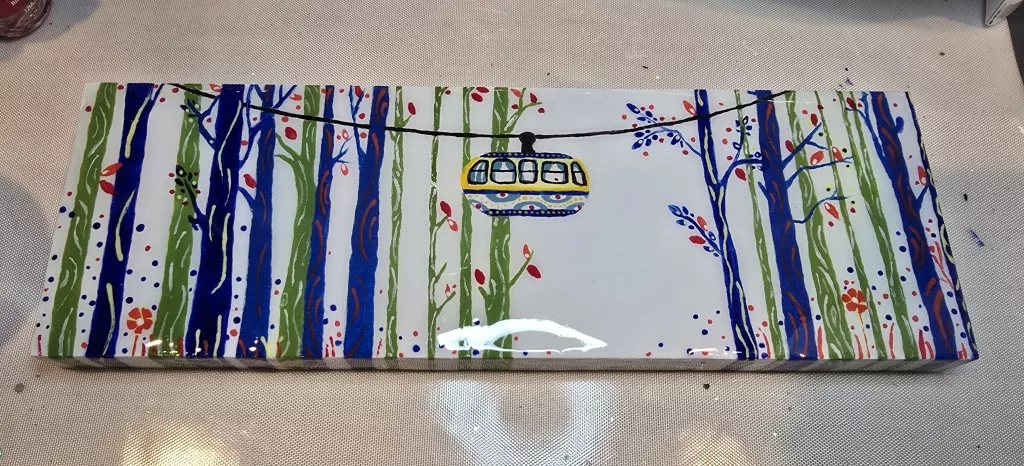
The last painting in this series was the gondola rides through the forest. This one took forever to finish because I think I finally lost some interest in the project and am ready to move onto something new.
This was exactly what I was looking for. I consider myself kinda creative and while I already paint a lot with watercolor and gouache I also own a lot of gel nail polished. And I wondered for a while if I could just start painting with those too. And seeing this I definitely think it’s possible. I’m going to experiment on some different surfaces first I think!
Hi Daniel
I am also painting with nail polish but I would like it to be more budget friendly. Do you know how to create gel polish paint in big amounts? Like if the manufacturers can supply small containers with gel for nails, they should be able to make this for art as well. I think it is difficult to find because of business.. like nobody would buy these small containers for a high price if there were an option to buy bigger portions.
The most budget-friendly option I’ve found is to buy UV resin in bulk and then mix in your own colorants, pigments, or powders to create custom colors. There are so many options out there—some colorants are transparent, others are opaque, and they come in both liquid and powder forms. It might take a little experimenting to figure out the perfect mix and colorant type for your ideal color palette. Personally, I love trying new things and then moving on to the next project, so I never really planned to stick with gel nail polish for painting. But if I were to give it a go, I’d probably order some of these things to start experimenting with:
Jug of UV Resin: https://amzn.to/3EEIe2m
Opaque Resin Colorants: https://amzn.to/4b3VSrW
and of course, you will need some type of small opaque storage bottles: https://amzn.to/42X3r1s
Hope this helps! Let me know how it works out, I’d love to see what you end up doing.
Honestly, coming up with my own color palette of resin sounds like a fun project, I may also give this a try.
Probaré, hallé unos gel en promoción y me hice de varios. Como todo es por entretenimiento aprovechando el poco tiempo libre. Se ven muy vivos los colores y eso aporta a diseños únicos. Gracias por la información.
I just came across this and find it so interesting! I love your artwork ❤️.
I’m playing with UV resin and just thought about gel nail polish as an additive for design and color. This just convinced me that it can be done!
I’m very excited to try…thanks for the inspiration!
remember to wear nitrile gloves!! gel products should never touch your skin as they can cause long term acrylate allergies. just wear gloves and u’ll be safe <3
i'm gonna experiment painting PLA 3d prints with gel polishes. the upside is you don't need to try different primers and varnishes, you already know base coat and top coat will work perfectly. imagine all the things you can do with chrome powders, foil and cat eye gel…
btw that artwork is amazing!! great choice! ur blog is rly cool, hope u keep up <3
I enjoy your website so much i hope that all is well with you as you’d not posted for a long time. I hope you carry on.