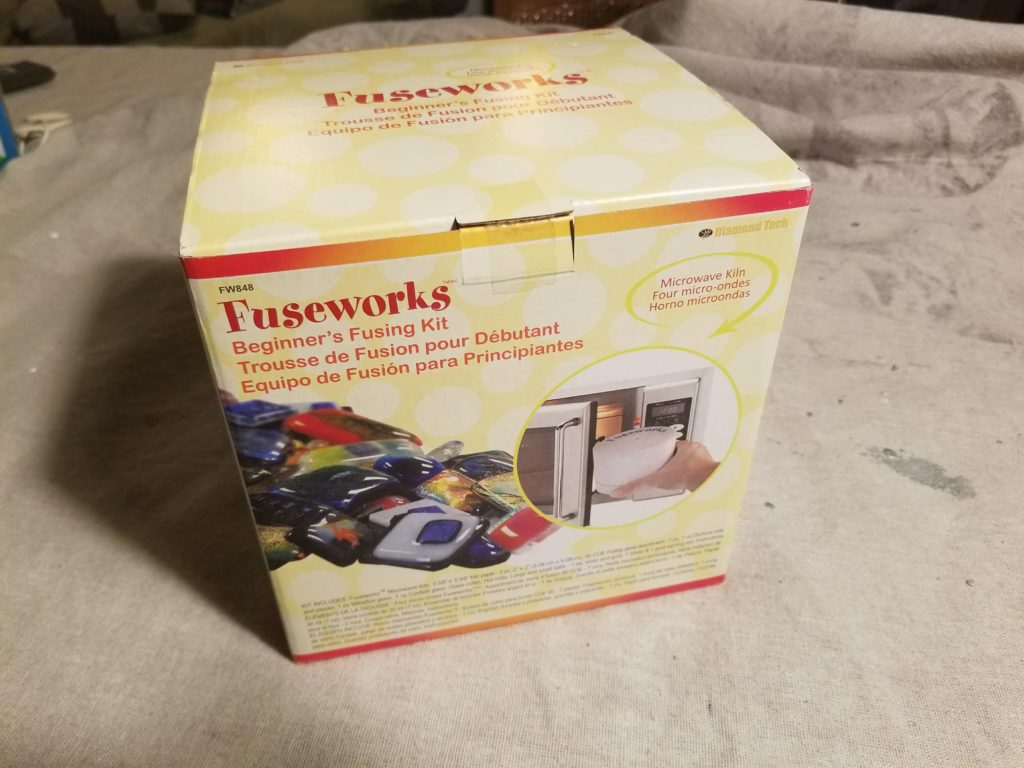
With my full-size kilns put away for a bit while rooms are being remodeled, I thought I’d finally try the Fuseworks Microwave Kiln.

I remember asking my local stained glass shop about this a few years ago and they deterred me from getting it. If you’re a real glass artist, this probably isn’t for you. If you’re a crafter or just think the idea is cool, then you’ll probably get some fun out this.

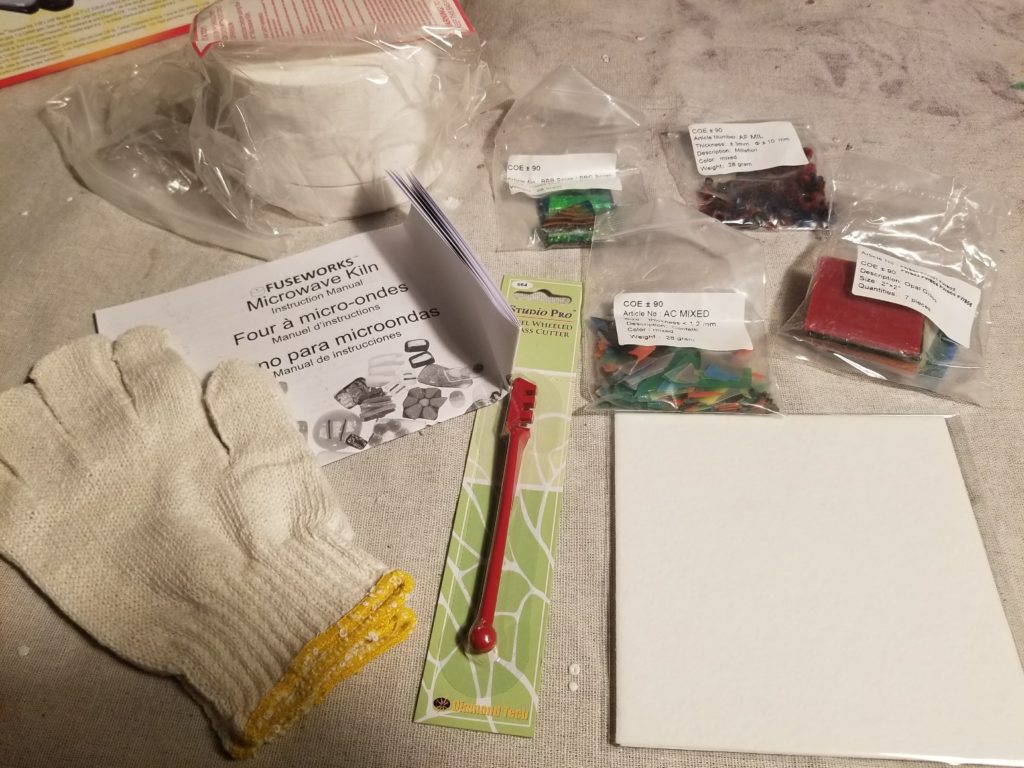
The kit comes with all the basic supplies you’ll need to get started: The kiln (duh), gloves for handling a potentially hot kiln, glass cutter, kiln paper and some glass products to fuse.
I’ve worked in glass for many, many years. I actually used to work at a glass studio and taught some classes, so I’m very familiar with these items. I generally use higher quality items (a full kiln, a top-notch glass cutter, thicker gloves, etc) but the glass is pretty standard.

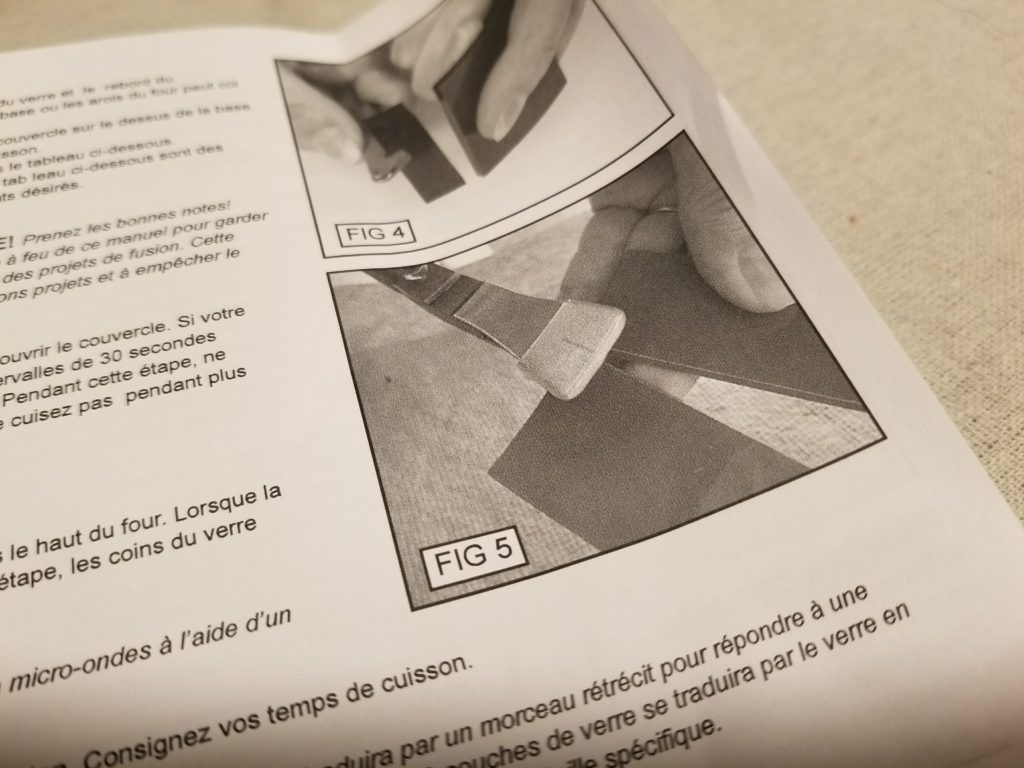
One thing that annoyed me was the instructions kept showing tools you don’t get with the kit. For instance, Figure 5, shows ‘running pliers’ which you don’t get. These pliers are pretty essential to cutting curves in the glass. So this kit will pretty much limit you to straight cuts unless you want to get some running pliers as well. Considering that the items you’ll make with this kit are very small, you won’t likely be making many curved pieces.

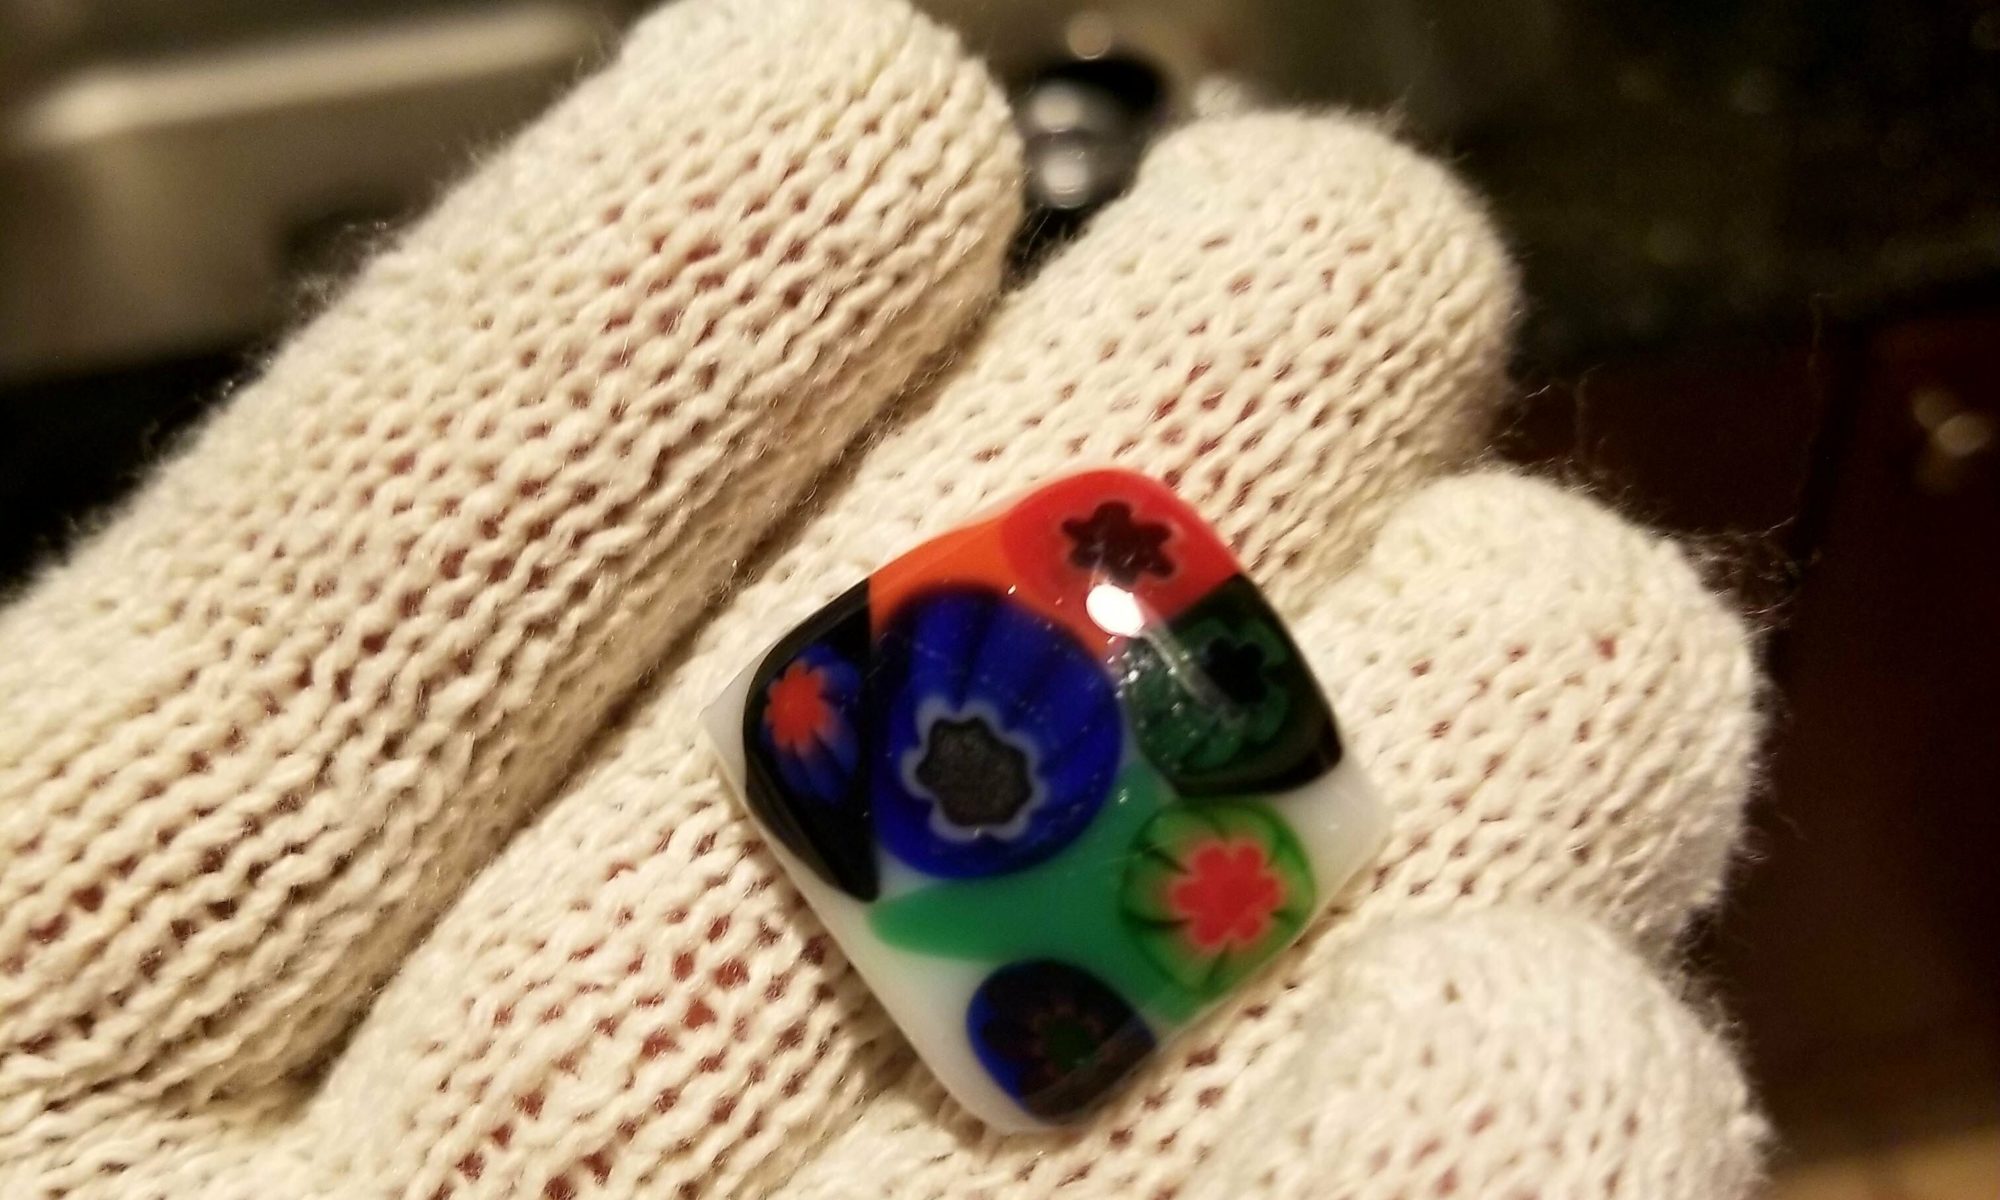
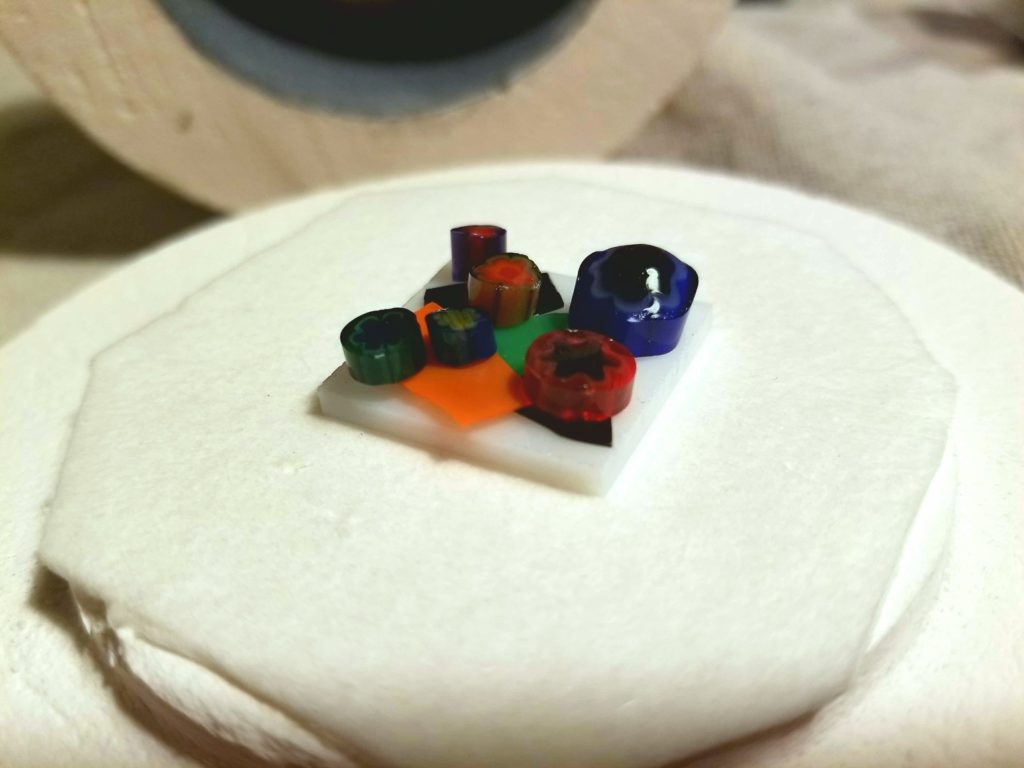
I cut some glass, slapped down some glass confetti and some millefiori and piled it all onto a piece of kiln paper.

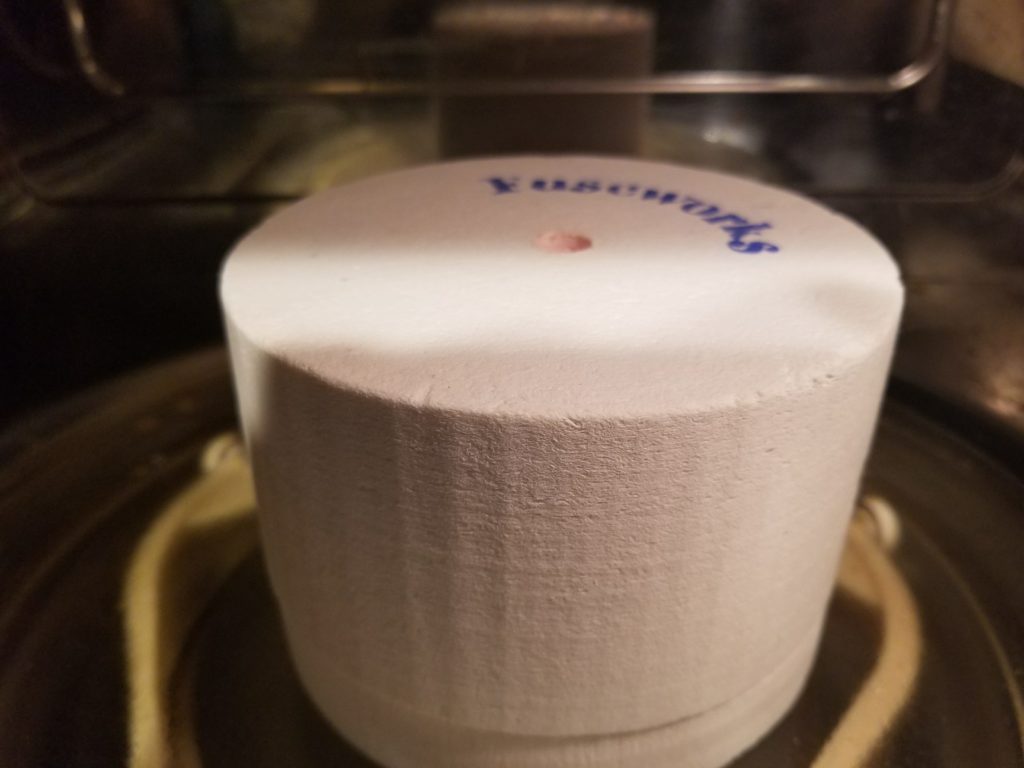
I then closed up the kiln, placed it in my 1800W Microwave (you can use anything, the amount of time will change depending on your microwave) for 3 minutes. Using my gloves, I peeked into the kiln and saw everything looked fine, so I let it sit for 30 minutes to cool off.

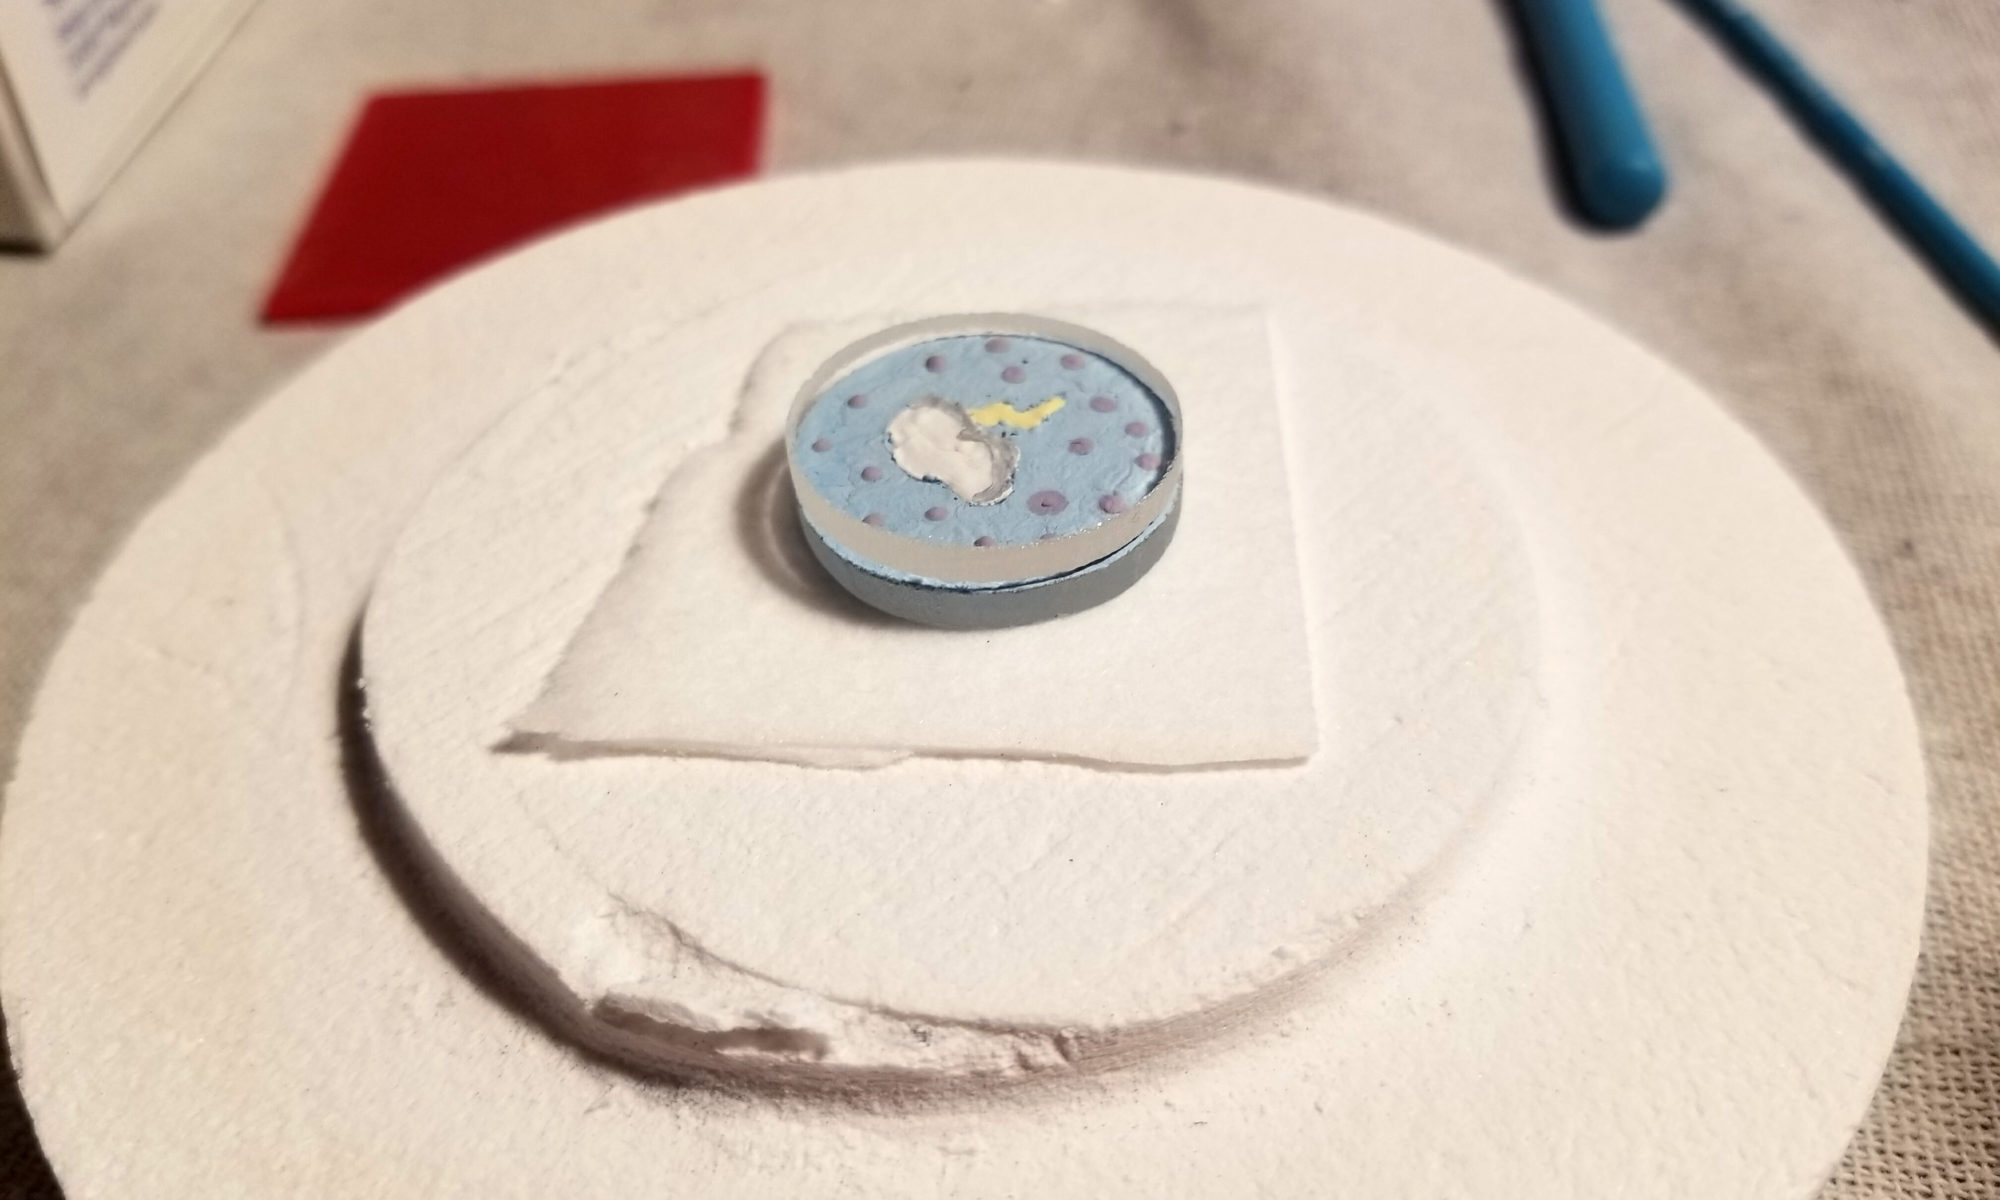
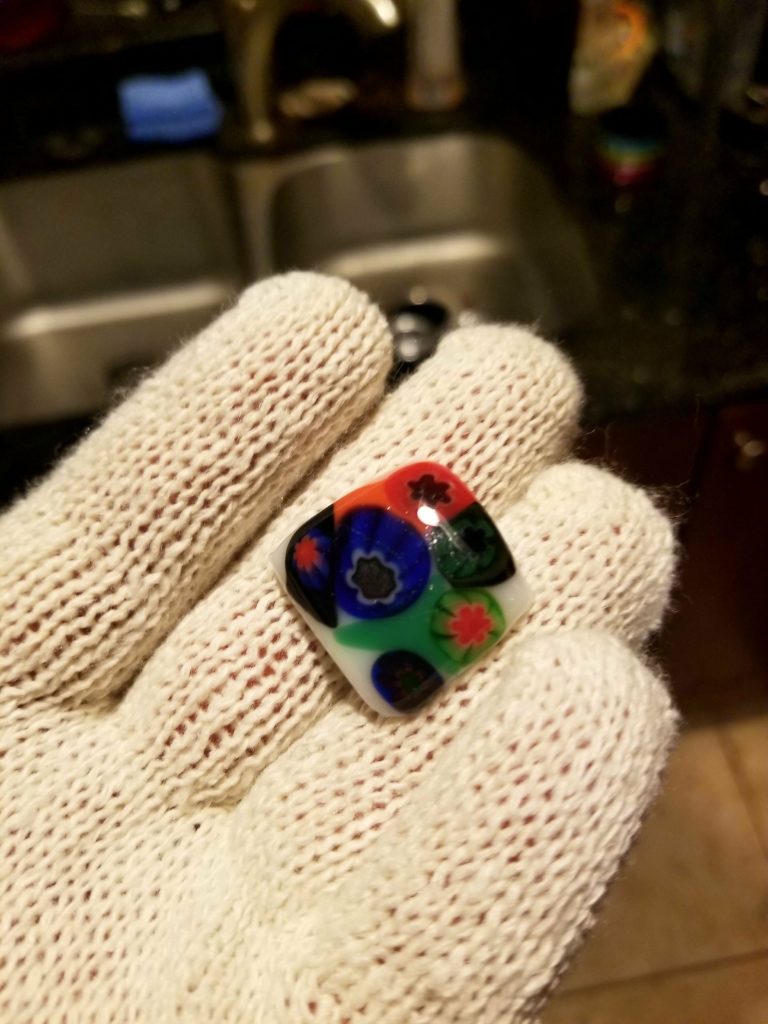
And there you have it, my glob of melted glass products.
Overall, this was pretty quick and fun. I plan on playing with some of my ceramic supplies in it. Some ceramic underglazes and liners can be used with glass, so I may do some mini paintings or something.
