After my initial post, Testing 3D Printed Stamps, I decided to taking my findings and actually give it another shot. One of the things I had found was that flexible resin outperformed the other filaments and resins I tried. However, it was far too flexible and fragile. One of the recommendations for using flexible resin was to mix it with standard resin to make it more durable. I didn’t have the recommended resin at the time but I did order some to try.
Monoprice’s rapid resin does come in clear, but the yellow was $10 cheaper at the time I was ordering. Also, I’m still testing, so the transparency of the stamp material really wasn’t a concern.
For this test, I will be using the following materials:
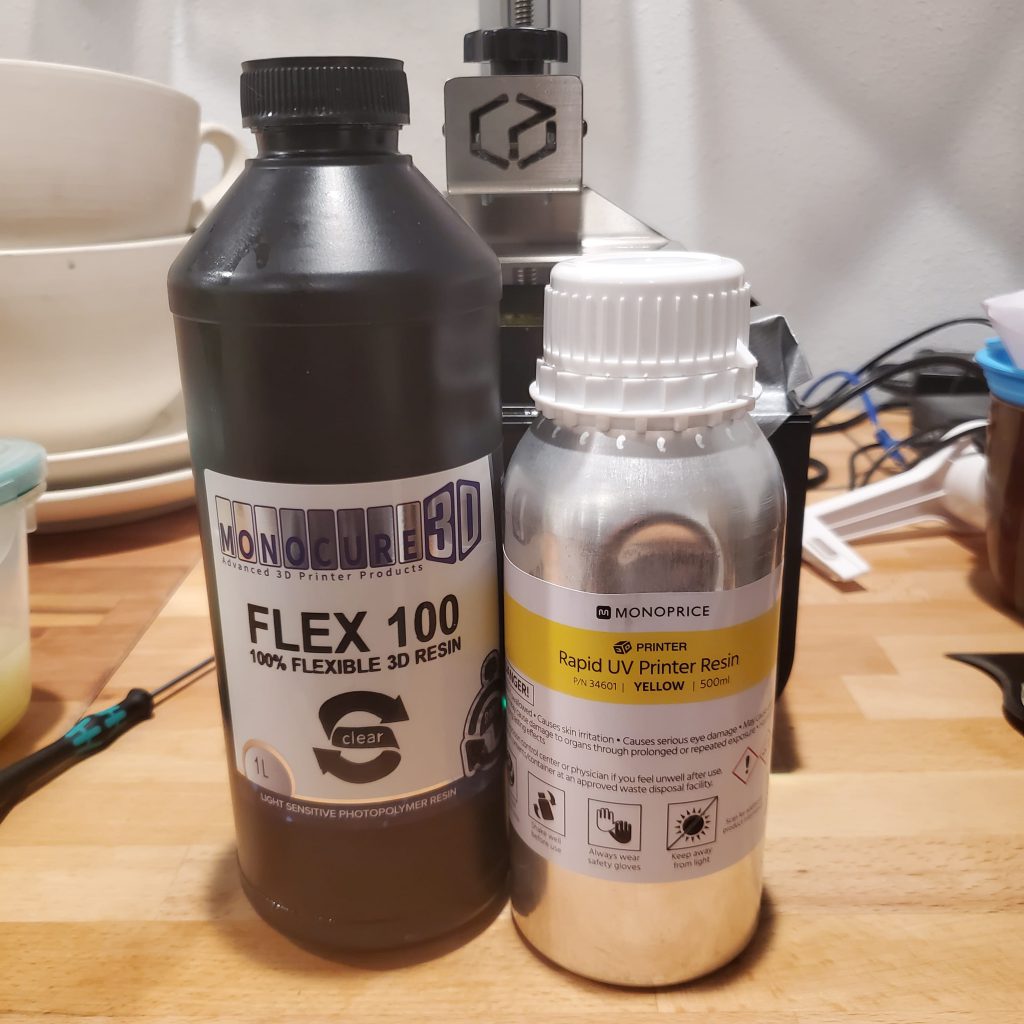
- Monocure Flex 100 Clear Resin
- Monoprice Rapid UV Resin (Yellow)
- Standard PLA Filament (My printer takes 2.85mm thickness)
- My 3D files to print (feel free to download these to test with).
1. Create your stamp

To start off with, I created a simple text design in Adobe Illustrator. I just slapped down some text, flipped it so the text was backward, and then right-clicked and selected ‘Create Outlines’ (which converts the fonts to actual shapes).
I’m using Illustrator, but you can use any image editor that will output an SVG file.

Once I had my SVG file, I imported the file into tinkercad. I played around for a bit with some test prints until I decided I liked my stamp to be about 3.5 mm thick. So I set my text to 3.5 mm thick and added a rectangle base about 2 mm thick so that the text popped right through the base.
Tinkercad takes a bit to get used to, however, it is one of the easiest cad programs to work with and it’s free.
When you finished editing your stamp, I grouped the two elements together and exported the design as an STL that my printer will be able to print.
2. Print
I sent the STL file to my printer and loaded the resin tank with a mixture of 80% flexible resin and 20% rapid resin. A good amount of resin for most small printers currently on the market would be 100 grams, so 80 grams of flex and 20 grams of rapid should be enough to fill the tank for a bunch of prints.
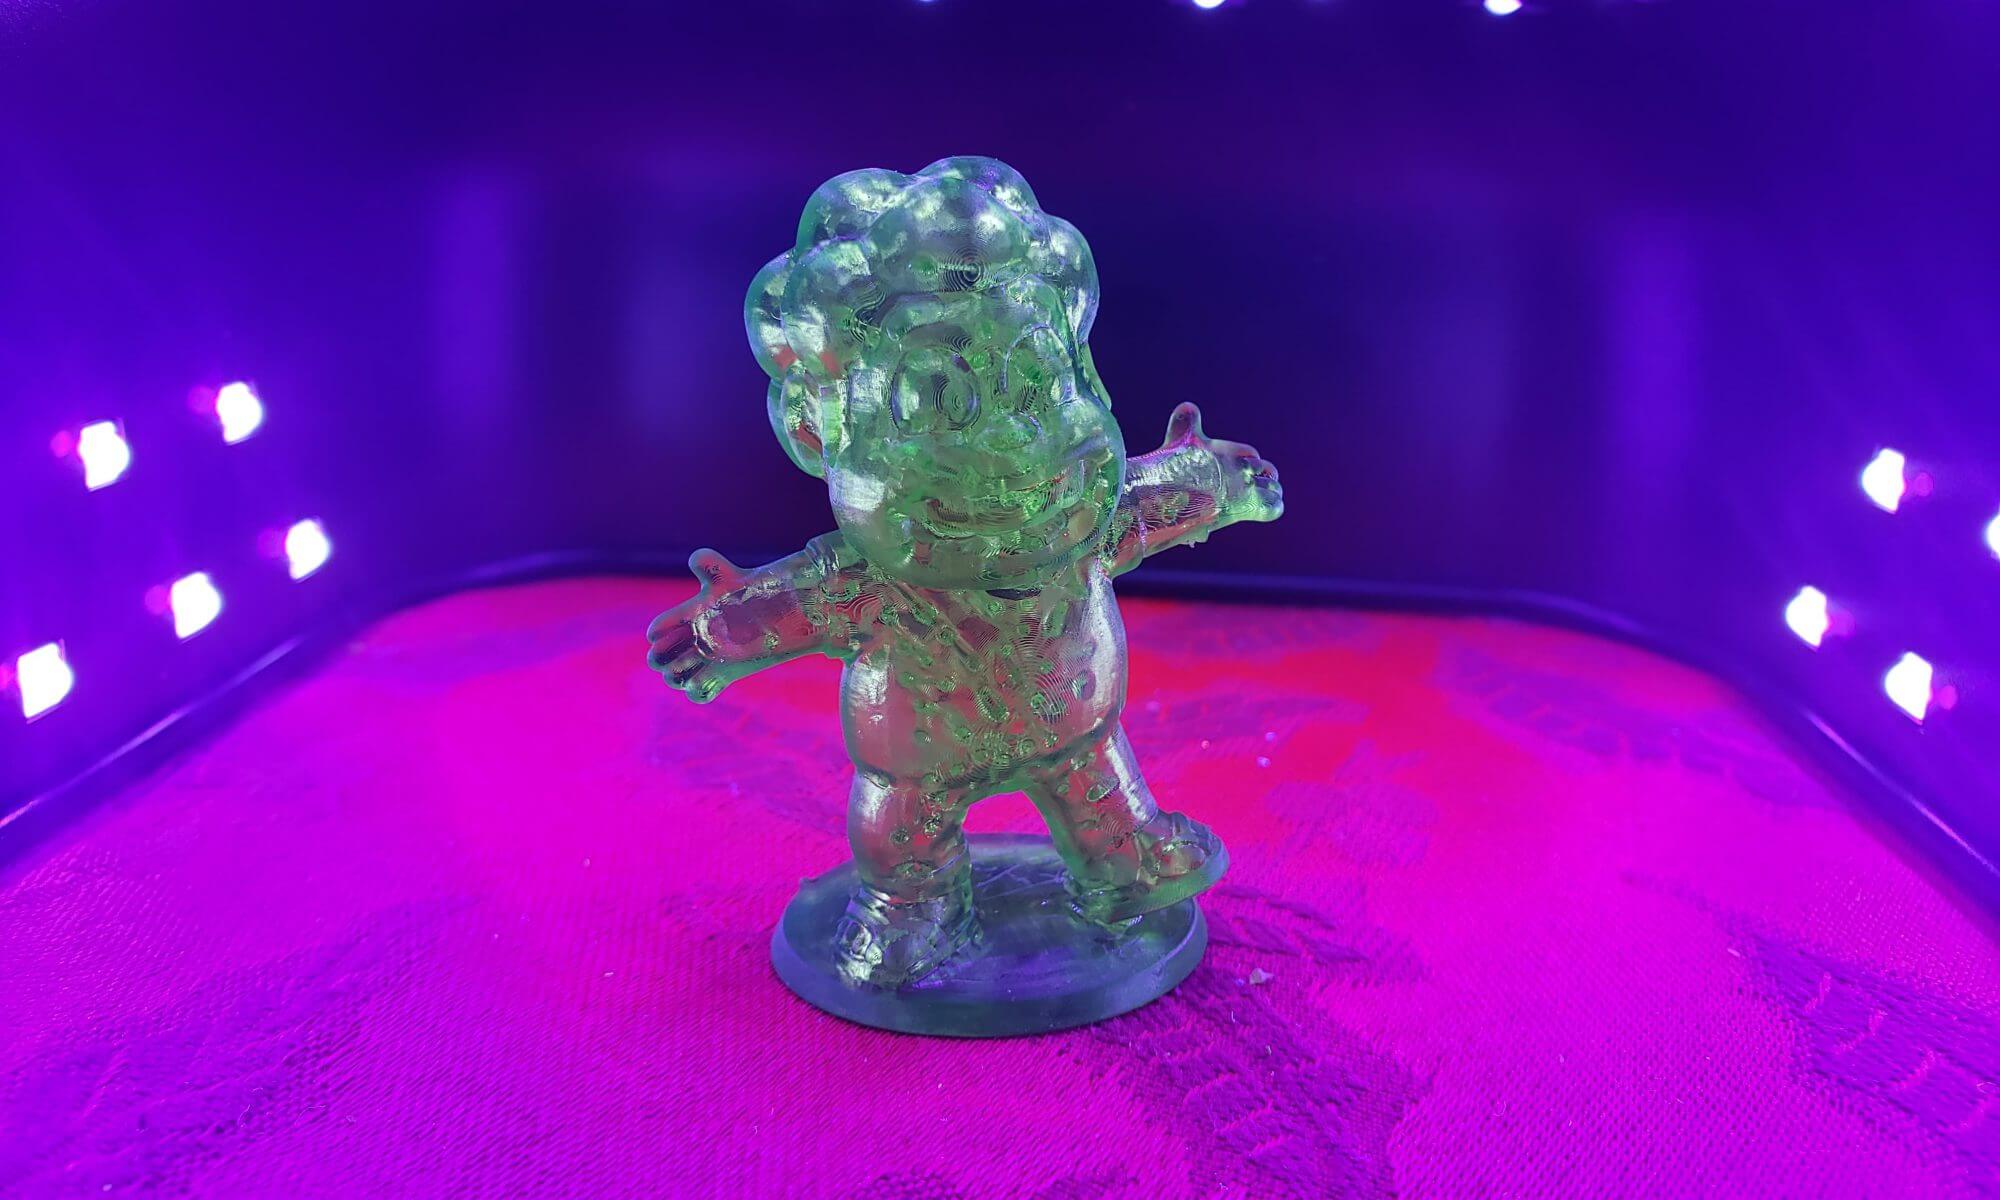
During the first round of tests I was really struggling with printing flexible resin, however the 80/20 mixture prints like a dream. I have printed a bunch of items with it now and have yet to have a failed print or issue with it.

You do need to be careful with your new print once the printer has finished. The resin is still very fragile until it’s cured, so keep your hands off it. Just rinse it off with alcohol and put it right under the curing lamp. I put the whole printer platform right in front of the lights and walked away for a bit.

While that was curing I went back to tinkercad and quickly made myself a stamp handle. Well, ok, I didn’t make it, I took a stamp handle from another freely downloadable project and slapped it onto a rectangle that was the same width and depth of my stamp. The height of the block is 12.7 mm (0.5″).
I had looked around for a while for a nice handle and once I found this one I knew it’d work perfectly. Kudos to Anto D. and his awesome handle. You can download his hamburger press project that includes the handle at:
https://pinshape.com/items/26753-3d-printed-hamburger-stamp
I printed the handle on my FDM printer but there’s no reason you can’t print the handle on the resin printer as well. I just had a second printer sitting there idle so I made use of it.
3. Stamp

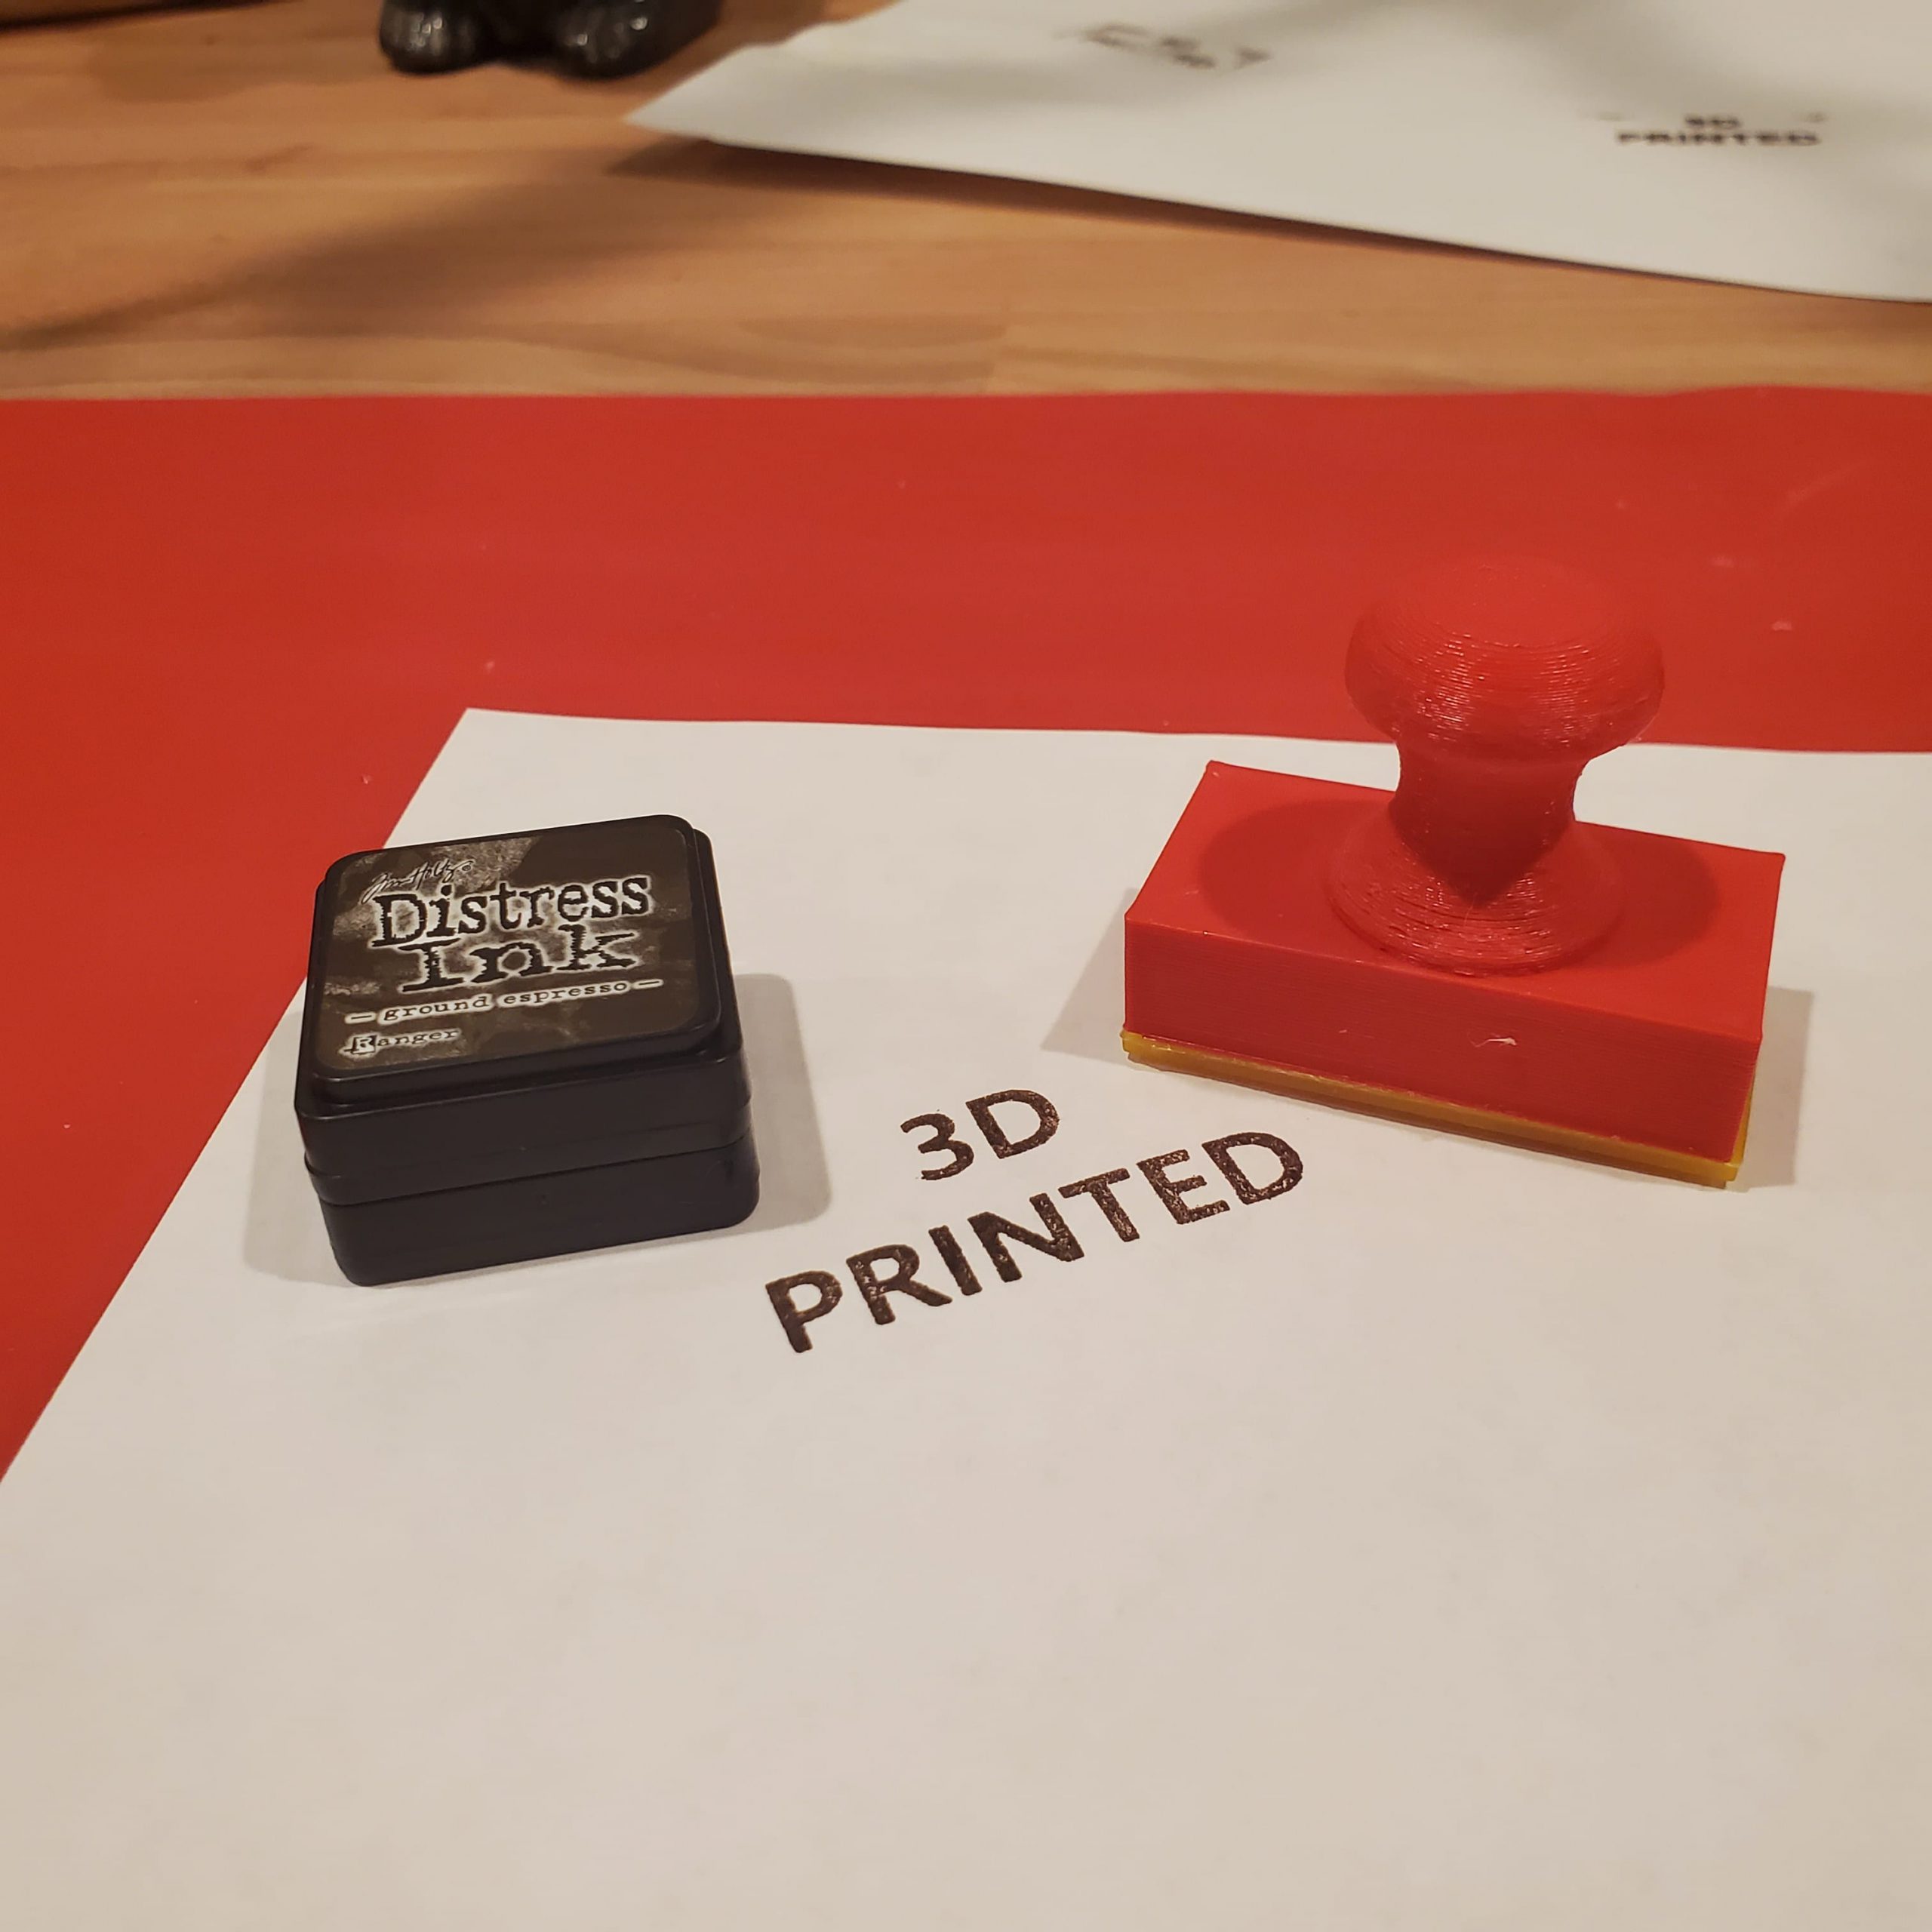
Once the handle printed on my other printer and the stamp was finished curing, I glued them together and gave it a try.
The very first stamp came out perfectly. I cannot tell you how satisfying that was for everything to work so well on the first try!
4. What to watch out for
I did learn a few more things while working through my way through this project and the main things I think I should mention are:
- SVG’s are very picky. When drawing your stamp, stay away from any features your drawing program might offer. A lot of my initial designs didn’t import well and didn’t translate to a 3D space because I used those features — which is why I ended up just doing a plain text stamp. Try it if you want, but I’d suggest you keep it simple and hand draw the design as much as possible.
- Avoid tiny/thin lines with this method unless you’re willing to put in a lot more work.
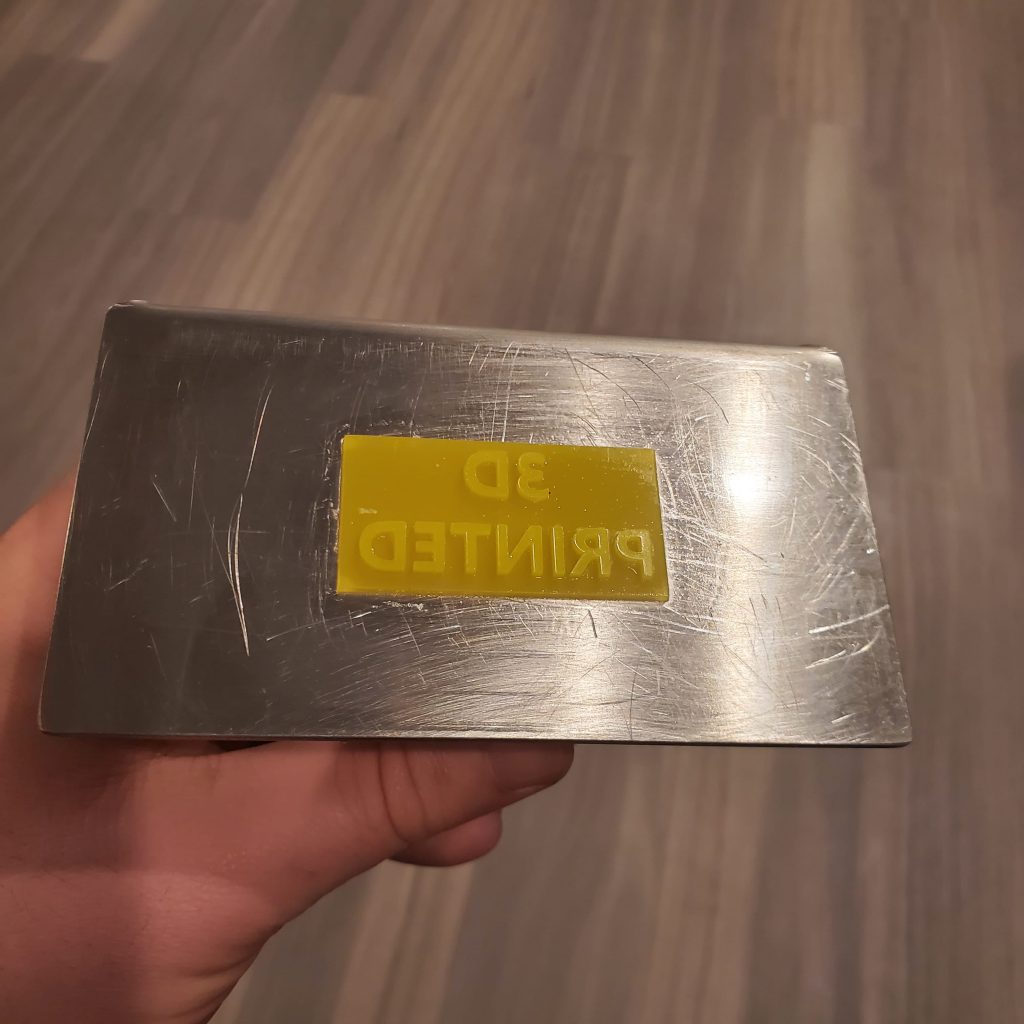
 When photopolymer stamps are created, light is shown through your design, and each resulting line on your stamp is shaped more like a pyramid, getting thicker as it gets closer to the base of the stamp. This makes your design a lot more sturdy. When stamps are exported from simple design programs (like tinkercad) and created in 3D printing, the design of your stamp is created layer by layer and the design will stick straight out of the stamp base. Because of this, thin lines can become wavy from the lack of structure. If your design has thin lines, you’ll have to manually edit the design to give it more structure. Or, you could play with making the height of the text shorter and see if that works well for you. Unfortunately, I threw out most of my tests, but I did find a small example of this where a thin handwritten font becomes distorted. Instead of a nice arcing flourish, I got a wavy line that is floppy and changes shapes. A few of the lines on this one do this and I put some ink on the stamp to hopefully help show what I mean:
 When photopolymer stamps are created, light is shown through your design, and each resulting line on your stamp is shaped more like a pyramid, getting thicker as it gets closer to the base of the stamp. This makes your design a lot more sturdy.
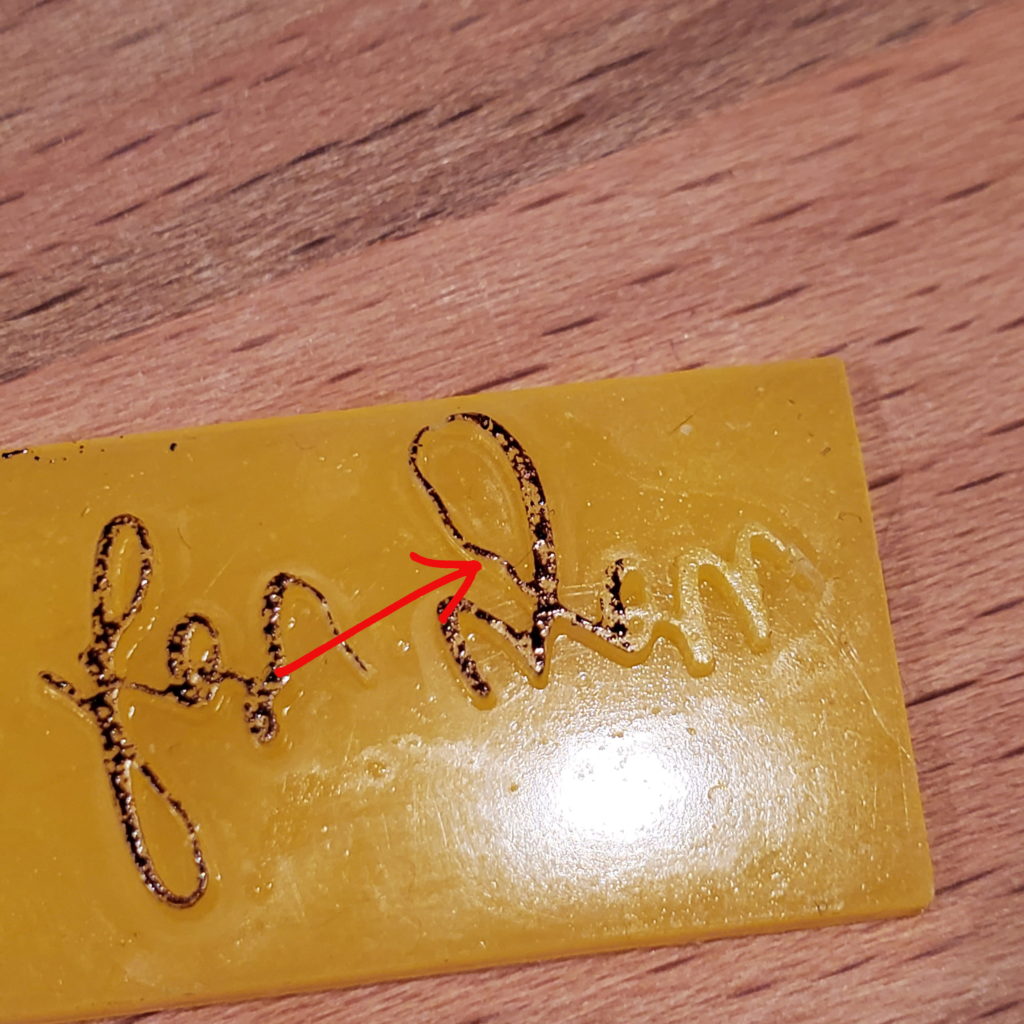
3. Again, keep your paws off the print until it’s cured. A little bit of poking at the stamp and some of the design broke off ruining an hour of printing.