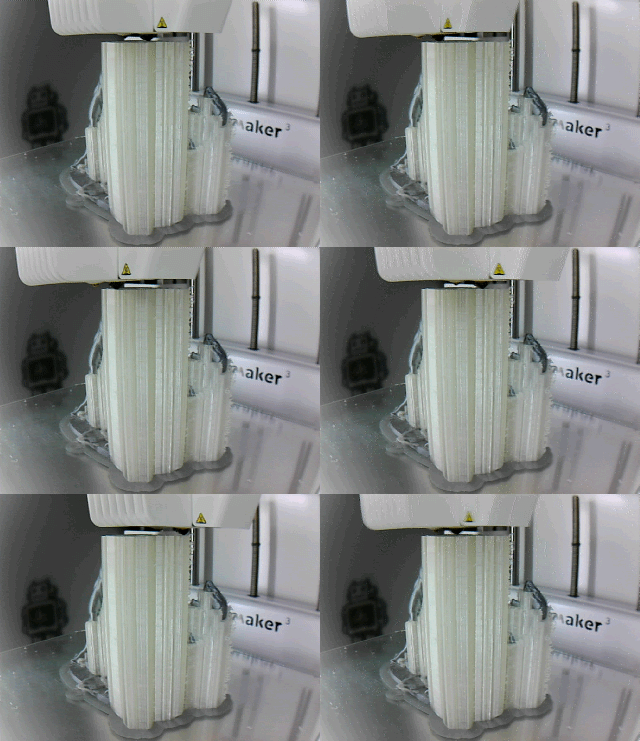
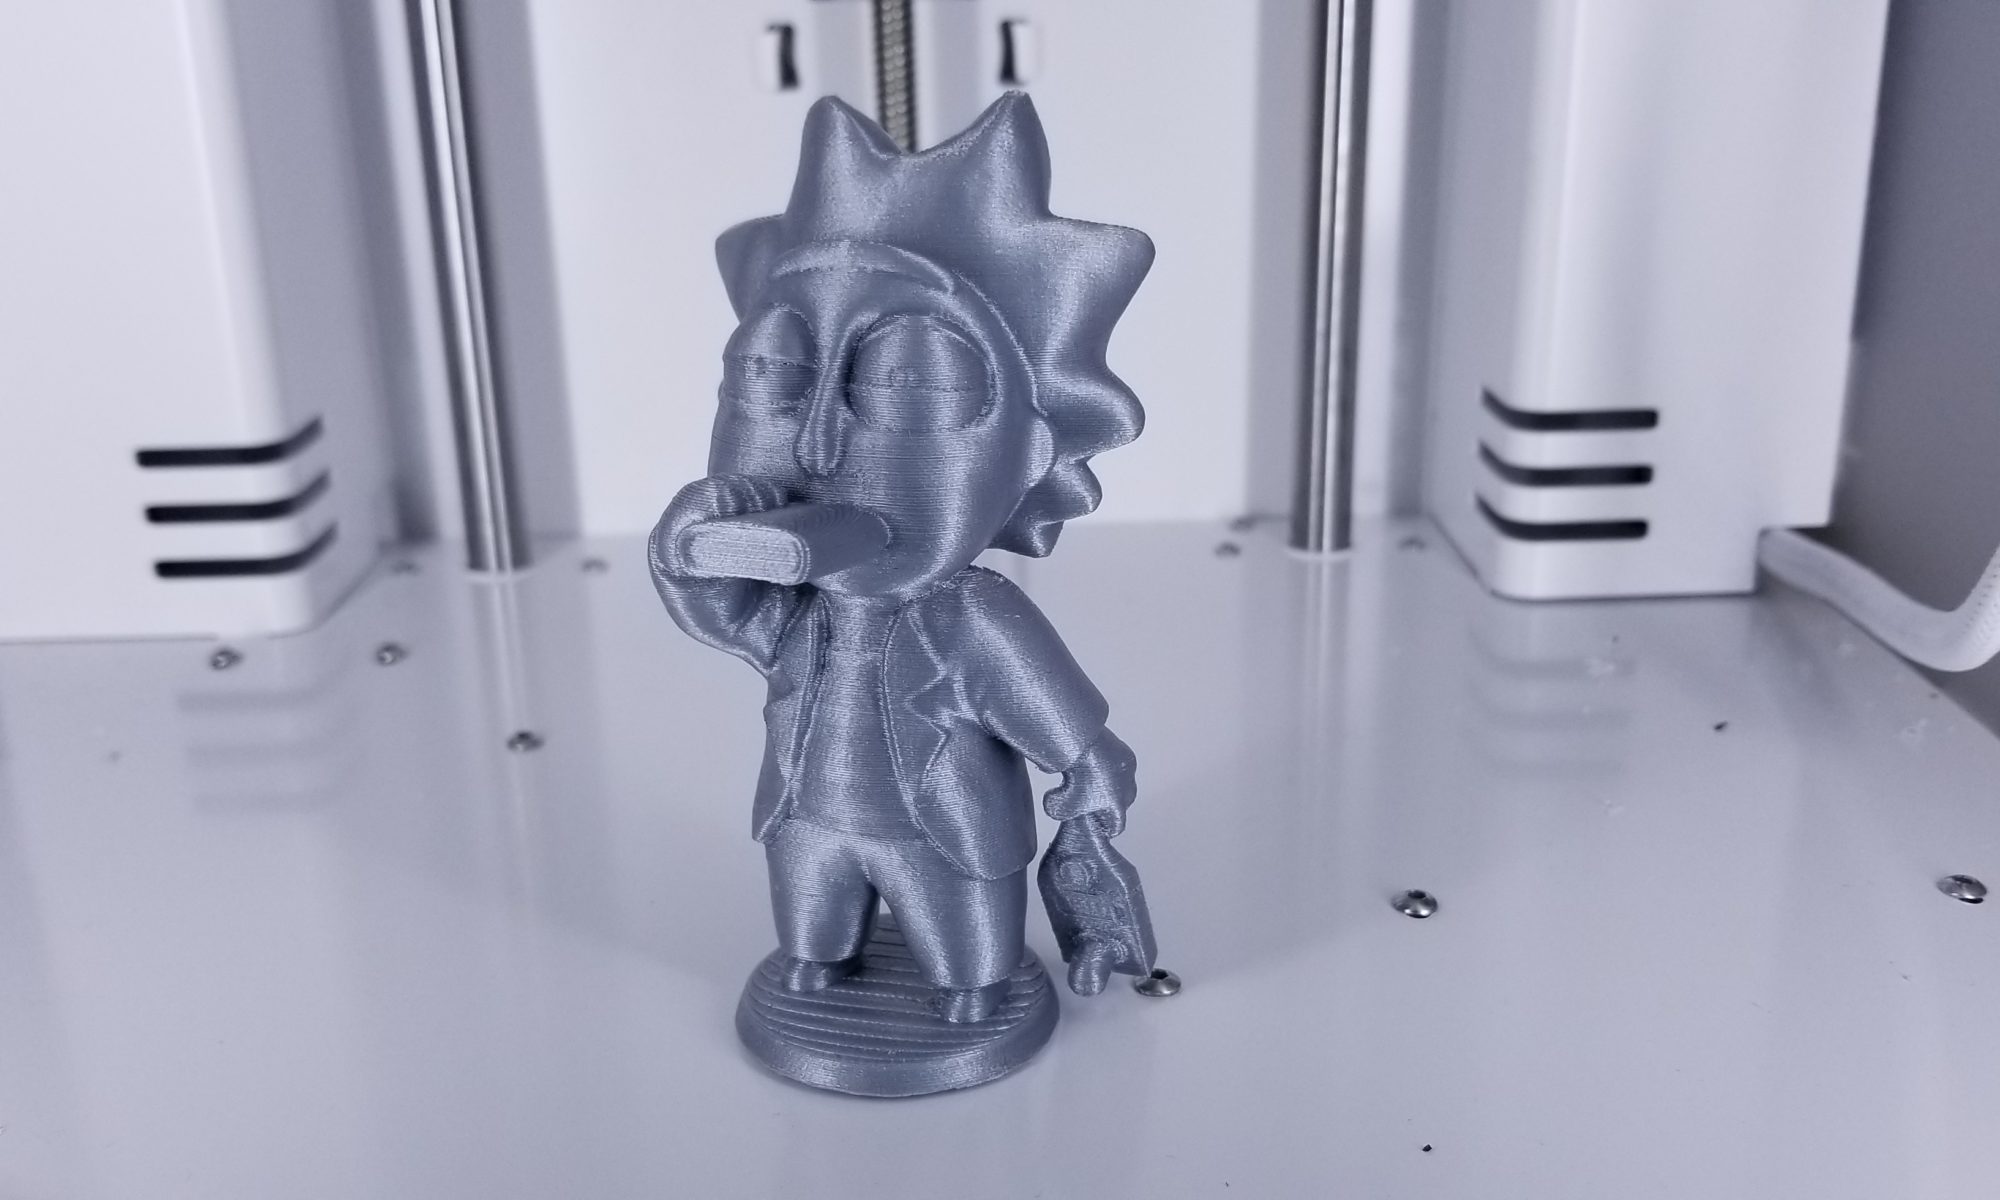
Over the weekend, I got to sit down and do some playing with the new 3D printer. I have to admit, the Ultimaker 3 is pretty amazing, especially when I compare it to my old machine. Once I got it up and running, you pretty much just push the button and it does everything for you. So I loaded up a Tiny Rick 3D file (by 3D Print Guy) that I downloaded from MyMiniFactory.com. His prints are pretty stinking cute and I think I’ll be watching his account for new files.
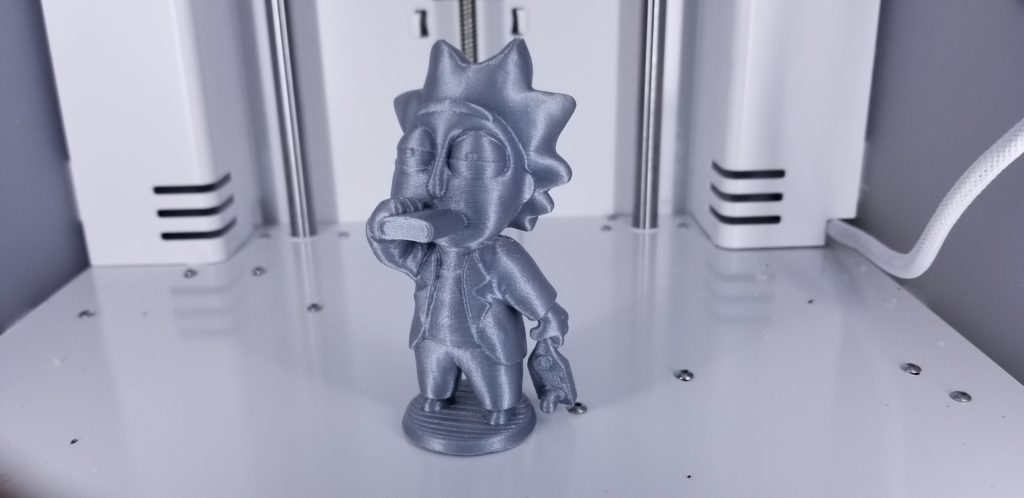
The new printer prints with water-dissolvable supports, which means I can pretty much print anything. What used to be impossible (or just a huge pain) to print is now not an issue. I can print a lot of these on my old printer also, but I’d have to sit there and cut away a lot of material it needed to print in order to prop things up while it printed.
So now, things come out looking like this:
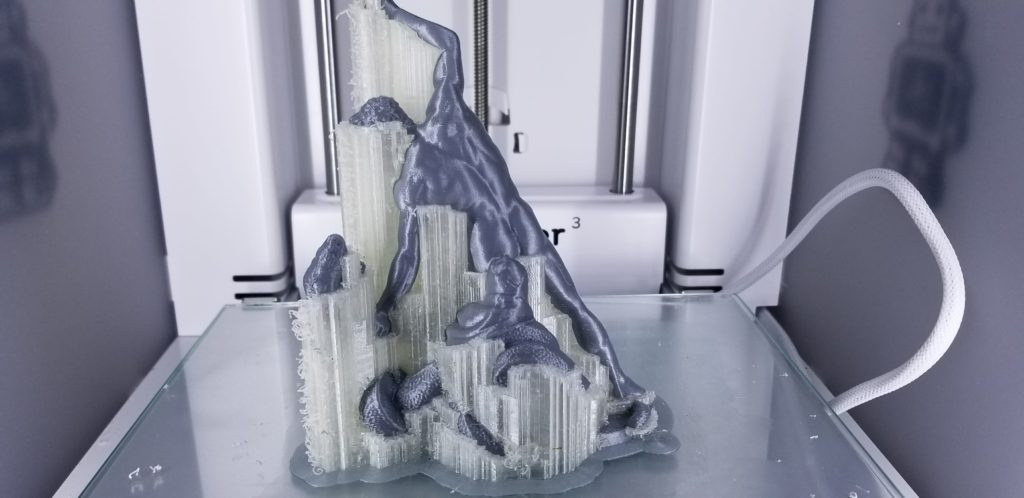
(You can thank me for that tushy on your screen later.)
This print comes from the Scan The World Project which mostly consists of 3D scans of famous artworks. This one is of a statue of Hercules from the Louvre Museum in Paris.
Once the print is done, it’s just tossed into a bucket of water and all the clear/white plastic will disappear within a few hours.
The only downside to 3D Printing is the patience required. This machine is super easy to use, but printing with such detail takes literally forever.
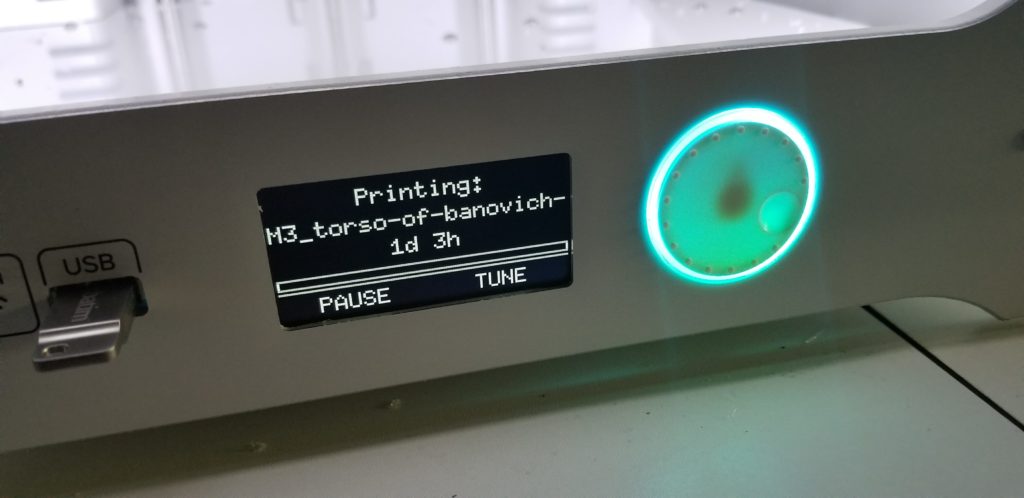
Over a day to print a 5-inch statue… YIKES! At least this printer is just a set-it-and-forget-it type of thing. I think I got the print started early enough yesterday that it should be done printing before I get home from work today.
I also spent some time fixing my old machine. The replacement parts came in and now I have dueling 3D printers in my basement.
 I bought these TV trays on


