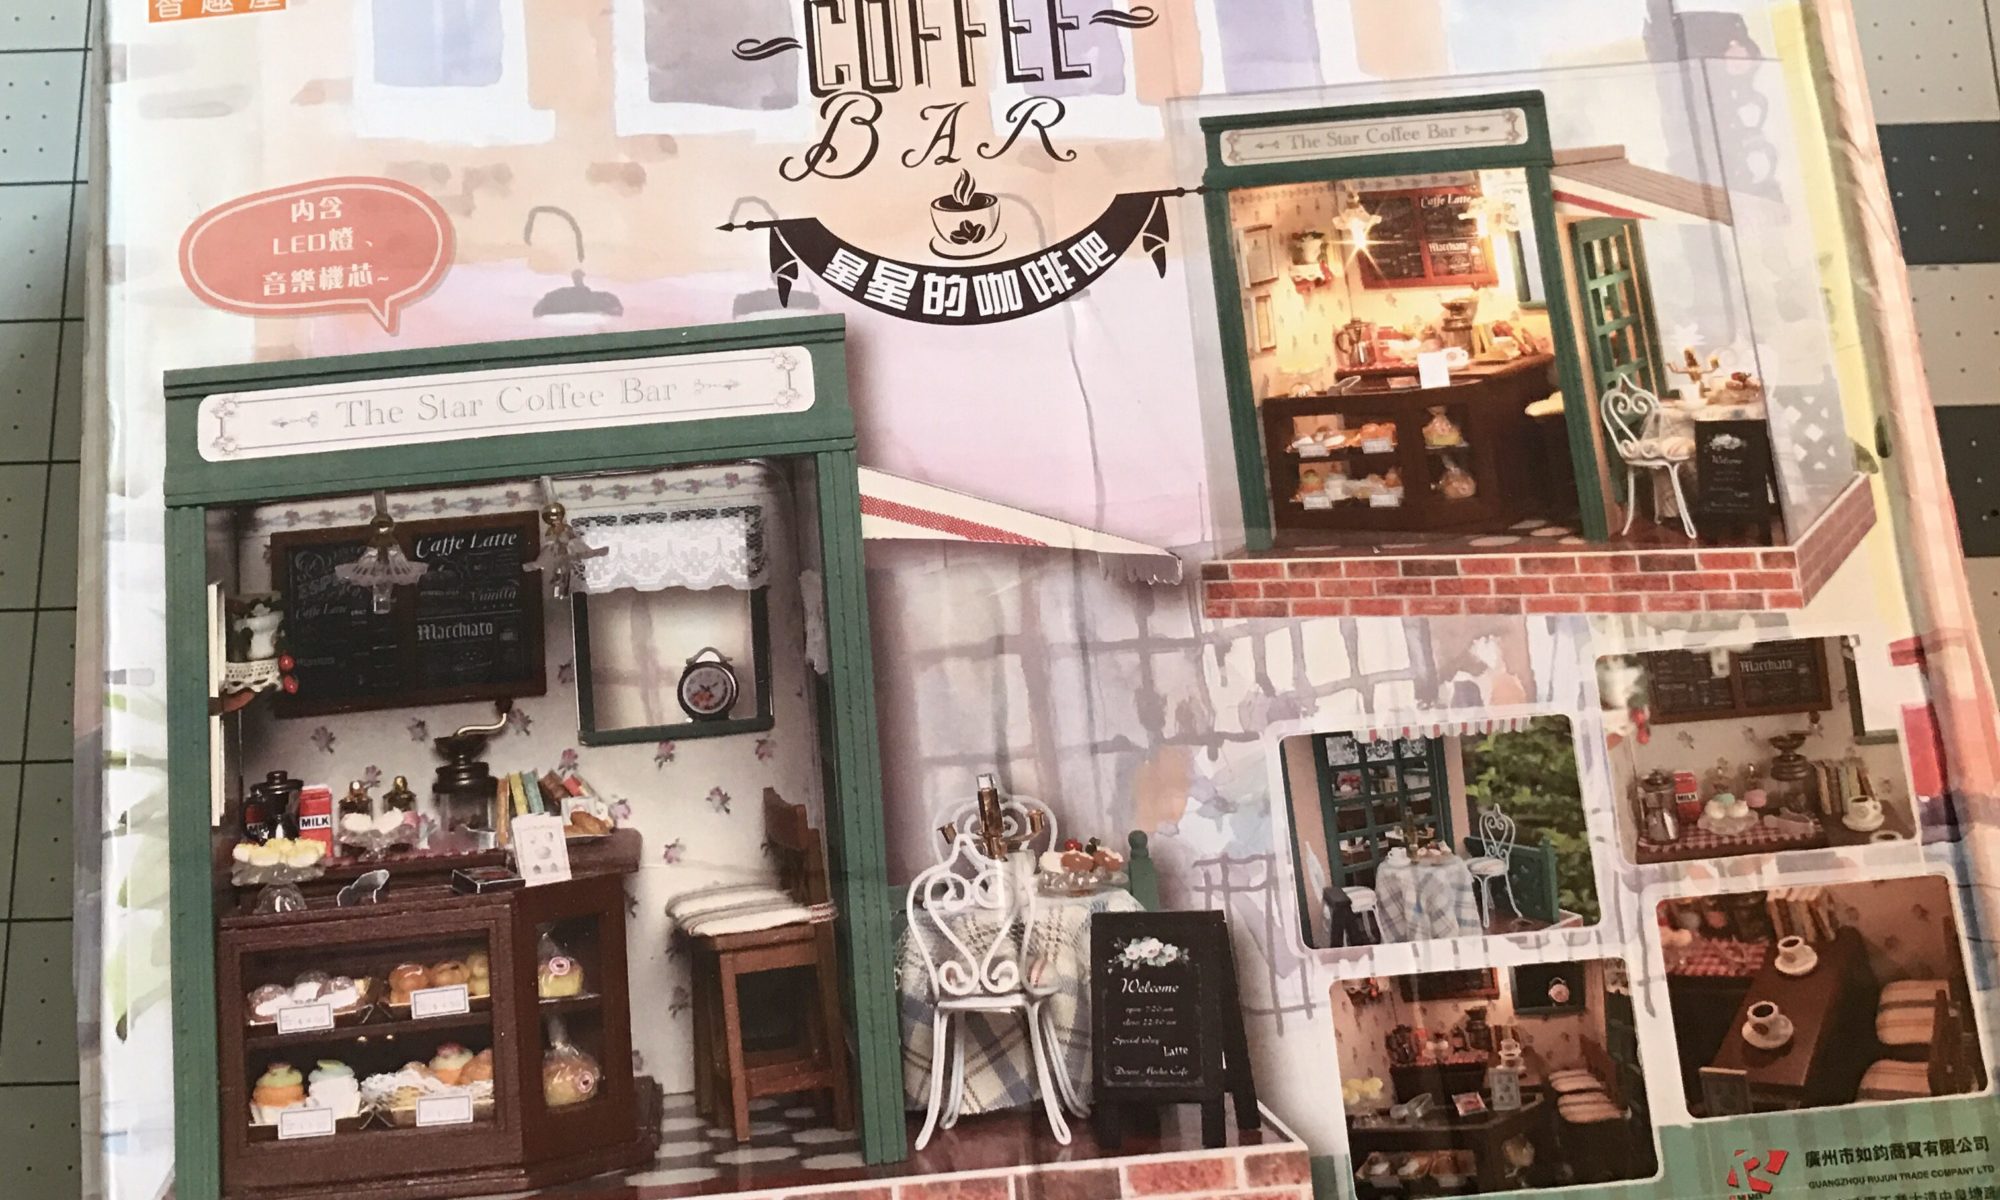
I’ve always been slightly fascinated with miniatures. After browsing Etsy for a while I finally bought a few kits. I don’t really care about pre-made kits since I tend to make most everything myself. But the ones I picked out were really cute and I figured I should see how others construct these things before venturing off into my own projects…. which is very unlike me.
First thing, wait for the kit to arrive. Then wait more, because it’s coming from China and will be weeks. I knew this when ordering, so no big deal. It was also cheap, so I am not expecting much.
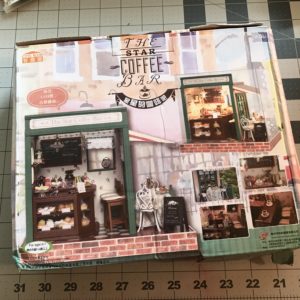
When it finally arrives, take note of the smashed up package and realize it probably won’t make a difference because… well because it’s super cheap and wouldn’t be worth the effort to return it if something was wrong.
Next, open the package and dump everything out.
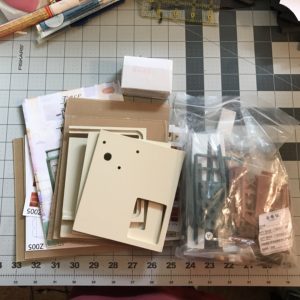
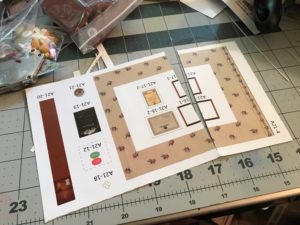
See? Just as I expected. Plastic, more plastic, some wood, and lots of paper you’ll be gluing on everything. Even the fabric in the picture is actually just folded paper. The only fabric in the kit was a cut-up doily for the window decorations.
Next, take all those papers and throw them out.
Did you do it? Good, now go get them out of the trash and put them aside, you might want those as templates later. But throwing them out felt good, didn’t it?
After gluing a few pieces of paper down to walls and floors I realized I would not be happy with the results. I mean, I know it’s just a kit, but I also want to walk away with something I want to look at again. Then, I cut through a sheet of paper that was stuck to another sheet…
Which was fine. The whole time I was gluing I was thinking about how I could make this better with all my craft supplies. So this little accident just forced me to do it. Sure, I could’ve just scanned it, fixed it in Photoshop, and reprinted it…. but that wouldn’t’ be much fun.
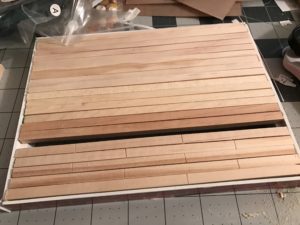
First, I went to Home Depot. While I had most things, I didn’t have scrap wood. And my floor was going to be a wood floor. In the dowel section, they have square dowels… I grabbed a bunch of those. Over in the painting section, I grabbed some cherry stain.
I rough-cut the pieces down to size to fit their wood base in the kit. It already had a notched area where the floor was somehow supposed to sit. (I’m not sure how, I couldn’t get it their floor piece to fit, to begin with).
I also took a razor blade and cut in little floorboard markings about every three inches. Then I applied a light coat of cherry stain and varnished it.
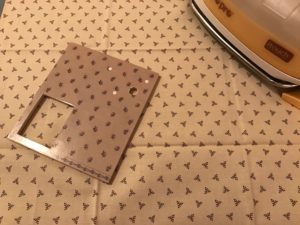
Next, I took the walls that I had previously glued paper ‘wallpaper’ too. I picked something similar off my shelf of fabrics. Maybe a little too similar, but I still wanted to retain the café look, and finding mini prints was fabric was proving difficult even with my large selection.
Now the walls are covered, the floor is stained and varnished, windows were put in and some various other accessories were glued. All that took a long time…. but it was mostly waiting around for things to dry or the time it took to saw all those wood pieces.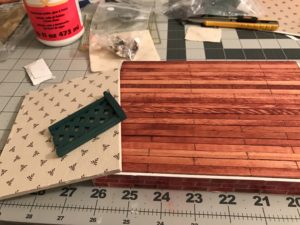
Stained tuned for the next segment where I’ll be erecting walls and adding the LED lighting. OOooOOooOohhh! Exciting stuff!
