Kudo3d Bean on Indiegogo

Just under a year go I contributed to an Indiegogo campaign for a SLA printer called Bean and it finally showed up at my doorstep last week.

Kudo3D Bean Indiegogo showed up!

This printer has been basically been running non-stop since it showed up.  I’m having a lot of fun with it.  So far I’ve mostly been printing little figurines from one of my favorite 3d artists, who recreates a lot of characters I like.  I know his models are good and this has let me figure out all the ins-and-outs of printing with resin.

Continue reading “Kudo3d Bean on Indiegogo”

3D Print Painting

yoshi

This weekend, I promised my co-worker I would spend some time doing some painting on some of the 3D items he requested. Why? Because I volunteer myself for everything.

I’ve done many many paintings, but 3D Prints are a bit hard to paint. First, they have a texture from the plastic layers (unless you do some post-processing). Second, they’re 3D, and unlike a painting, they don’t have any definite lines where the paint should stop. Third, I didn’t prime the object, because I printed it in the character’s main color so it took many layers to cover the green plastic. And last, I didn’t give it a clear coat to lock it all in, so I’m just waiting for him to accidentally scrape some of the paint off.

Basically, it can easily come out looking very messy. My co-worker seemed to really like it this morning when I brought it in, so maybe I’m being too picky. I hope it gets easier once I get a few more painted.

Roger Smith

20180214 075525

I finally printed something for my desk.  Everyone else has little chotskies all over their desks and mine just has paper everywhere. So I browsed the 3D repositories for something I’d like and found Roger Smith from American Dad on thingyverse.

3D Print of Roger the Alien

As soon as John (the guy I 3D scanned) saw it on my desk he took it.  What a jerk!  This is why I can’t have nice things.  And why I shouldn’t bring my 3D prints into the office.

At least I can just print another.

3D Printing Tiny Rick

tiny rick 3d printing

3D Printing Hercules Statue

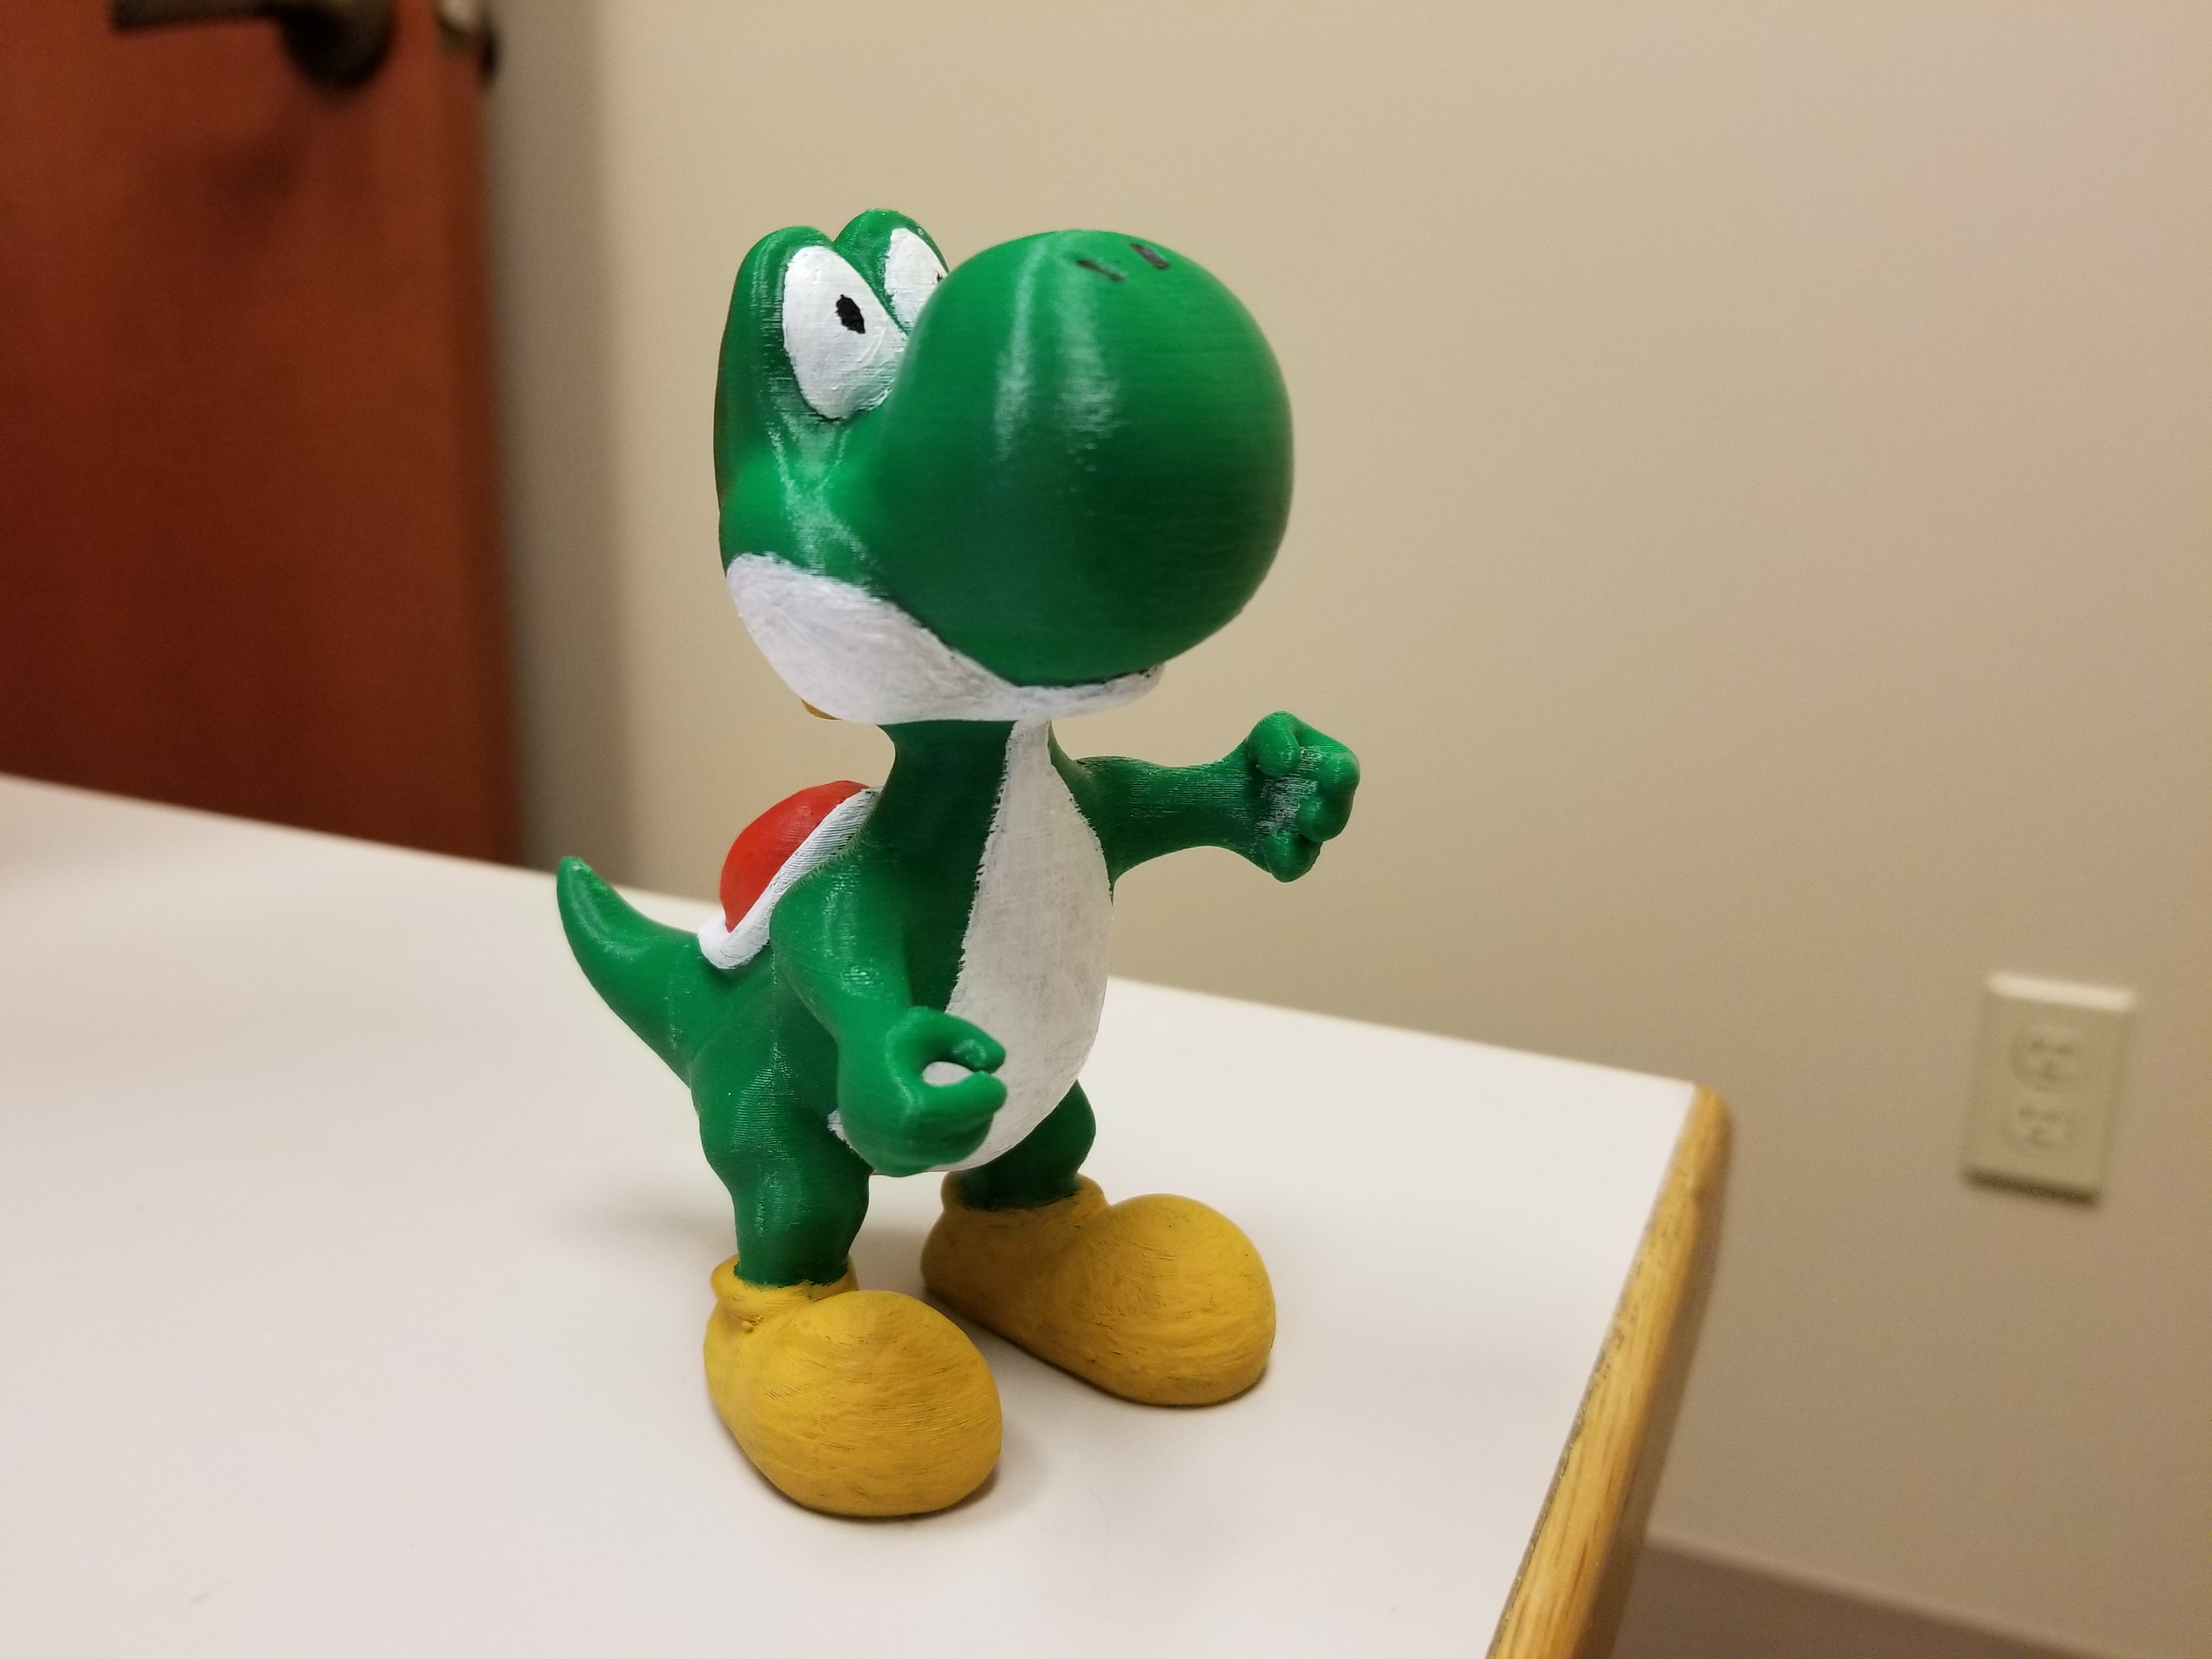
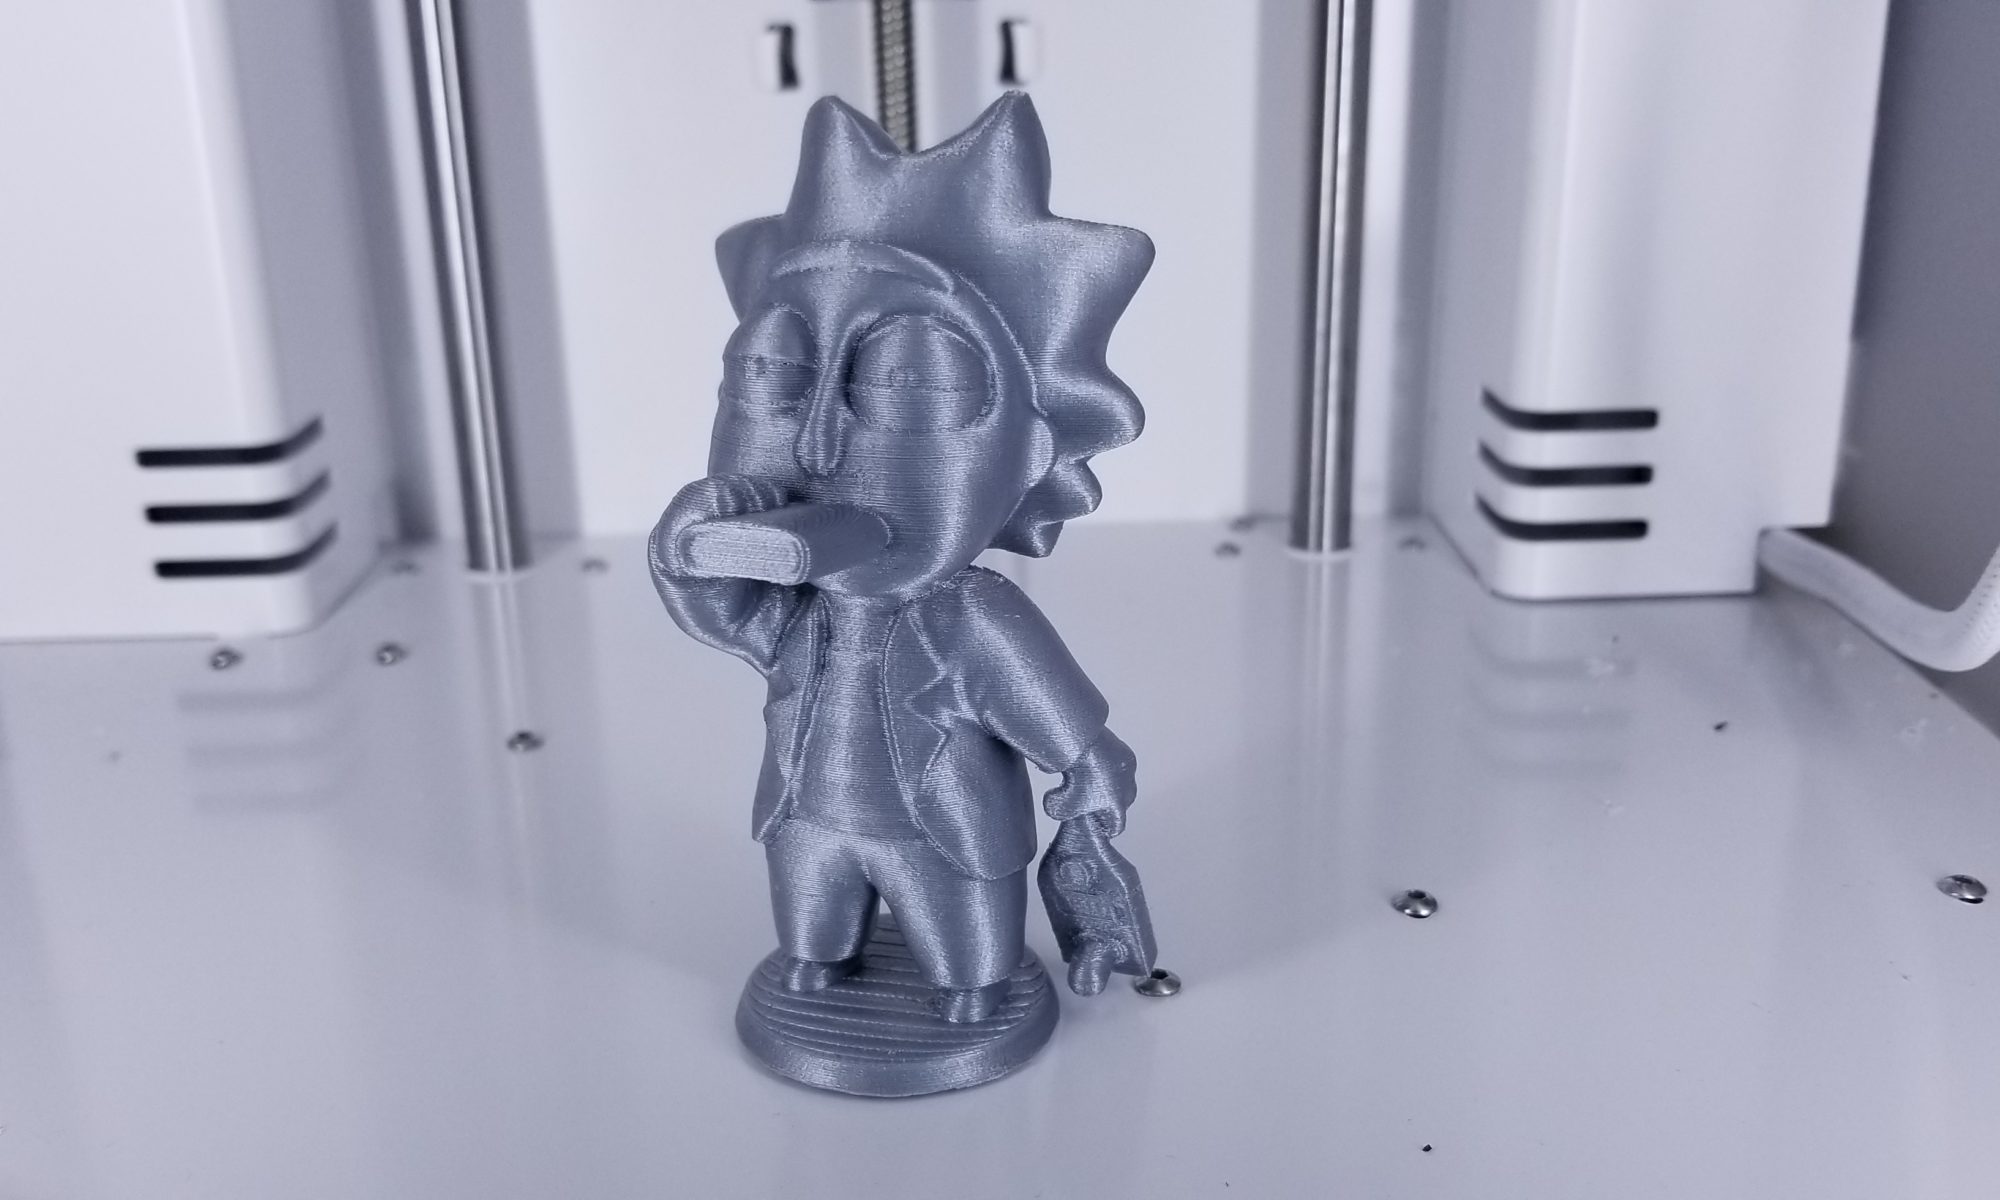
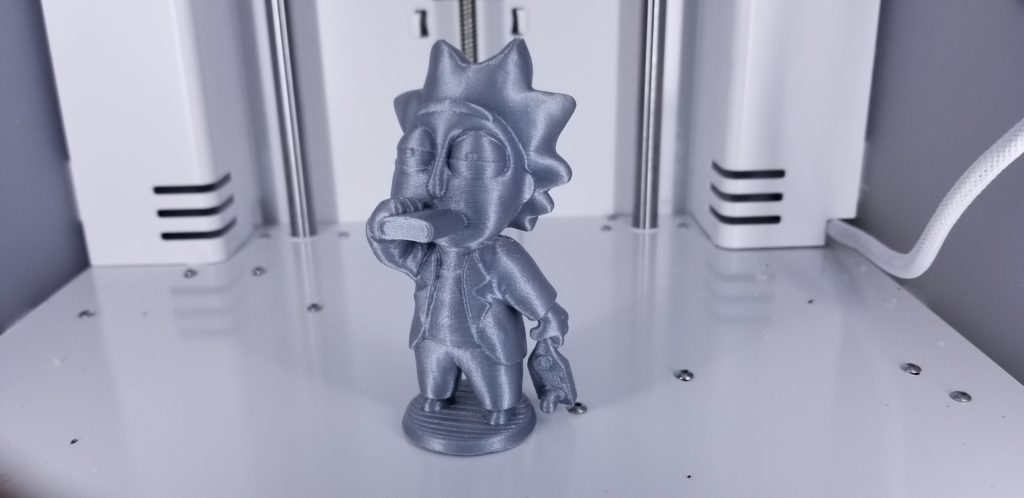
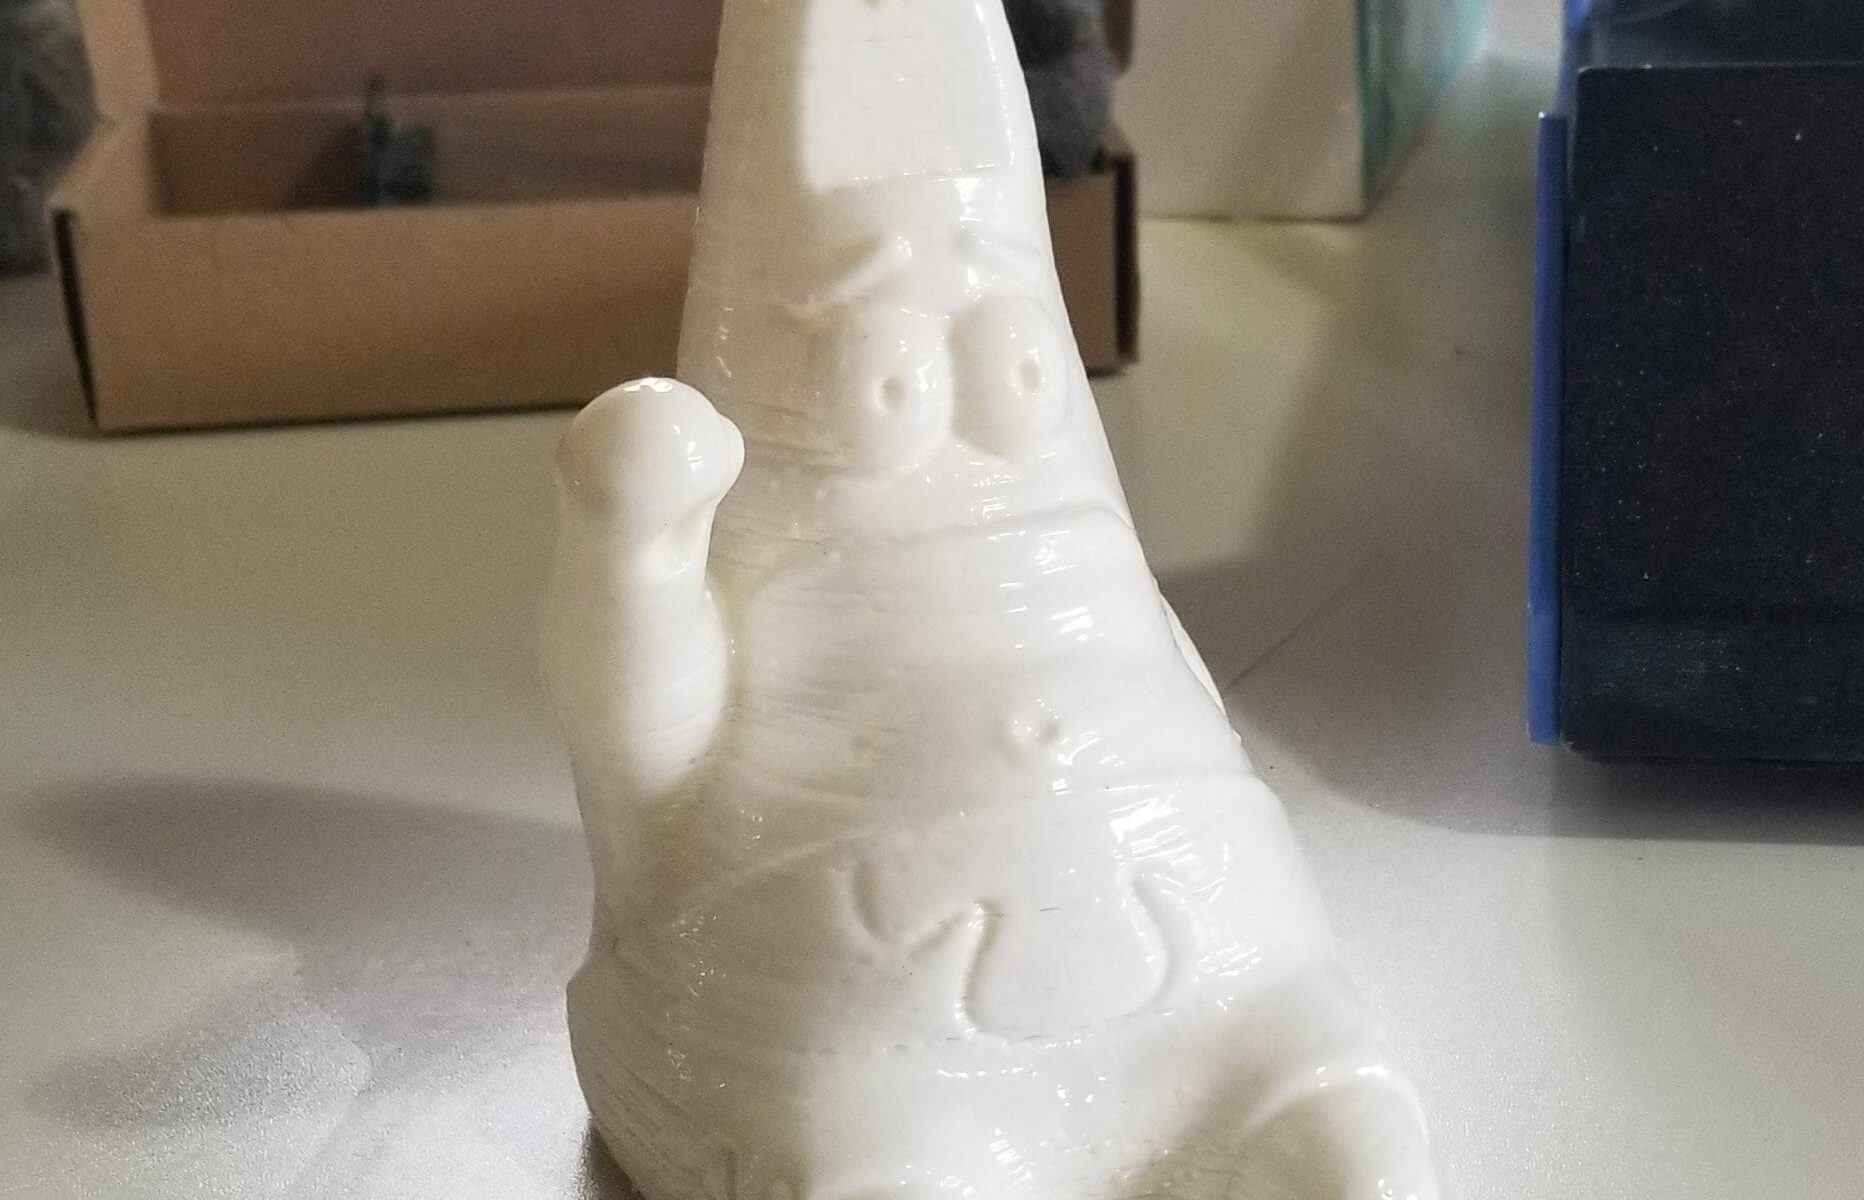
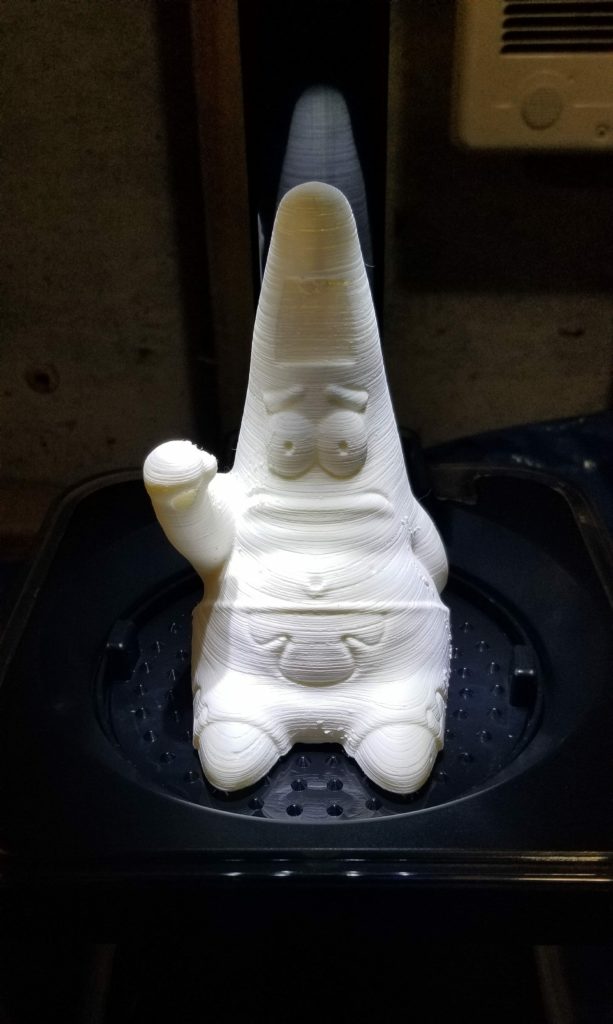
Over the weekend, I got to sit down and do some playing with the new 3D printer.   I have to admit, the Ultimaker 3 is pretty amazing, especially when I compare it to my old machine.   Once I got it up and running, you pretty much just push the button and it does everything for you.   So I loaded up a Tiny Rick 3D file (by 3D Print Guy) that I downloaded from MyMiniFactory.com.  His prints are pretty stinking cute and I think I’ll be watching his account for new files.

Tiny Rick 3D Print

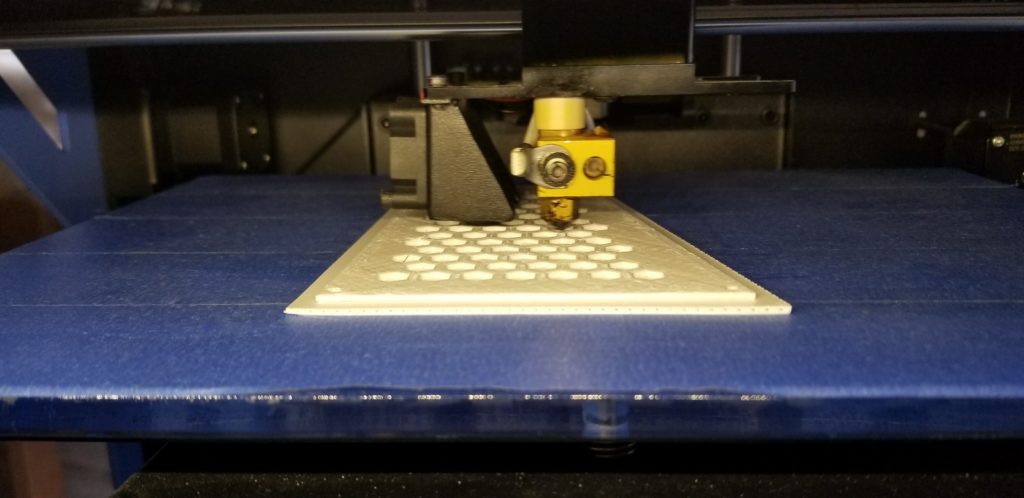
The new printer prints with water-dissolvable supports, which means I can pretty much print anything.  What used to be impossible (or just a huge pain) to print is now not an issue.  I can print a lot of these on my old printer also, but I’d have to sit there and cut away a lot of material it needed to print in order to prop things up while it printed.

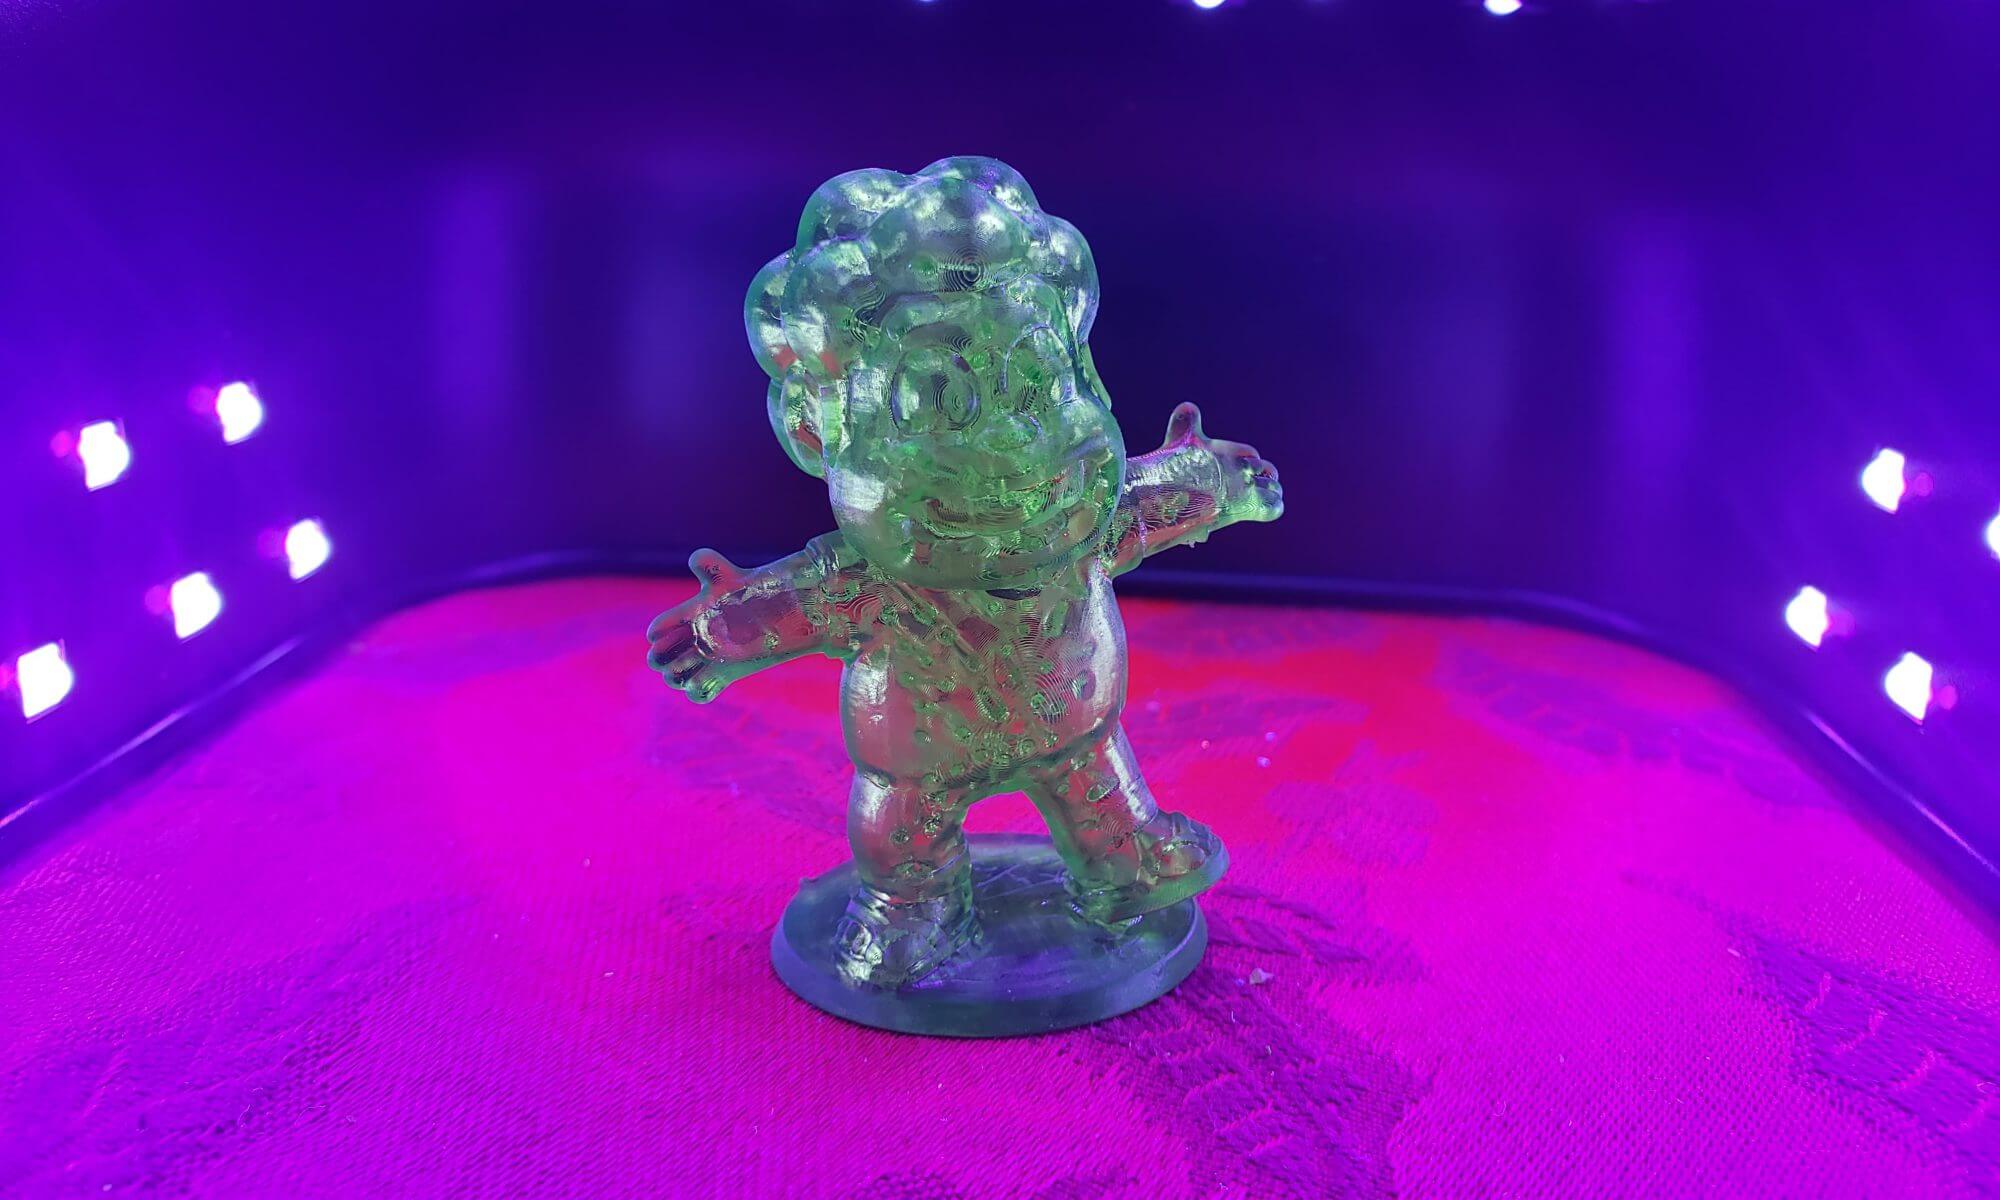
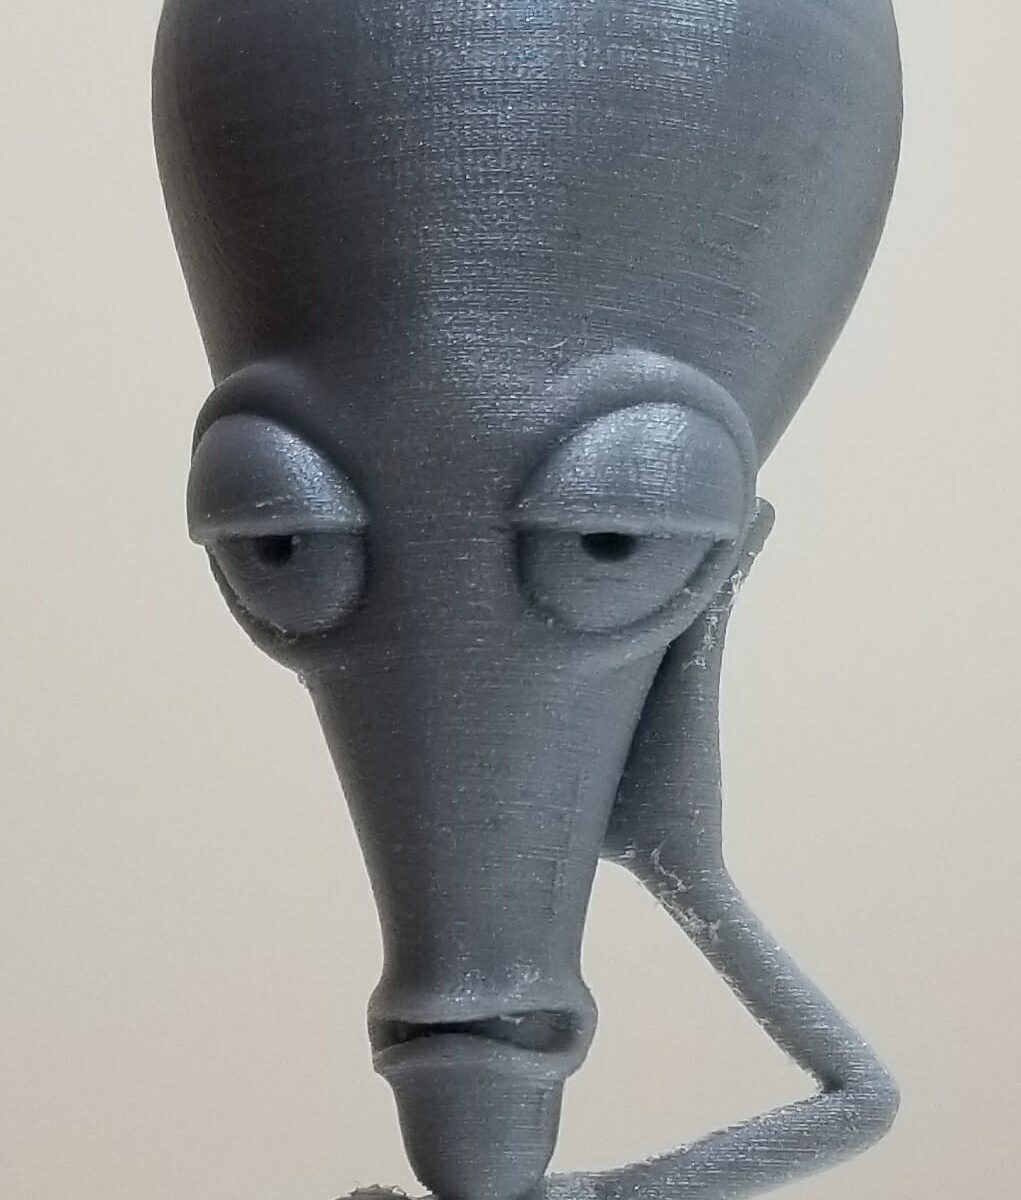
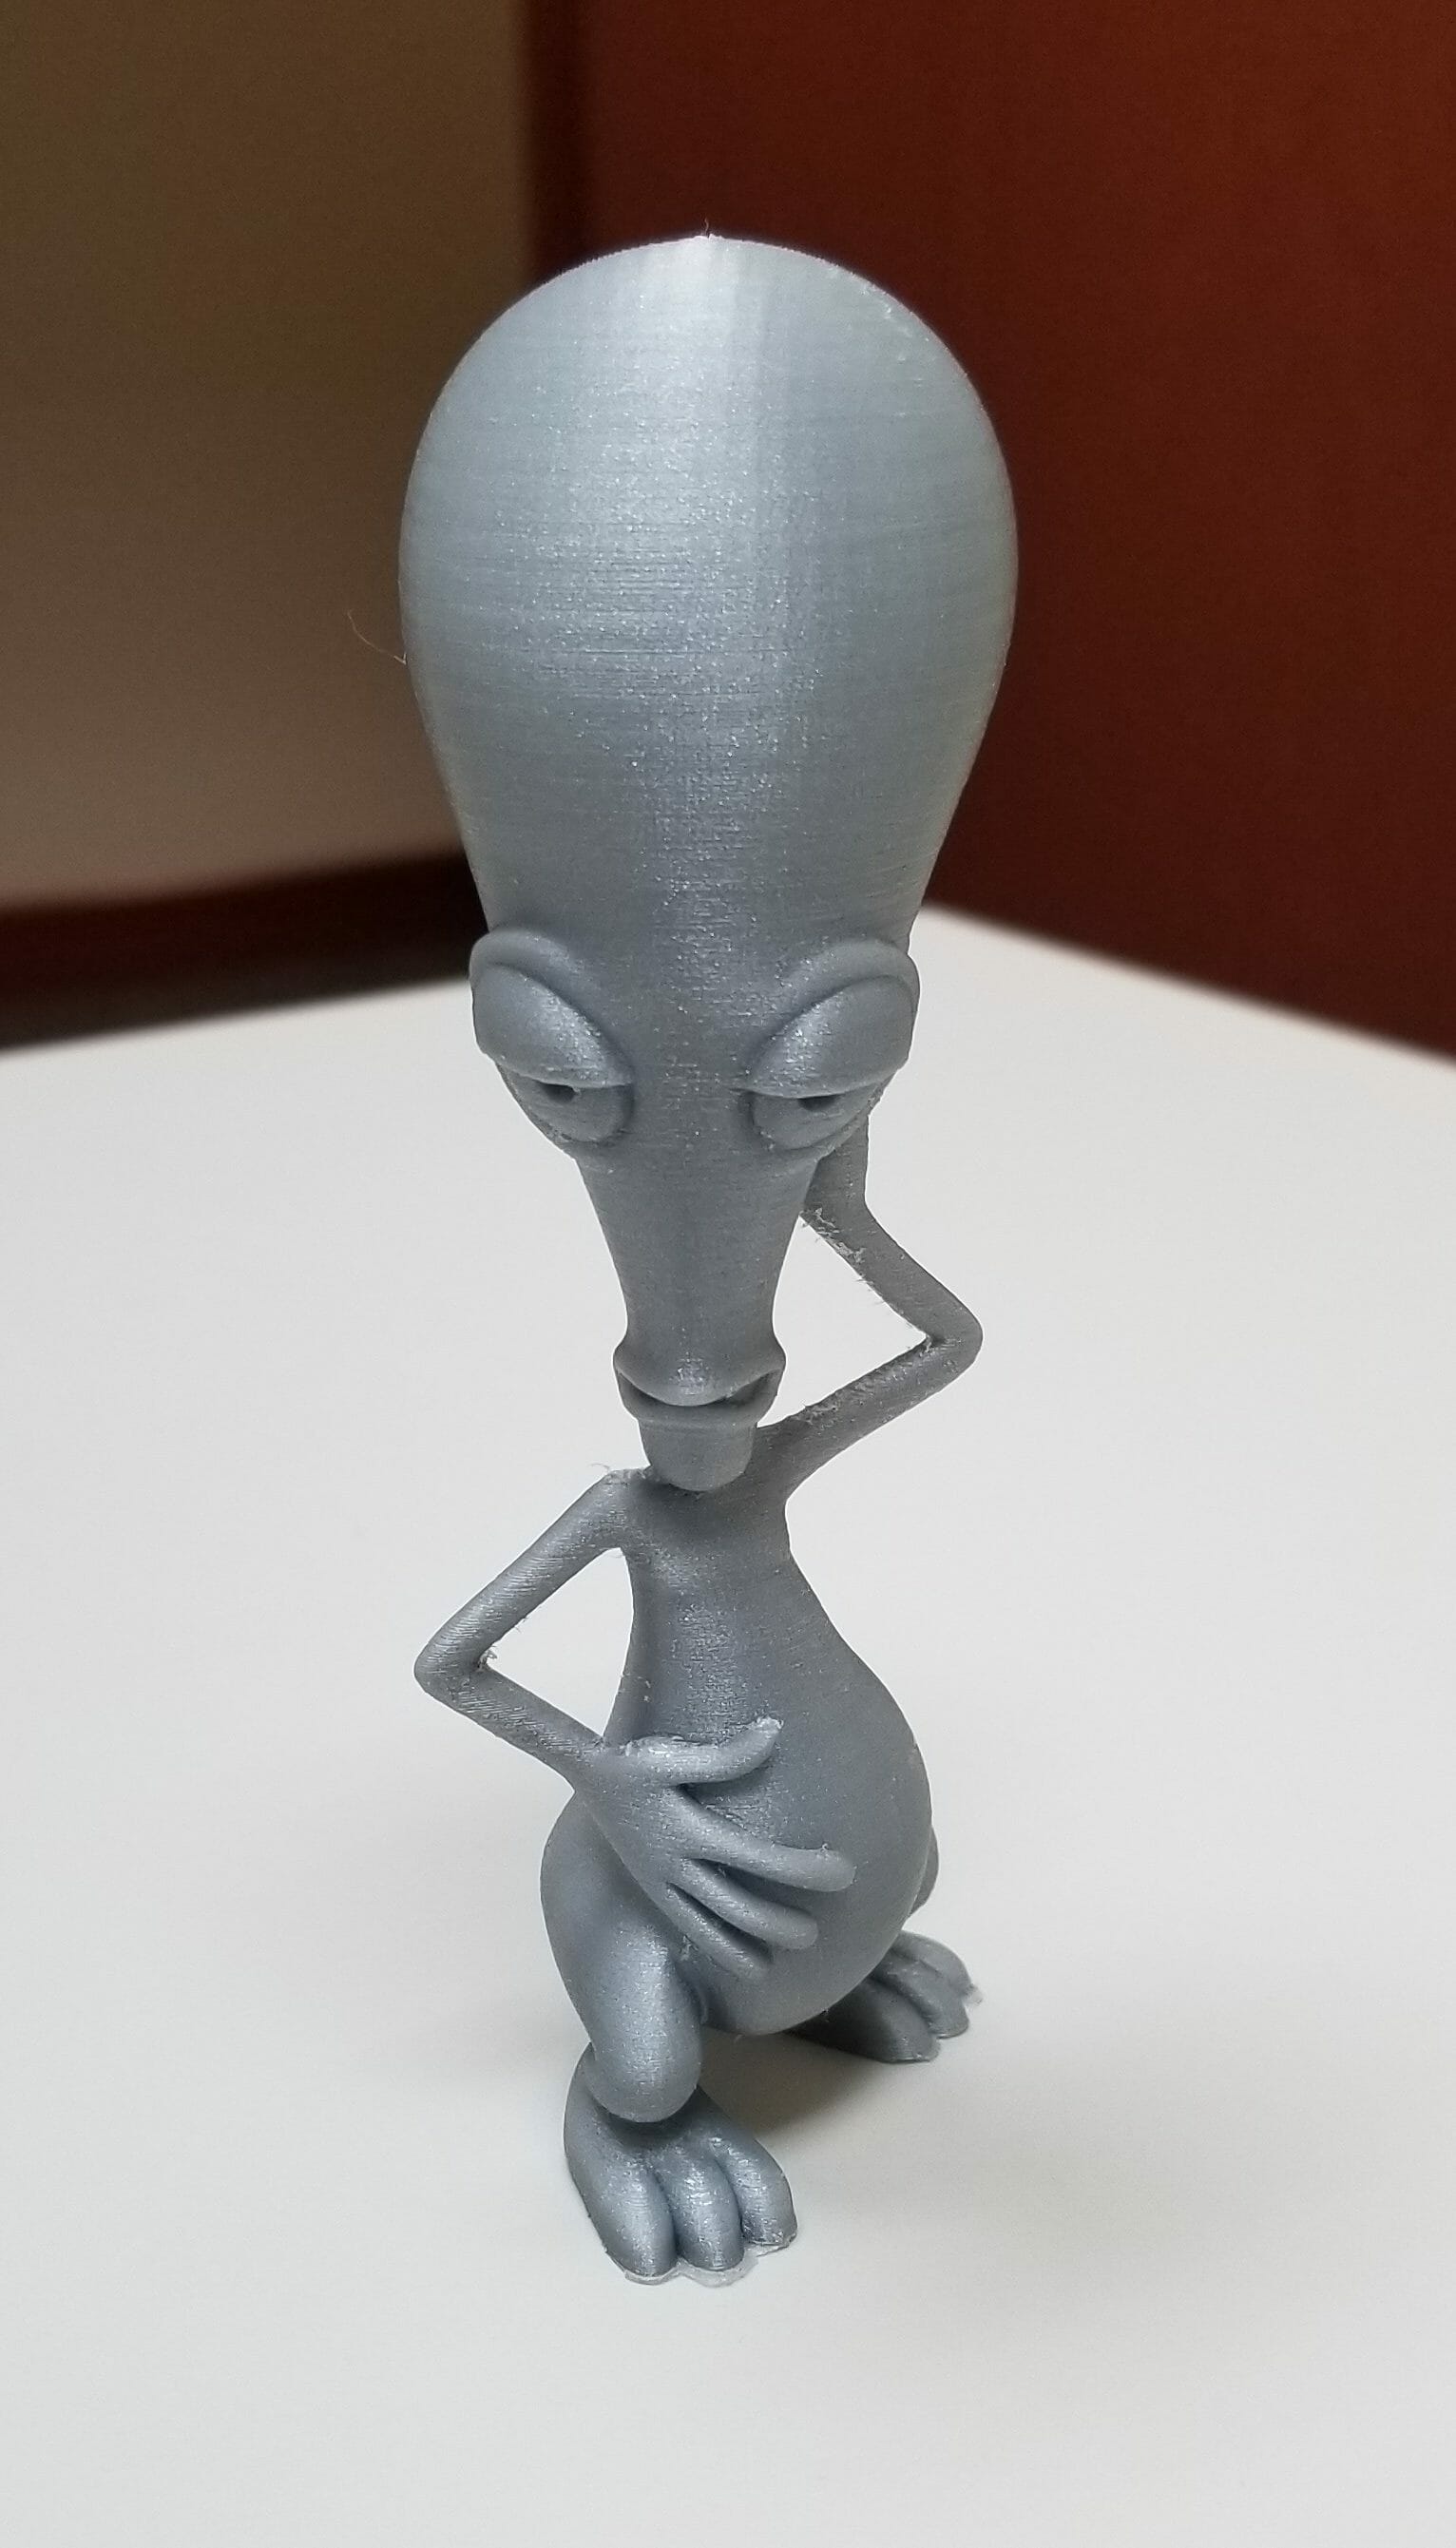
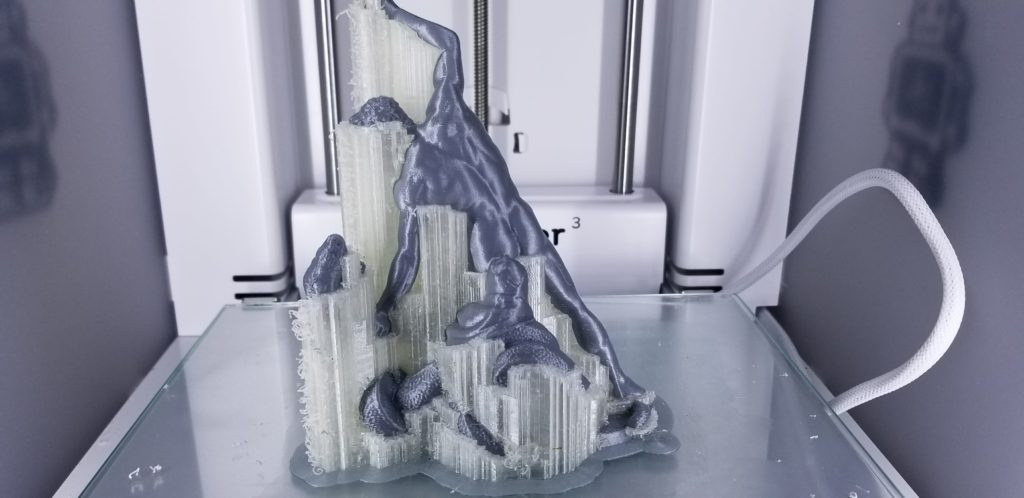
So now, things come out looking like this:

(You can thank me for that tushy on your screen later.)

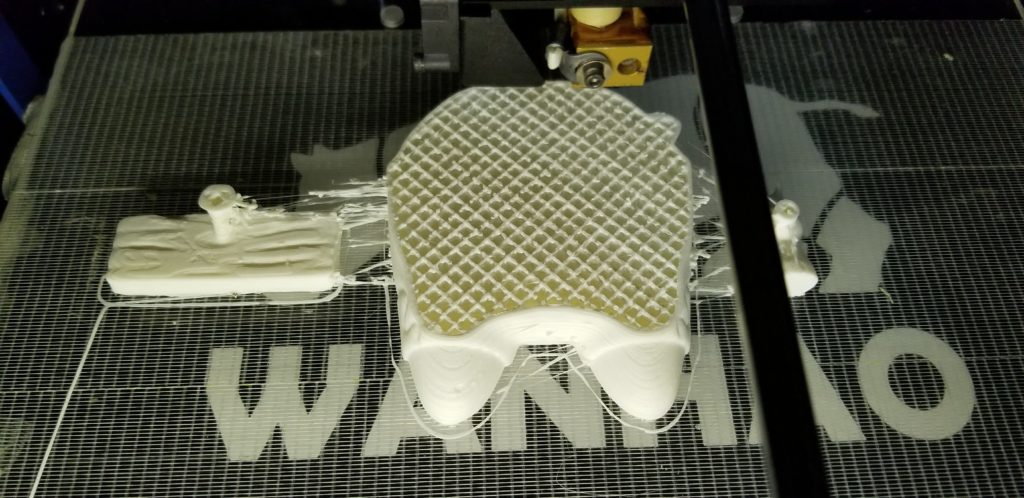
This print comes from the Scan The World Project which mostly consists of 3D scans of famous artworks.  This one is of a statue of Hercules from the Louvre Museum in Paris.

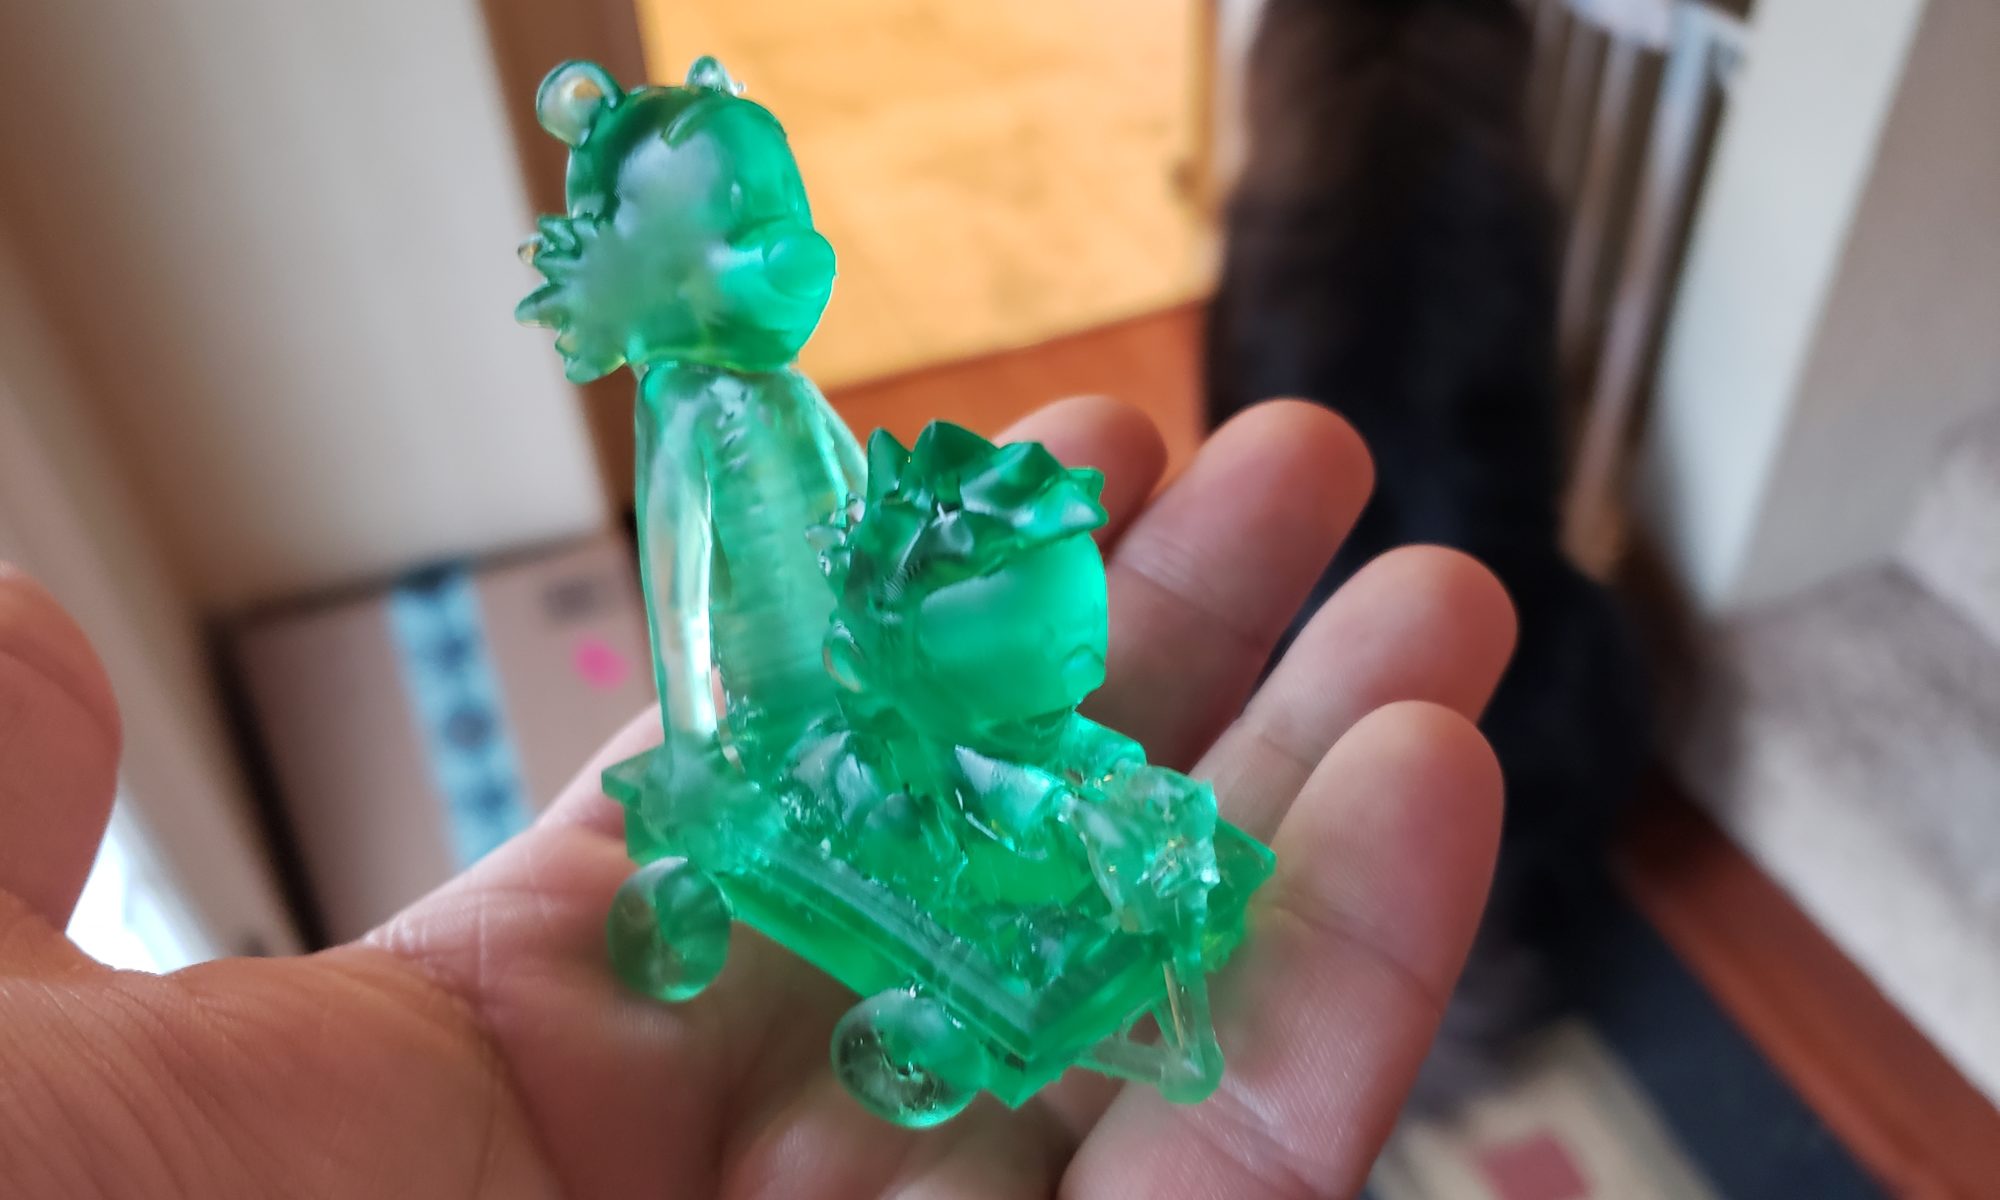
Once the print is done, it’s just tossed into a bucket of water and all the clear/white plastic will disappear within a few hours.

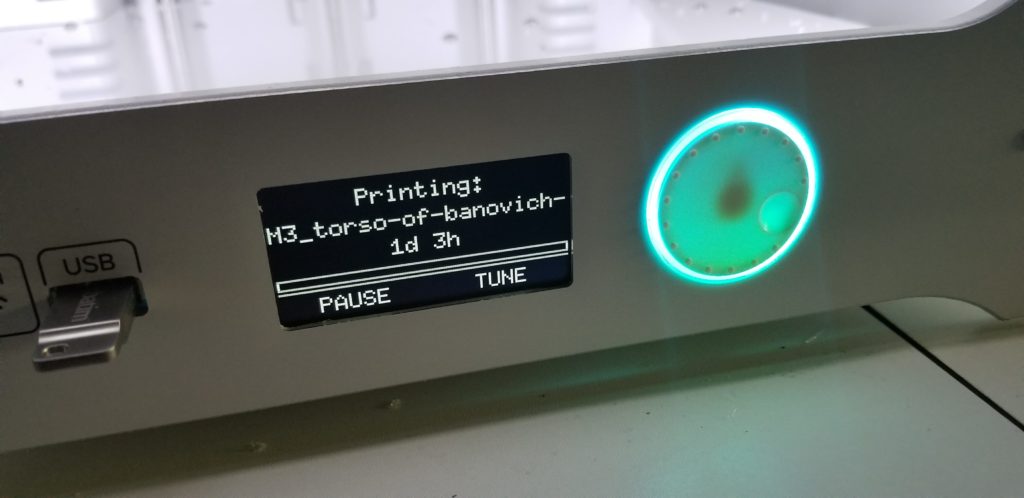
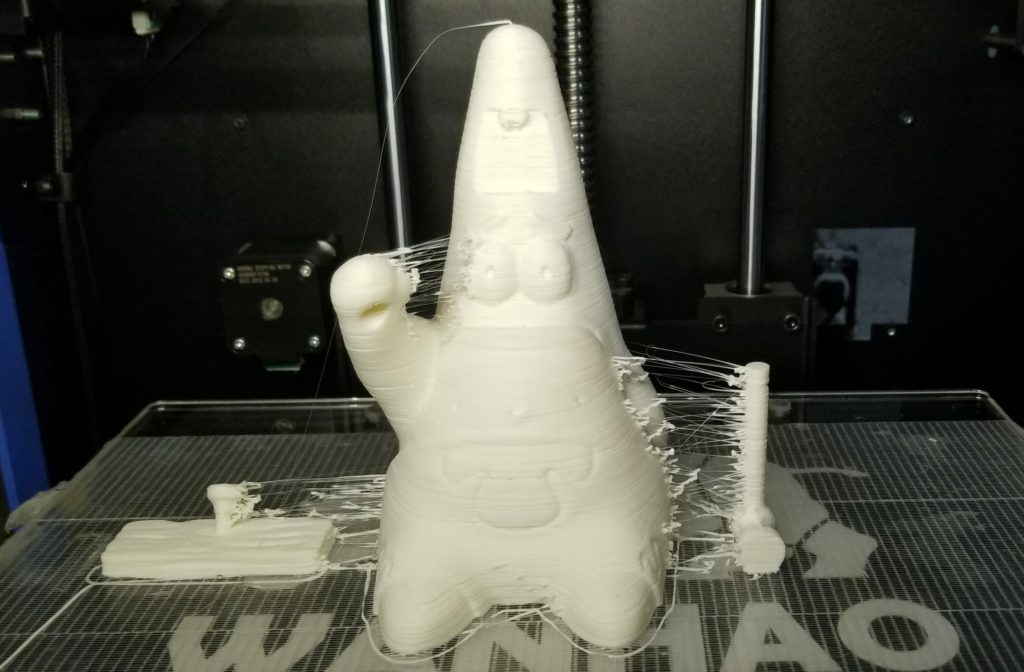
The only downside to 3D Printing is the patience required.  This machine is super easy to use, but printing with such detail takes literally forever.

Over a day to print a 5-inch statue… YIKES!   At least this printer is just a set-it-and-forget-it type of thing.  I think I got the print started early enough yesterday that it should be done printing before I get home from work today.

I also spent some time fixing my old machine.  The replacement parts came in and now I have dueling 3D printers in my basement.

Patrick Star got the Polymaker Polysher Treatment

20180121 114135 1 e1516640258454

I put my Patrick Star through the Polysher machine a few times.  He was in there well over an hour.  I realized about then he wasn’t going to get any better than this because the machine needed to be adjusted for better printing.   You can still see lines and gaps which also probably meant my PolySmooth print materials had become moist from being in the air.

Patrick Star after using the Polymaker Polysher

Who knew plastic absorbed moisture?

So I got out my dehydrator and shoved all my rolls in there.   In the meantime, I started working on calibrating my machine.

I tried using the plastic again a few hours later and it still wasn’t printing well, so I left them in the dehydrator overnight.

The next day, things started looking up!

getting the 3d printer reconfigured

A few hours later, I noticed the same gaps and problems started showing up again.  The downstairs room must be a lot moister than I realized.

So, I think it’s time to start making a dry box that holds the plastic spools so they don’t keep rehydrating.

UGH!   Like I needed another project.

3D Printing Patrick Star

20180117 222405 e1516382843406

People have been asking me to print some 3D objects for them.   I finally relented and dragged out the old 3D printer.  Before I start printing things for them, I’m doing a few for myself!    Starting with Patrick Star from Spongebob.

My old printer doesn’t have all the new features of the printers these days, but it still prints at the same resolutions as the new ones.  Printer resolution hasn’t changed much, apparently.

Patrick has some accessories since the end product is him nailing a sign to his head.  On the left if the sign with the nail.  On the right is the hammer.

When you print multiple objects, it’s pretty normal to get melted plastic strands between the object.   I normally only print one item at a time because of this.

After prying him off the printer I cleaned him up by snipping off all the little strands.  Next, I broke out a Kickstarter product I bought forever ago and still hadn’t even unboxed because the printer was packed away.   This is the Polysher.   Basically, your object gets lowered into a chamber and alcohol is vaporized, which melts the very outside of the plastic creating a glassy smooth exterior.

Look at him go!  WHEEEEE!

It’s sped up pretty fast from the timelapse.  But it’s more fun looking at a fast pace.

I set the timer and walked away, so he hopefully turned out.  I’ll post later with the results.   He still needs to be painted as well.