3D Printing Tiny Rick

tiny rick 3d printing

3D Printing Hercules Statue

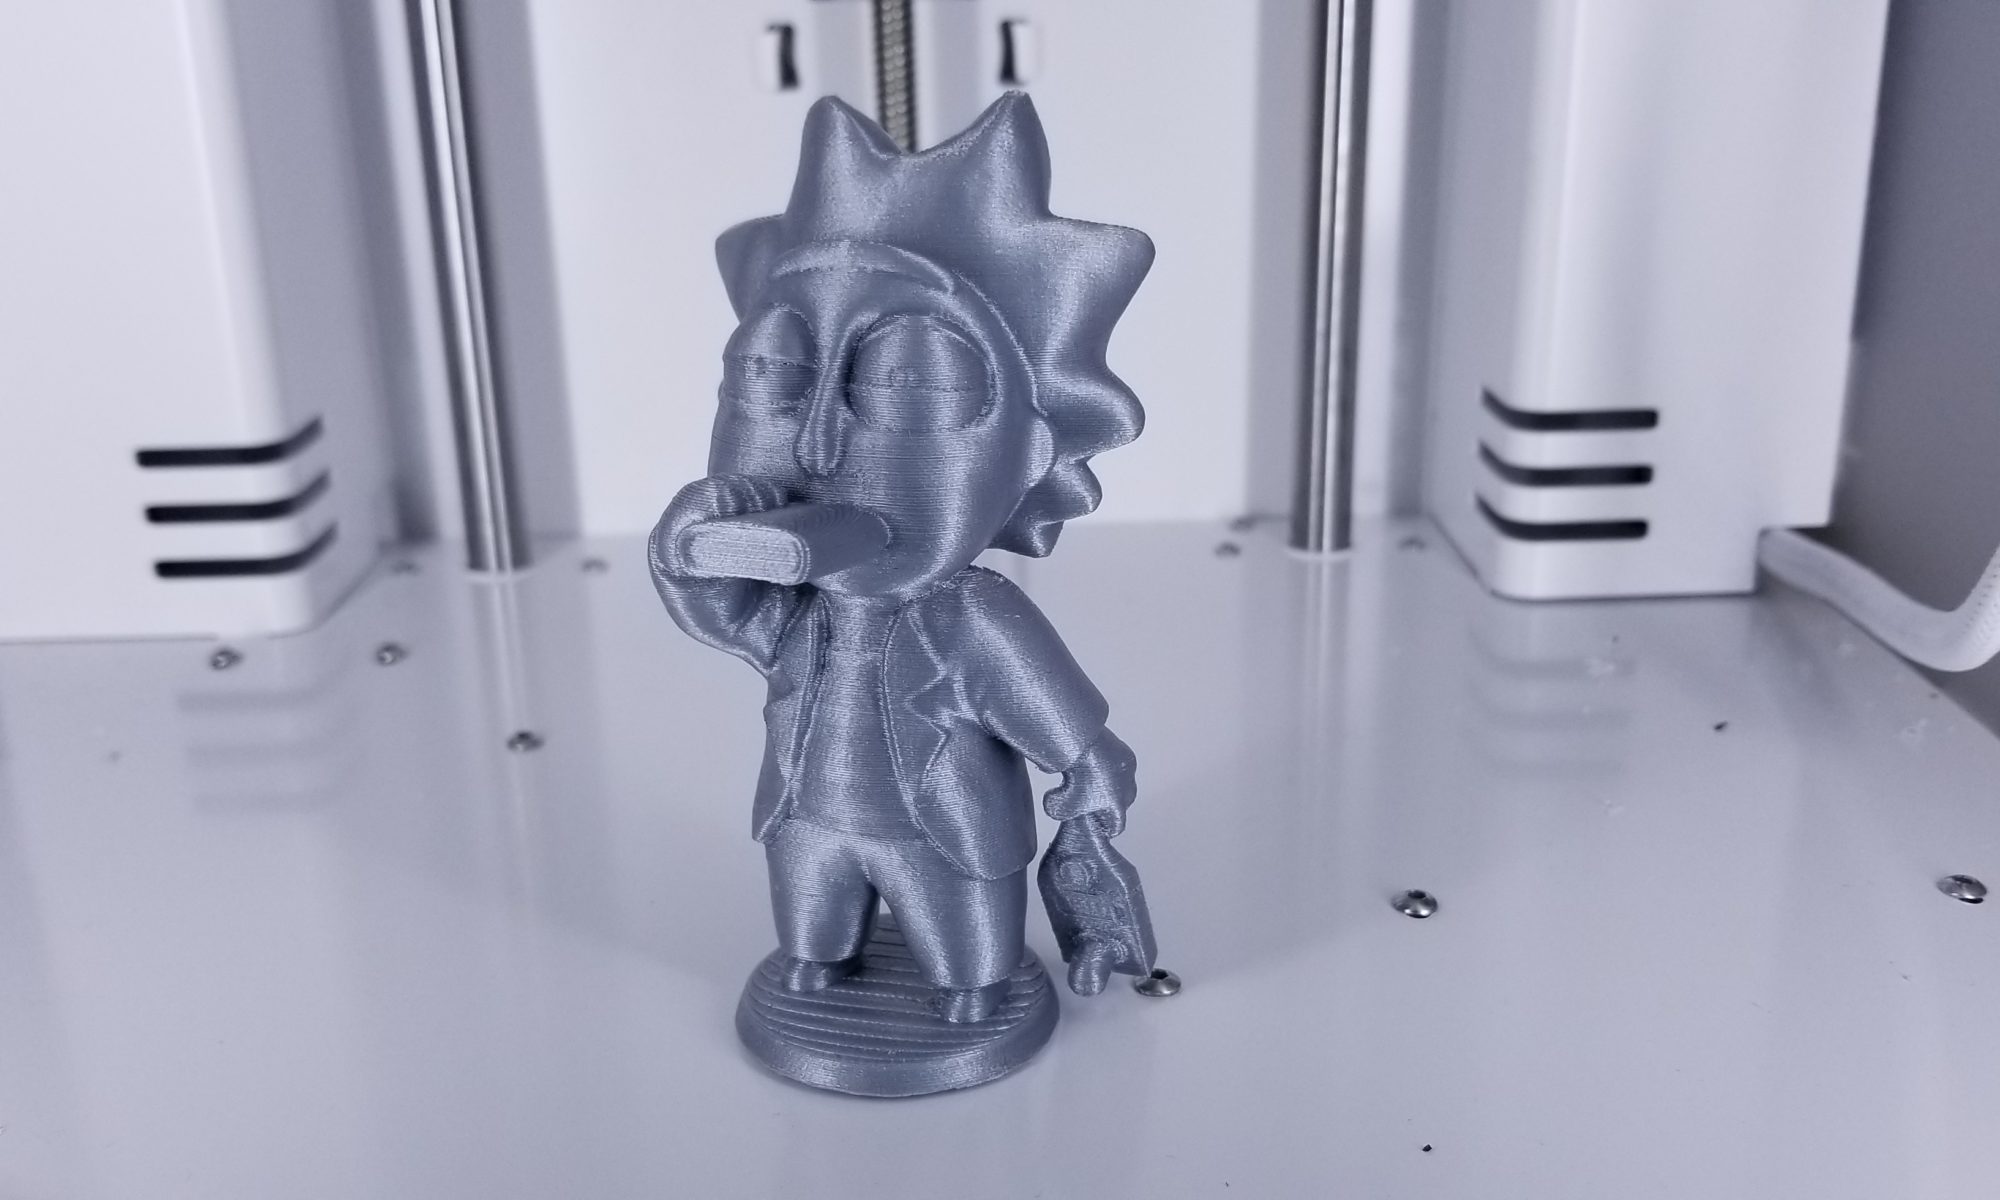
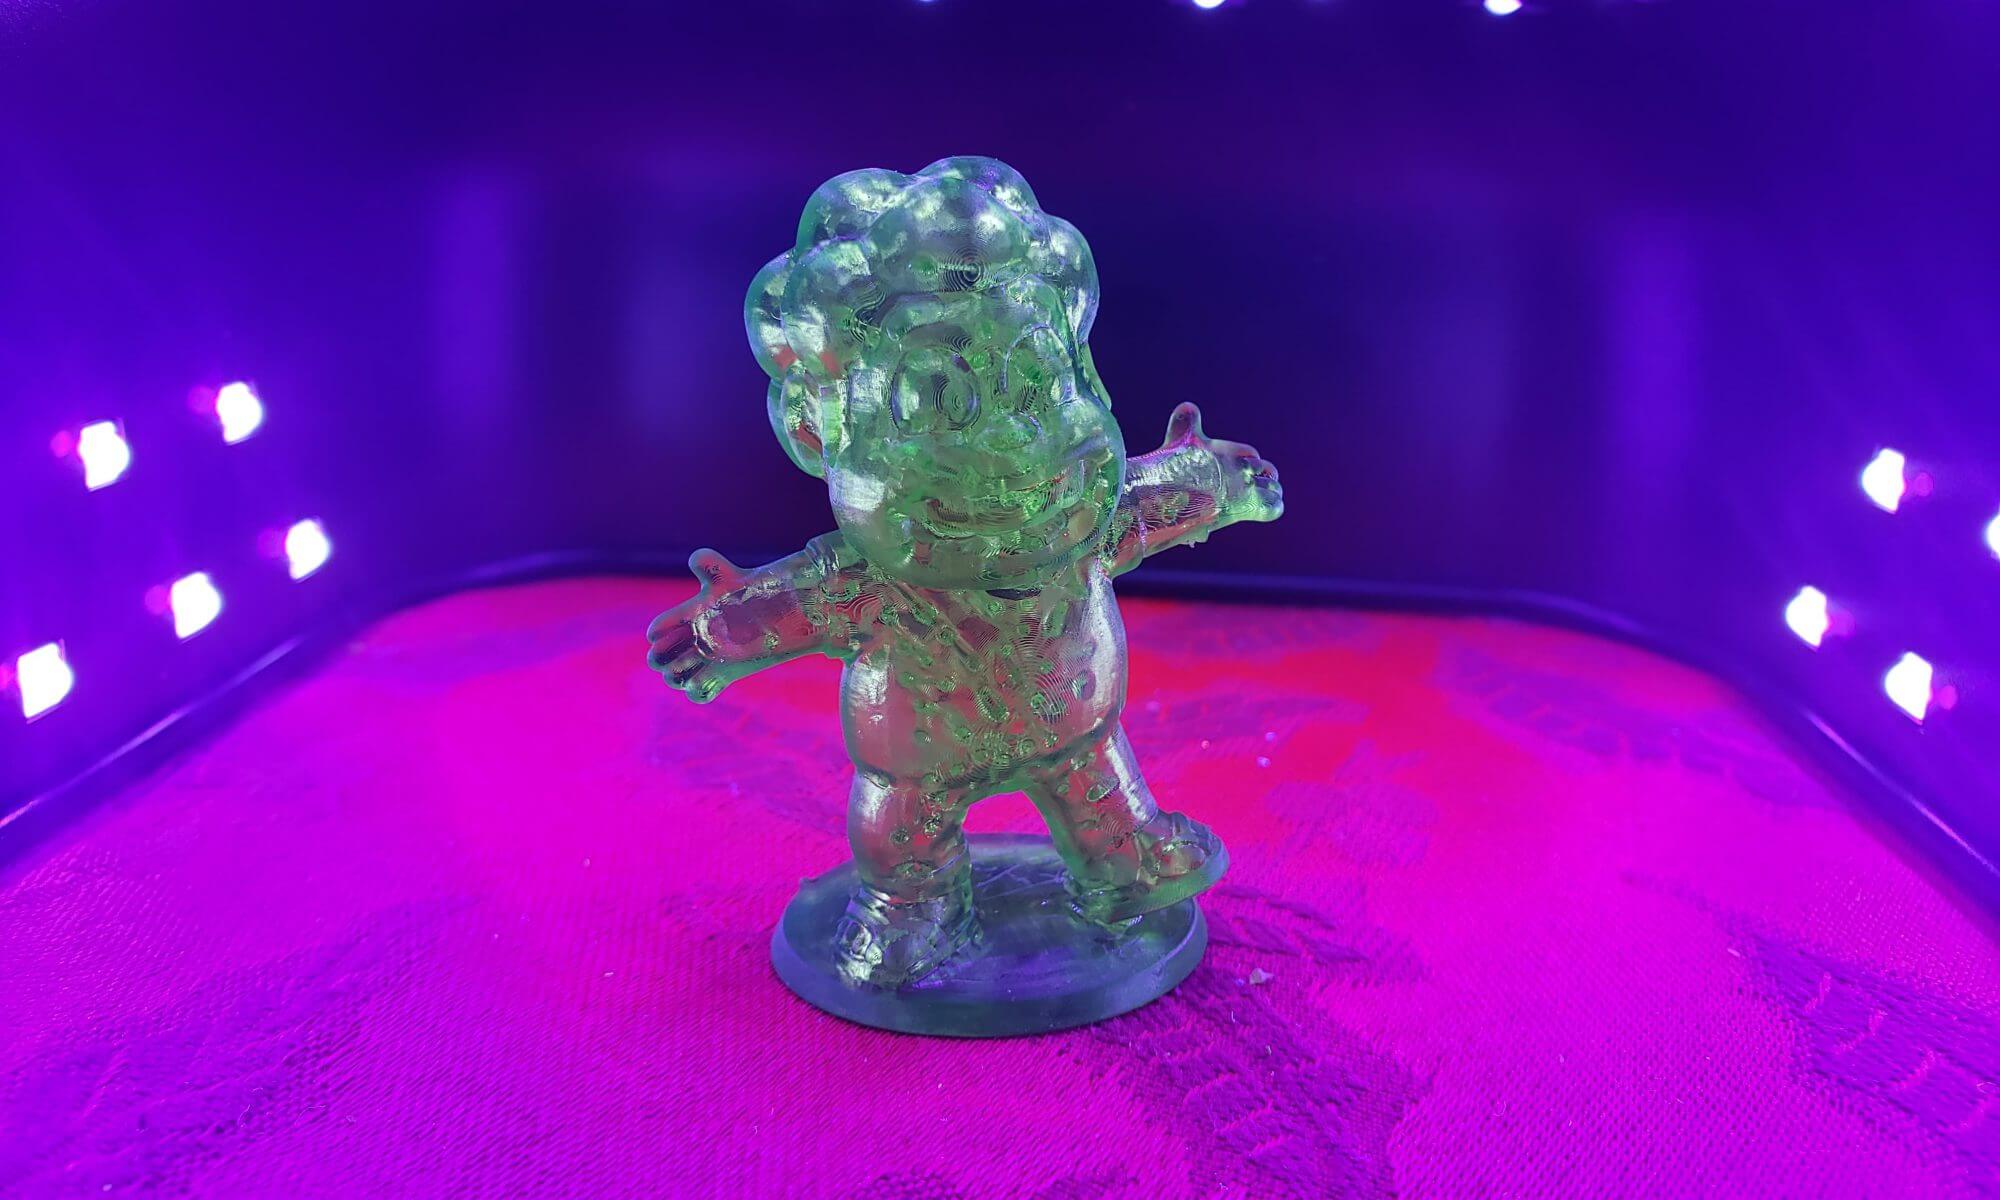
Over the weekend, I got to sit down and do some playing with the new 3D printer.   I have to admit, the Ultimaker 3 is pretty amazing, especially when I compare it to my old machine.   Once I got it up and running, you pretty much just push the button and it does everything for you.   So I loaded up a Tiny Rick 3D file (by 3D Print Guy) that I downloaded from MyMiniFactory.com.  His prints are pretty stinking cute and I think I’ll be watching his account for new files.
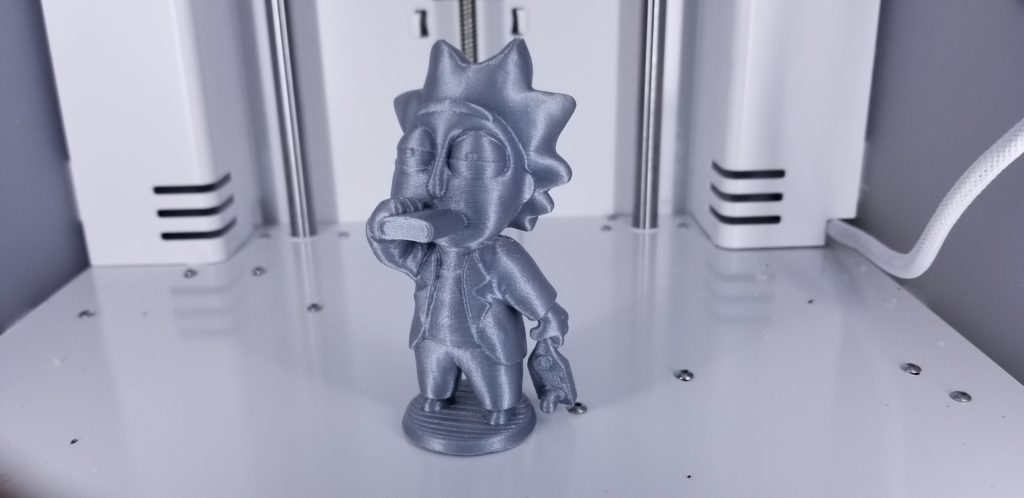
Tiny Rick 3D Print

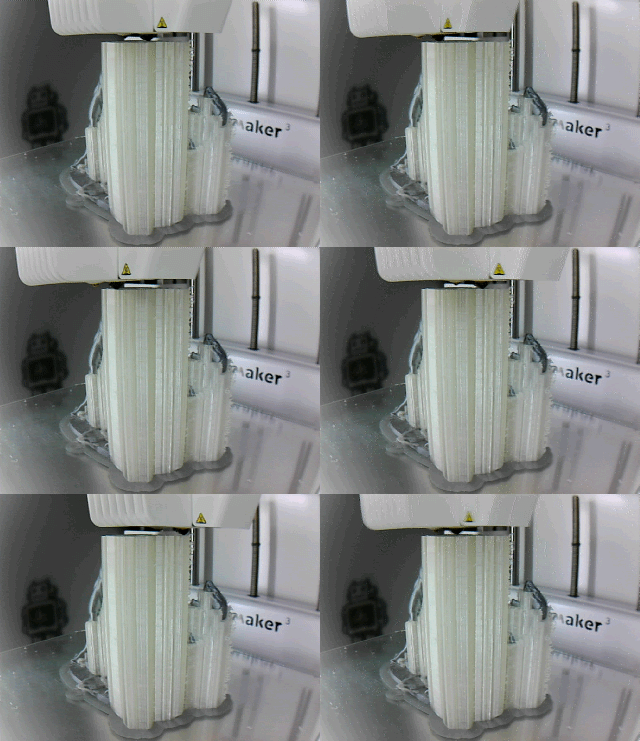
The new printer prints with water-dissolvable supports, which means I can pretty much print anything.  What used to be impossible (or just a huge pain) to print is now not an issue.  I can print a lot of these on my old printer also, but I’d have to sit there and cut away a lot of material it needed to print in order to prop things up while it printed.

So now, things come out looking like this:
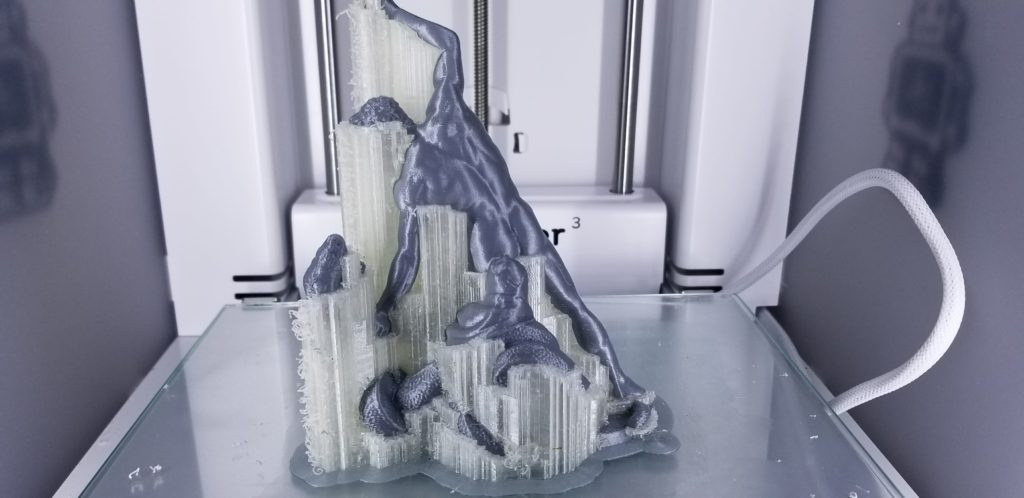
(You can thank me for that tushy on your screen later.)

This print comes from the Scan The World Project which mostly consists of 3D scans of famous artworks.  This one is of a statue of Hercules from the Louvre Museum in Paris.

Once the print is done, it’s just tossed into a bucket of water and all the clear/white plastic will disappear within a few hours.

The only downside to 3D Printing is the patience required.  This machine is super easy to use, but printing with such detail takes literally forever.
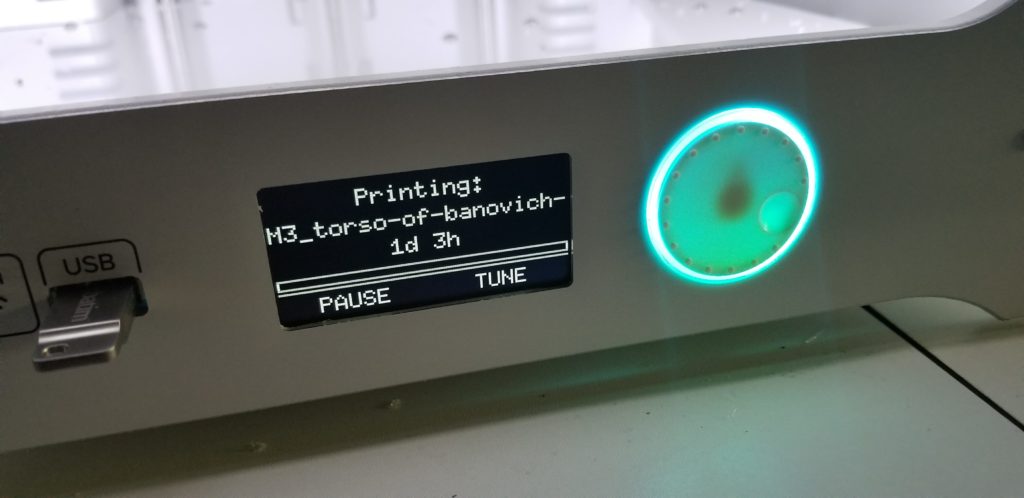
Over a day to print a 5-inch statue… YIKES!   At least this printer is just a set-it-and-forget-it type of thing.  I think I got the print started early enough yesterday that it should be done printing before I get home from work today.

I also spent some time fixing my old machine.  The replacement parts came in and now I have dueling 3D printers in my basement.
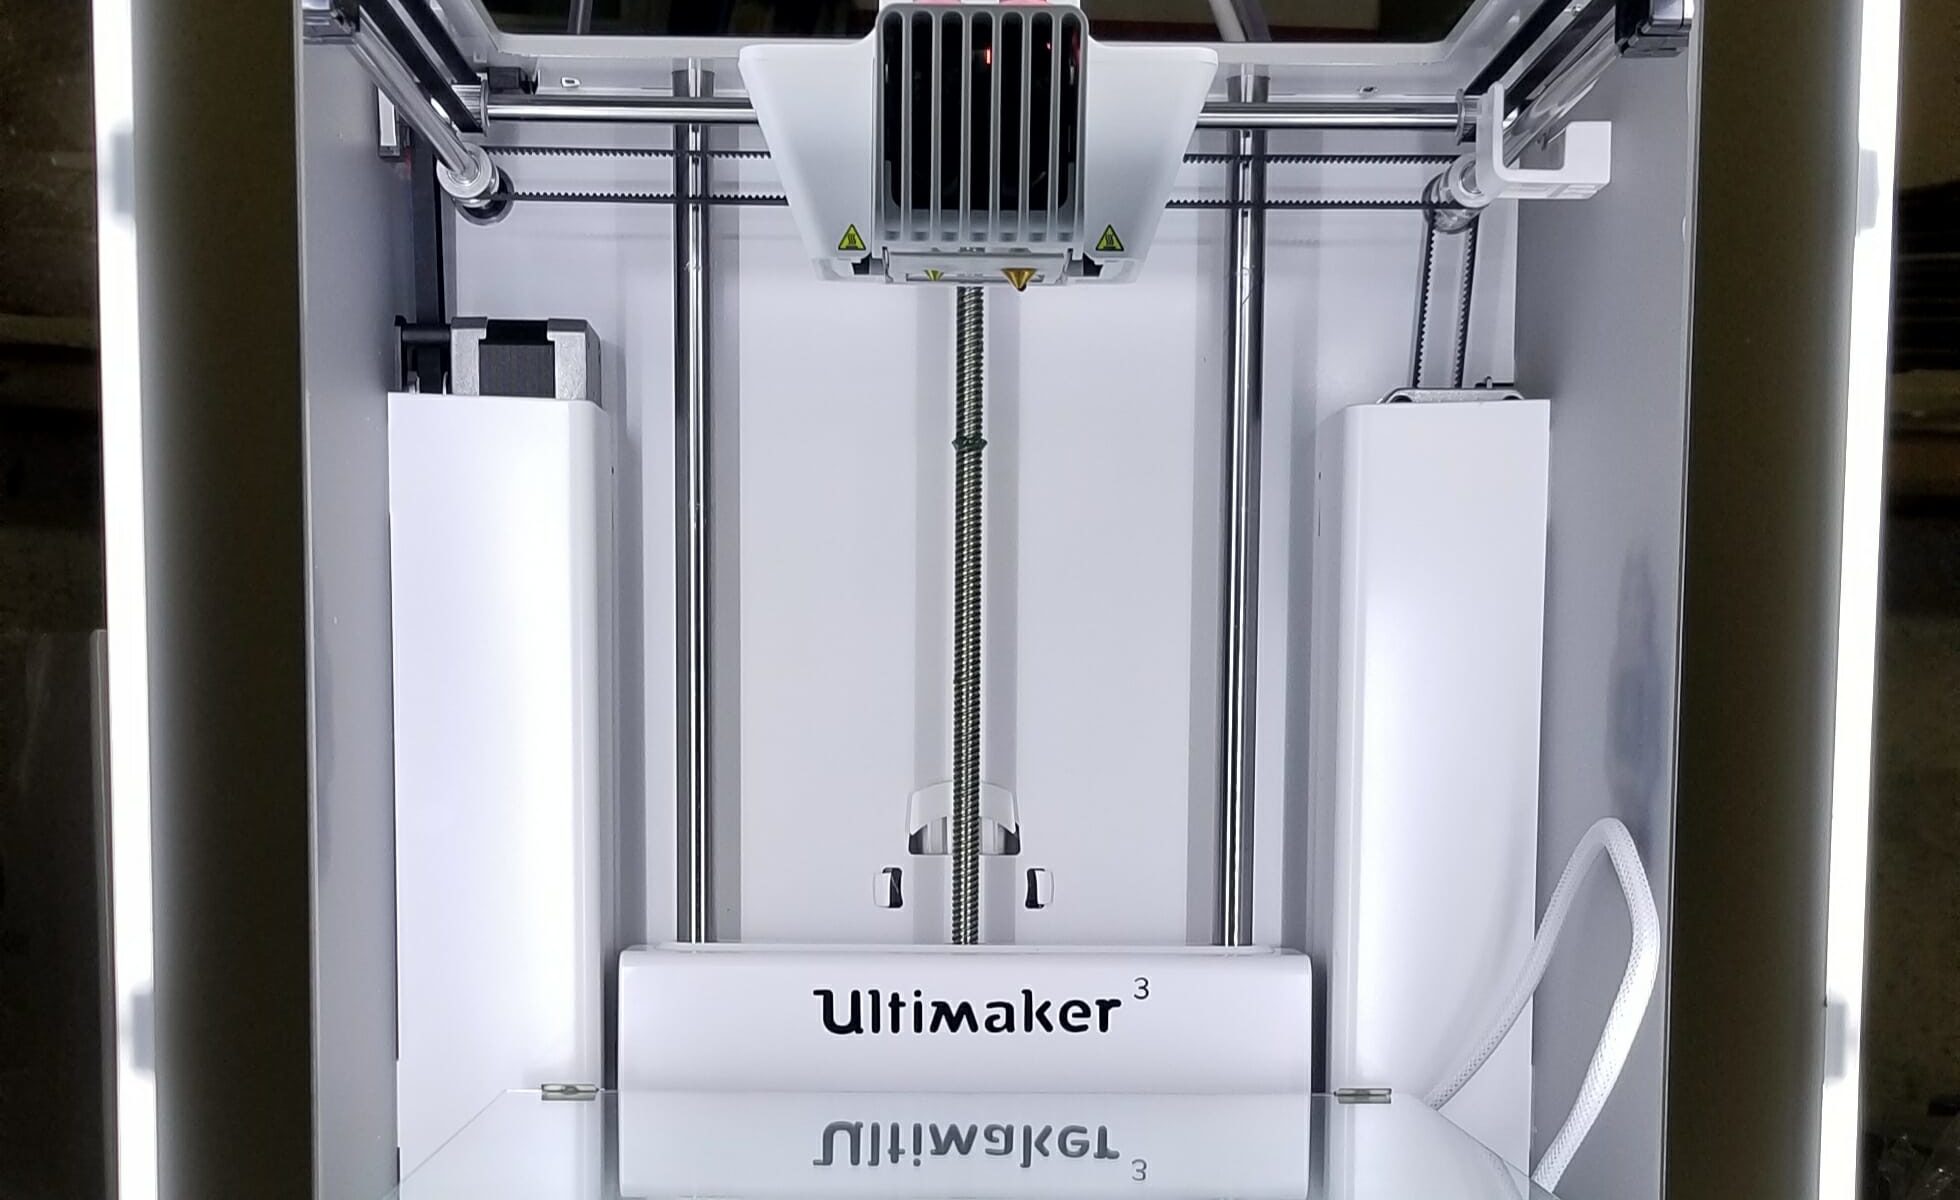
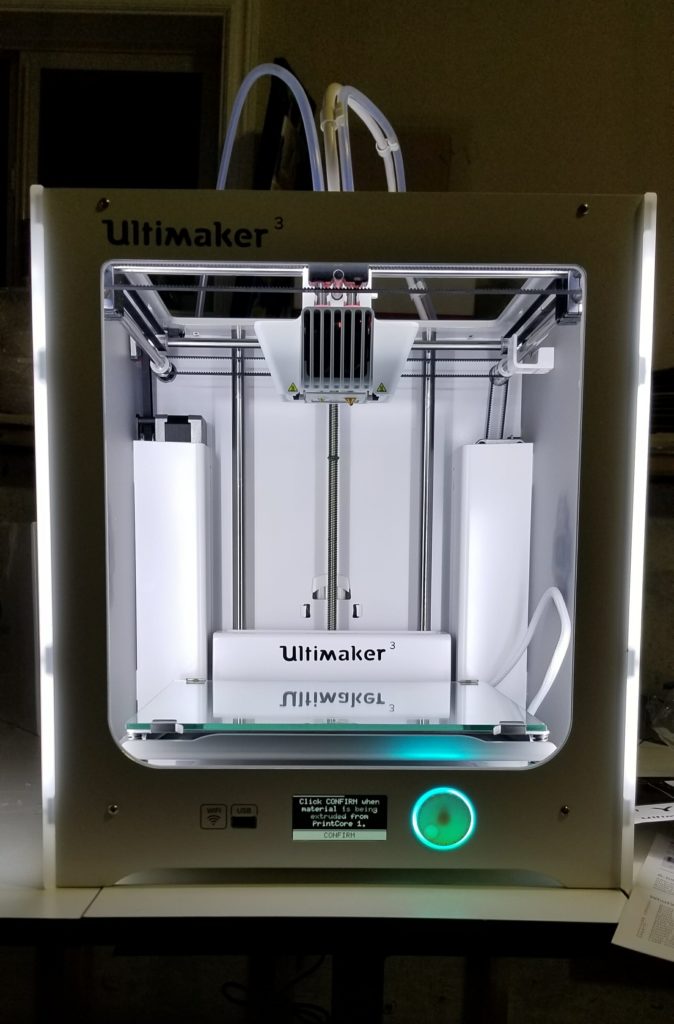
New Ultimaker 3 3D Printer

20180126 082835

Ultimaker 3

Oh no, what have I done?

I may have talked myself into a new, updated and expensive 3D printer.   My old one is several years old and in 3D Printer years, that is like super ancient.

Last night, my new Ultimaker 3 printer arrived and after my nap (i’m old) I started unboxing it.   I have to say, these things have come a long way since I last bought one.  This thing is so slick.  Dual nozzles, dissolvable materials, streaming camera, self-leveling, swappable components, wifi…  Geez, Louise!

I pretty much just got it set up and didn’t get time to start printing anything.  But it arrived just as my old one broke down.   I ordered new parts for it, but this new one arrived just when I needed it and in time for the weekend!   Hopefully, lots of playing will occur.  Stay tuned for updates.

Patrick Star got the Polymaker Polysher Treatment

20180121 114135 1 e1516640258454

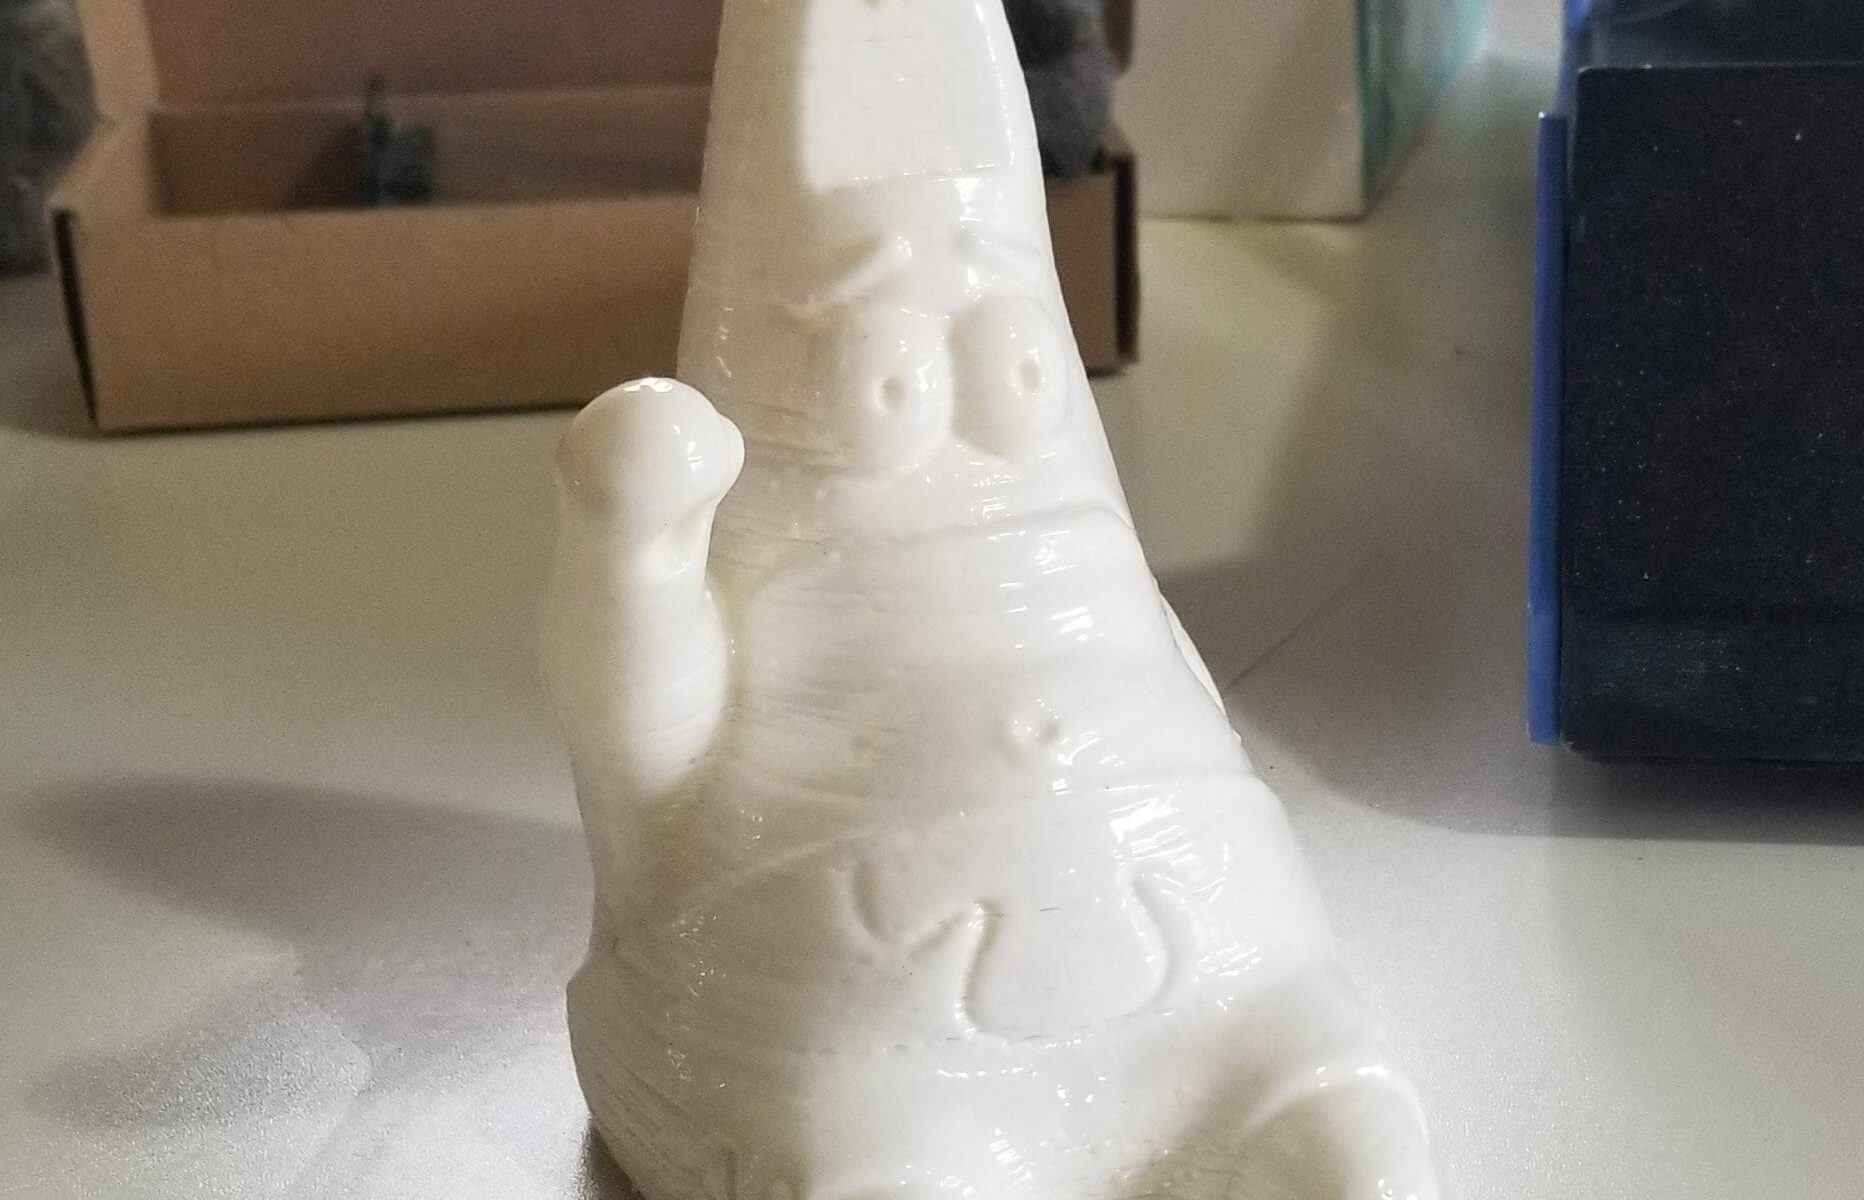
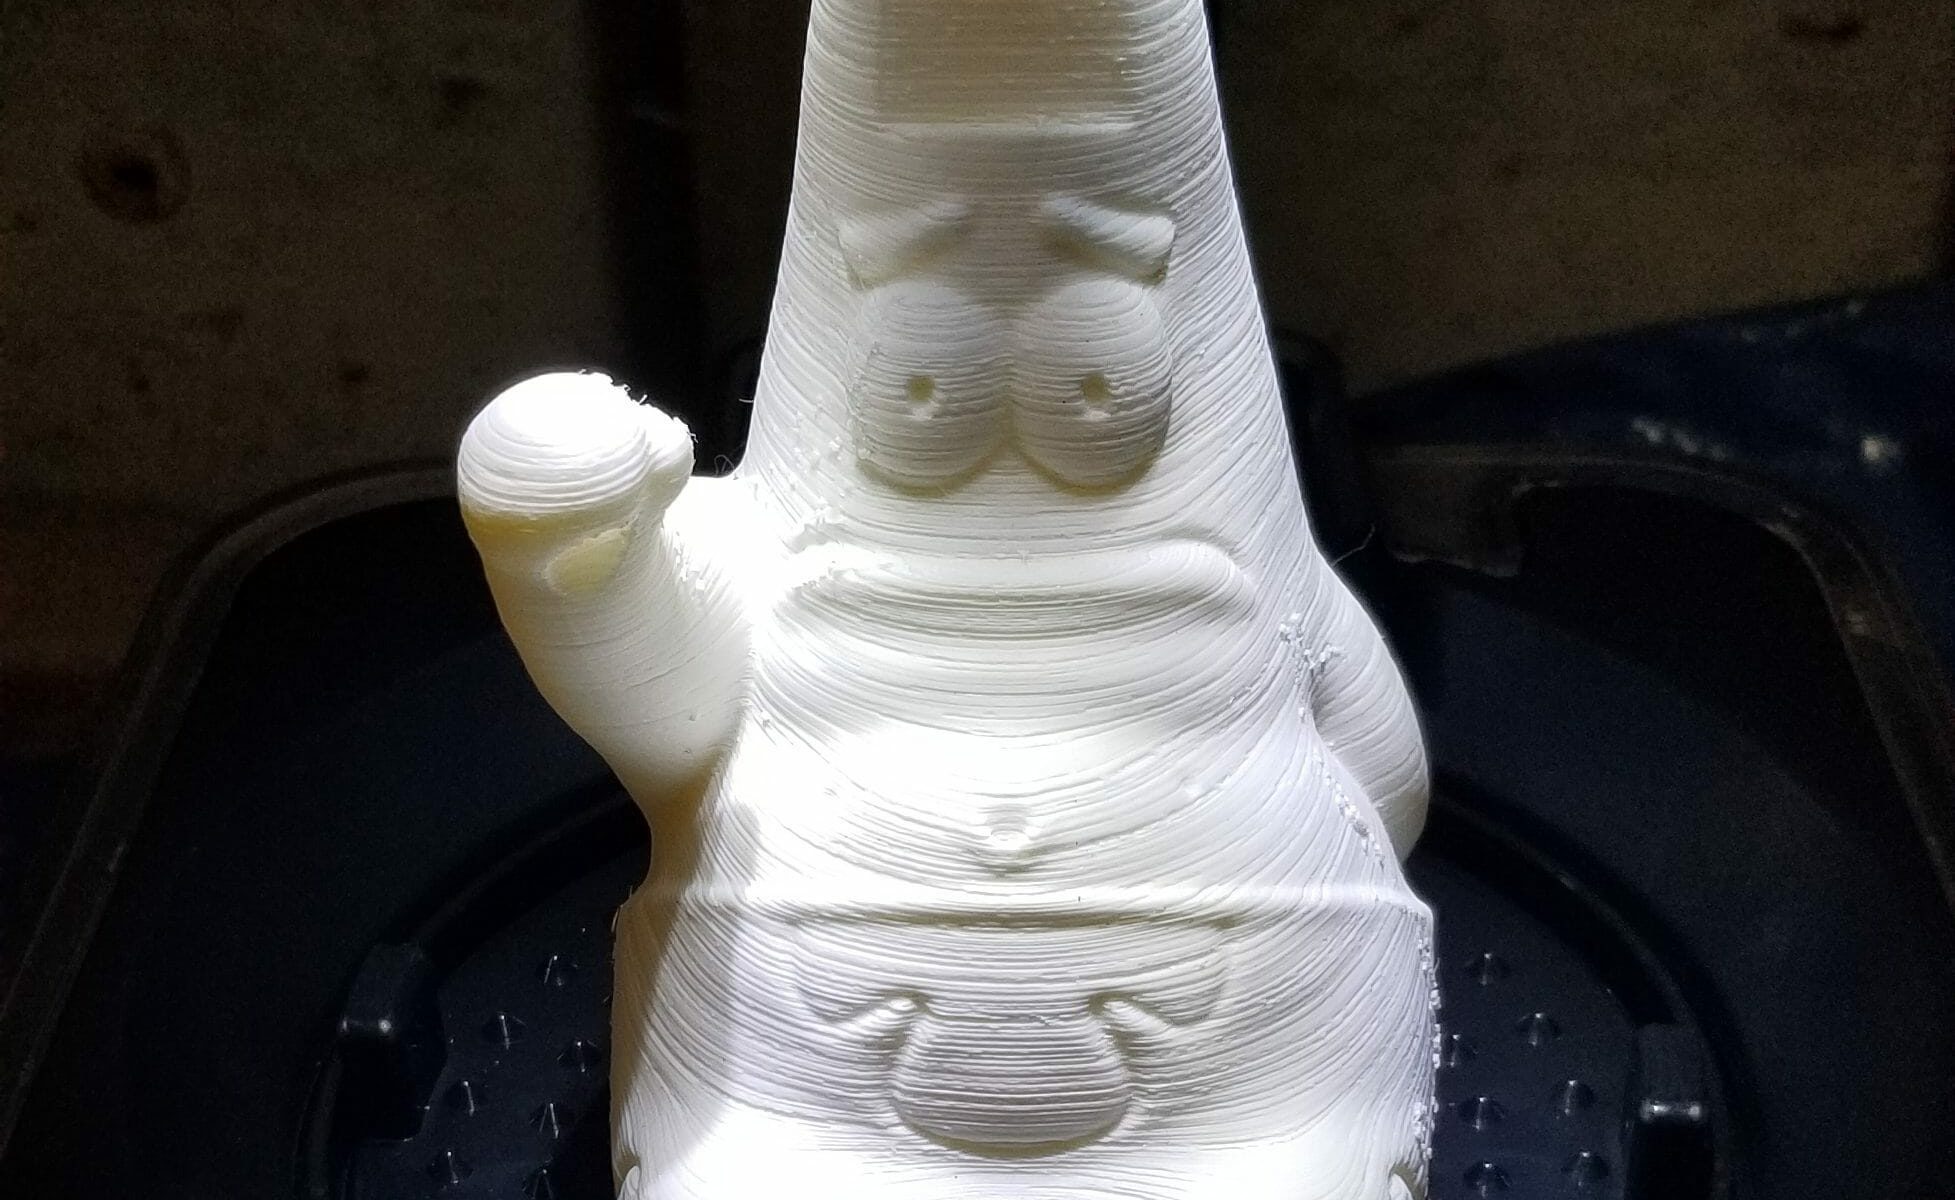
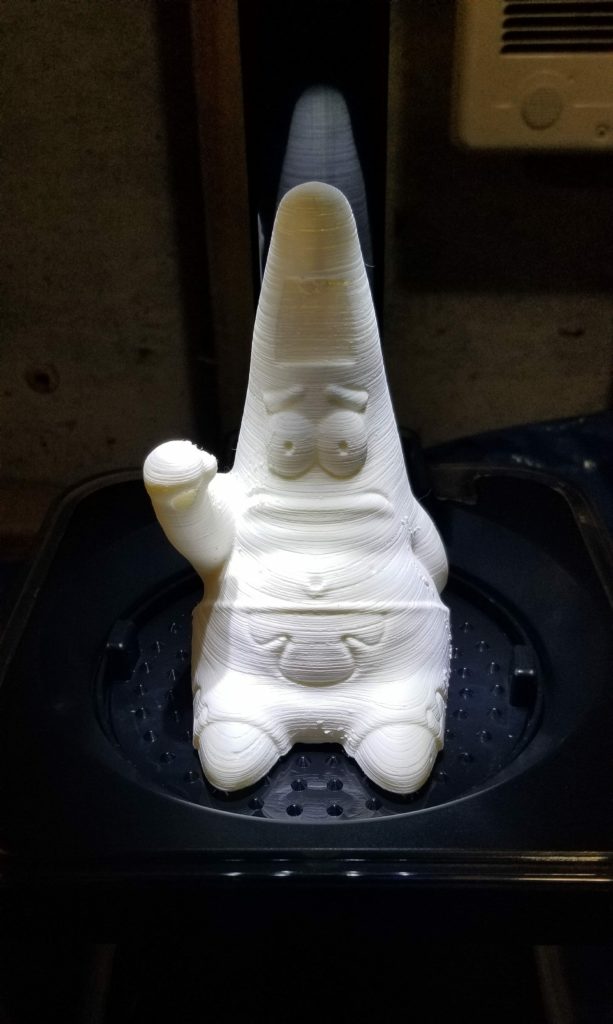
I put my Patrick Star through the Polysher machine a few times.  He was in there well over an hour.  I realized about then he wasn’t going to get any better than this because the machine needed to be adjusted for better printing.   You can still see lines and gaps which also probably meant my PolySmooth print materials had become moist from being in the air.

Patrick Star after using the Polymaker Polysher

Who knew plastic absorbed moisture?

So I got out my dehydrator and shoved all my rolls in there.   In the meantime, I started working on calibrating my machine.

I tried using the plastic again a few hours later and it still wasn’t printing well, so I left them in the dehydrator overnight.

The next day, things started looking up!

getting the 3d printer reconfigured

A few hours later, I noticed the same gaps and problems started showing up again.  The downstairs room must be a lot moister than I realized.

So, I think it’s time to start making a dry box that holds the plastic spools so they don’t keep rehydrating.

UGH!   Like I needed another project.

3D Printing Patrick Star

20180117 222405 e1516382843406

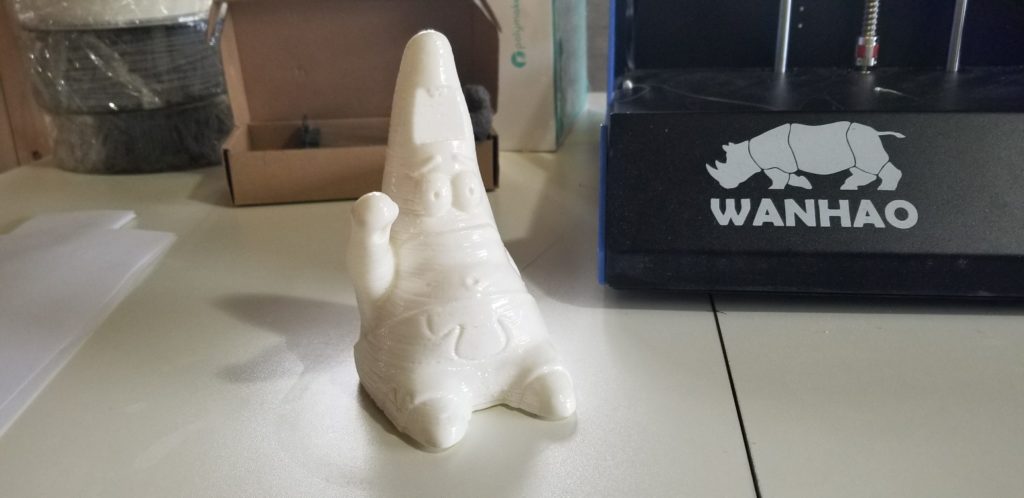
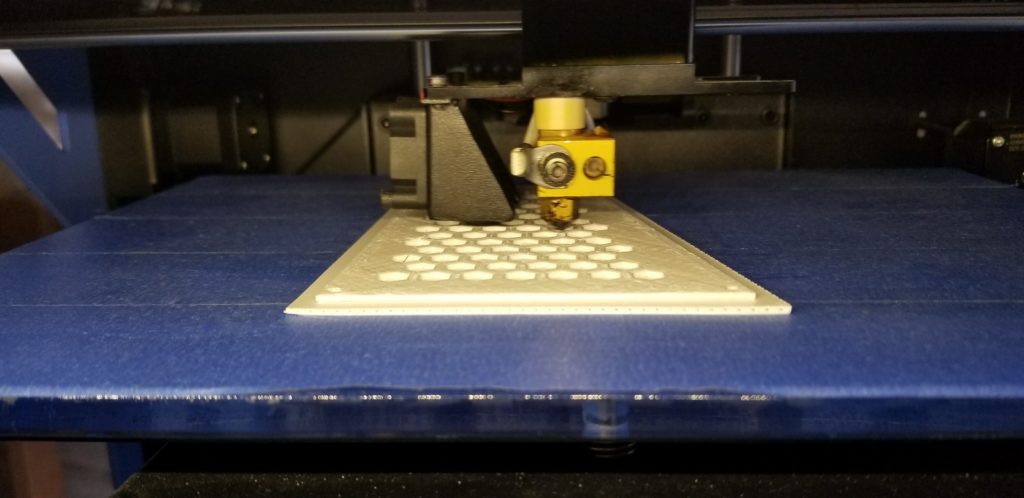
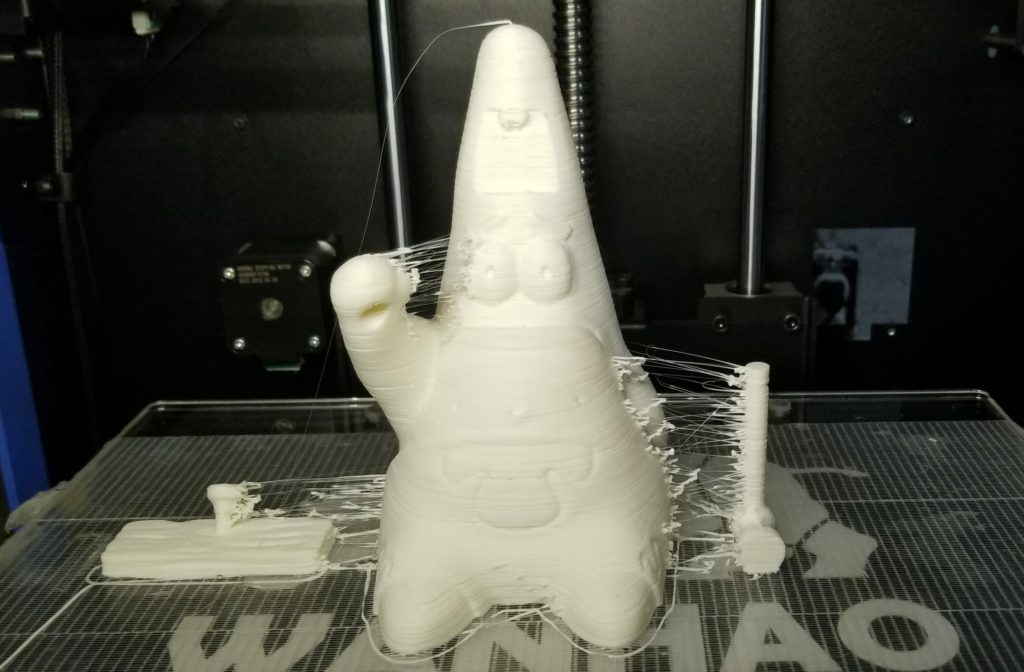
People have been asking me to print some 3D objects for them.   I finally relented and dragged out the old 3D printer.  Before I start printing things for them, I’m doing a few for myself!    Starting with Patrick Star from Spongebob.

My old printer doesn’t have all the new features of the printers these days, but it still prints at the same resolutions as the new ones.  Printer resolution hasn’t changed much, apparently.

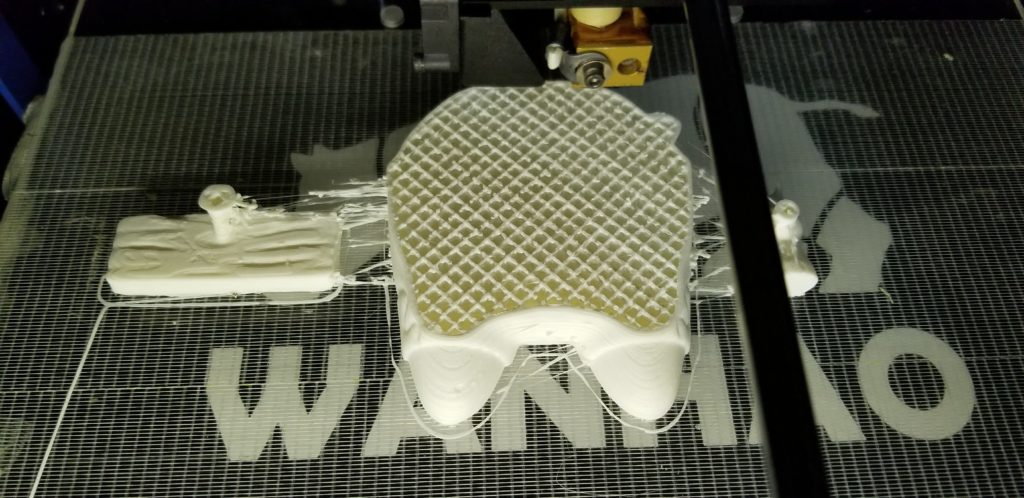
Patrick has some accessories since the end product is him nailing a sign to his head.  On the left if the sign with the nail.  On the right is the hammer.

When you print multiple objects, it’s pretty normal to get melted plastic strands between the object.   I normally only print one item at a time because of this.

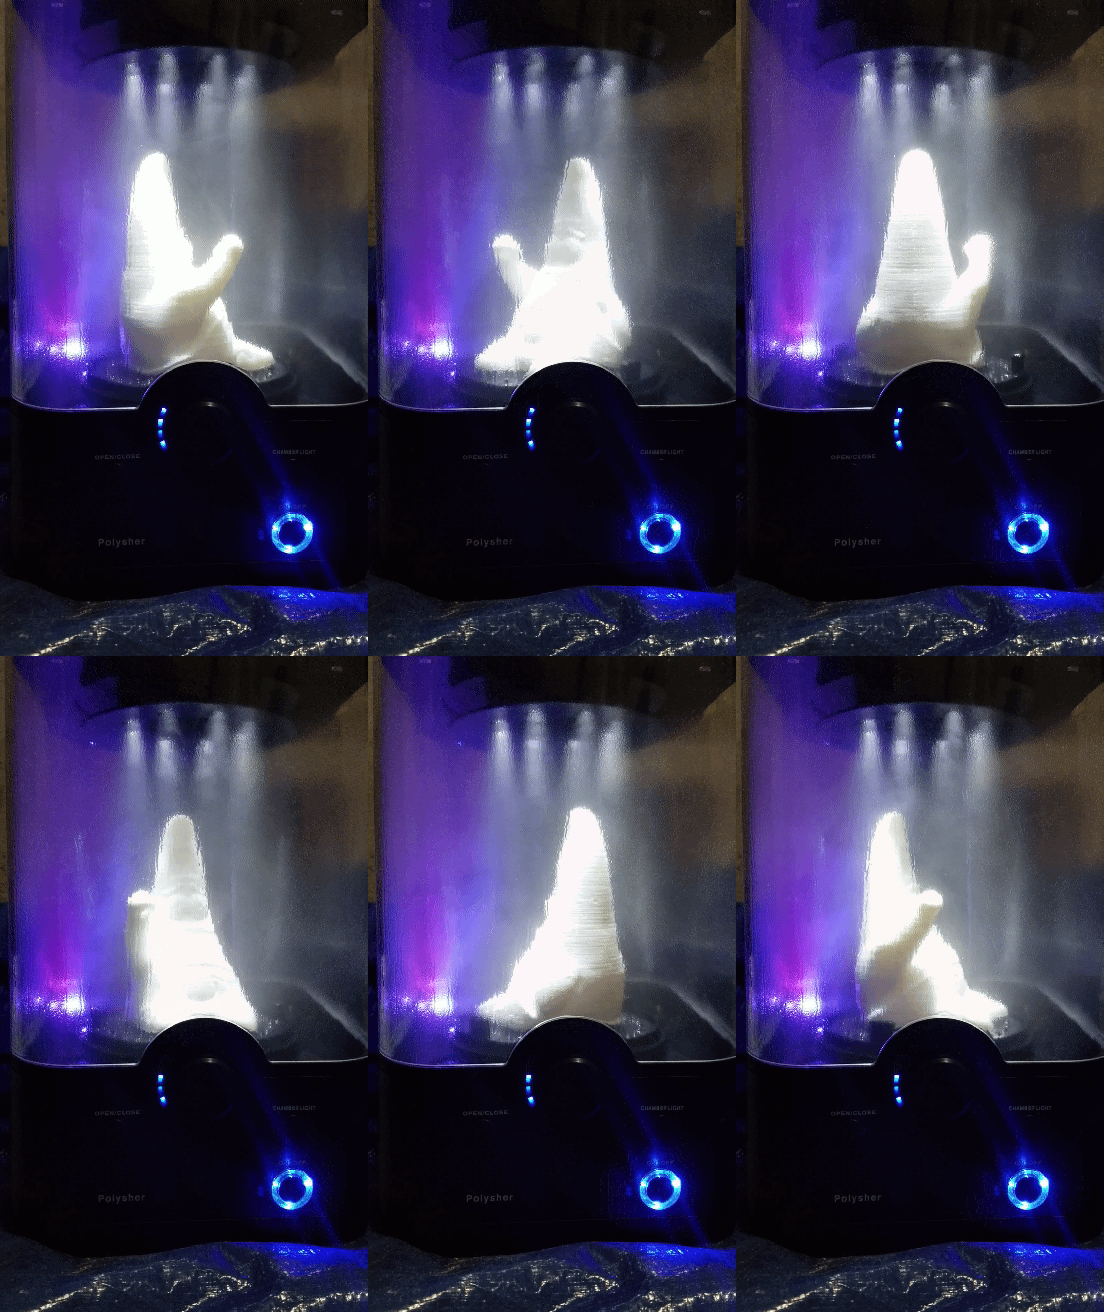
After prying him off the printer I cleaned him up by snipping off all the little strands.  Next, I broke out a Kickstarter product I bought forever ago and still hadn’t even unboxed because the printer was packed away.   This is the Polysher.   Basically, your object gets lowered into a chamber and alcohol is vaporized, which melts the very outside of the plastic creating a glassy smooth exterior.

Look at him go!  WHEEEEE!

It’s sped up pretty fast from the timelapse.  But it’s more fun looking at a fast pace.

I set the timer and walked away, so he hopefully turned out.  I’ll post later with the results.   He still needs to be painted as well.


Latest Painting Revealed

claw e1515083508888

bears in claw machine

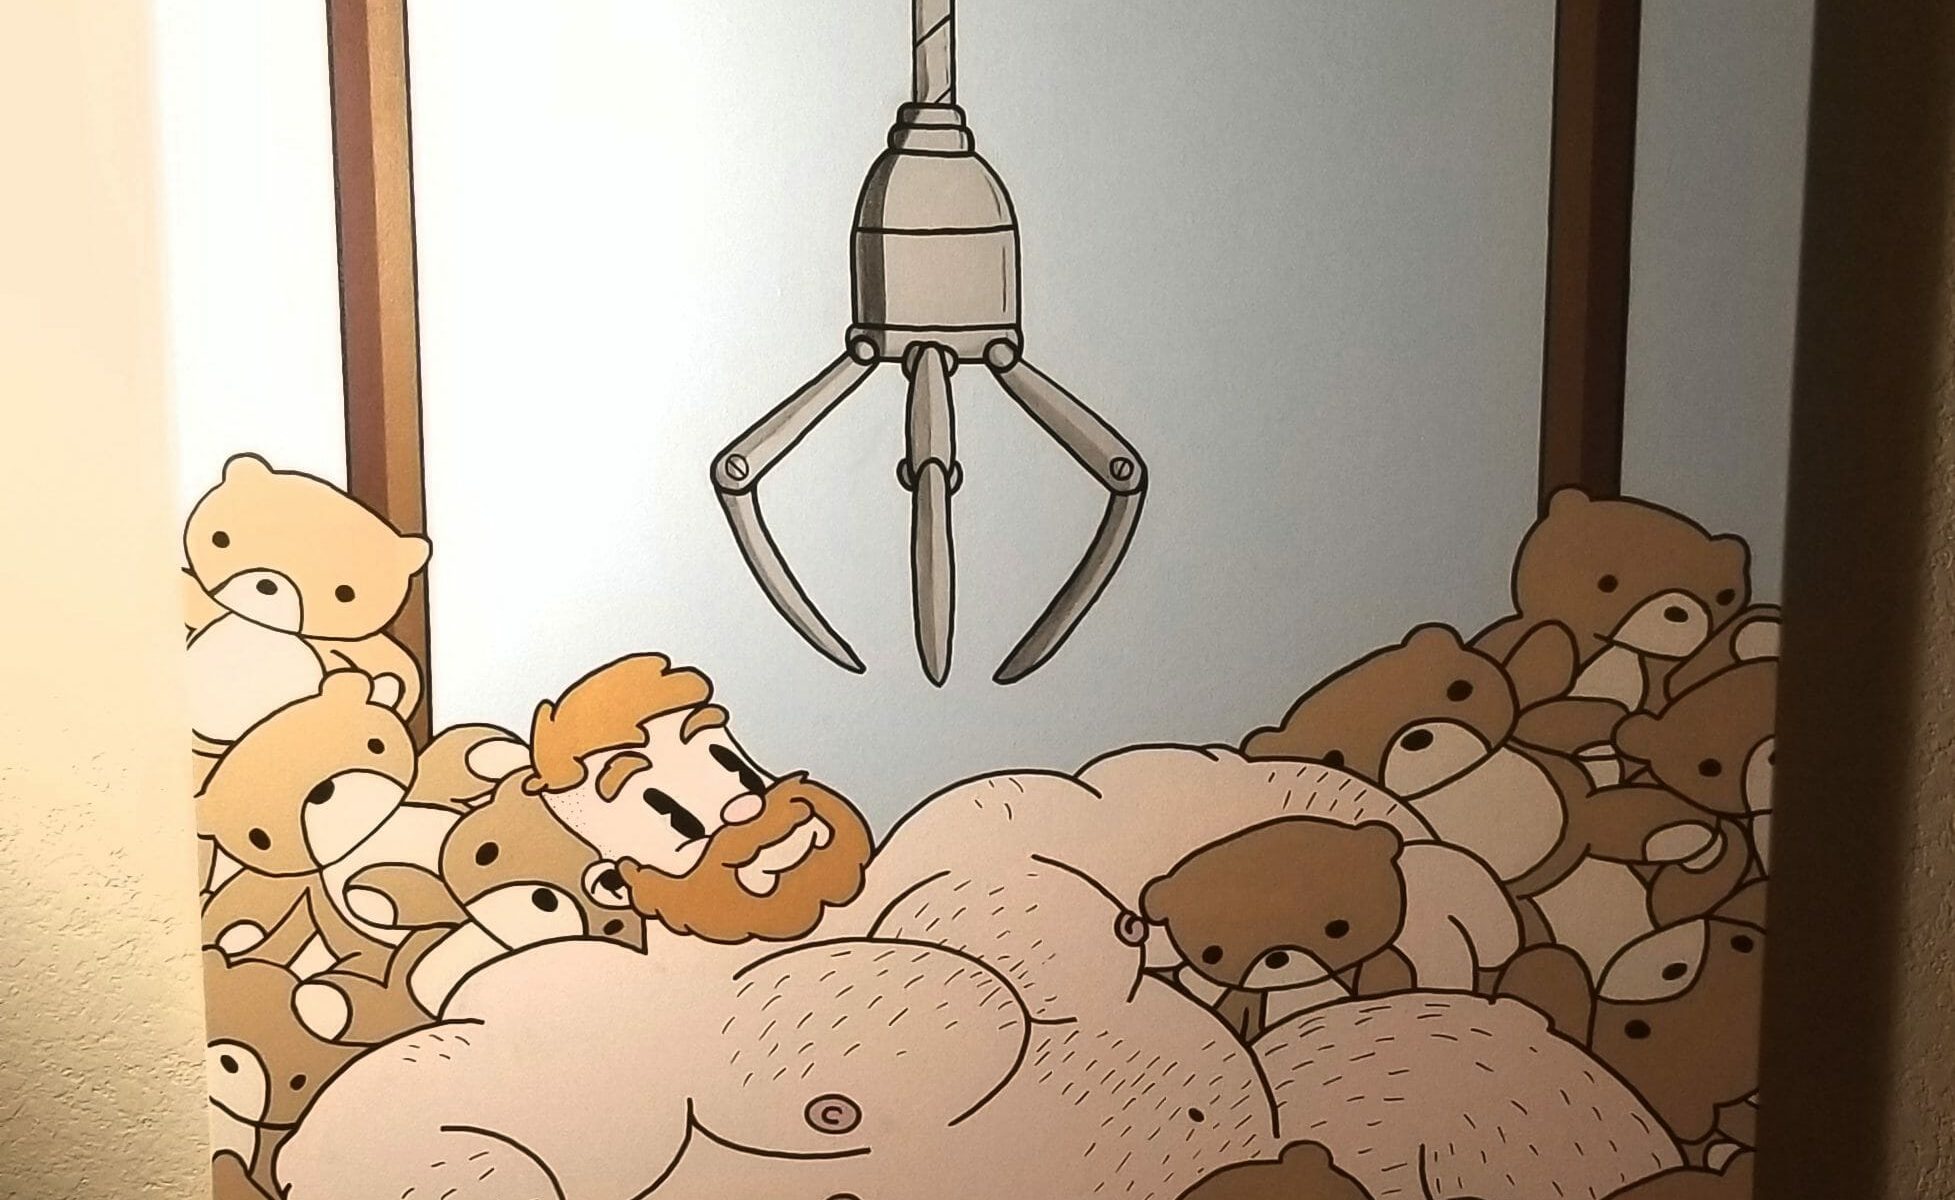
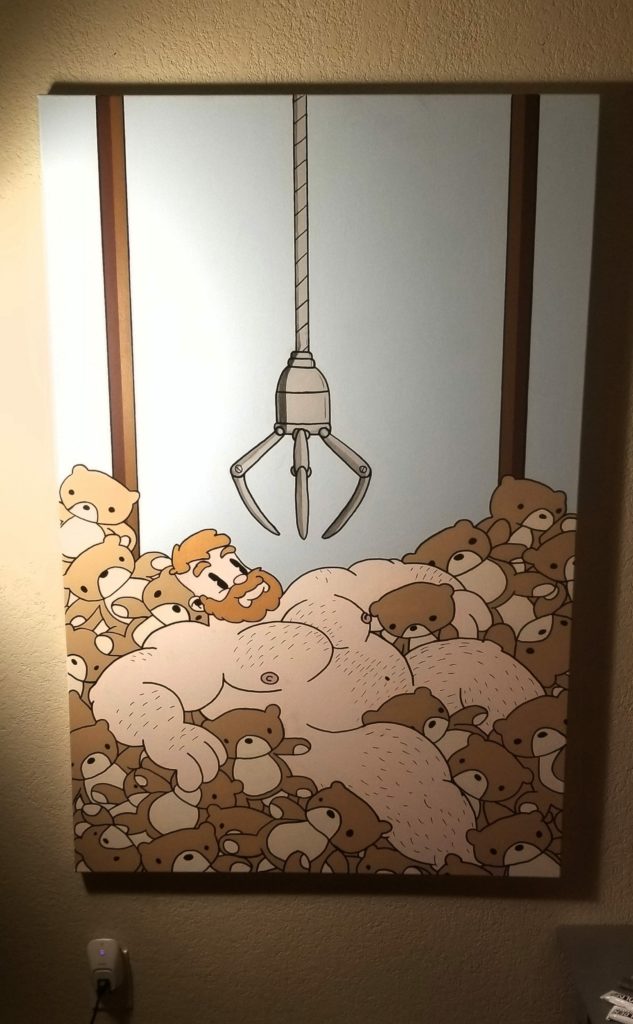
Finally, I can reveal the painting I’ve been working on.   It was hard not showing off the work as it progressed as I usually do on various social media.  Normally, I don’t paint for other people… I tend to do what I want on a whim, but this was an old co-worker and friend and the image was pretty cute and similar to what I normally l do.

I worked on this pretty much every night for several weeks.   It is not a hard image to reproduce, but because the size it took a while.  They wanted big enough to fille a wall but my car would only fit a 4×6.  By the time it was completed I didn’t want to give it away.   This isn’t usually the type of imagery I paint, but in person, it was pretty stunning.  Or maybe the colors just worked really well in my living room.

Like most of my stuff, this is not an original.  I was handed an image and was asked to turn it into a painting.   I’m pretty good at copying things, not so great at conceiving things. I tried googling around when I first got the image to try and attribute it to the artist, unfortunately, I couldn’t find it at that time.


Custom Order Out The Door

20171215 184558

gift wrapping large canvas

Last week, I had my wisdom teeth removed.   I had put it off long enough that they were starting to cause problems so I finally got it done.   It went surprisingly well.  I just took a little nap and woke up with fewer teeth.  And much to my friend’s dismay, I didn’t even wake up groggy.  He couldn’t even take any embarrassing videos of me!

I had a long weekend at home (on painkillers) to wrap up some projects.

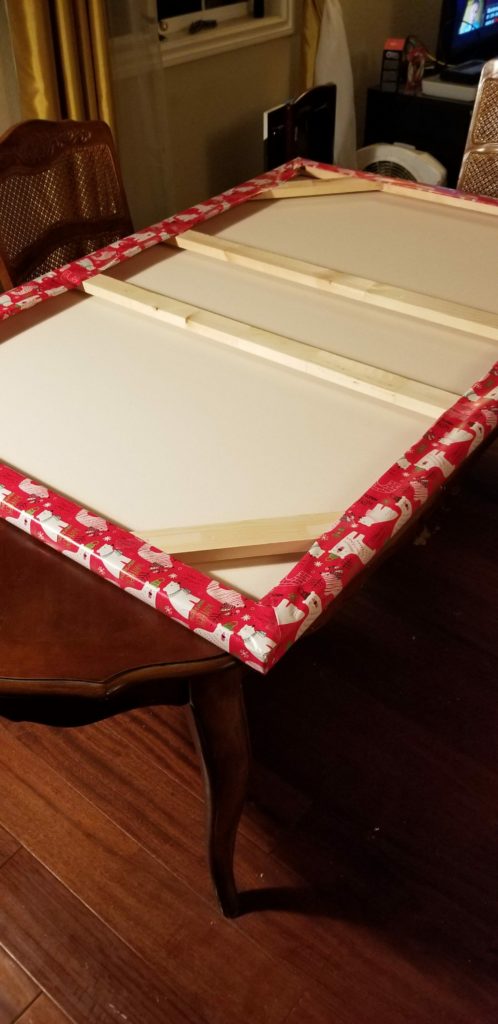
First, I got my latest painting out the door and delivered to the customer.   Have you ever tried to wrap something the size of a dining room table?  It’s not so easy!  Hopefully, after Christmas, I can post some pictures of it in their house.

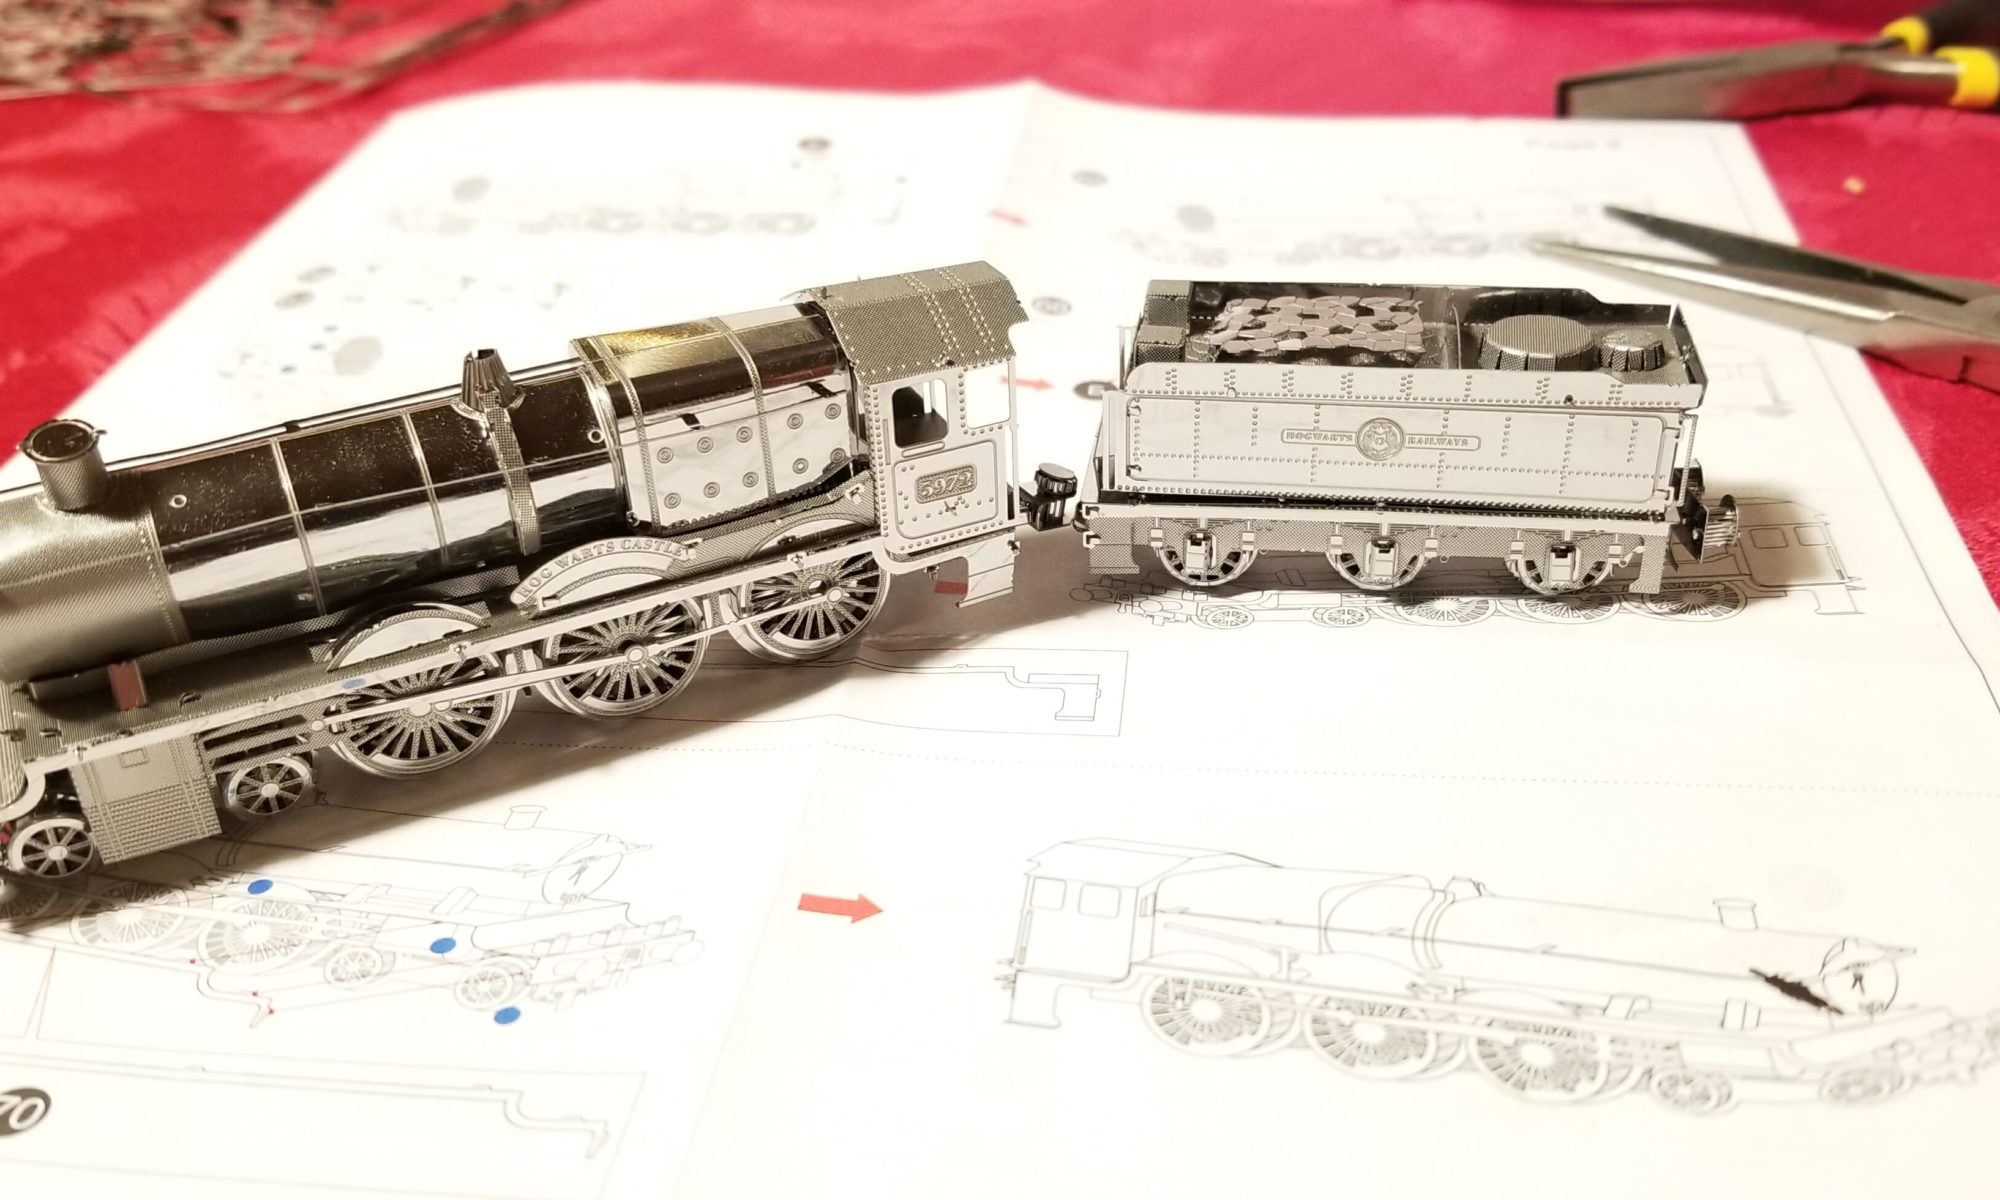
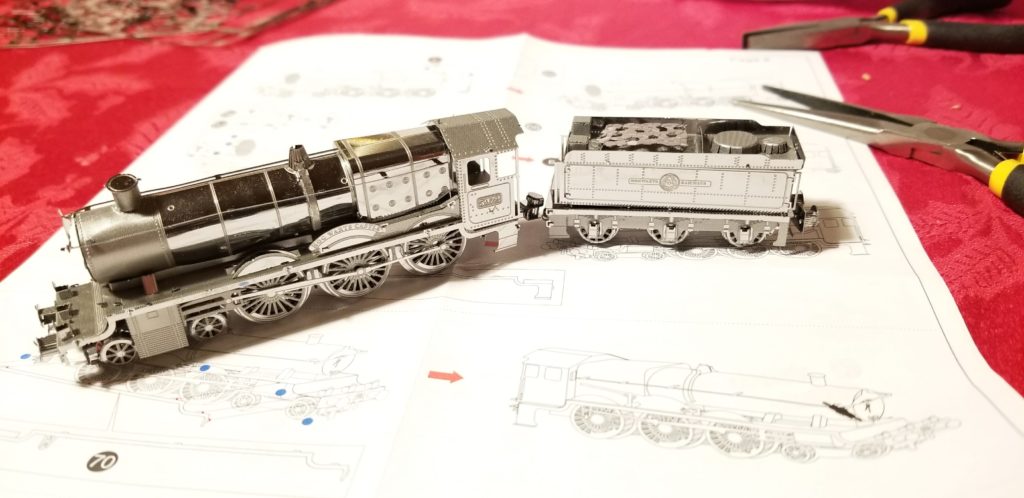
Then, I played with some Metal Earth sculptures.  You’ve probably seen them around.  This one was a train from Harry Potter.

metal earth hogwarts express

I did a couple of them and I think I got those out of my system.   They’re a bit too delicate and flimsy for me, but I had fun.

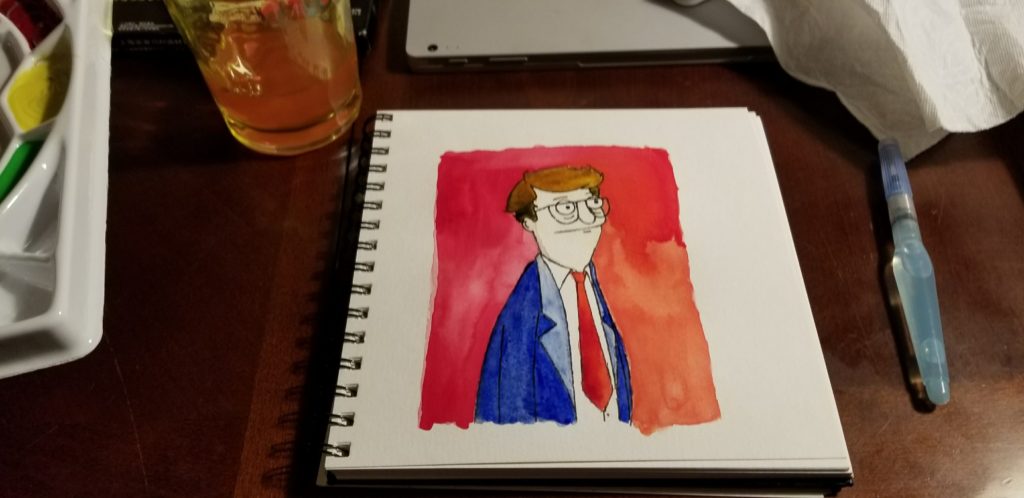
Then, I got out some of my watercolor sets and doodled out some stuff on my watercolor pads.

bob's burgers - Mort watercolor

Turns out, I’m not a watercolor-er.   I’ll keep trying and see if I get better at it.

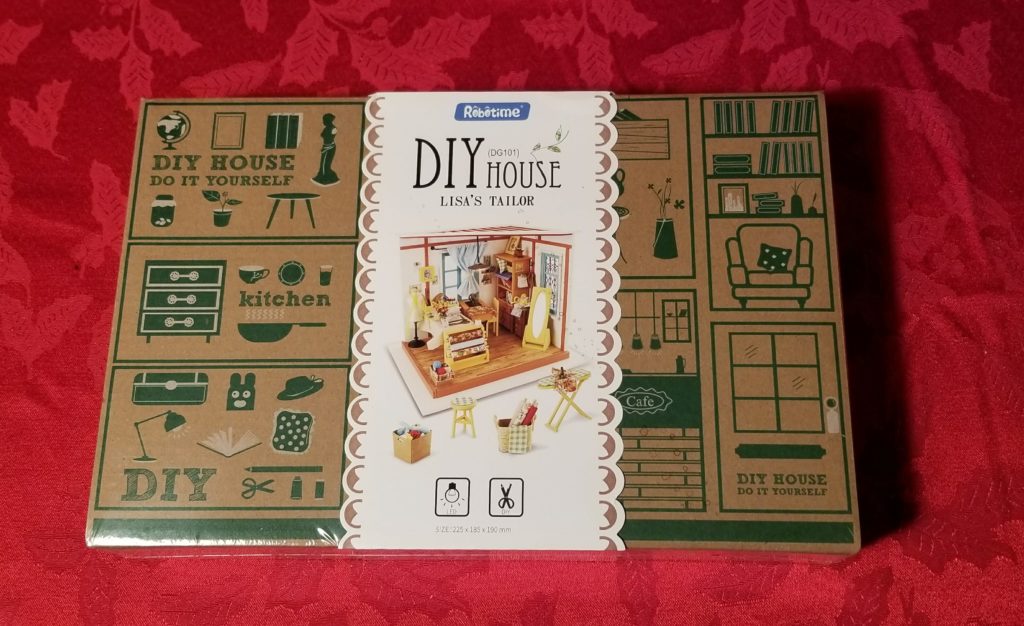
After a few more doodles I think I’ll break away and start putting together more miniatures.  I have a few kits laying around that still haven’t been put together.  The first one I pulled out is a sewing room:

robotime diy house dg101

Warm-Up Paintings

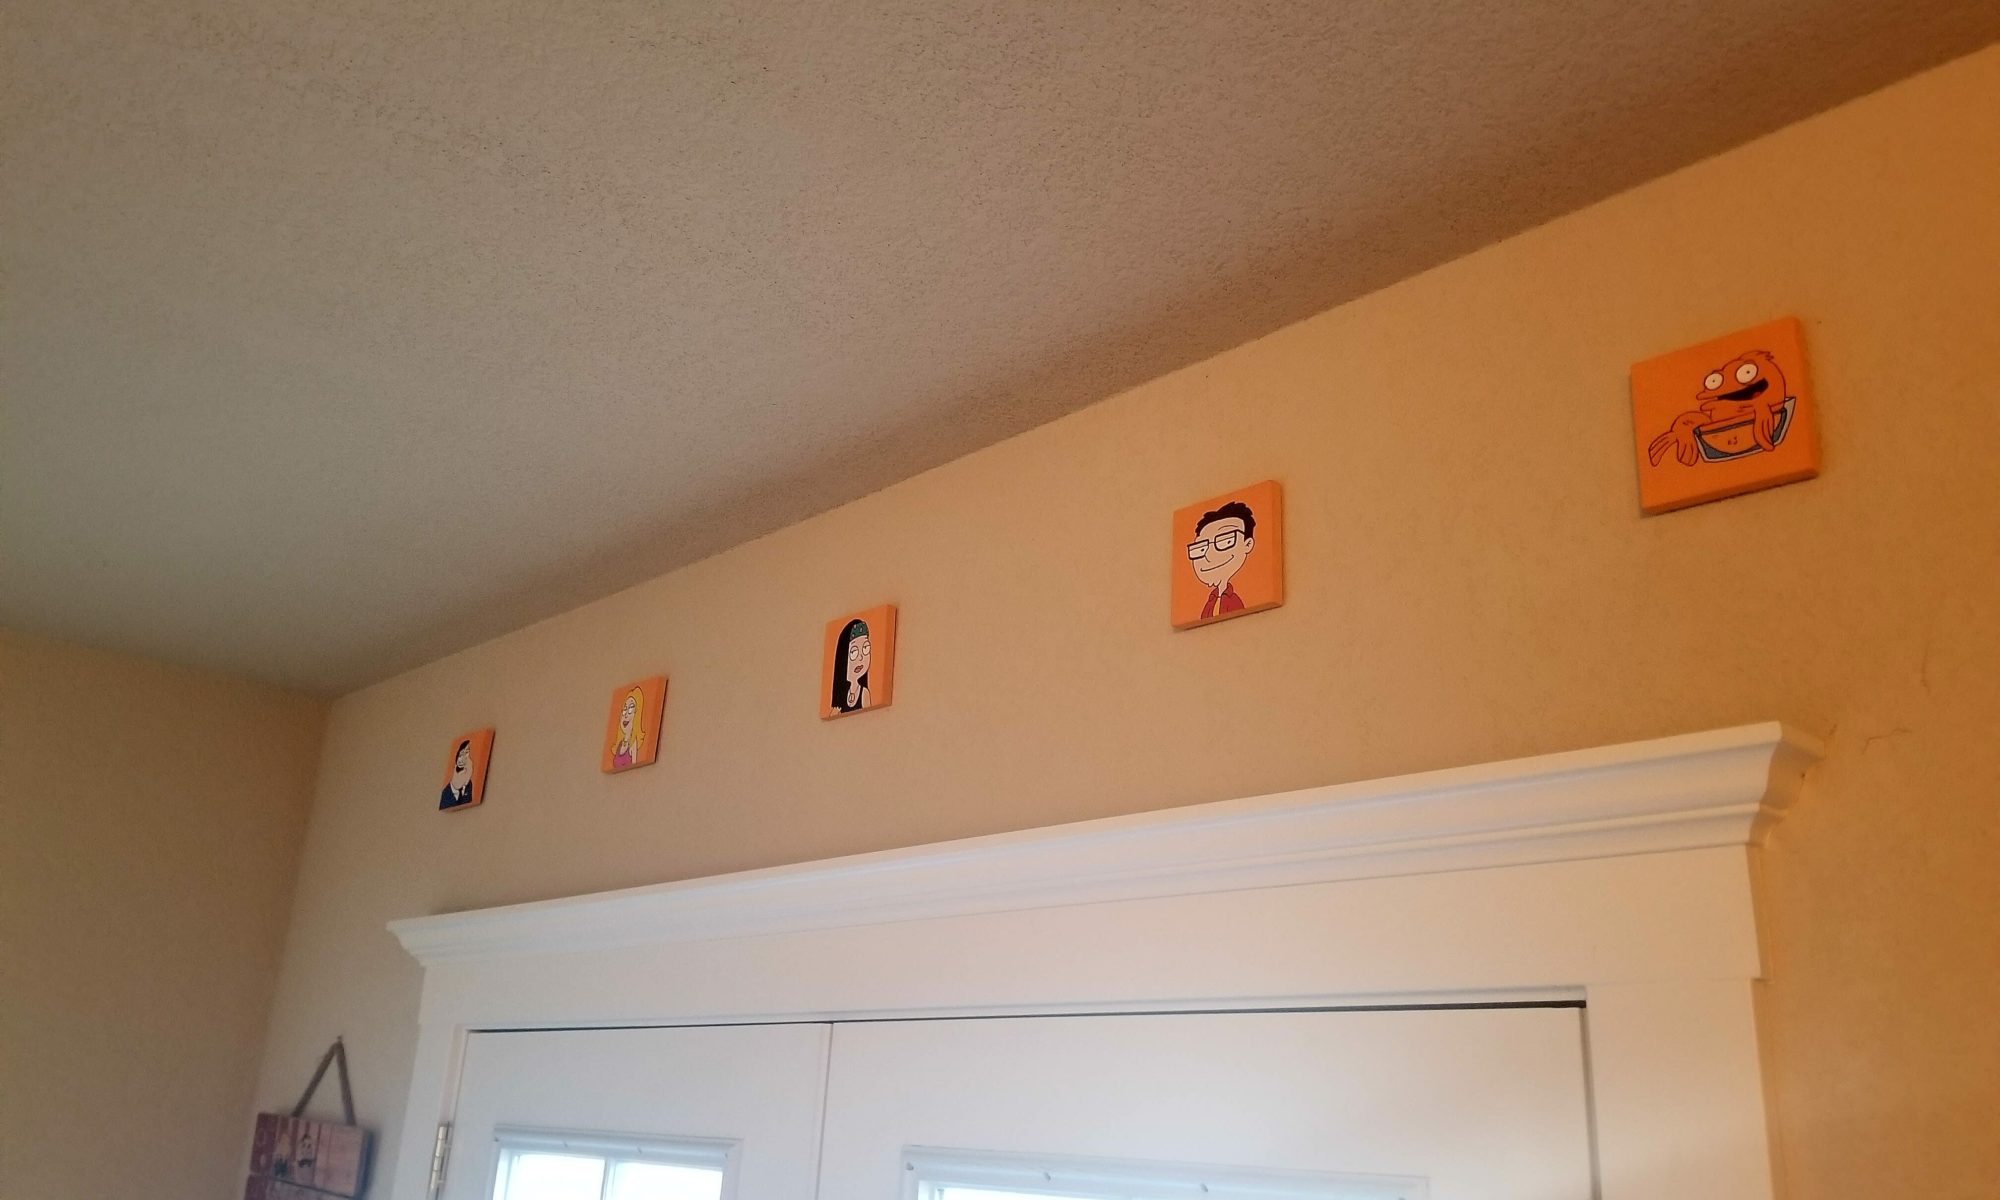
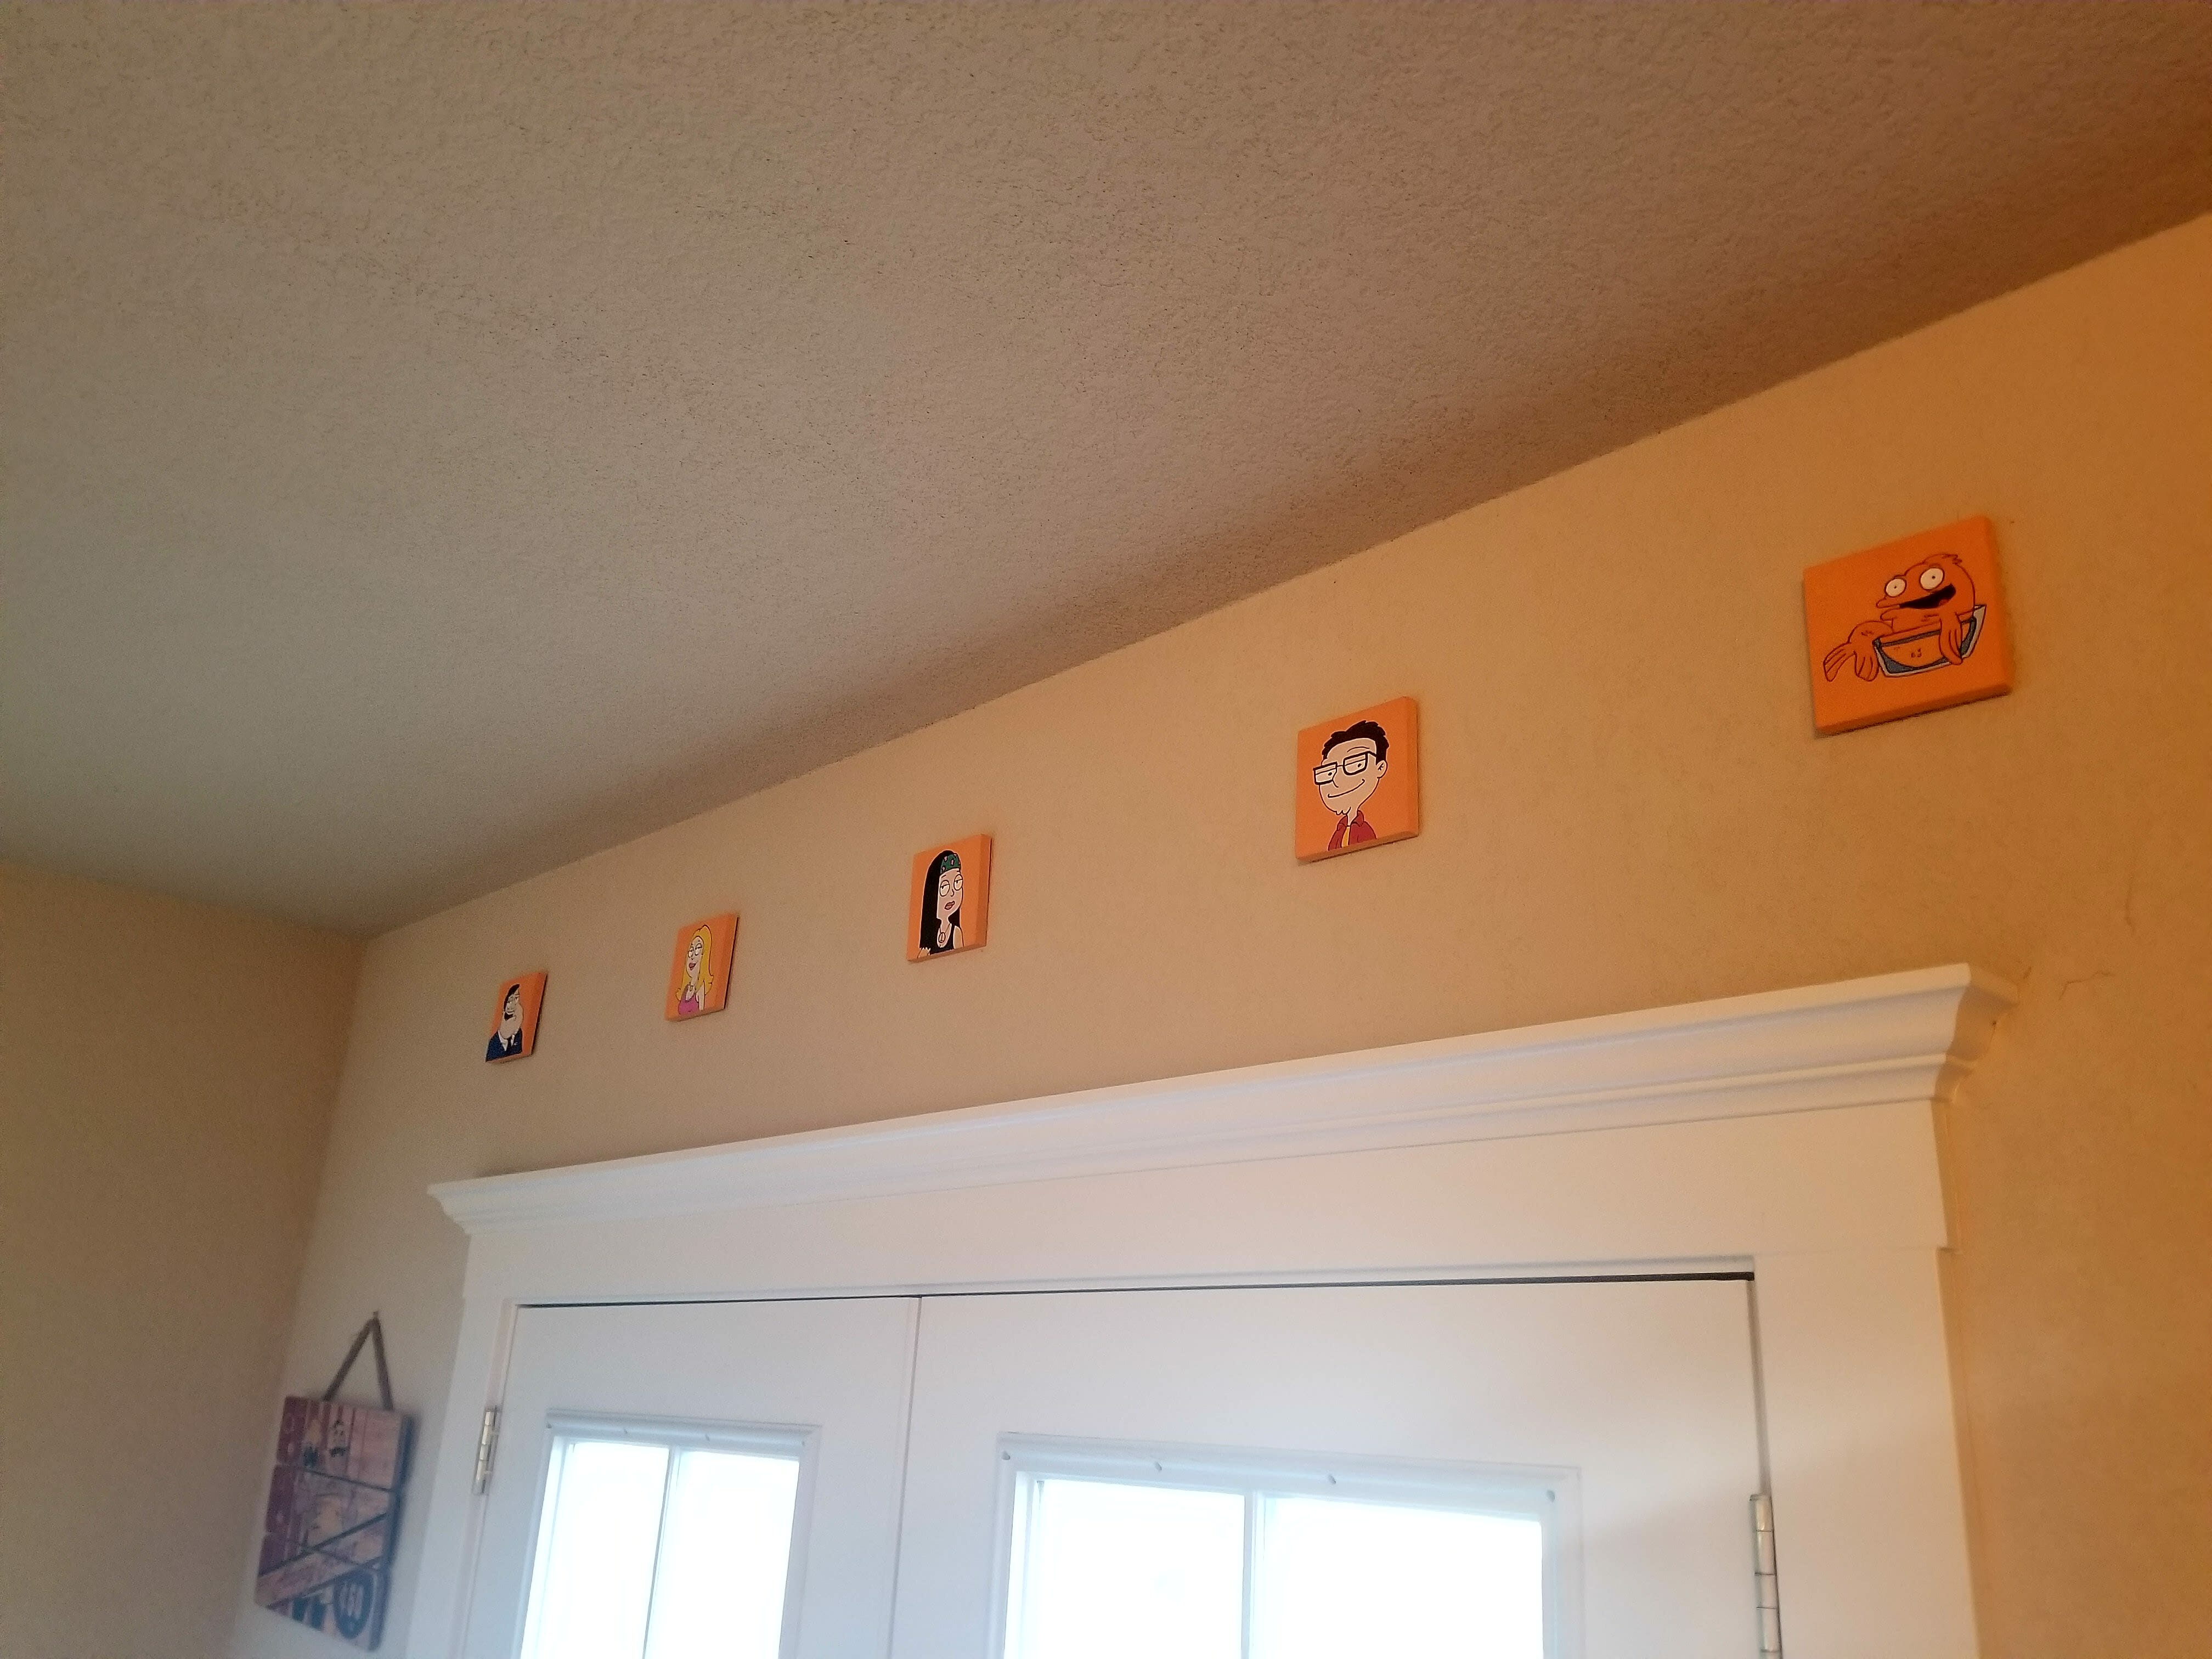
backdoor mini paintings
American Dad Mini Paintings


I actually took a commission job.  I’d normally never take one, but this one was requested by a good friend who already knew what he wanted.   Like most of my paintings, I’m just recreating a cartoon for him.   Unfortunately, I can’t show what I’m working on until it’s finished and given as a gift to the person he’s buying it for.


It’s been a hot minute since I finished my last painting.  So, before I started that project, I got back into painting with a mini-series from American Dad.  I had these already primed and they’ve just been sitting around waiting to be painted on.   I like working on these minis, they are quick and easy and I usually accomplish one or two a night.


Hopefully, I can show off the latest painting after Christmas.  I spent a good amount of time last week on it and I’m hoping to have it done this week or maybe next week if I’m lazy.

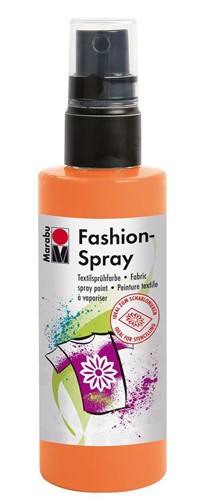
Marabu Fashion Sprays

102617 2009 MarabuFashi2

Last weekend I took a trip to the local art store and wandered around. I only needed a paint marker but I left with a whole cart full of things. People complain about doing that at Target or Joann’s, but try doing that at a fine art store…. Your wallet will hurt.

In the back of the store, they keep the discount shelf which I usually ignore. I’ve been back there enough times to know they usually don’t have anything I want. Also, I’m there enough that the staff points me at any sales I would be interested in.

But it so happens I was there long enough to need the restroom and you have to walk past these discount shelves to get there. That’s when I saw bottles of “Marabu Fashion Spray”. After reading the bottle I determined this could likely be used on yarn since it was made for dyeing natural fibers and I normally work with wool. Granted, the product was made to spray designed on fabric with stencils, but that shouldn’t matter. They were steeply discounted so I grabbed a bunch of colors and got home to play.

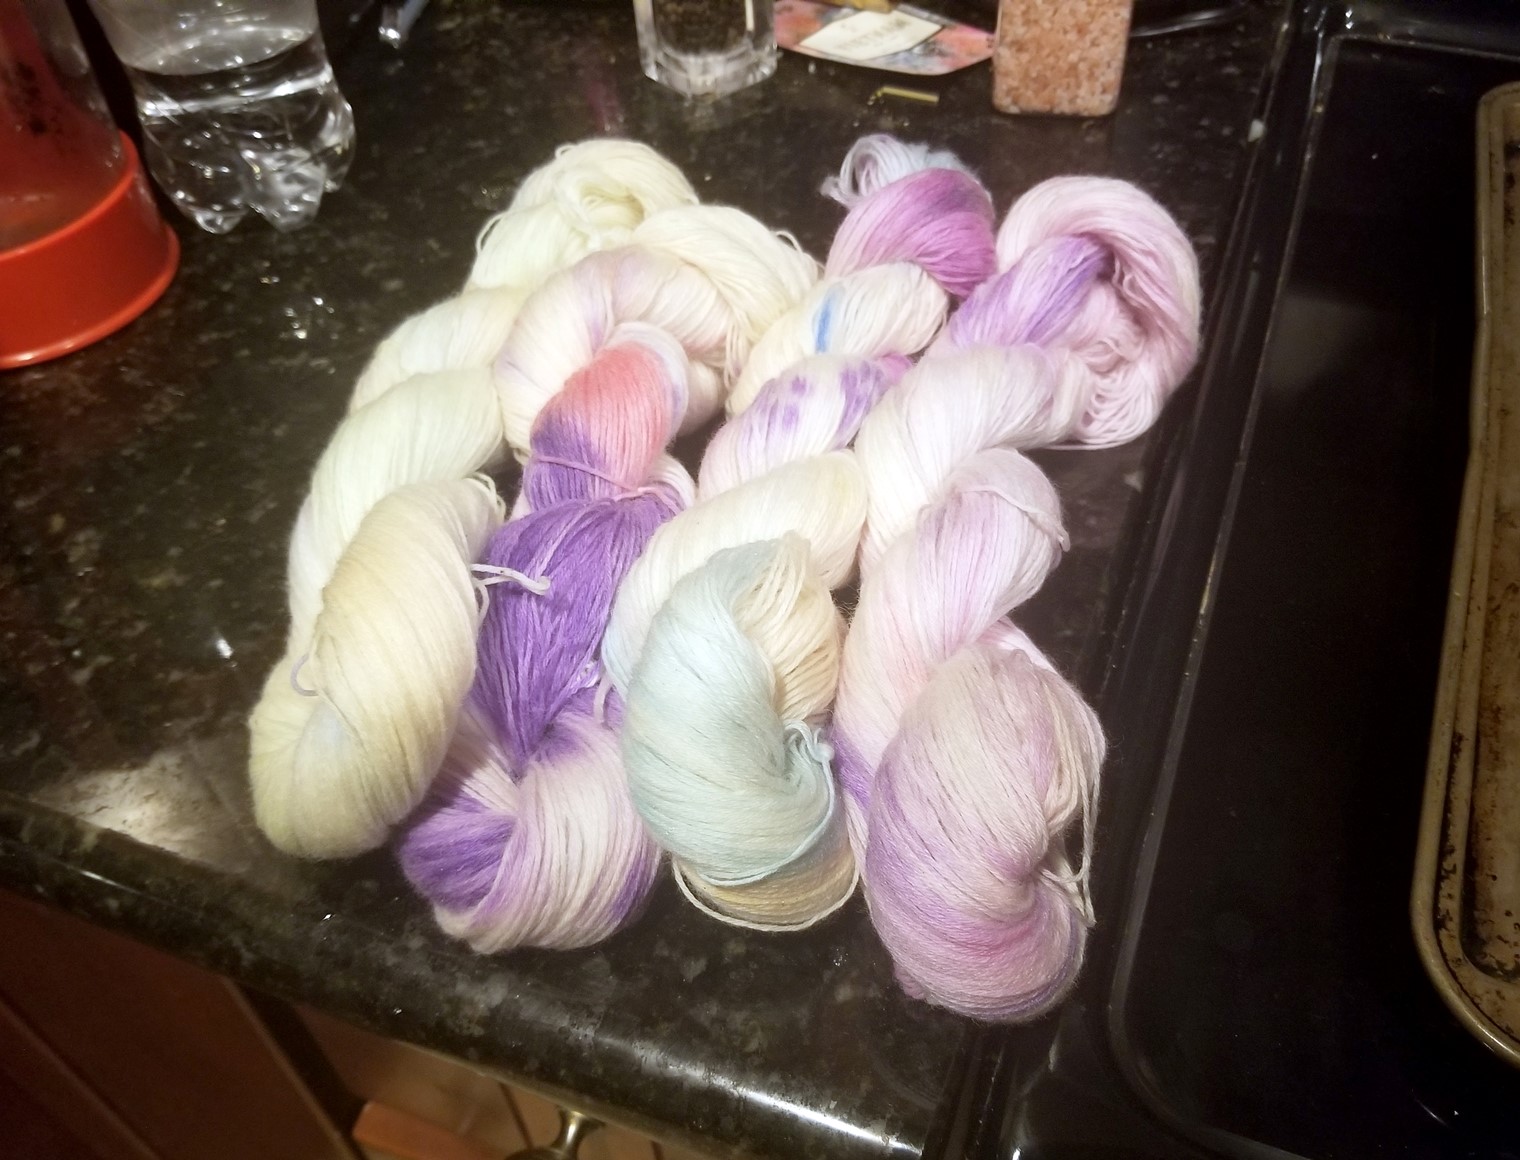
It took me a while, but I sprayed the hell out of 4 skeins of yarn while trying to use most of the colors so I could see how they’d each turn out. I was most excited to see how the navy and gray colors came out. Most of them were pretty wild colors but these two colors stood out as being really nice and I could definitely see using the gray a lot.

I let them sit for 2 hours as the instructions indicated, then put them in the oven for about 10 minutes at a low heat to set the dye. By the time they were pulled out of the oven and left to cool it was already after midnight. I get up for work at 4 am, so this was a sacrifice. All that was left was to rinse them off.

As soon as I started rinsing, they began turning back to white.

Almost all the dye came right out. Works on natural fibers, my foot!

After I calmed the rage and got some sleep, I realized they would likely work on cotton and cellulose/plant-based fibers. While “natural fibers” is a blanket term, I really wish they’d stop using it. Dyes usually only work on plant –or– on animal fibers, not both. But both are considered natural, obviously.

With that said, the cotton yarn I used to bind the yarn prior to dying, didn’t retain color either. They did, however, stain my nylon gloves pretty easily.

All I can say is that this stuff is a mystery but it may work on t-shirts…. Maybe.

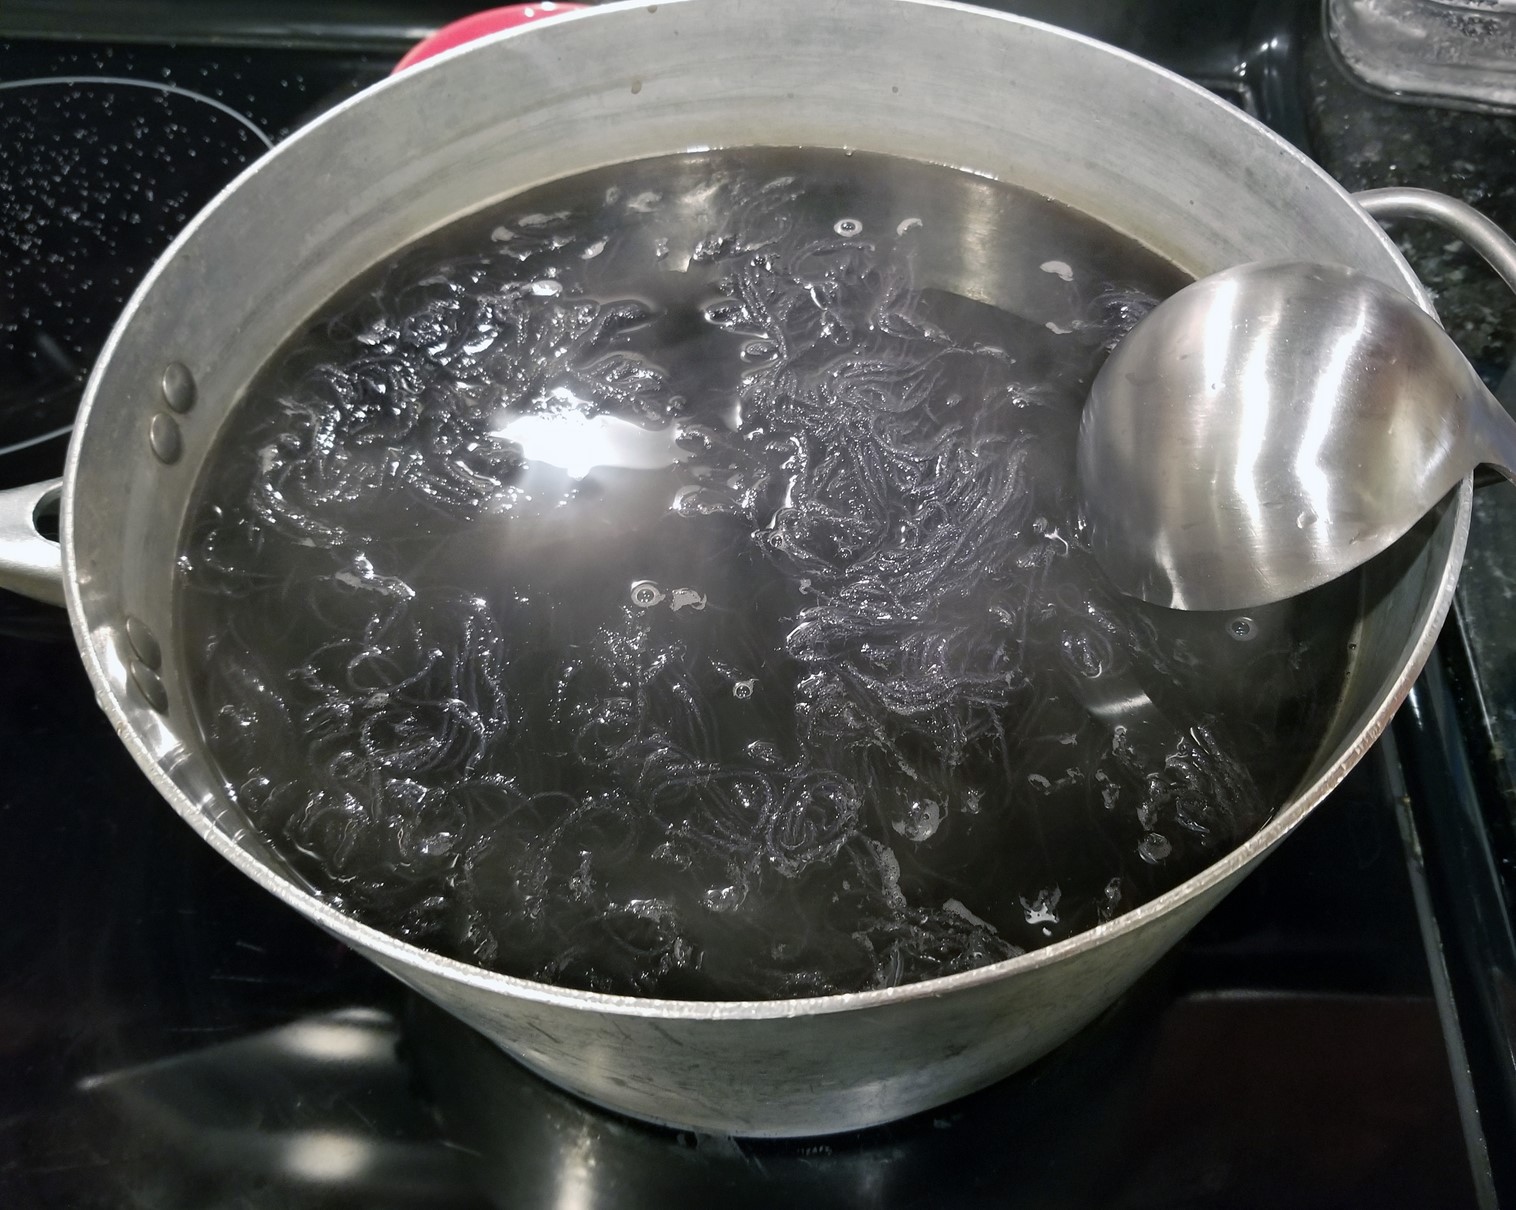
But you know what the good thing about working with yarn is? If you mess up, you can always dye it black!

Dyeing yarn black

October 2017 YarnBox Socks

IMAG48Platinum

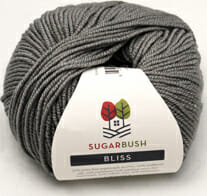
Bugarbush Bliss Gray yarn

This month’s YarnBox angered me and it has nothing to do with Sugarbush Yarns.

First, I get gray yarn.  Even after going through all my preferences on YarnBox’s site for bright colors, no pinks, etc etc.

Second, they sent 3 balls of yarn that are 50g/140m each.  Which sounds fine, until you realize that:

  1. if you have big man feet, one ball is not enough, which is why I’m assuming you get 3, or
  2. you have small feet and this makes 3 socks… but who needs 3 socks? and
  3. 140m for 50g is not the standard for sock yarns… it should be closer to 200m (180-220ish).

It sounds petty, I know, but this is how you piss off a sock knitter with big feet.  Yes, I got ample yarn for a pair of socks, but now my socks will have knots randomly in the sock where I ran out of yarn and joined another in.  180m is really pushing it for my basic socks so I’m definitely going to have knots.  I’m guessing 140m will get you to about a men’s size 10.

I haven’t knit my socks, so I can’t say anything about the yarn itself, I’m sure it’s amazing, but for now, I just tossed it aside and canceled my YarnBox subscription because I’ve had enough.  It’s a decent service that I’m sure works for most people, I just haven’t been happy with what I’ve received in months and they provide no way to exchange yarn or make me happy at this point.

Kiln fired glass painting

20170818 155700

I’ve known for a long time you can use some ceramic products on glass, I just never got around to trying it.   I used to do a lot of glass fusing but I never really got into it.  It just wasn’t very consistent and that frustrated me.   But I got out some Mayco Designer Liners, which are known to work if you sandwich your painting in between two pieces of glass.

But the real question was whether or not it was going to work with a microwave kiln.

Painting on glass is a pain especially with a water-soluble product like Designer Liner.   If you try to do any layering, the previous layer will come off the second it gets wet. Dripping product onto the glass will work, but brushing will not.

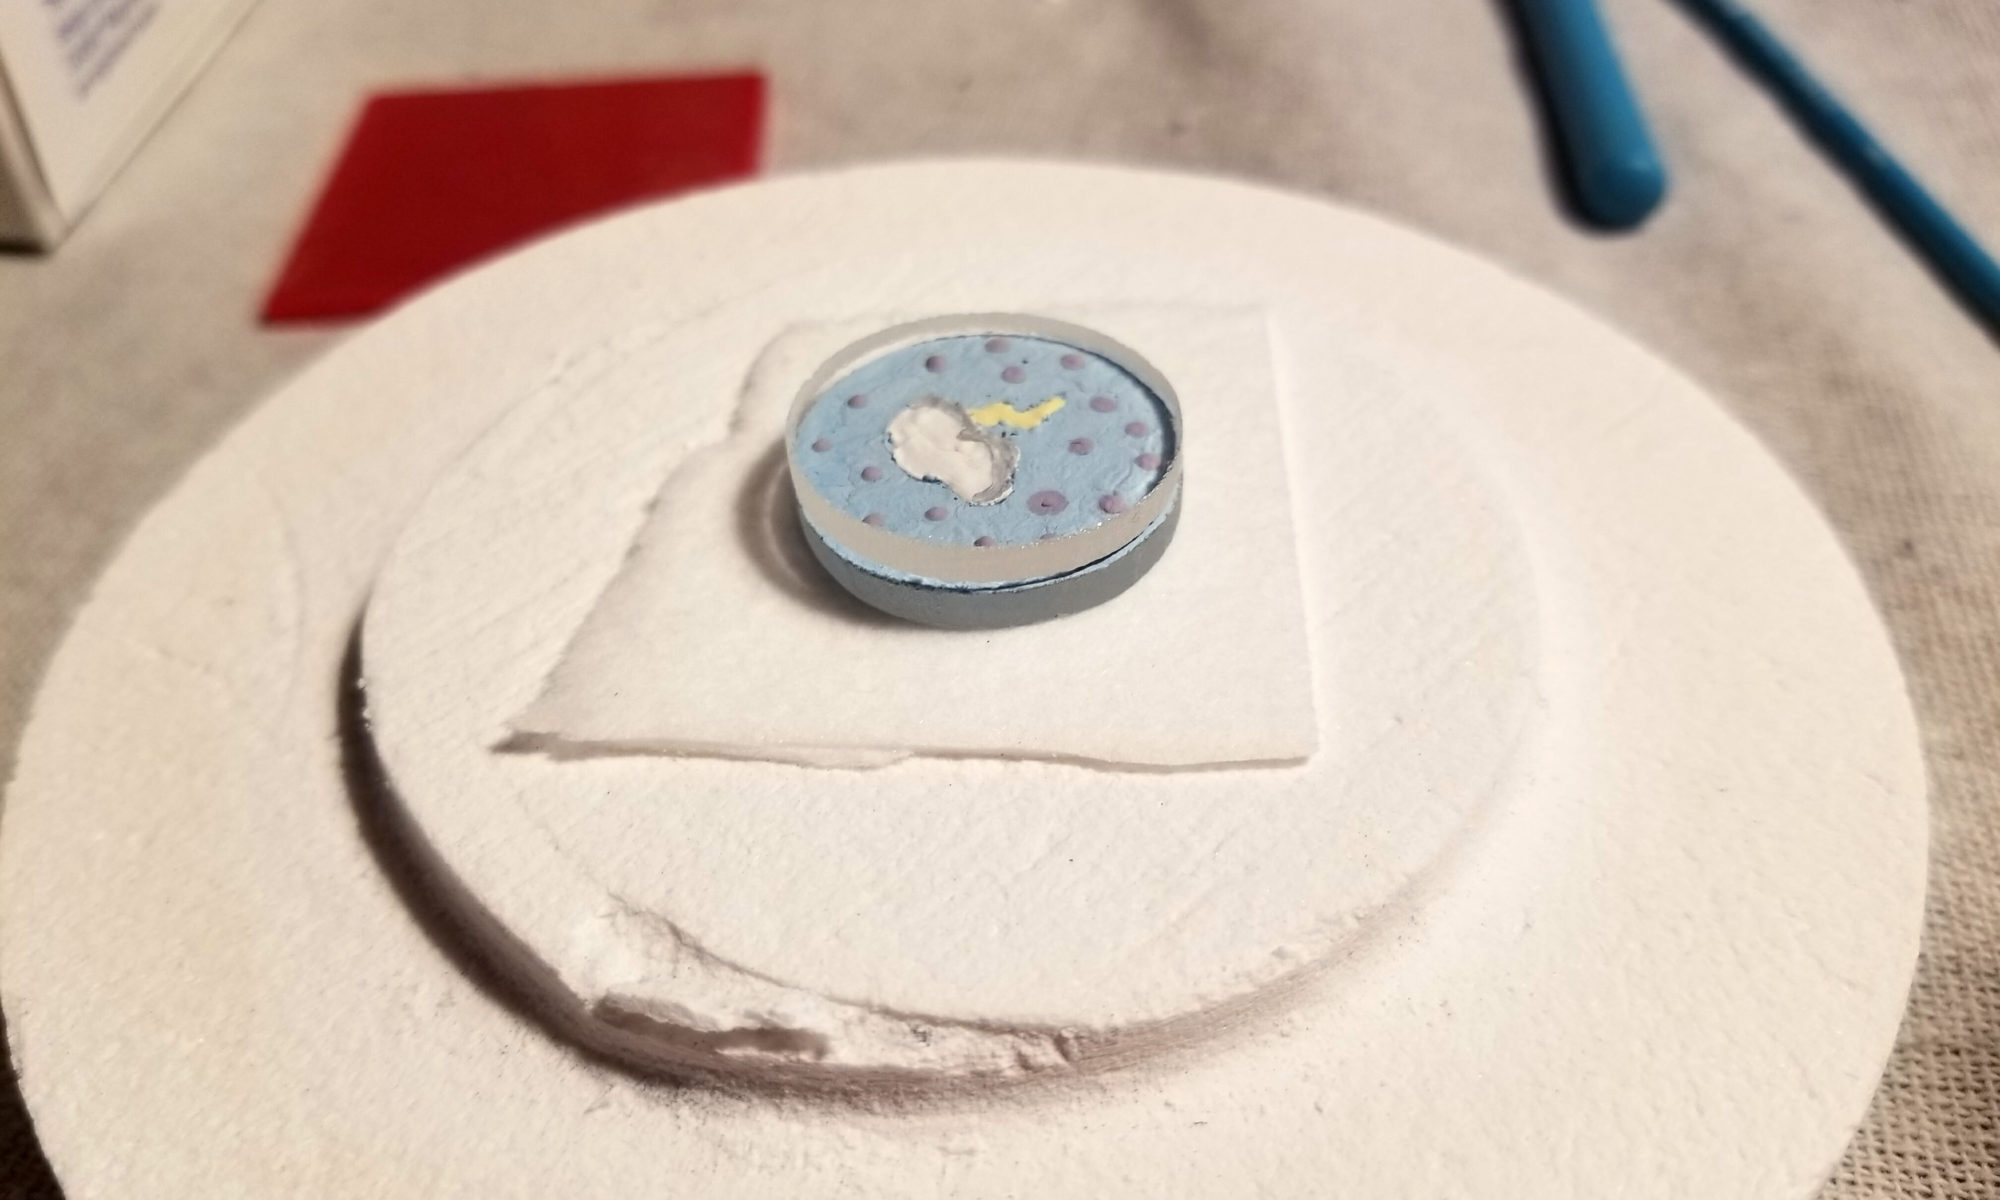
Using a glass calligraphy pen seemed to work well at dropping product where I wanted it.   It also let me scrape product away.   Eventually, I had a cute little lightning design and after letting it dry completely (we don’t want to have boiling liquid on glass) I sandwiched the design with another piece of glass and crammed it in the microwave.

The results were not great.

The product cracked around the edges (the liner, not the glass) and a giant bubble of air was trapped in the middle.  In an actual kiln, these air bubbles would eventually rise to the surface and it wouldn’t be an issue.  An actual kiln would be fired for many, many hours and not a few minutes like this microwave one.  Now that I see the result, I’m not sure if this will actually work.

I could try nuking it again to see if I can get the air to release, but I don’t really want to try, it already looks bad.   Also, I need to try and get the Designer Liner a lot thinner.   I was warned about this but I guess it wasn’t thin enough…. hence the cracking.

I may try again after pondering it a bit, but for now, I’m moving on to other projects.