Last week, I had my wisdom teeth removed. I had put it off long enough that they were starting to cause problems so I finally got it done. It went surprisingly well. I just took a little nap and woke up with fewer teeth. And much to my friend’s dismay, I didn’t even wake up groggy. He couldn’t even take any embarrassing videos of me!
I had a long weekend at home (on painkillers) to wrap up some projects.
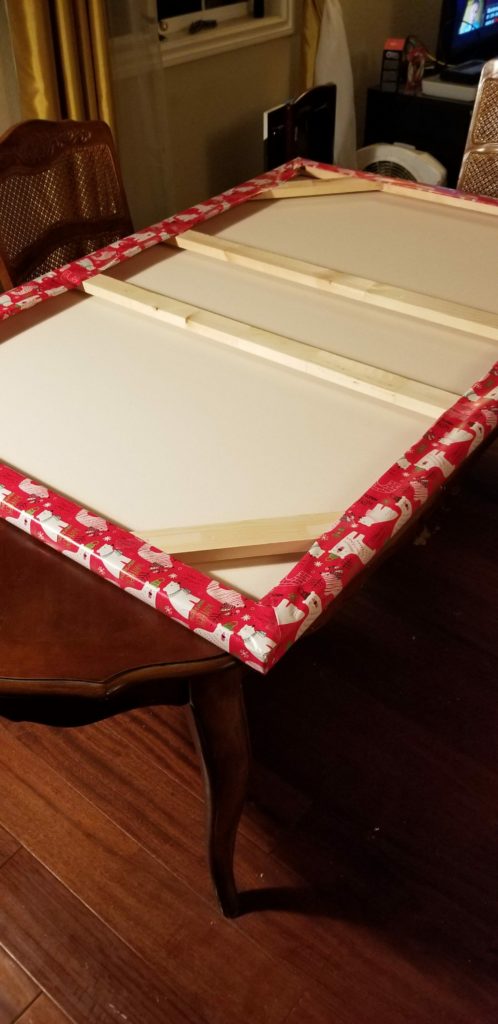
First, I got my latest painting out the door and delivered to the customer. Have you ever tried to wrap something the size of a dining room table? It’s not so easy! Hopefully, after Christmas, I can post some pictures of it in their house.
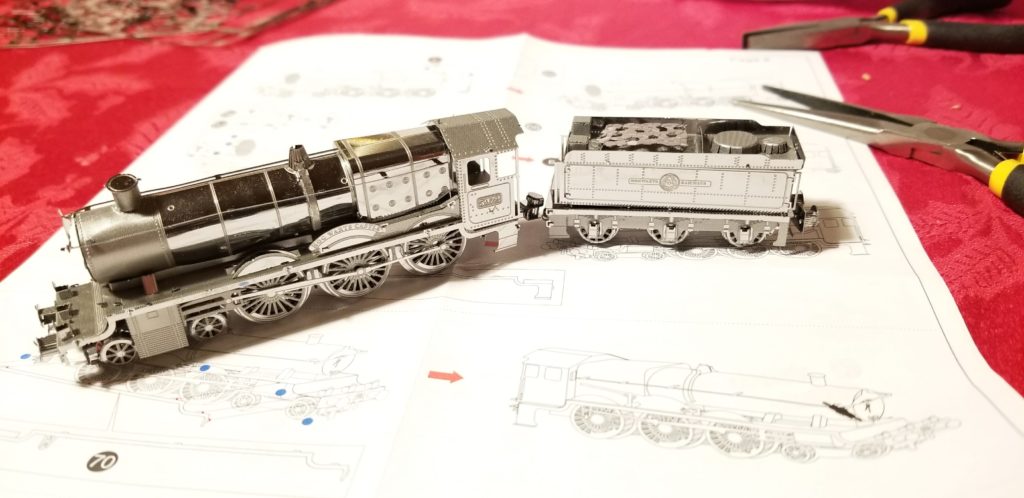
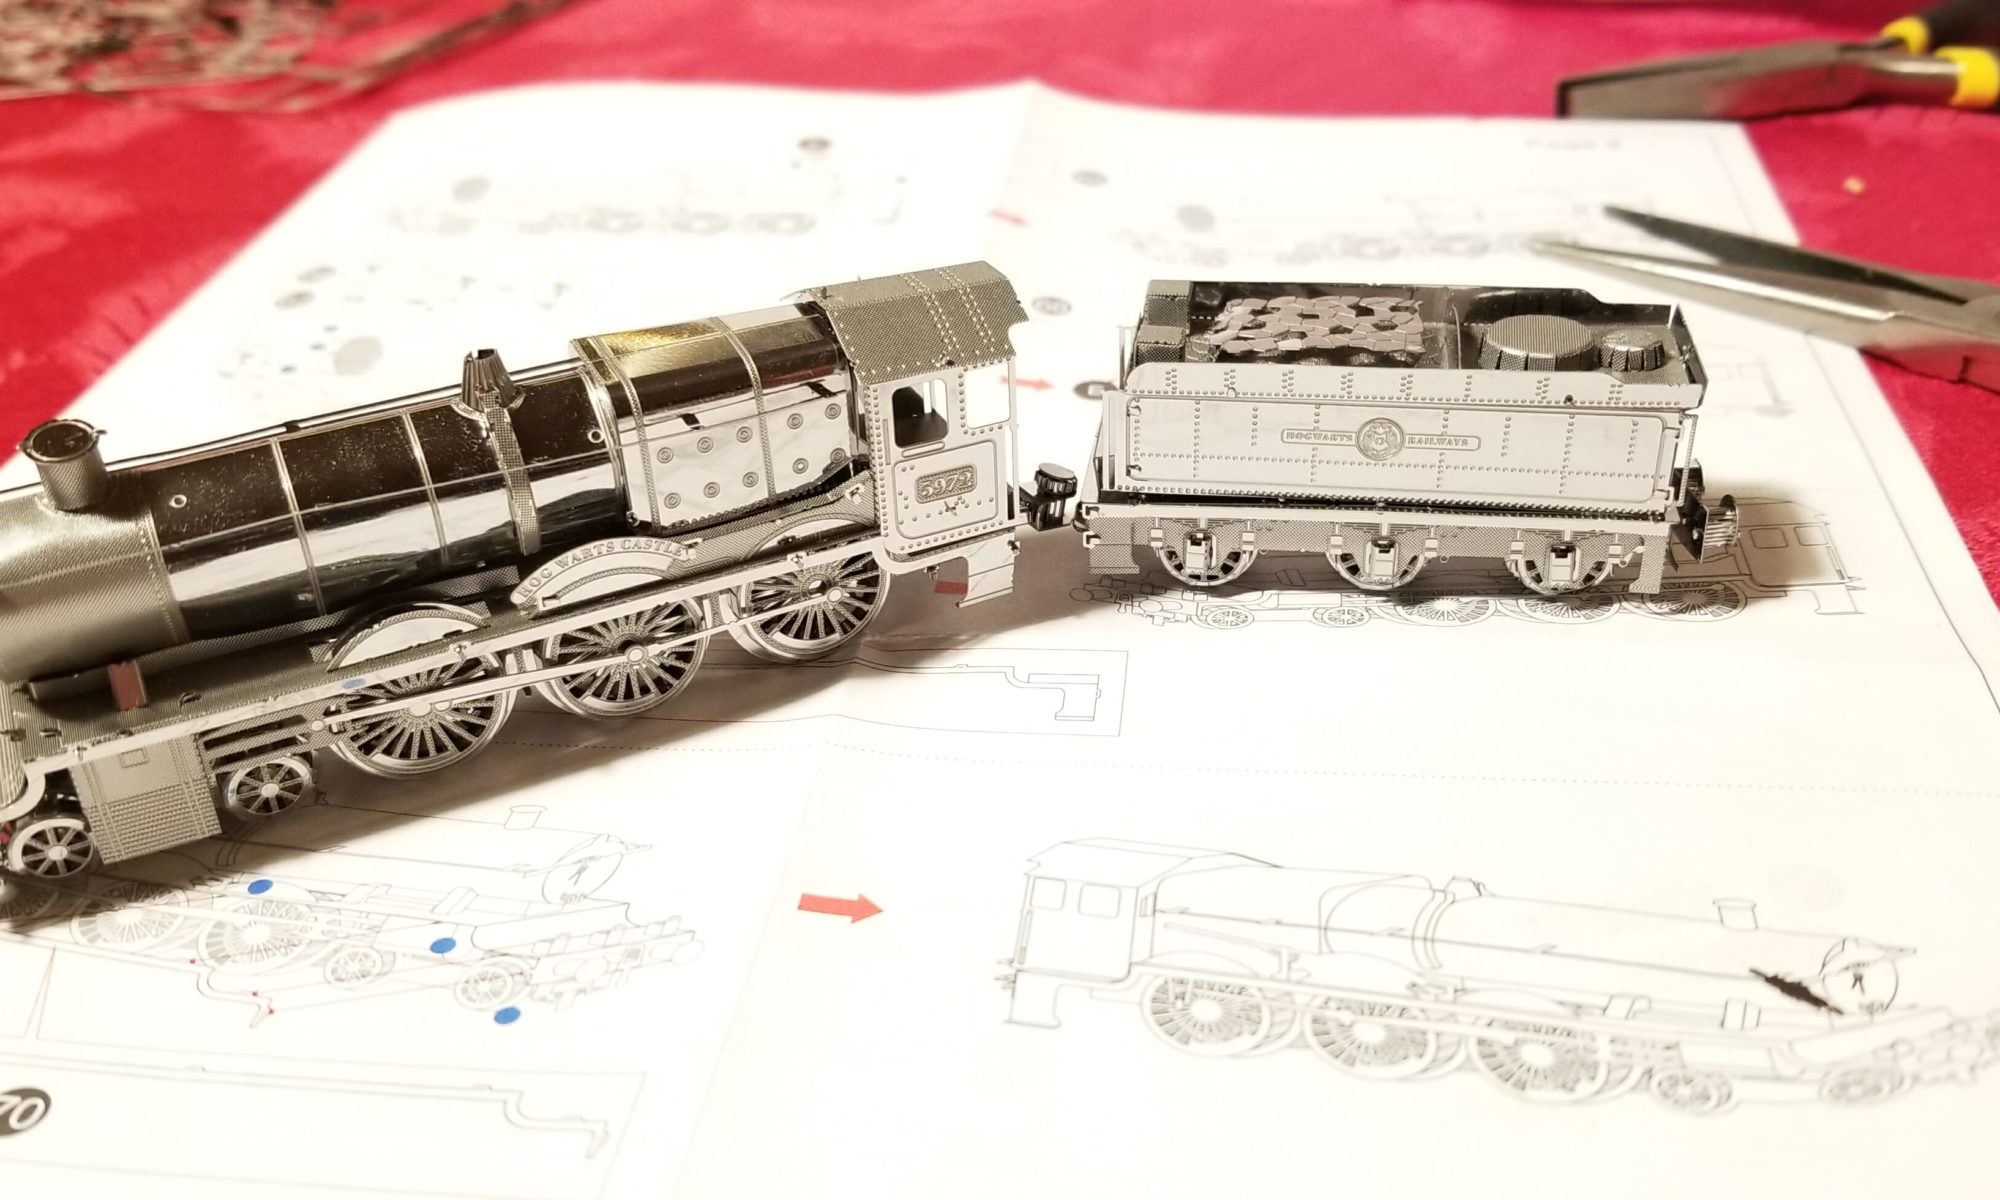
Then, I played with some Metal Earth sculptures. You’ve probably seen them around. This one was a train from Harry Potter.
I did a couple of them and I think I got those out of my system. They’re a bit too delicate and flimsy for me, but I had fun.
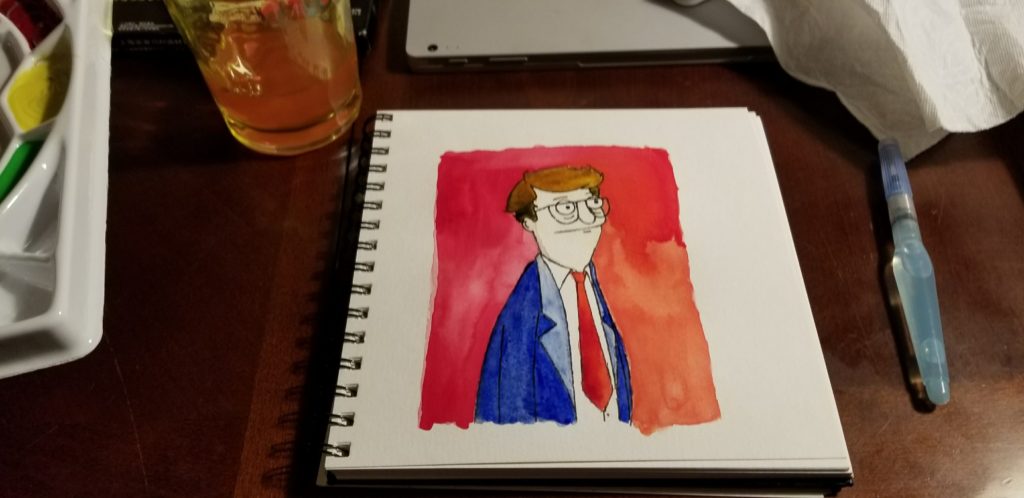
Then, I got out some of my watercolor sets and doodled out some stuff on my watercolor pads.
Turns out, I’m not a watercolor-er. I’ll keep trying and see if I get better at it.
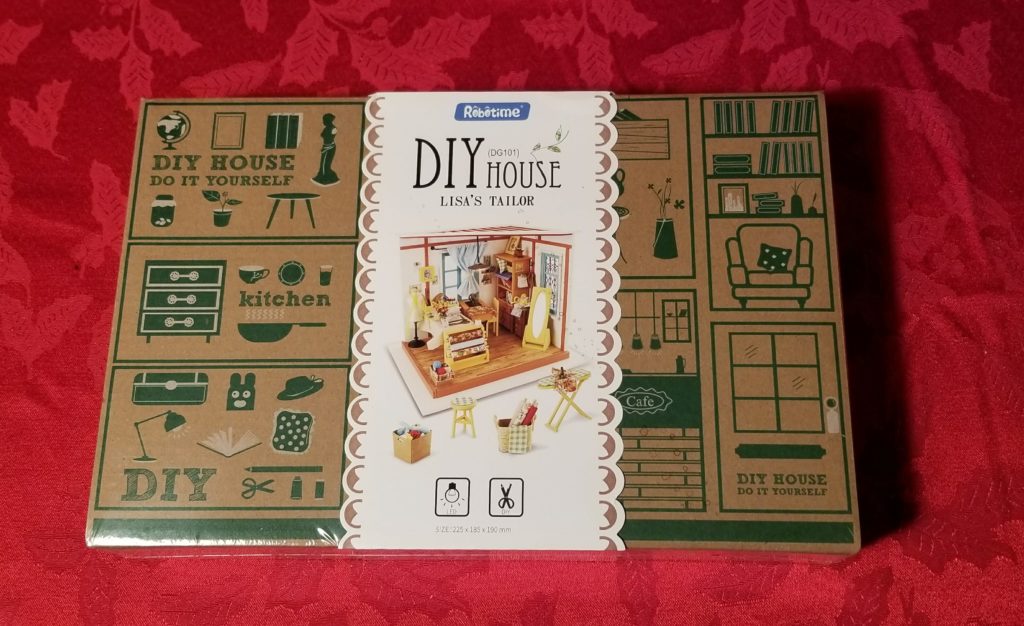
After a few more doodles I think I’ll break away and start putting together more miniatures. I have a few kits laying around that still haven’t been put together. The first one I pulled out is a sewing room:
I saw a youtube video a while back that was about making jewelry pins with shrinky dinks. I checked out my local stores, that had some, but not the ink jet printable films. While I do plan on drawing my own pins, I wanted a quick project to see if this was something I could get into and want to do more of. The printable film would make this pretty quick and easy.
I jumped on amazon and order some Grafix Printable White Inkjet Shrink Film and got to printing. These will shrink to about half the size, so make sure to size your items appropriately. My prints were all about 3 – 4″.
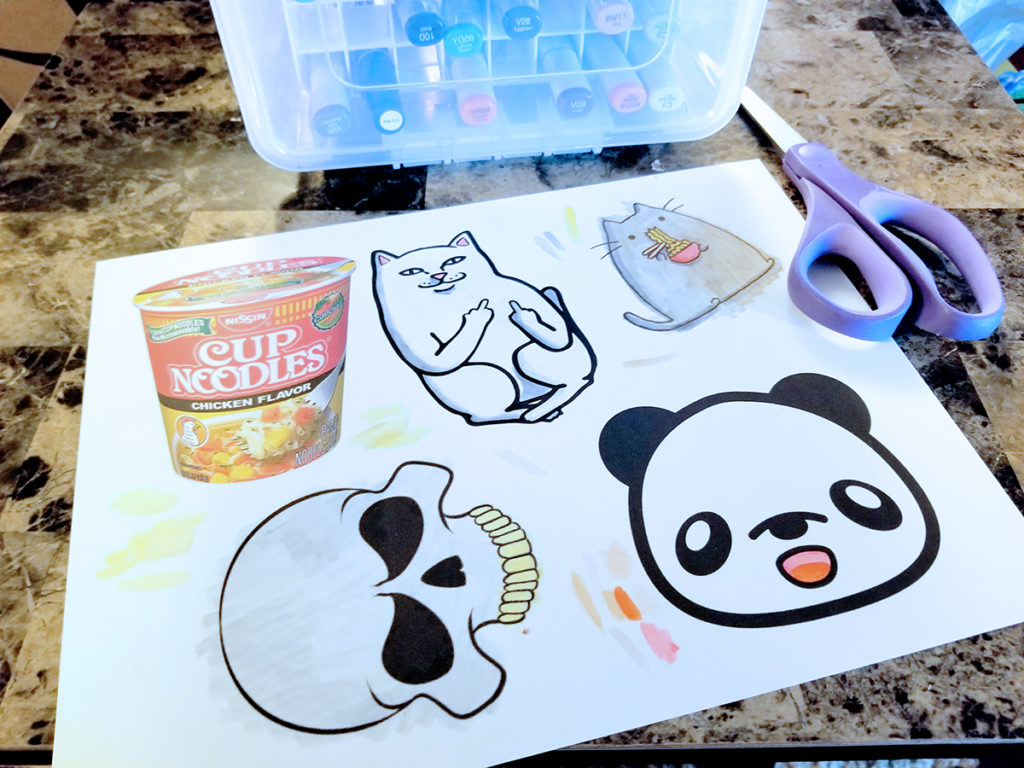
I picked out some cute things from an image search and got out my Copic markers (though you can use any permanent ink) and started coloring and doing some simple shading.
Things I noticed: If it’s a large area, it’s probably better to print the color. Markers tend to streak and they definitely look like they’ve been colored with a marker. This isn’t normal paper and it will look different than any paper you usually draw on. I was pretty sure things were going to turn out even if they looked a bit streaky.
I cut them out and placed on paper. They specifically say within the instruction to not put the film directly on metal, but you can put down some paper over metal – which seems to work best. I tried just putting cardboard down on the rack and that did not work well. Things did not bake evenly and I had to flip them over and bake them much longer that I should’ve. This batch I had learned that lesson and these worked out great.
Once they bake for a few minutes and stop shrinking. Remove from the oven and quickly smash them flat with a spatula so that they are completely flat. I recommend doing small batches if you are doing many pieces since you don’t have much time before they cool off and become very solid. Luckily, I picked very solid shapes and didn’t need to fuss with them much.
I do recommend you check the edges when they cool off. Several of mine had a frayed look to them that could easily be cleaned up with a nail file.
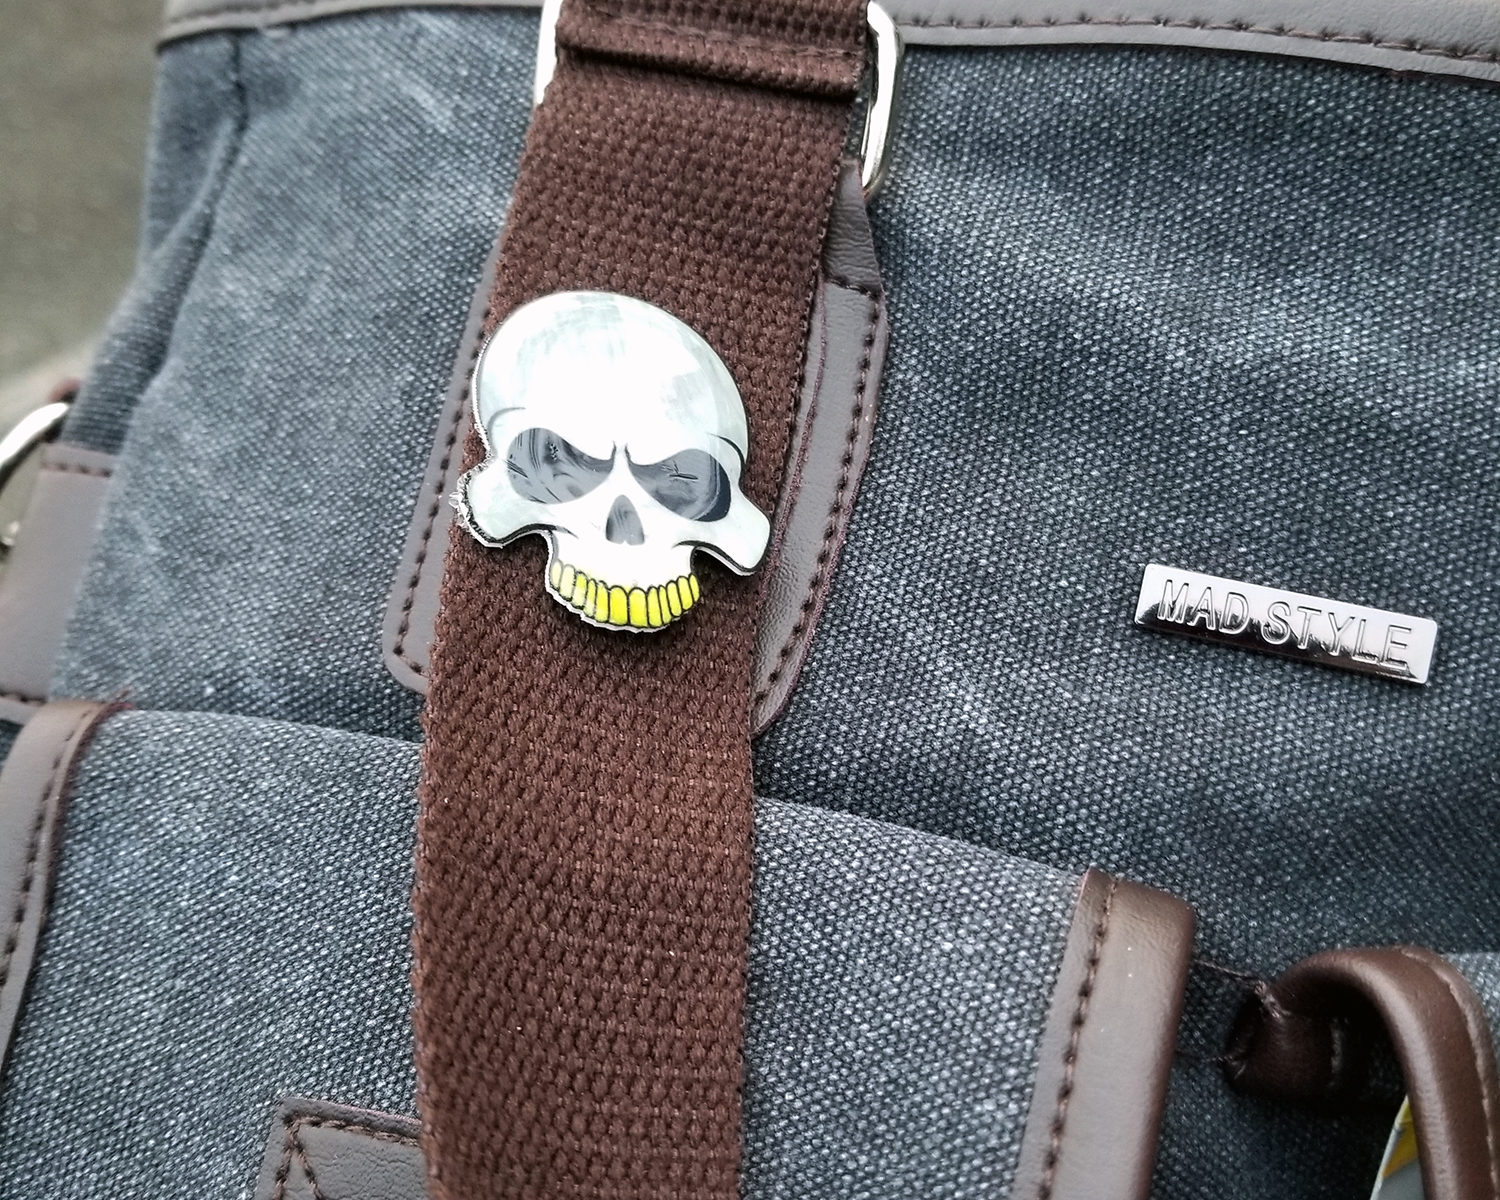
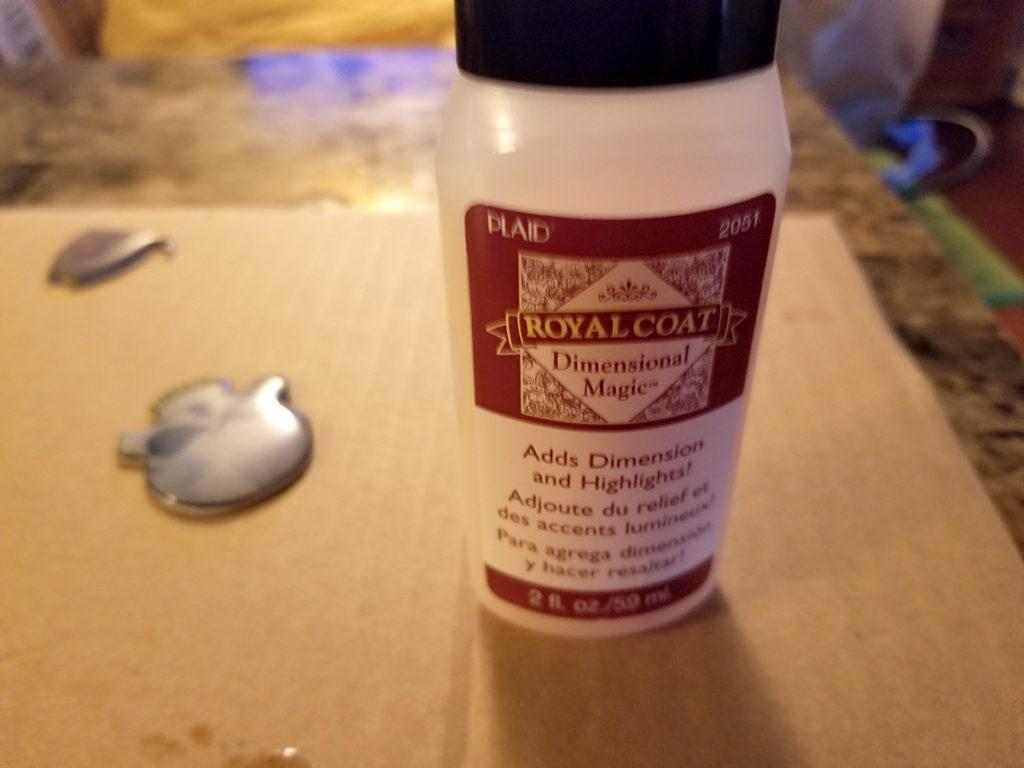
Next, I used a dimensional glaze on top of each to give it that plastic shiny domed look. It’ll also protect your design from getting messed up from use.
There are several options in different brands that you can use, this Royal Coat was the one I found at a local store. A more popular one seems to be Mod Podge Dimensional Magic. They’re all basically clear glue, so just pick one and give it a try.
I learned several things from putting the glossy coating on:
Keep your bottle pointed downwards through the whole process and don’t tip it upwards, this will just trap air bubbles.
Squirt some out before starting on something you can throw away. There may be bubbles trapped in the tip of the applicator.
Outline the outside of your design, getting all the way to the edge, then fill in the middle.
It’s tempting to really put a lot on and try to get a nice glossy dome shape on top, but at some point, the tension of the liquid will be too great and it’ll suddenly leak off the sides and all over your surface.
If you mess up, just take it to the sink, gently rise off the glaze and dry completely before trying again (if it’s not dry it will all just run off again).
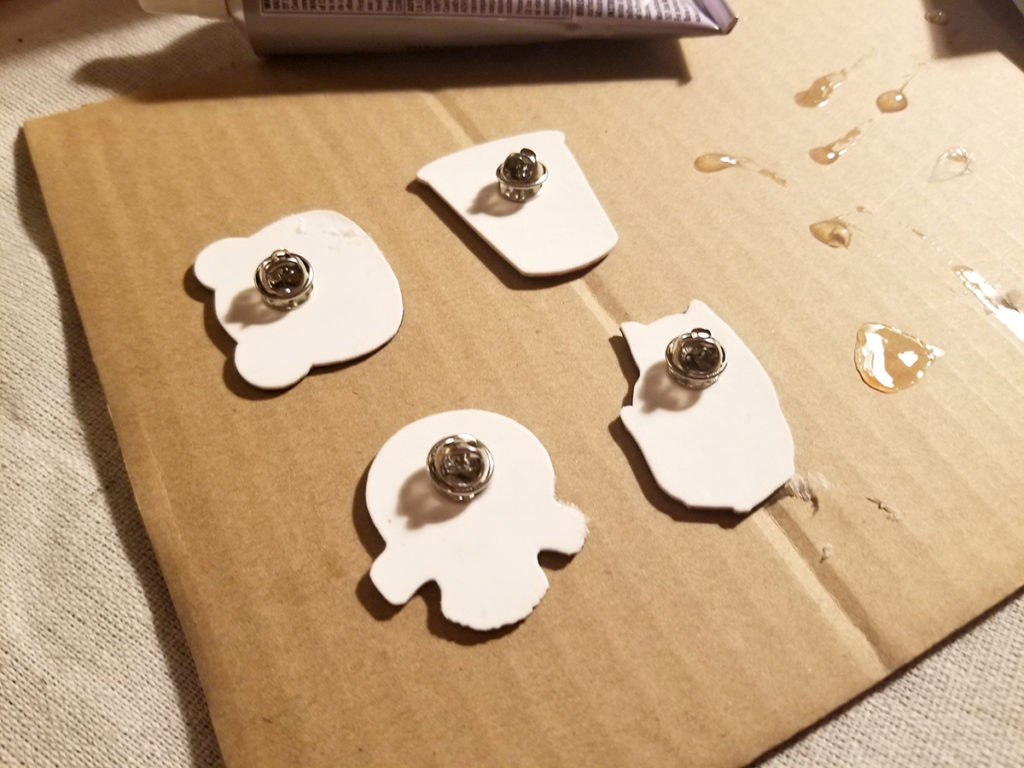
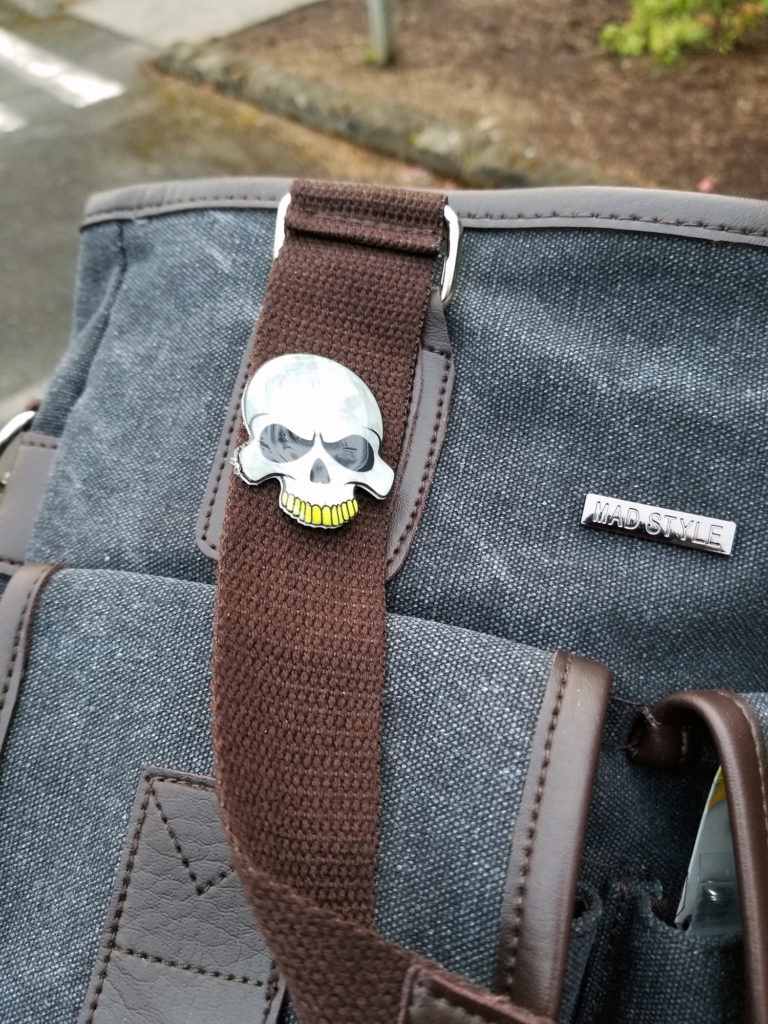
After the glossy coating is dry (I let mine sit for a day to be sure), get out some jewelry pin backs (or your favorite jewelry findings) and glue them down. I used my favorite all around glue, E6000. It’s an amazing industrial glue and wasn’t going to come off these pins without a fight. E6000 needs to sit for a whole day.
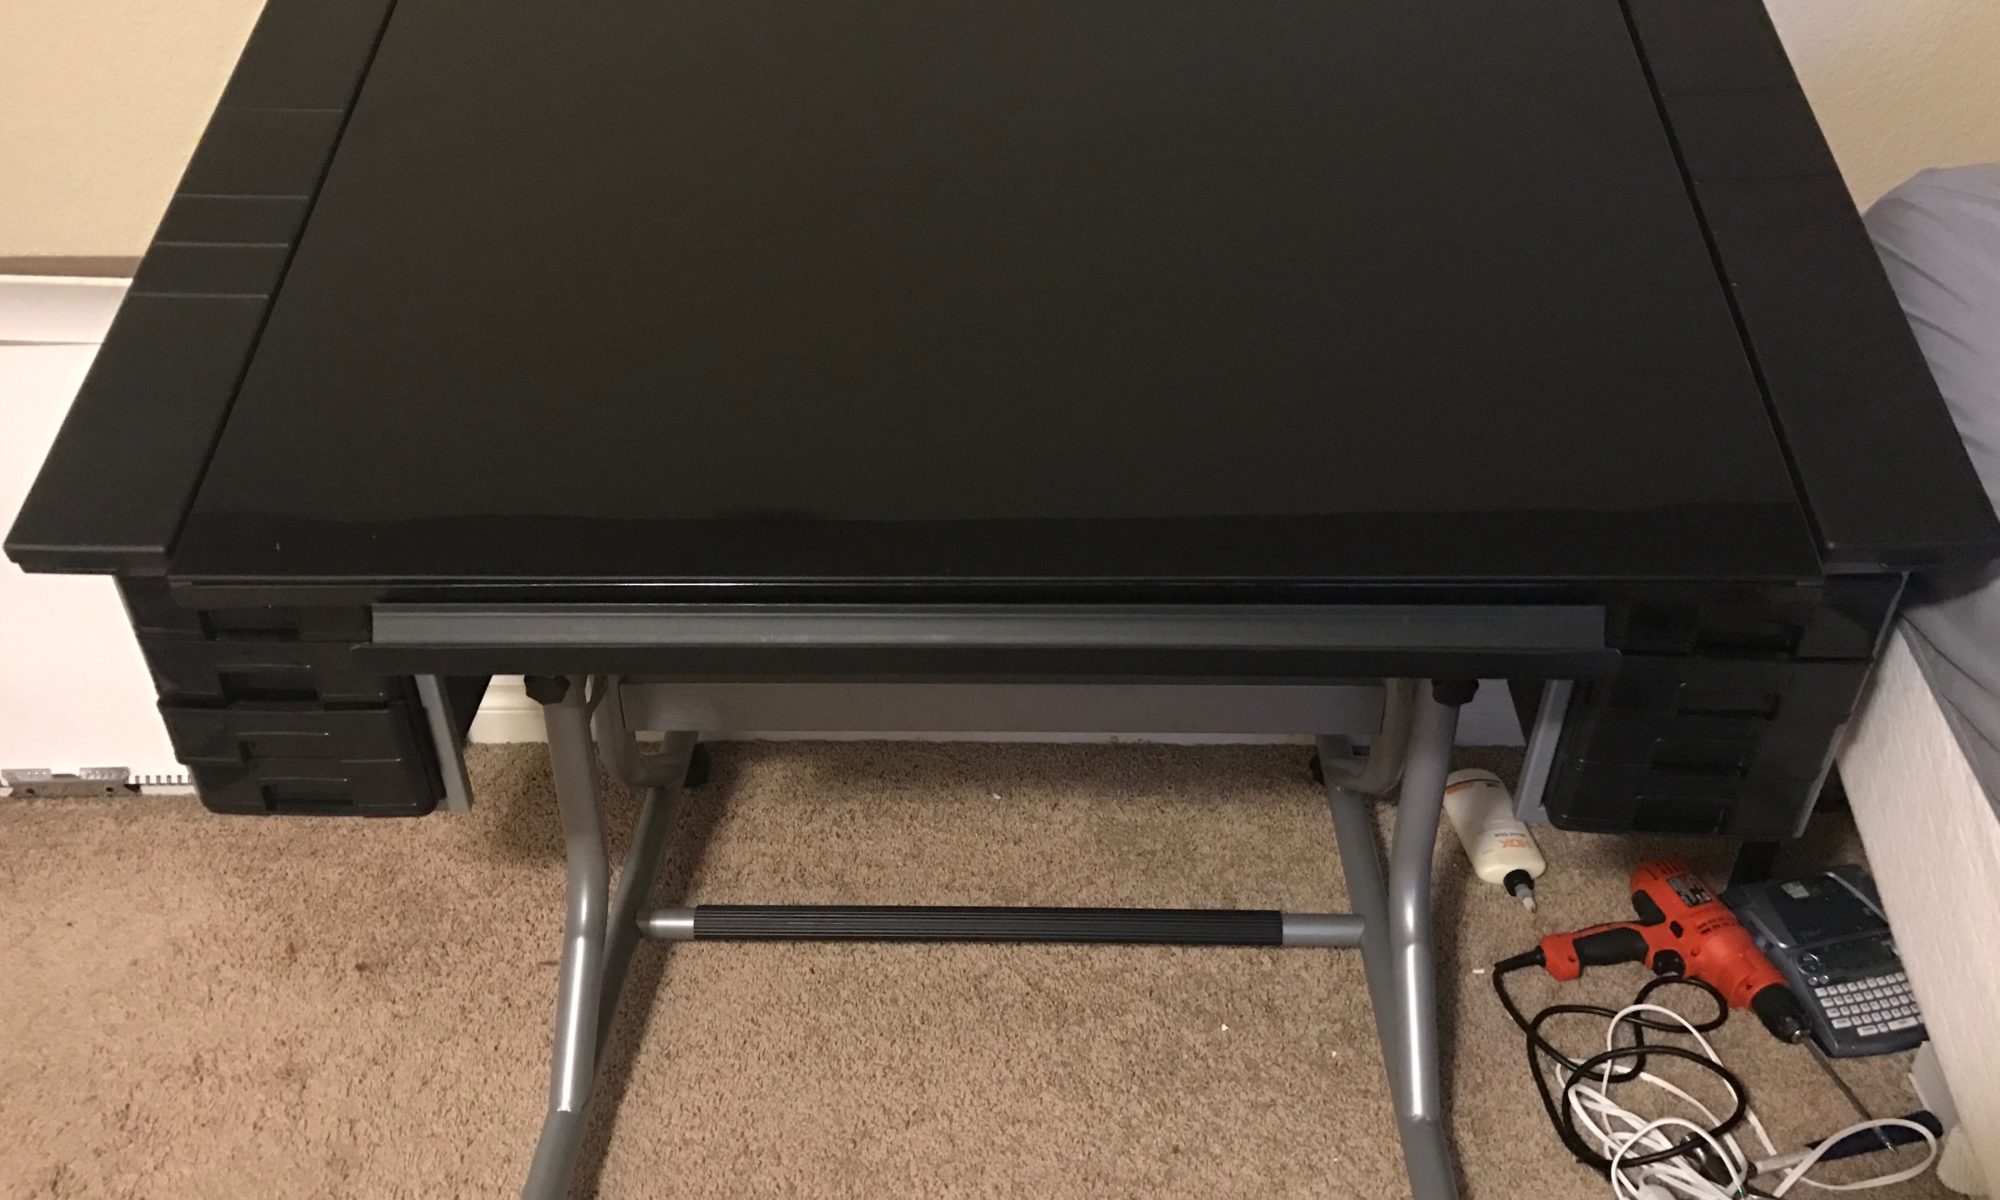
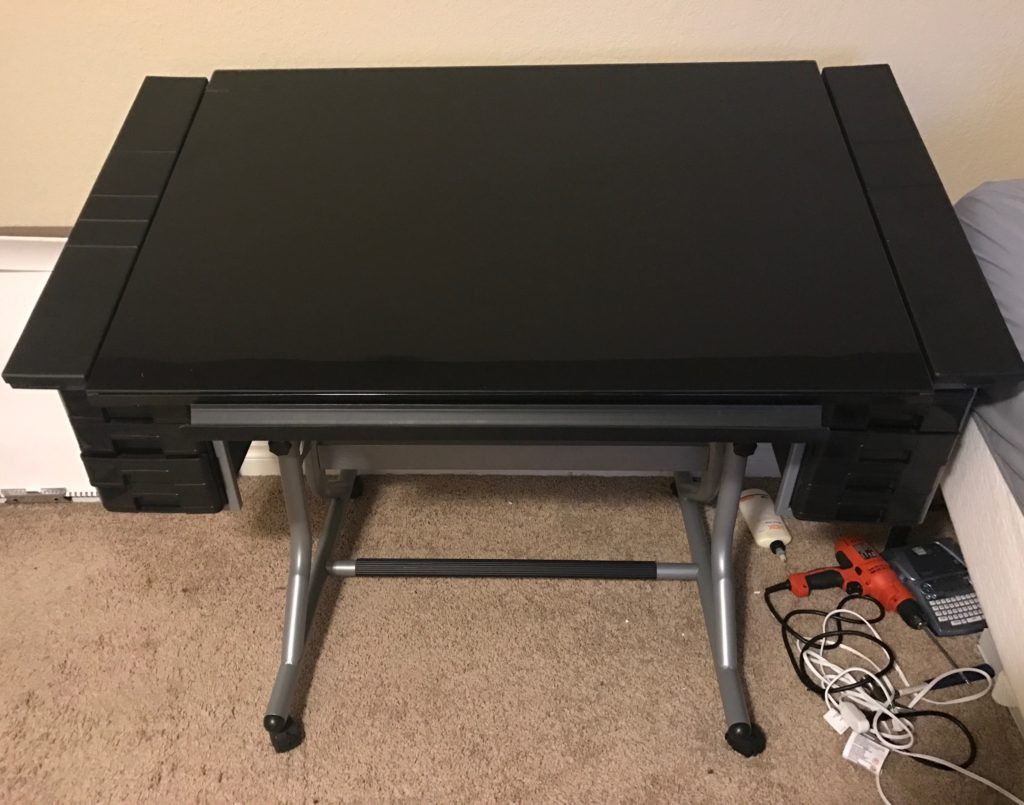
A few months ago I had ordered the Alvin CraftMaster II Deluxe Art & Drawing Glass Top Table through a local Art Store. While I am a heavy Amazon user, I do prefer to give local shops my business, especially if they are willing to match or negotiate a little bit on price. In this case they were willing to match the price if I was willing to wait a bit until they placed their next inventory request which was not a problem.
I used to have a drafting table in my room growing up and I was pretty fond of it. My previous table was just a really basic tilting wooden table that I think was picked up at a garage sale. What interested me in the Craftmaster was all the little shelves, organizing cubbies, and the fact that it was steel and glass (and wouldn’t easily be gouged).
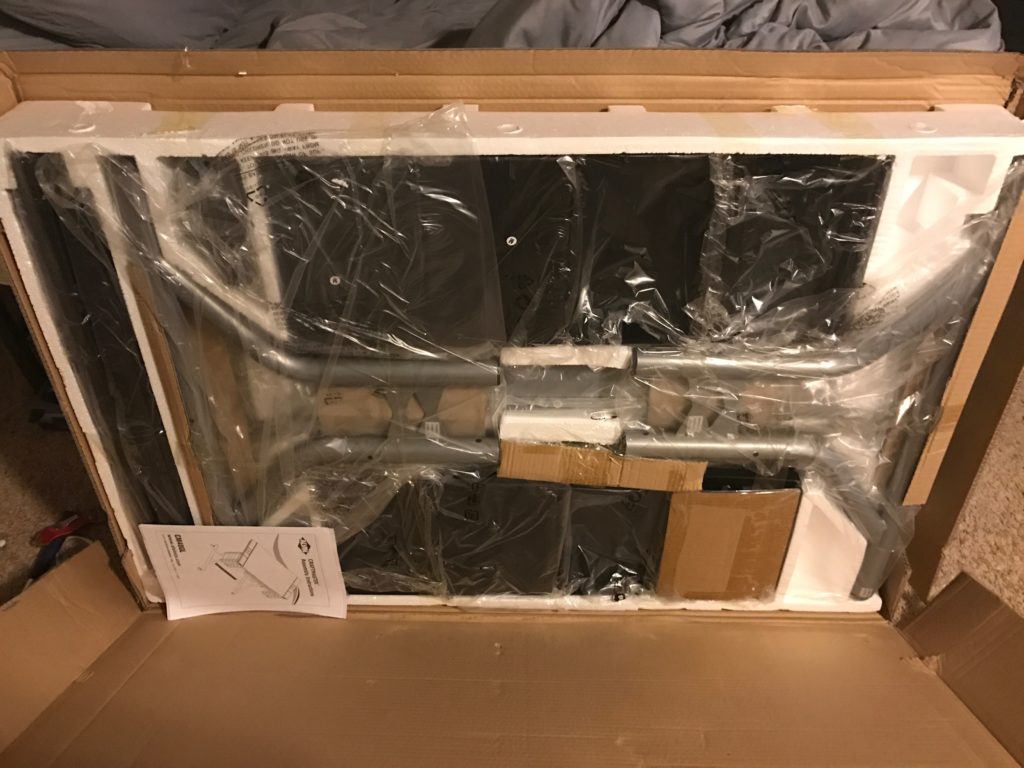
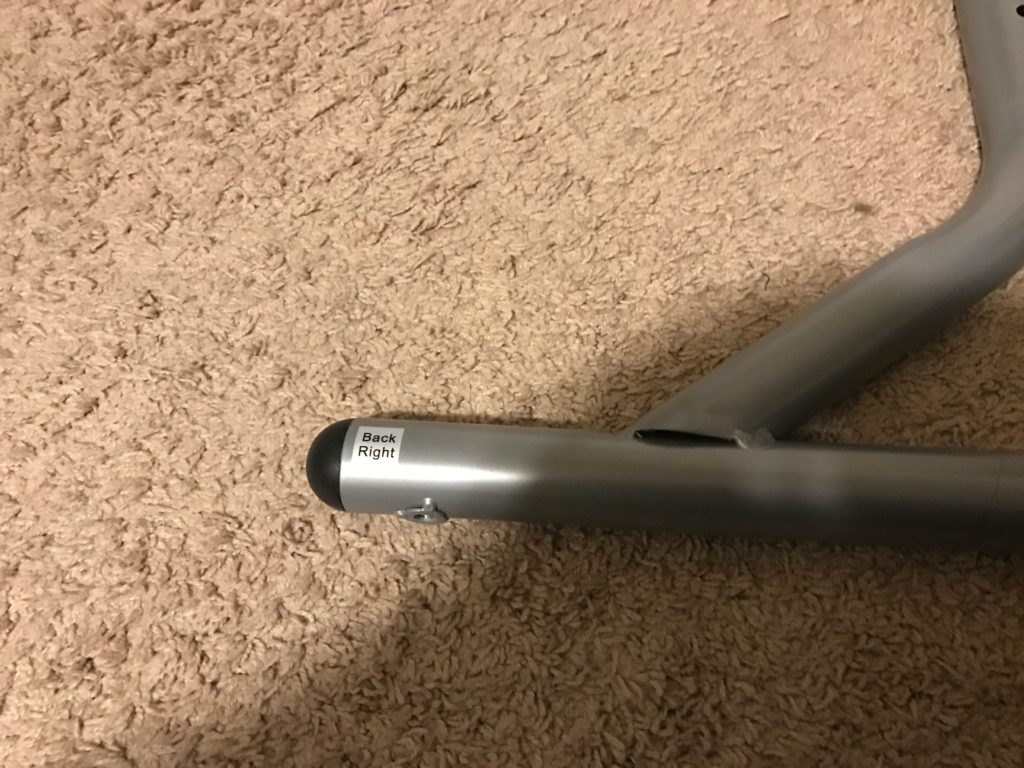
I dragged the box up a few flight of stairs to my room and opened it up. After a long sigh, I pulled out all the pieces and got to work. I’ve put together many pieces of furniture in my time and I can say this was the easiest. Everything was labled with letters that corresponded to the instruction manual and pieces were even label front/back and left/right sides.
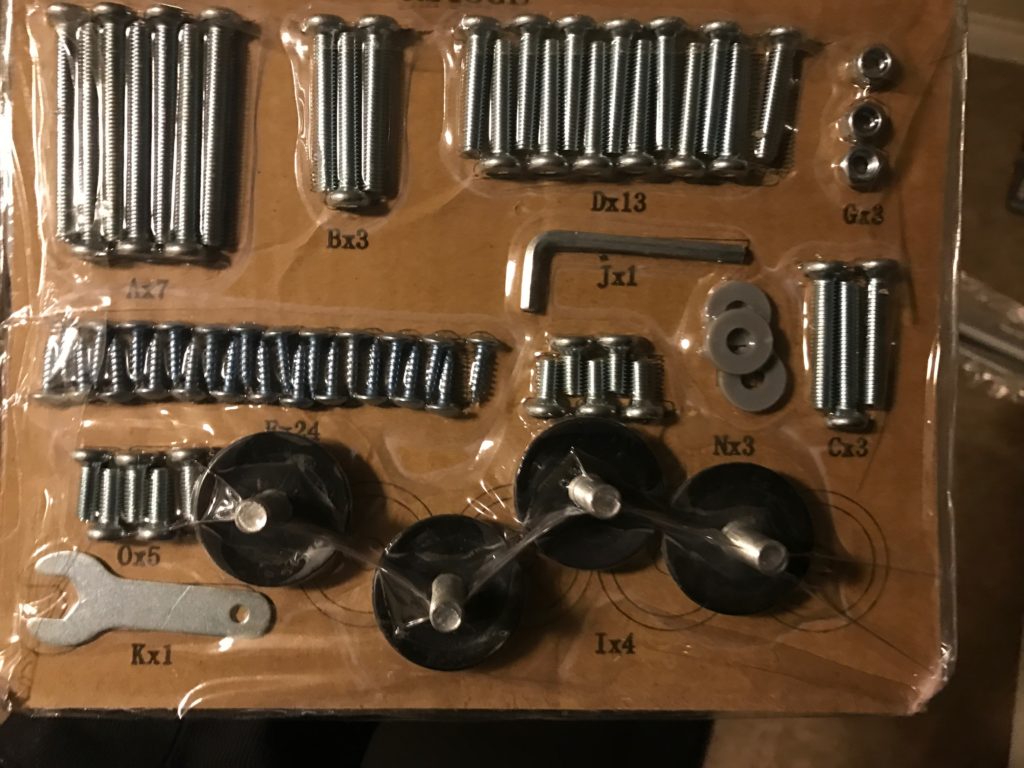
Even the screws were well labeled. They also gave you extra of each type.
Putting it together went almost flawlessly. I did have to find a screw driver for two of those screws they give you (two types were phillips, the rest used the allen wrench they give you) and I would add a few notes to the manual, but overall it was a really solid set of instructions.
Since I had to wait for it to arrive, I had already moved into several other projects, so this desk will have to sit for a bit before I get to have fun with it. Putting it together now was really more of a way to get it out of the way. But having this desk sit there and stare at me everyday gives me more reasons to wrap up my current projects.
A few weeks ago, Amazon recommended this black glitter to me. I was intrigued because I didn’t know glitter came in black. So I had to have it, of course.
When it arrived I grabbed an old pair of dress shoes, some mod podge and got to work.
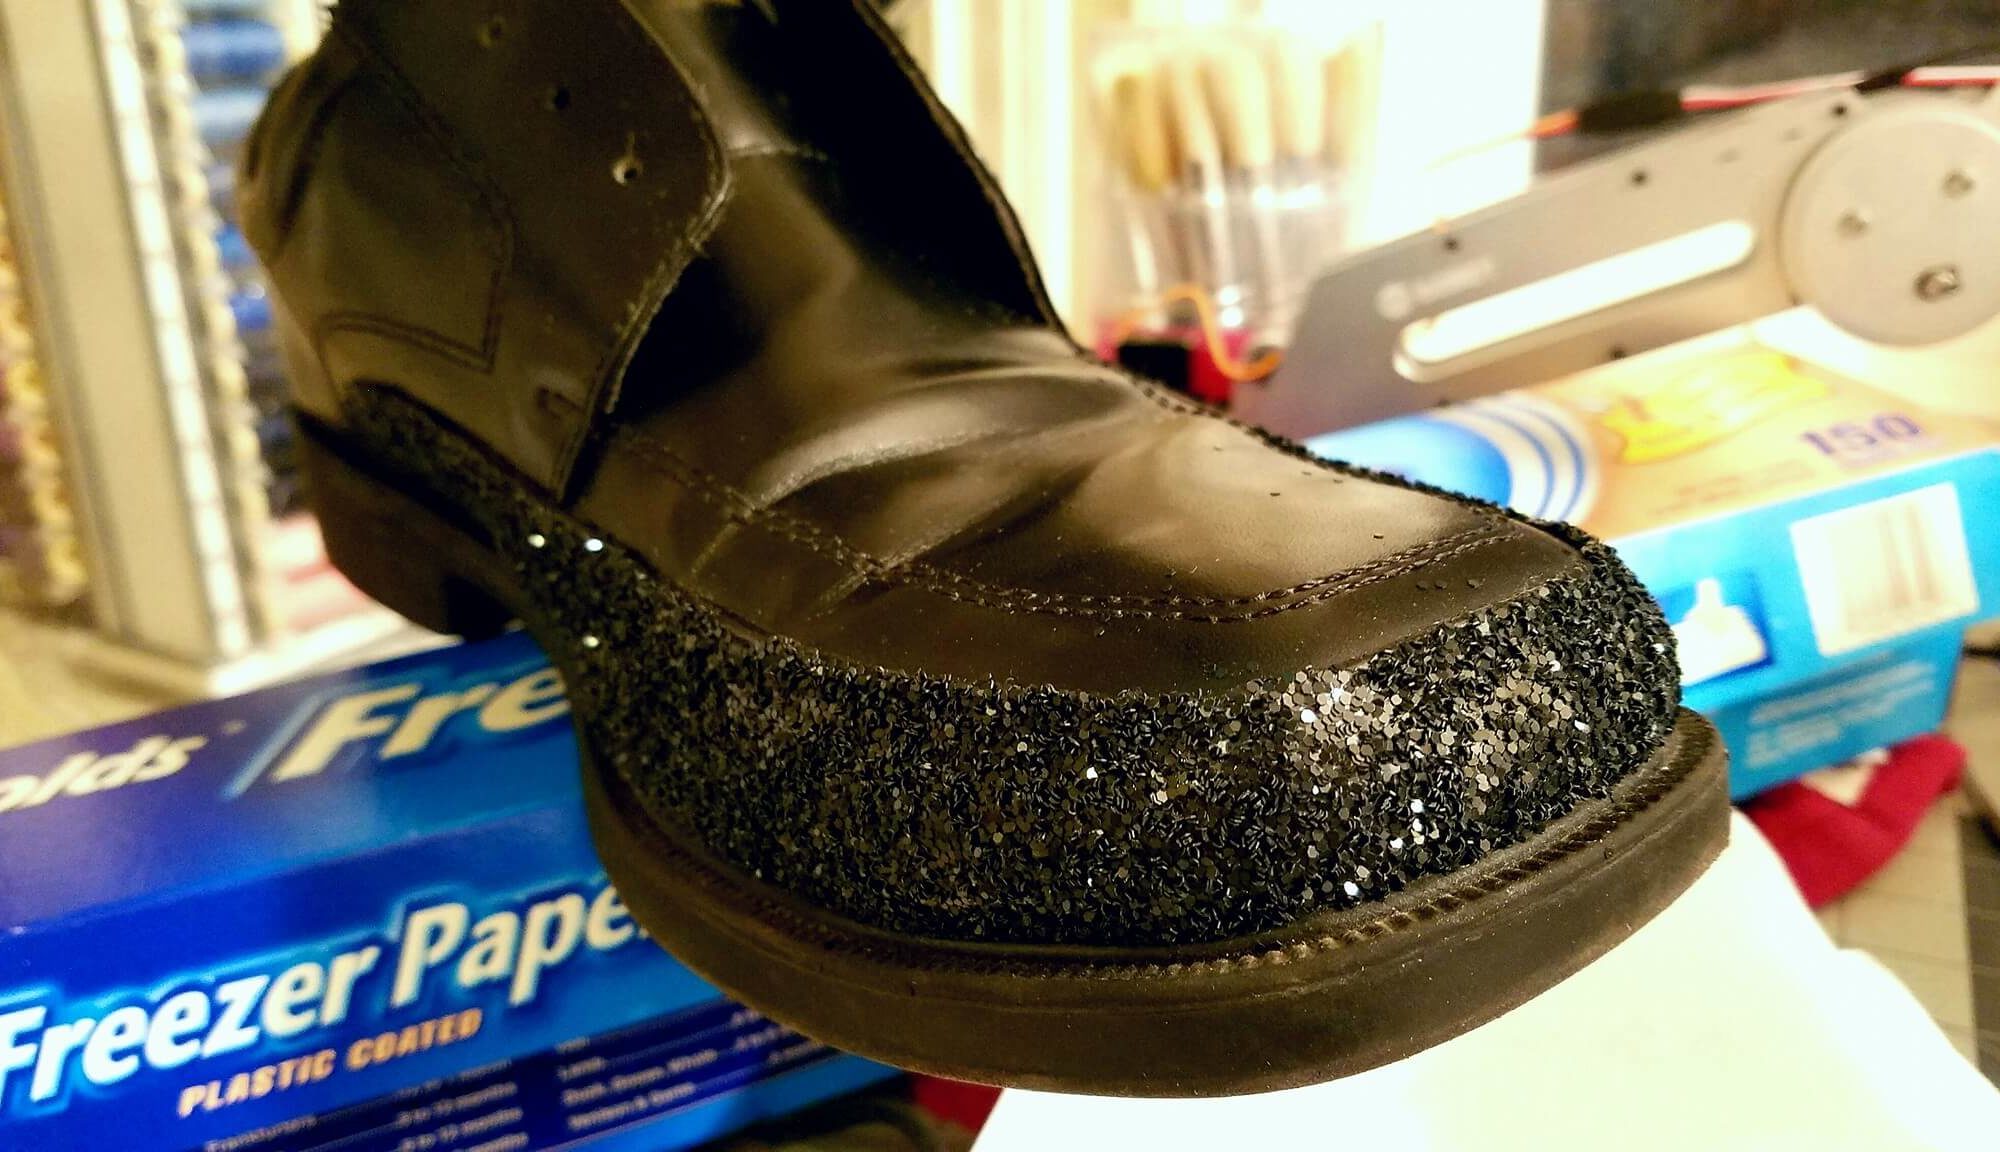
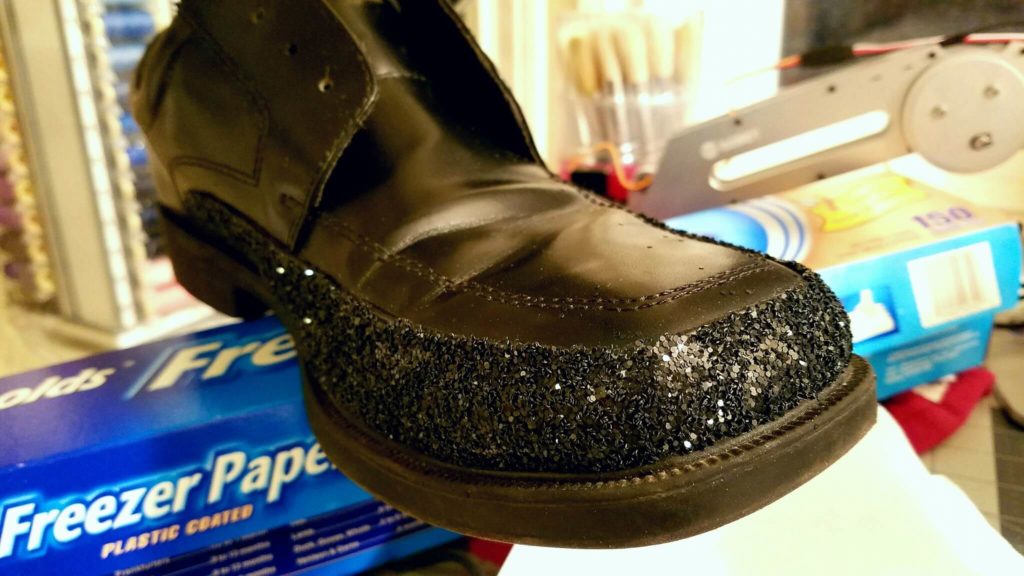
Working in small sections I covered the areas of the shoe I selected with 2 layers of glitter while it dried a few hours in between layers. The photo above was taken after the first layer and as you see near the toe one layer wasn’t going to cut it as there are gaps in the glitter.
Once that was done and dried I gave it one additional coat of mod podge as a top coat to seal it all in. Up until then, it was all quite sparkly and impressive. Unfortunately the final coat kind of dulled the whole thing and made it look a bit more like some type of rough black rubber that happened to glitter slightly. But if you want the glitter to stay on the shoe and not slowly knock off and leave a trail of glitter spots everywhere you go, I’m not sure how this can be avoided.
If you decide to do something like this I would caution you from glittering the sides where the shoe naturally bends at the ball of your foot (toe knuckles). I noticed after wearing them a few times the glitter started to break away in these areas.