It had been a while since I’ve done a painting and I had one that has been sitting unpainted for over a year (see post: Still need a Bob). Linda and the kids have been without a husband/father all this time.
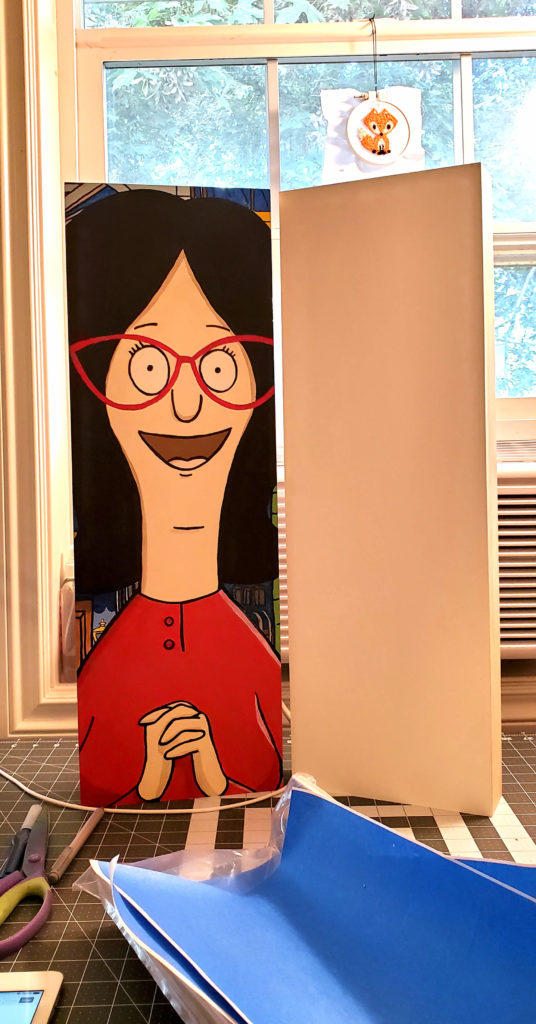
I pulled Linda off the wall and found the matching 8″ x 24″ Gessobord I had purchased for the project and stared at it for a while. I decided I wanted to try and cheat on this project to see if it would make it any easier or faster.
Generally, when I paint, I use a pretty common workflow. I sketch out the image and start slapping down colors. In the end, I come back and add black lines to separate all the colors since I mostly recreate cartoons.
Black lines are the hardest part. It’s pretty easy to mess up painting thin lines and mistakes are really noticeable. When I do make a mistake, I often have to repaint the area or whole colors to correct it, especially if I don’t have that mixed color anymore.
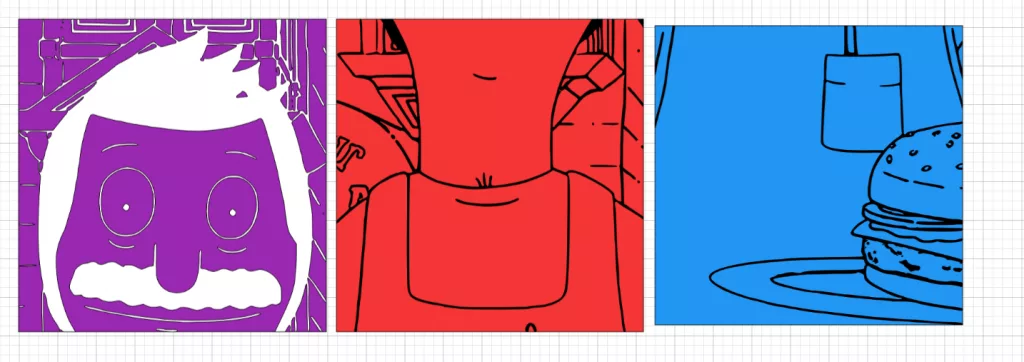
I decided to take my image and run it through the Cricut on some vinyl and make an adhesive stencil. Since my vinyl is smaller than the project, I broke my image into 3 separate pieces making sure all my black lines would be cut out:
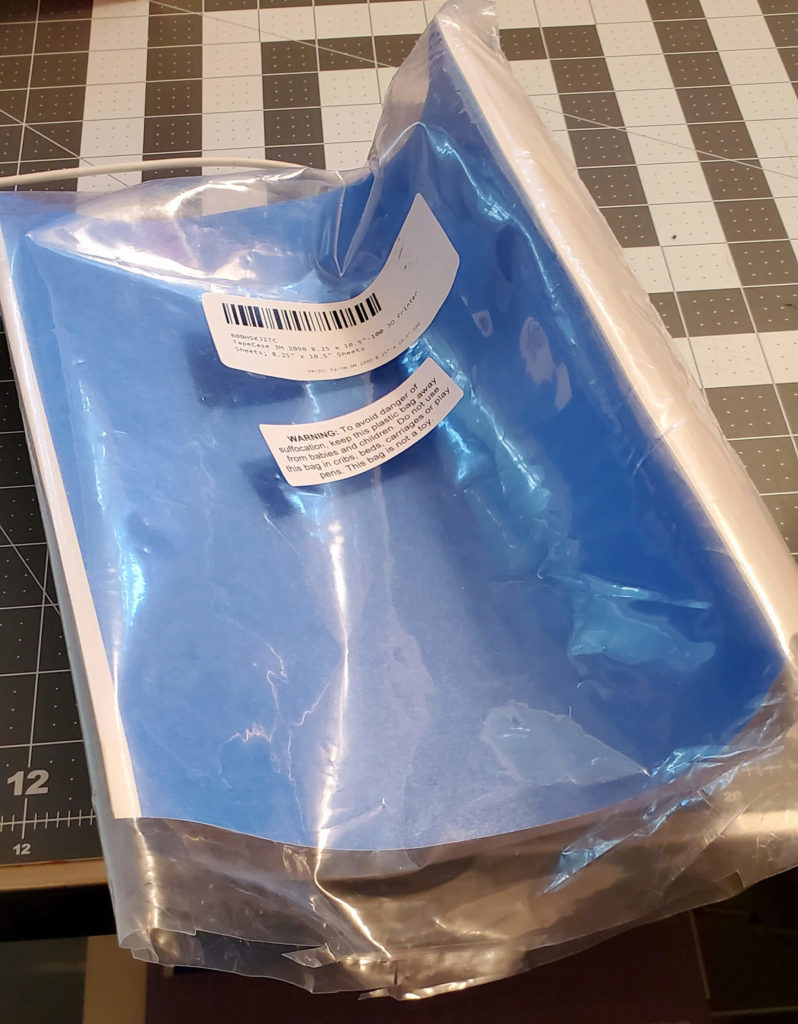
This was where I hit my first roadblock. Turns out, vinyl won’t stick to Gessobord. Gessobord is so slick, not much will. After going through all my adhesives I found painter’s tape will stick and after a quick google search I found painter’s tape also comes in sheets. And, of course, Amazon sells them in packs of 100.
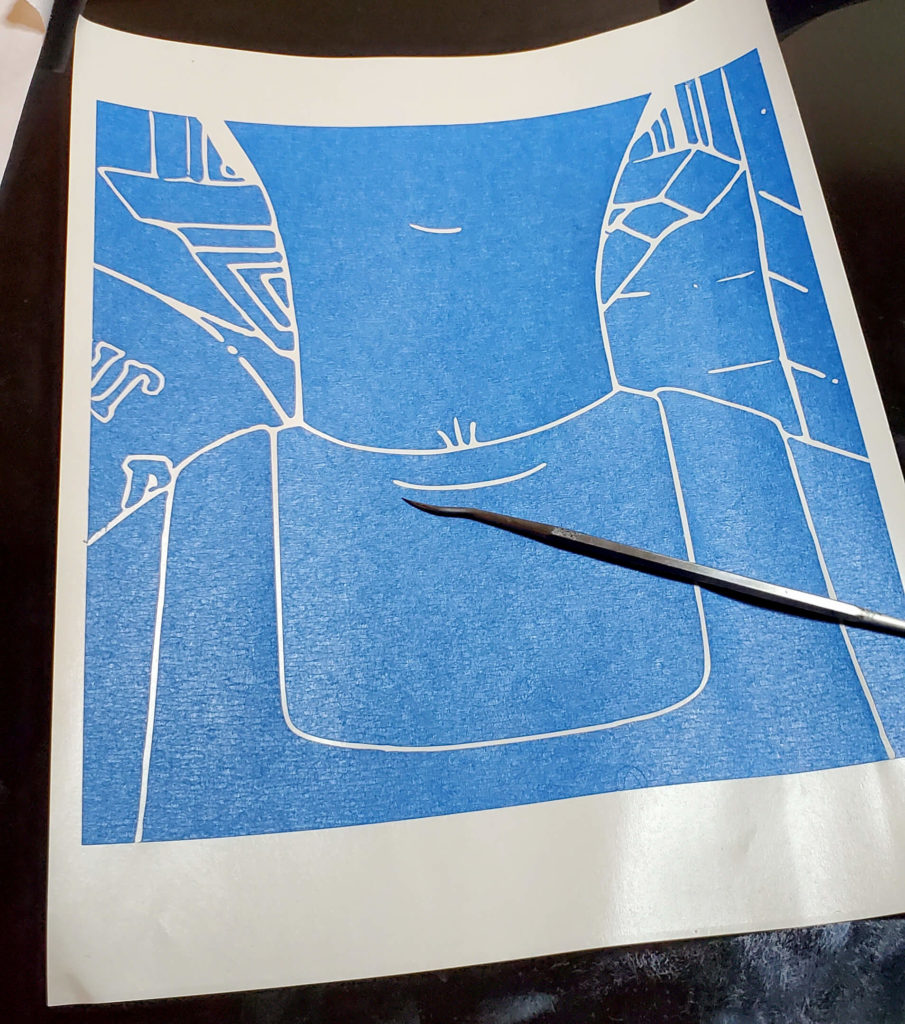
I re-cut my design out on the painter’s tape and was back in business.
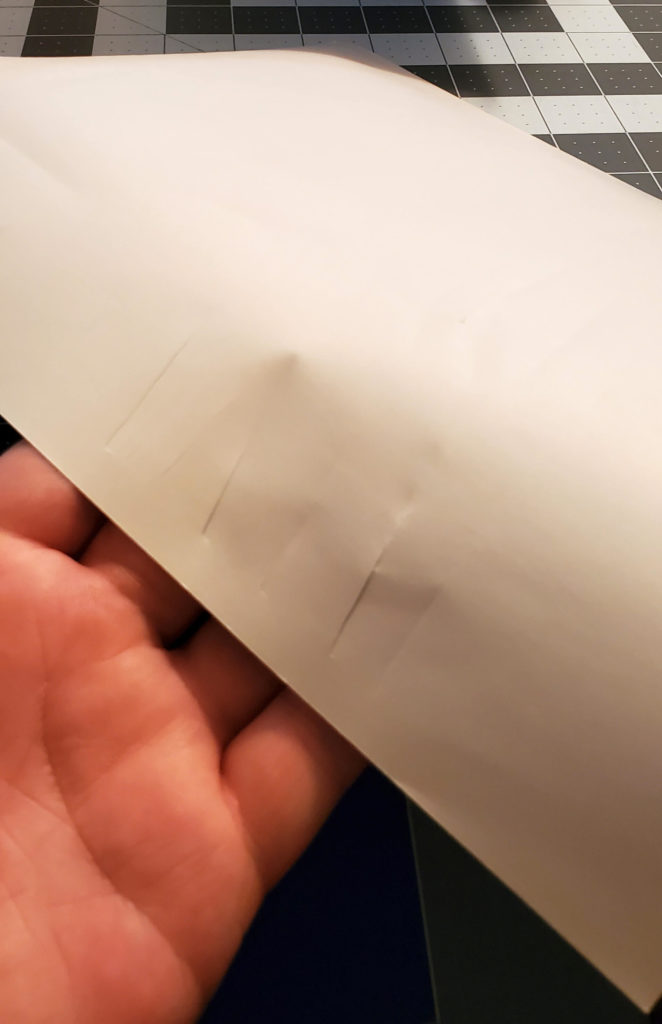
One thing I did notice about this product is that the Cricut did like to cut through the backing towards the edges of the design. I just put some scotch tape over the cuts and kept moving, but you could probably make some adjustments to the settings if you see this as an issue for your project. I’d also recommend using the light grip mat since the cuts may cause the paper to tear when pulling it off the mat.
Next, I grabbed my dental tool and weeded out all the pieces that should be black lines on my painting.
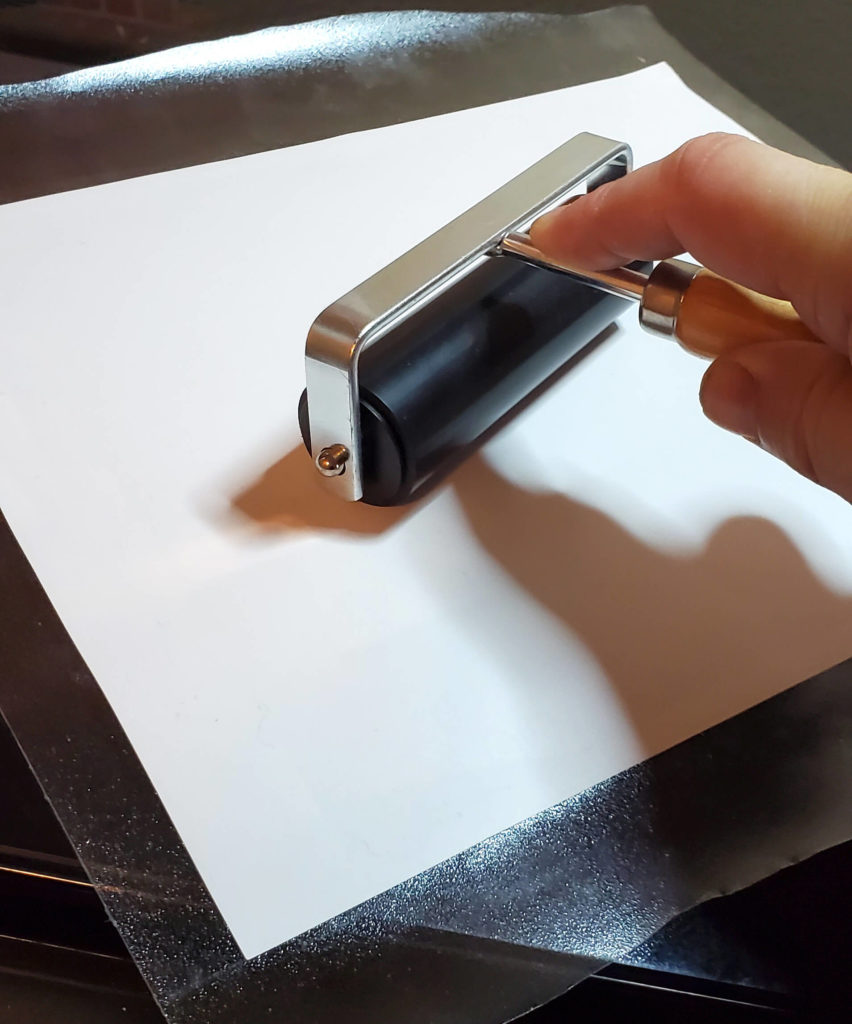
I used a rubber brayer to really get the painter’s tape really stuck to my transfer film. I’m currently using Frisco film, which is cheap and comes in a large roll.
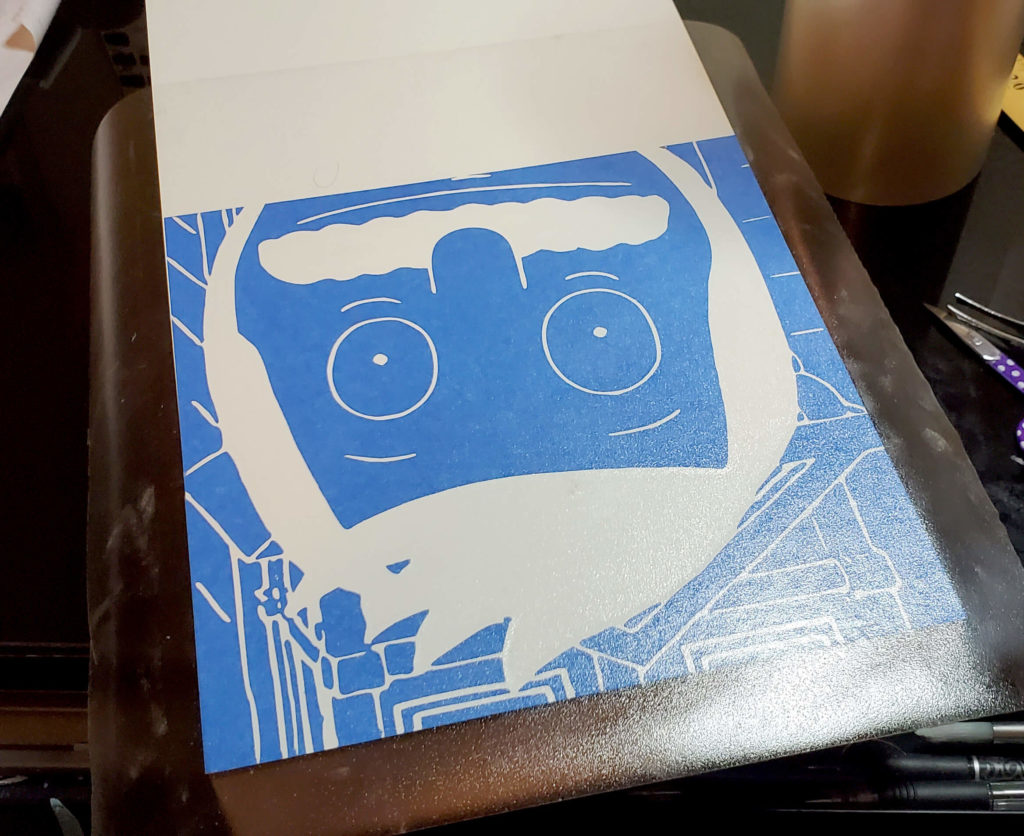
I placed it on my Gessobord and brayed it again before removing the transfer film. If you don’t, all those tiny pieces may remain on the film when you try to peel it off and it’s a huge pain.
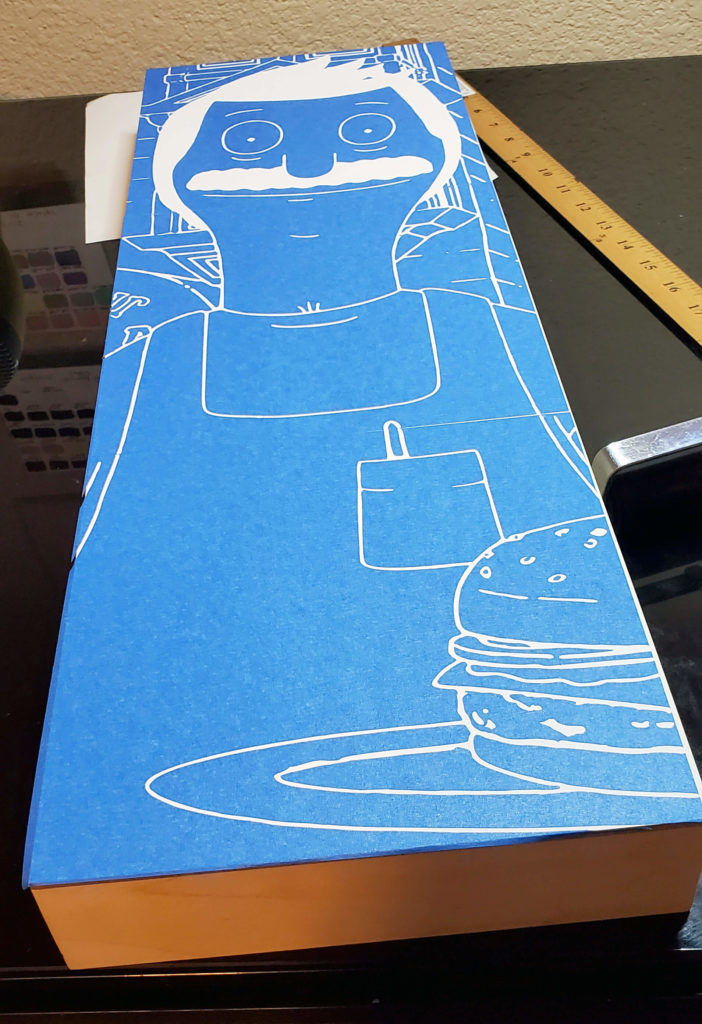
I did this process 2 more times to get the whole design stuck down. I didn’t get it down perfectly straight and the design skews slightly to the left, but it’s close enough. I’ll just have to extend some of the lines along the right edge when I’m painting.
I took some Mars Black acrylic paint and painted over the tape where the white of the Gessobord was peeking through.
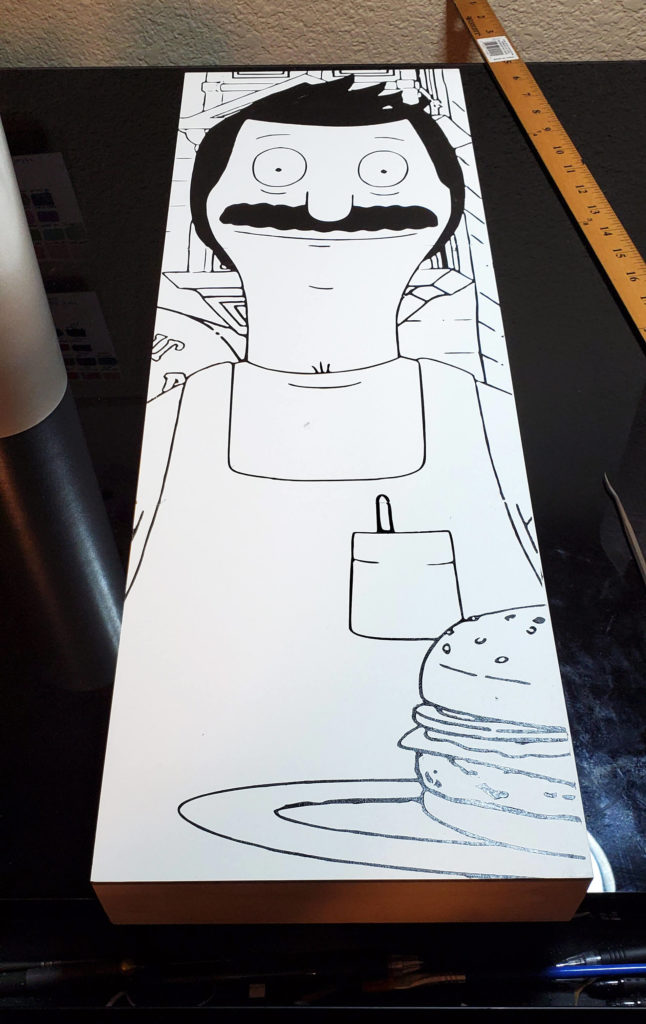
Then, using my dental tool I pulled up the tape and found a perfectly outlined drawing of Bob underneath. All I had to do now was paint in my image like a giant coloring book page.
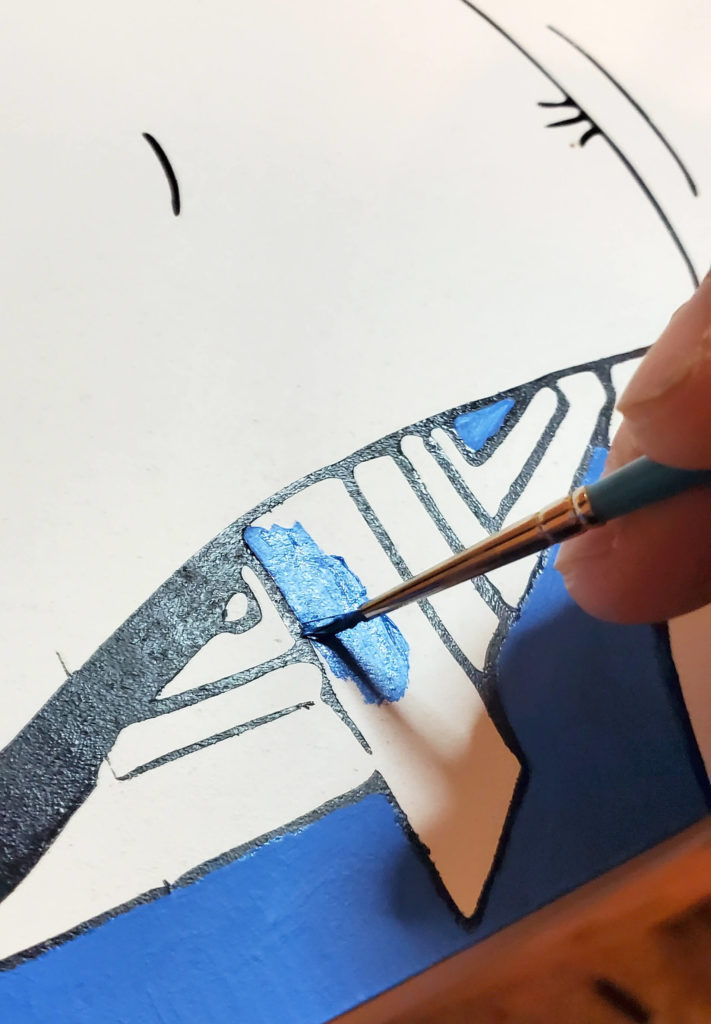
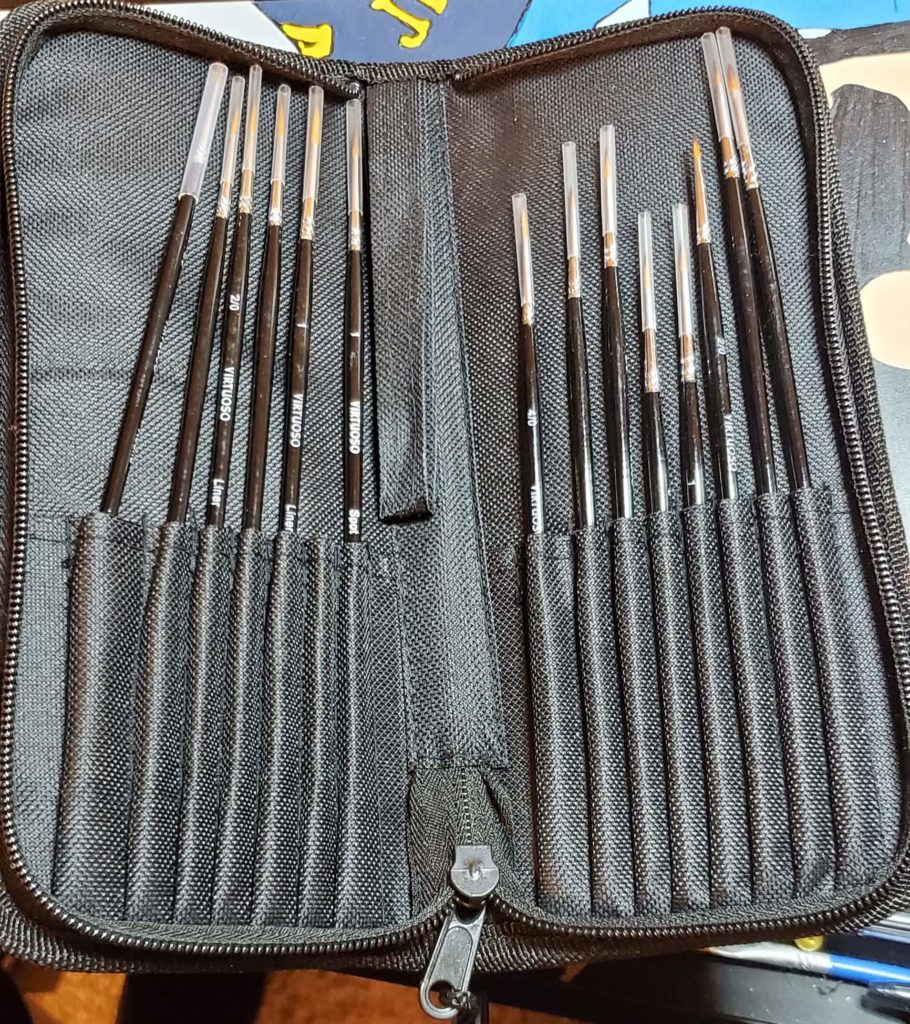
Painting within the lines was actually harder than I thought it would be. While the end result will likely be truer to the image I wanted to paint, I found myself painting with tiny detail brushes to get in all those tiny spots and not cover up the lines. A while back I had bought a set of detail brushes for painting my 3D printed miniatures. They’ve been useful in so many projects, I would highly recommend them.
In my normal painting process, I’m just loosely painting over some pencil marks. I’m overlapping paints to get the lines and I want and even then I’m using my black lines, in the end, to cover up any overlaps or gaps between colors. I realized pretty quickly painting that staying in predefined lines was probably going to take a lot longer.
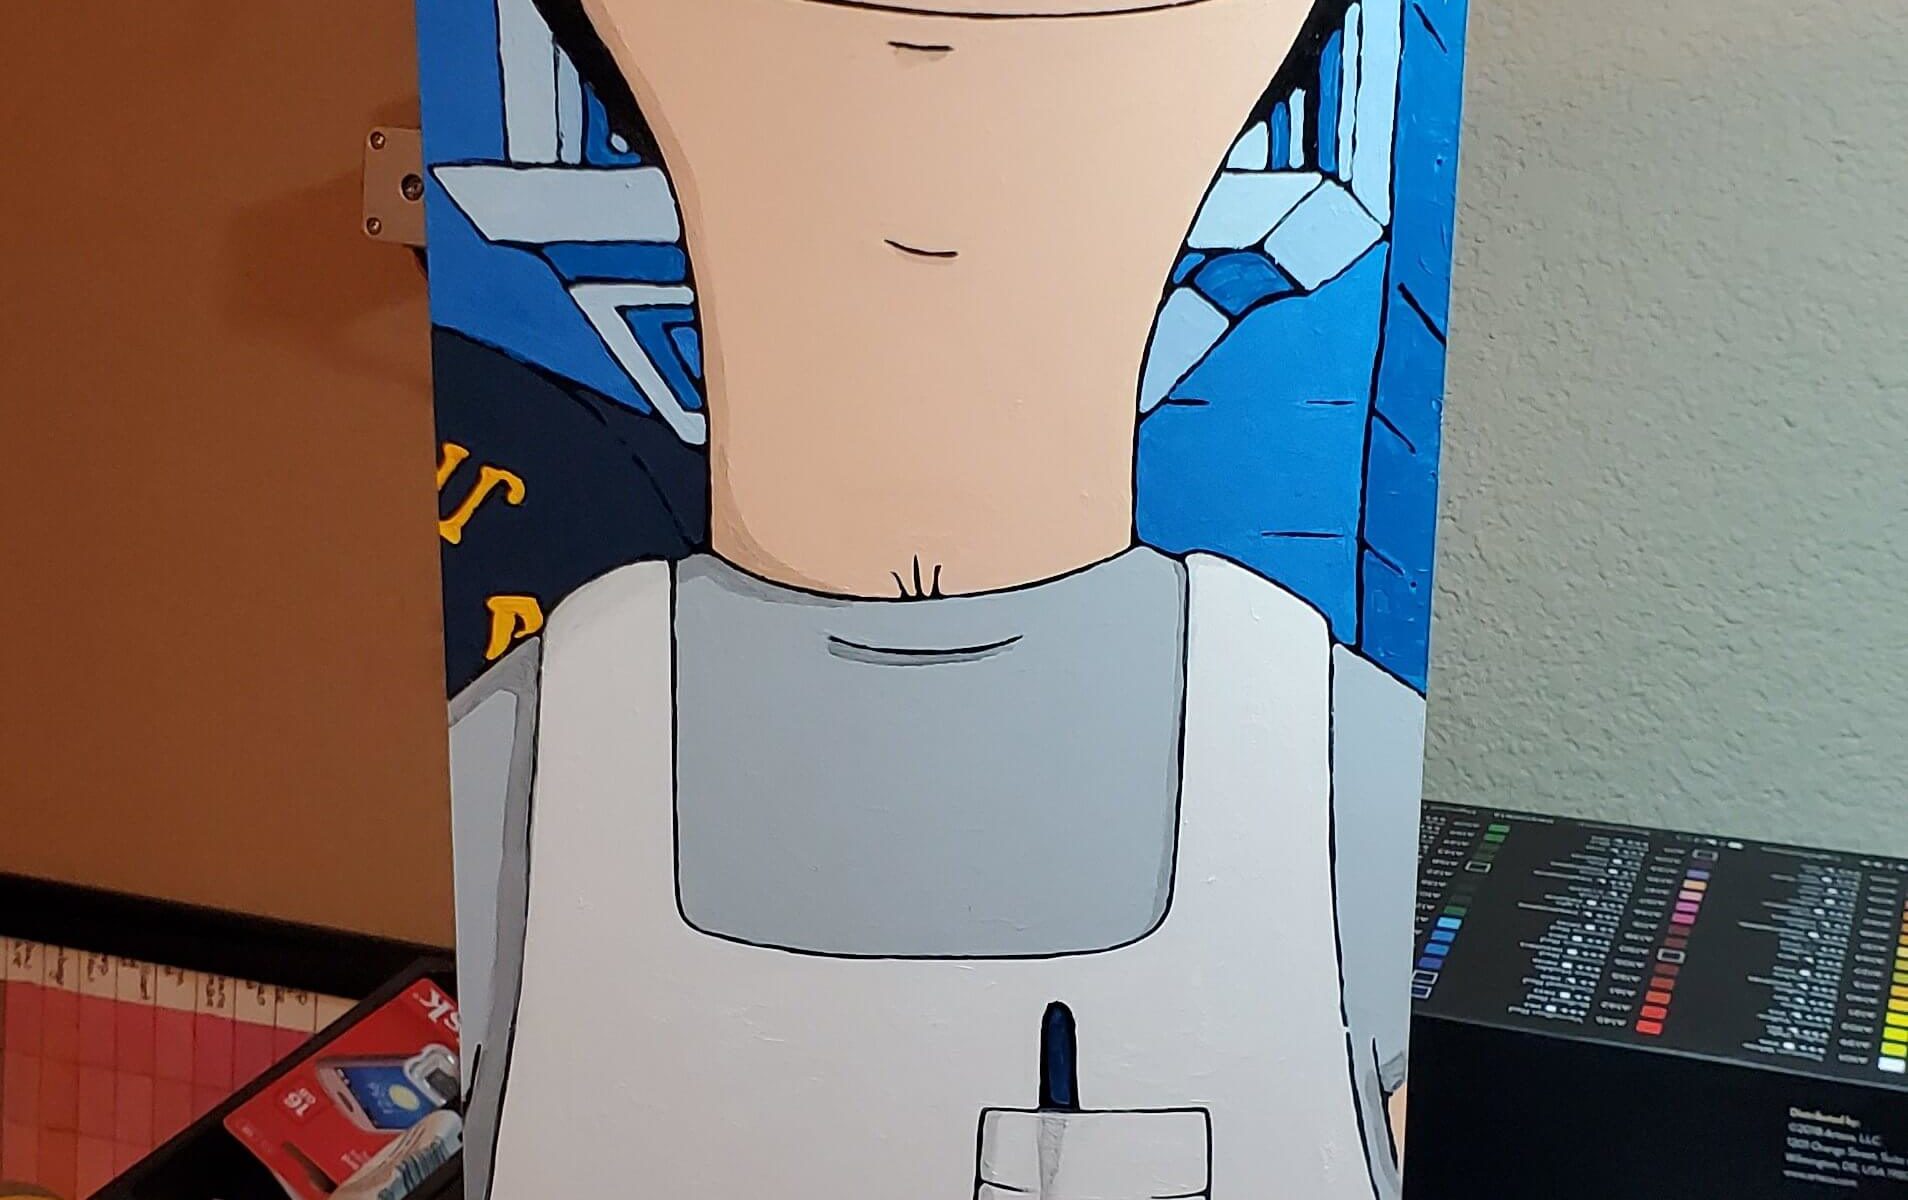
In the end, I came away with a pretty decent copy of the image:
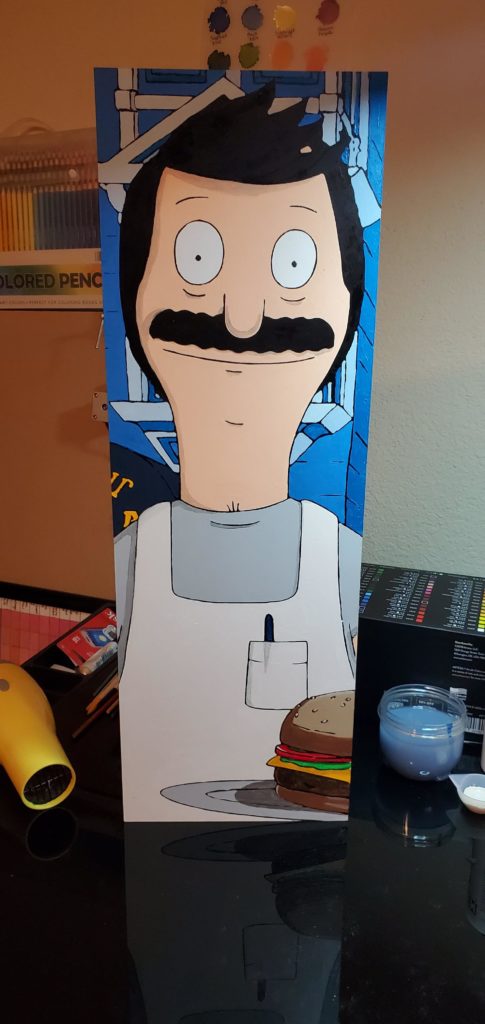
There’s still some work I want to do on it. I’ll need to clean up some of the lines where I wasn’t as careful as I should’ve been and some of the colors are off. Overall, I’m pretty happy with the result.
