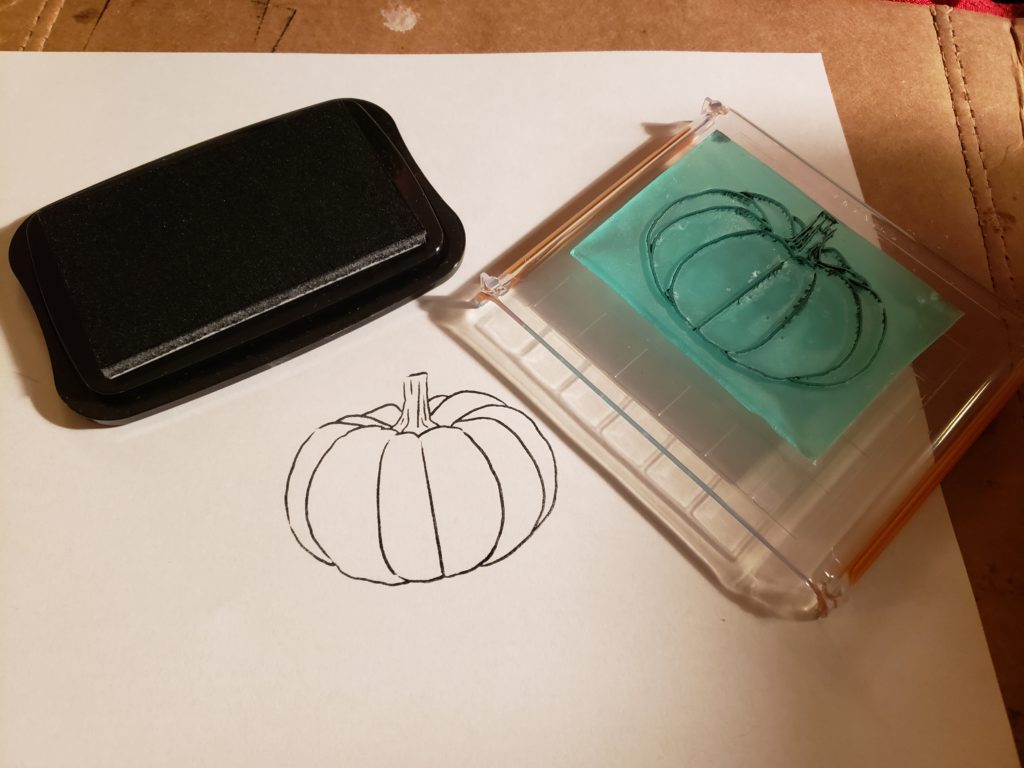
So you want to start making photopolymer stamps? I’ve been posting pictures to social media about making stamps and some have asked how it’s done. I’m no expert, but over the past few weeks of trial and error along with a lot of research, I’ve been able to put together a pretty decent work flow.
Let’s start with what you’ll need. I’ve tried to include everything I use and included amazon, web links and stores where you can find these items.
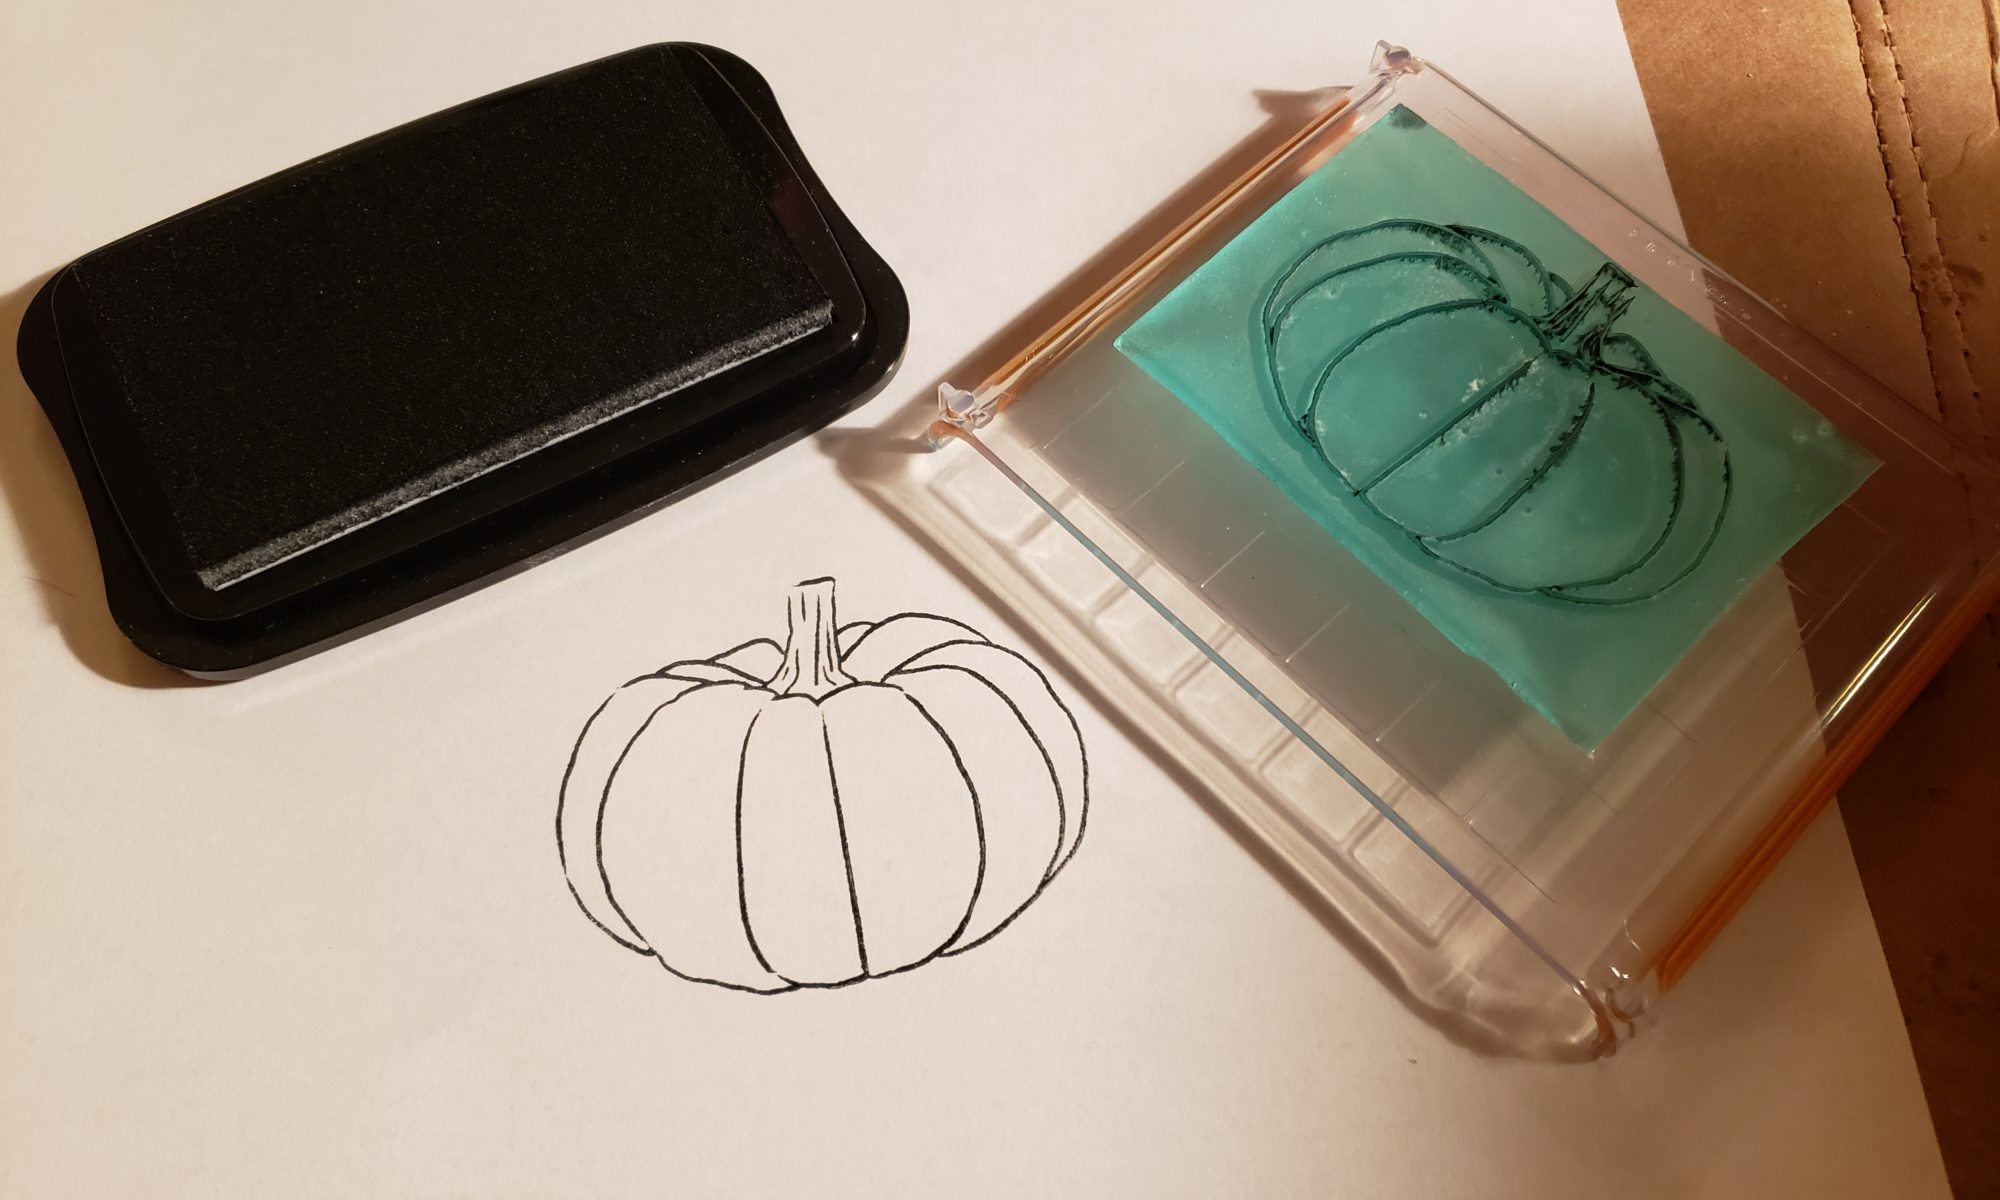
For the stamp I’ll be making in this post, I used my drawing of a pumpkin and you can download it __here__ if you’d like to follow along with it.
Required Materials
1/8″ Thick Mounting Foam Tape: 1/8″ thick tape is not so easy to find locally. You can find foam tape at a home improvement store near the doors and windows (for weather proofing) but they will likely only have 1/4″ or 1/2″ tape. You can use this, but you will need to change your exposure time and you’ll use a lot more photopolymer. It only needs to be 1-sided tape, but double sided will work also.
COLOP Photopolymer Liquid Gel: This is your stamp material. There’s plenty of types out there, but this is the one I use. I’ve bought it through amazon and while it is not a prime shipping product, they do ship very quickly. I’ve always received it within a few days.
Inkjet Transparency Film: You’ll be printing your negative images on clear film. I have an inkjet and this is the one I use.
UV LED Nail Lamp: You’ll need a UV source to expose the image onto the gel. Most people will use a nail lamp since it is a cheap option. If you do gel nails or SLA 3D printing, you probably already have something that will work. The lamp will need to produce around a 400nm wavelength of light, luckily almost all these lamps do, but you should check before buying. The lamp I currently use is 30 watt so you may need to adjust your exposure time if your lamp is stronger or weaker (it’s really trial and error).
Ideally, your lamp will have no bottom so you can set it over your project and a simple on/off switch. Most of them have pre-programmed timers, which is fine, but not very helpful in this application.
2 small pieces of glass: You’ll be using 2 pieces of plain glass to sandwich all the materials in while it’s under the UV Lamp. The best option I found was at Home Depot, back by the doors/windows/weather proofing supplies (the website will tell you exactly where it’s located). You’ll need to consider how large your UV lamps is. If the lamp has a bottom, the glass will need to fit inside the lamp. If it doesn’t, the size of the lamp itself will tell you the max size your project can be. Make sure your glass has no UV-resistant coating. Do not use acrylic sheets instead of glass.
I bought 8×10″ glass pieces and my lamp sits nicely on top of it.
Protective gloves: The photopolymer gel will irritate your skin so you’ll want to wear something while working with it.
Dura-lar Transparent Film: You can use the inkjet film where I say to use Dura-lar, but the inkjet film is not usually cheap nor perfectly transparent. I use Dura-lar wet media film instead (since I already had it in my art supplies). You’ll be using this as the front and back of the stamp while making your stamp and it should be something clear and disposable. You can probably find this in your local fine-art store.
Tape to layer transparencies and to tape your negatives down to the glass.
Scissors to cut up your transparency film and to trim the edges of your stamp.
Kitchen scrub brush to clean excess gel off your stamp. A soft brush is best.
A needle or something pokey to pop any bubbles in the gel.
Paper Towels for clean up and for drying off your stamp when it’s been washed.
Bowl or tray large enough to hold water and your stamp.
A Timer or your phone — placed in a sandwich bag or plastic wrap. You really don’t want stamp goo on your phone and then put it up to your face.
Super Awesome Optional Stuff
These are not required to make the stamp, but if polymer stamp making is something you end up enjoying then you will definitely want some of these.
Ultrasonic Cleaner is not required, but it will make stamp making 100x more enjoyable. You can just clean your stamp in a sink or bucket, but getting all the excess gel off your finished stamp can be a very messy and time-consuming process when done by hand.
Photopolymer Detergent is the cleaning solution you’d fill your Ultrasonic Cleaner with. A small bottle will last a long time since you can clean a lot of stamps in the same vat of solution.
Corn Starch to powder your stamp. They can be very sticky (and should be at least a little sticky). You can powder your stamp to make it easier to handle and store.
Fluffy makeup brush to powder your stamps.
Acrylic Stamp Blocks to stick your stamp onto.
Ink Pad (duh.)
Squeeze Bottle like a ketchup bottle. The gel is not easy to work with out of the manufacturer’s bottle, so find a squeeze bottle with a larger opening to put it in.
Light Pad for lining up your negatives and taping them together. You can use a window or a lamp, but a light pad or light box is a nice-to-have.
Making A Stamp
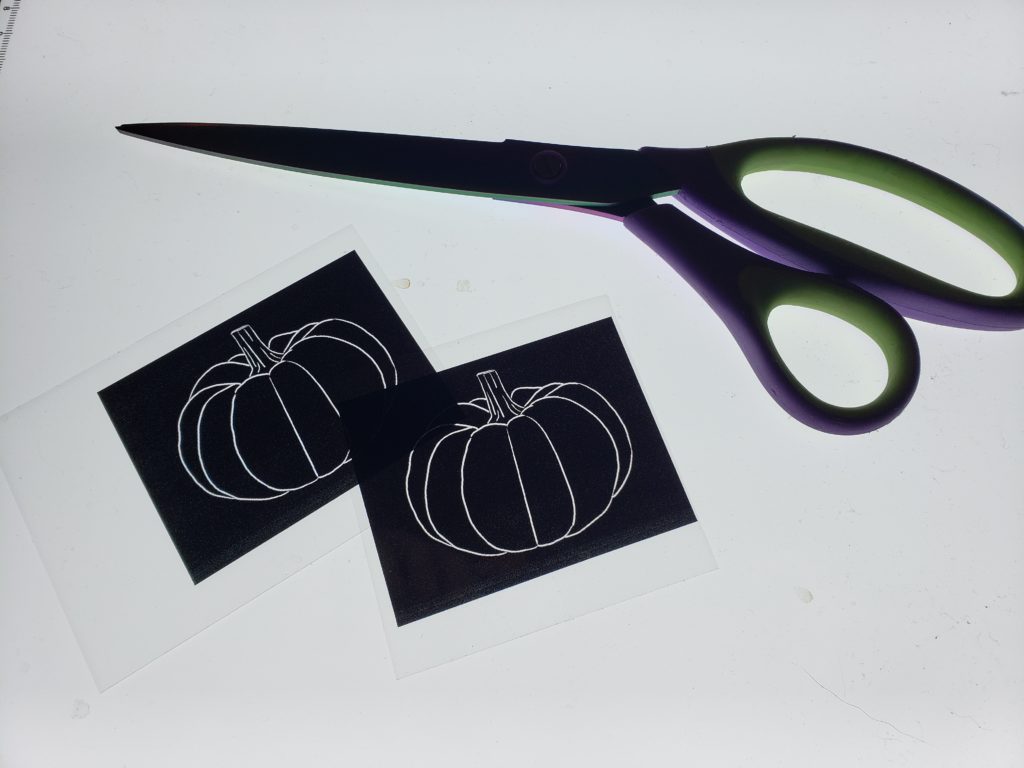
- Print 2 copies of your image onto your transparency film as a reverse/negative image. It doesn’t matter if you’re using some special film for this project that says you only need one print, it’s a lie. Print 2.
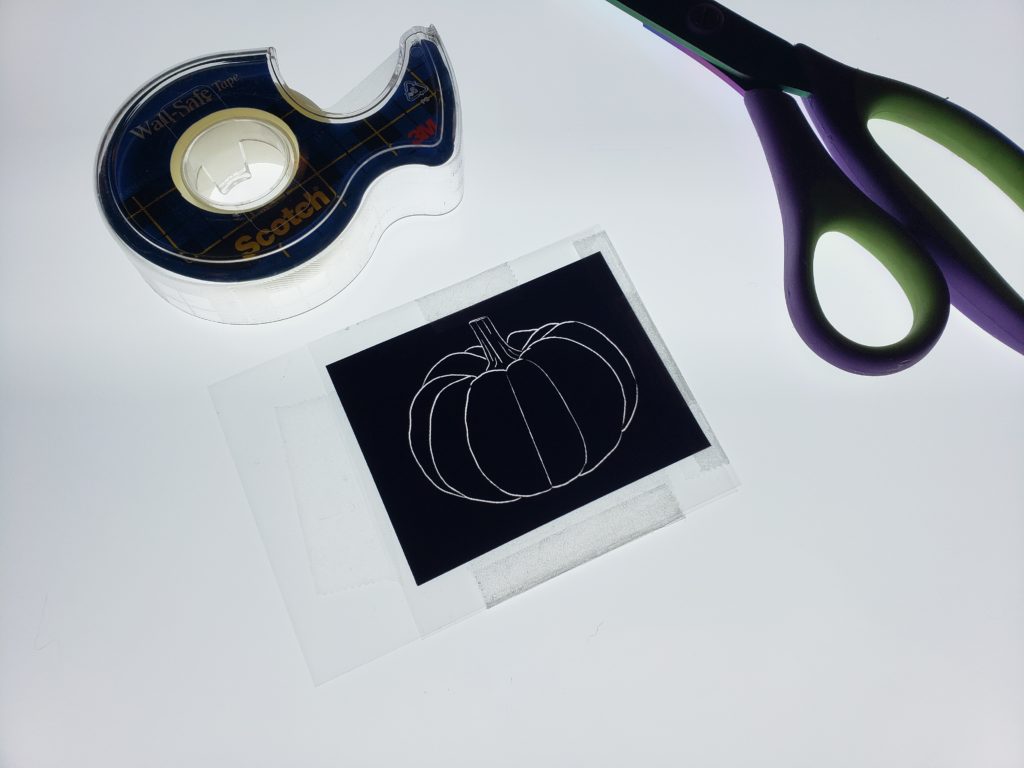
2. Using a light source (I’m using a light pad), perfectly align the images and tape them together. If they aren’t perfect, rip it apart and try again. This needs to be done right or your stamp will be garbage, so take your time.
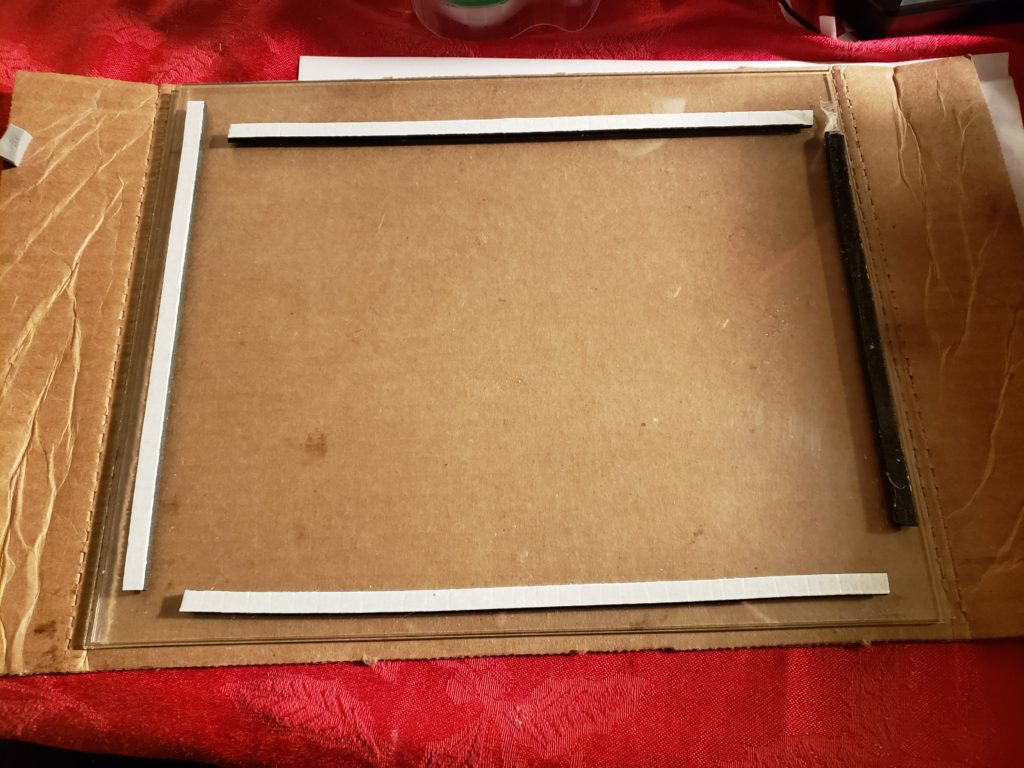
3. Take out one of the sheets of glass and foam tape. Put foam tape around the edges of the glass. If your are using double sided tape, just leave one side covered. One of my foam strips lost it’s paper backing, but it lost it’s tack since then. Obviously, you will only need to do this once and you’ll just leave the foam tape on the glass after this.
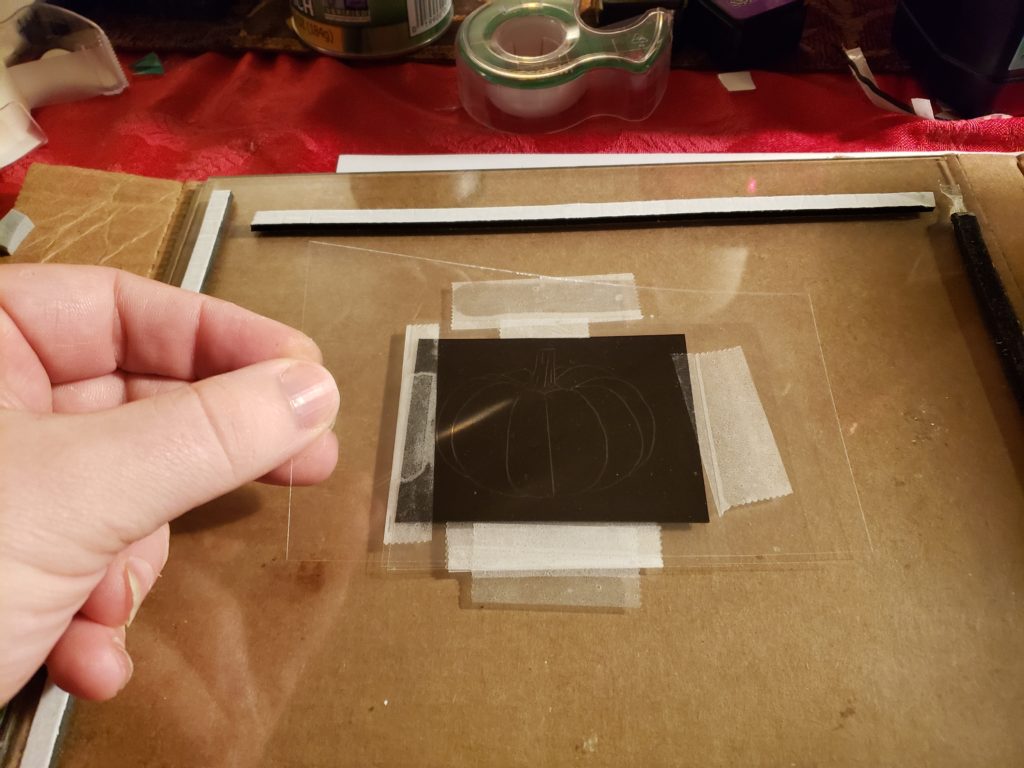
4. Tape your image to the glass. The image should not be reversed/flipped/backwards. If your image has words, you should be able to read it properly.
5. Cut a piece of Dura-lar transparent film that is larger than the image and tape it down over your image. This will protect your image so your can use it again and protect your glass so you aren’t constantly cleaning goo off it.
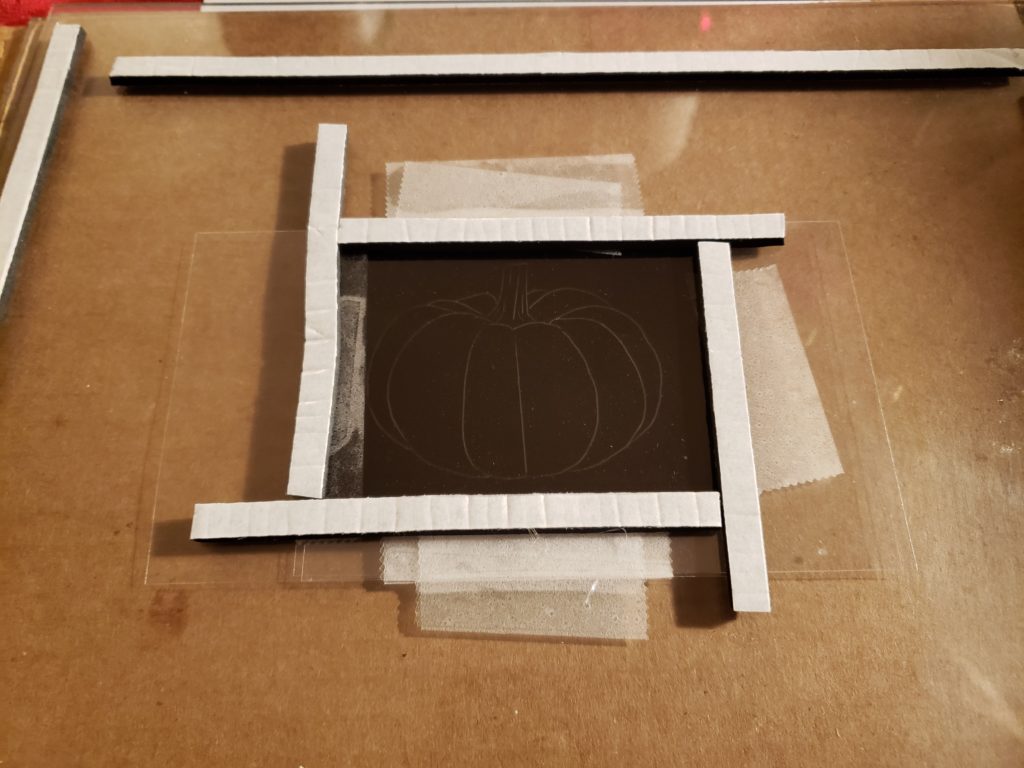
6. Surround your image with foam tape making a dam that will hold the gel over the image. There can be small gaps. The gel is very viscous and won’t flow out easily.
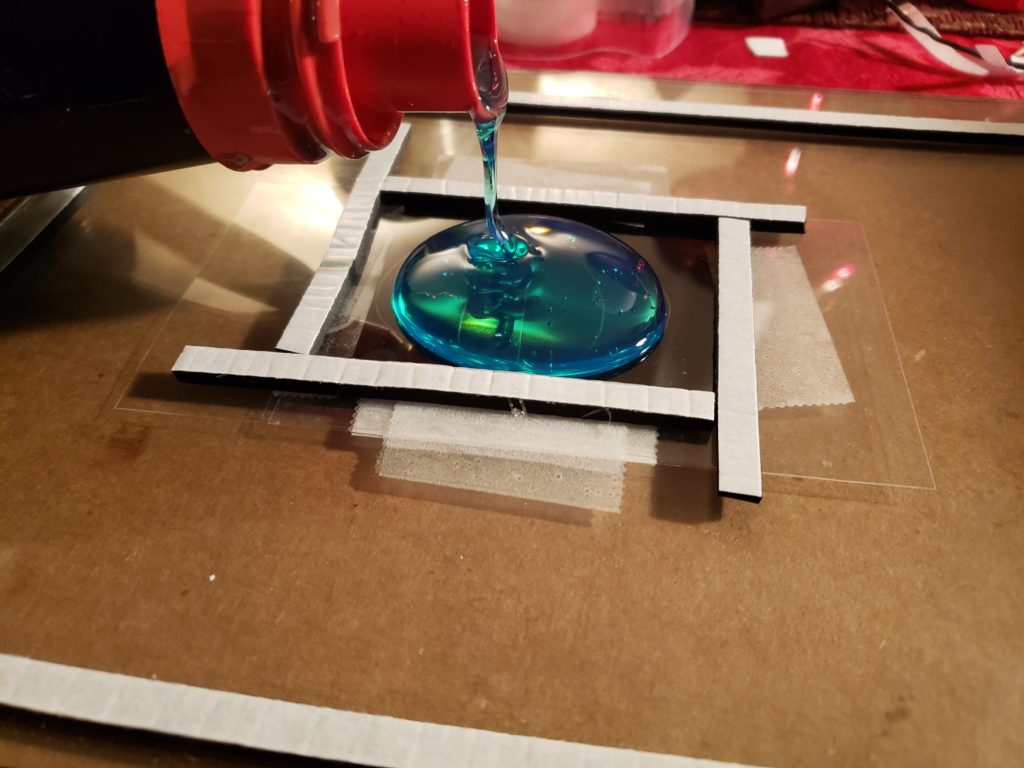
7. With your GLOVES ON, slowly pour some gel over the image. Make sure to stop early. I usually try to stop when it’s about 80% full and allow it to spread out on it’s own. Also, the viscosity of the gel is high enough it will not want to stop pouring so you will need to give yourself some time to stop it. You may want to have the cap ready to scoop up the gel mid-stream and cap it.
If you have a ketchup bottle, or something similar, you should definitely use that instead of pouring directly from the manufacturers bottle.
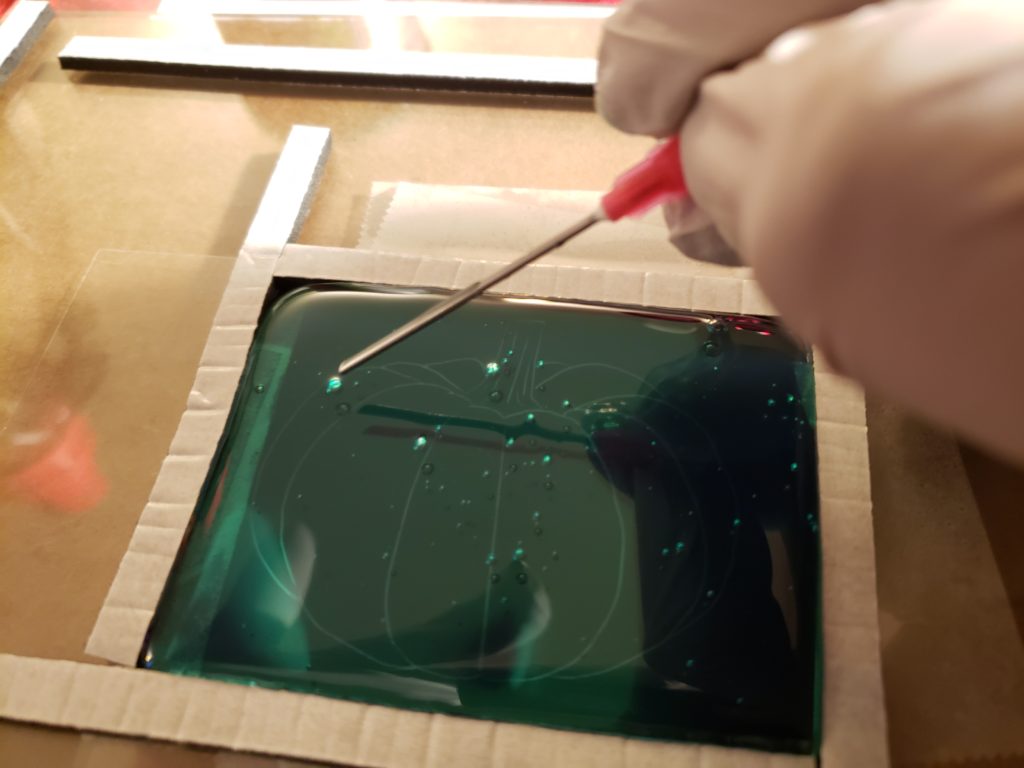
8. Get out your pokey tool and pop any bubbles. Keep in mind, what you are looking at is the backside of the stamp, so don’t worry about it too much.
After a few stamps you will learn how to pour it so that it doesn’t produce so many bubbles.
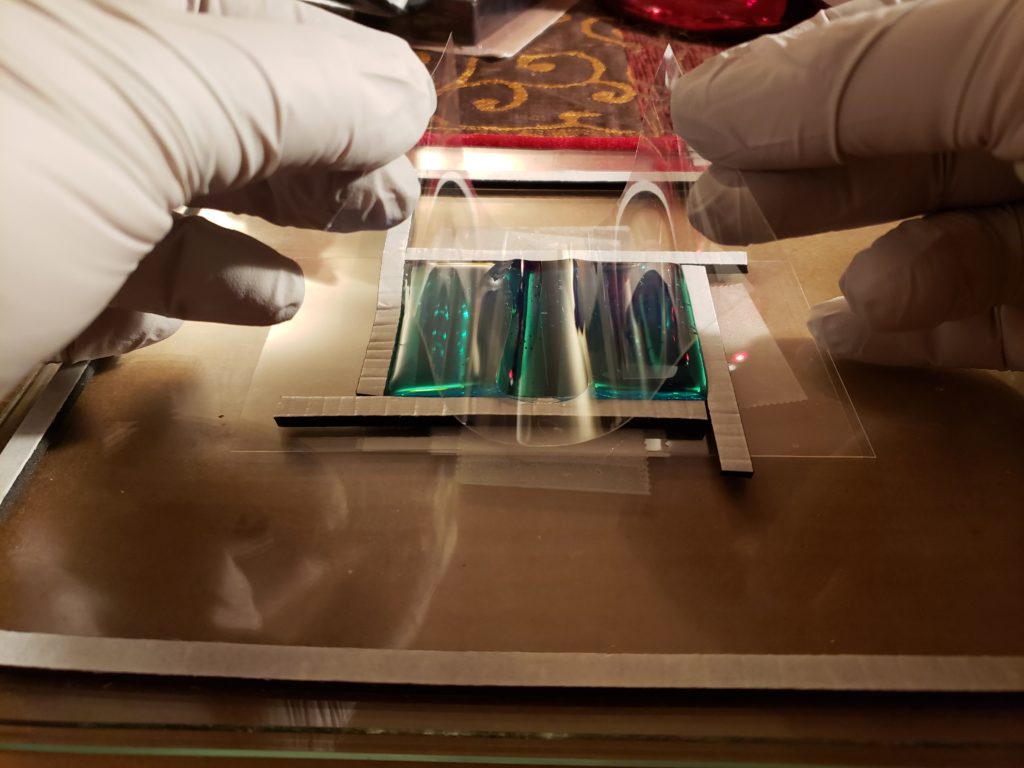
9. Take another piece of Dura-lar and place it on top of the gel, slowly laying it down starting with the center and moving outwards to avoid creating more bubbles.
You will likely have some overflow here or in the next step, and that is okay.
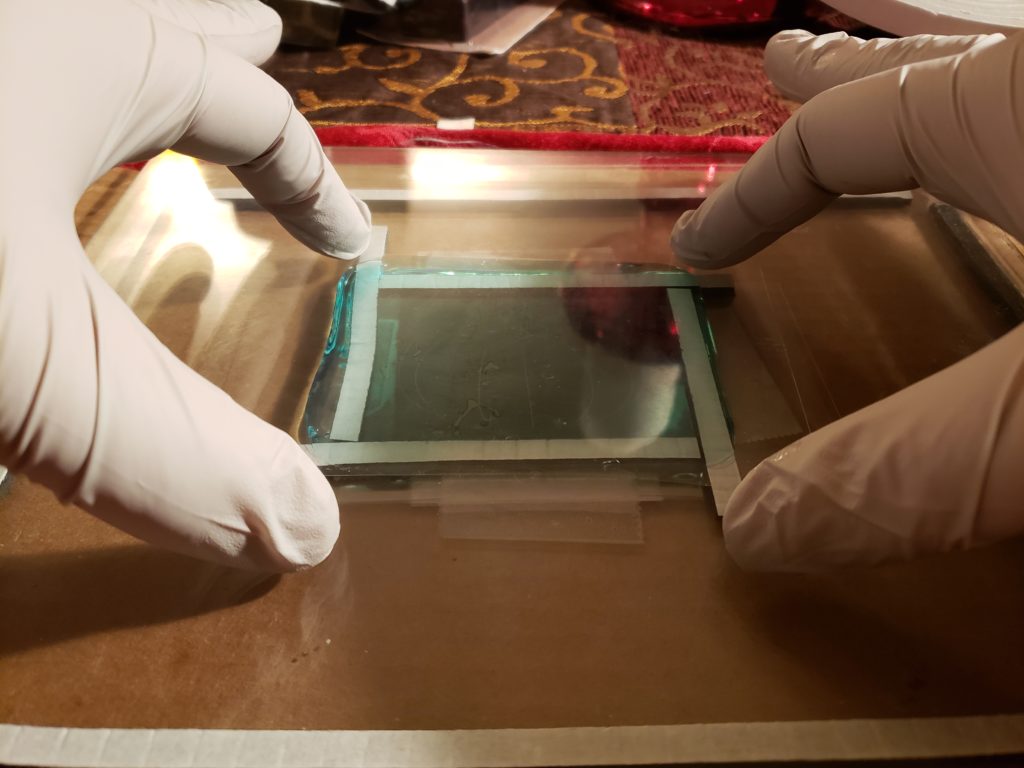
10. Take the second sheet of glass and place on top of your project. Gently press down so that the glass is resting flat on the foam strips. This will make sure your stamp an even thickness all the way across. Again, a bit of overflow is okay. It can also make removing the stamp easier in one of the next steps.
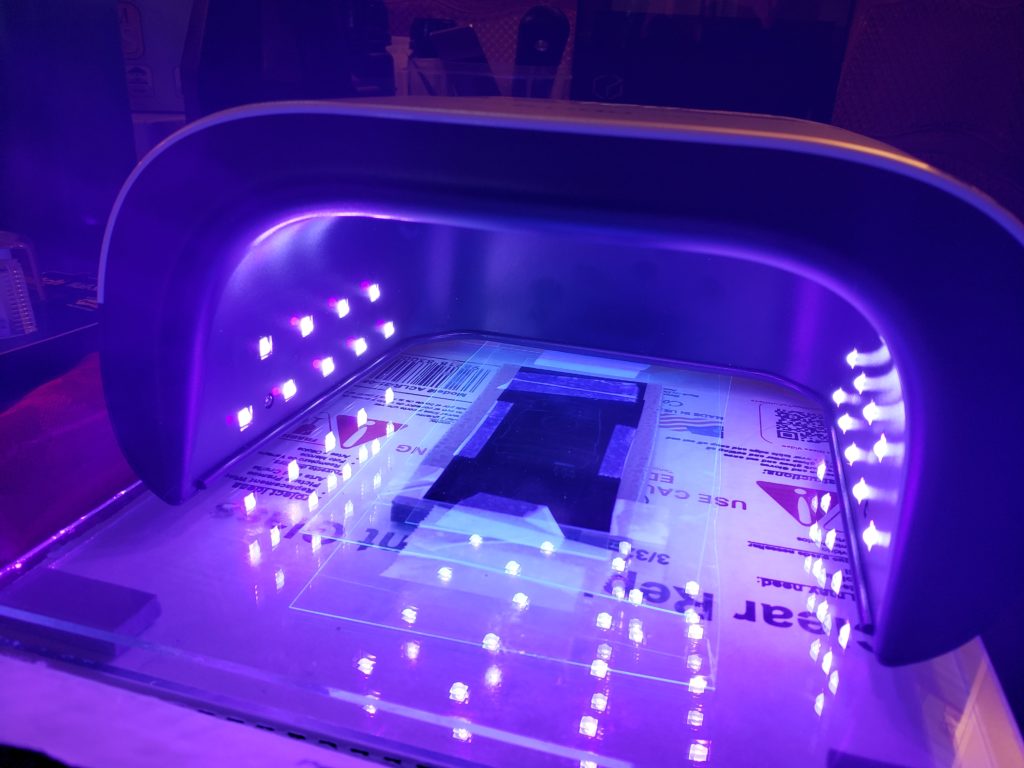
11. Place your UV lamp over your project (or place your project in your lamp, depending on your set up). Timing is crucial. Using your timer expose gel to 15 seconds of UV light. This will create the back of your stamp.
Remove the lamp, flip the whole project over (glass and all), place the lamp back on top and expose the front of the stamp to 35 seconds of UV light. This will allow the UV light to shine through the non-black areas of your negative image and attach to the back of the stamp.
**If you used a thicker foam tape than I specified in the materials list, you will need to experiment with the time it takes to properly make a stamp. From my experience, the gel solidifies at a pretty constant rate. If your foam is twice as thick, it will take about twice as long.
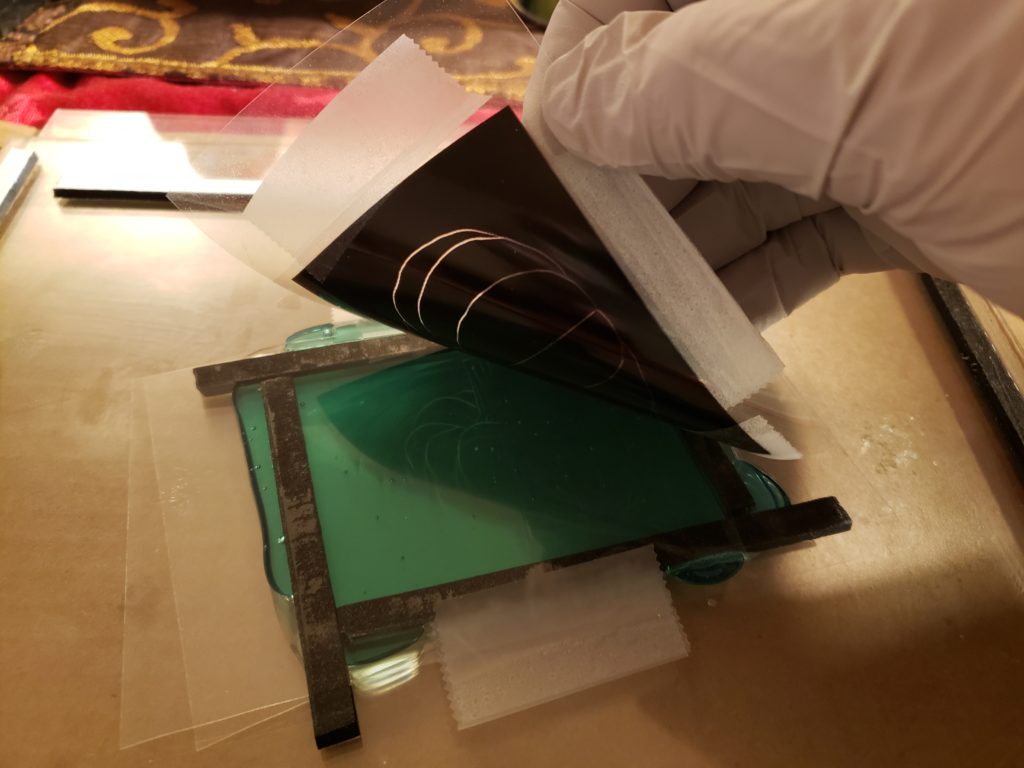
12. The stamp is made and you can remove the top piece of glass from the project and then peel away your negative image. If you plan on making copies of the same stamp, put the image aside somewhere dry. Transparency film, especially the ink jet ones, are not waterproof and a drop of water can cause the black ink to come off.
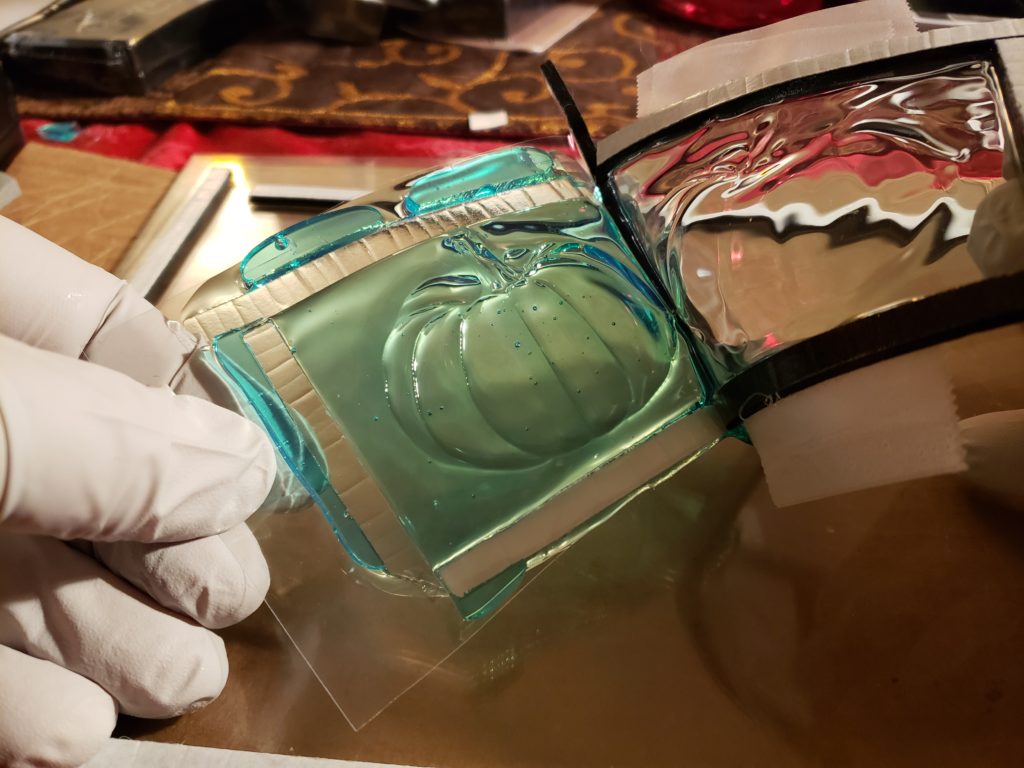
13. Slowly and gently pull the Dura-lar off the stamp. The top of the stamp will still be mostly gel and the bottom will be solid.
The Dura-lar that was on the top of the stamp can be thrown away. Since the bottom of the stamp is solid, you can often reuse the bottom piece of Dura-lar on the next stamp.
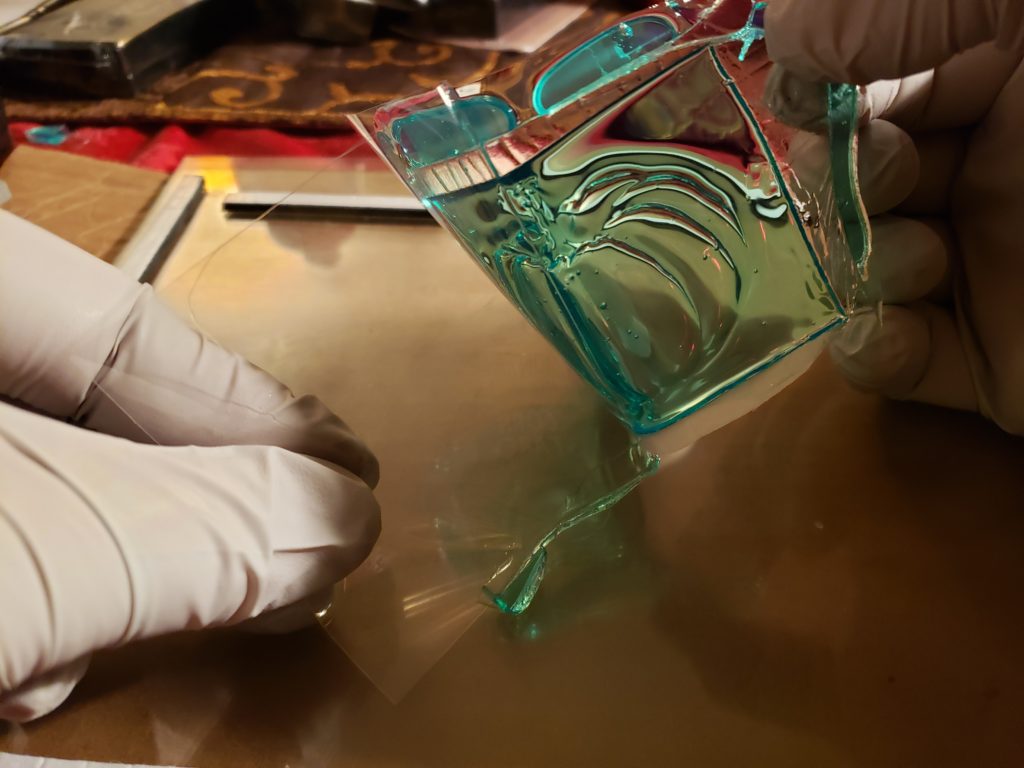
14. The gel that overflowed earlier is also solid. I usually peel off the stamp from the backing by grabbing one of those pieces and avoid getting my gloves full of gel.
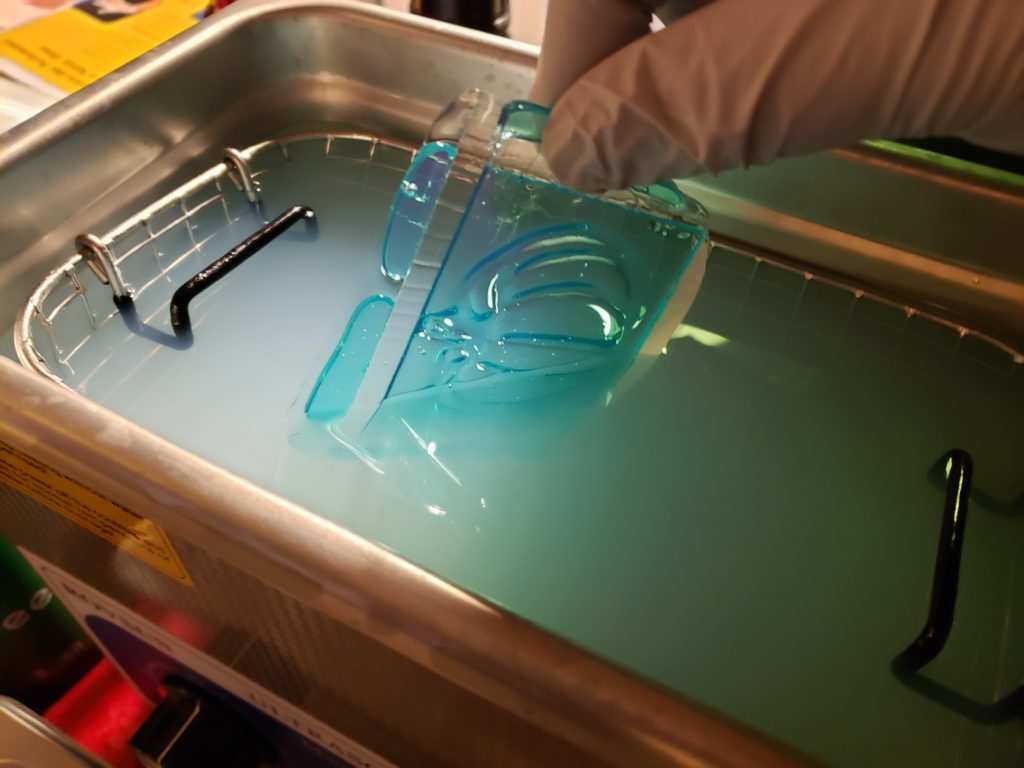
15a. If you have an ultrasonic bath, toss your stamp into the detergent solution and let it run for a while. My guess is that it will take about 20 minutes. I do not have that kind of patience and usually pull it out after 10 minutes and help it along by giving it a gentle scrub and tossing it back in for another minute.
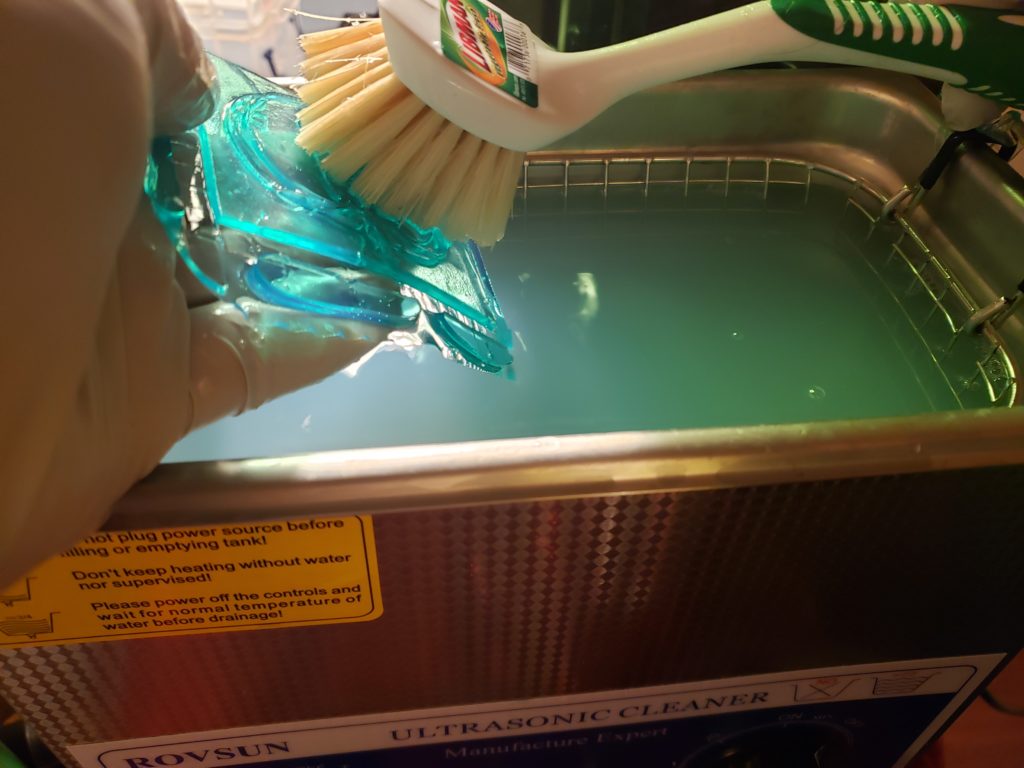
15b. If you do not have one of these contraptions, you get to take your stamp to the sink with a soft scrub brush. I would still suggest using the detergent since it works so well, but you can get away with using dish soap. It will just be a tedious soak & scrub process. After scrubbing a few stamps you will hate your life, but that is the life you chose by not getting an ultrasonic cleaner.
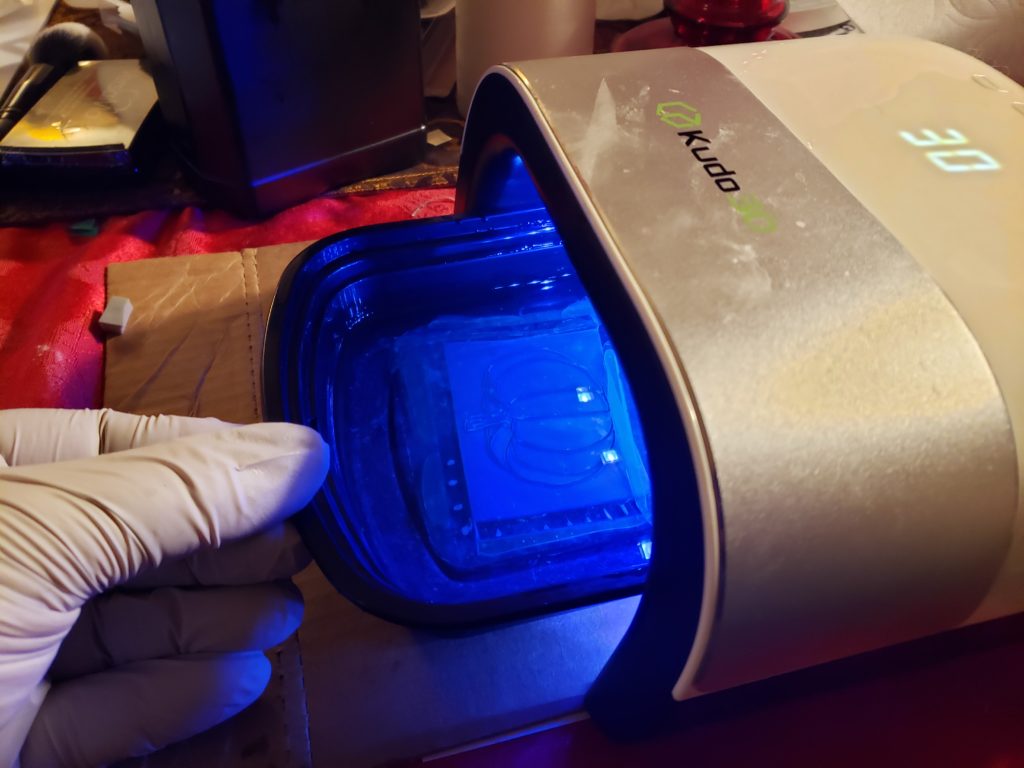
16. Once it’s clean, place your stamp in some water and put back under UV light for a few minutes.
To be honest, I never understood this step. I get that you want to cure the stamp as well as any remaining gel, but I don’t know why it should be in water.
Every reference I found says to cure it in water. So just do it.
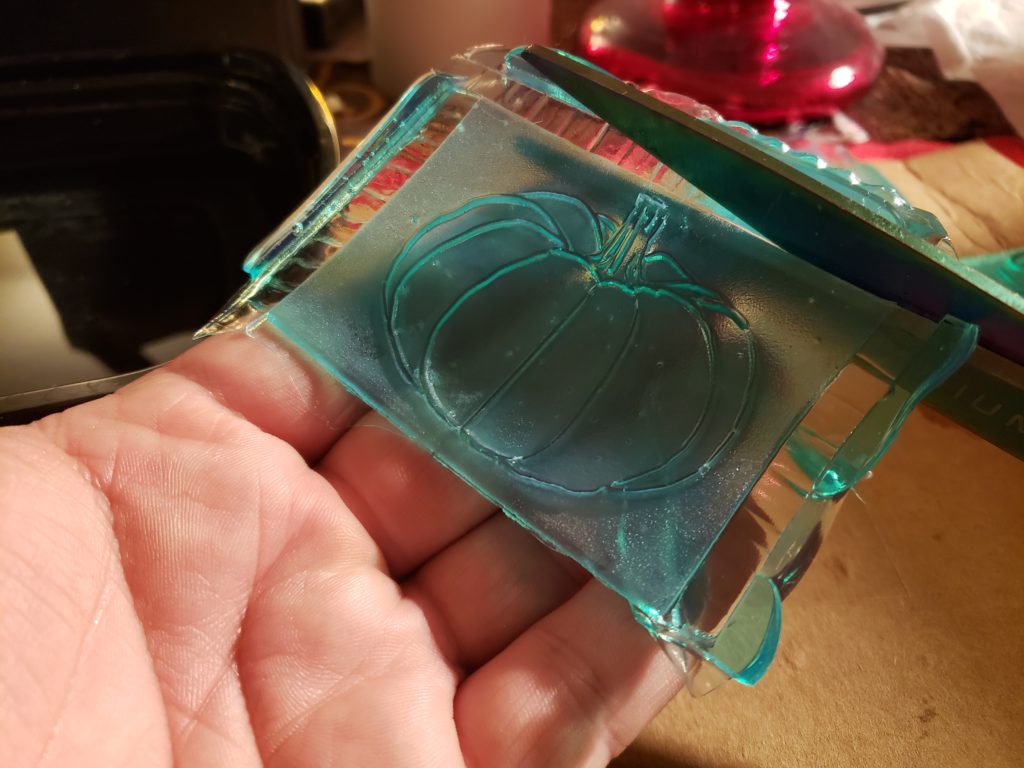
17. Pat your stamp dry with some paper towels and trim your stamp with scissors.
The stamp will start to become tacky pretty quickly.
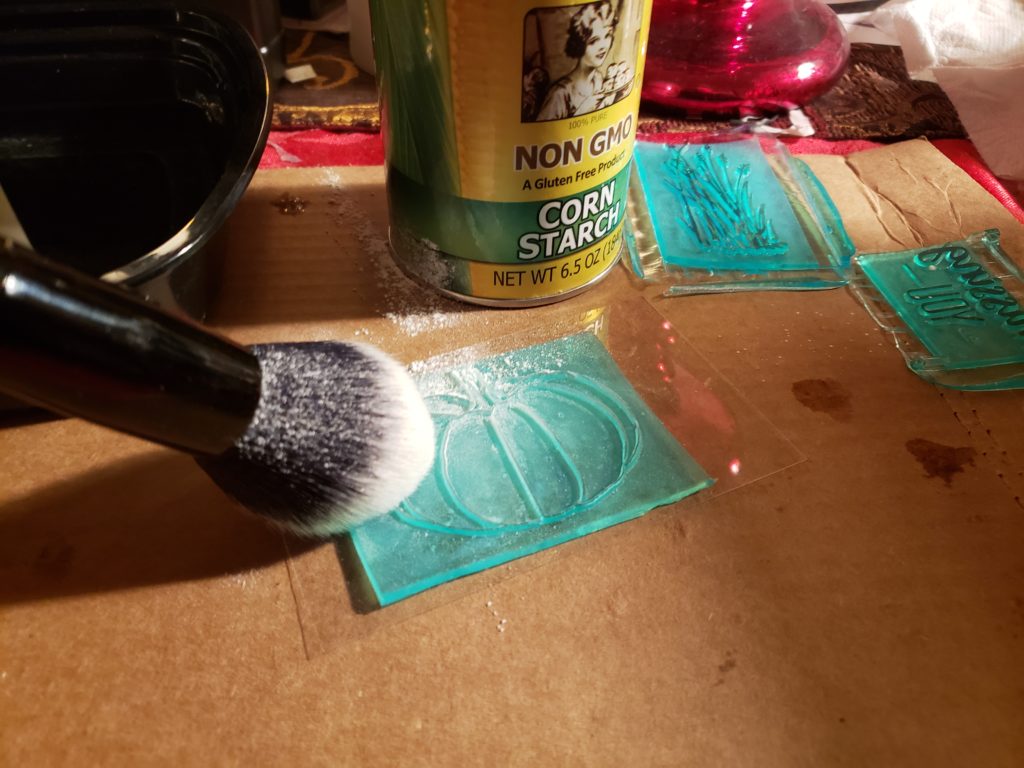
18. I usually cut a fresh piece of Dura-lar and store the stamp on it. You want the backside to remain sticky but you can dust the front with corn starch to keep it from sticking to everything and picking up all the cat hair that you are pretending isn’t everywhere.

19. When you’re ready to use it, just slap it on your stamp block of choice and stamp away!
I had absolutely no idea how many steps it took to make a stamp. I pictured it like being 3-d printed. Your instructions are really clear and understandable, well done!
Great tutorial, did you use a special detergent solution?
Yes I used a washout detergent. I just got a small bottle. You can use the same detergent for a lot of stamps so it will go a long way.
https://www.rubberstampmaterials.com/photopolymerdetergents.aspx
Thanks I will try that.
Thank you so much for this post! I have been trying to figure out how to make my own clear stamps for a while now. The MINT machine can only make tiny ones and the refills are hard to find and the Imagepac refill sachet re-fills are so expensive, this seems much more cost-effective.
I’m glad you found this useful! I looked into mint as well and couldn’t see myself paying that much for each stamp or being locked into their system. Please post any links if you post photos anywhere 🙂
Thanks for the advise
Great post!
Just used these directions to the letter. An excellent breakdown of instructions with photos! My son and I made stamps and were very pleased how they turned out. We used a clear stamp resin instead of the one listed because I don’t like the tinted color. Thank you so much!!!
Thank you for coming back and letting me know! I’m glad you found this post helpful.
Back when I wrote this, I could not find clear resin anywhere. Which product did you end up using? I may have to give it try!
Very nice illustration and useful in making stamps at home, well done
I’ve been searching for a way to make my own stamps although I can’t wrap my head around this. I’m painting an art medium on, how deep is the image? Right now the commercial stamps I’m using are Stampendous and other red rubber stamps. Would these polymer stamps achieve the same type results? The instructions seem very excellent and straight forward.
Sara,
I’m not sure I understand how you are using the stamps but following these instructions would produce a stamp comparable to what Stampendous calls a rubber cling stamp.
The thickness of the stamp is determined by the height of the mounting foam tape that is adhered to the glass. In this case, I chose 1/8” mounting foam tape so the overall thickness of the stamp would be 1/8”. You can select whatever thickness you want, but you’d have to experiment with the timing of exposure to light.
This was an excellent tutorial! Thank you! I have everything to make them and can’t wait to give it a try 🙂
I wonder if you have tried this process with a photo resin (similar to those used in 3D resin printers), for a more rigid clay stamp?
I’ve printed stamps before, both rigid and flexible types, but I haven’t taken the resin from the printer and tried it with this method.
My recent resin purchases were all opaque colors so I’ll have to see if I have any old clear resin laying around to try this out.
What a perfectly clear and precise tutorial that is easy to follow! Right down to the cat hair warning so many crafters suffer dealing with! Thank you for sharing your experience and knowledge!
Not only are these perfect instructions but they are highly entertaining (I giggled a couple of times). Thanks so much for putting forth the effort.
Thanks so much for this! BUT you need to remove “acrylic” as an option instead of glass in the “Required Materials” section.
ACRYLIC WILL NOT WORK! I learned this the hard way. Acrylic is by nature UV-resistant, and the stamp will not expose if using acrylic sheets instead of actual glass.
Polycarbonate is a better option than acrylic (it lets some UV through), but there’s really no substitute for actual, standard window glass. Folks also need to be careful not to buy glass meant for picture frames, which almost always has UV protection added to it.
Thank you! Great information, I’ll get this updated.
Hi, Thank you for this information. I don’t want to make stamps, I want to make a Grid Mat, Waffle Flower makes it. It’s made from high quality photopolymer. Can I make this with the Colop Photopolymer liquid gel? Do I still need to cure it with UV ? Thanks Victoria
Hey Victoria. I’m not familiar with the grip mat, but I watched a quick video and I don’t see why you couldn’t easily make one. Just use use the mounting foam tap to create the shape of your mat, flood the area with clear photopolymer and cure.
You do need to cure photopolymer, but I believe you can just put it in the sun for a while if you don’t have a uv lamp.
Is there any toxicity concerns with this photopolymer stuff? like is it safe to breathe?
Generally, with resins, there is more concern for contact dermatitis. You should definitely wear gloves and avoid skin contact. I would also consider goggles or a face shield, especially if you have the habit of touching your face or rubbing your eyes. And of course, wash your hands after using resin or after touching equipment that may have resin on it.
I don’t personally think masks are necessary as pouring this material should not create any aerosols or mists and I don’t use these products in high temperatures. I would make sure, like with any chemical, that I am in a well ventilated area.
If you are working with resins every day and have constant exposure, I would definitely look into a respirator that would protect you from vapors. I do not believe a dust mask, N95 or other masks you may have laying around will do that. You would need a gas mask or some other type of air-purifying respirator.
do the images need to be black and white or is it just black with transparent where the design is?
My printer doesn’t print white, so the end product would be the same either way. You want black with a transparent design.
Do you think you could use one of those photopolymer plates (such as this one https://www.amazon.ca/SM-SunniMix-Photopolymer-20x30cm-Letterpress), instead of the gel? those seem a lot cheaper.
sorry, I just posted a broken link, this is the correct one: https://www.amazon.ca/dp/B09LDCDRXW
I took a look at this product and I have never used a photopolymer plate so I’m making plenty assumptions while answering you based on what I’m seeing online. I glanced at some YouTube videos and overall it does appear to be a very similar process. I do see a few differences:
1) You will end up with a thin hard stamp instead of a thicker, rubbery and more transparent stamp. My concern is that this may not work with some of common stamping tools that are set up for a thicker stamp.
2) All the videos I see of people using this product are scrubbing the plate manually and it’s not clear if you can use an ultrasonic cleaner. The automated machines for plate cleaning look like they’re basically power washers with a high pressure sprayer.
3) The plate is not sticky and temporarily slapping it onto an acrylic block or positioning tool doesn’t seem like it will be an option. You’ll probably need to glue it onto a block.
It definitely seems like a good option with it’s own pro’s and con’s. You will have to decide how you want to use it and what kind of stamp you want to end up with.
If I were to laser cut a design into black paper would that work as a negative? or does it have to be a solid sheet with transparent spots?
Yes, that should work. Your just going to put it on the glass and then cover it with a clear film so none of the pieces can lift. As long as light can’t get through it, you should be fine.
Hello,
Thank you very much for this tutorial. Living in Belgium, i cannot find the photopolymer you use, but im really happy to know how to do that step by step if i find it someday.
This blog goes in my fav. It’s awesome ! Thank you.
MAny, many thanks for this instructive tutorial! You are very generous to share! I bought a craft kit years ago to so this and it came with gel plates that were very expensive. This will be so much more economical!